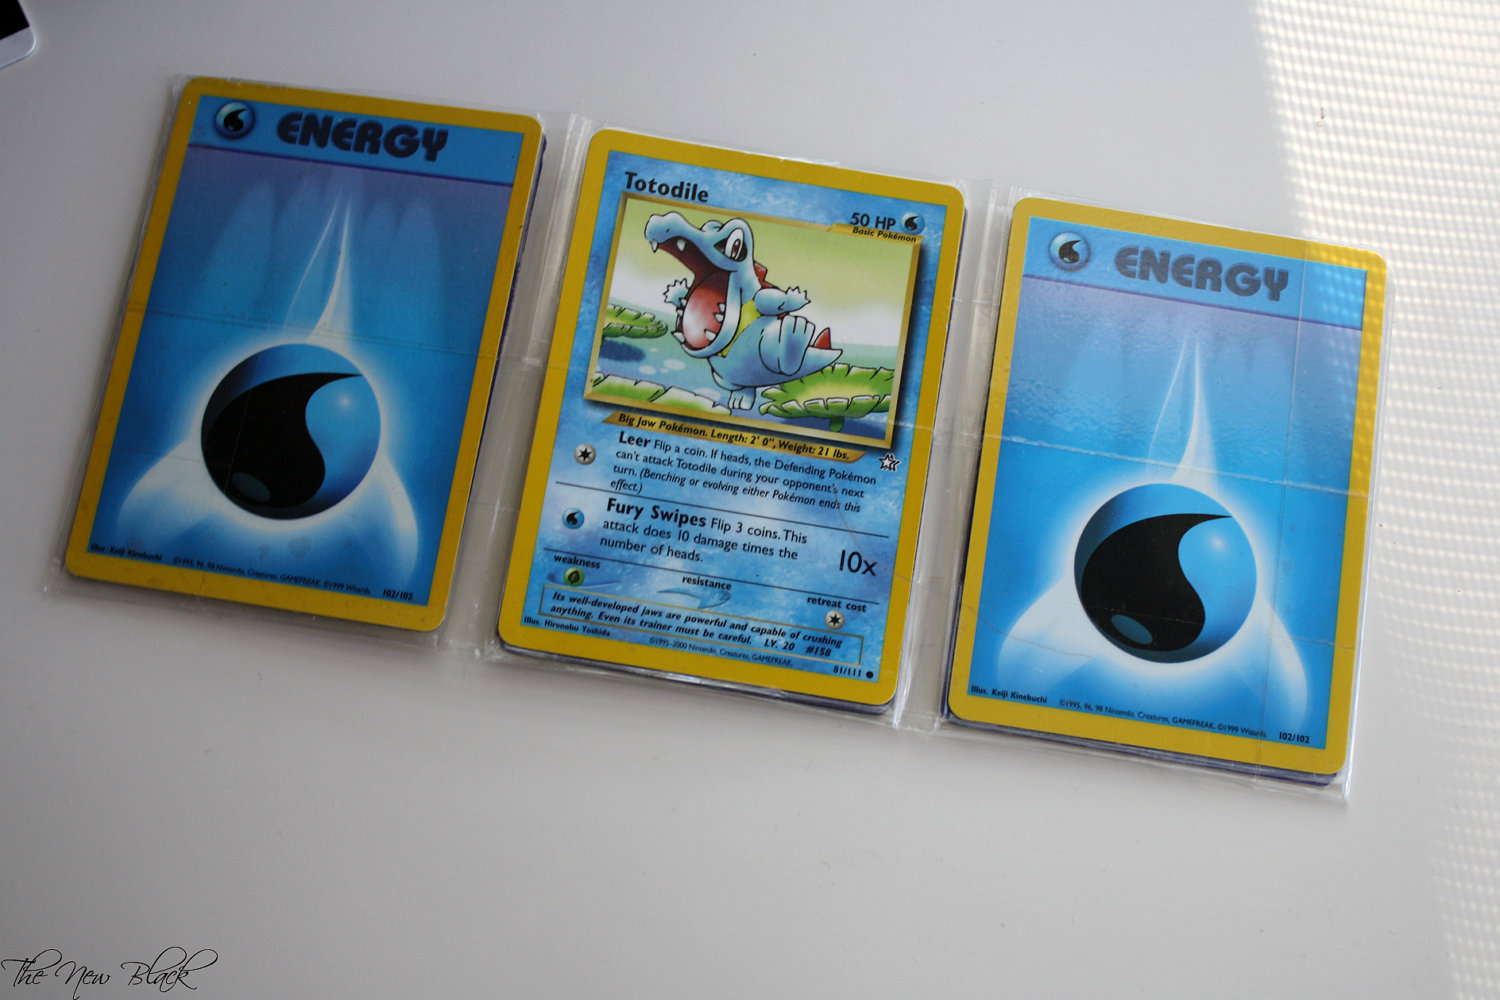
Pokemon Card Wallet
What you'll need:
- Pokemon Cards
- Clear Packaging Tape
- Scissors
- Ruler (optional, but effective)
How you'll do it:
- Lay out 5 strips of 9 inch pieces of tape sticky side up (slightly overlap strips).
- Lay out whatever 6 cards you want to use, in 2 rows of 3, carefully face down on the tape. (note: make sure the cards are facing the way you'd want them to be seen from the outside.) (another note: leave enough space in between cards so that it folds.)
- Seal the other side with 5 more strips of tape.
- Cut excess tape away from the sides of the cards.
- Use 3 inch strips of tape around the sides, bottom, and each side of the top to secure your wallet.
Optional: You can create a pocket for gift cards, credit or debit cards, and anything else you want to hold by cutting another card in half and taping it to the inside of the wallet. You could also cut out a hole where a Pokemon's face is and use that to store your ID.
Now you can easily carry your money in style! You can use any other types of cards, such as Yu Gi Oh!, Magic the Gathering, or Dragon Ball Z to tailor this idea specifically to your interests!

Pikachu Coffee Mug
What you'll need:
- Yellow Coffee Mug
- Red, Black, Brown, and Pink Oil-based Sharpies
- Pencil
How you'll do it:
- Take your yellow mug, and use your pencil to draw your Pikachu face and tail.
- Use your oil-based sharpies to bring your design to life with color.
- Let your Pikachu dry completely before placing it in your oven.
- With the mug inside, turn your oven on to 350°F and bake for 30 minutes.
- Allow your mug to cool inside your oven.
- Show off your masterpiece!
This DIY makes becoming a Pokemon trainer very easy to do. You can do this with virtually any color, using any Pokemon of your choice!
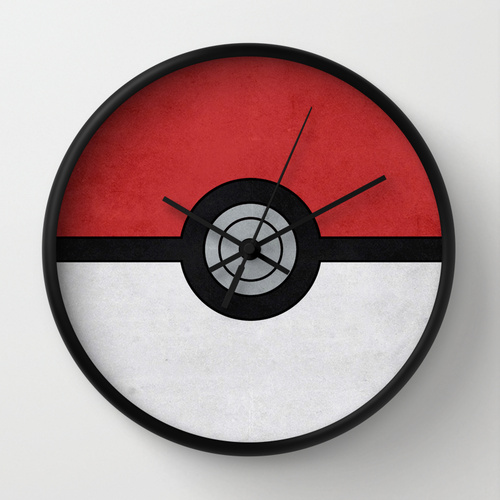
Pokeball Clock
What you'll need:
- Any Plain, White Round Clock
- Red, White, and Black Acrylic Paint
- Paintbrushes
- Pencil
- Ruler (or any other straight edge you have laying around)
How you'll do it:
- Take your old, plain clock apart, and grab the inside piece where the numbers usually are. (It's normally a flimsy piece of paper.)
- Use your pencil and ruler to mark where your heavy black lines and inside circle are going to be.
- Fill in your heavy black lines with your black paint, and paint the top with red.
- Use your white paint to make sure the bottom of your clock is the whitest it can be.
- Wait patiently for your paint to dry.
- Place the paper back inside your clock and reassemble.
This is perfect for any room in your house, apartment, or office!
If you're having trouble finding a clock without numbers, or you already have one with numbers somewhere in your attic, you can easily measure out another sheet of plain paper to replace it with. If you're not confident in your ability to match the size, you can also take a couple sheets of printer paper and tape them right over the numbers to ensure a nice, plain look!
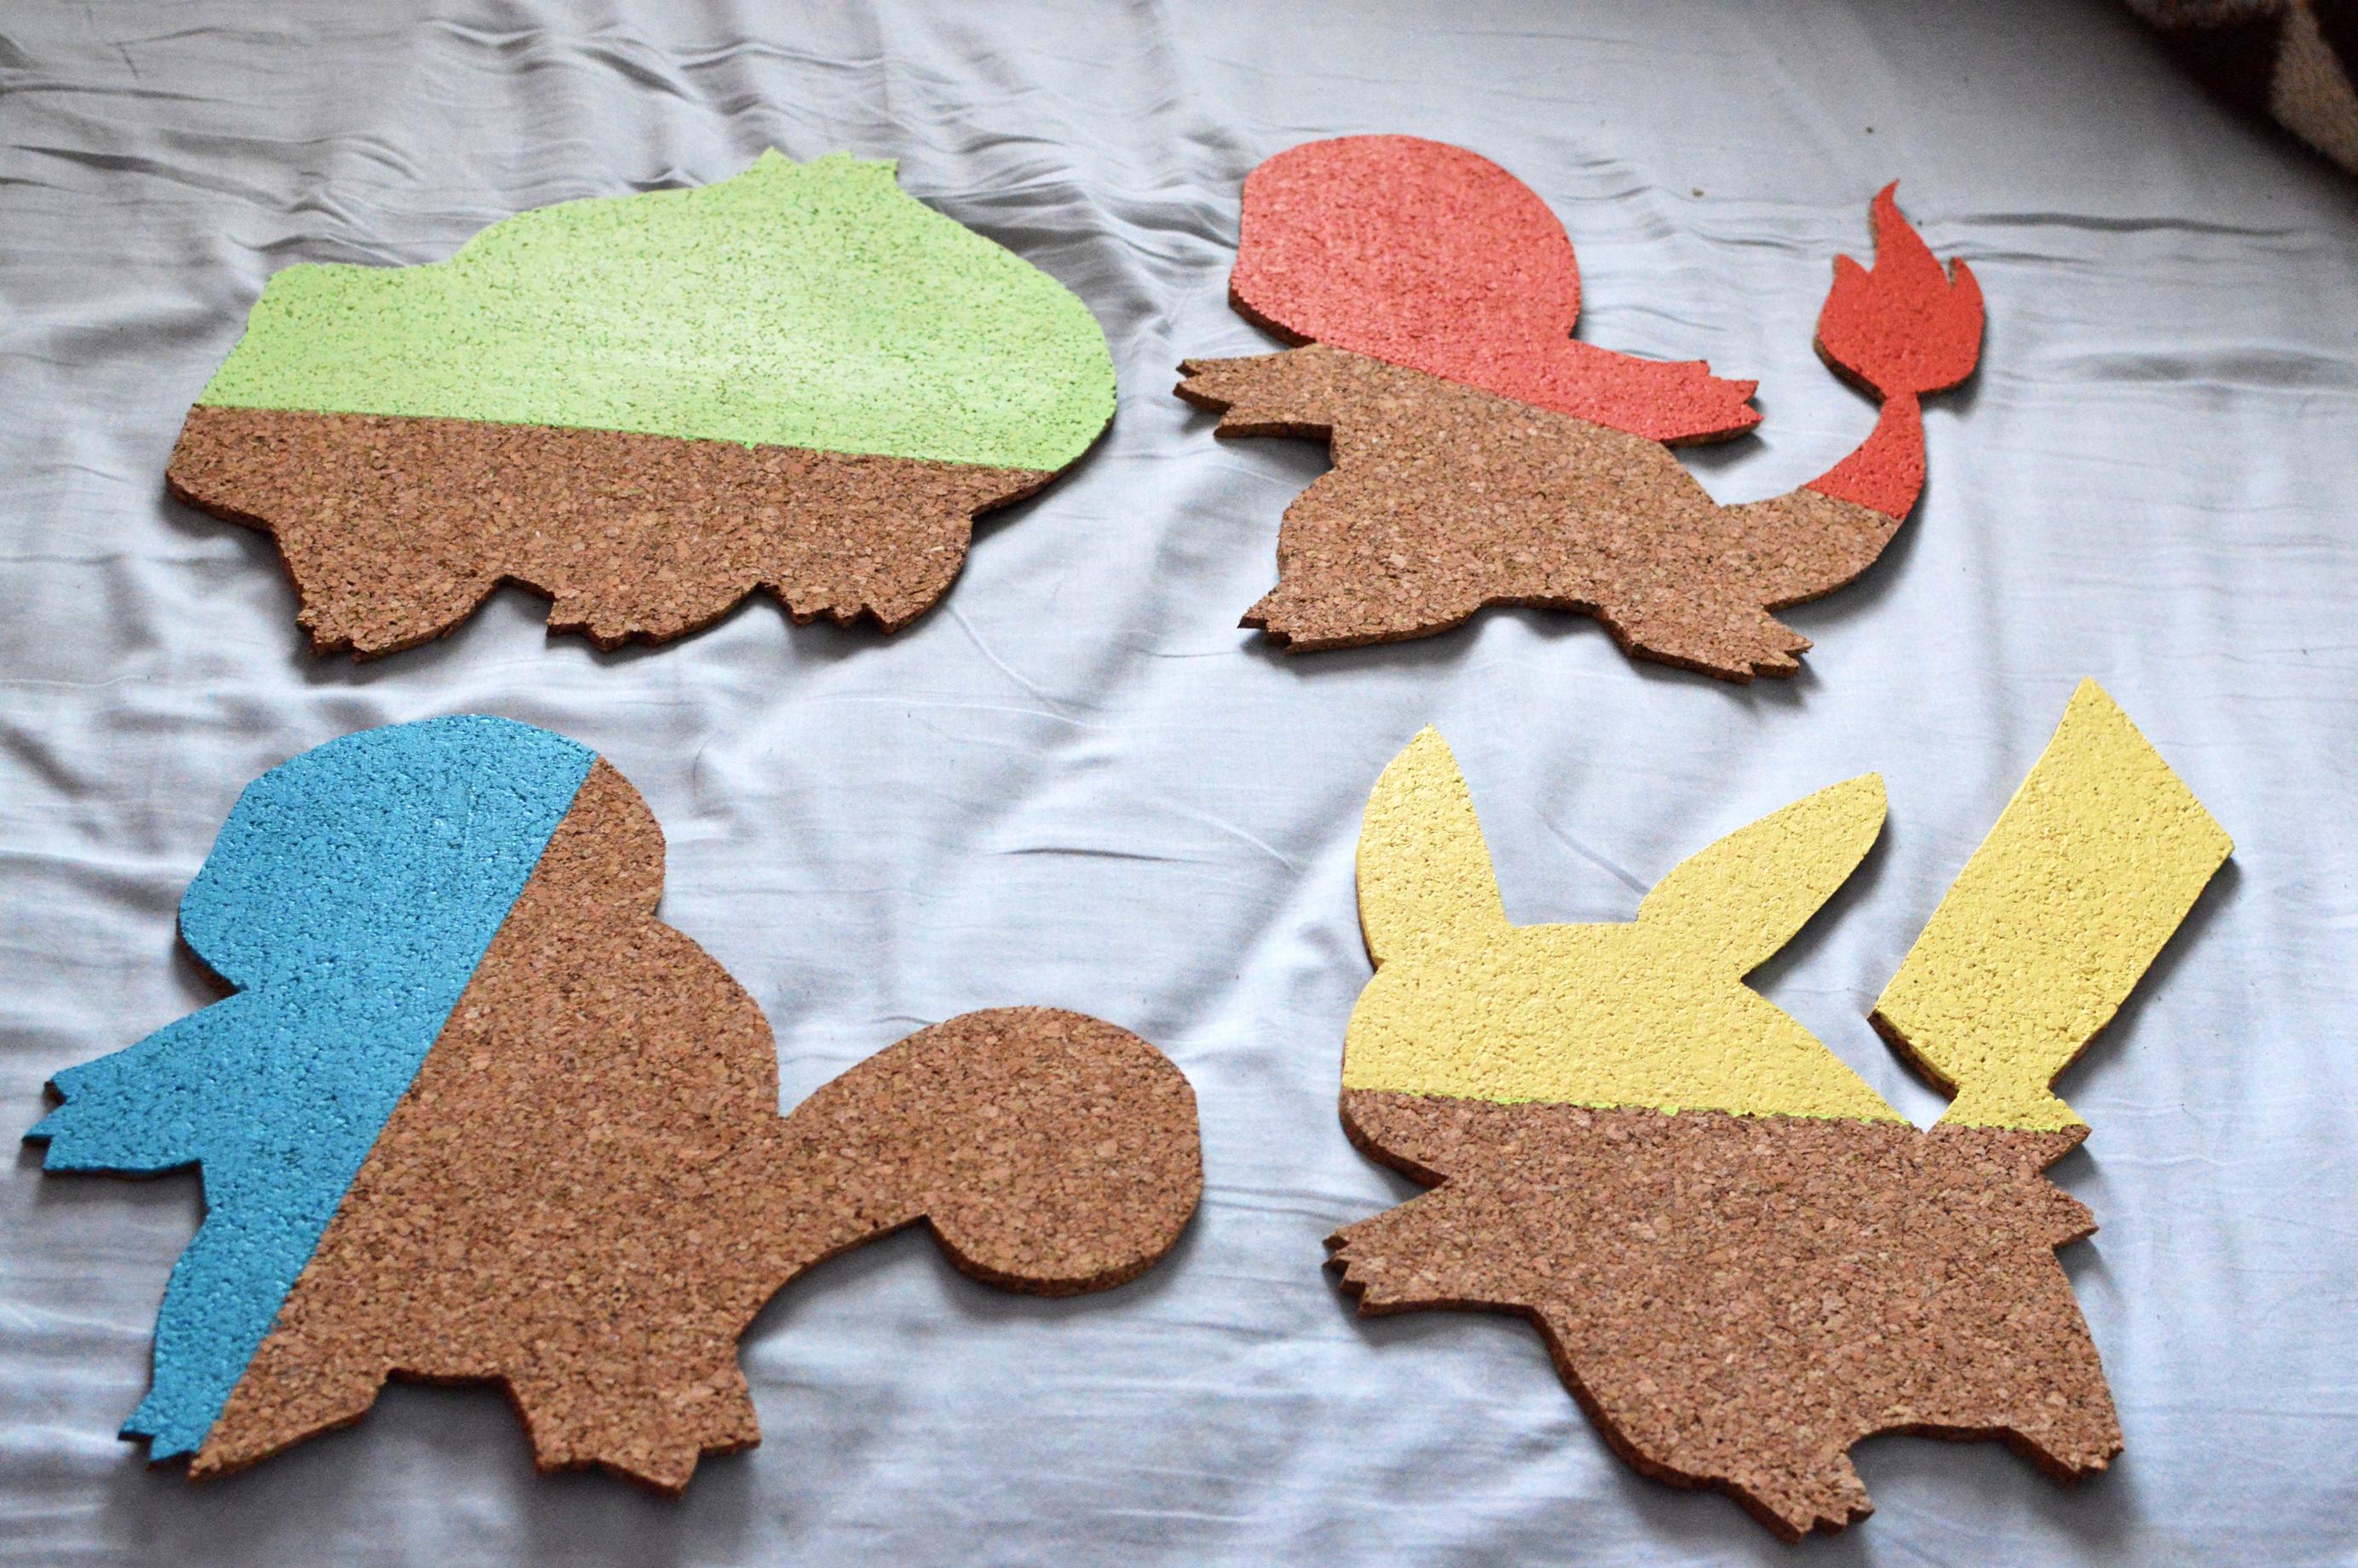
Pokemon Cork Boards
What you'll need:
- Cork board
- X-ACTO Knife (or another sharp object like scissors)
- Blue, Yellow, Red, Green Acrylic Paint
- Paintbrush
- Pencil
How you'll do it:
- Use your pencil to outline the Pokemon you'll need to cut out.
- Cut out the Pokemon using your X-ACTO knife, or whatever sharp object you're using.
- Paint the Pokemon either half-way (above) or all of the way. Or none of the way. The power is in your hands, my friend.
- Let your paint dry and either hang them up or use them as drink coasters!
If you're thinking that Pokemon outlines are a little hard to do, you can always just cut, or buy, cork board in a circle and paint pokeballs instead!
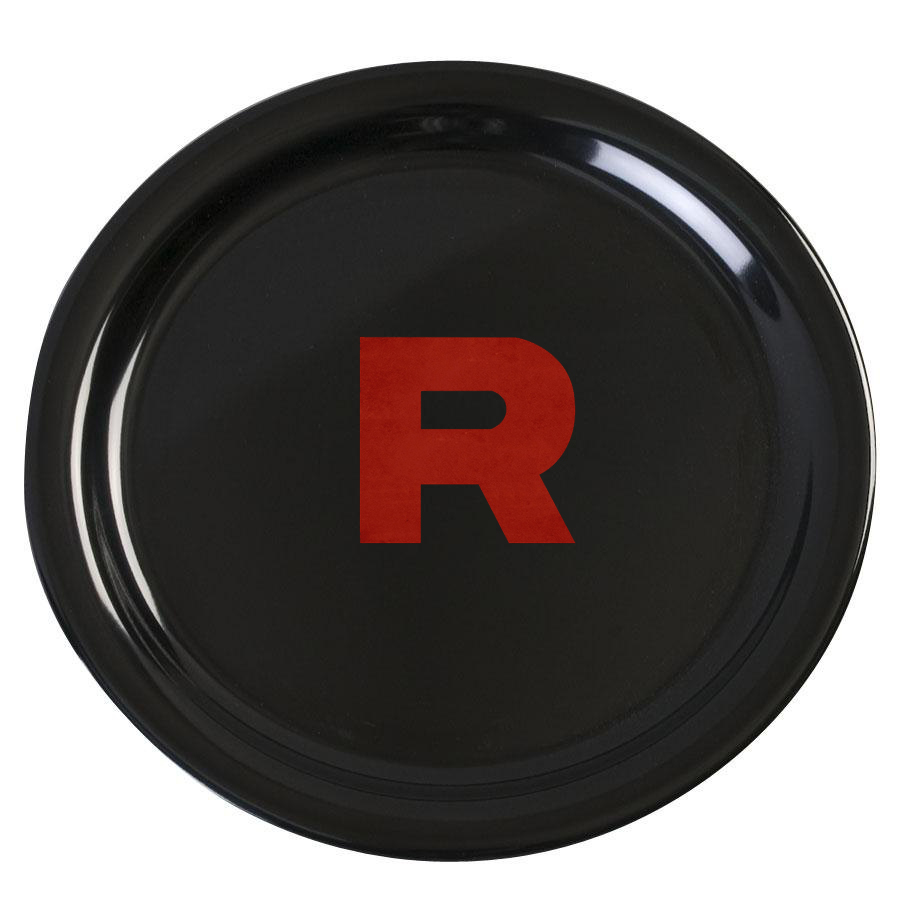
Team Rocket Plates
What you'll need:
- Any Round, Black Plate
- Red Ceramic Food-Safe Paint/Pen
- Paintbrush
- Pencil
How you'll do it:
- Clean the plate with soap and water and dry completely.
- Use your pencil to stencil the R wherever you'd like it to be on your plate.
- Carefully paint on the infamous R.
- Apply a second coat if necessary.
- Let dry for at least 24 hours.
- Bake in an oven based on the recommended, paint-specific instructions.
- Your plate should be safe to eat off of and use in the dishwasher!
If you're having trouble finding ceramic paint, just use a white plate and a red sharpie! Outline it in black if you want, and then bake it in the oven at 425 degrees for 30 minutes. Let it cool down in the oven, and you'll have a plate that works just as well!




Published: Mar 12, 2014 08:59 am