It’s been a whole lotta years since a new game had that iconic “you must gather party before venturing forth” line read aloud at the edge of every screen (or since Minsc insisted he and Boo will be butt-kicking for justice). Here we are in 2016, and somehow a new Baldur’s Gate in the original Infinity Engine style has arrived!
This in-between tale that takes place between Baldur’s Gate and Baldur’s Gate 2 kicks off in Korlasz’s Tomb. Here you the have the opportunity to get reacquainted with the old ruleset and user interface while stomping some undead and taking down Sarevok’s last follower.
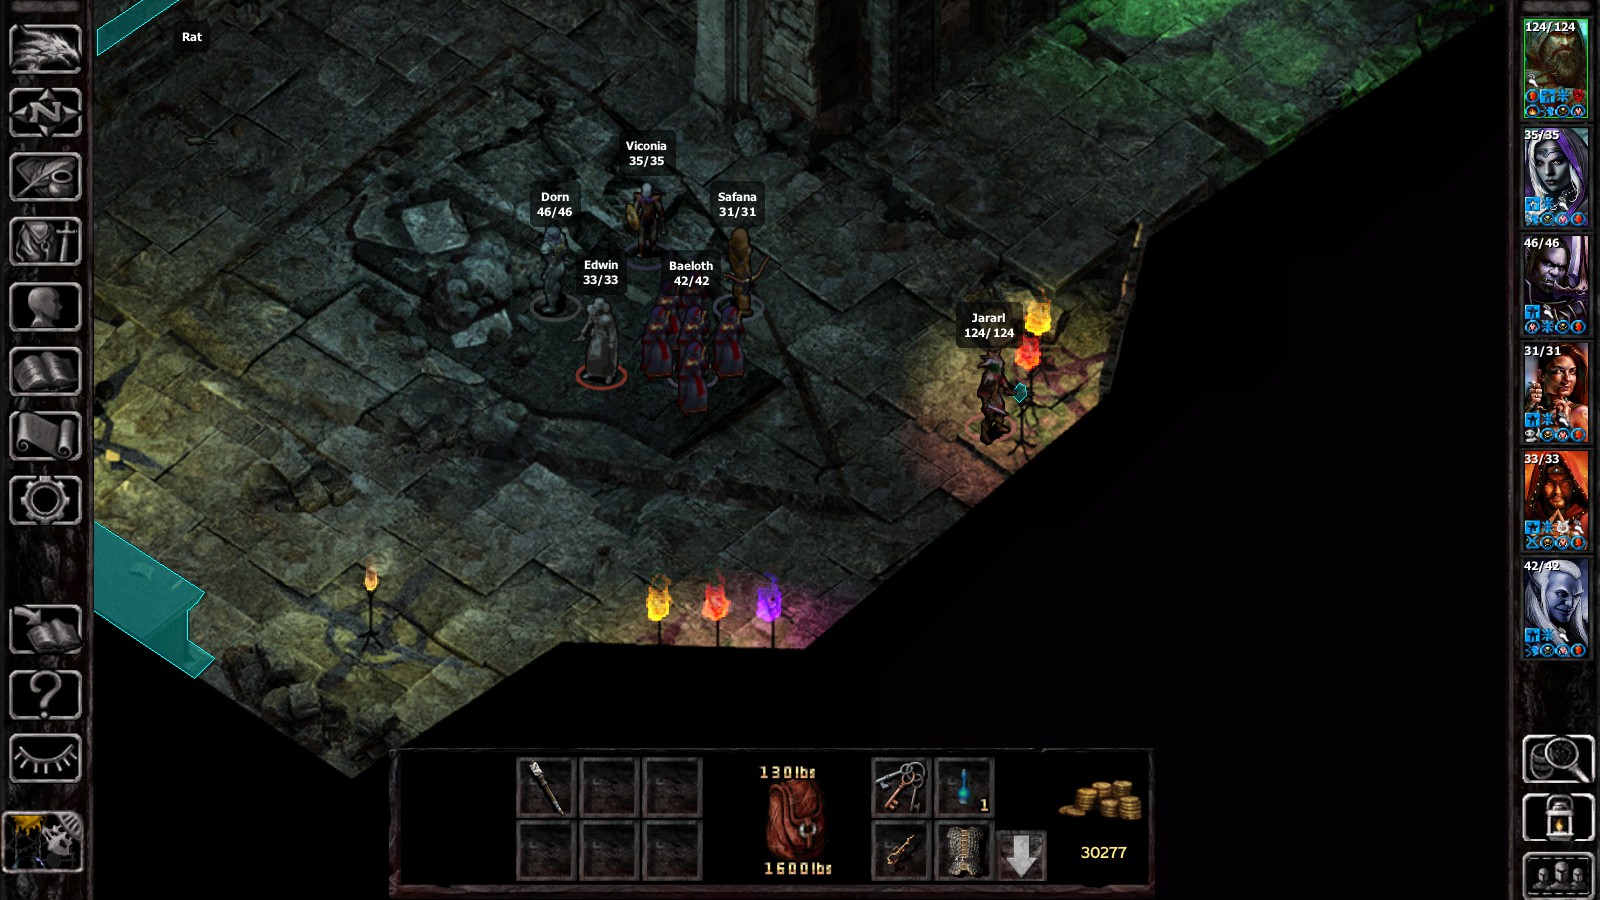
Your starting party lineup will change based on your new (or imported) character’s alignment. If you choose an evil alignment for instance, you’ll get Viconia, Edwin, Dorn, Safana, and Baeloth in your party.
Despite essentially being a tutorial section, there’s quite a few quests in here providing nifty loot and extra experience points, along with a secret area that offers up more opportunities much later in the game.
Secret Room
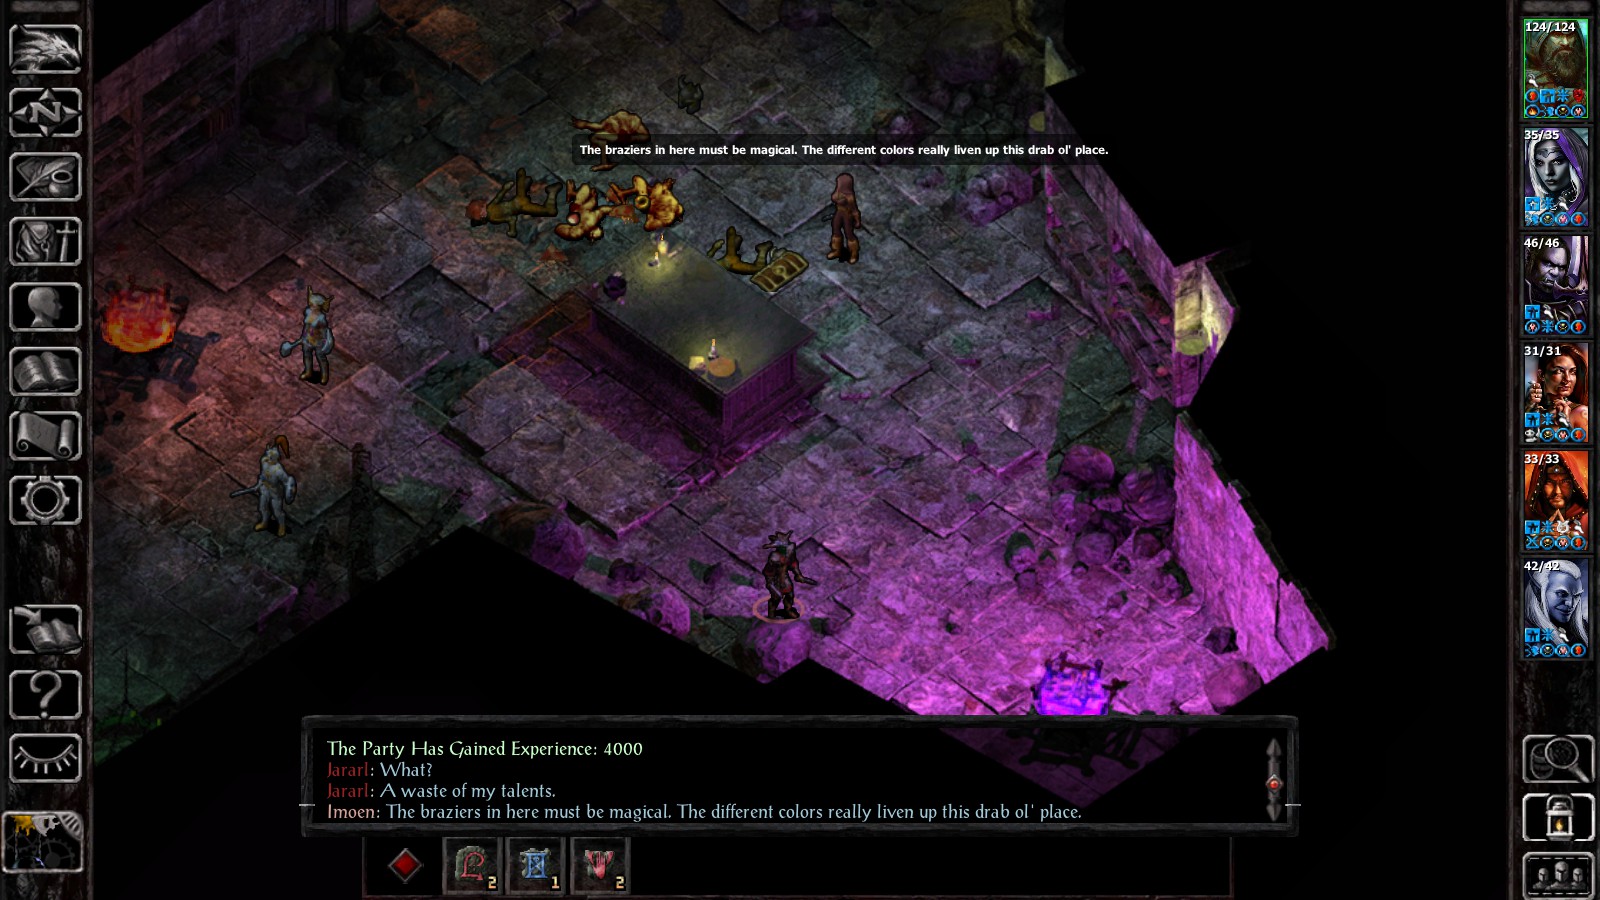
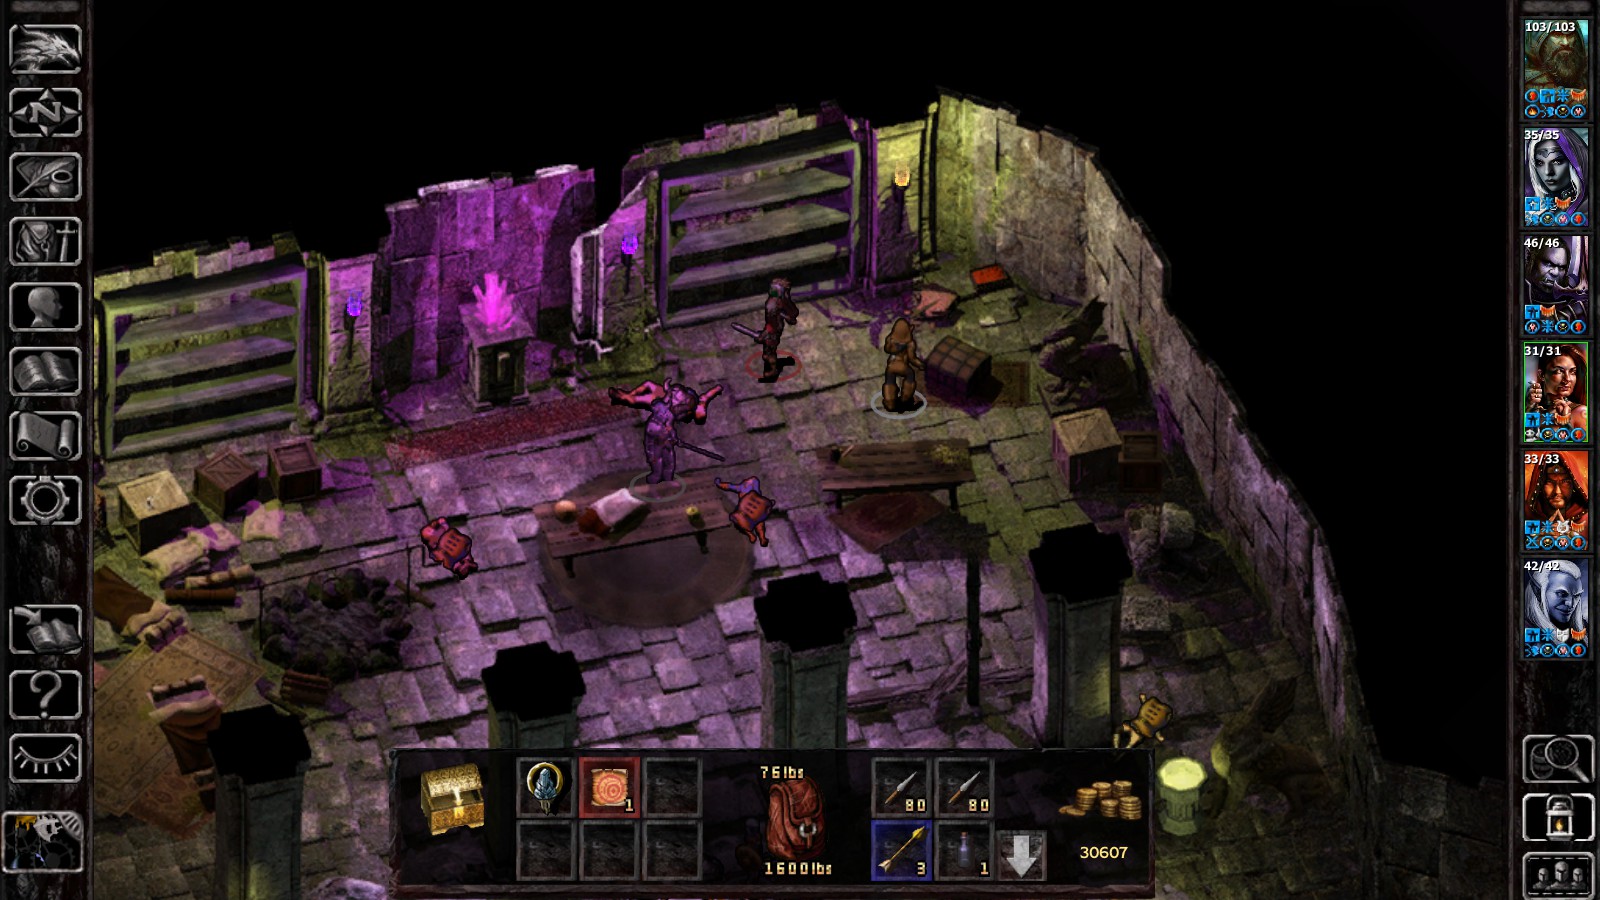
This isn’t an actual quest, but rather just a neat little area with some extra goodies. On the second level, head to the room with the black stone hand on the ground and grab the torch lying on the ground. You probably won’t notice its location unless you press tab to highlight all the interactable areas.
Go back into the previous room with the yellow, purple, and red bonfires. Interact with the purple bonfire to light your torch, and then return to the room where the torch was originally found. Put it back exactly where you picked it up to complete the pattern of colors and open a secret door in the wall.
Grab the scrap of paper on the right hand table to open up the “Sarvevok’s Secret” quest, which tasks you with finding a hidden area in a temple of Bhaal later in the game.
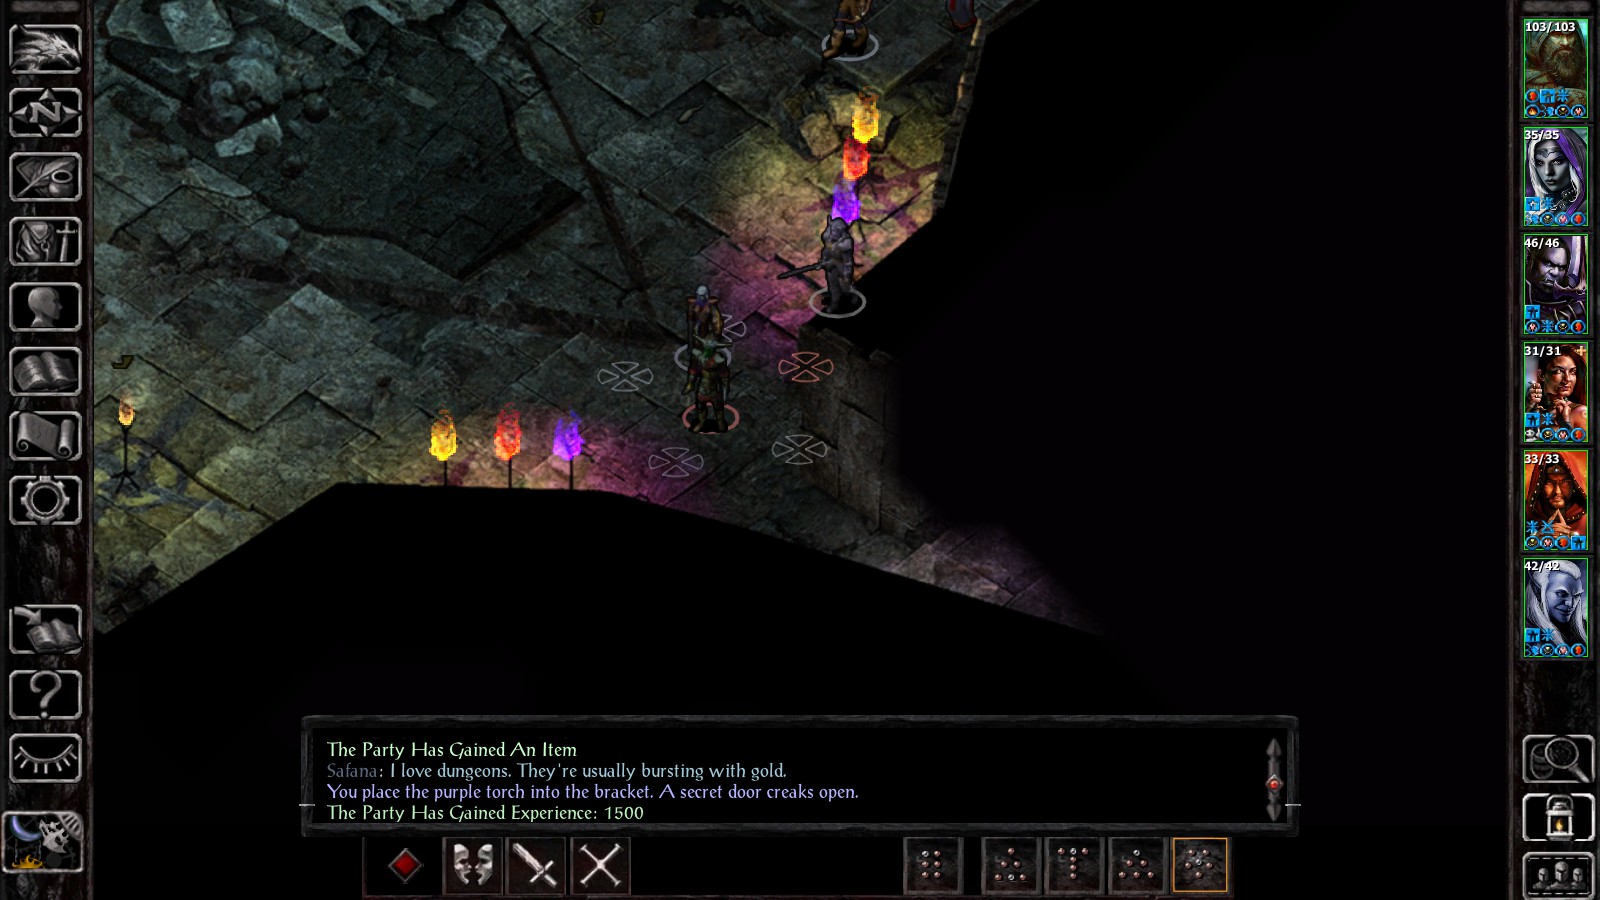 Purple Fire Opens The Secret Passage
Tome Of Great Value
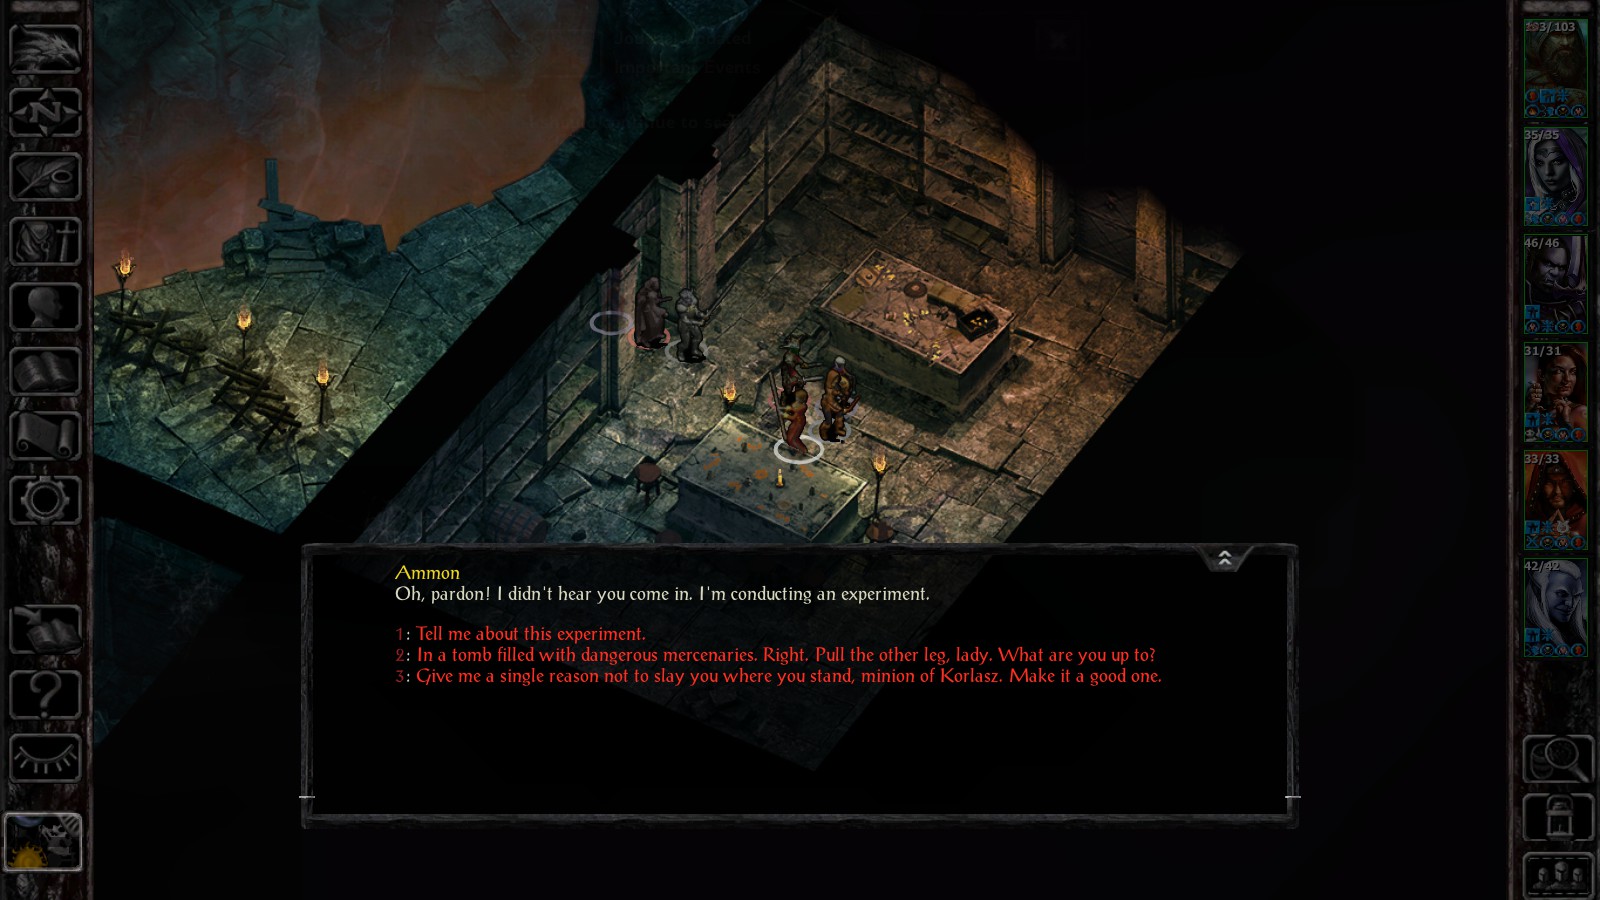
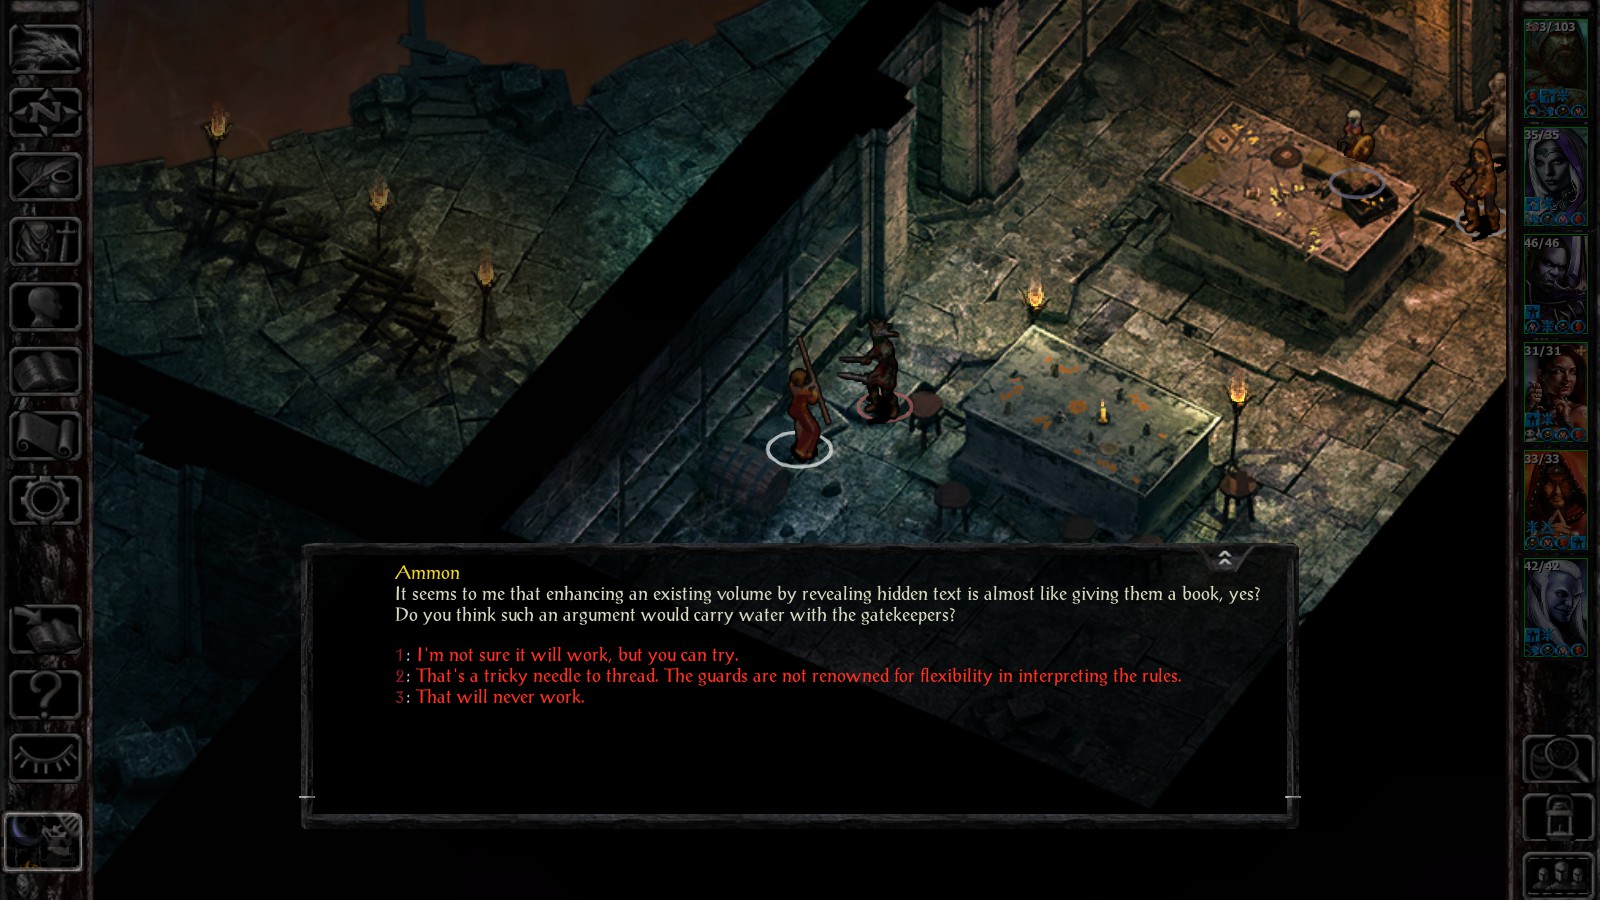
In the library area (just after talking to the wizard across the chasm at the start of the game), talk to the scatter-brained scholar Ammon, who doesn’t seem to realize there’s a battle raging around her. Don’t take any of the obviously violent dialogue options and instead ask her what she’s doing, then agree to look for some cobalt moss while you explore the tomb.
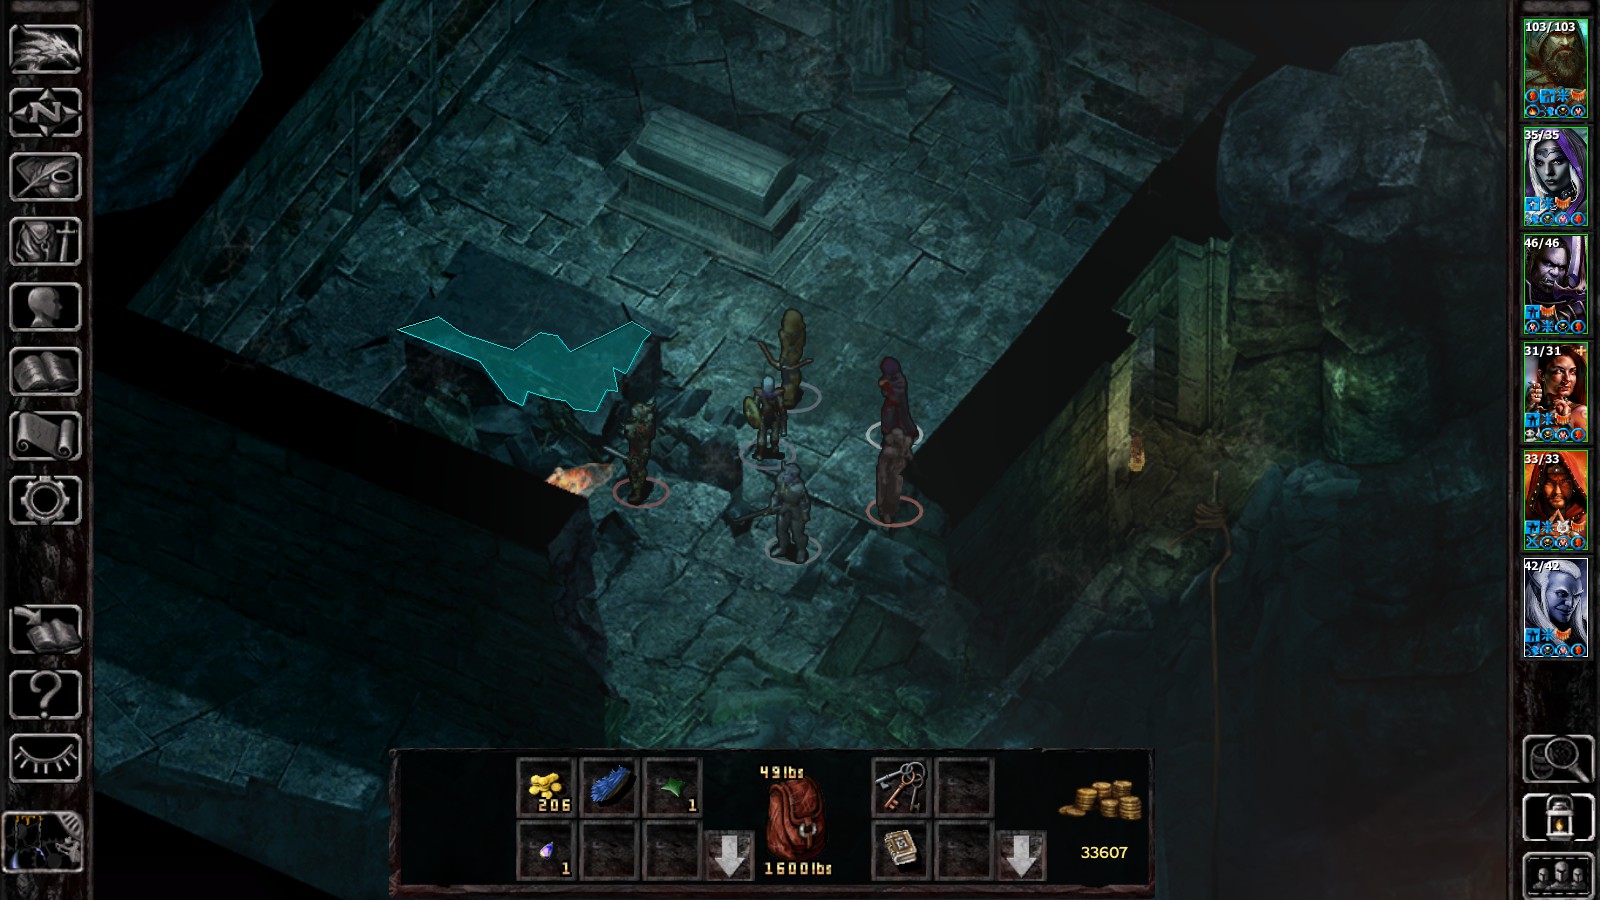
You won’t be able to actually find the moss and complete this quest until the end of the area after you defeat Korlasz. Rather than going back up the stairs you took down into the second floor, instead use the rope in the central chamber next to the sarcophagus. This lets you access the previously barred room back on the top floor.
Open the sarcophagus here and battle the undead that pop out, then take the cobalt moss inside the stone coffin. Now you can walk back to the library area and tell Ammon you found what she’s looking for.
Don’t end the conversation when given the option yet though – talk to her about why she wants the moss, then tell her about your time in Candlekeep. Agree to sign a letter sponsoring her petition to enter the Candlekeep library to complete the quest and unlock the “Know Thyself” achievement.
The Shattered Staff
On the second level of the tomb, just before entering the large room where you battle Korlasz, head down the small tunnel to the right where there are some skeletons and several racks of weapons.
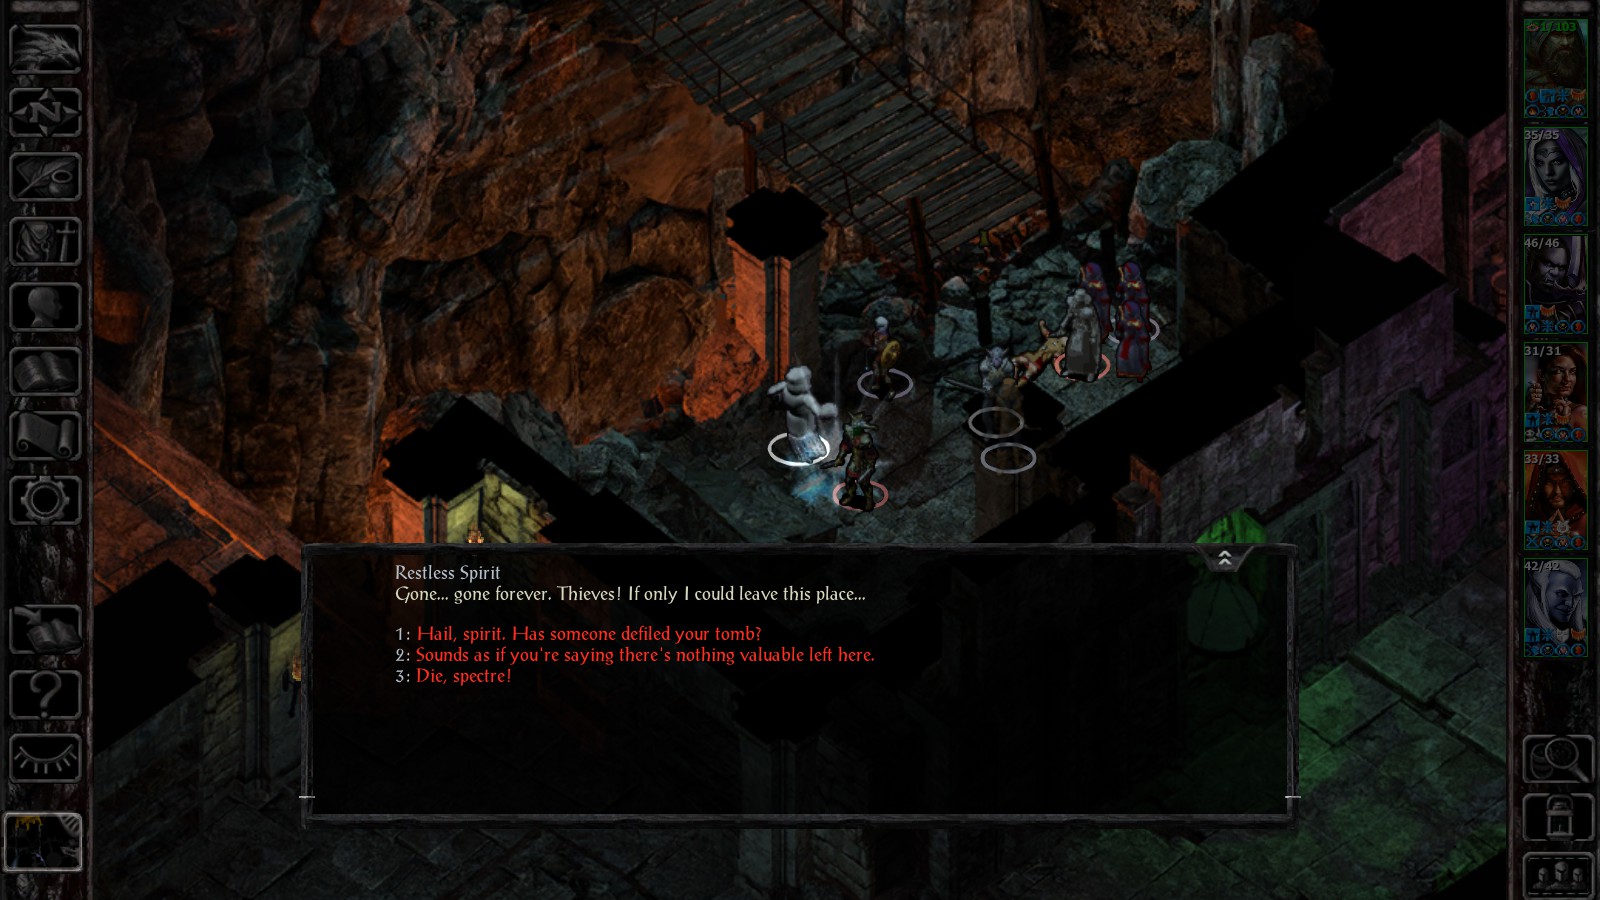
Go across the bridge and interact with the sarcophagus, which brings up a restless spirit. Ask him to tell you about his descendant Korlasz, then agree to find the parts of his broken staff so he can be at peace.
The top half of the staff is in the chest at the northeast corner of the the room where you battle Korlasz (the main fight area, not her personal chambers off to the side).
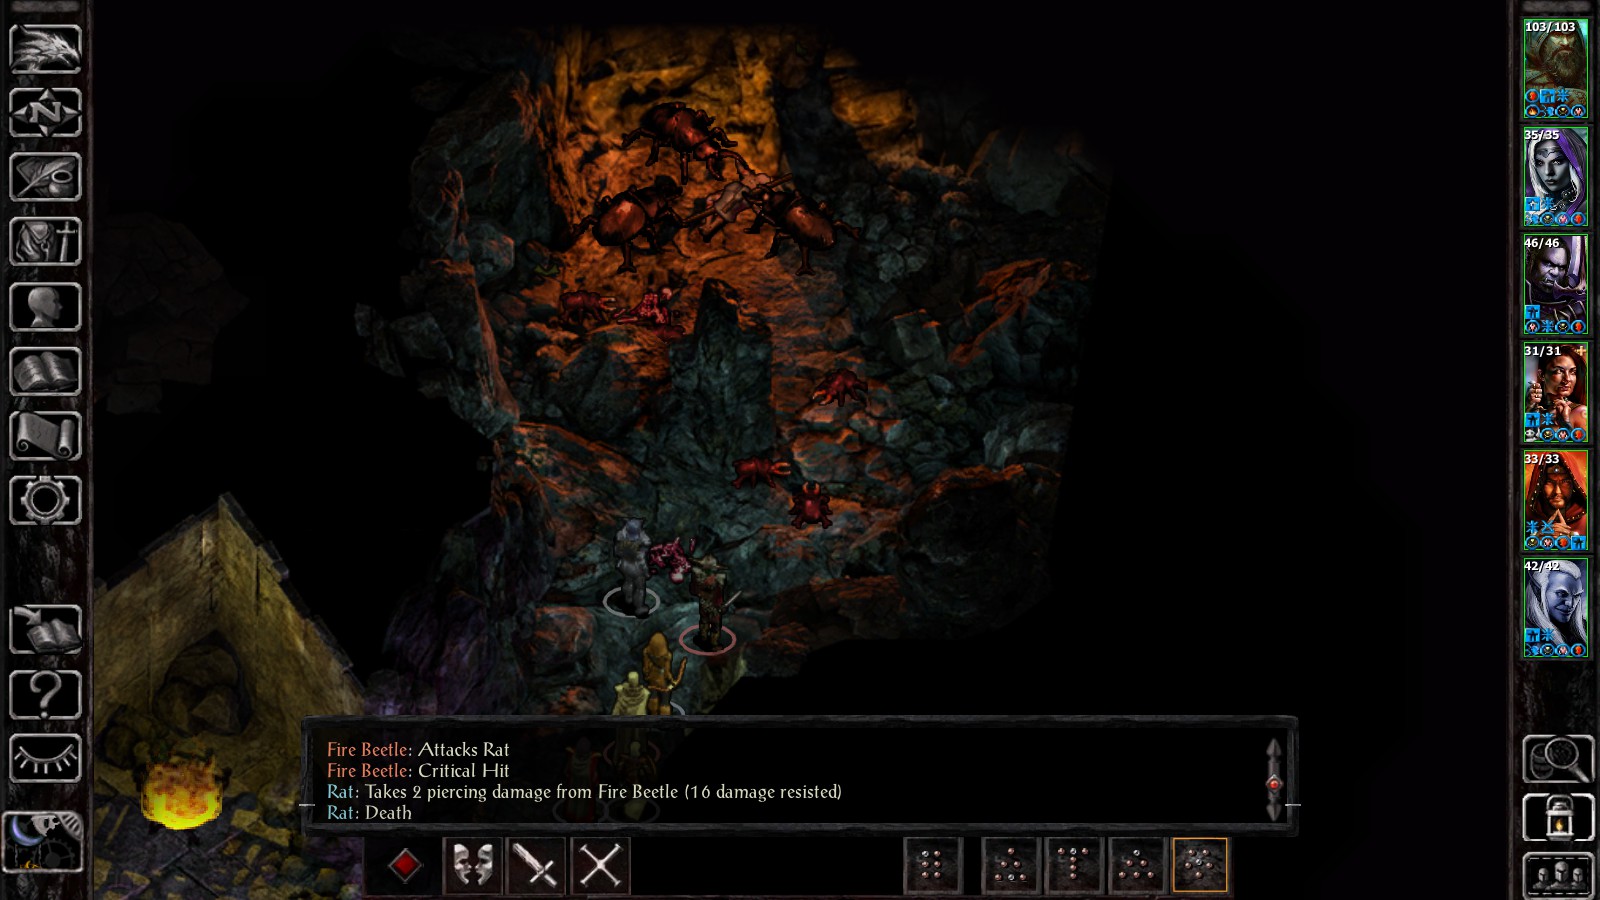
The bottom half of the staff is in a semi-hidden room to the east of the chamber with the yellow, purple, and blue fires. You can just walk right into it, but the fog of war covers the tunnel until you are directly on it. Kill the fire beetles in this side chamber and pick up the staff in the pile of loot located near the magma.
Return to the sarcophagus and put both pieces of the staff back inside to complete the quest and get a bunch of jewels in return.
Important Events
This is the main quest for the area, tasking you with finding and killing Korlasz. To wring every last gold piece, experience point, and story element out of this one, there’s a specific path to take.
Head through the library where Ammon is found and go up and into the room on the left, where you will encounter the wizard who yelled at you from across the chasm.
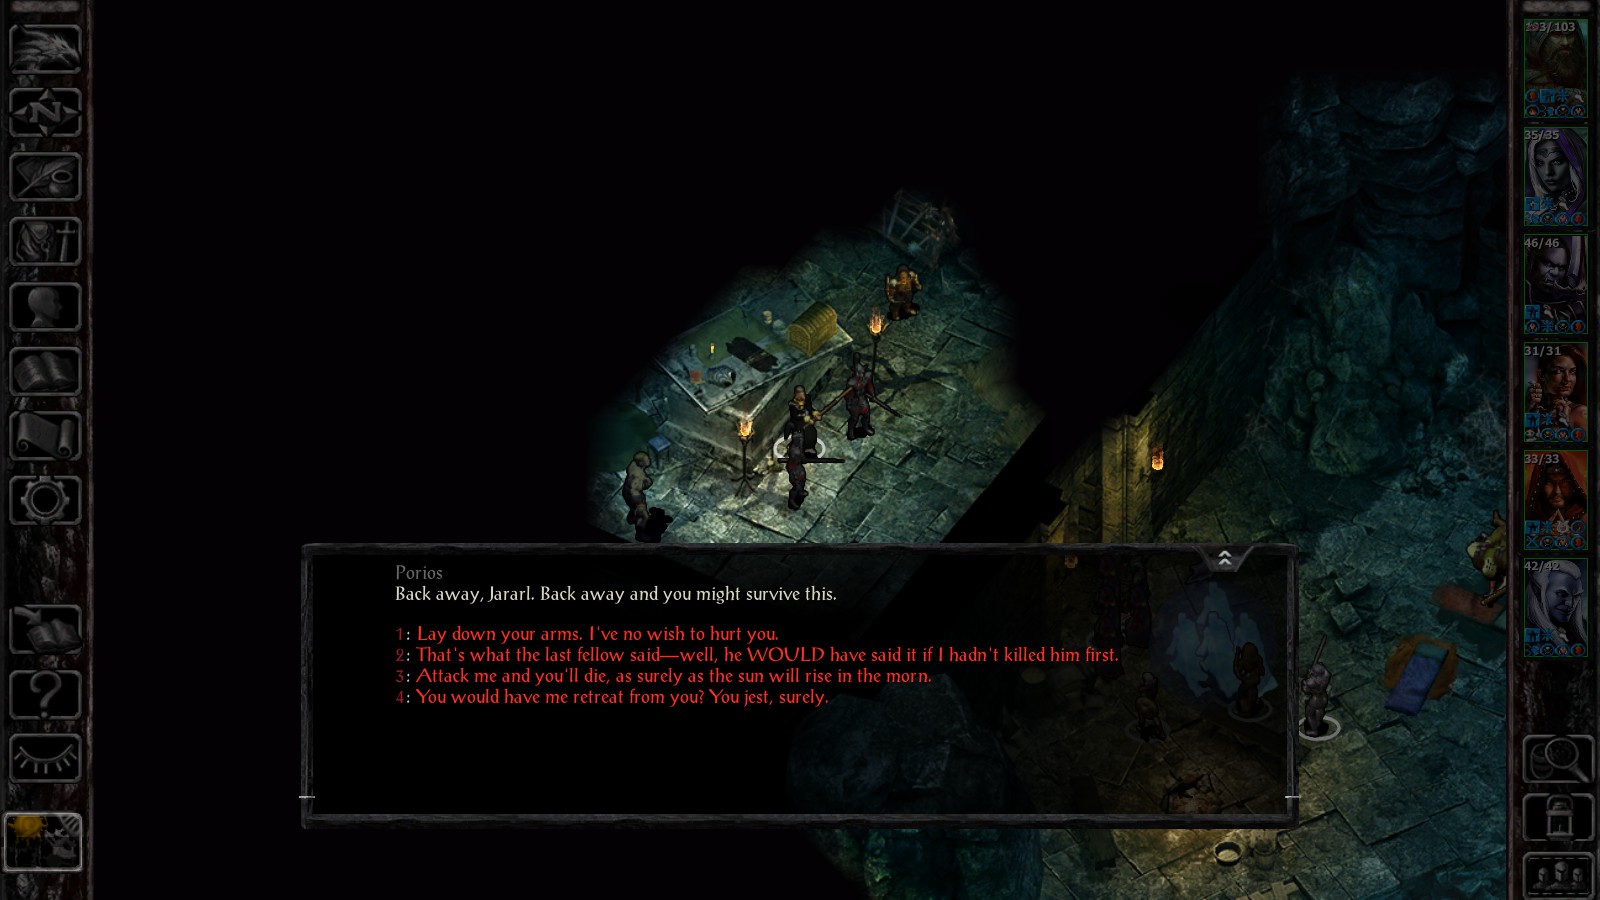
Pick the second dialog option “that’s what he WOULD have said if I hadn’t killed him first” to convince Porios that he may not want to fight. Ask him about the sword he mentioned earlier to reveal some additional information about what Korlasz is doing here, and then tell him to turn himself in.
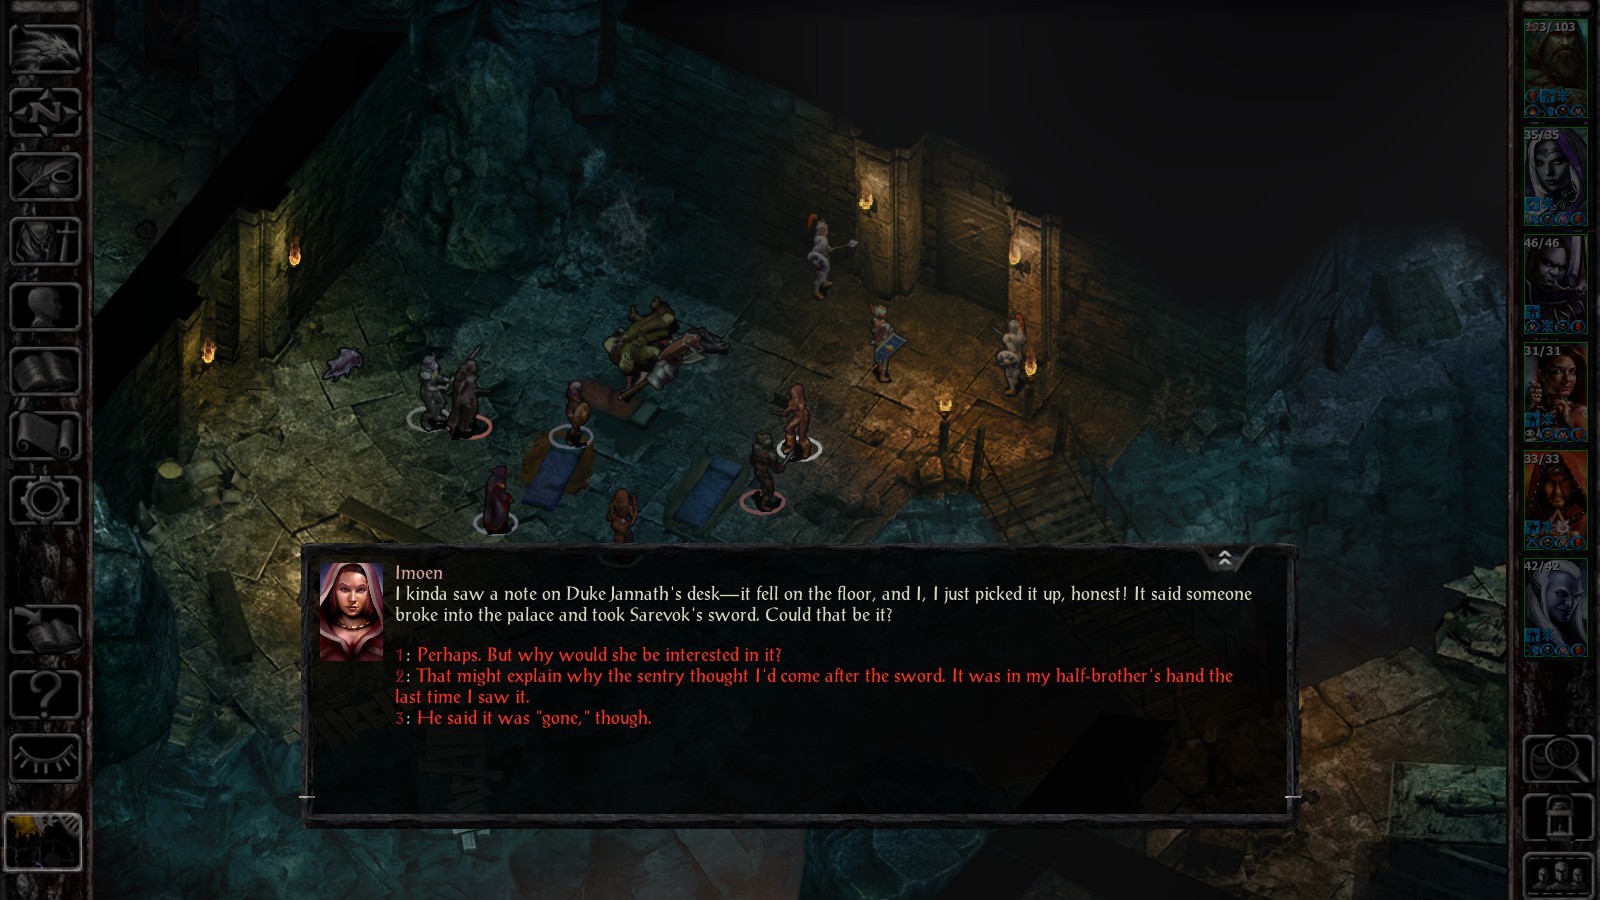
He’ll then hand over the key to the basement. Next, talk to Imoen about what Porios mentioned and she will ask you search for more clues.
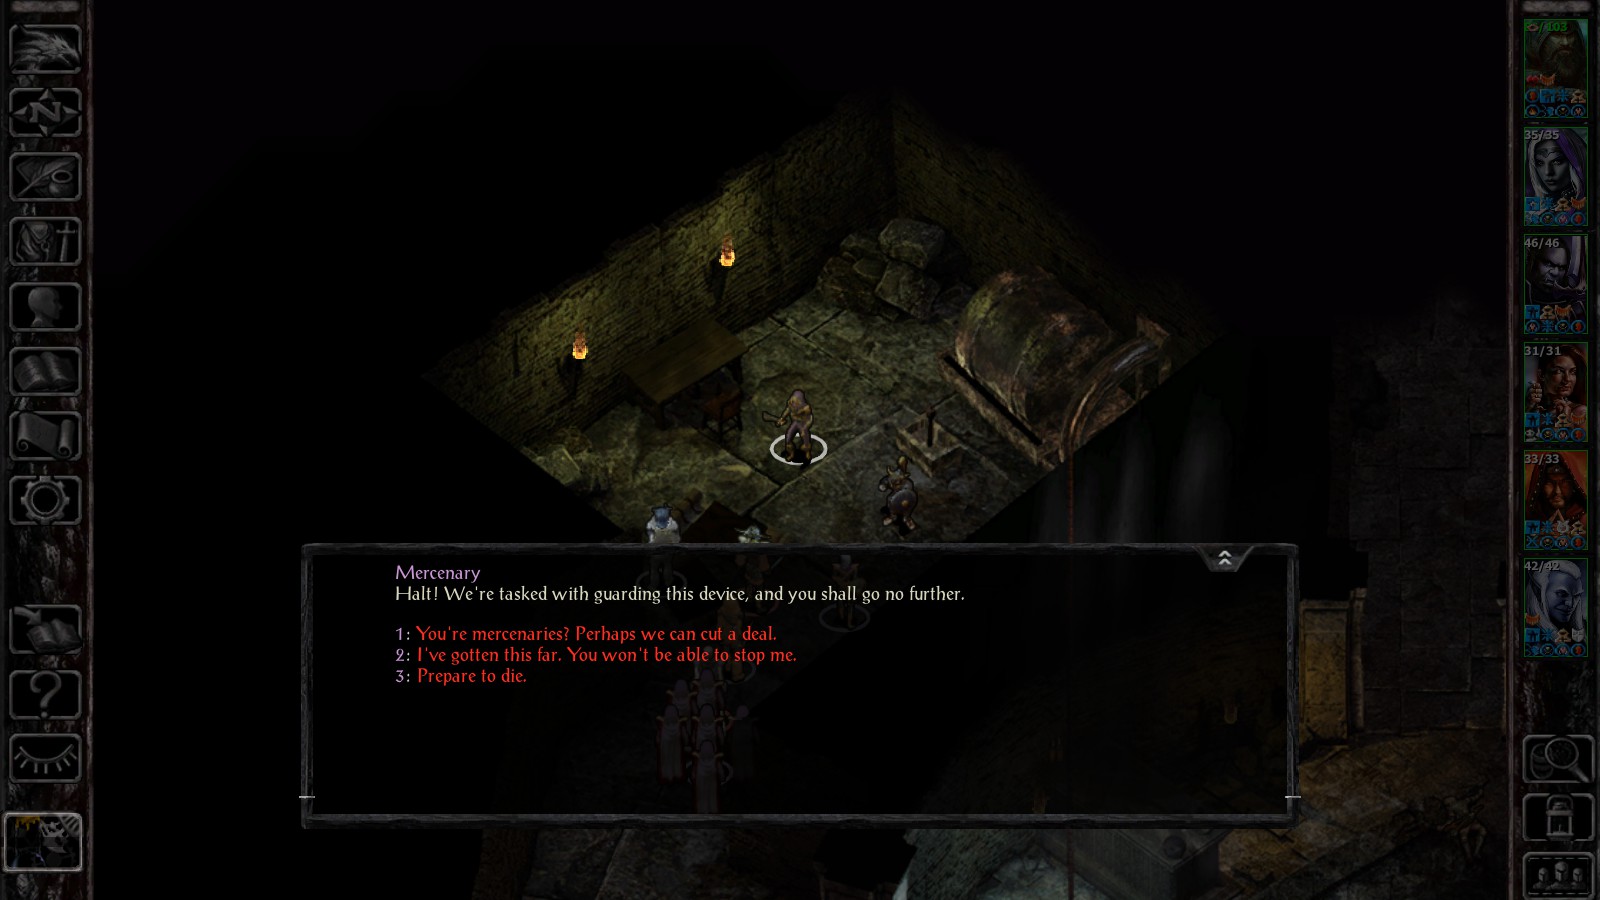
Now proceed downstairs and fight your way through the area until you locate the mercenaries on the far western edge. Ask them if you can make a deal, then tell the mercenaries you killed their companions and they’ll leave peacefully (any other option will make them attack), netting some extra XP.
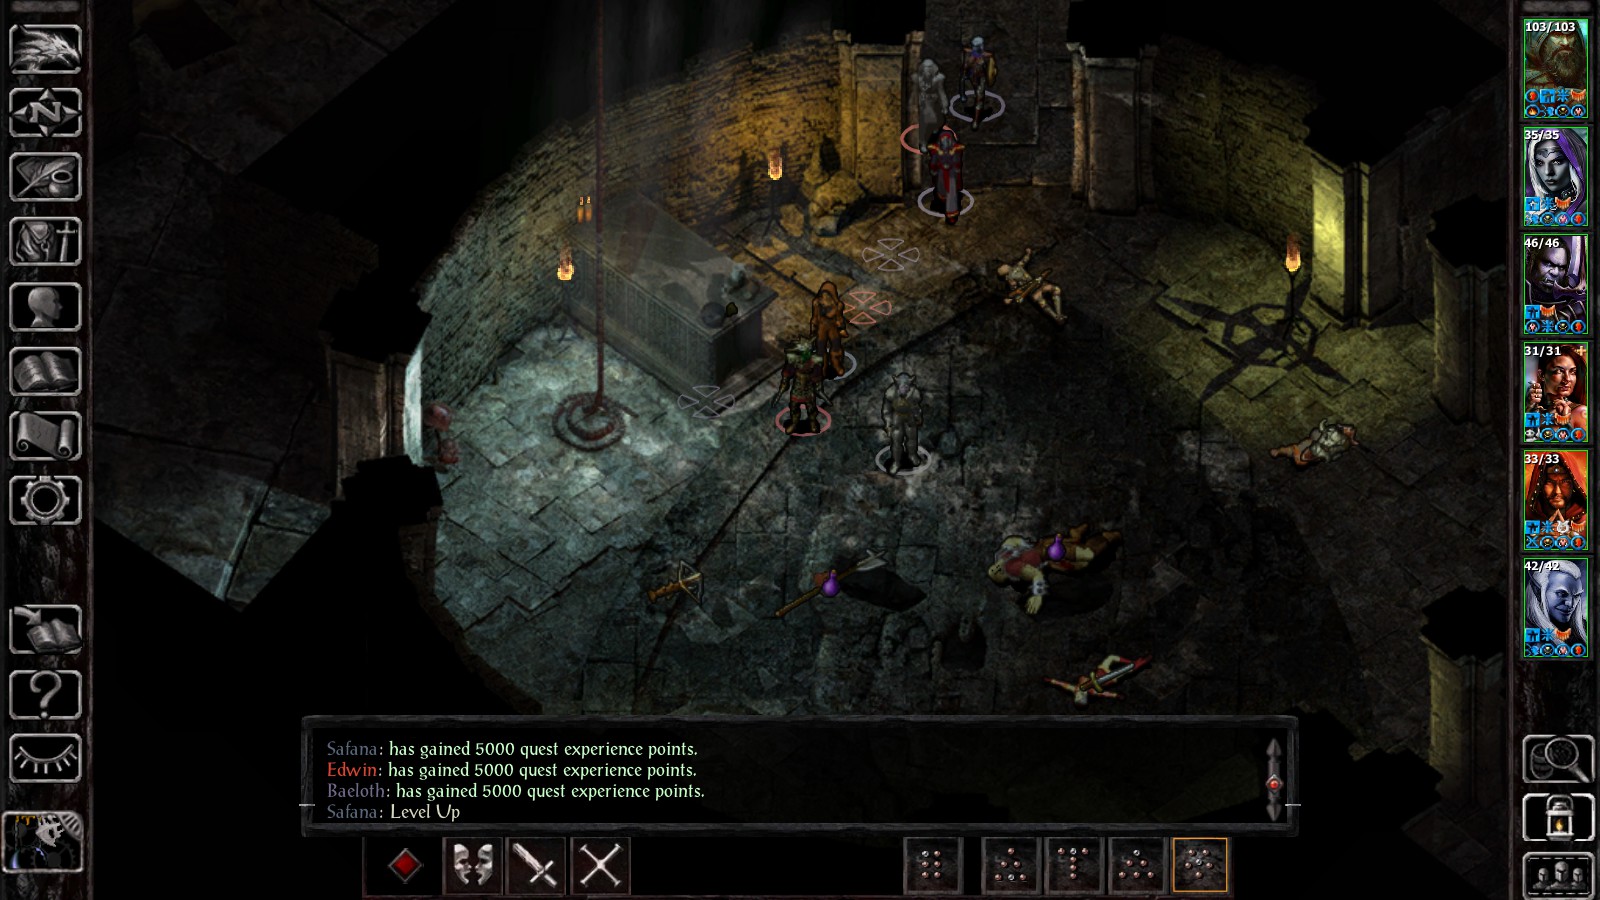
Next, go to the northern area of the second level to finally meet Korlasz, who will attack no matter what dialog option you pick. After the battle, grab the key off her body and go into her private chambers on the right, where you will have to kill her familiar.
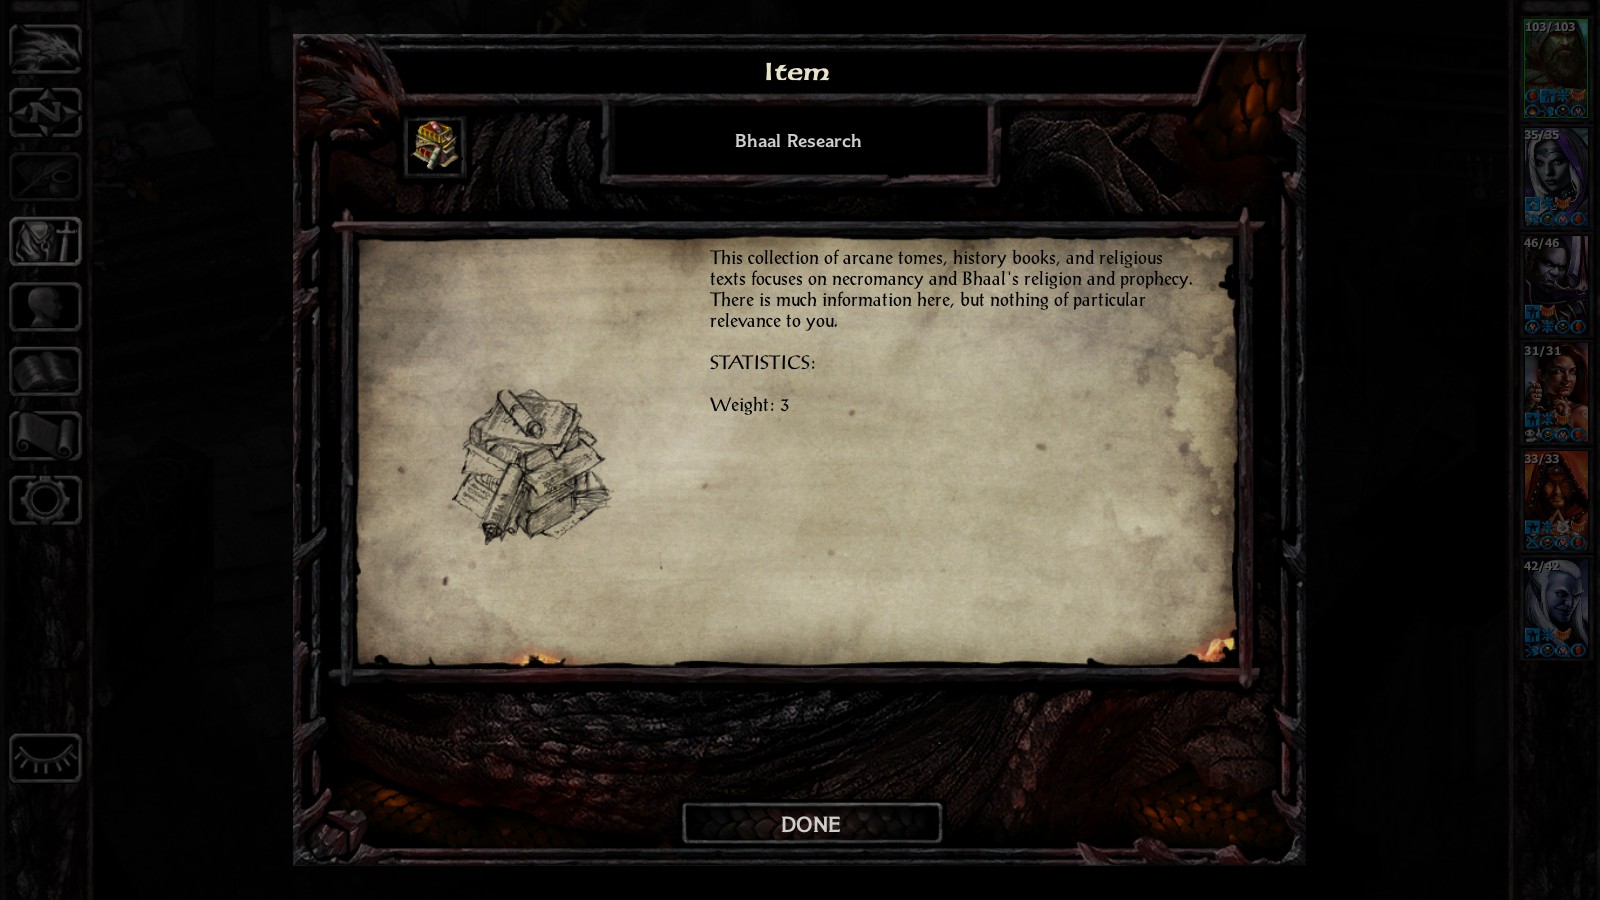
Loot the Bhaal research books in her locked chest, then give them to Imoen to complete the quest and get a huge experience bonus.
The Mummy’s Orders
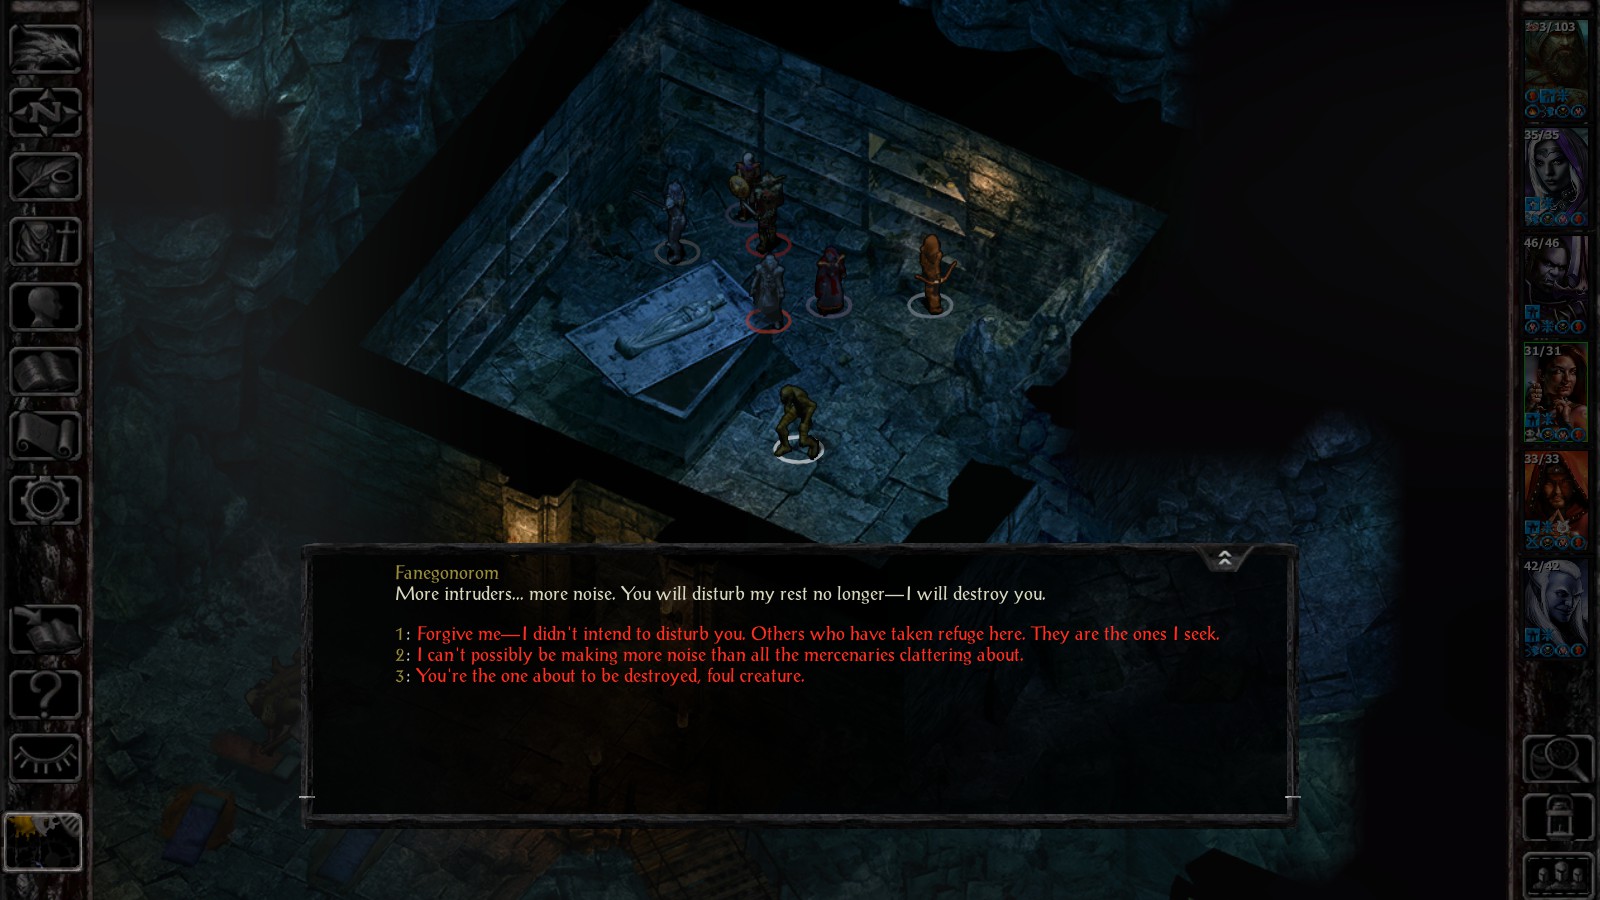
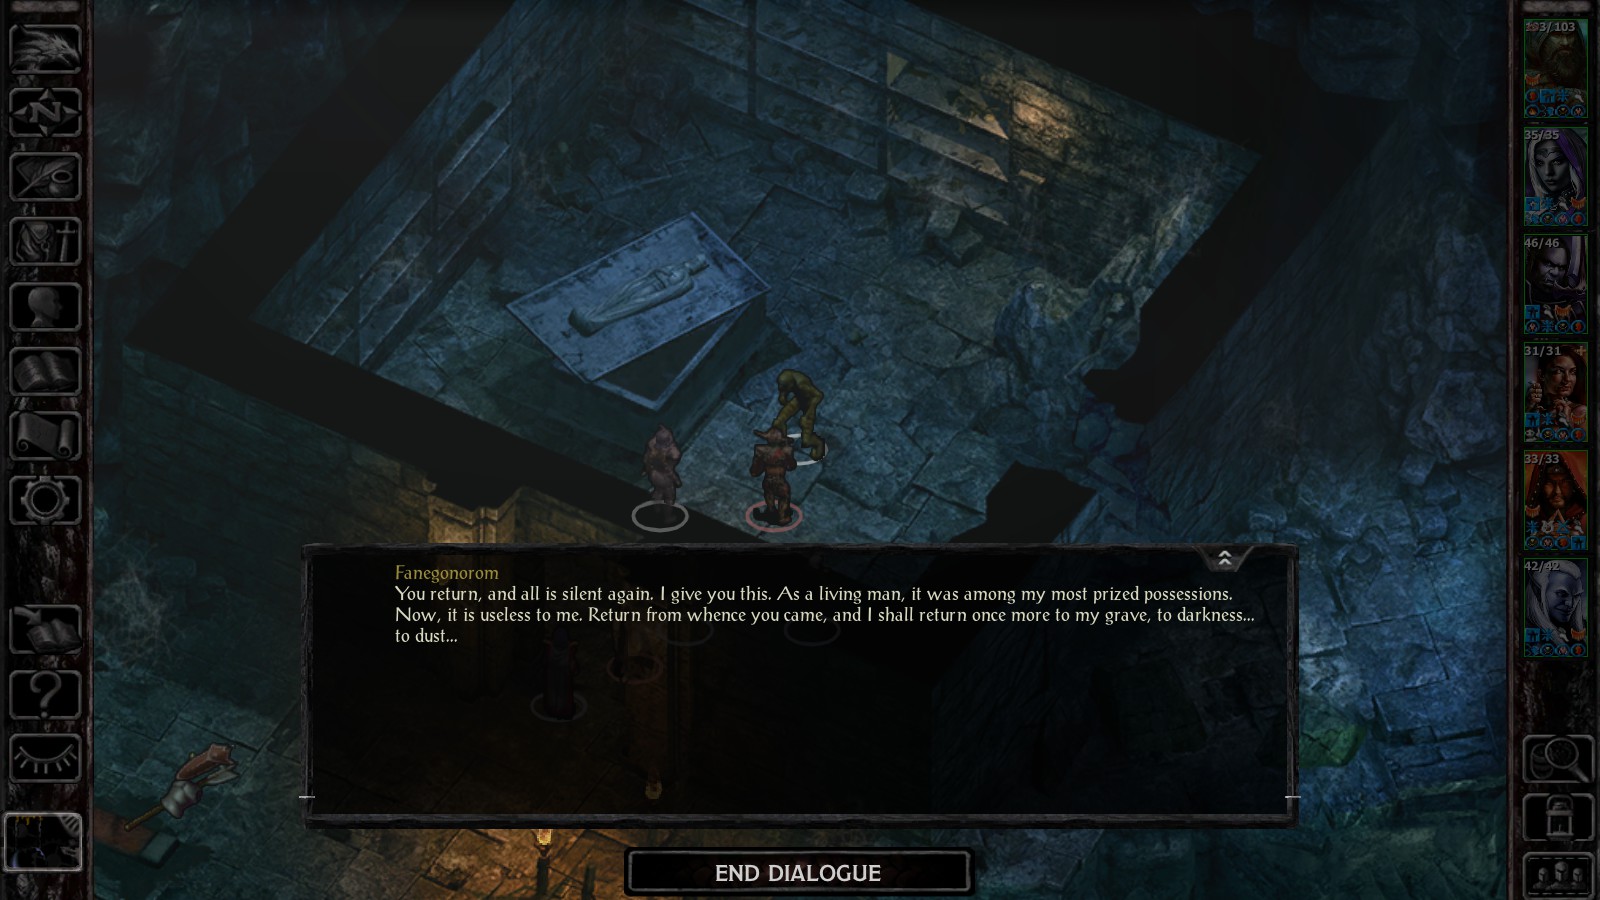
In the room located to the right after battling or talking down Porios (just before the stairs leading down to the second level), open the sarcophagus but DON’T attack the mummy that appears or loot any of the items yet. Instead wait a few moments and Fanegonorom will start a conversation.
If you let Fanegonorom know you are there to destroy the people using his tomb as a base of operations, he will let you pass and offer to reward you when Korlasz is defeated.
Complete the “Important Events” quest as described above, then return to the sarcophagus and let the mummy know you’ve completed the task. For your trouble, he’ll give you a Shield Of Egons +2 and you can then freely loot his coffin.
That’s all the quests in the opening tomb area of Siege Of Dragonspear, and if you completed all of them as we described, everyone should level up before you return to the city of Baldur’s Gate.
Be sure to let us know if you found any alternate ways to complete these quests or discovered any hidden secrets we missed!



Published: Mar 31, 2016 7:53 PM UTC