Chapter four of Dead Space Remake, Obliteration Imminent, has more collectibles to pick up that expand on the game’s lore and the background of the tragedy that’s befallen the USG Ishimura at the hands of the Church of Unitology. Aside from a handful of logs, there are also items like Nodes, weapons, and schematics that can give Isaac an edge over the Necromorph threat. This guide tells you where to find them all.
As with other chapters in the Dead Space Remake, some of these are gained automatically through story progression, including:
- Video Log: The Marker
- Audio Log: Electrical Fault
- Audio Log: Med-Sci Reports
- Audio Log: Manual Targeting
- Audio Log: Sync the ADS Cannons
Of course, there are plenty of others you’ll have to find yourself by searching the darkened, blood-soaked corridors of the USG Ishimura. It’s worth noting that there is at least one missable log in this chapter that you can’t pick up until New Game Plus.
Three audio logs (Mining Admin Rerouted, Watch the Outlets, and Water Purification) are linked to diverting power in various areas, and only two of them (it doesn’t matter which; I tested on several save files) can only be obtained in a single playthrough. The third is always locked. It’s easiest to get the first two, leaving Water Purification for NG+, but that choice is up to you.
As with our other collectibles guides for Chapter 1, Chapter 2, and Chapter 3, this mini walkthrough does not include the Marker Fragment locations you’ll need to find on a second playthrough to unlock the alternative ending.
All Collectibles in Dead Space Chapter 4: Obliteration Imminent
Audio Log (Bridge Attack)
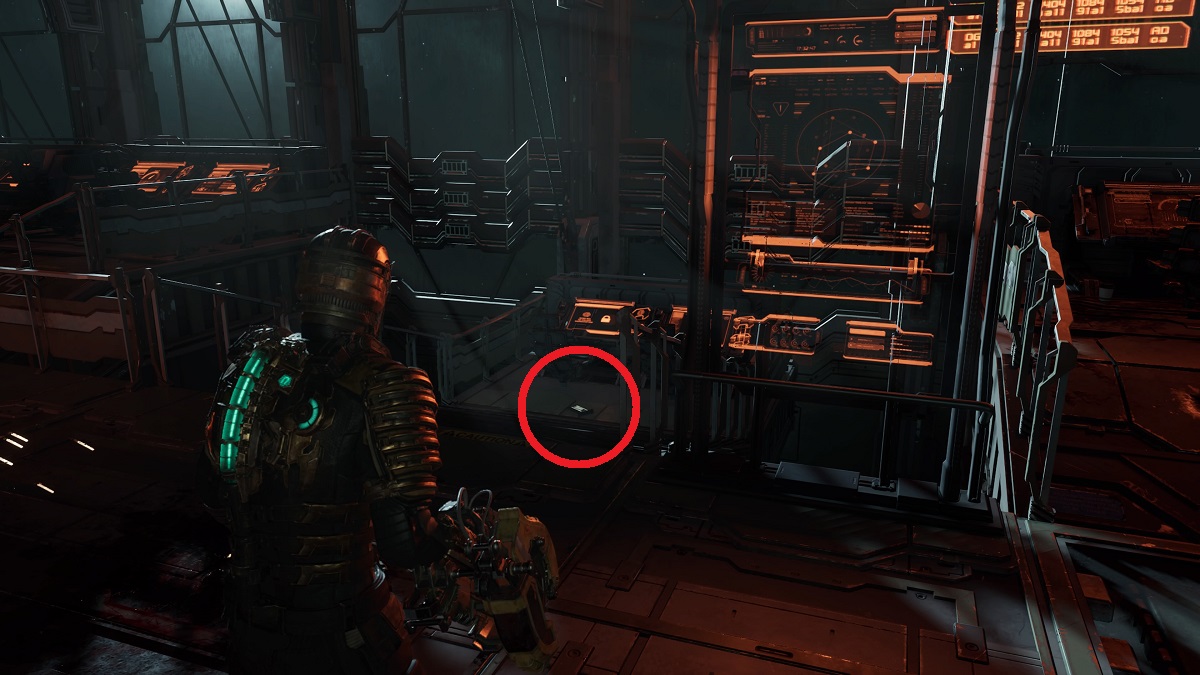
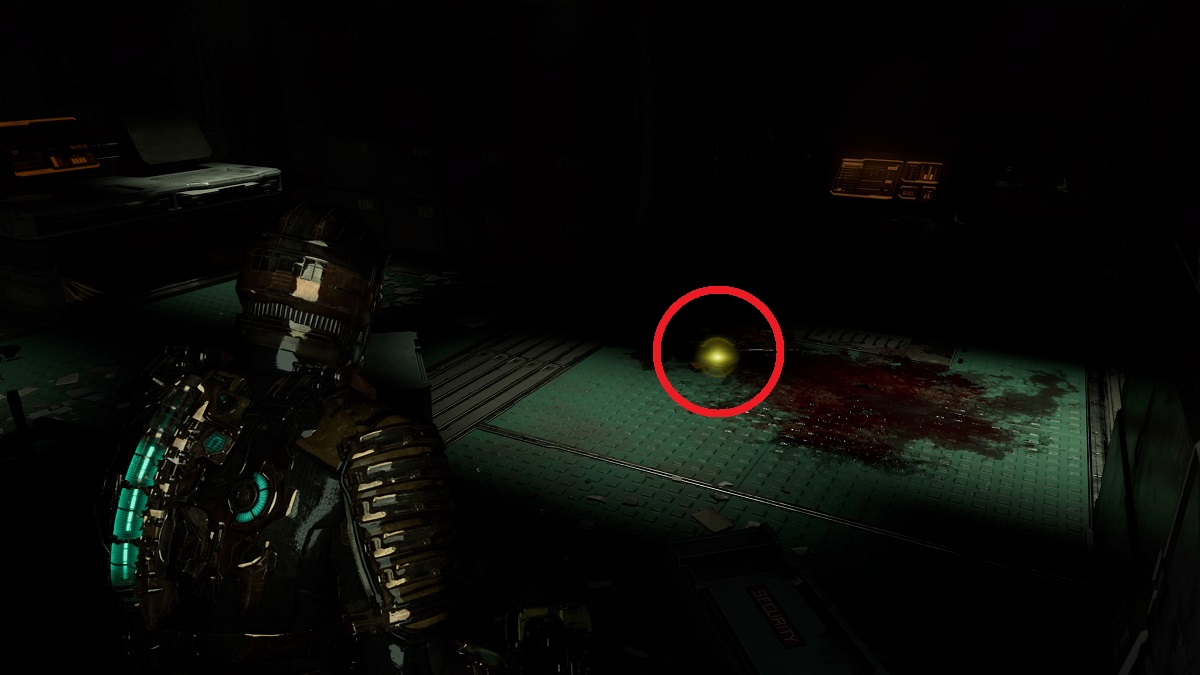
Take the Tram to the Bridge, and follow the objective marker through the door labeled “To Main Atrium – Crew Deck.” Follow the hallway to the end, past the save station and the Store, and go through the door to the Main Atrium. Go past the first command station to the right, then take the ramp down to the right just after to find this collectible log on the floor.
Text Log (Eckhardt’s Clearance) + Text Log (More Time)
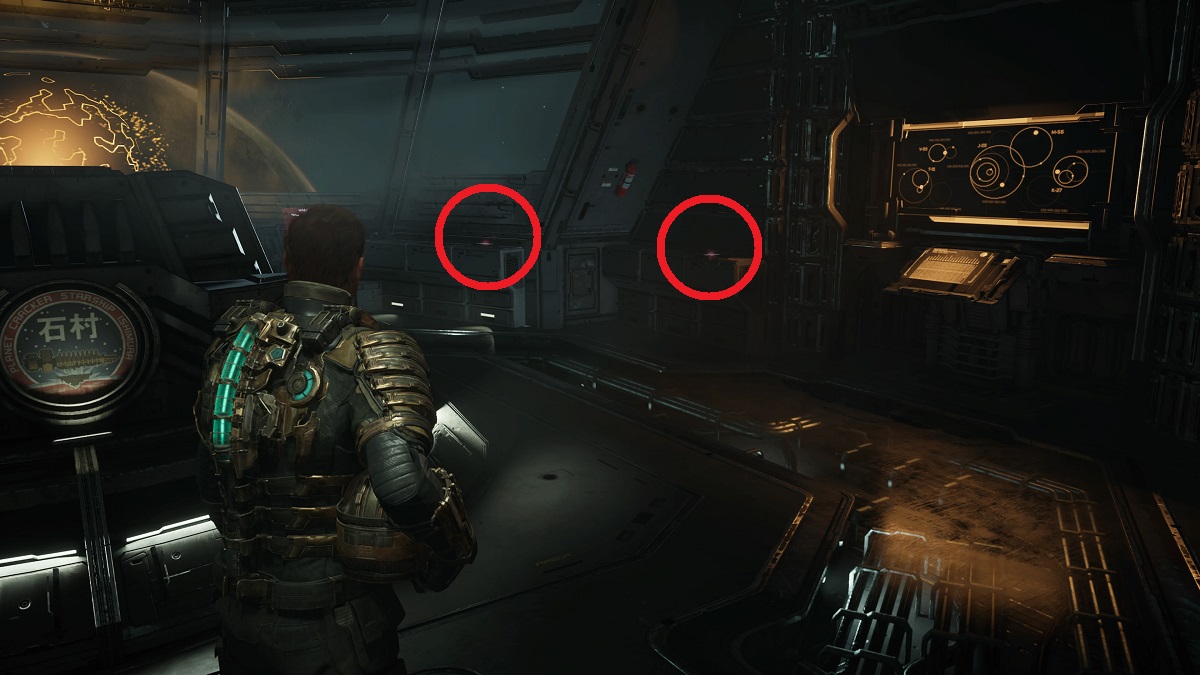
Continue along and take the lift down. Go into the Atrium Escape Pods and meet Hammond. Enter the Captain’s Nest, and find the two text logs on the right side.
Audio Log (Shoot It in the Back)
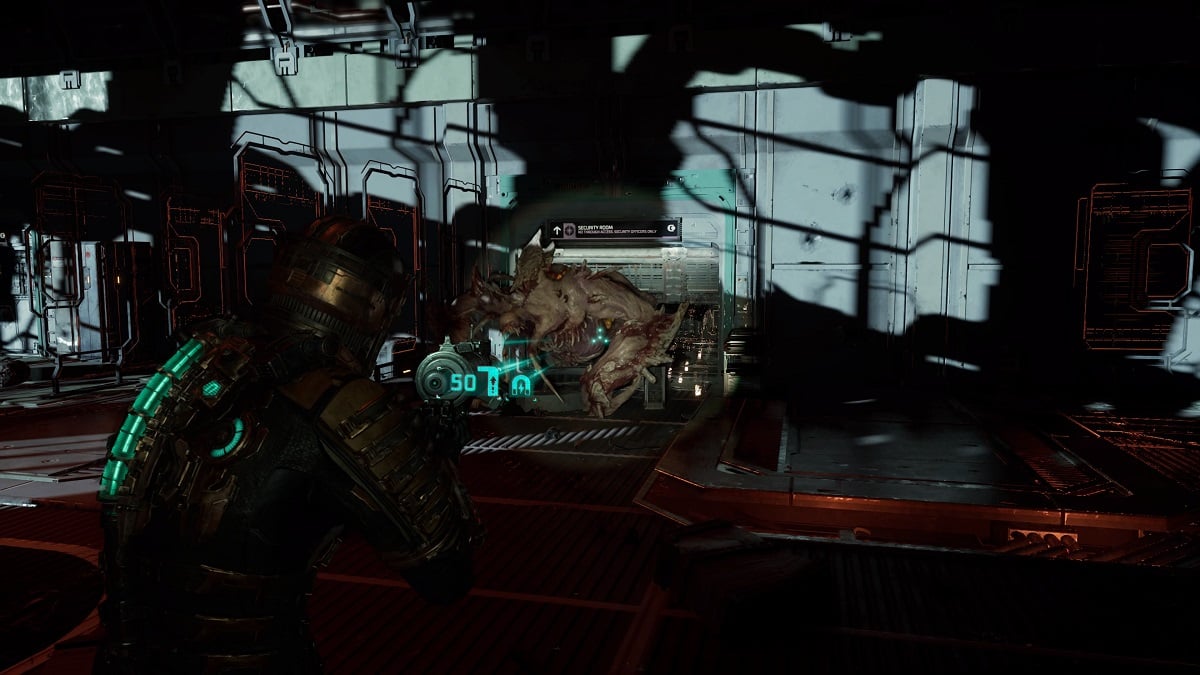
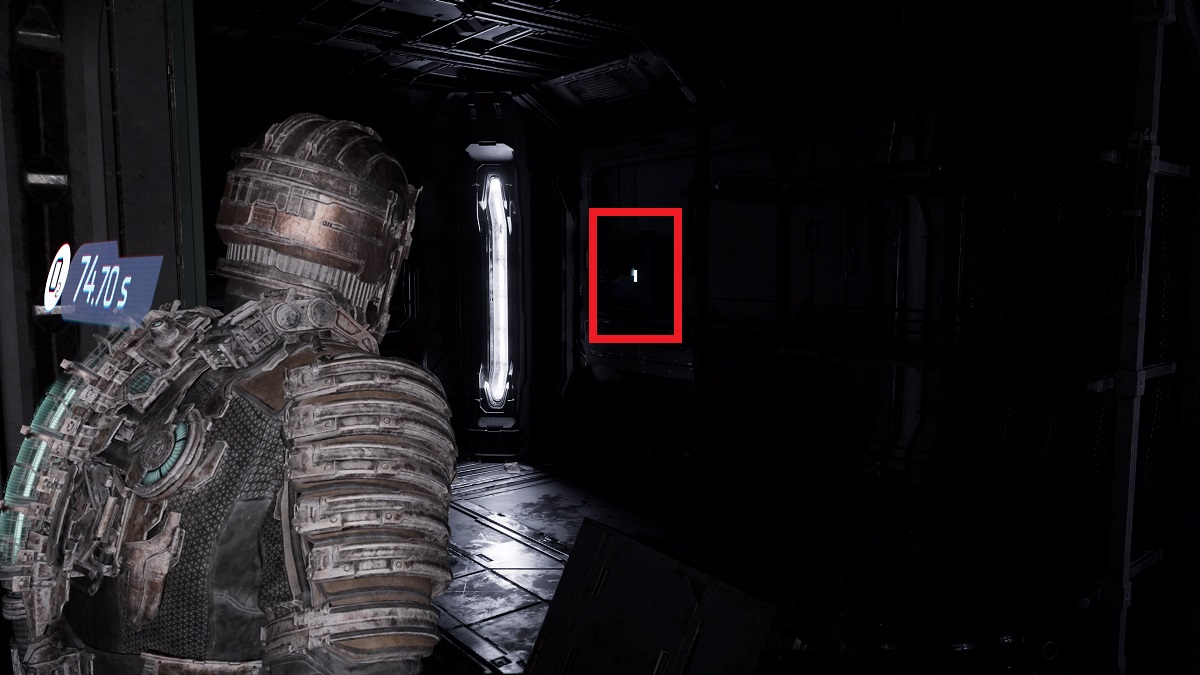
When you reach the Security Room after talking with Hammond in the Captain’s Nest, you’ll fight your first Brute enemy. You’ll need to run around the area and stay alive until Hammond calls you for this collectible. It took about 30 seconds in my experience.
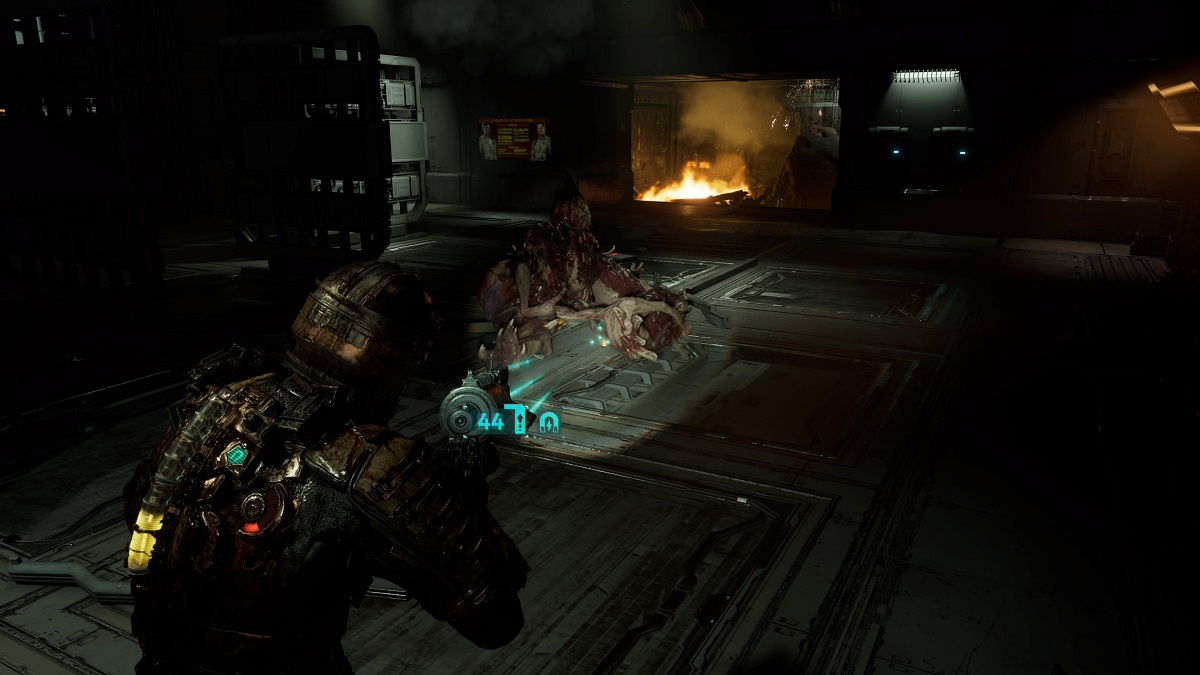
Node 1
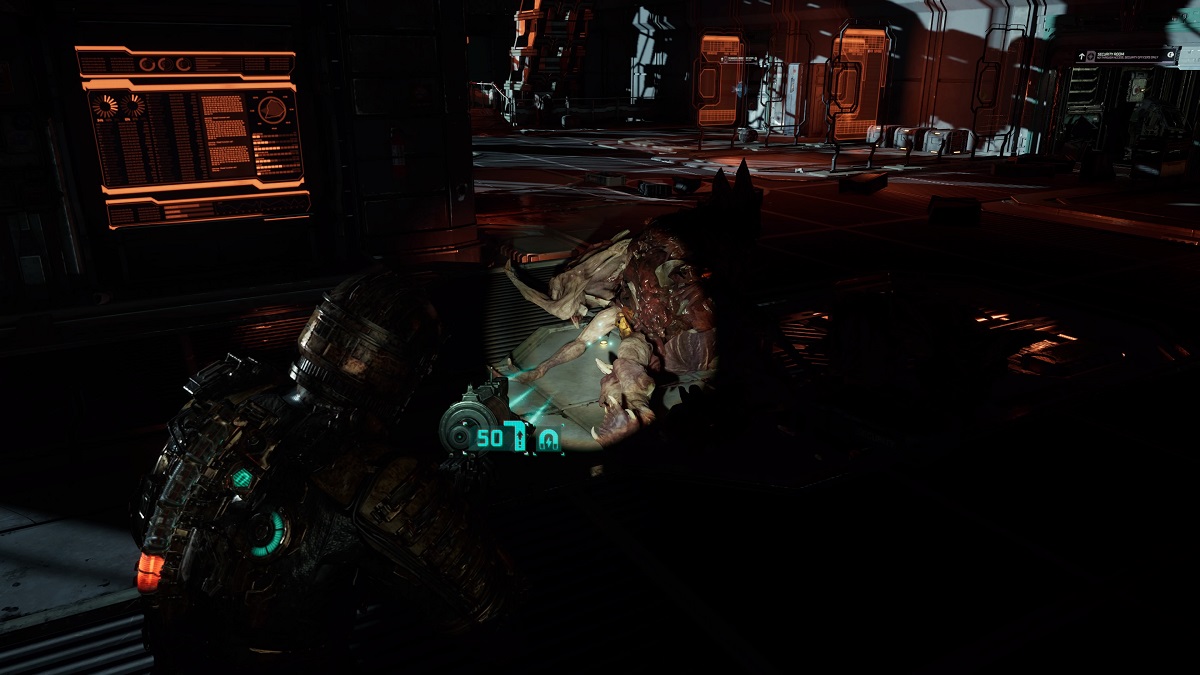
Defeat the Brute and loot it from its corpse.
Video Log (Captain’s Fate)
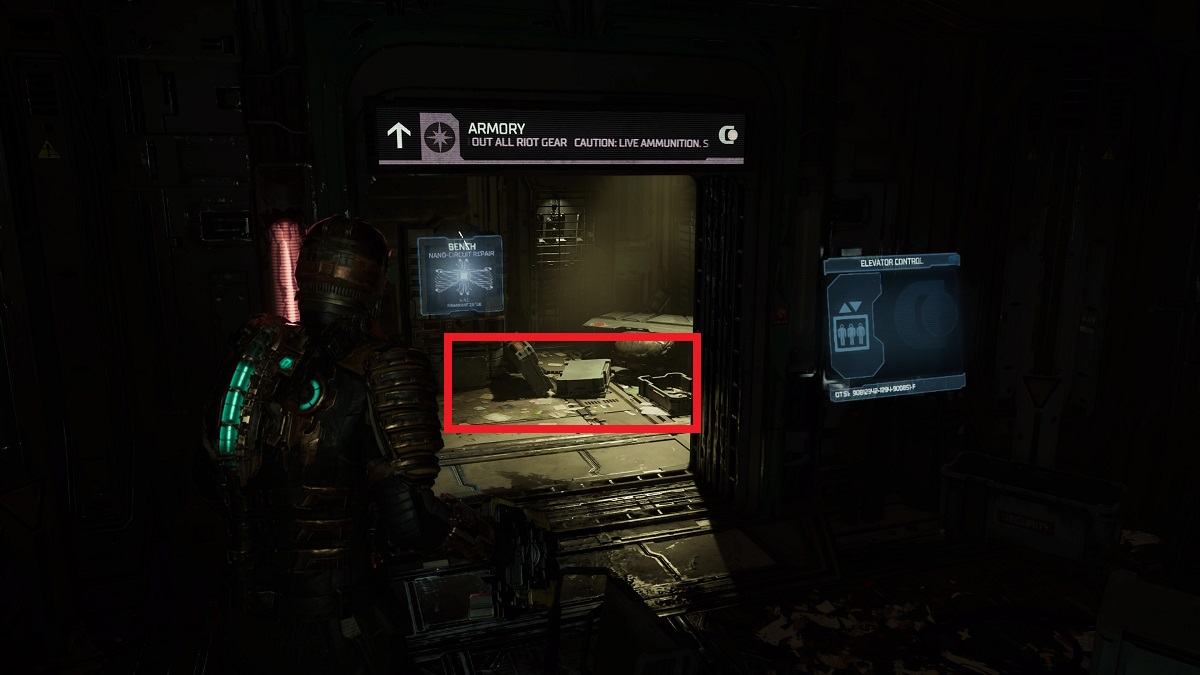
Go into the Security Room after defeating the Brute, and right into the Armory. Look to the right of the Bench for this log.
Node 2
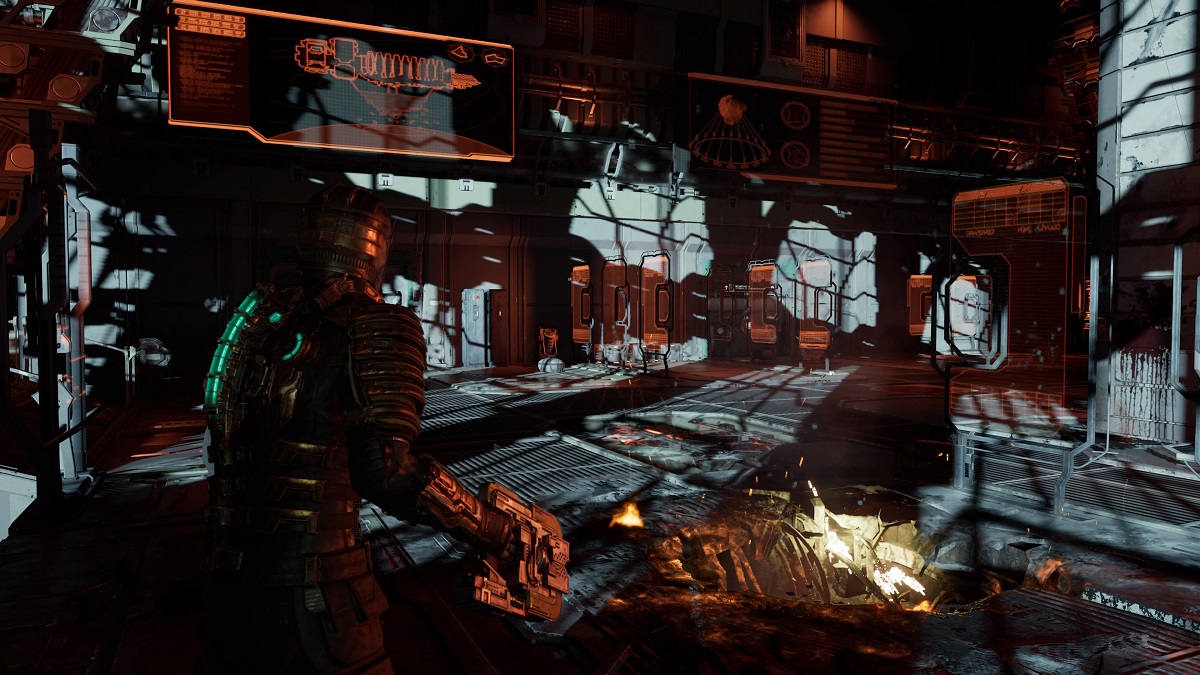
Activate the Atrium elevators in the Security Room, and take the elevator in the center of the Atrium down to Floor 2. Exit, and go through the door to the right of the save station. After the explosion in the hallway, go into the Storage Room directly in front of you. The Node box is to the left, against the back wall.
Weapon: Contact Beam
Exit the Storage Room, and go right, through the door to Mining Administration. Inside, go through the Level 2 Security Door (Records Office) to the right. The Contact Beam is on the floor in front of you.
Text Log (Tracking Infection) + Node 3
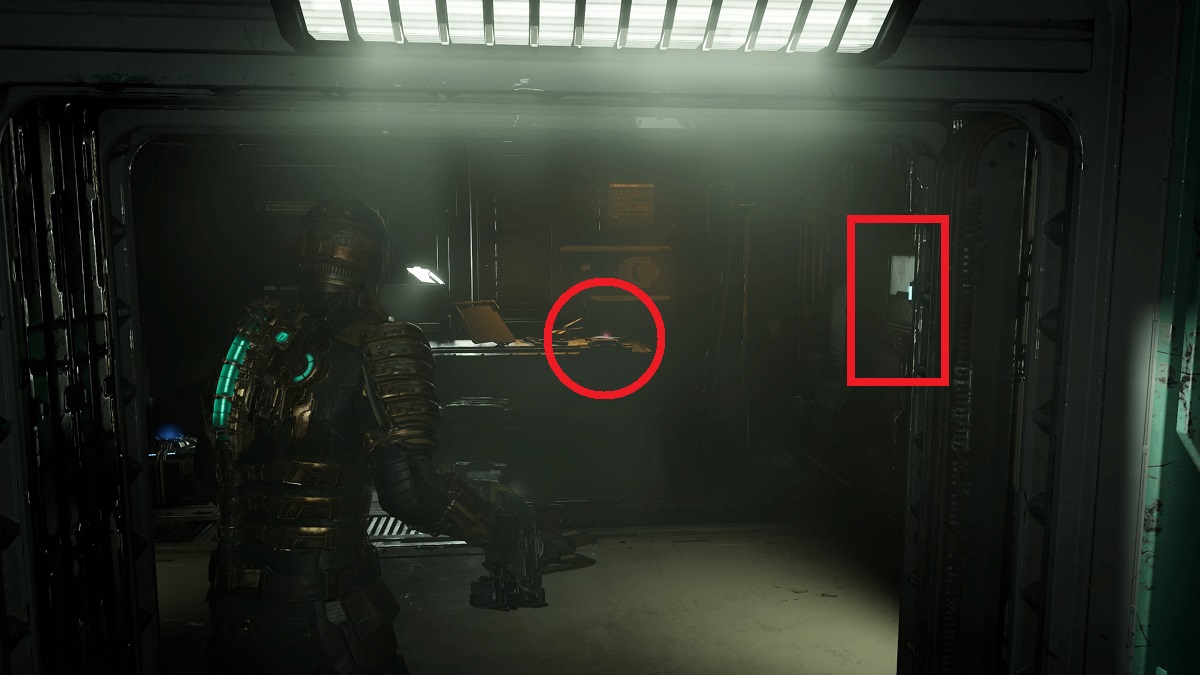
Continue along the critical path to Mining Administration. Inside, you’ll notice a locked door to the right and a Level 2 Security Door to the left. Open the security door, and shoot the fuse box inside to unlock the door to the right (there’s a bronze semiconductor in the security room).
Inside the previously-locked room, you’ll find another Level 2 Security Door. Go inside, and pick up the log from the table. The Node box is on the wall to the right of the table.
Audio Log (Mining Admin Rerouted)
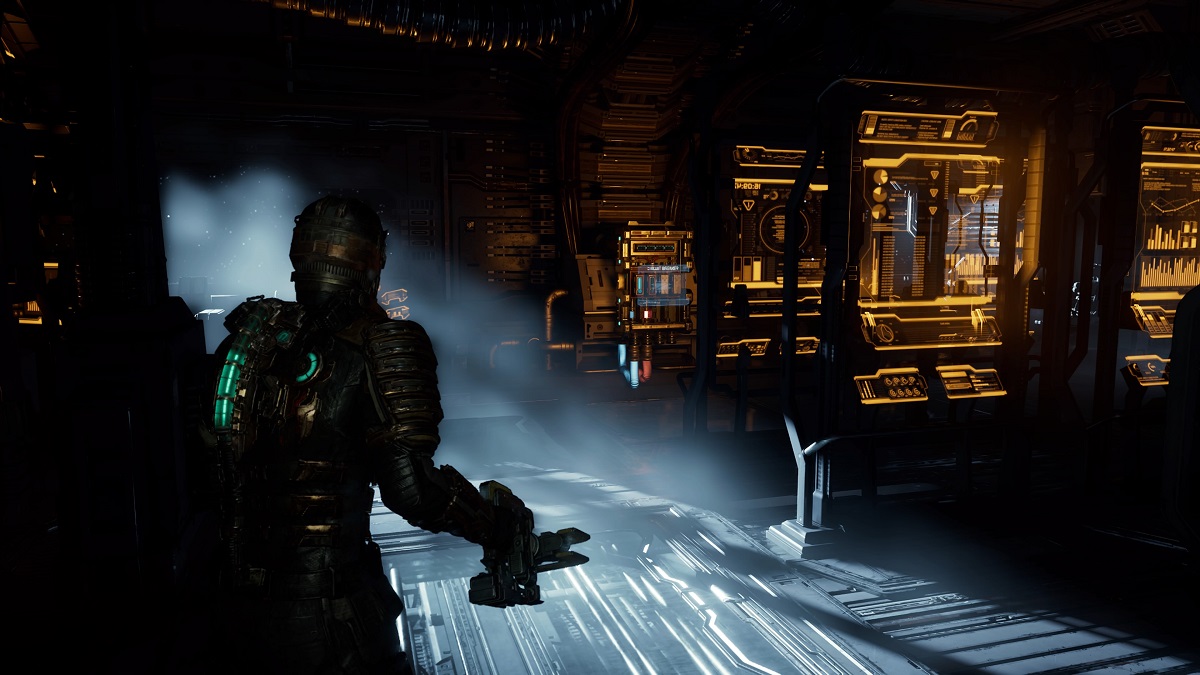
Exit those rooms and return to the main room with the electricity. Go all the way to the back, and reroute the power to the ADS Cannons at the circuit breaker you find there. A log will play afterward.
Audio Log (Believers)
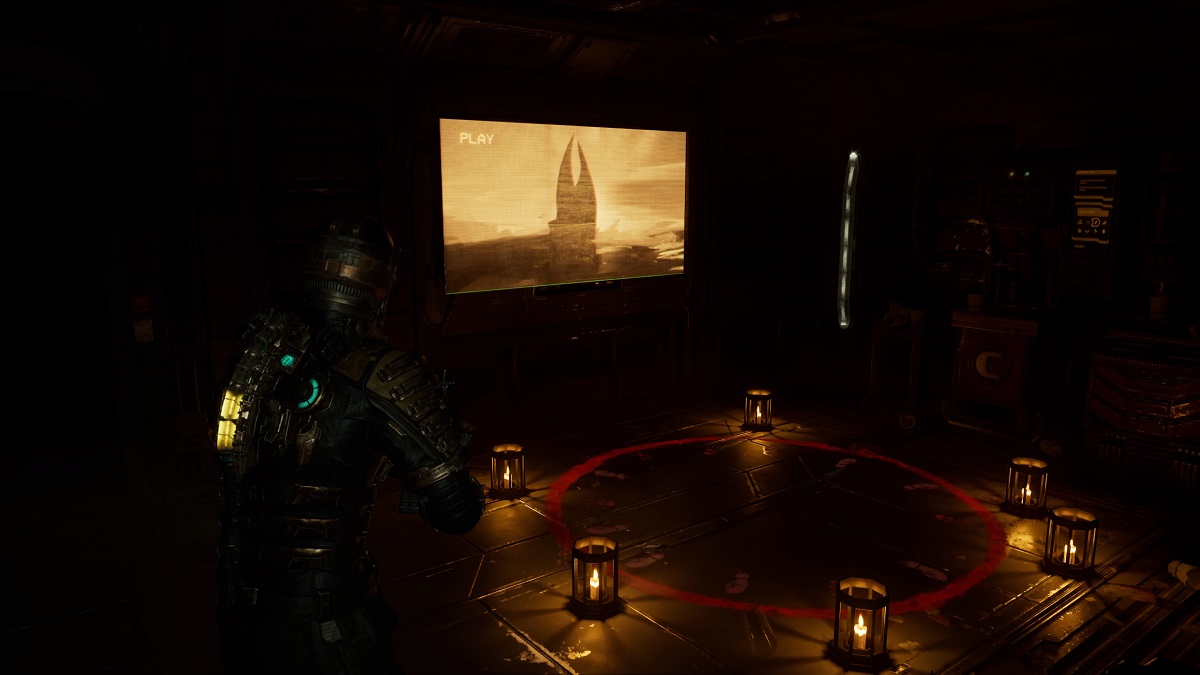
Follow the critical path, and take the elevator down to Floor 3. Exit, and go through the nearby door, then left at the save station. Just a bit beyond, enter the Breakroom on your right. This log triggers near the ritual circle.
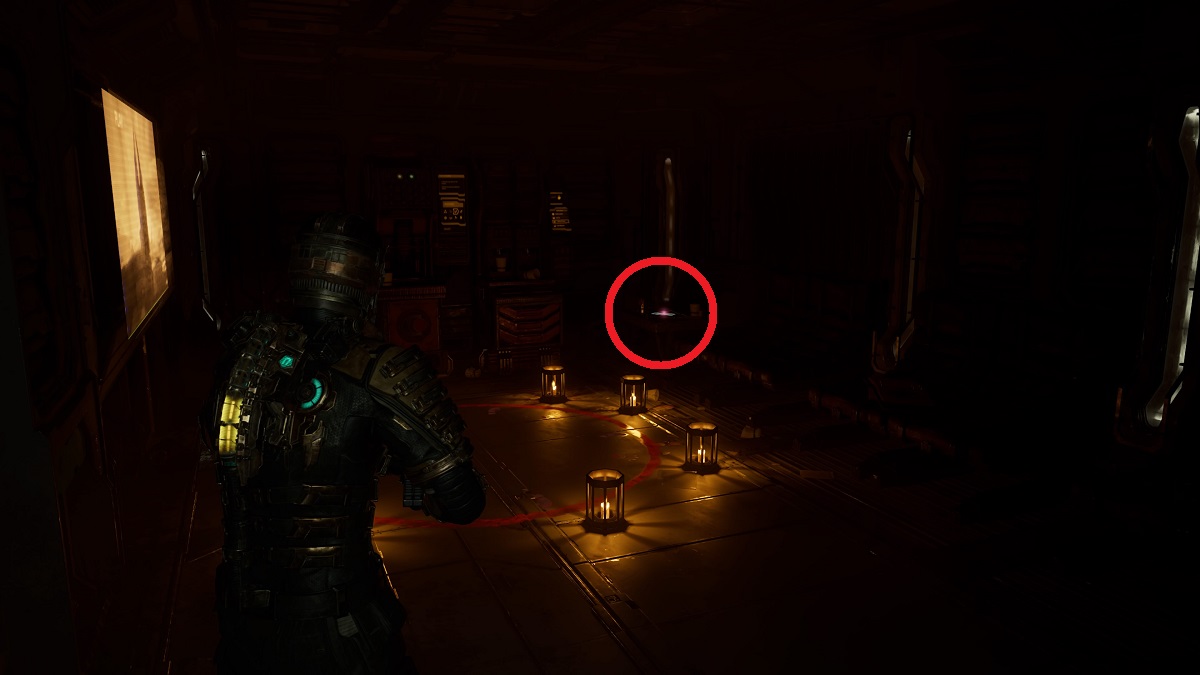
Text Log (Unitology Article)
This is in the same room as the previous audio log, on a bench/chair in the back corner of the room.
Pulse Rifle Upgrade
Leave the ritual room, and enter Electrical Systems Storage, the room in the center of the area. You’ll need to shoot a fuse from the backside to unlock the door. The upgrade is on a shelf by some lockers just inside.
Node 4
Dropped by the second Brute you fight.
Audio Log (Watch the Outlets)
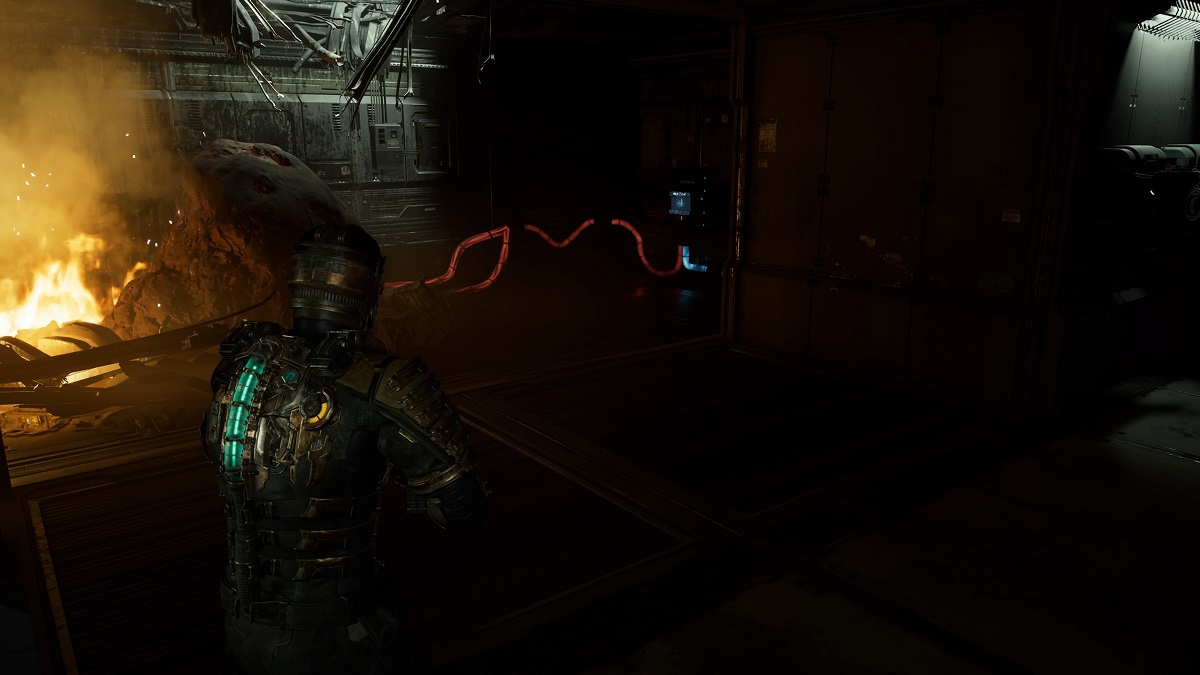
After defeating the second Brute in Electrical Systems, reroute the power at the circuit breaker near the fire to the ADS Cannons.
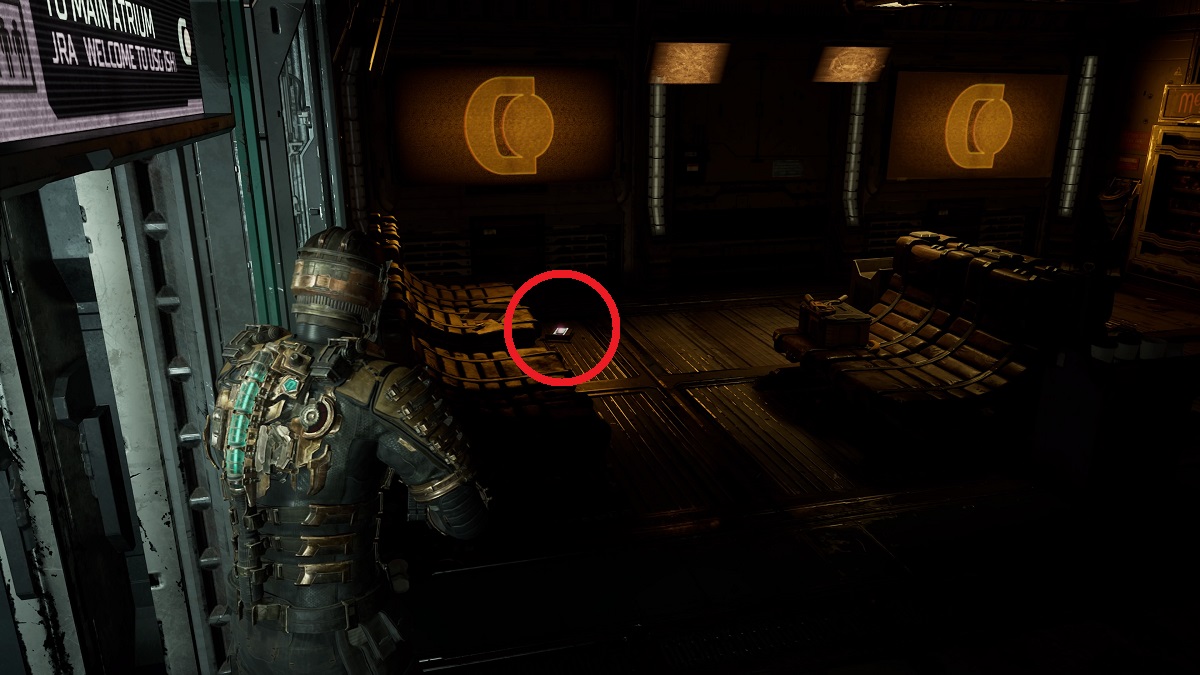
Audio Log (Looking for Elizabeth)
Go back to the Atrium, and take the elevator on the opposite side of the central terminal up. Turn left when you exit to find the audio log collectible on the floor in front of some benches.
Audio Log (Water Purification)
Continue along past the last log collectible, and interact with the circuit breaker you find in the next room with the Pregnant and Slasher. Switch the power to the ADS Cannons to get the log. Note that this one is locked until New Game Plus since we went to Mining Administration and Electrical Systems first.
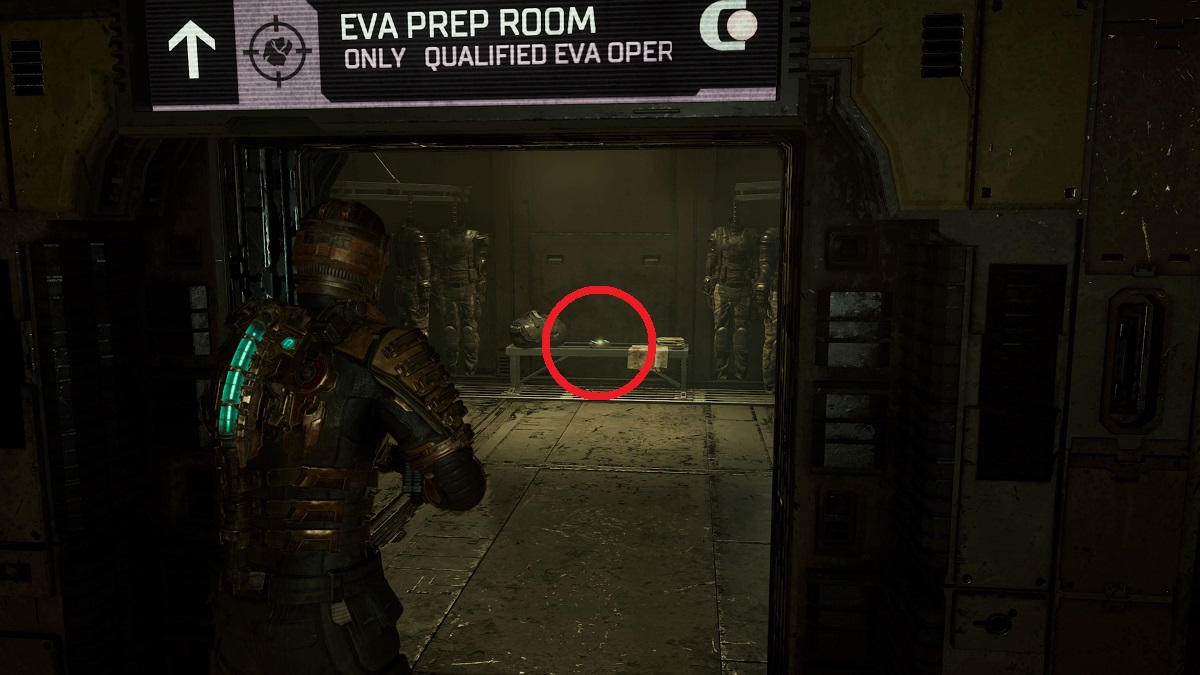
Intermediate Engineer RIG Schematic
After rerouting the power in Water Purification, go through the nearby Exterior Access door, then right into the EVA Prep Room. This schematic is on a bench against the back wall in front of you. There is also a gold semiconductor on the bench on the left.
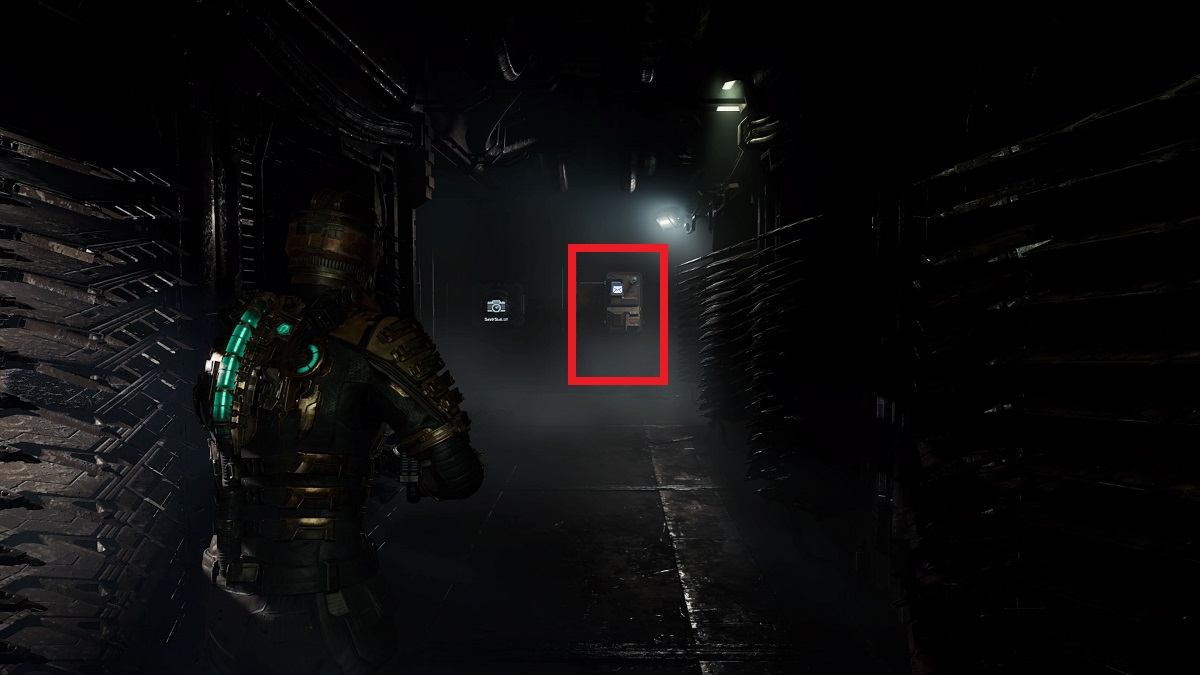
Side Mission Log (Hold On)
Leave the Prep Room where you found the schematic above. Take the elevator, then follow the path around. Hammond will call you about the ADS Cannons, and you’ll see a save station and comms panel to the right of it. Interact with that panel for this collectible.
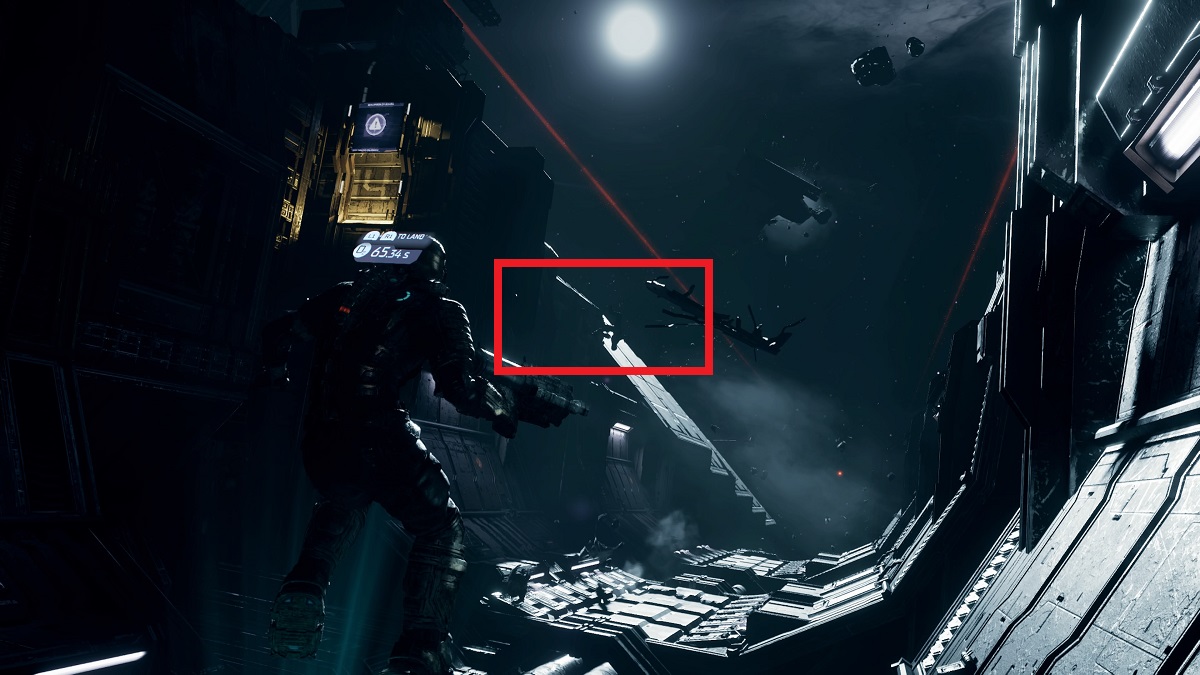
White’s RIG
When you exit outside into the vacuum to manually calibrate the ADS Cannons, go all the way down on the left, past the second cannon on the left (third total cannon) to find this RIG near the top of the Ishimura trench.
Those are all of the collectibles, logs, Nodes, weapons, and upgrades in Chapter 4 of the Dead Space Remake. For more game help, head over to our guides page for the sci-fi survival-horror classic.




Published: Jan 31, 2023 12:57 am