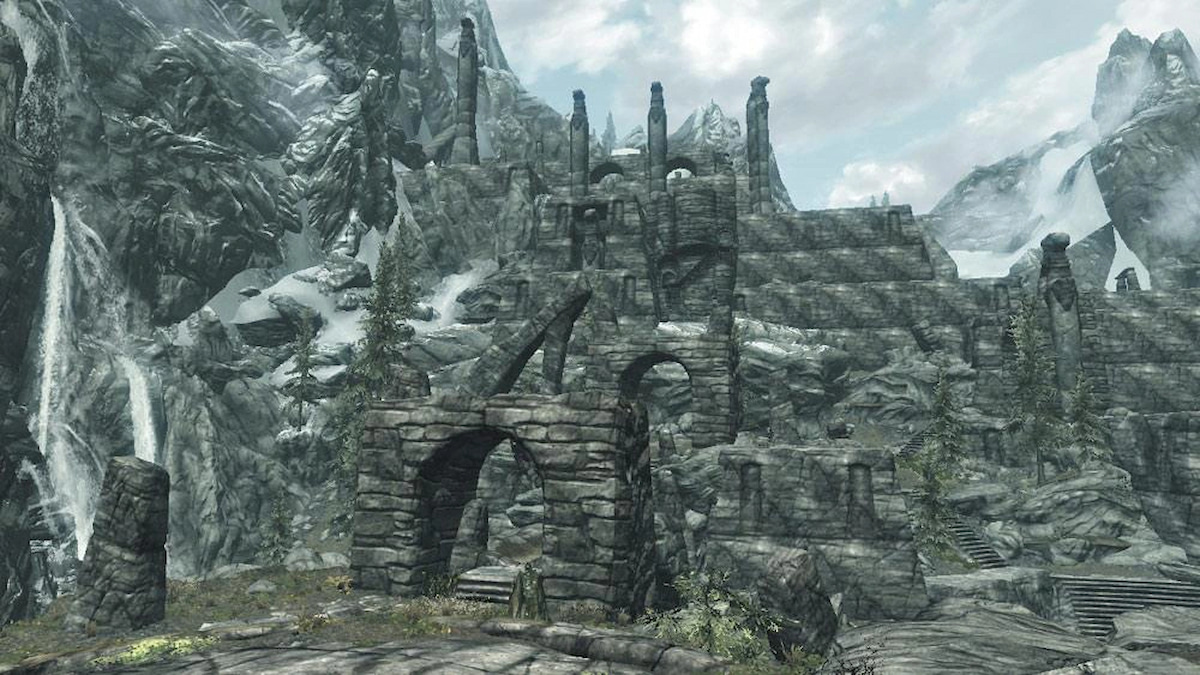
Skyrim‘s Nordic temple of Skuldafn is Alduin’s main lair during the main questlines. Within this dungeon, there are three puzzles, including two turn-stone puzzles and a single puzzle door. Here’s how to work out all three puzzles and complete this quest.
How to Solve the Skuldafn Puzzles in Skyrim
You’ll begin the “The World-Eater’s Eyrie” quest after capturing the dragon Odahviing at the Whiterun Keep in the previous quest. He’ll agree to bring you to Skuldafn by allowing you to ride on top of him. This is the only way to get to this location, and once you agree to mount Odahviing, there’s no turning back. Ensure you have everything you need to prepare and begin.
You’ll face many enemies in this dungeon, undead and dragons alike. However, the most difficult parts can be the puzzles. You’ll be met with three puzzles that will hinder you from progressing. Here’s how to complete them:
Skuldafn Turn-Stone Puzzle #1
The first turn-stone puzzle contains three total stones that you need to orient properly. With your back to the lit campfire, facing the three turn-stones, you’re going to want to rotate the leftmost stone so that the whale points to the left, and the rightmost stone so that the snake points to the right.
Head around to the opposite side of the three turn-stones, where the lever is. Rotate the middle turnstone so that the hawk is facing you, then pull the lever. Rotate the turnstone again, such that the snake is facing you, then pull the lever once more. Doing this will open both doors.
To clarify, when viewing the stones from the lever’s point of view, they will read “hawk, hawk, hawk” for the first pull, then “hawk, snake, hawk” for the second pull.
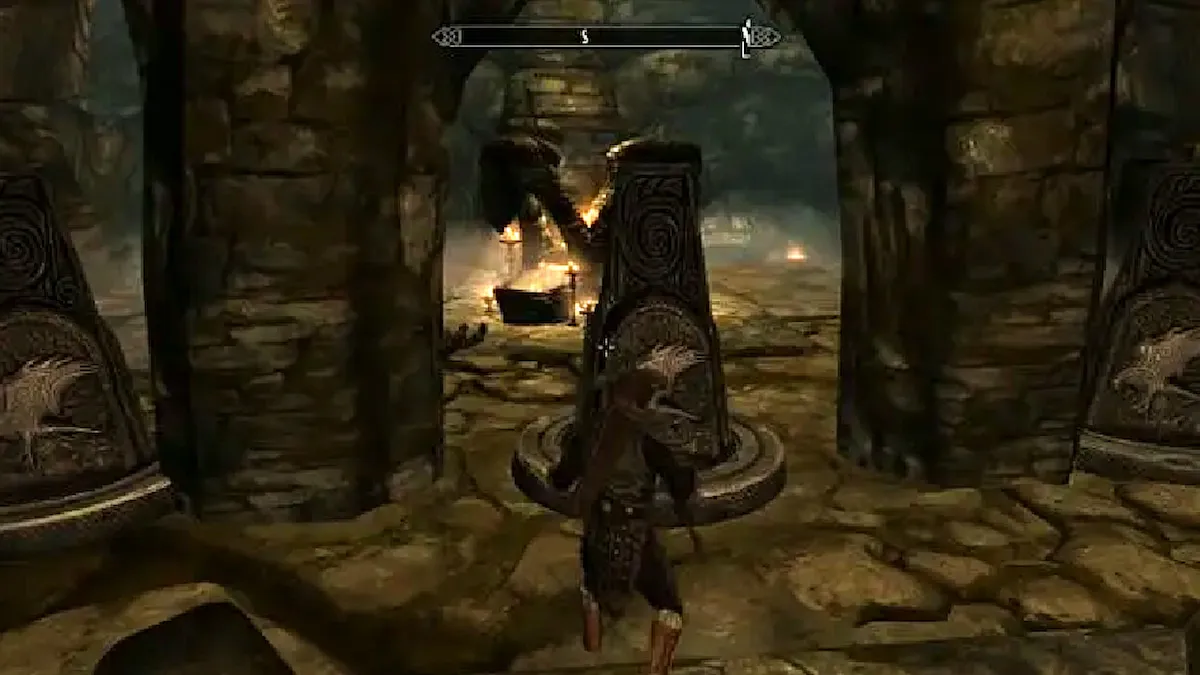
As you enter the solution, the two outside turnstones need to match the keystones right next to them. Having those two oriented correctly will unlock the two doors, each labeled with a keystone. Facing the middle stone’s hawk towards the doors and pulling the lever will open the hawk door, and then the snake facing the lever will open the snake door.

Skuldafn Turn-Stone Puzzle #2
From the door you entered, go up the staircase to the right and into the small alcove. Rotate the turnstone so that the hawk faces out of the alcove. Turn around and walk across the two bridges to the next turnstone. Rotate it so you can see the whale.
Walk to the center platform and pull the lever. The turnstone you see immediately as you enter the room does not need to be reoriented. Simply pulling this lever now will lower the drawbridge and allow you to advance.
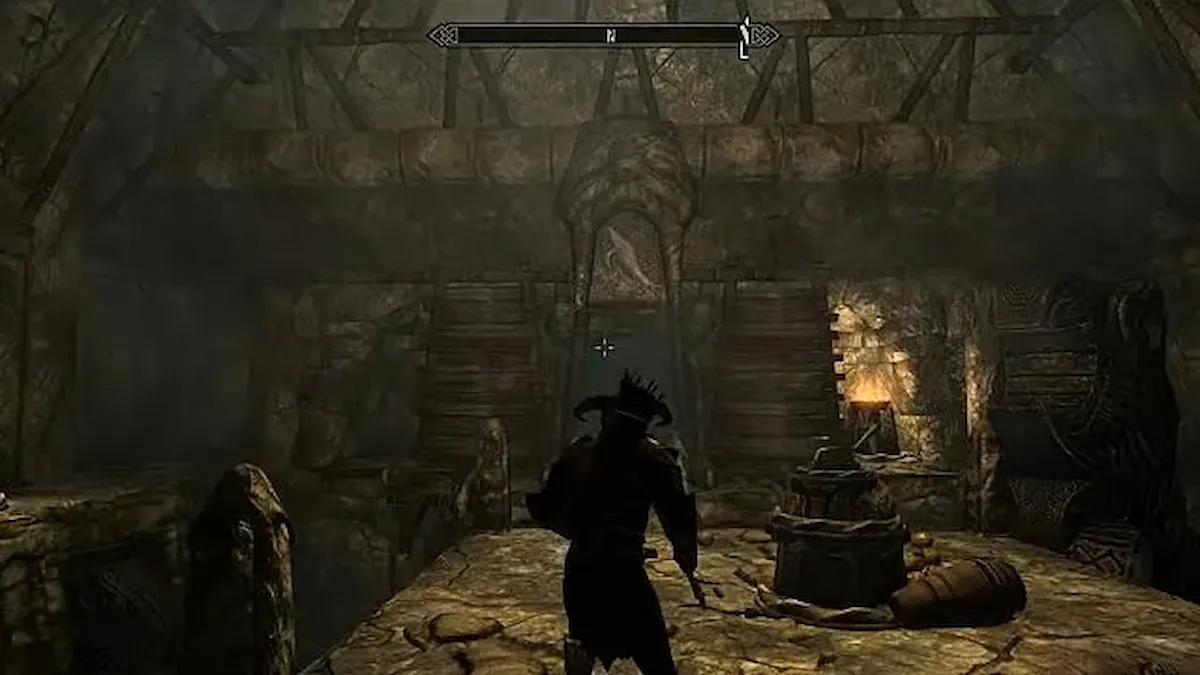
The two alcoves have keystones above them, labeling what the turn-stones inside need to be set to. The keystone that corresponds to the turn-stone by the entrance is on the opposite end of the room, under the drawbridge. That stone is already oriented to match the keystone, so it does not need to be changed.
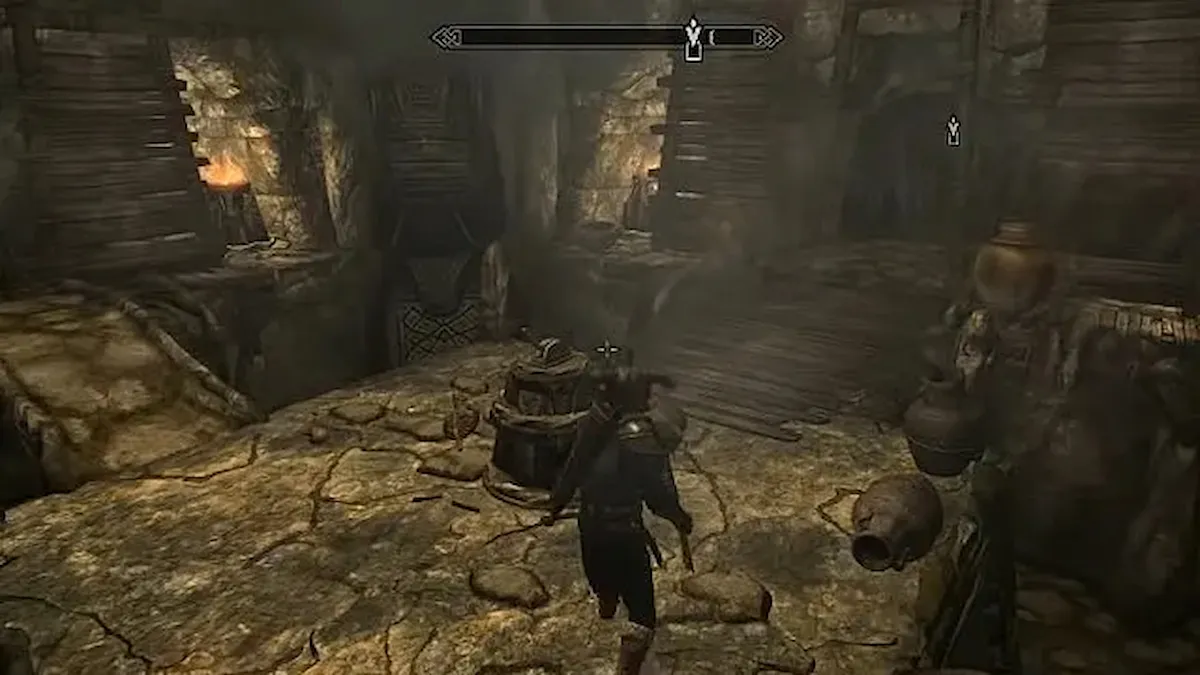
Alternatively, you can skip this puzzle by standing on the edge of the central platform where the lever is, then using Whirlwind. Aim towards either side of the drawbridge, and if done correctly, you can bridge the gap without needing to solve anything.
Skuldafn Rotating Door Puzzle
The last puzzle is done in the exact same way as the Golden Claw puzzle, though instead of requiring the Golden Claw, it requires the Diamond Claw. Loot the Draugr Overlord you killed in this same room to retrieve it.
To open the door, you need to rotate each crescent so that the proper images are showing. These three images will match the ones on the Diamond Claw. You can check them by viewing the item in your inventory.
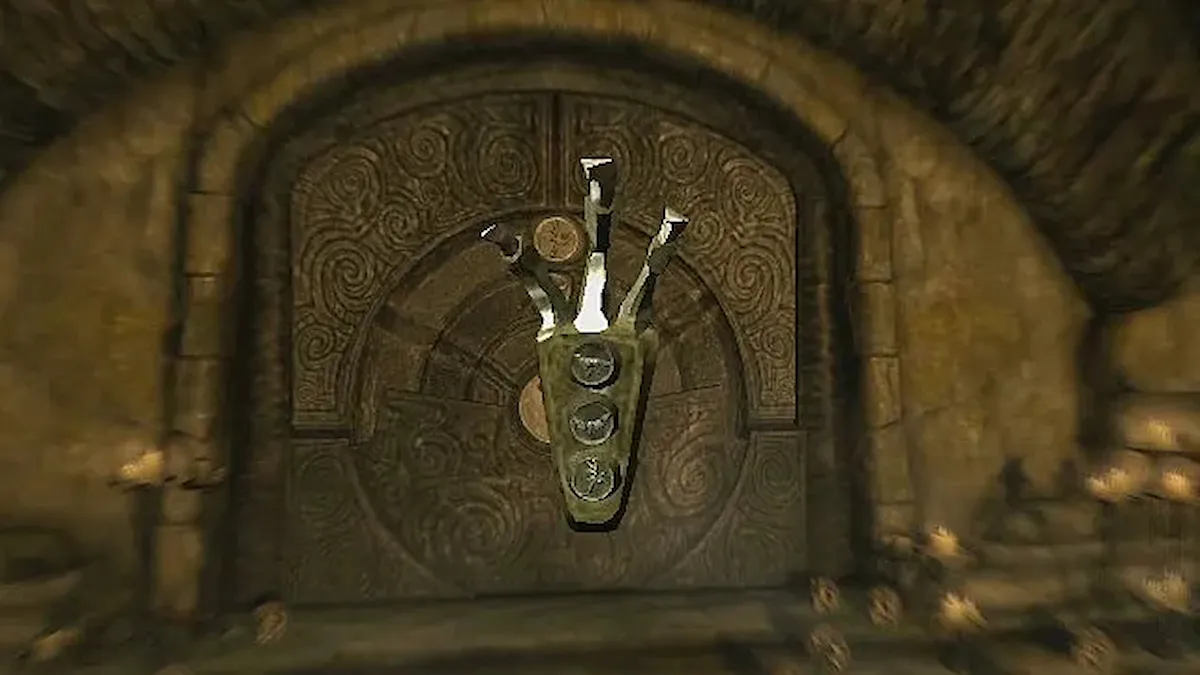
This is the order they need to be in:
- Fox/Wolf – Top
- Moth – Middle
- Dragon – Bottom
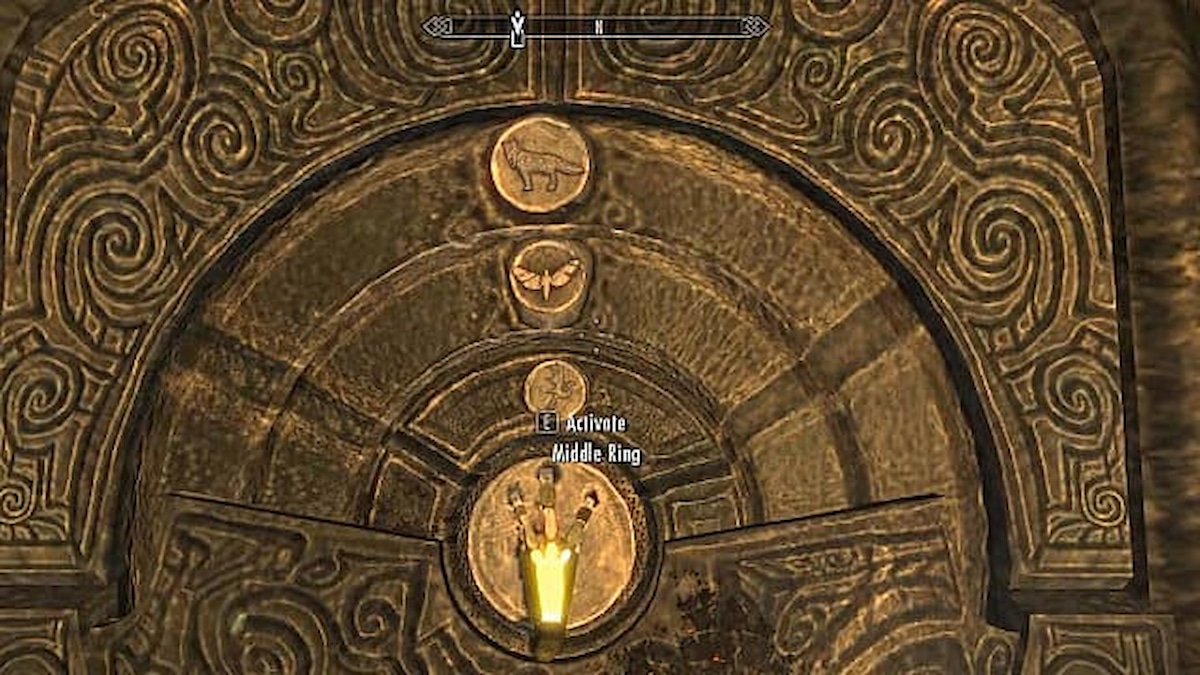
With the three symbols in the correct order, interact with the keyhole to place the Diamond Claw inside, which will unlock the door and open it for you. You will not lose the Diamond Claw when you do this. This means you can choose to sell it for a decent price or save it as a collectible item.
That’s the Skuldafn puzzle solution in Skyrim. Now that you’ve got all those pesky puzzles out of the way, you can carry on with this main quest.
If you’re looking for more content like this, check out GameSkinny’s Skyrim hub and follow along with our guides on how to get all Dragon Shouts or how to find Dragons!



Published: Apr 11, 2024 9:03 PM UTC