It’s a bittersweet moment as the final Fallout 4 DLC arrives, both lengthening the amount of time you get to spend with this long-awaited Fallout entry and paradoxically bringing that time to a close more swiftly.
As with the previous story-based expansions like Far Harbor or Automatron, getting started with Nuka World requires listening to a radio broadcast and then finding a specific location to kick off the quest line.
There’s also a deadly gauntlet to run when you finally do arrive that will easily see you back at the loading screen if you don’t come prepared. Before heading to the fun house of horrors that is Nuka World, make sure you are in your most heavily modded power armor and have fusion cores to spare.
There are a ton of explosive traps (seriously, like 1 per 5 feet) and several highly irradiated areas. If you don’t have a rad-deflecting power armor suit, at the very least stock up on Rad-X and Rad Away before beginning your trek to the amusement park.
Finding The Nuka World Transit Center
The All Aboard quest begins this swan song DLC, and to get the quest on your Pip Boy you need to head to the Radio tab and listen to the new Nuka World broadcast.
Now it’s time to head to the transit center, which is all the way on the far west side of the map smack dab in the center between north and south.
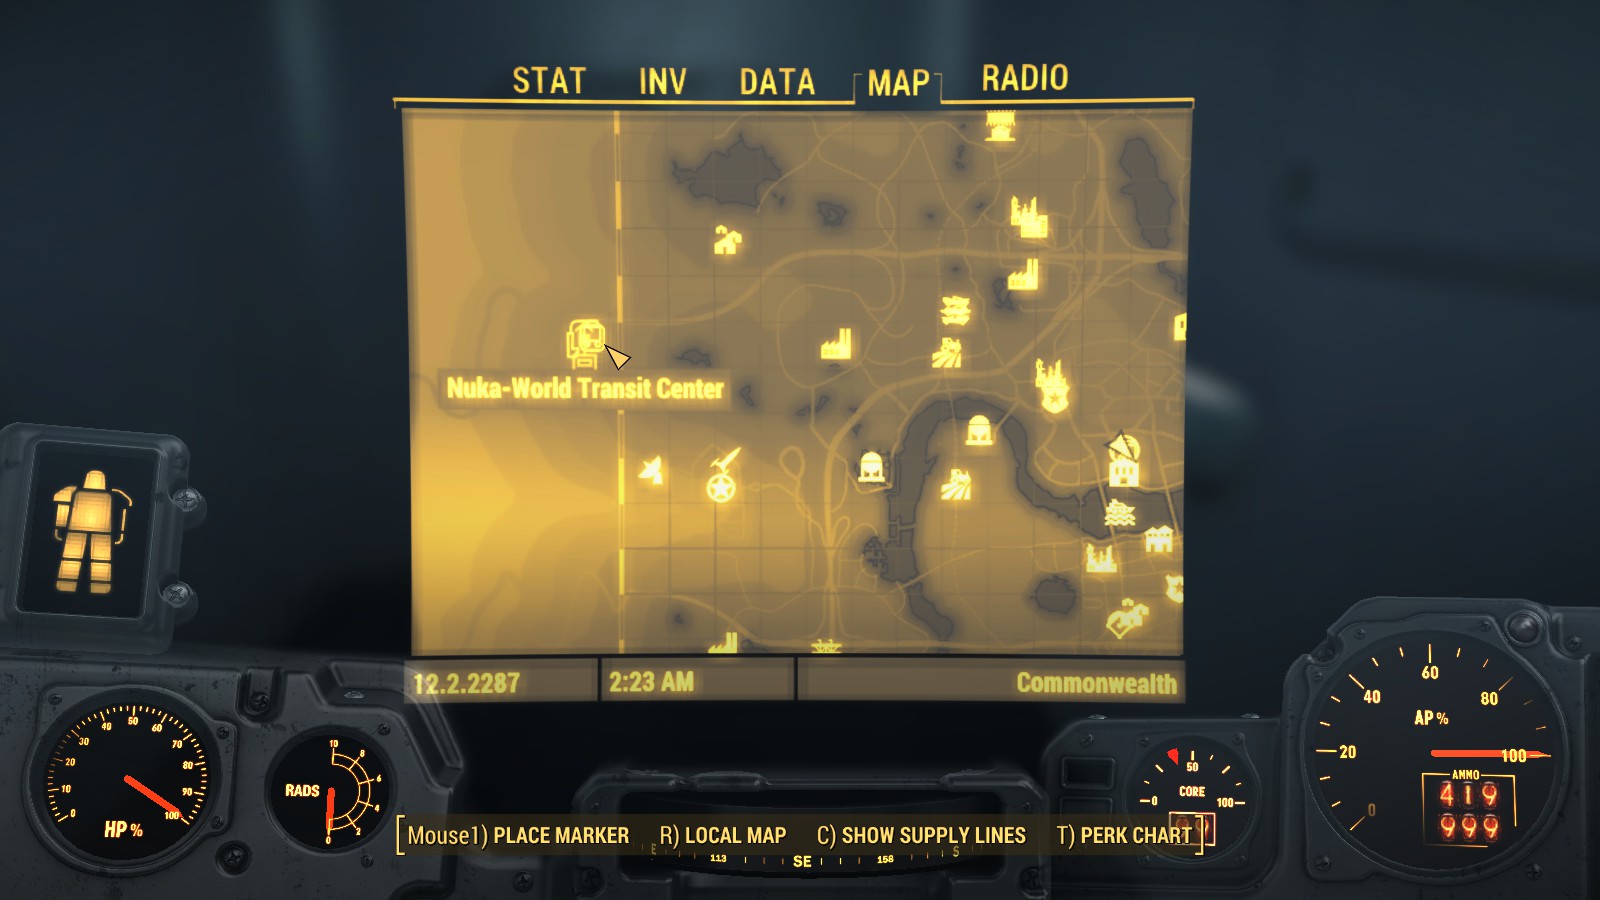 Hope you’ve got a fast travel spot nearby, or you’re in for a trek!
The area that’s actually outside the confines of the map seems to be a bit bugged. While walking, you’ll hit a point going west towards the marker where a “you can’t go that way” error notification pops up.
If you get this problem first head further south, then turn back towards the west side of the map and go under the bridge. Eventually you will hit a point where you can turn north again towards the objective.
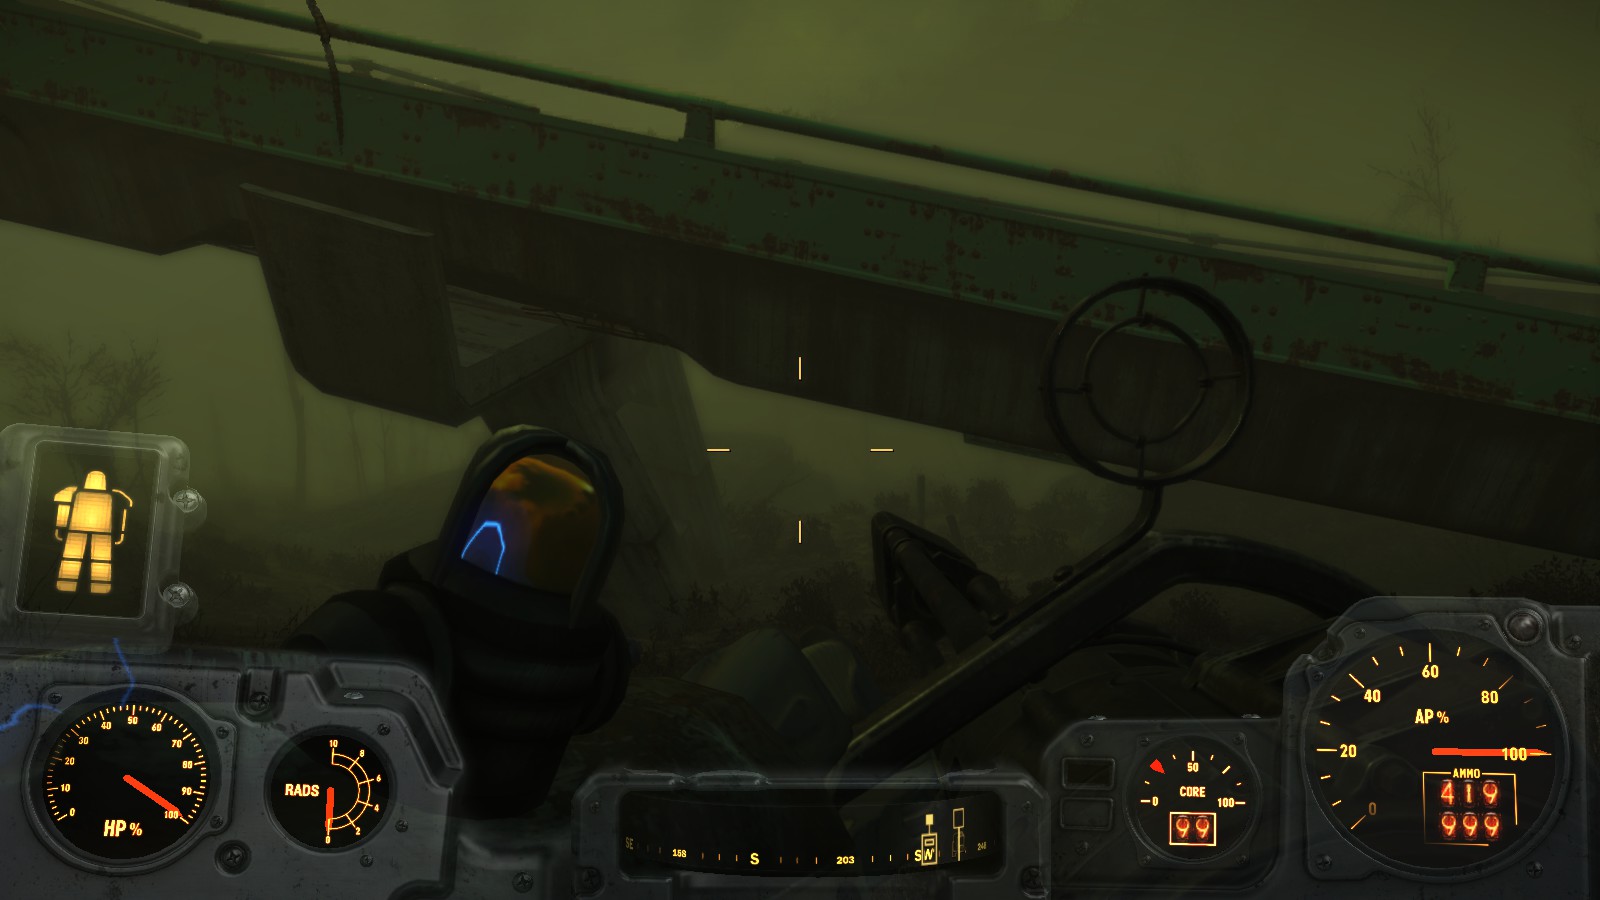 Heading under this bridge gets around the broken map borders
You aren’t actually at Nuka World itself quite yet, but rather the transit center that lets you take a tram over to the amusement park. Just like in real life parks, there’s a long wait to get to the good stuff.
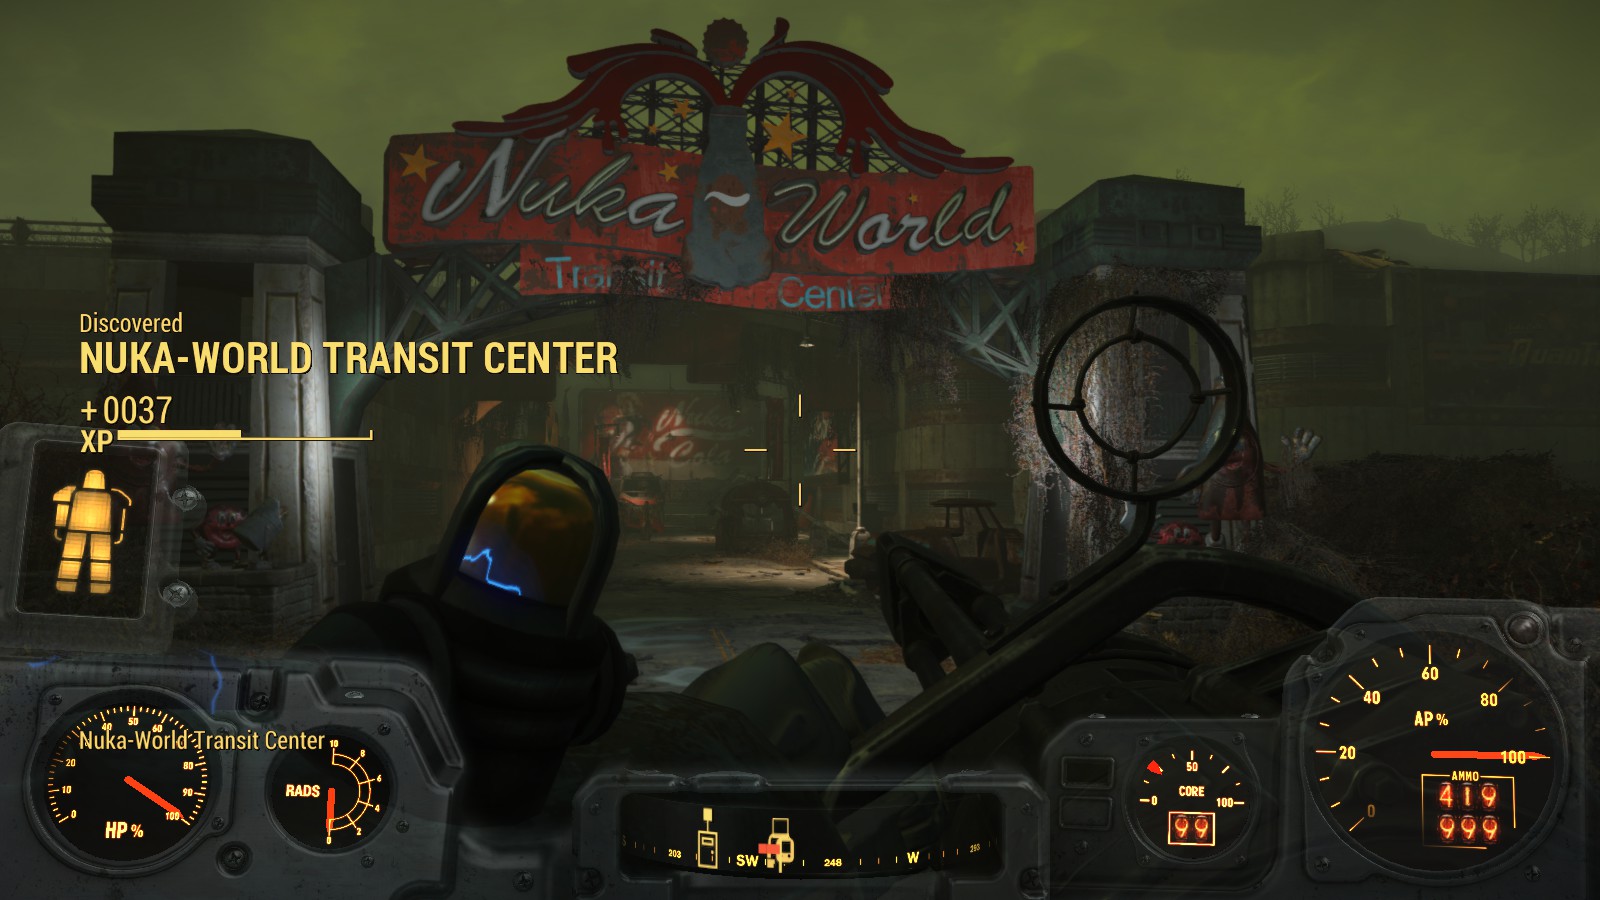 You made it… to the parking lot!
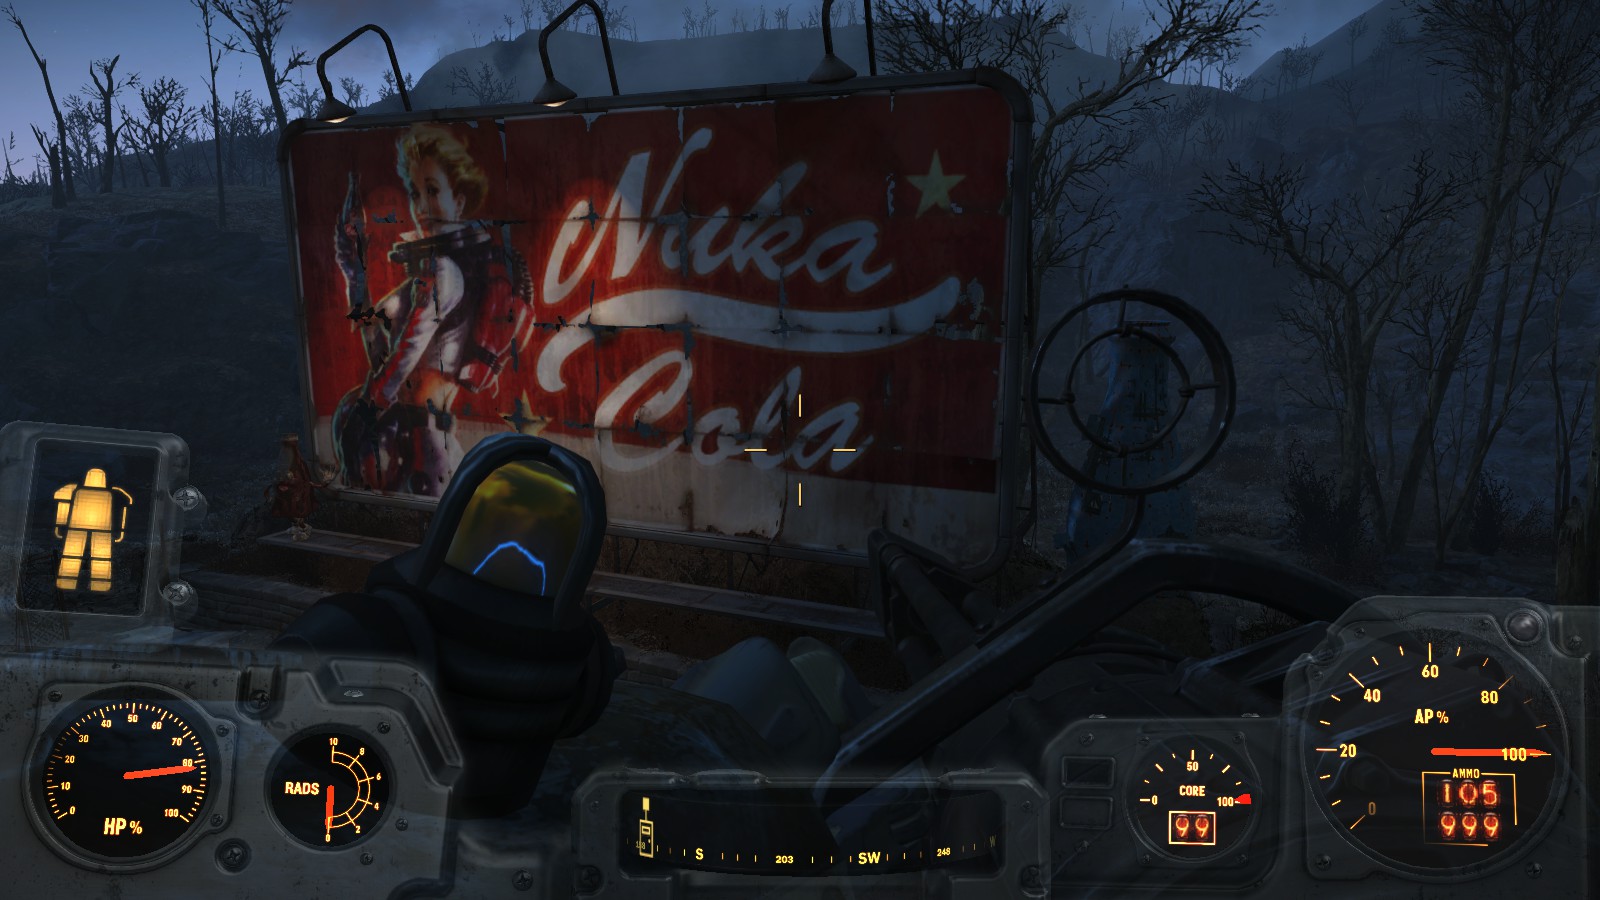
As soon as you pass under the sign, a bunch of raiders and the Legendary Commander Kaylor will pop out to ambush you, so come ready for a fight.
At least one raider will be up on the rooftop as well, so its a good idea to take him out first before he snipes you from above. With them dead, you can explore this creepy, rusted old amusement park entrance.
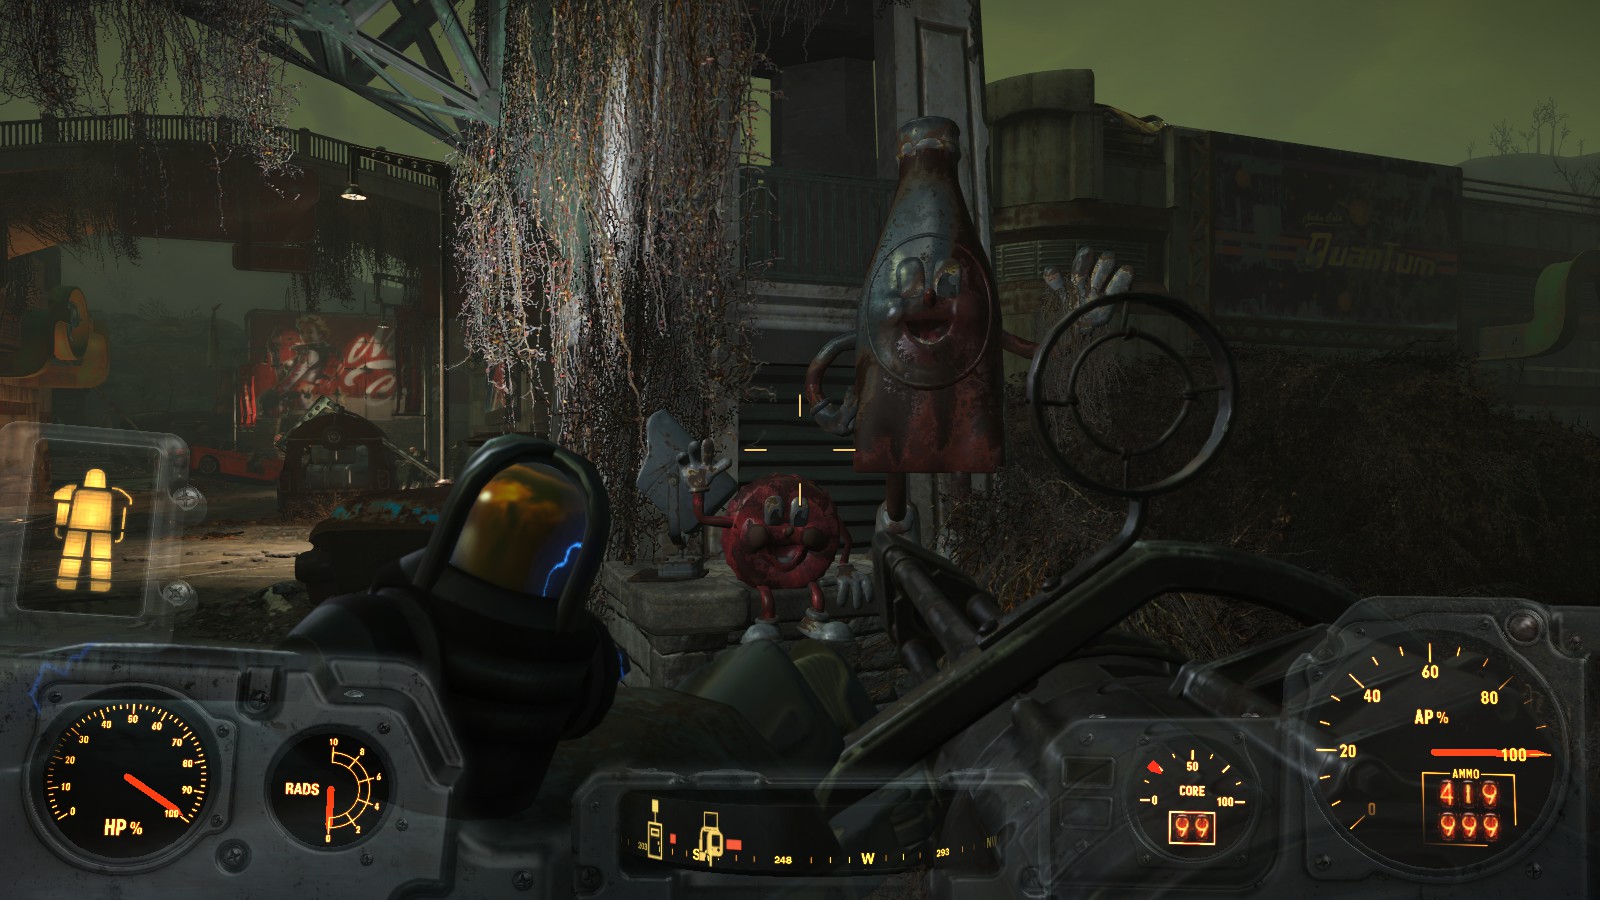 Good god these are creepy, and there’s more to come!
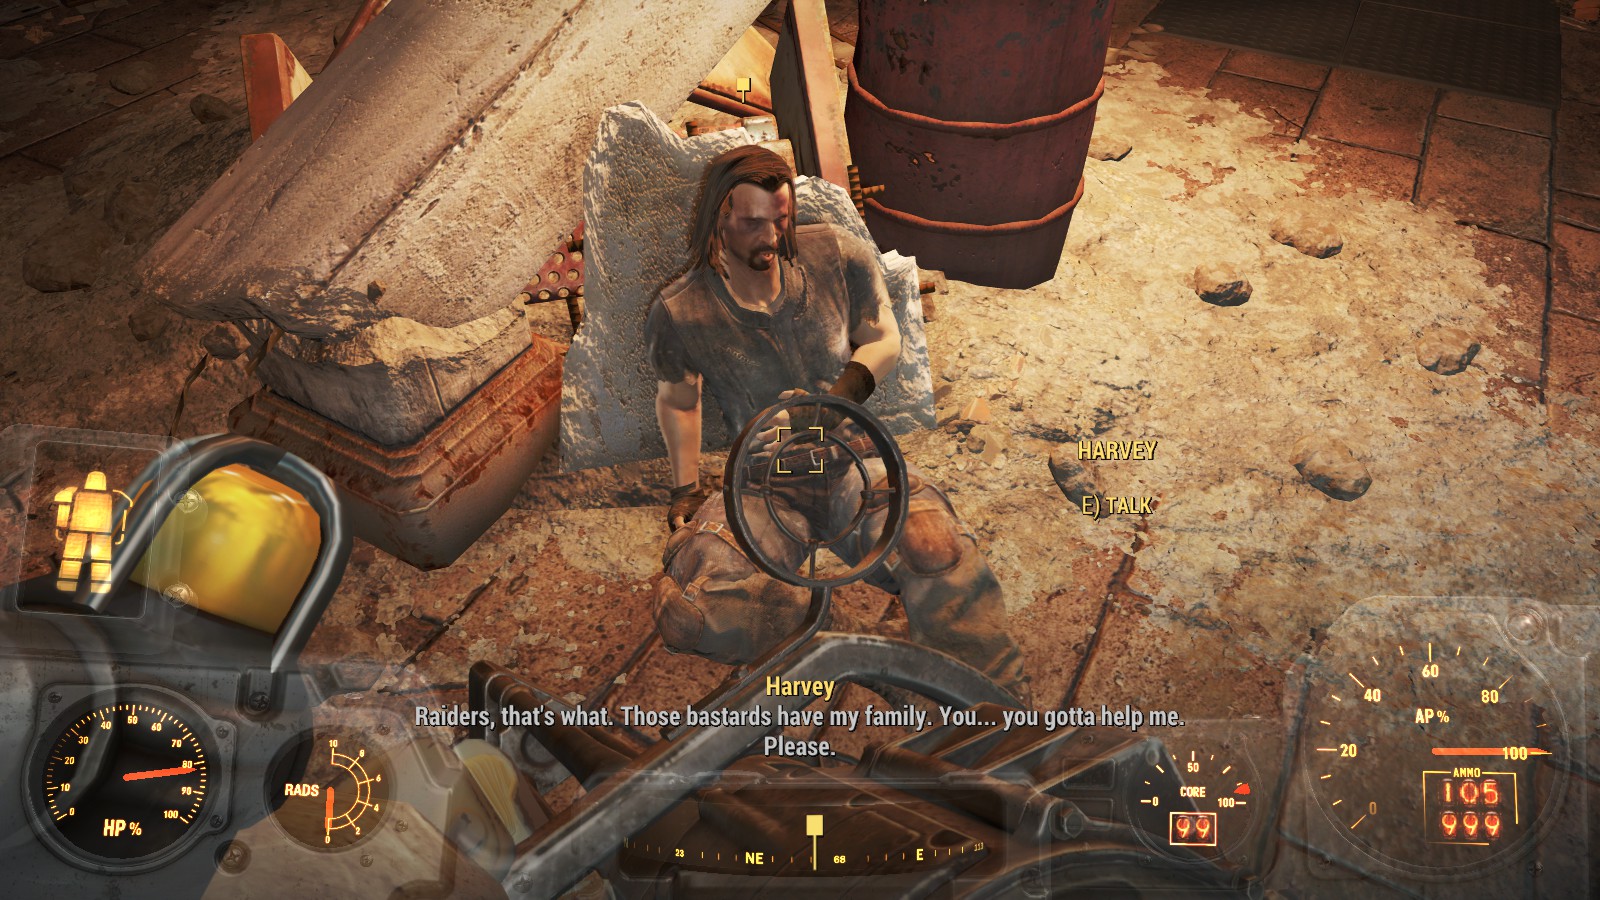
You can explore around the transit center and even go on the roof, but there’s not much of interest. Head inside and down the stairs to meet the apparently-injured Harvey, who is pulling the old “save my family from raiders” schtick.
You can talk Harvey into giving you the password for the terminal just by offering to give him a stimpack and then expressing doubt over the situation, at which point he admits its all a ruse.
Go to the Nuka Express control terminal in the corner and turn on the tram that takes you to Nuka World, but be sure to spend some time reading the hilarious logs first from the pre-war work staff. The best one is from a worker who has absolutely had it with an obnoxious kid and reprograms the Protectrons to chase him down (he is subsequently fired when said kid is horribly mangled).
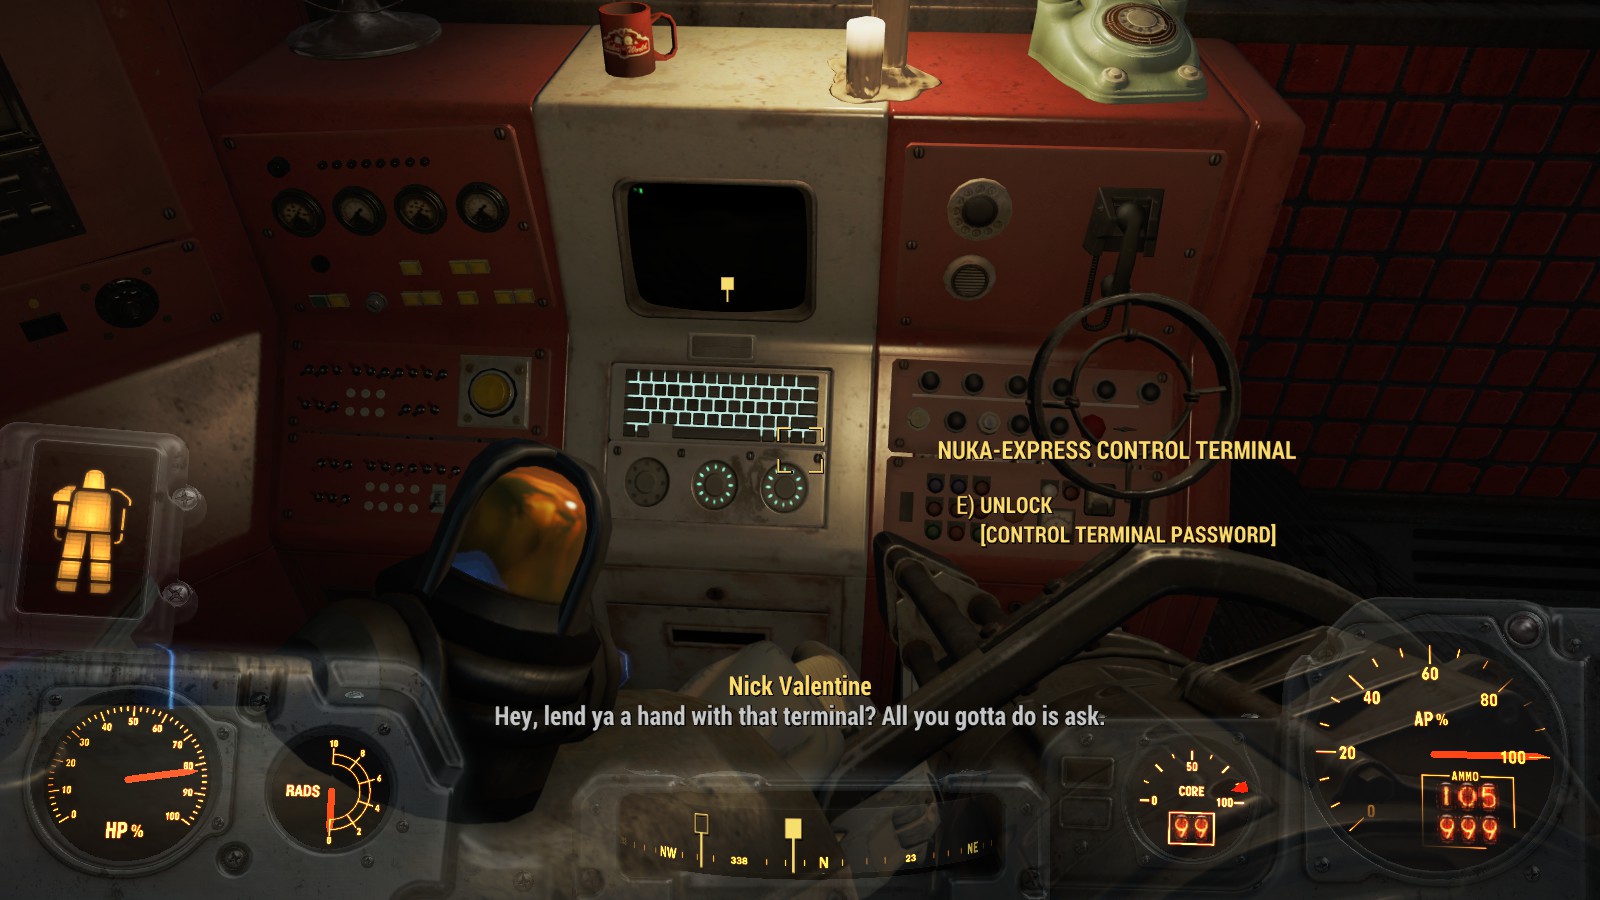 Turn this on with Harvey’s password
With the power on, you can board the tram and head to Nuka World. Be sure to watch out the right side of the tram to see the scope and grandeur of the amusement park as you travel around it towards the entrance.
Inside is an absolute death trap as the raiders have setup a Saw-style gauntlet of despair for you to work through – huzzah!
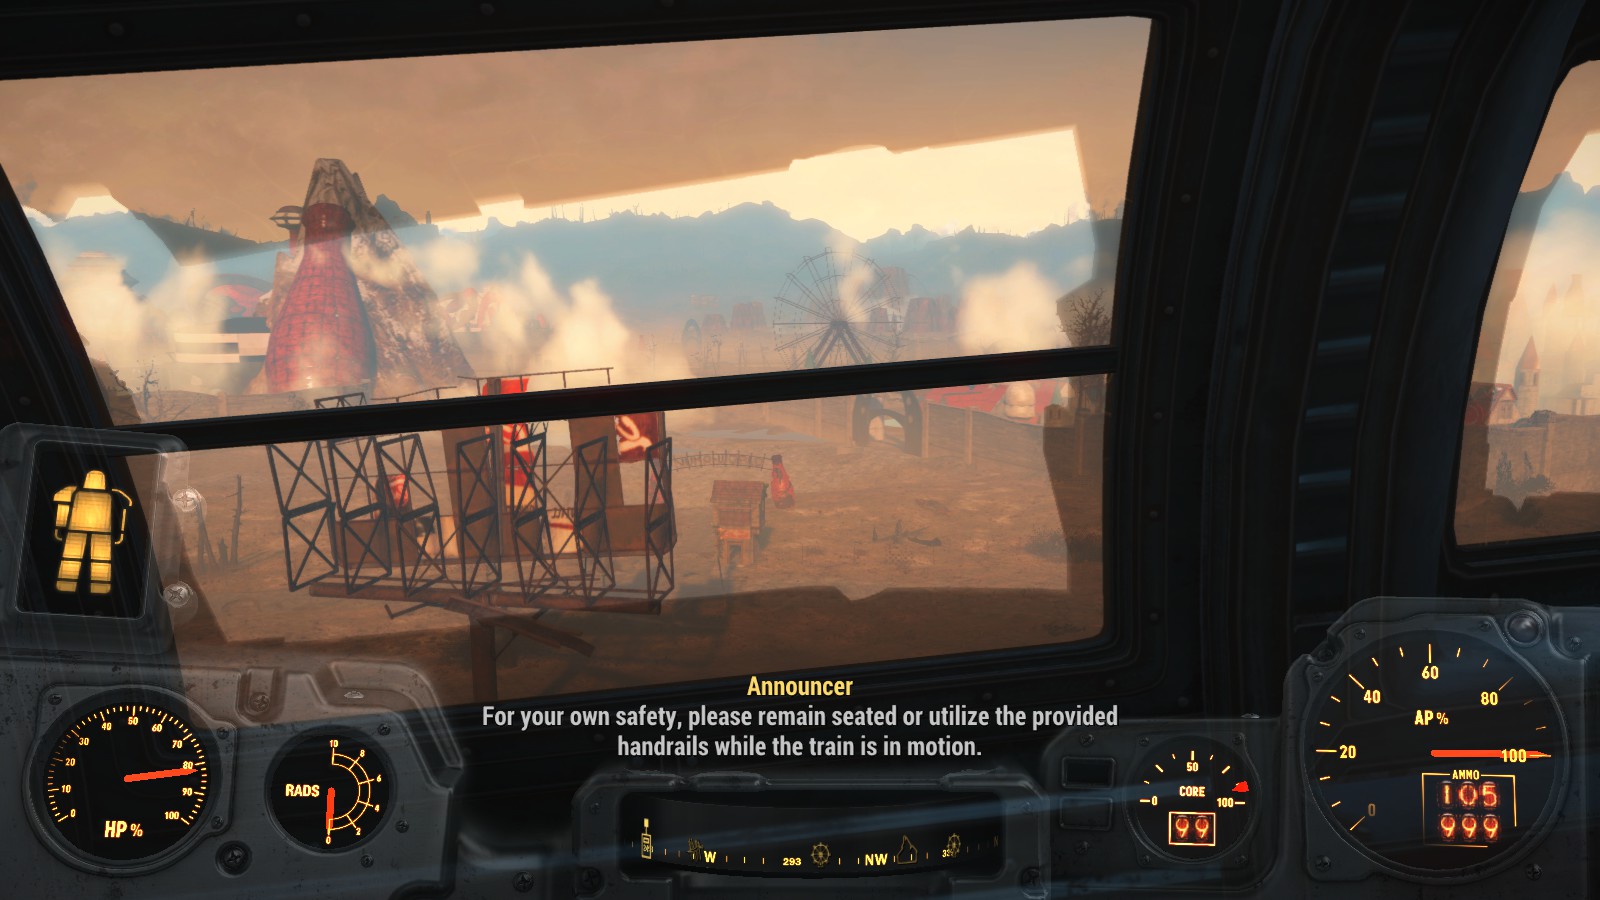 Sneak a peak at the park from the tram
Running The Gauntlet
If you get turned around in the maze, check the walls, as every so often the raiders have helpfully painted a white arrow to show you where to run towards your demise next.
In the opening hallway, continuously pull up VATS every step or two you take, as new turrets and other obstacles will pop up constantly. Always look to your left and right – the left side is covered in flamethrower traps, while the windows to your right are peppered with gun traps that must be disarmed as you slowly work forward.
I can’t stress enough how vigilant you have to be here. There are easily dozens of traps in the first section alone.
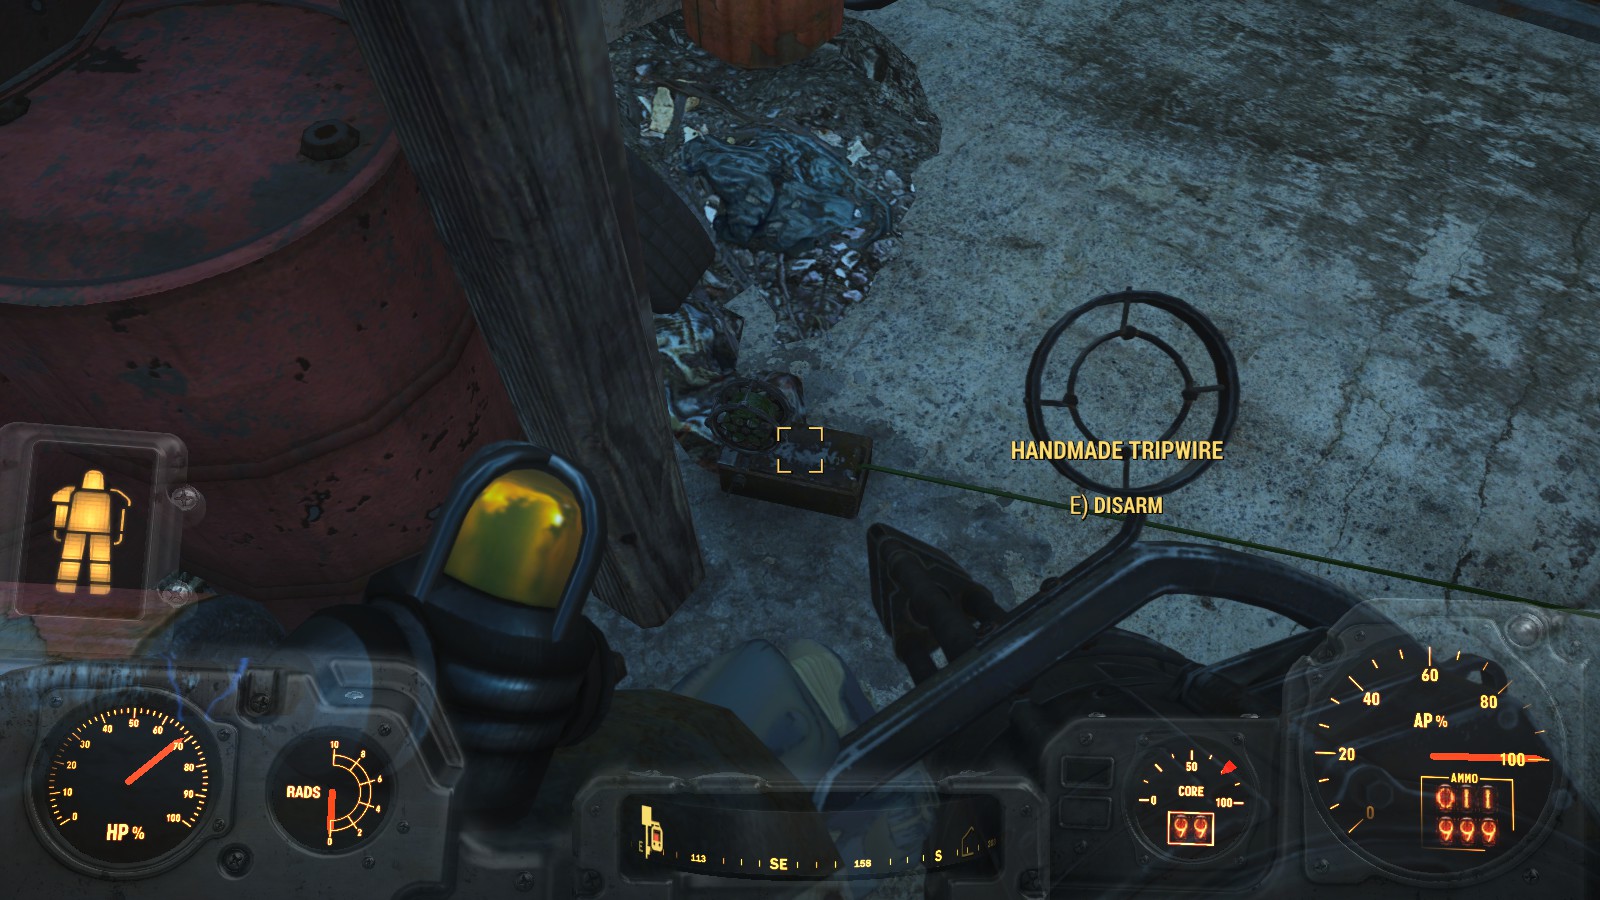
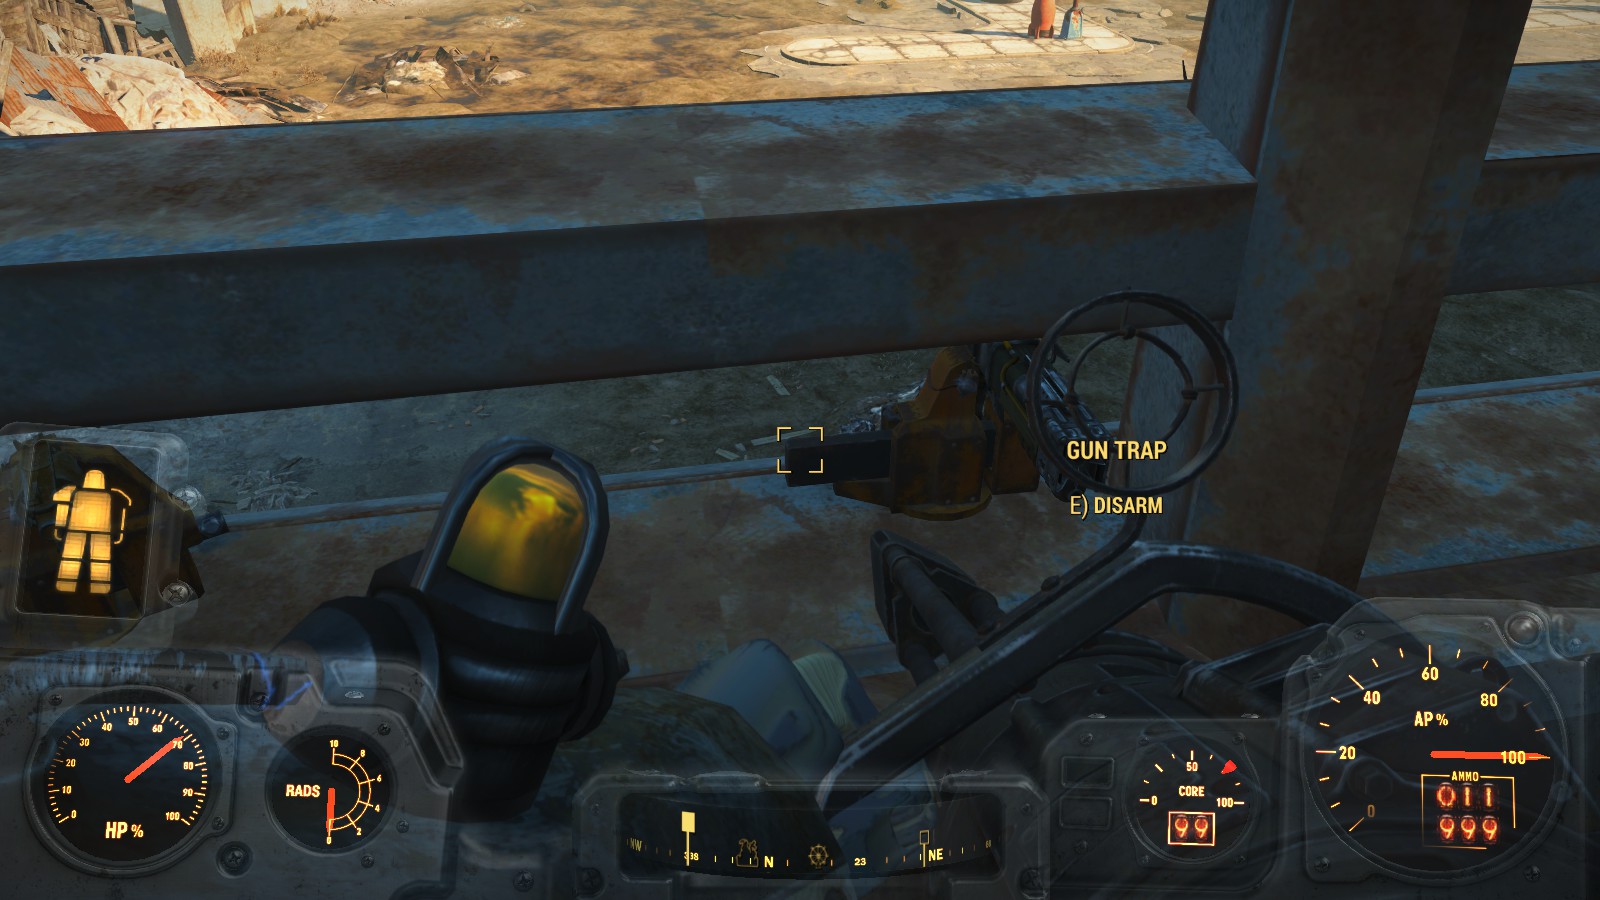 Just one of dozens of deadly traps waiting for an inattentive player
When you reach the end of the hall towards the turn point, the new set of traps will be tripwires at your feet and grenade bouquets hanging from the air. If you aren’t wearing power armor, any of the grenade traps will probably kill you outright. Check for them every few feet, as they are absolutely everywhere in this section.
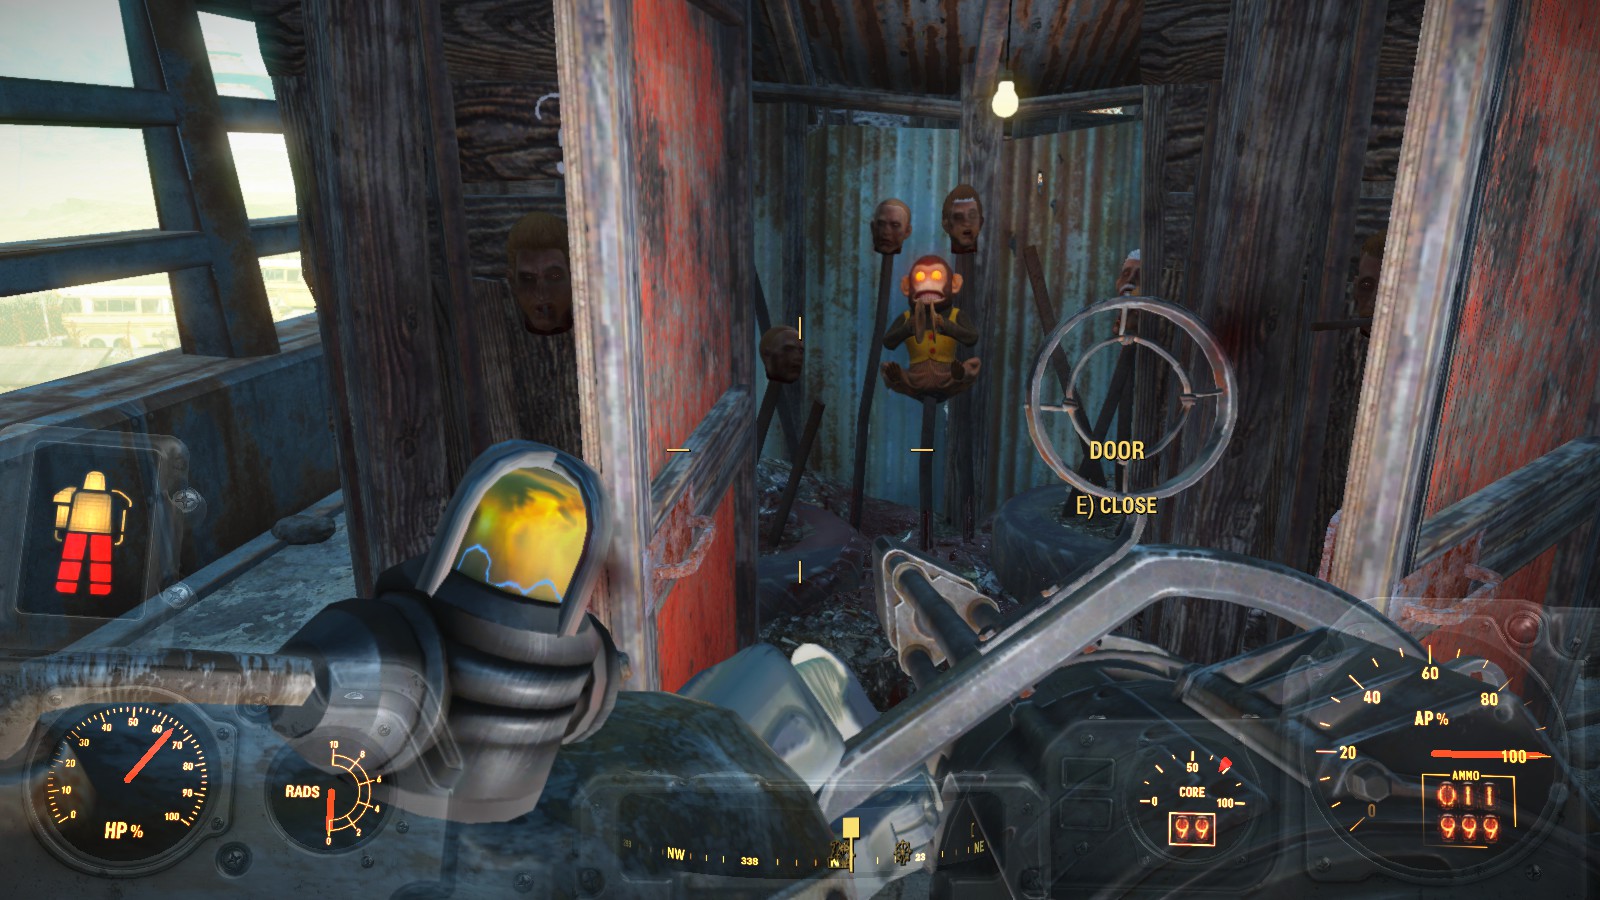
After the traps, you go up stairs and reach a spot with three red doors. The far right door explodes a grenade bouquet, the center door bizarrely has a toy monkey surrounded by heads, and the left door leads down to the next area.
This area is an extreme radiation zone – if you aren’t in rad resistant armor, now’s the time to pop all the Rad-X you’ve got.
The exit is a door just to the right of the entrance point, but of course its locked. If you can’t pick an expert lock, the door’s bronze key is over in the irradiated left corner on top of a rusted metal shelf.
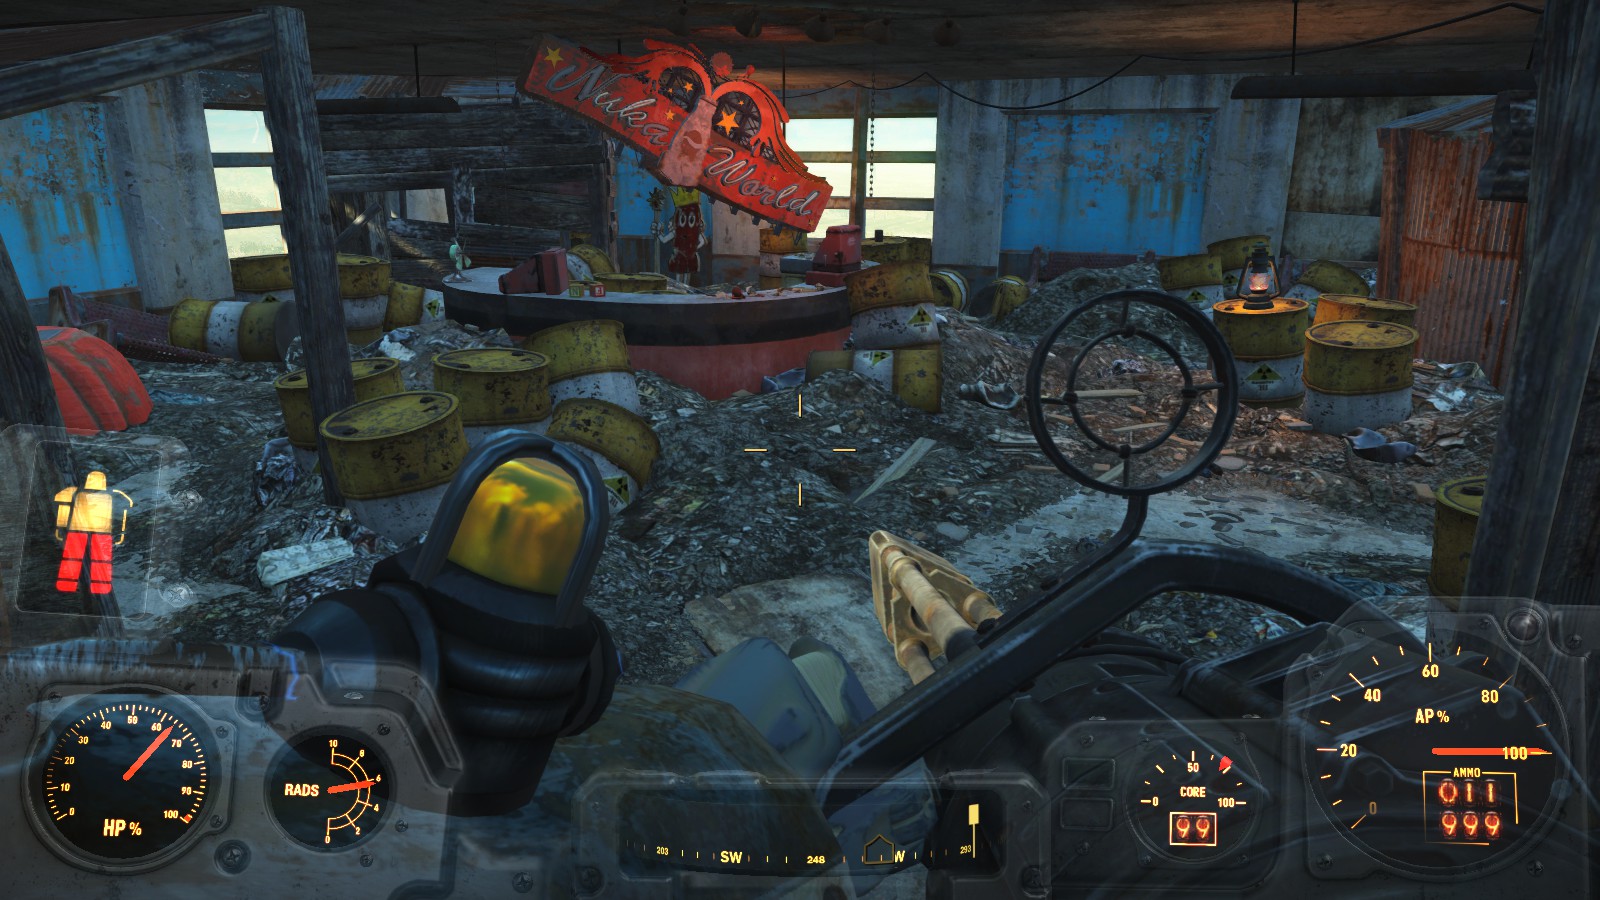 Hope you brought plenty of Rad Away!
The next room is absolutely filled to the brim, literally top to bottom, with turrets. There’s 16 of them all pointed at you! There also sadly seems to be a bug here – I disabled the turrets using the console on a desk, but they all fired at me anyway.
I recommend coming down the stairs slowly so you can just see the first two or three turrets and either chucking every grenade you’ve got, or instead popping in and out of vats while moving back up as necessary to avoid fire. In the center of it all? Another creepy monkey…
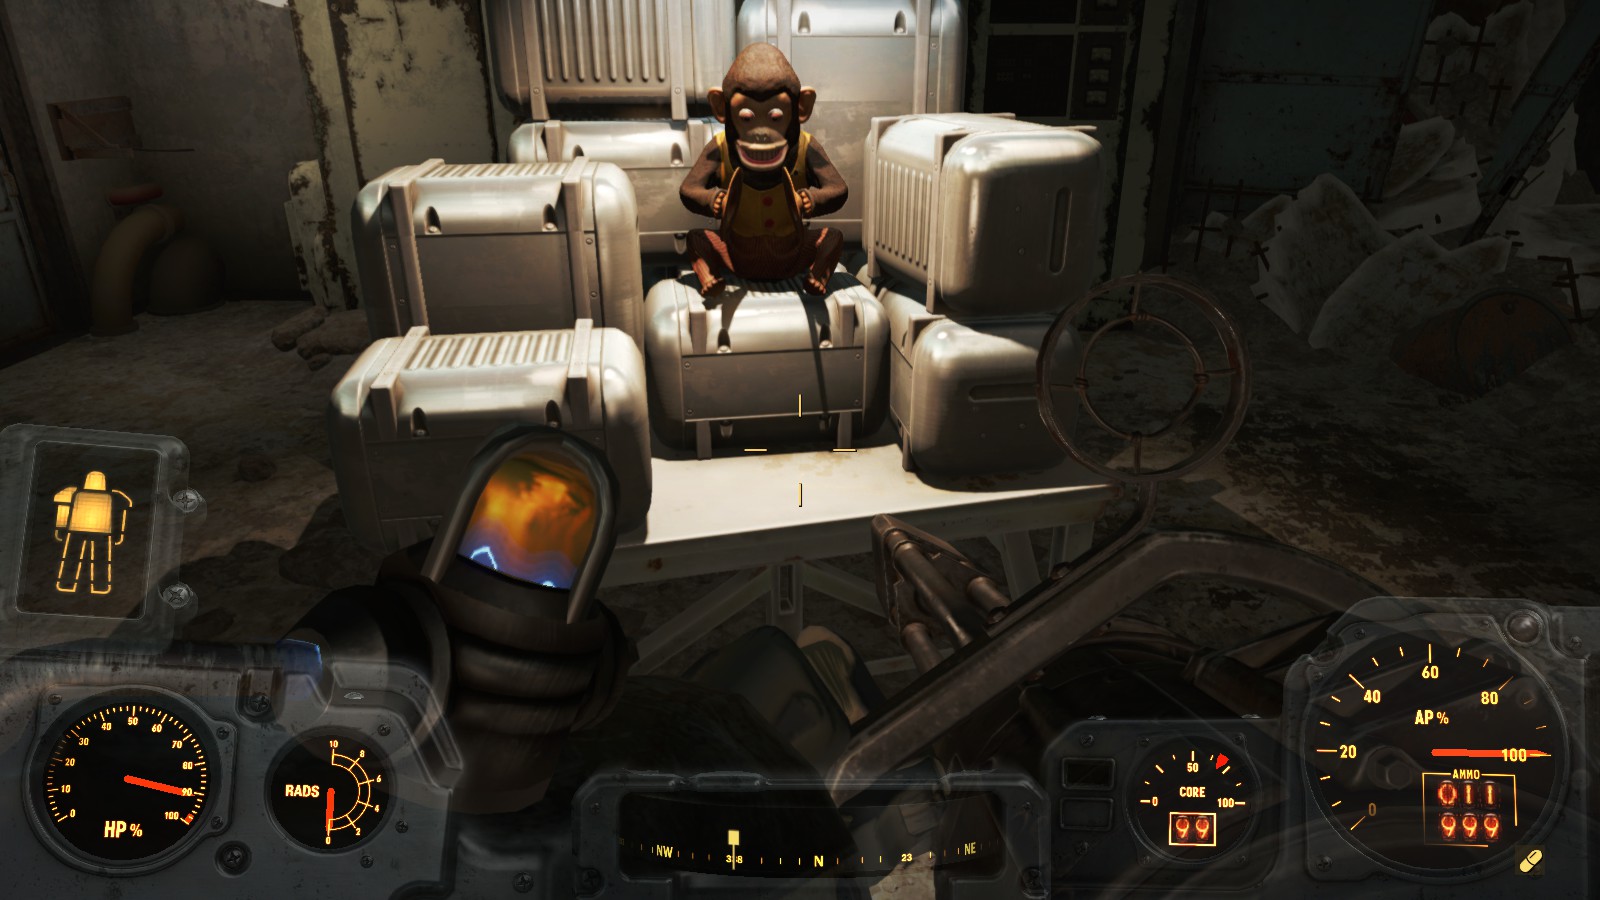 What is with this toy monkey fetish?
Grab the key on the back side of the crates where the monkey is sitting to move onto the next area. This part is filled with tight corners and tiny hallways, so obviously move forward slowly as each section has a trap to disarm, an enemy waiting to shoot, or a cage that opens to unleash a torrent of molerats.
To leave this area, use a ladder to get up on the top section and jump over to the side you can’t reach from the ground floor. Following the far wall, eventually a white arrow will lead towards an exit door.
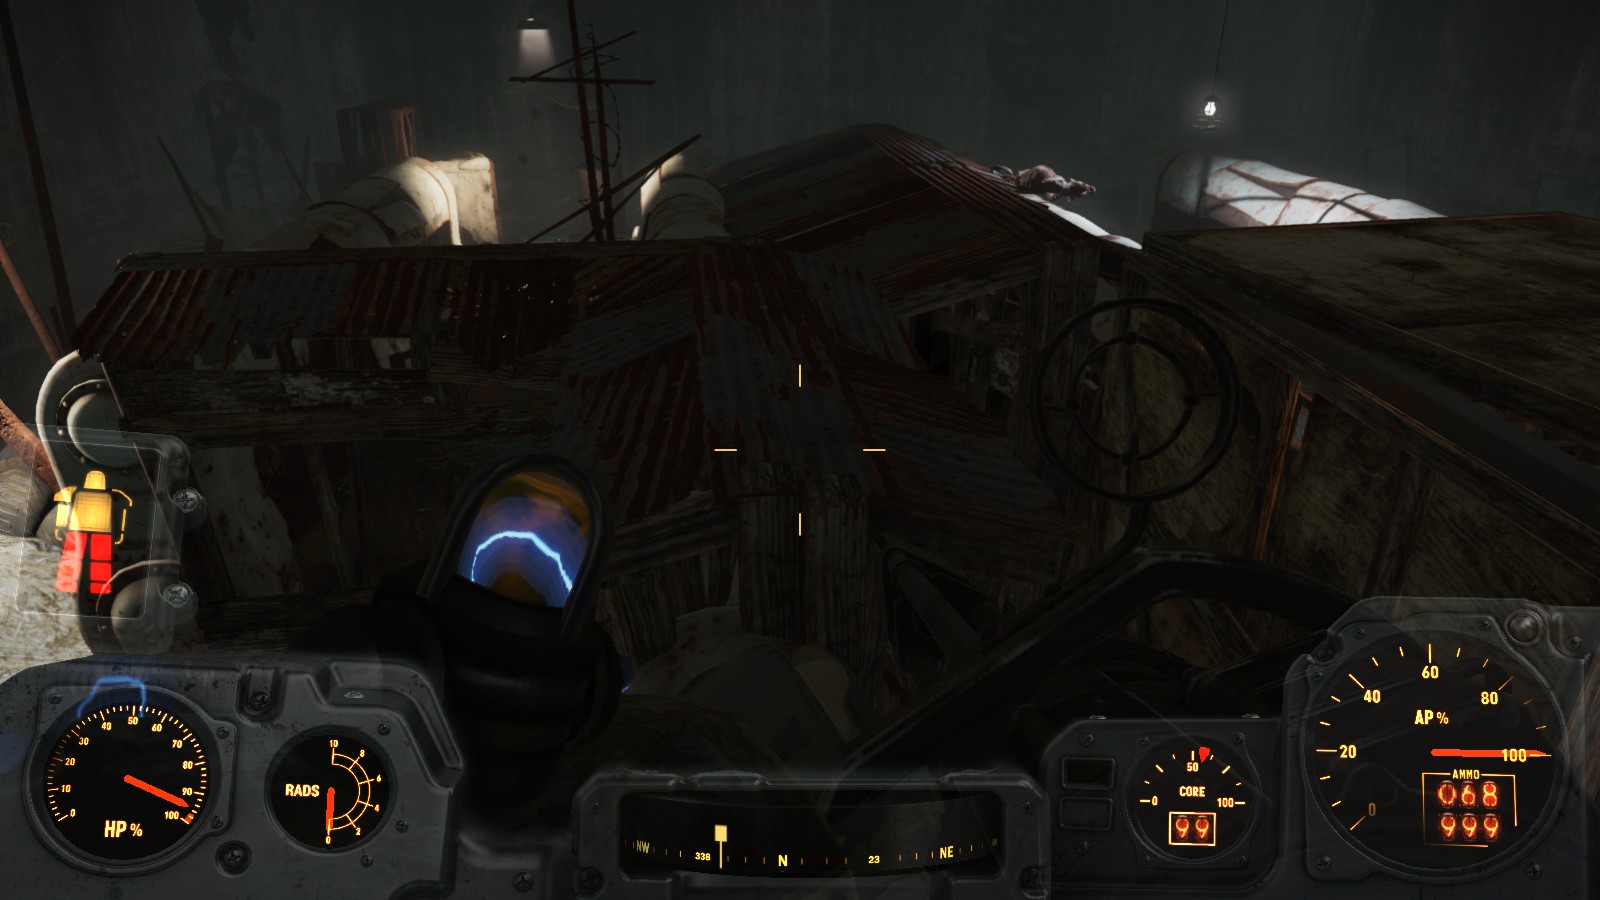 It’s nice to have a birds eye view of the area
In the train tunnel there’s a Galactron Sentinel you can hack, but there’s really no point as there aren’t any straightforward enemies here, other than some mines lying on the ground (so pop into VATS to spot them and shoot them from a distance).
The next area has a rickety bridge that will collapse as soon as you walk on it, dropping you into a watery area where a bunch of mirelurks will pop out. If you want to be prepared, throw a couple of mines on one side before dropping down and lead the mirelurks towards them.
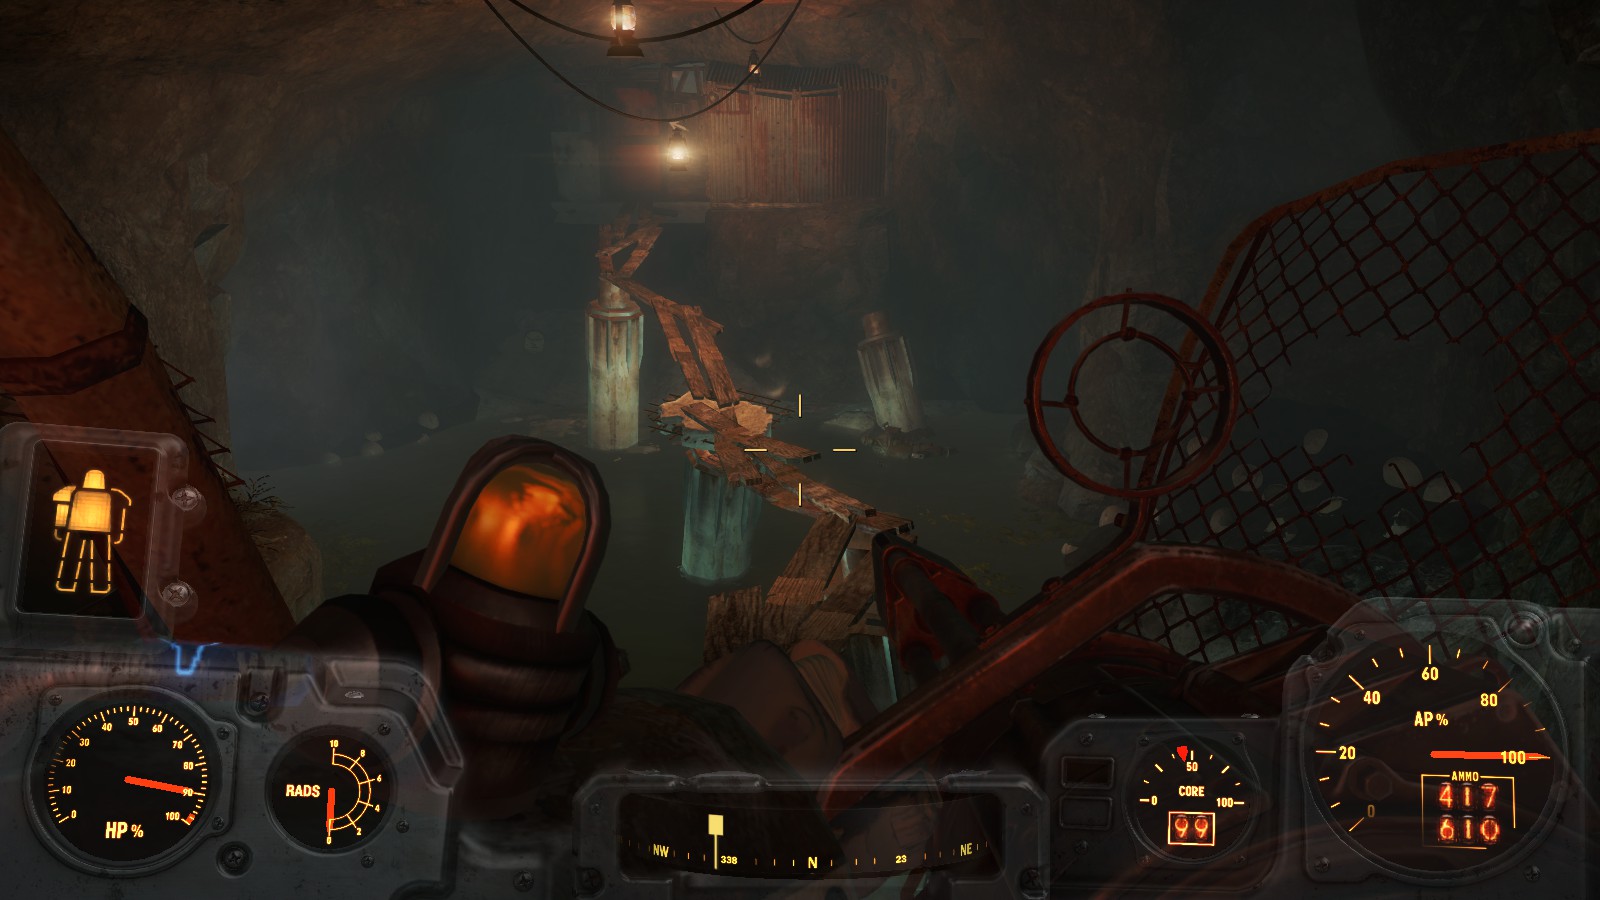 Seems sturdy enough, might as well walk on it while wearing power armor!
The next room is a death trap where poison gas slowly drops your health. Firing any type of gun ignites the gas and causes flame damage, so bring a melee weapon to deal with the bugs in here. Unfortunately turning the three valves does nothing to stop the gas, so there must be another answer…
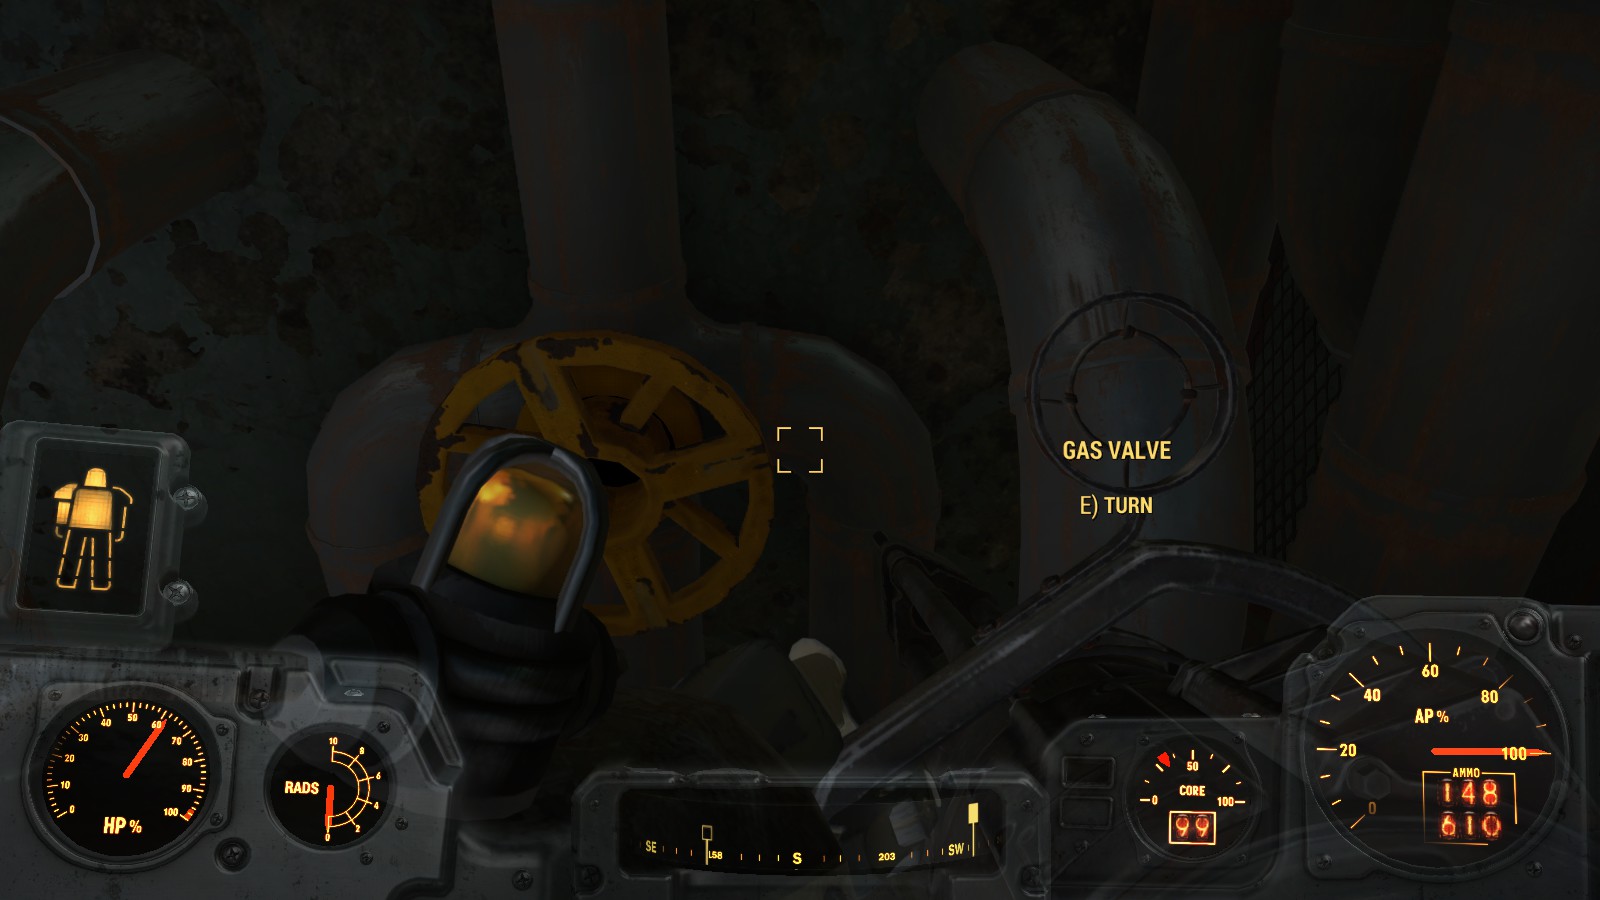 These are pointless, so don’t bother with them.
To escape the gas trap, you have to pick the lock on the cage door and access the terminal with the password found on a desk just outside. The terminal includes a security door option that unlocks the exit.
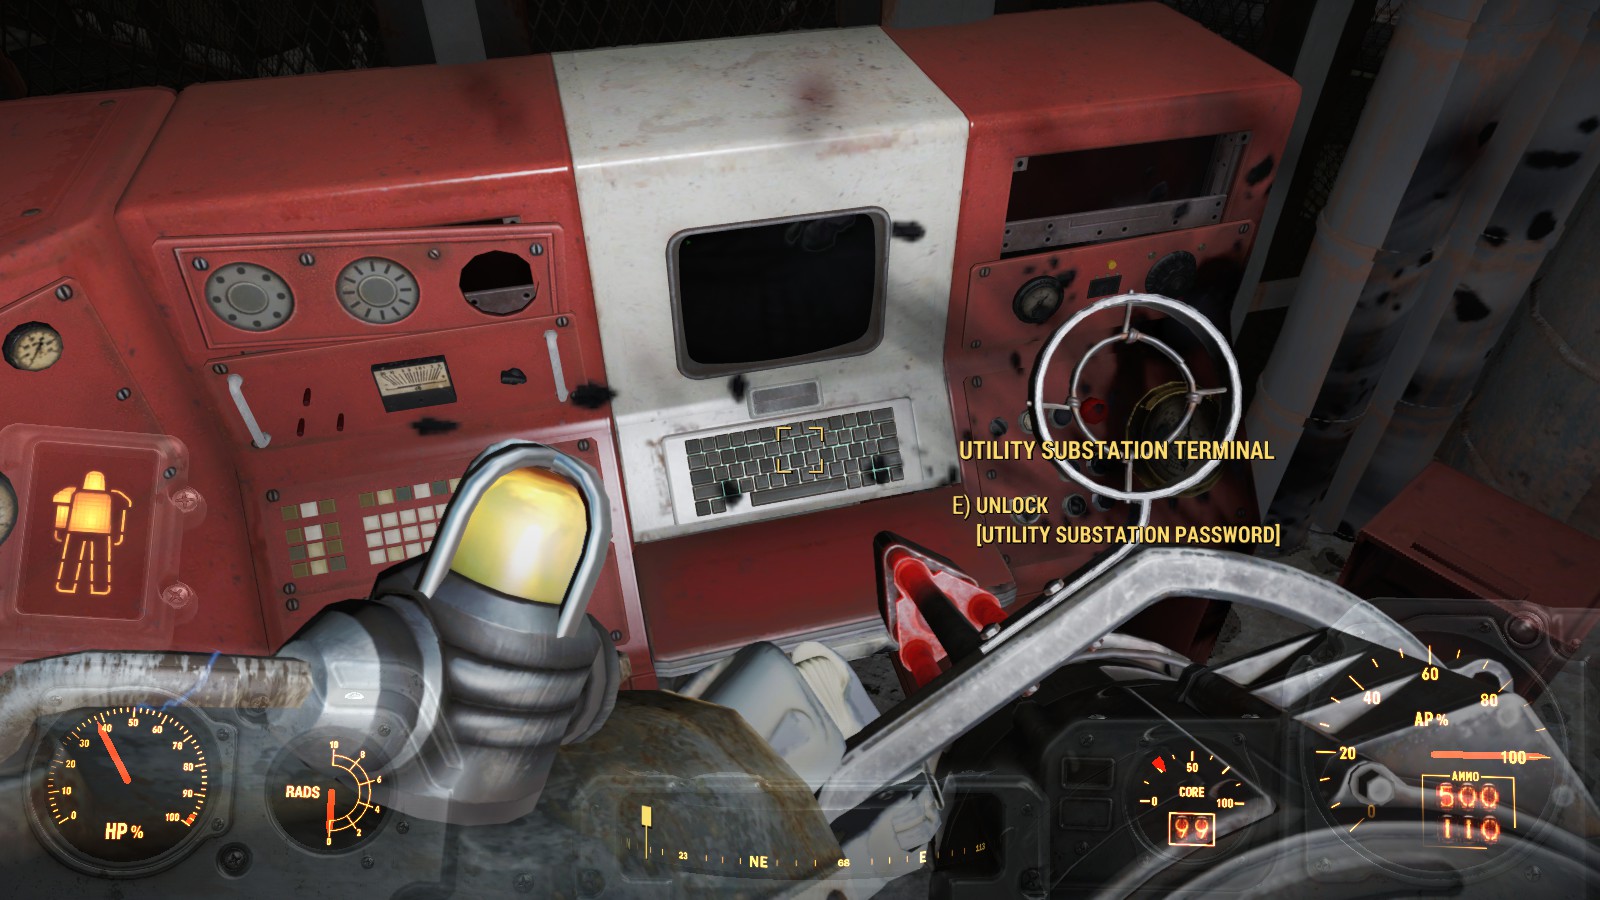 Even better than a release valve!
Leaving the maintenance shed takes you to an area filled with traps and a fenced in ceiling… while butchers run along the top and shoot down at you. Obviously don’t use grenades, missiles, or nukes on them.
Either run towards the exit while keeping an eye out for traps if you don’t have a super high powered, non-explosive weapon like a legendary mini-gun, or try to take the enemies out above you first very quickly in VATS before moving forward slowly to hit each trap.
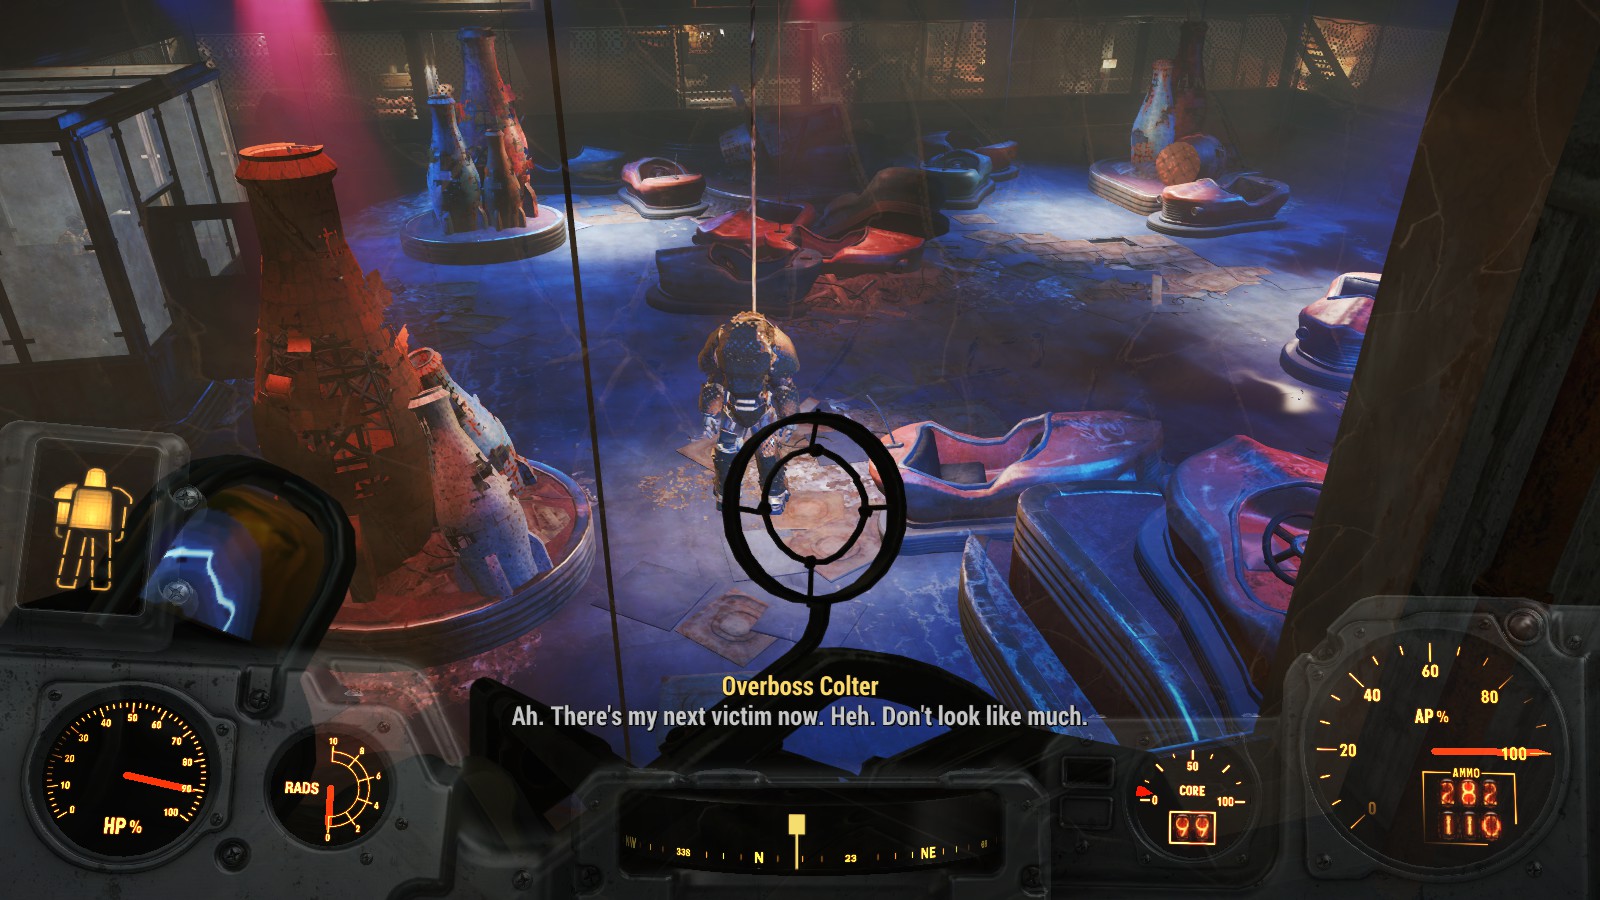
You are almost at the end! Now it’s time to face off against raider Overboss Colter and his electrified power armor in an arena grudge match for the amusement of all the raiders in the stands.
Talk to the intercom and make nice with the voice on the other side, as Gage will reveal Colter’s armor has a weakness and its… a Nuka Cola squirt gun? Grab the Thirst Zapper sitting in one of the lockers and equip it.
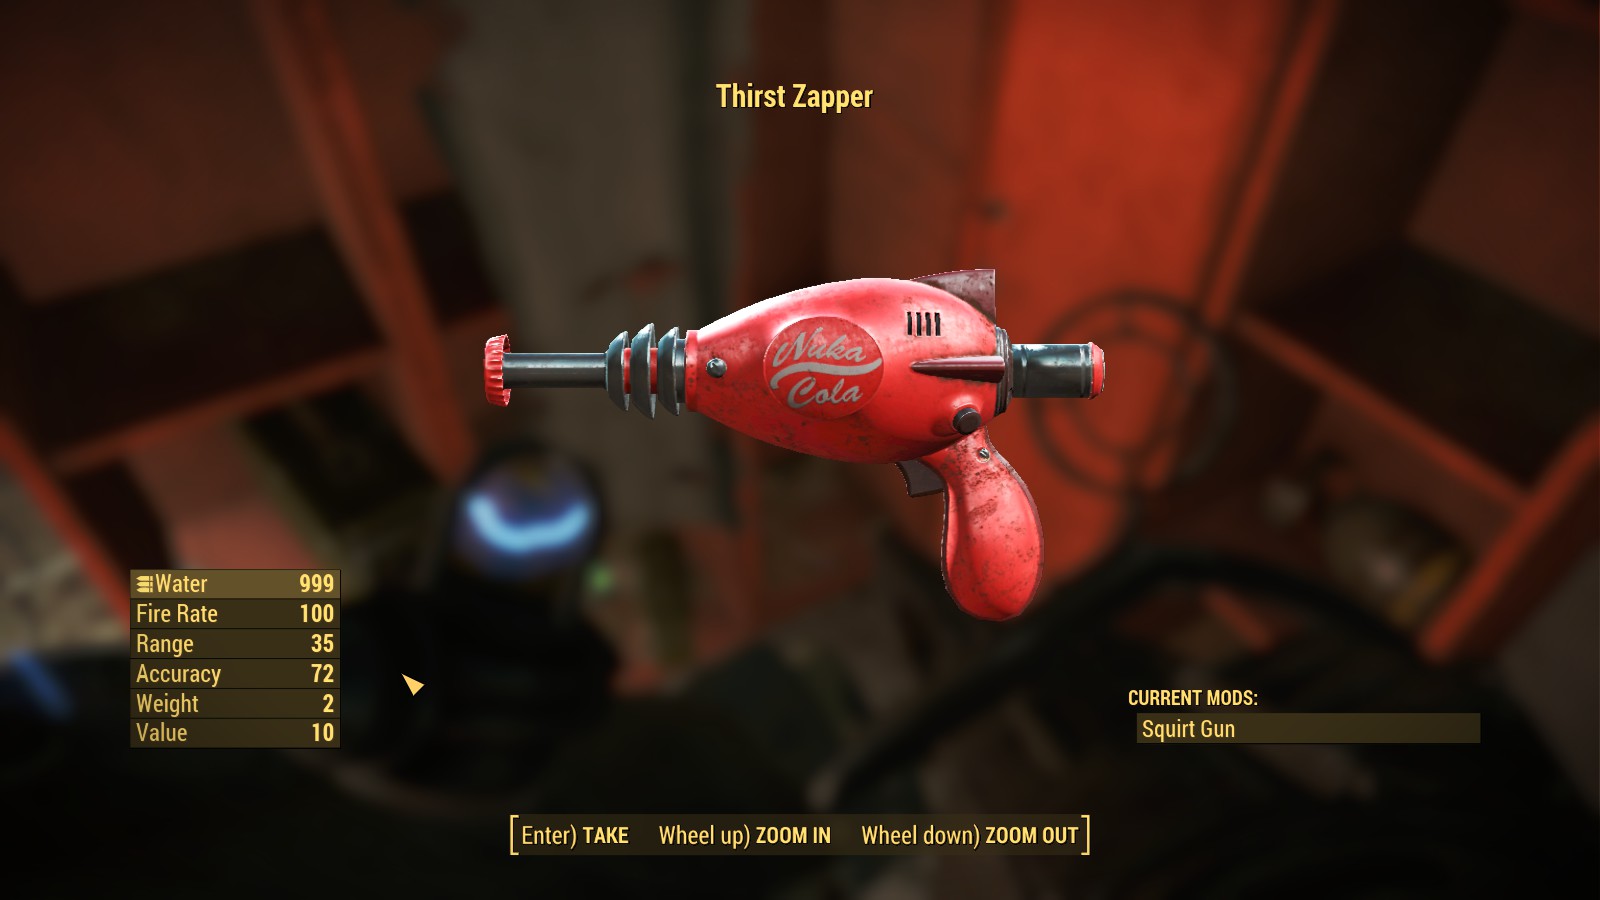 Maybe the weirdest Fallout weapon yet?
The battle is actually pretty easy with the Thirst Zapper – just squirt him with it until the electricity disappears, then hit him with something highly damaging like a missile launcher, mine, minigun, etc.
You can raid his power armor after the fact, but obviously it doesn’t have the electrified effect any longer.
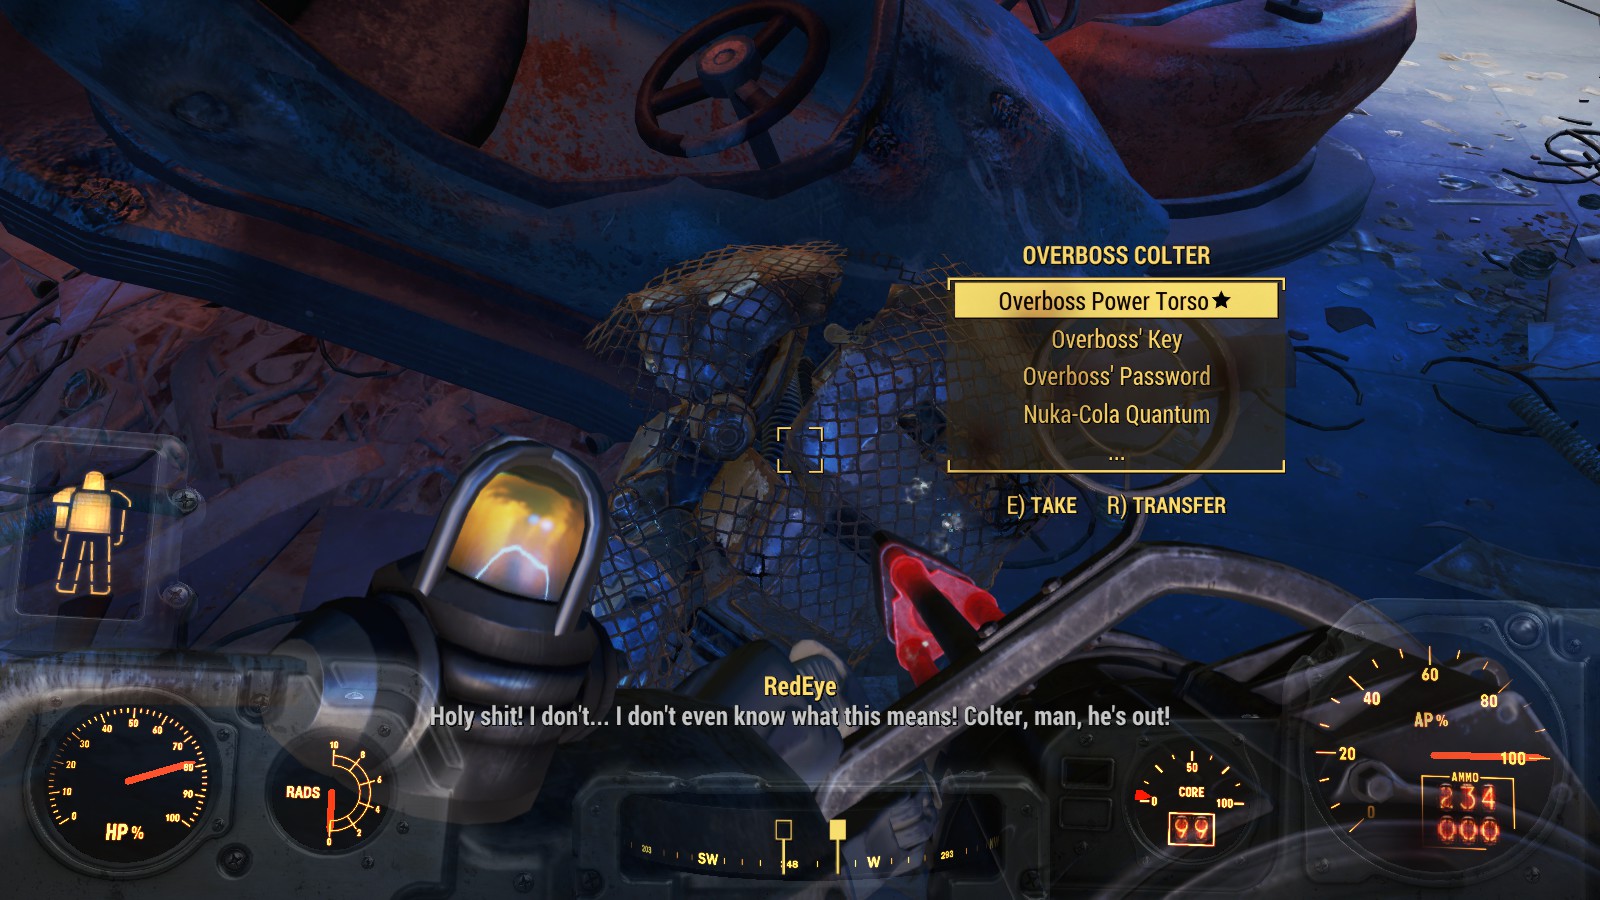 Looting corpses is the raider way
Talk to Gage through the glass wall and agree to become the new Overseer to unlock the Taken For A Ride achievement, then turn around and survey your kingdom – these are your raiders to lead now!
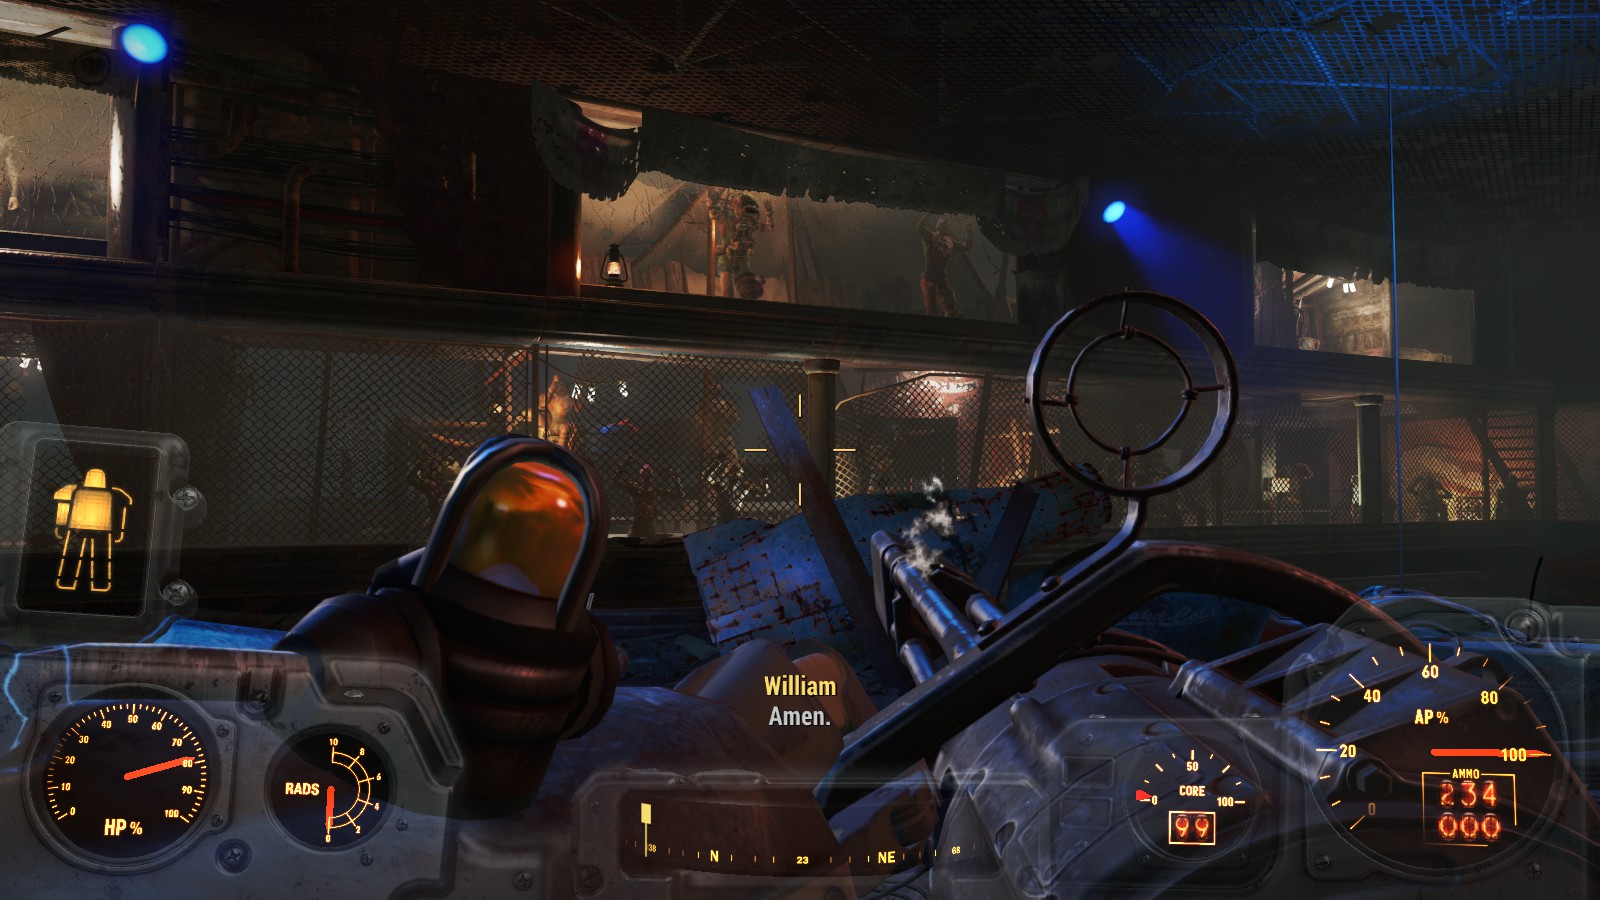 Wait, what did I just sign up for?
Now you can start your quest to bring peace between the three rival raider gangs running Nuka World (or kill ’em all, whatever floats your boat). Along the way you’ll find all sorts of exciting new Nuka Cola varieties.
For a different view (and to cement that the Sole Survivor is now an evil raider boss), when you exit the arena into Nuka World proper, you can actually go around the left side and up the stairs to see the area where the raiders where shooting down at you.
Stay tuned for more guides covering the rest of the Fallout 4 Nuka World quests!





Published: Aug 26, 2016 6:59 PM UTC