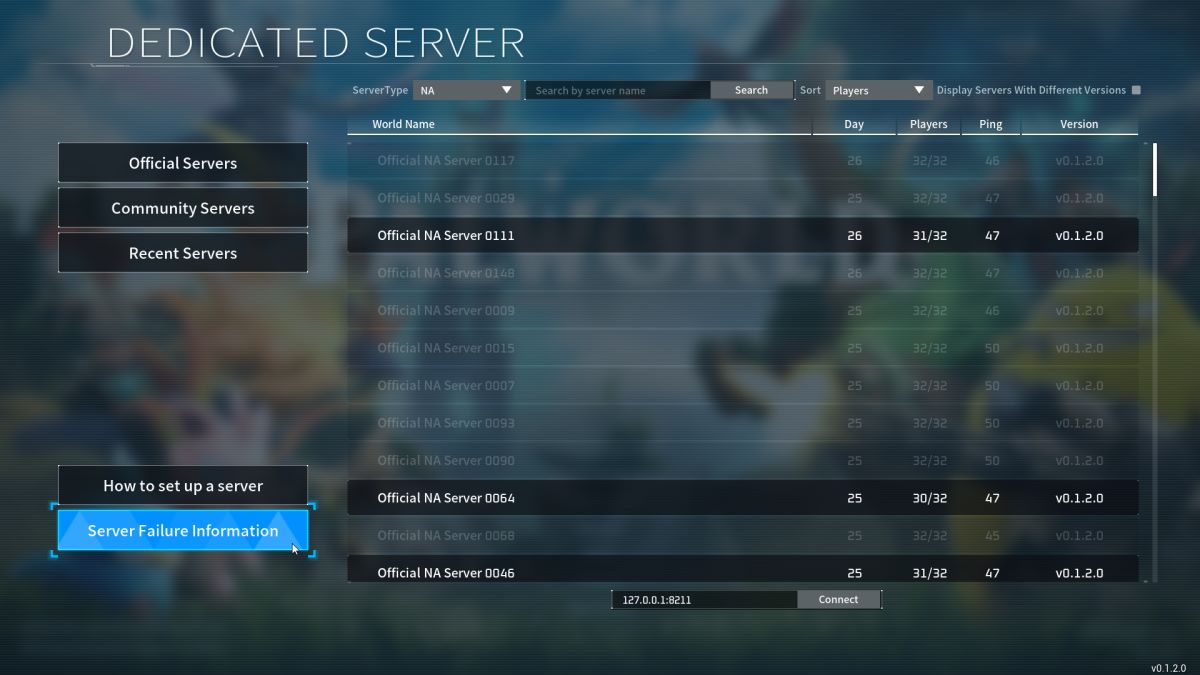
Although there are multiple public servers available, you can also create private dedicated servers if you have the means and want to play with a dedicated group of friends. Here, I’ll tell you how to set up dedicated servers in Palworld using two different server tools.
How do I Create and Set Up Dedicated Servers in Palworld?
Before making a dedicated server for Palworld, ensure these system requirements are met. You can’t set up a Palworld server if they aren’t.
- CPU: 4x Cores.
- RAM: 16GB minimum (32GB recommended).
- Network: UDP Port 8211 (default) with port forwarding (required).
How to Use Steam’s Palworld Dedicated Server Tool
The easiest way to set up a dedicated server in Palworld is to use Steam’s own Palworld Dedicated Server Tool. Find it in your game library under the “Tools” section. Ensure it’s selected in the upper left filter. Follow these steps next: Run the Palworld Dedicated Server Tool -> Wait for the pop-up window with the “Play Palworld Dedicated Server” dialog to appear -> Confirm by pressing the “Play” button.
If you do everything right, the server starts up with more configuration options. I tried this method without the correct IP and security settings, and nothing happened. If you don’t have access to these, I would set up a server using the SteamCMD tool (just as I did).

How to Use the SteamCMD Dedicated Server Tool
Creating and setting up a dedicated Palworld server this way is much more complicated and requires a deeper knowledge of creating servers. But if you’re ready to delve into the depths of server configurations, then begin by doing the following:
- Download SteamCMD for Windows.
- Create a folder for Palworld.
- Extract the contents of the SteamCMD archive file into this folder.
- Create a batch file named “SteamCMD.bat”
- Right-click on the batch file and open it with Notepad.
- Enter the following lines into the file:
- @echo offstart “” steamcmd.exe +login USER PASS +force_install_dir “C:\path to your created Palworld directory” +app_update 2394010 validate +quit
- Save and close the file.
- Right-click on the batch file again and choose “Run as administrator.”
If you do everything right, your Palworld dedicated server files will download into the chosen directory. Follow these steps next:
- Create a batch file named “PalworldServer.bat” in the Palworld folder that you have created.
- Right-click on the batch file and open it with Notepad.
- Enter the following line into the file:
- start PalServer.exe -ServerName=”My Server Title” -port=12345 -players=32 -log -nosteam
- Save and close the file.
- Right-click on the batch file again and choose “Run as administrator.”
Now you have a running Palworld server all your own. If you’re like me and want to tweak some of its parameters, find the “DefaultPalWorldSettings.ini” file in your created Palworld folder. You can edit the following criteria:
- name: Change the host-name of your dedicated server.
- password: Enable password verification.
- saveDirectory: Change the location of your save directory.
- logDirectory: Change the location of your log directory.
- IP: Set your IP address.
- slotCount: Change the maximum number of players on the server (16).
That’s how to set up dedicated servers in Palworld. If you’re still having trouble, join the Palworld Discord and join the server help channel to ask questions. Stay tuned for more PW tips and tricks articles, including how to get and use ancient technology points and how to get a flying mount.


Published: Jan 22, 2024 12:15 pm