BioShock is the 2007 tale of the dystopian Objectivist underwater city of Rapture; It’s a first person shooter praised for it’s amazing plot, atmosphere and gameplay, and considered by many to be one of the greatest games of all time. But as is the case with many a classic game, despite it’s popularity and well-covered quality, not everybody has found the time to actually sit down and play BioShock.
With the recent release of BioShock Remastered in BioShock: The Collection, now seemed like a fitting time to write a quick little guide to help players new to the game get started. These are a few tips you can follow to try and play the game to your maximum potential of personal enjoyment. Hopefully these will help some people out. This guide is spoiler free and safe for those not wanting to have the story ruined for them. With that said, let’s get started.
General Gameplay Tips
1. Choosing your difficulty
BioShock is game that’s setting and atmosphere are very key to enjoying the experience to it’s fullest, and their immersive qualities can be diminished if the game is either too easy, or too hard. The difficulty can be changed at any time from the options menu, but for those of you not wanting to diverge from your path chosen at the start, here are some pointers on which difficulty may be right for you:
- If you want to take in the game’s story and atmosphere with very little stress, at the sacrifice of much less threat, pick the easy difficulty.
- If you want to play the game at balanced level of challenge, where resources matter more, in addition to more challenging enemy encounters, and by consequence a more oppressing atmosphere, pick medium.
- If you want to feel truly immersed in the insanity of Rapture, and enter a more realistic scenario where using nearly plasmid once will drain your EVE completely for the first few hours, and every bullet is something to worry about, then go for hard.
- The Remaster added a new Survivor difficulty, which is one last step up in difficulty. It’s like hard mode only harder. Pick this one if you want a truly testing challenge that will force you to get creative in dealing with enemy threats.
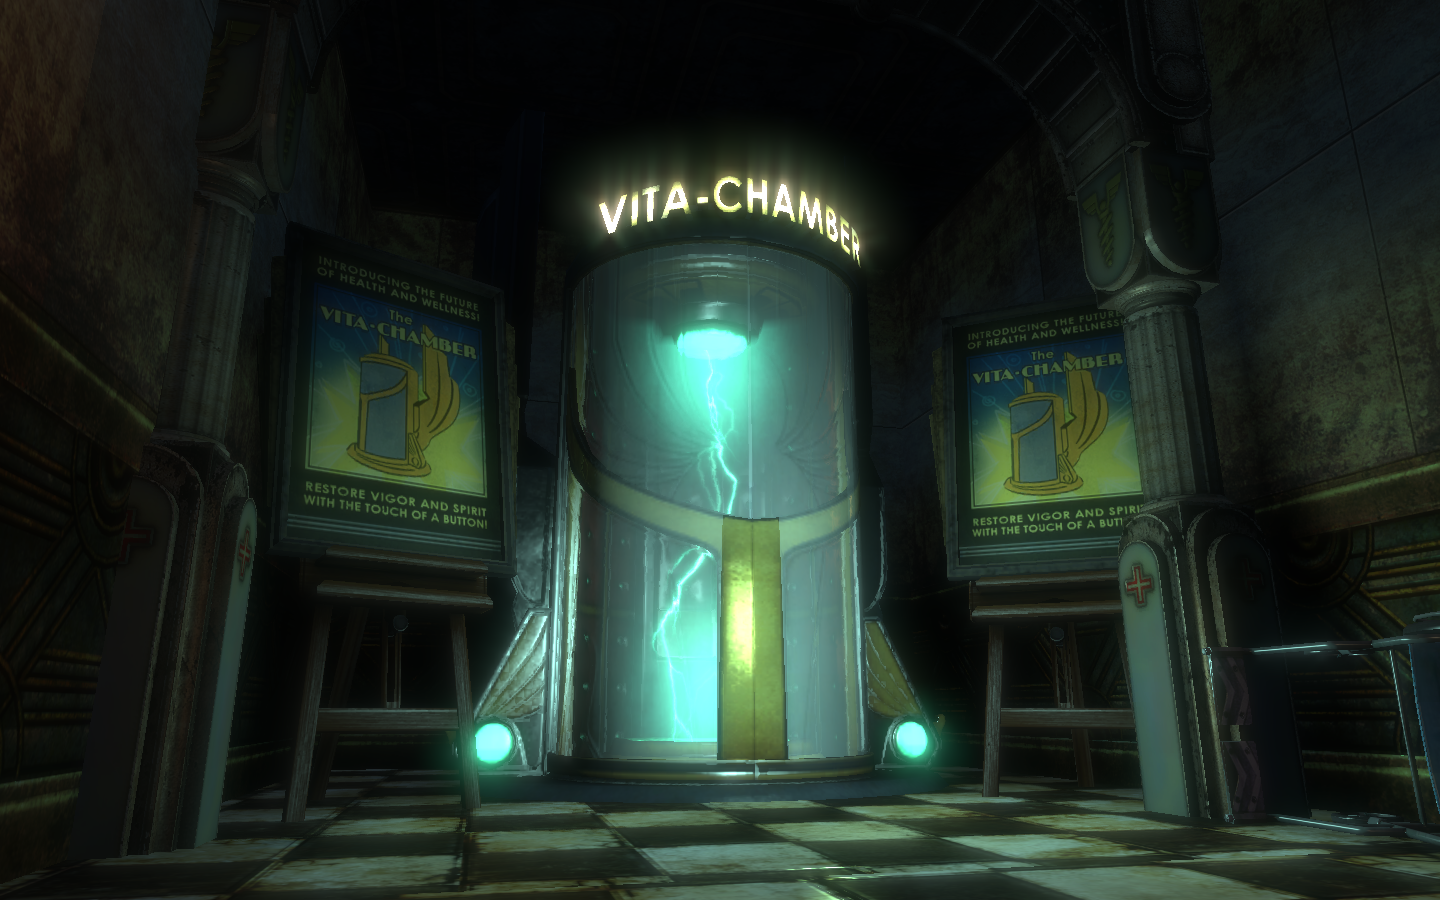
You can also make any of the game’s difficulties a special kind of difficulty by disabling the Vita-Chambers in the options menu. This will force you to play through the game with restarting at checkpoints upon death, rather than the game’s default, which is to respawn you at the nearest Vita-Chamber with no previous progress lost.
Unless purposely disabled, the Vita-Chambers will act like proximity-based checkpoints, and will respawn with no penalty upon death.
2. Upgrading You Weapons
In many games it’s difficult to decide what weapons to upgrade at what times, but thankfully, BioShock isn’t really one of those games. there are just enough upgrade stations present throughout the game that you can upgrade every weapon twice, which is as much as any weapon can be upgraded, so it’s only ever as difficult as deciding what you’d like to upgrade first.
It’s generally smart to upgrade some of the weapons with more common ammo early on in the game, just so you aren’t ever left high and dry, but it’s still safe to prioritize upgrading your favorite guns to use. Little stress, lots of guns, lots of fun.
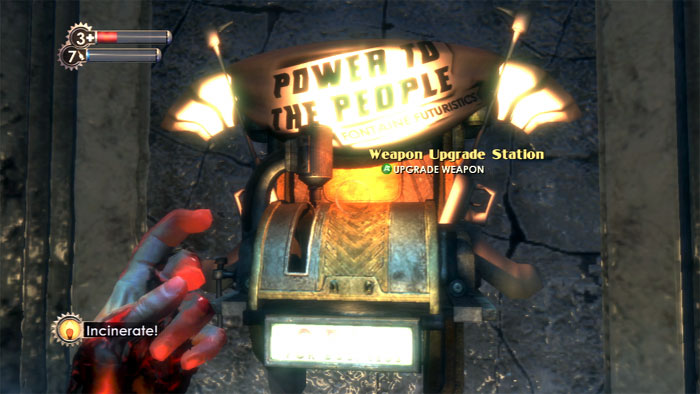
A “Power to the People” station, which is where you can apply one upgrade to any weapon in BioShock.
3. Explore as much as you can
There is every reason to explore the levels in BioShock to their every last nook and cranny. Money, ammo, and healing items of all kinds are lying around hidden in both obvious and inconspicuous locations alike, so it’s smart to scour every desk drawer and rotting corpse that you come across.
This also means you’ll have to rely on spending money at vending machines a lot less, because you can find everything available for purchase, as well as more money while exploring. This will also allow you to to fully appreciate all of the detail present throughout Rapture, and soak up the striking Art Deco architecture, and depressing ambiance of the game.
4. Collect as many audio logs as you can find
BioShock is famous for it’s excellent plot worthy of a classic novel, so collecting the audio logs for additional plot details should be a no-brainer, but it bares repeating. Almost every single one of them serves to enrich the story, and those few that don’t, exist to make Rapture feel more like a believable and once alive community. They are all worth listening to, and in some cases, worth going way out of your way to find.
5. Hack absolutely everything you can
Every vending machine, turret, and safe among other things in Rapture can be hacked for your benefit. The little minigame involved for hacking can get pretty tense and challenging for some things, but in the end, making a security camera turn to your side is a much better solution that destroying it when it sees you.
Hacking vending machines will also allow you to get lowered prices on all items, which is especially useful on higher difficulties, where resources are more important. The hacking does take some time, but with all of the benefits that come with that diligence, it’s more than worth it to do it at every opportunity.
More specific tips
The tips above provide advice on the basics of BioShock, but these next few tips are meant for specific instances in the story, and much smaller aspects of gameplay.
1. Make sure to collect the two audio logs in “Welcome to Rapture” the first time you are there
If you are aiming to collect every audio log in the game, you need to collect the two audio logs available in the opening level the first time you are there, because unlike every other stage in the game, you cannot return to this one once you have beaten it. The two logs aren’t very hard to find. One is located in the women’s restroom of the restaurant, and the other on the lower floor sitting on a table in the water near the large statue. After you nab these two, the rest of the audio logs can be found at you leisure.
2. Never, EVER use an EVE hypo manually
This is crucial if you want to conserve your EVE replenishing resources on higher difficulties. Your EVE (which essentially functions like mana in other games) is automatically refilled when it is empty, assuming that you have at least one EVE hypo on you when it happens, so there is absolutely no reason to manually use one if your gauge is just mostly empty.
You can also use any plasmid once before depleting your EVE if you have even the tiniest sliver left so you don’t have to worry about how much EVE something might usually cost. This automatic use function does not work the same for med kits, however, so do make sure to use those manually when you are low on health.
3. Get the “Wrench Jockey” tonic as soon as possible
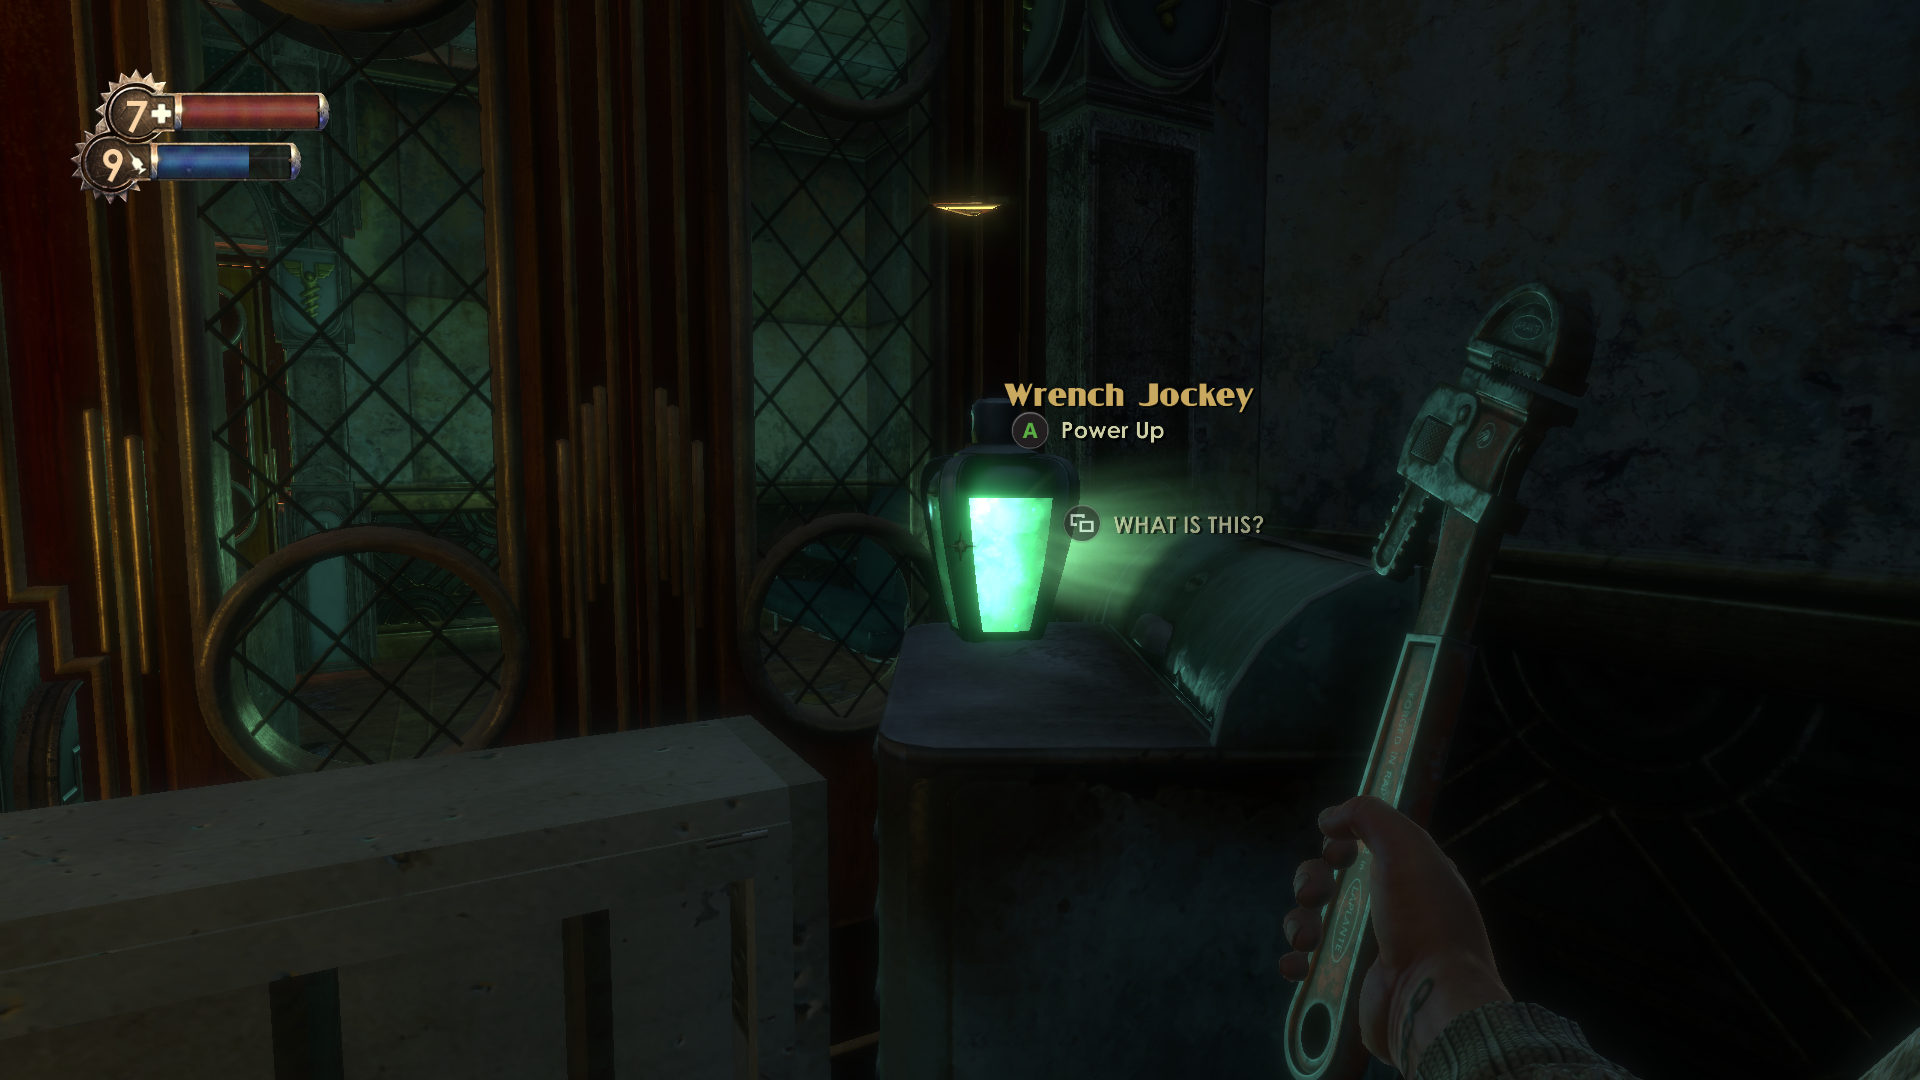
See this little sucker right here? Yeah. Pick it up, equip it, and then never take it off ever again.
“Wrench Jockey” is hands down one of the absolute best combat tonics you can find in the entire game, and it can be found tucked away in a sealed off room in the game’s second level, the Medical Pavilion, in the Kure-All office. It is a tonic that greatly increases the damage done by your melee weapon, the wrench, and it makes close-quarters combat much less stressful.
When we say it “greatly increases the damage done”, we mean that it it makes the wrench strong enough to kill a basic splicer with one hit to the head on hard difficulty. Yeah, it’s pretty useful. If you manage to get your hand on the upgraded version “Wrench Jockey 2” later in the game, and then equip them both at the same time, then you’ll beat splicers better and faster than a Big Daddy.
4. Use “Incinerate!” on the funeral home door as soon as you have it
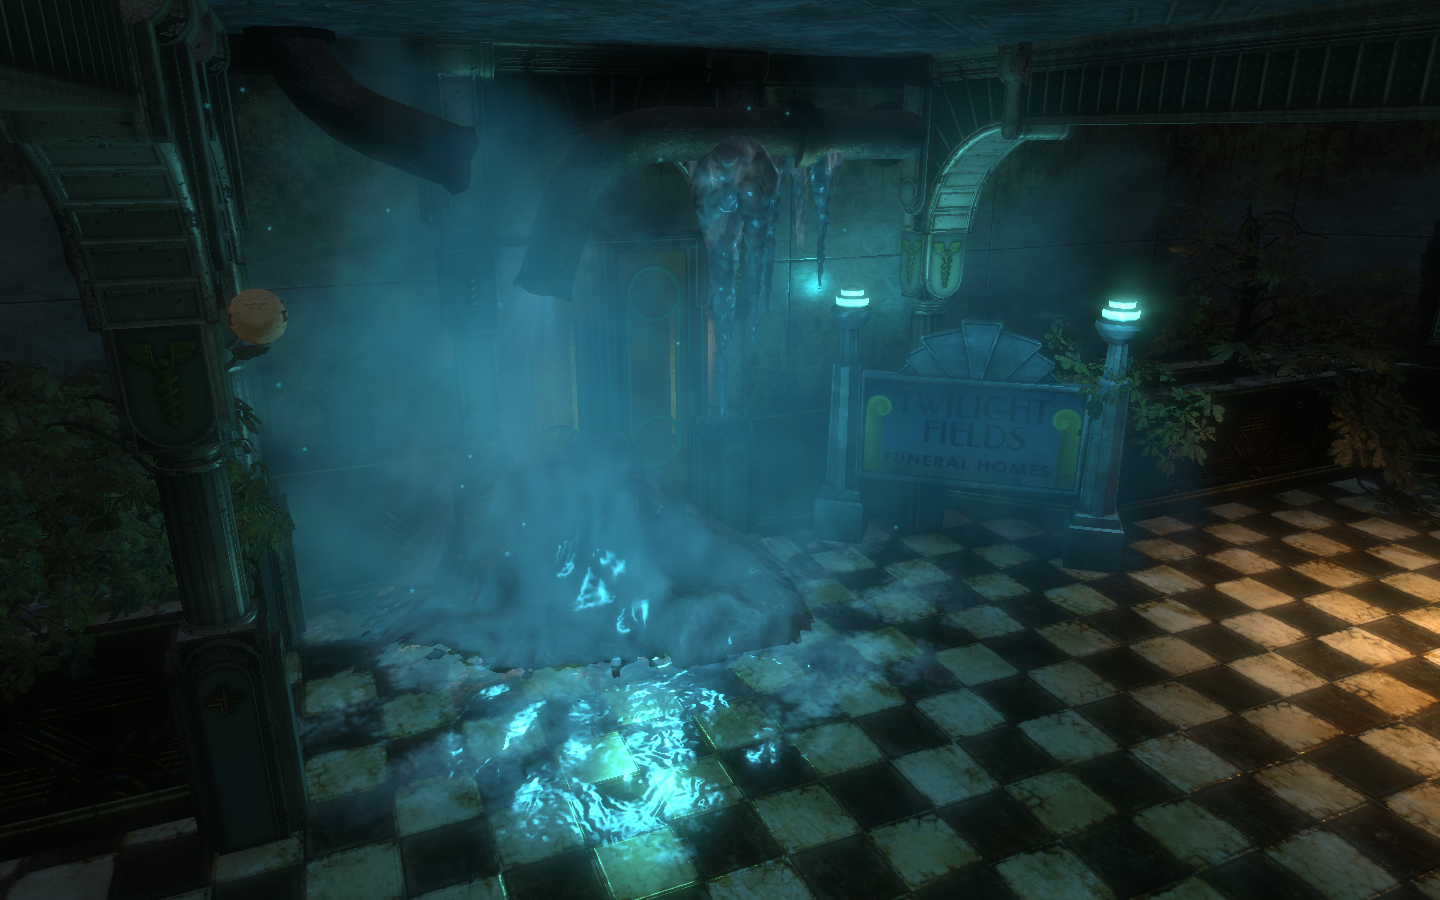
Once you obtain the “Incinerate!” plasmid in the Medical Pavilion that allows you to shoot fire from you hand, use it on the ice in front of the “Twilight Fields Funeral Home”, and plunder it for resources before you do anything else. You need to use incinerate in order to melt other icy build-ups to advance further in the level, but the one in front of the funeral home blocks off optional goodies and an audio log, which can be a pain to go back and do later.
The reason we point this out is because after a certain point in the level, you will likely swap out incinerate for another plasmid, and won’t be able to equip it again until the next level. You are perfectly capable of keeping incinerate equipped by swapping out a different plasmid, or going back to the Medical Pavilion once you have it equipped again, but using it at the funeral home as soon as you have the opportunity is the easiest way to do it.
This is where you should use “Incinerate!” as soon as you have it. It’ll save you from a decent chunk of backtracking.
5. Don’t kill Sander Cohen for the key to his box when you first have the chance
At a certain point you will be given the option to kill a man named Sander Cohen in order to get the key to his secret box. Don’t do it.
There is a way to get the key later in the game, which allows you access to additional dialogue as well as a weapon upgrade station, and an achievement, all of which are unavailable if you kill him when you first get the chance. Wait until later when you find this other chance to get the key, and take that one, trust us, it’s worth it.
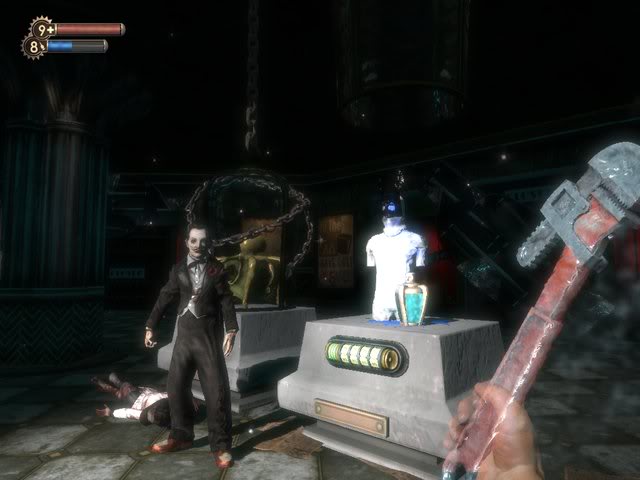
This is the moment where you first get the chance to kill him. DO NOT DO IT.
And those are our Bioshock beginner’s tips! Hopefully these help you get through Bioshock easier if it’s your first time, and perhaps even taught some BioShock veterans something they didn’t already know — if we did our jobs well enough. Good luck and have fun!





Published: Sep 16, 2016 09:30 pm