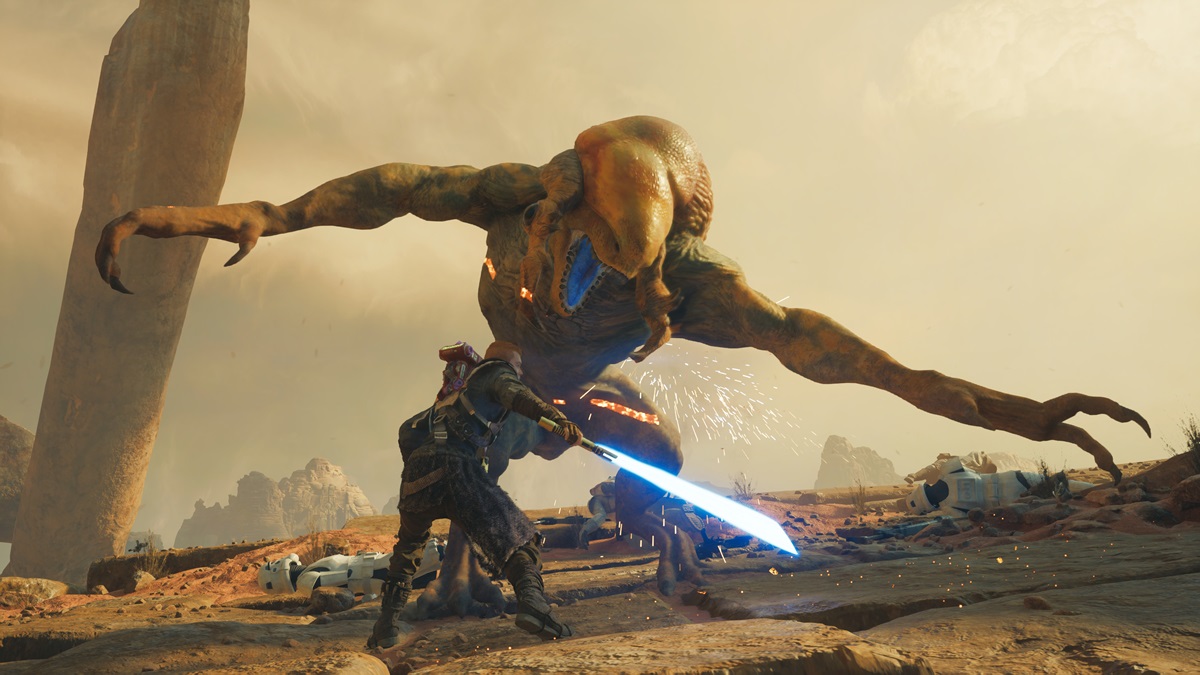
Believe it or not, Photo Mode is a feature in Star Wars Jedi: Survivor. Though the input for activating it is in the pause menu, it’s in a strange place that can be easily overlooked, leaving you wondering how to activate and use it. And you’ll want to know how to get it working to take screenshots of Cal fighting Rancors or just exploring the galaxy. Here’s our guide to help you use Photo Mode in Star Wars Jedi: Survivor.
How to Use Photo Mode in Star Wars Jedi: Survivor
To activate Photo Mode, simply pause the game, and go to the Journey tab, which should be the default tab when pausing. Look at the bottom left of the page, and press the corresponding button prompt. Strangely, this input isn’t listed in the game’s controls menu anywhere.
Photo Mode can be activated at any time, except when a cutscene is playing. Below, we detail some of the important facets when it comes to the Photo Mode function in Jedi Survivor.
Camera Controls and Focus/Depth of Field
The second tab in Photo Mode allows you to make changes to the camera, including the field-of-view/zoom, angle/tilt, exposure, film grain, vignette, and focal distance.
The last one is fairly notable, as depth of field is active by default, even if you disable it from the options menu. As such, objects that are too close or too distant will appear blurred. To fix this, you’ll want to increase the F-stop level, making your surroundings clearer.
Filters and Lighting
Your filters and lighting are also important if you want to get a decent image:
Filters — There are several selections here. The default filter is good enough as it is, though others present a more muted/cool or dramatic/warm theme. You can also switch to a black-and-white motif in case you want to pretend that Cal is going through a flashback or he’s just activated the Slow Time Force Power.
Lighting — The lighting tab has three spotlights that you can activate, and each one has colors (i.e., white, red, yellow, blue, purple, and so on). When you activate any of the spotlights, they’ll pop at the exact spot that your camera is pointing at, illuminating things at an angle.
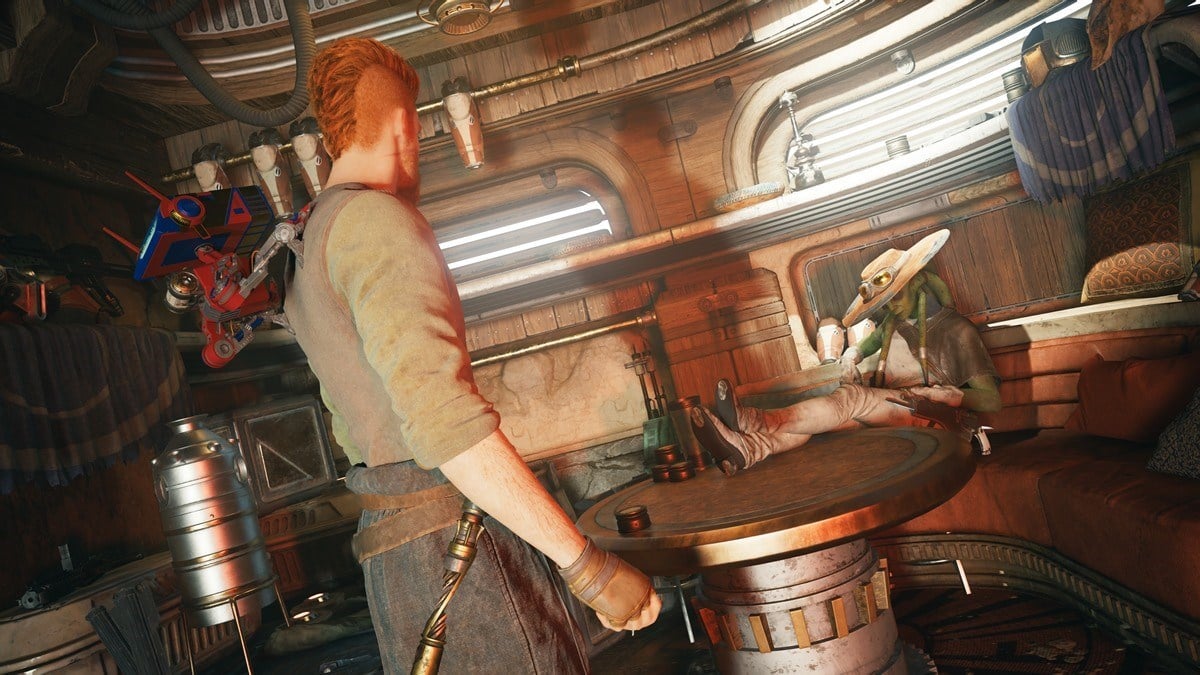
Since you’ve got three spotlights and multiple colors to choose from, you can mix and match accordingly. For instance, the image below shows Cal and Caij hanging out in Pyloon’s Saloon. We used three different spotlight colors, and we ended up with something good for our Bounty Hunter Board guide, too.
Other Photo Mode Options: Backgrounds and Logos
Another Photo Mode feature also lets you add some neat things like backgrounds and logos. It’s up to you if you want to have those designs as part of your images.
In any case, if you’re happy with how your image looks, you can use your system’s function to take a screenshot (i.e., F12 if you’re playing the game on Steam or the Share button on your PS5).
All in all, we think Photo Mode is a great feature that should always be part of huge games, especially when there are vibrant worlds to explore. If you want to learn more about other in-game mechanics, you can visit our Star Wars Jedi: Survivor guides hub.
Featured image by GameSkinny.


Published: Apr 28, 2023 06:50 pm