The Lockpick puzzle will be the second significant roadblock you face in Signalis. You won’t make any progress unless you can solve it, and that’s what this guide is here to help you do.
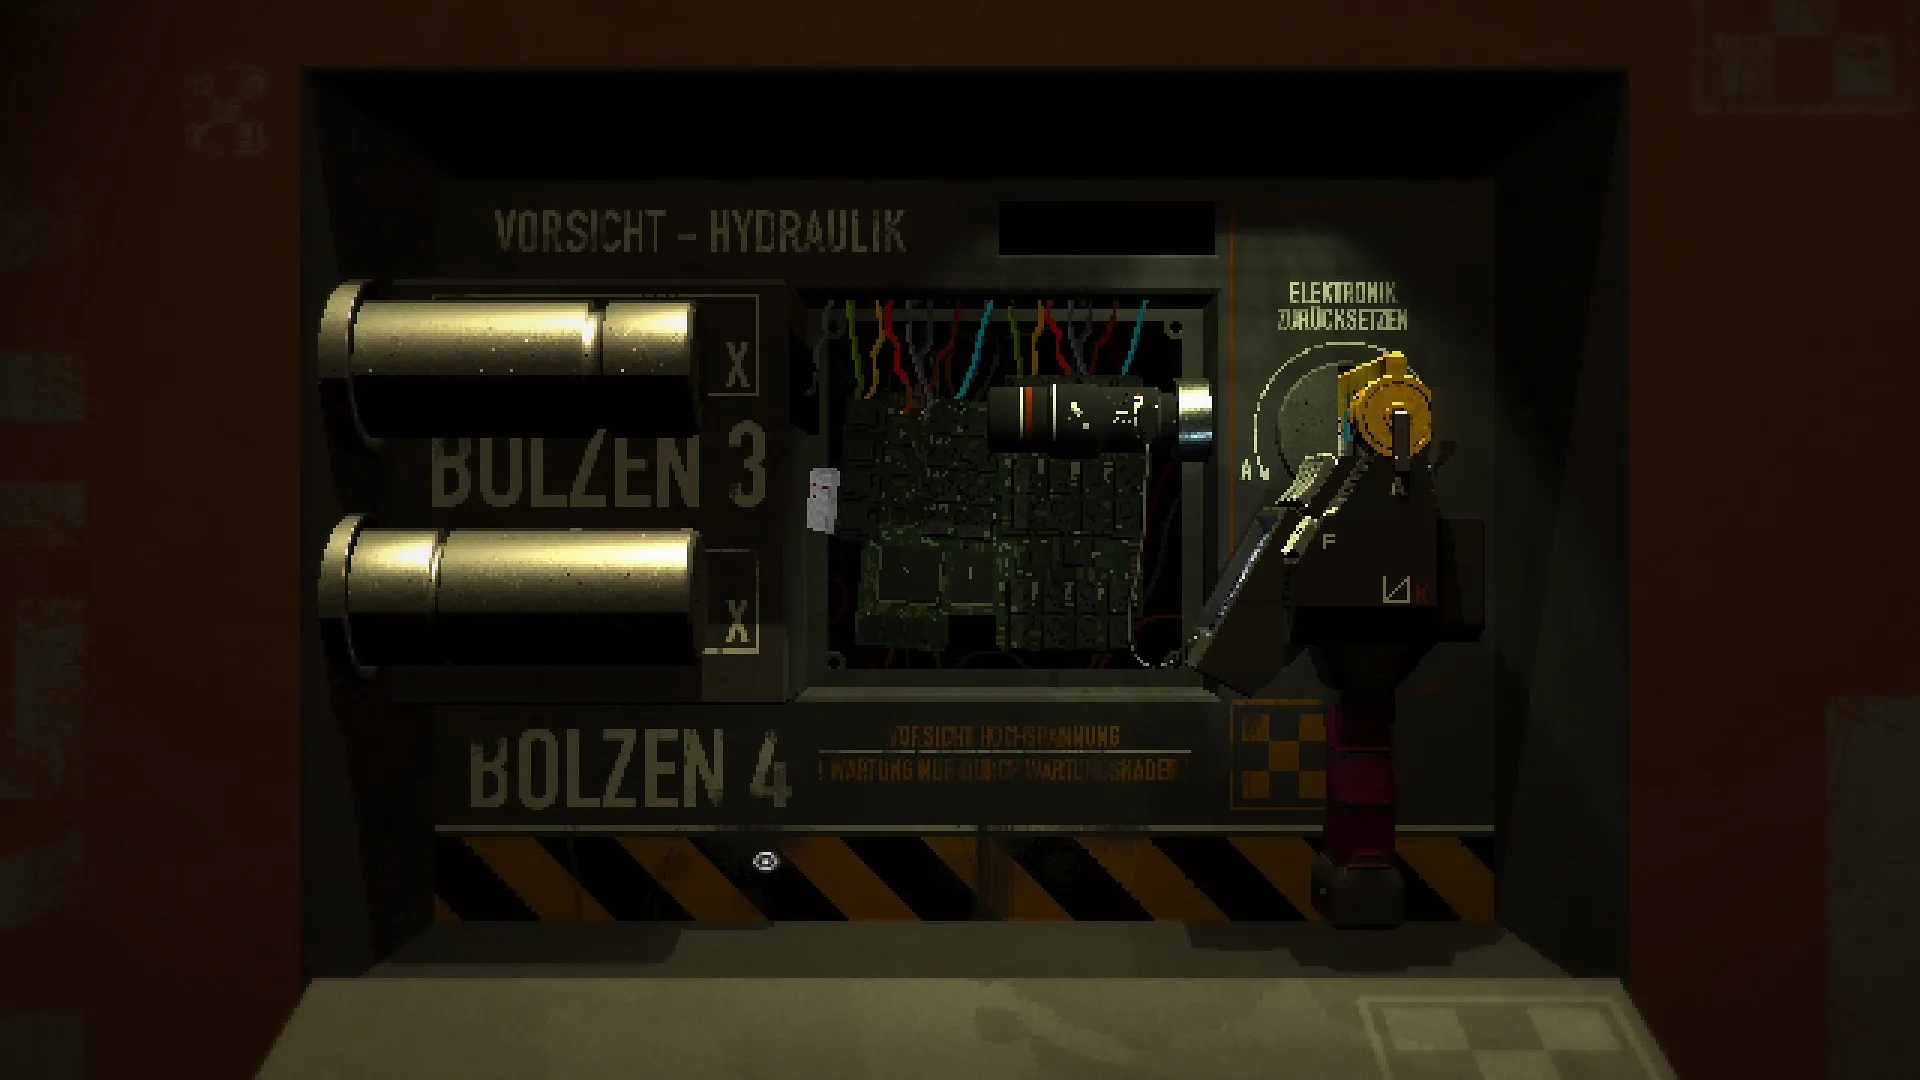
After solving the game’s first puzzle, you’ll find yourself in a presumably new facility. Eventually, you’ll drop through the floor to a new level, B2, where the game’s first enemies will start to appear. Your progress will ultimately be blocked by an orange door in the A6 Block. Explore the areas around all you’d like, but you can’t move forward until you unlock the A6 door.
How to Get the Service Hatch Key
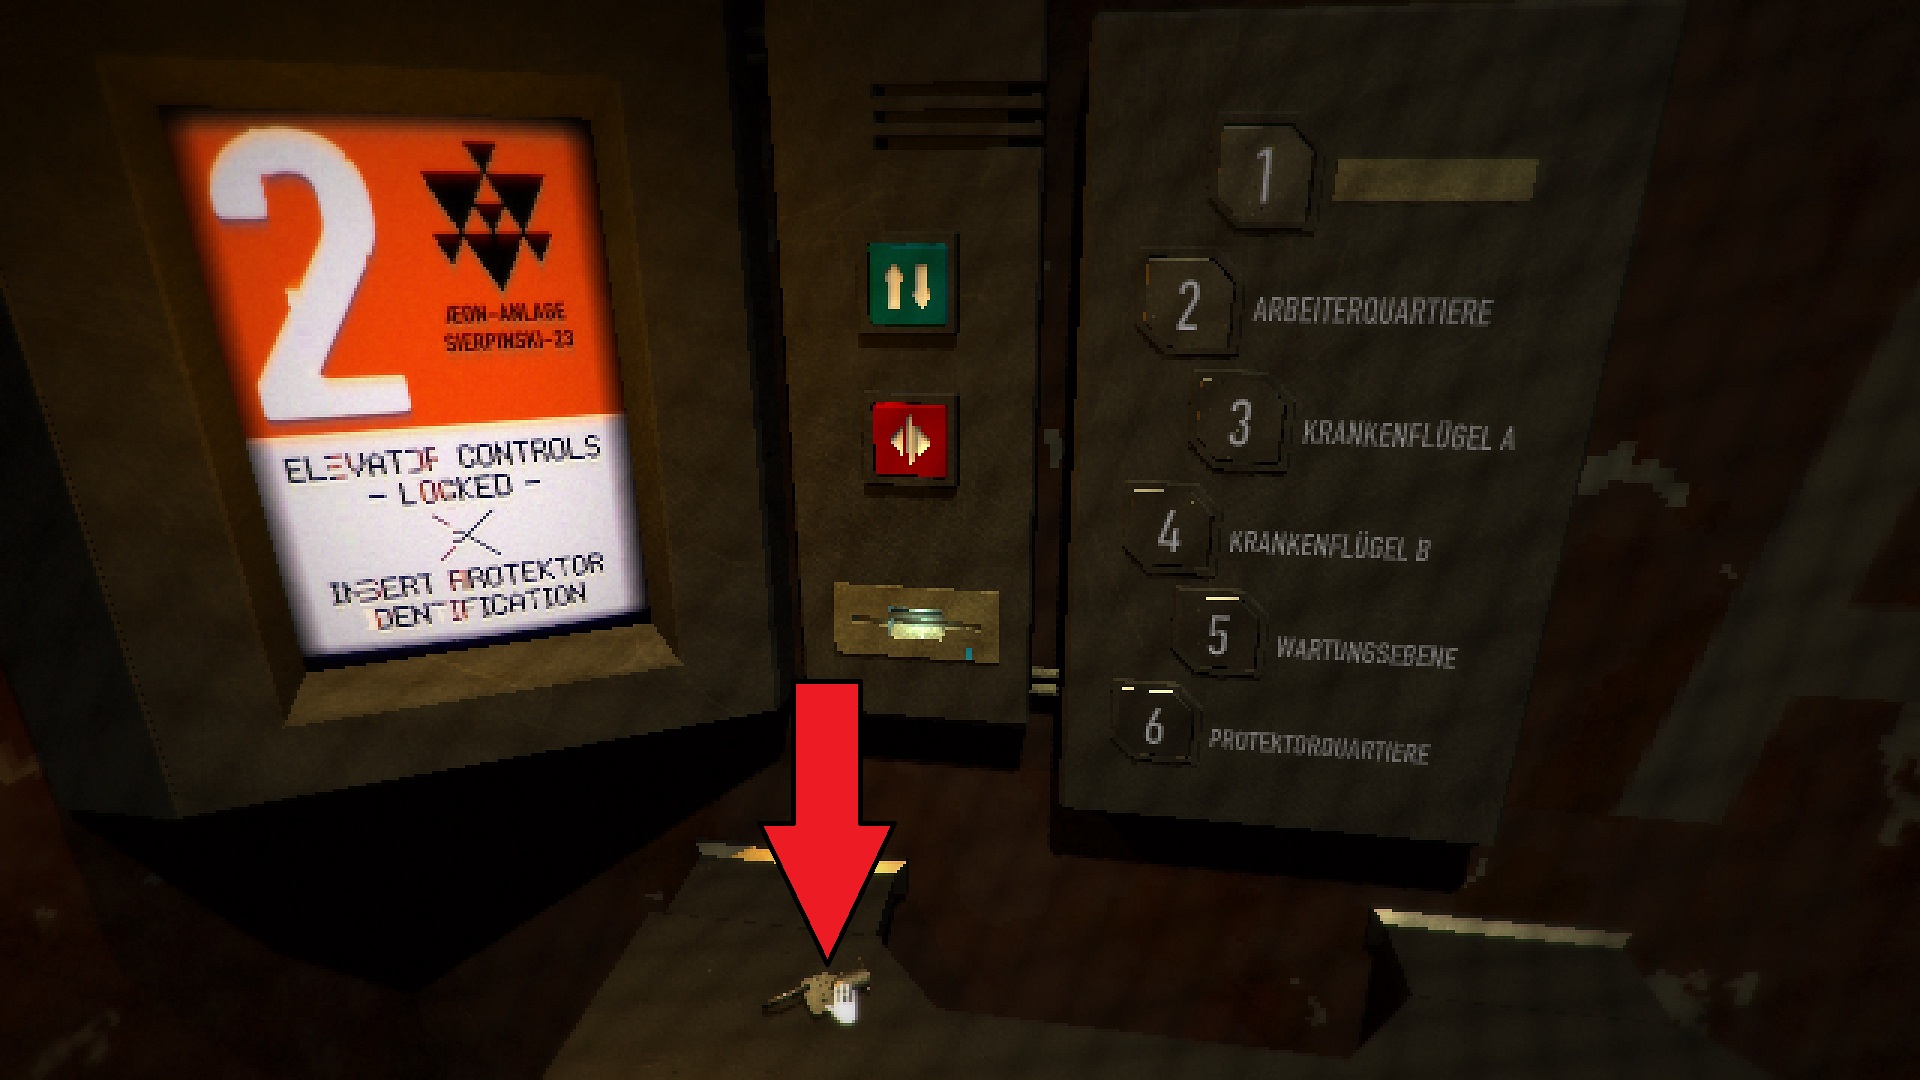
Interacting with the A6 door leads nowhere initially; you need the Service Hatch Key to access the panel on the door. Turn around, and go southwest to the Elevator Lobby. Interact with Elevator 2 on the left.
Go inside when the doors open, and inspect the shelf on the left to get the Service Hatch Key.
How to Solve the Lockpick Puzzle
When you open the service hatch, you’ll be met with an imposing device, but the solution to this puzzle is relatively simple once you understand the mechanics. Interact with the yellow device on the right side.
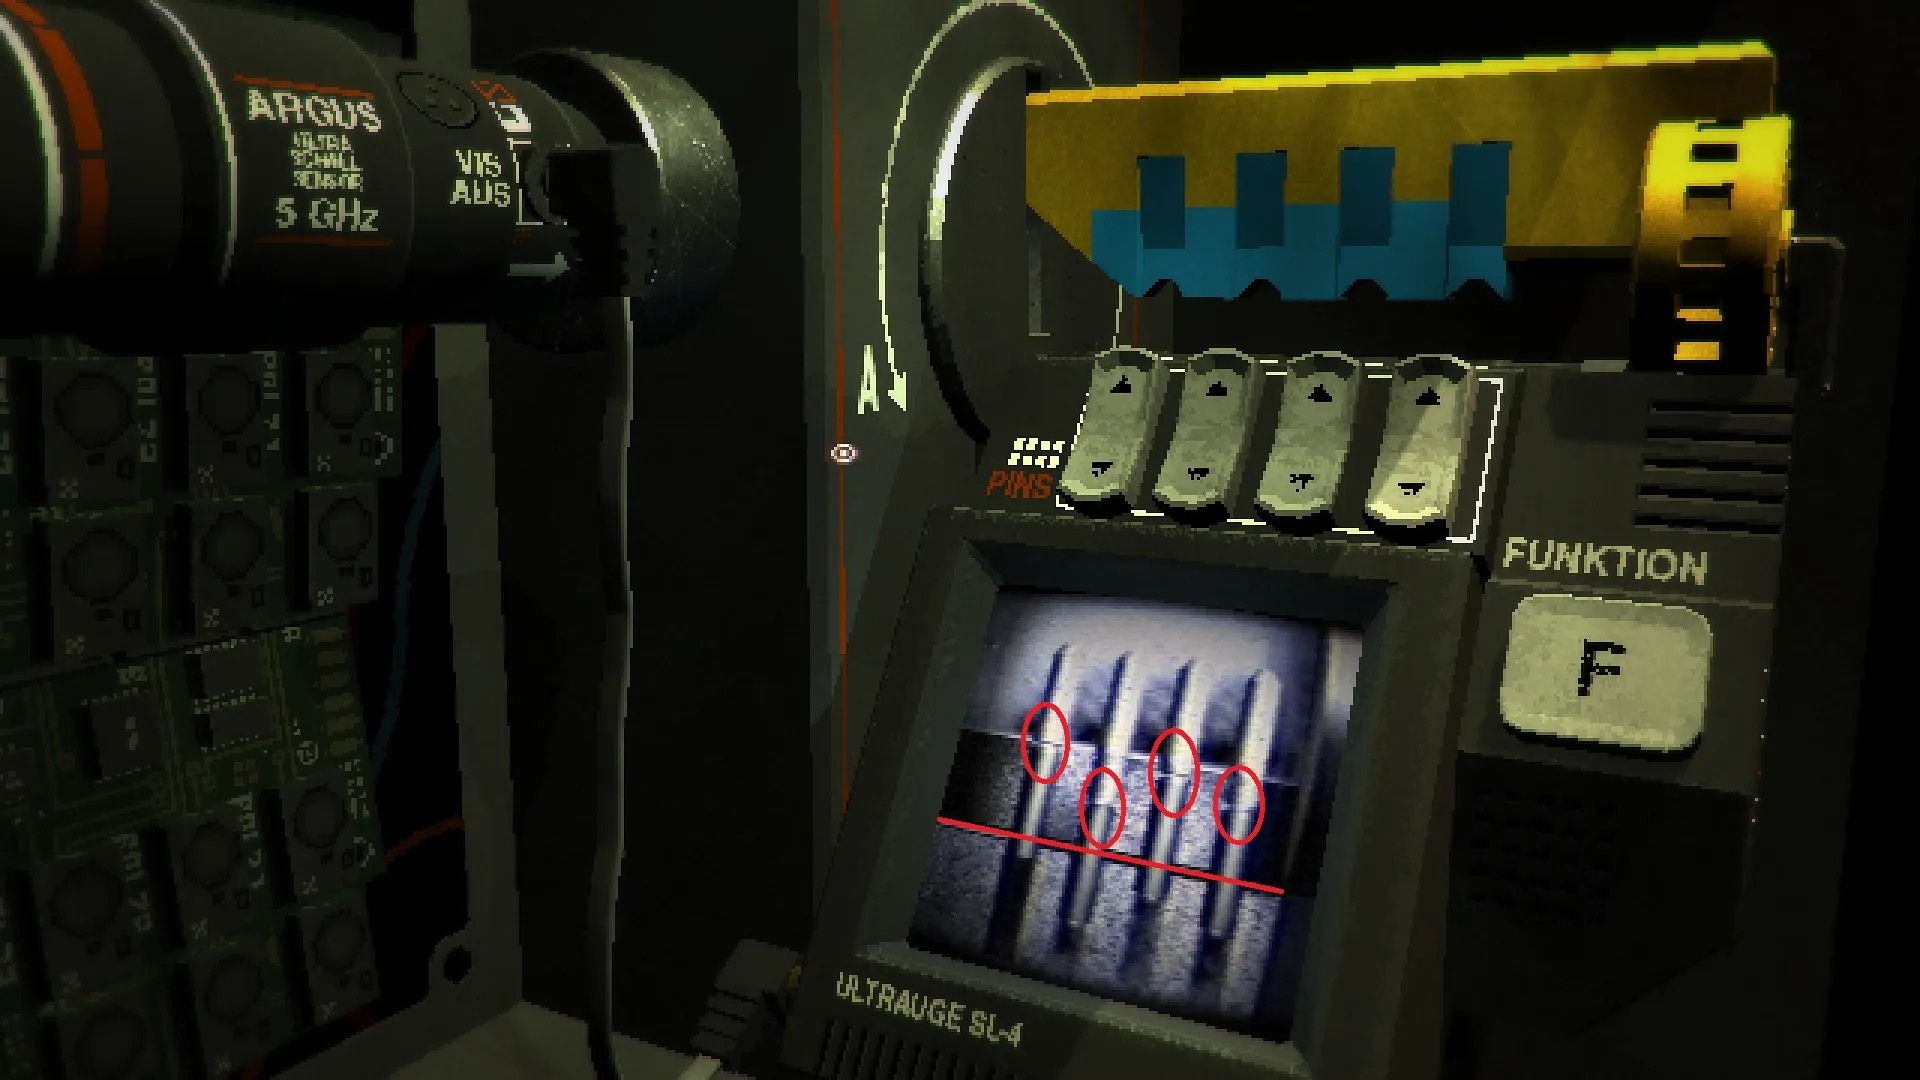
When your perspective shifts, you’ll see four buttons below a yellow and blue device, a screen showing pins beneath the buttons, and an “F” button to the right. The buttons above the screen make the blue portions (teeth) of the device above the buttons either longer (deeper) or shorter (shallower). These teeth sections depress their respective pins when you press “F” on the device.
Each pin has a horizontal groove, and there is a plate with two grooves — one higher and one lower — behind the pins. The goal is to align the grooves on each pin with the plate’s lower groove by correctly setting the teeth (blue portions) of the lockpick device.
Here’s how you should press each button to raise or lower the teeth. We’ll go from far left to far right, labeling the buttons 1 (far left) through 4 (far right):
- Far Left Button: Up x1
- Middle Left Button: Up x3
- Middle Right Button: Down x2
- Far Right Button: Down x1
Once you’ve solved the Lockpick Puzzle, you’re free to explore a brand-new (and much more dangerous) area of the facility, sending you deeper into the macabre secrets of Signalis.


Published: Nov 5, 2022 11:51 am