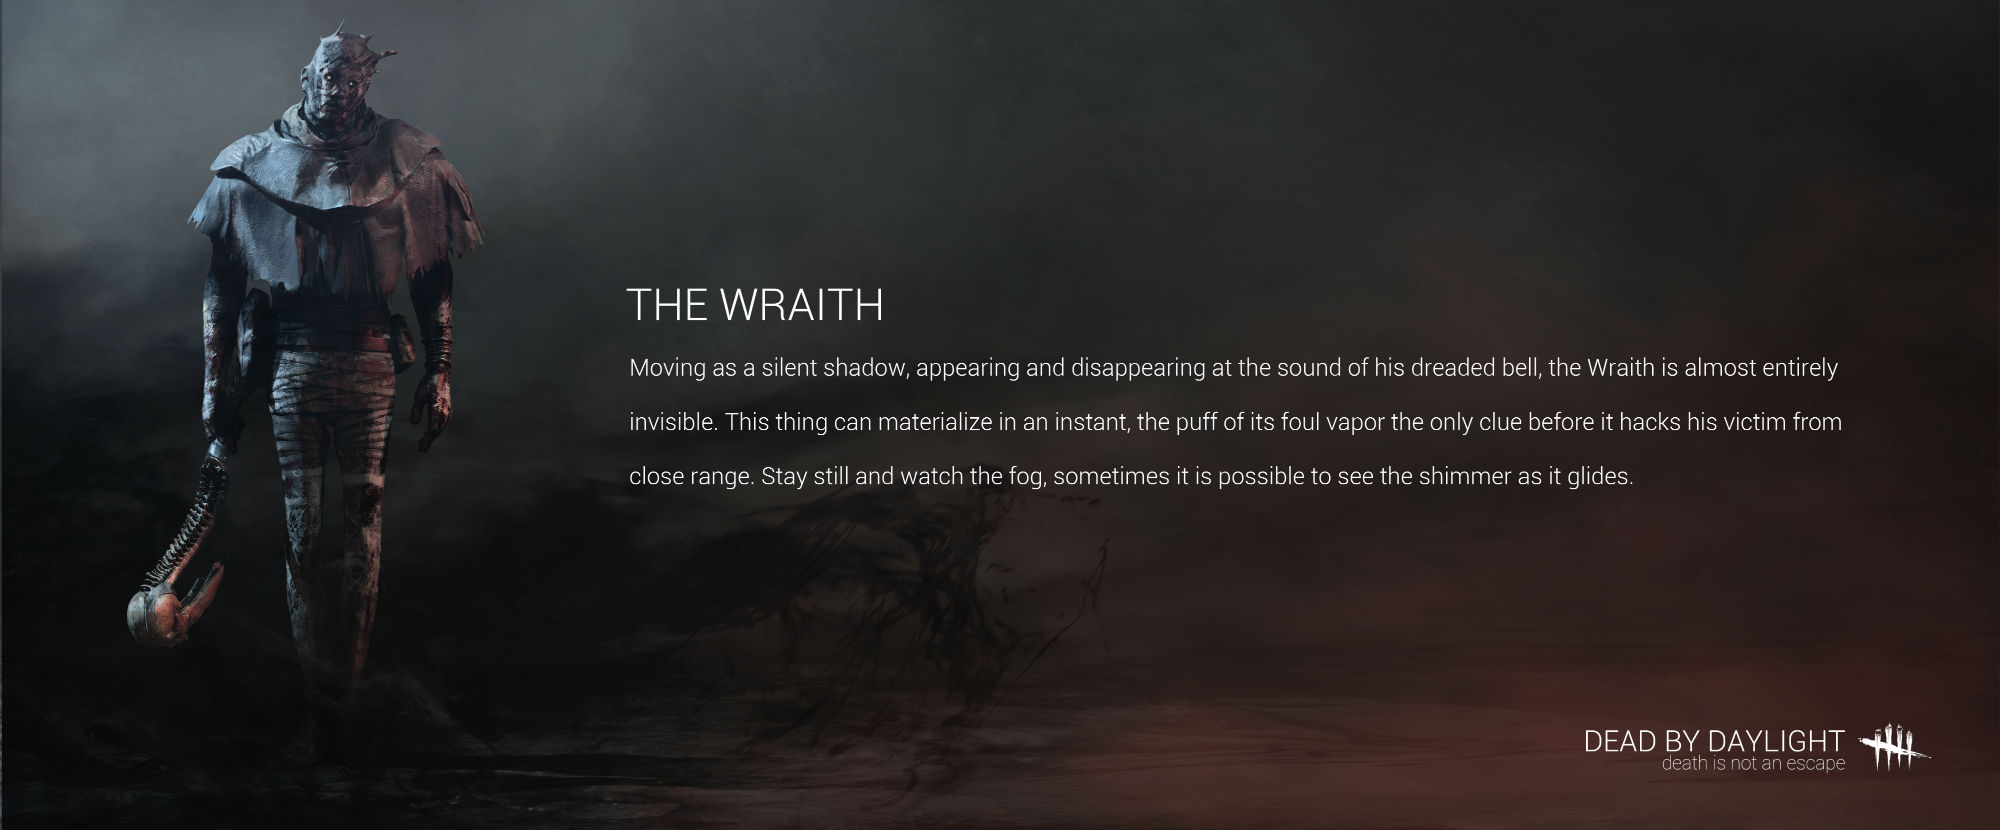
Brought out recently with the full release after a lengthy beta process, the Wraith is the second out of three primary killers now available in the 4 vs. 1 horror simulator Dead By Daylight.
Originally called the Banshee before the official release, this spectral killer is more about stealth than overpowering force like either the Trapper or Hillbilly. But in many other respects he behaves the same in his attempts to knock down survivors and set them up on the ritual hooks before they escape.
Many of the same basic killer strategies for the Trapper also apply to the Wraith, like using audio and visual cues to hunt down the survivors with your limited field of vision as the killer.
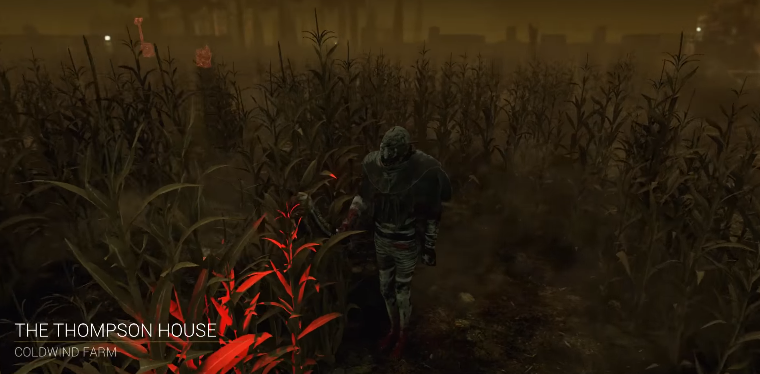
While the Trapper lays down vicious bear traps to herd his prey and the Hillbilly revs up his chainsaw for devastating attacks, the Wraith instead utilizes supernatural powers to remain hidden and outfox the survivor crew. One of the few advantages survivors have is their ability to see in full 360 degree view, which is negated by the Wrath’s ability to turn invisible.
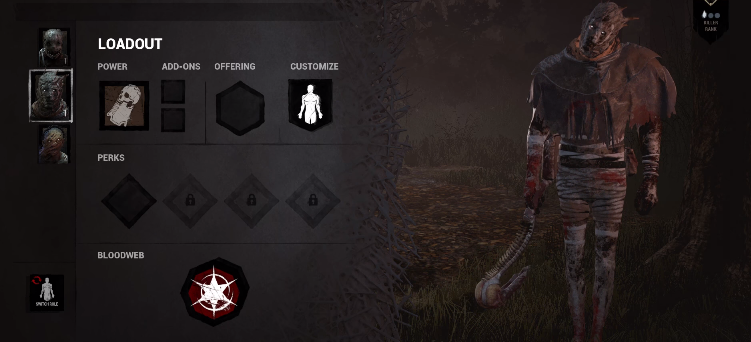
Primary Weapon: Azarov’s Skull
Like the Trapper’s cleaver, this gory skull and spinal column is the weapon you’ll be using to first wound a survivor and then hit a second time to knock them down.
Once they hit the dirt, you can pick up the survivor and make your way towards the nearest hook to initiate a sacrifice. Don’t forget there’s a timing element at play here though, as there’s a slight cool down after each hit where you wipe the blood off your weapon.
Secondary Weapon: Wailing Bell
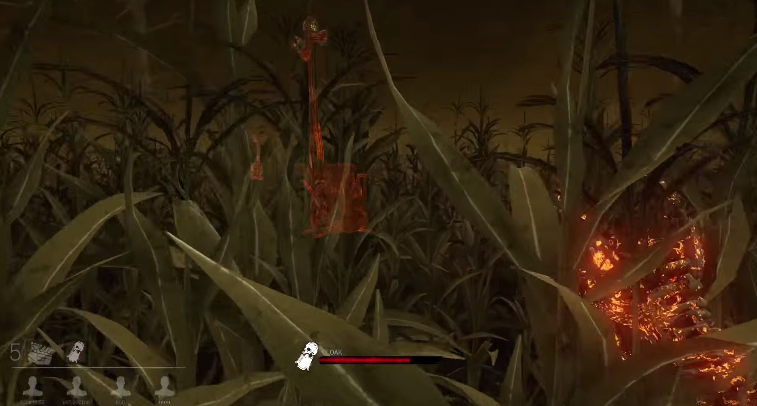
Not particularly a “weapon” at all, the Wraith’s secondary piece of equipment is much more versatile than either the bear trap or the chainsaw: it turns you almost entirely invisible. There’s a trade off here though, as you can’t directly harm a survivor while you are cloaked.
While under the influence of the bell, you have more freedom to stalk your prey without them noticing you. Patrol the generator and chest areas while invisible, and pay attention for scratch marks indicating a survivor was sprinting or loud clanking noises indicating a survivor turned on a generator or messed up a skill check.
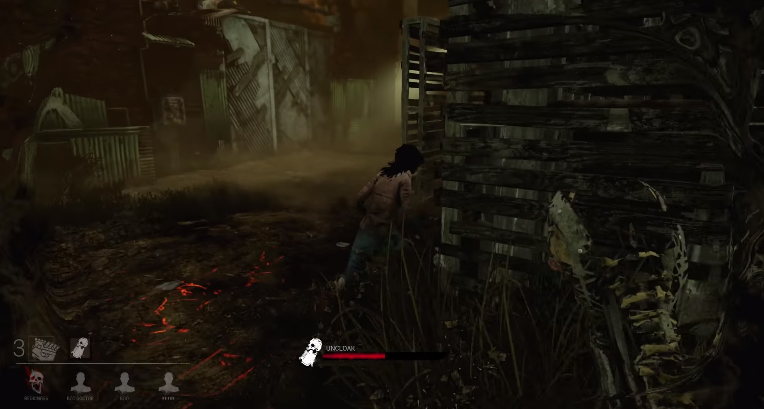
Cloak / Decloak
The bell makes loud tolling sound as soon as you activate your cloaking ability, alerting everyone the map to what you’ve done, which is the only saving grace for the soon-to-be dead survivors.
Most importantly: they don’t hear the heartbeat while you are cloaked. You can literally walk up right behind them and they won’t notice, unlike with the other two killers.
It’s a good idea to cloak right at the start of the match before the survivors have had a chance to see you, offering a serious advantage immediately. Azarov’s Skull actually disappears from your hand while cloaked, however, and you have to decloak before attacking.
You can deactivate the cloak while moving, essentially letting you appear out of thin air to get in a first hit against a survivor, but you slow down while decloaking. They key here is getting the timing and angle right, as the bell will toll again while you go from cloaked to uncloaked mode.
To play to this stealth killer’s strengths, come up from behind or the side of a survivor and quickly decloak and get a first hit in. Before that strike, take a moment to pay attention to your surroundings first so you have a solid plan ahead of time of what direction to chase when the survivor starts running.
If you know your surroundings and time it right, they won’t have a chance to flee and you’ll get in your second hit quickly. Remember its frequently a better idea to go around walls and through a different entrance than slowing yourself down by going through a window or over an obstacle after a fleeing survivor.
Moving diagonally around sight-blocking objects is also a much better tactic than going directly behind a survivor (unless you are cloaked) as you can avoid objects they knock over and guess which direction they will run, rather than always trying to catch up from behind.
If you lose sight of the survivor after giving chase for awhile, just cloak again – this will typically send all four scampering at full speed, since they’ll think you are near no matter where you are on the map. It’s an excellent means of flushing out hiding prey.
 Activating Your Cloaking Power
Obviously taking a survivor to the nearest hook is always a good idea after you’ve got in your second hit, but don’t discount other tactics: you can turn invisible after all.
If you have a group of survivors working together rather than singly, its not a bad plan to leave a survivor down and then immediately cloak and wait for for someone else to come along and try to help the downed player.
That’s all you need to know to get started slaughtering survivors as the Wraith! Let us know if you’ve got any other killer tactics in the comments below.
Countering The Wraith
To stay alive as a survivor during a Wrath match, you need to strike a balance between remaining hidden and running like mad. You have the speed advantage when the Wraith is cloaked, but the killer could be cloaking specifically to lure you out of hiding and make you run wildly.
After you hear the bell toll, survival depends on staying near pallets you can drop and remaining in areas you can lead the Wraith on circular chases through windows and twisting hallways.
There is a small chance of noticing the killer before he starts decloaking and the bells toll again if you pay attention. As it turns out, he’s not actually 100% invisible, as there is a slight shimmer in the air revealing his presence every few seconds.
For more info on staying alive as one of the four survivors in a Dead By Daylight match, check out our survivor’s beginner guide here.




Published: Jun 17, 2016 5:37 PM UTC