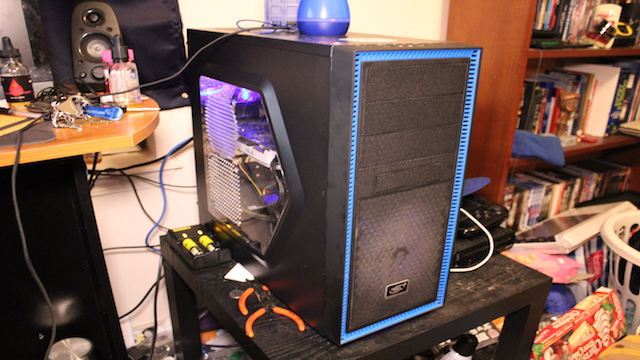
The concept of PC gaming is something that to an outsider of the PC gaming community sounds like an extremely expensive and daunting task. There is a lot of jargon and terminology that can be confusing. And the act of actually putting the whole thing together seems like it takes a degree in rocket science to do.
But in recent years, people have begun to find out that it isn't as difficult as they made it out to be. With the help of many different websites and Reddit forums (primarily r/pcmasterrace and r/buildapc), you can build a decent PC that will be able to handle just about anything you throw at it without breaking the bank.
At the beginning of this year, I built my first computer. As someone who agreed that it seemed like a completely foreign task to do, I found that it is one of the easiest things I've ever done and really rewarding to finish building.
The most insane part about the whole process? The incredible quality of gaming I have found for what I paid. I have been able to play any game that I throw at it with minimal problems.
Here is the complete list of parts that I originally bought for my current PC and how much it cost at time of purchase:
- AMD Athlon X4 860k 3.7GHz Processor
- Price: $99.59
- Gigabyte GA-F2A78M-D3H Micro ATX FM2+ Motherboard
- Price: $69.95
- Avexir Core series 8GB (1x8GB) DDR3-1333 Memory
- Price: $39.99
- Seagate Barracuda 1TB 3.5" 7200 RPM Internal Hard Drive
- Price: $48.60
- XFX Radeon R7 370 2GB Double Dissipation Video Card
- Price: $199.89
- Deepcool TESSERACT SW ATX Mid Tower Case
- Price: $29.99
- Power Supply: EVGA 600B 600W 80+ Bronze Certified ATX Power Supply
- Price: $49.99
So while my current build cost me about $538 (which is still crazy cheap), I'm going to show you how to build one for even cheaper. From here, I have created a new build with updated parts that you can use to build your own gaming PC for under $500. Let's get started.
CPU
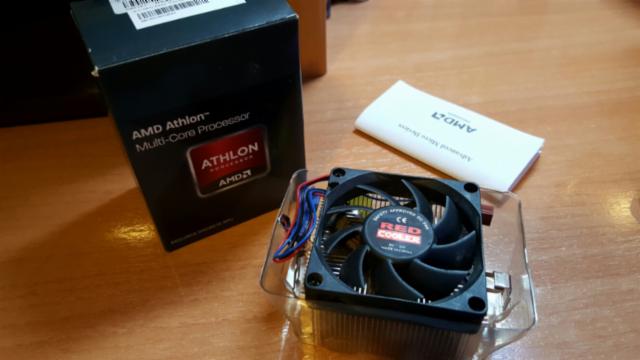
AMD Athlon X4 860k
Price: $99.89 at OutletPC
The central processing unit (CPU) is probably the most important part in the whole computer. This is what people classify as the brain of the computer. It is what does all of the calculations that any program needs at any time.
The CPU I chose is the same one that I currently use in my computer. It's comparable to the CPUs used in consoles, and it has four processing cores, which I would say is the minimum needed for any gaming PC.
Is it the best CPU on the market? No. Is it the best for the price? I would definitely say so. The only issue I have run into with this bad boy is cooling, but that is my own fault and something I will get into on the next slide.
CPU Cooler
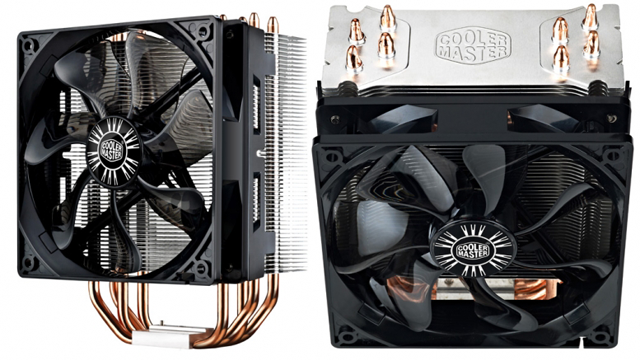
Cooler Master Hyper 212 EVO
Price: $29.88 after $10 Mail-In Rebate at OutletPC
Remember how I said I had an issue with cooling my processor? It was because I don't have one of these. The processor I bought came with a stock CPU cooler, and the biggest issue with that is modern games take a lot out of a CPU, especially a cheaper model like the processor I recommend here.
When a processor is under a heavy load, it generates a lot of heat. For example, playing Titanfall 2 at high settings for about an hour and a half gets my CPU's temp to around 200 degrees. This is why an aftermarket CPU cooler is necessary.
Unlike a stock CPU cooler, an aftermarket CPU cooler is able to cool a CPU much more efficiently. They have larger fans and are meant to increase airflow over the central processing unit. This allows fora better-running computer all around.
Motherboard
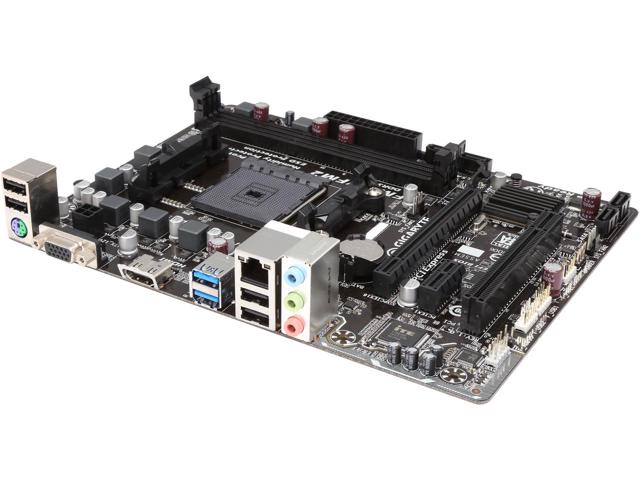
Gigabyte GA-F2A68HM-H Micro ATX FM2+
Price: $45.00 at NCIX US
A motherboard is what every part that we get will be put into. This is what allows everything to work together, and because of this, there are a lot of things to note when choosing a motherboard.
First of all, you need to make sure that the motherboard is compatible with whatever CPU you will be buying. Motherboards are made for different brands of CPUs and different chipsets of CPUs, so if you just get the one that is the cheapest without checking to see if it's compatible with your CPU, you'll be SOL. I chose this motherboard for our build because it has all of the essential ports we need and is compatible with our CPU.
The four USB ports are plenty for the peripherals that you will need. The extra slot for RAM will allow for an extra RAM stick or an upgrade to a multiple RAM stick set should you want to do that down the line. All in all, it's exactly what we need for our build.
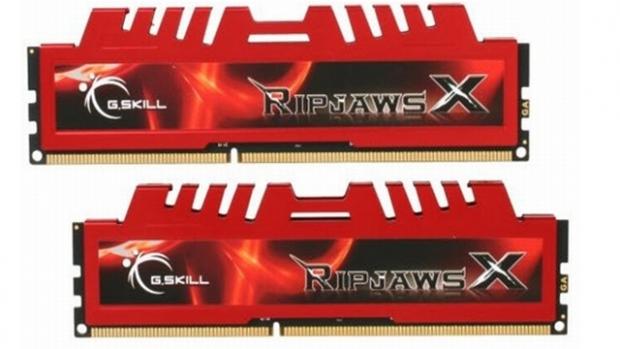
RAM
Ripjaws X Series 1x8GB DDR3-1333
Price: $44.98 at NewEgg
RAM is your computer's short-term memory. It's essential for running any program and it's what the computer uses to store the processes that a program needs to access while it's running. RAM is also what lets you know your computer's multitasking capacity.
With the 8GB stick of RAM that I have recommended, you won't be able to run a lot of stuff in the background while playing games (in fact, I recommend closing most non-essential programs while running a game), but it will be more than enough to run any game that you want. It definitely isn't the fastest RAM on the market, but it is more than enough to run what you want at such a low price point.
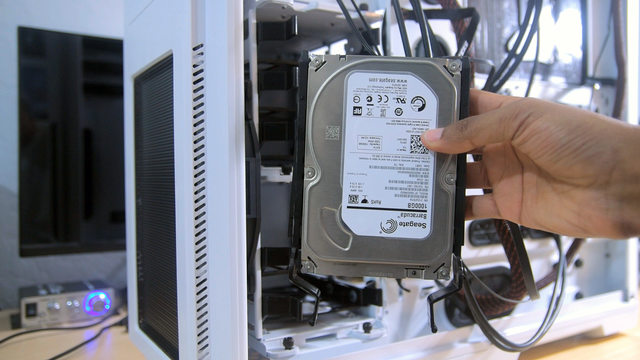
Hard Drive
Seagate Barracuda 1TB 3.5" 7200 RPM Internal Hard Drive
Price: $48.60 on OutletPC
This should be a pretty self-explanatory slide. Hard drives are a pretty common thing in our world. For this build, I recommend a 1TB hard drive. Games take up a lot of space these days, and 1TB should be plenty of space for whatever you are wanting to play.
Now, you may be wondering why a hard drive has an RPM measurement. This showcases how fast the actual disk that data is written to spins. The faster the disk spins, the faster data can be written and recalled. 7200 RPM is pretty standard for a hard drive, so it will be perfect for our build here.
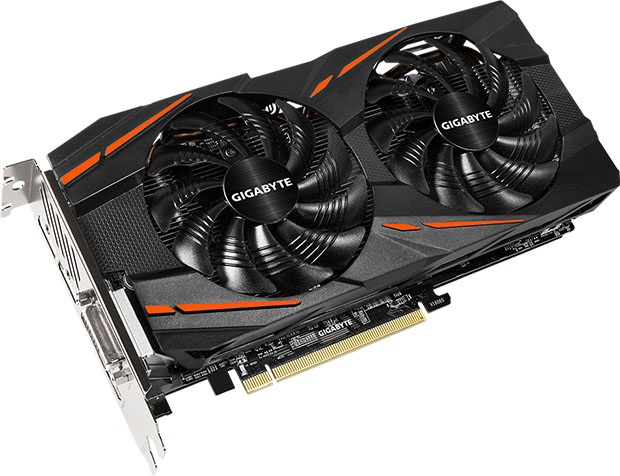
Video Card
Gigabyte Radeon RX 460 4GB Windforce OC
Price: $89.99 after $30 Mail-In Rebate at NewEgg
Next to the CPU, the video card may be the most important choice in building a PC. The video card is what processes all the visuals that are displayed on your computer monitor.
Most motherboards have built-in graphics settings, but video games require something much more powerful than those built-in settings allow for. This may also be one of the most, if not the most, expensive parts in a PC build.
In my experience, you get what you pay for in the world of video cards. If you are looking for a place to save money, this is definitely not the place to do it. However, with that being said, you can find some pretty decent deals on video cards.
The card I have provided here is part of AMD's new offerings on video cards. It isn't the best of those cards, but it definitely isn't anything to scoff at for a budget PC build.
It's comparable to console graphics cards, and with that mail-in rebate, you'll be getting it for around $90. To give some reference, I think I got my first video card (the Radeon R7 370 2GB) for around $130. Even if you don't use that mail-in rebate, you'll be spending $11 less than what I spent on my first card. And that's a steal.
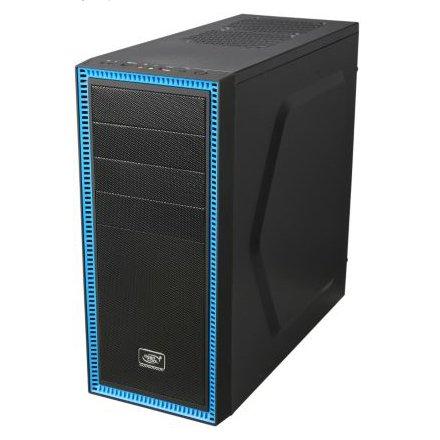
Case
Deepcool Tesseract SW ATX Mid Tower Case
Price: $29.99 at NewEgg
A case holds all of the parts that are in a computer. They are completely subjective and come in a range of different sizes and colors, with various features. Honestly, if you find a case you like that is compatible with all of your parts, go ahead and jump on it.
The case I have recommended here is the same case that I use for my computer. It came with two case fans that have blue LEDs that light up when the computer is powered on. It has four hard drive bays, a windowed side panel on the left side and multiple drive ports on the front.
On the top of the front panel with the power and reset button is one USB 2.0 port, one USB 3.0 port, a headphone input and a microphone input. I have found no issues with this case and have been extremely happy with my choice. For $30, this case is perfect for a first gaming build.
Power Supply
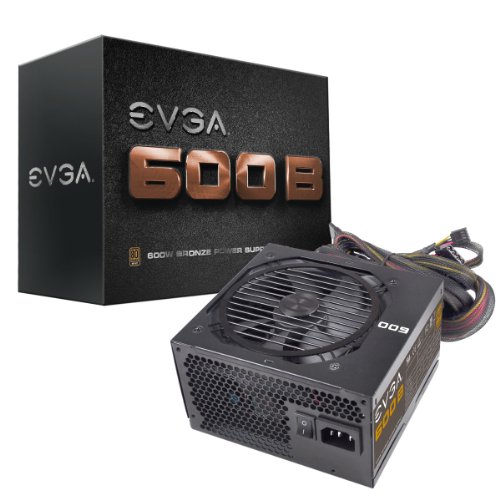
EVGA 600B 600W 80+ Bronze Certified Power Supply
Price: $49.49 at SuperBiiz
The power supply is what provides power to all of the components in your computer. This is another one of those parts that you don't want to skimp on. If you buy a no-name power supply that you got for super cheap, it's very likely that you will burn it out and in some cases, set your computer on fire.
It's important to note that when choosing your power supply, you will need to make sure that the power that all of your parts will draw does not exceed the wattage rating that your power supply can put out. Overloading your power supply can lead to serious problems.
The power supply I have recommended here is one of the most common power supplies I've seen in budget builds. It provides more than enough power to run all of your components -- and has some power to spare. That way, if you want to upgrade to more powerful hardware, you may not have to go out and get a new power supply to support it.
Putting Everything Together
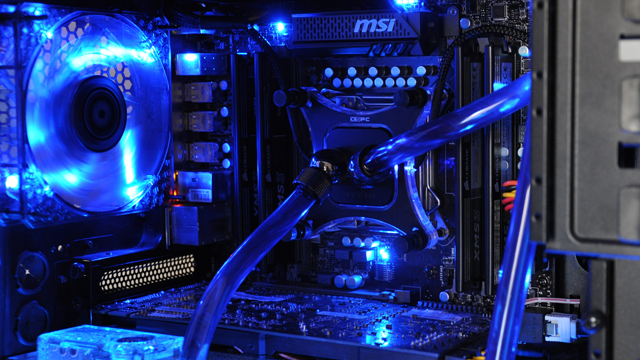
Now that we have all of our parts, we just have to put it all together. While this may seem like the hardest part, I found it to be the absolute easiest. If you've ever played with Legos, you can build a PC.
I recommend picking up a cheap small screwdriver set to put everything together. Lucky for you, we've got you covered on the rest with this great guide for building your very first PC gaming rig.
But after you've put everything together, there's still a few things you've got to do before you start blasting the bad guys...
Get a mouse, keyboard and operating system
You can find a keyboard and mouse set for $30 that will be good enough to get you going (really, those are a dime a dozen). And while there are a lot of gaming specific keyboards and mice out there that give you all kinds of fidelity and techno jargon, those are not a necessity for your gaming PC.
Now, in the way of operating system, Windows is the one that this specific PC build is geared toward and the OS almost every game you will want to play is optimized for. The issue here is "Which version of Windows do I get?"
I use Windows 7, but Windows 10 is Microsoft's newest offering and you can find deals all over the internet for a decently priced key. Once you have this, you will be up and running!
And that's it!
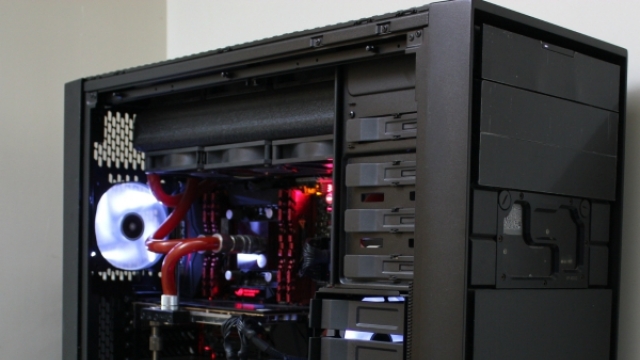
There you have it, folks! This is everything you need for a great gaming PC for $500. Once you have everything together, your OS installed and computer booted up, you will be off for a great new gaming adventure!
If you are wanting to use this build as a starting point and possibly swap out some parts for other things, here is the complete build list on PC Part Picker. You can take out whatever part you want and be able to search for the part you are wanting to replace.
Are there other bargain parts you can buy to build a cheap PC -- without skimping on performance? Let us know in the comments below!




Published: Dec 3, 2016 06:05 pm