Fortnite seems to be doing well for itself, but while it is fun just to play, we all want that Victory Royale.
Epic Games released Fornite Battle Royale back in September 2017, and it seemed as though everyone wanted to play it. With a massive influx of players over the last few months, Epic has had a little trouble keeping the servers running smoothly, as they didn’t anticipate that the game would be so successful. So I’m sure at some point, it must have piqued your interest. There is little in the way of matchmaking, which can make it pretty hard as a new player trying to learn the ropes. So here are some tips that should help you improve and hopefully steer you towards getting some Victory Royales.
1. Try to make building in response to being shot a natural reaction.
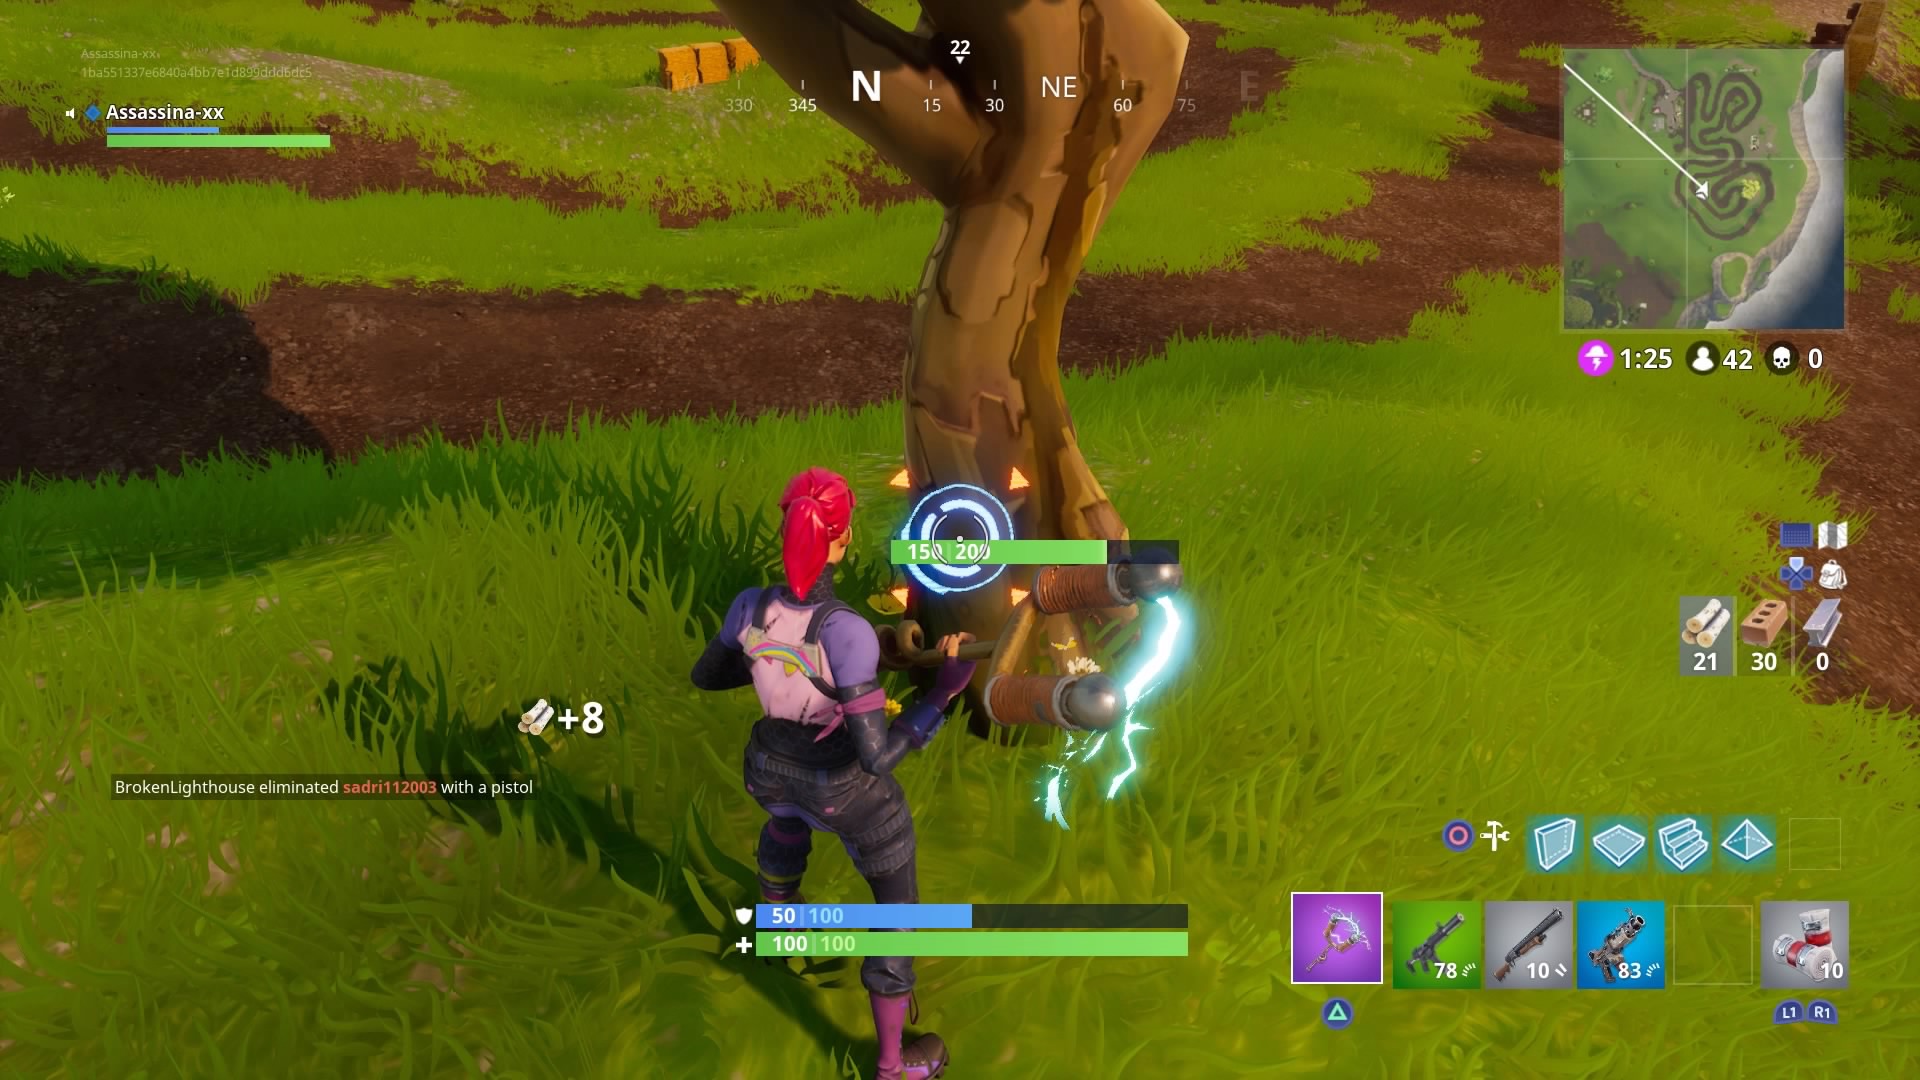
Building during combat is a MUST in Fortnite. The more you do it, the faster you will become at it. Consequently, this makes resources important too. Try to aim to always have around 300 materials (wood being the most important, which we will discuss later), but sometimes even just one wall can save your life. The fastest way to gain resources is to kill another player and take theirs, but of course this can’t always be counted on. When farming with your pickaxe, be sure to move around the object, as standing still makes you an easy kill for an experienced sniper. Also, when hitting objects in the world to collect materials, be sure to aim for the blue circle that will come up. This marks a critical hit — allowing you to do double the damage to the item, turning it into resources a little faster. See below for reference.
2. If you’re struggling with combat, land somewhere busy for a while.
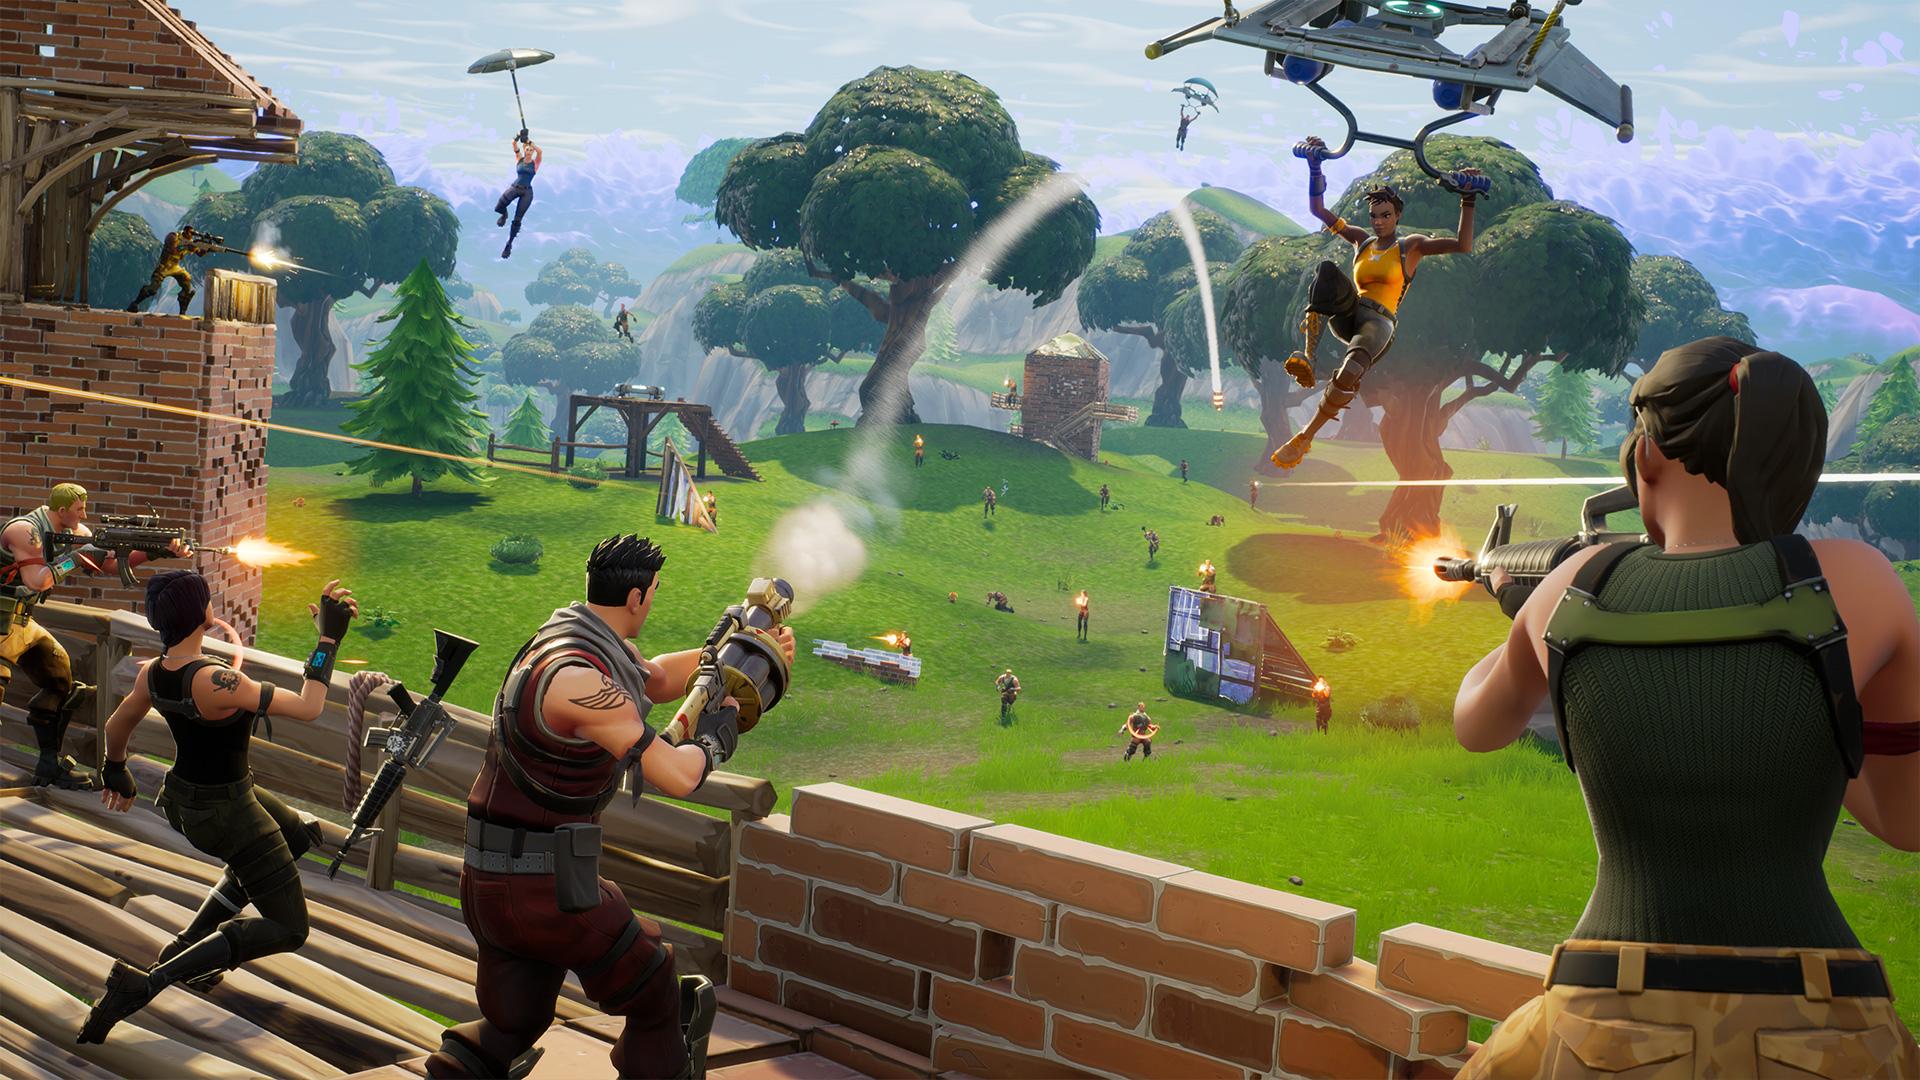
Whilst this might seem detrimental, it will help you learn how to react in combat. If you typically land in quiet places, only to find yourself dying to one of the first other players you encounter, then maybe it is time to work on your combat! Landing in populated places such as Tilted Towers, Retail Row, and Pleasant Park will put you up against a lot of other players. This may be frustrating and dare I say it, “tilting,” but it is the best way to practice your shooting and improve your chances at surviving combat more regularly. Once you’re more comfortable with gun fights, perhaps switch to semi-populated areas. For instance, Greasy Grove, Anarchy Acres, and Fatal Fields all usually tend to have a handful of players landed there (though not too many), so it amounts to complete chaos! This will allow you to gear up but also have a good chance at making it out alive and with a few kills under your belt.
3. Don’t underestimate the high ground.
Having the high ground during a battle can help out a lot and is something that not too many players are aware of. I’ve won games in the past where I’ve been under-equipped but could easily take out the remaining enemies because they had a hard time shooting upwards. Once the circle starts to become pretty small, look for a nearby hill or mountain that has a good chance of being in the next safe zone, and build up to it using stairs. If you can, try to put your stairs in a position where they will be in the storm once the next circle moves in, as this will stop other players from following you up. Always be on guard, though, as a position like this may be sought after, and another player may be up there already or could build up after you. If so, you’ll need that previous combat training to take them out. Usually, winning the mountain means winning the game.
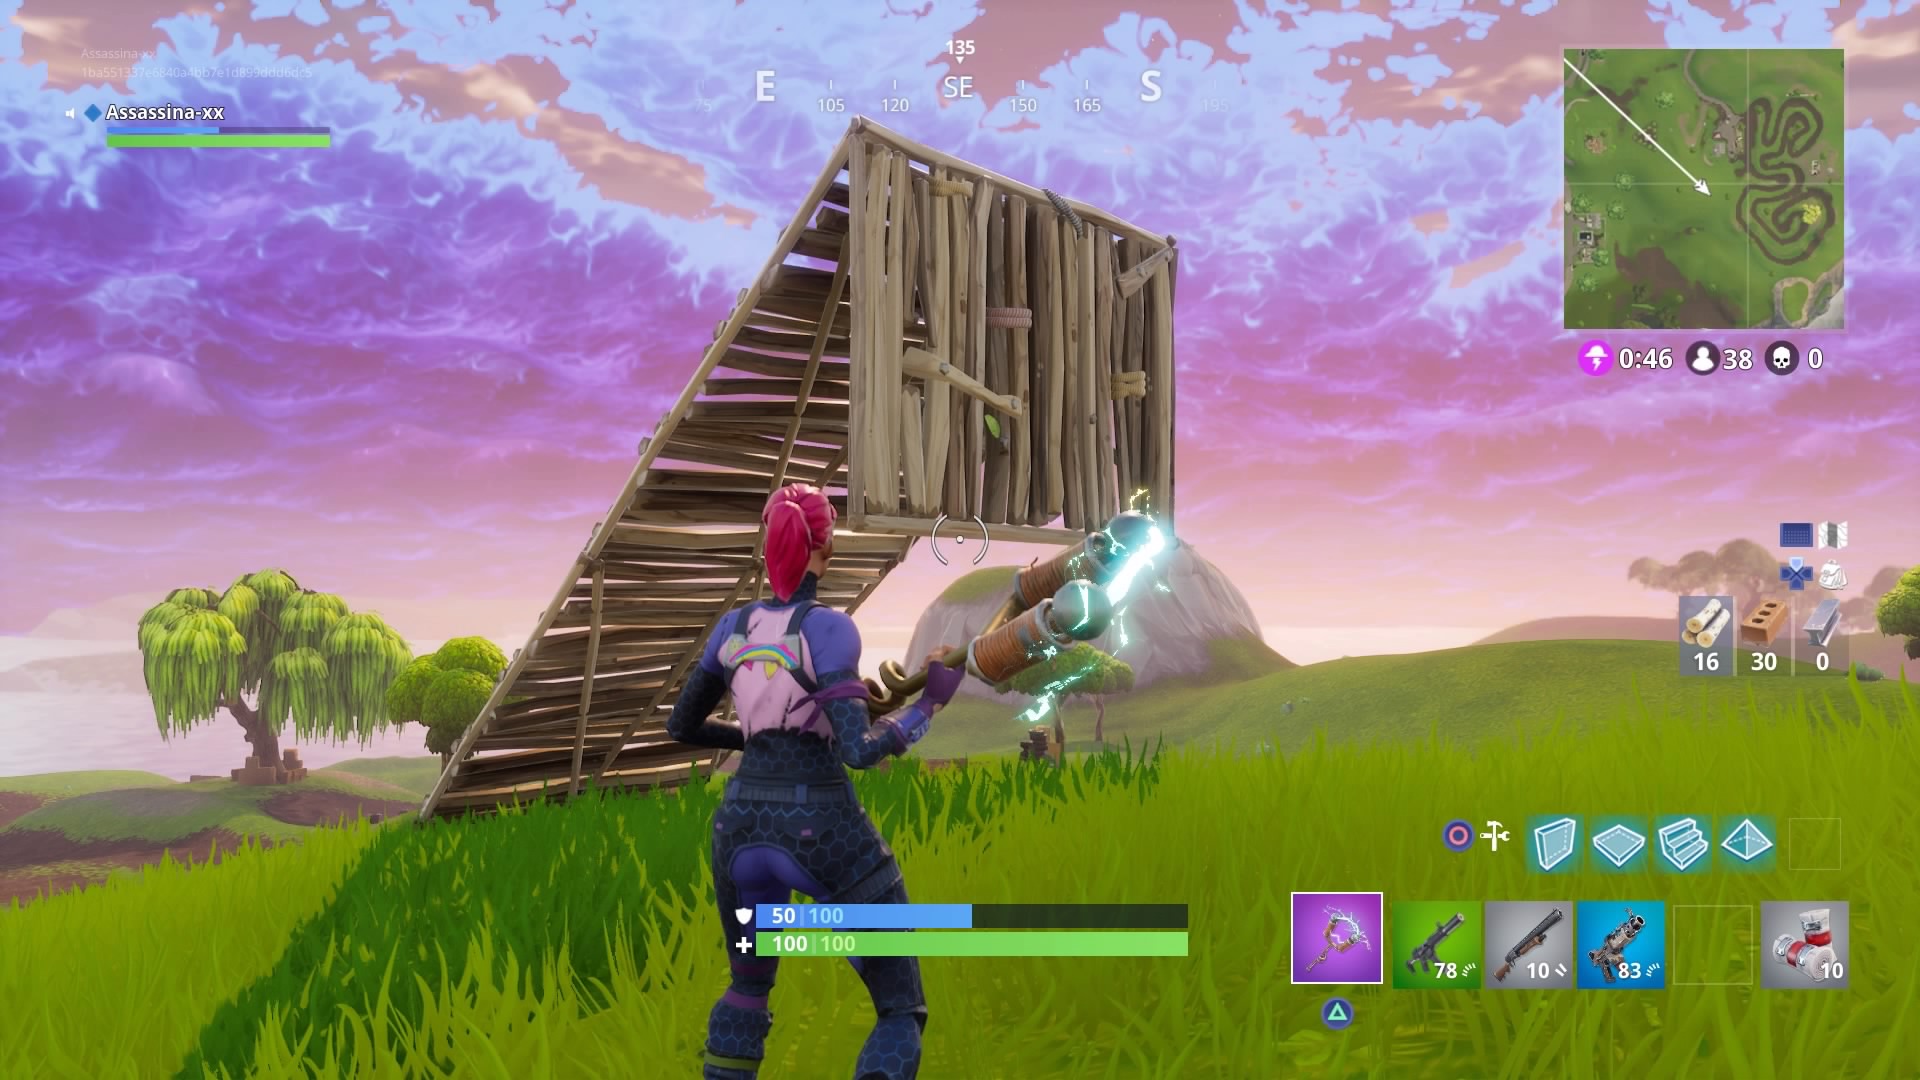
However, this doesn’t just apply to mountains. If you find yourself in a close- to medium-range fight, don’t be afraid to build a few stairs over your enemy, creating your own high-ground. The highest you can build without taking damage if you fall is three stairs up, which is also useful to remember when building a base. When doing this, be sure to protect your stair piece with a wall, giving you more time to direct your fire at the opponent. If the enemy tries to take out your stair to bring you back to the ground level, they would have to first take out the wall piece, or move to a better position. This should buy you a little extra time!
4. Become familiar with the different types of material and when to use them.
As you have probably figured out by now, there are three types of material you can build out of in Fortnite: wood, brick, and metal. Each type has different advantages and disadvantages.
Firstly, wood starts with the most base health when initially placed. This means it can take more damage during a fight before going down and requiring you to place another wall, thus making it the most effective at blocking bullets quickly. For example, in a close-range shotgun battle, a freshly placed wall can take two blasts before it falls, whereas brick and metal will go down with one shot from a shotgun. So if the stream of bullets/rockets is already coming your way, block them with a wooden wall or stairs. However, when fully built, wooden pieces have the least amount of health and are the most transparent, which allows an enemy to line up a snipe and see when you are about to peek your head. Remember this when building a base (whilst not under fire) to settle in for a little while.
Next, brick has a little more health than a wood piece when fully built and therefore can sustain a small amount more damage before falling. The main advantage of a brick wall is the ability to “ghost peek.” This means you can see through your wall and line up shots without actually showing your head, making it much harder for the enemy to predict when you are about to pop up. This is done by damaging your brick wall once or twice with your pickaxe, making the top layer more transparent. However, it is important to remember that you cannot shoot through this, so once you’ve lined up your snipe or located the enemy, you still have to move upwards and expose part of your character. It simply makes it harder for the enemy to predict when you will do this and also allows you to safely scan the area for players.
Lastly, metal is the strongest structure when it has completed building, and it’s completely opaque, resulting in the enemies not knowing where in your base you are. In addition, metal, when fully built, is the only material that can withstand a rocket blast. An RPG will take down any building piece in one blast, except for metal, which requires two rockets or a rocket and a few bullets. This can buy you some time in finding out where the enemy firing the rockets is located. This results in in being the best material to choose when building your final end game base. It does have a slow build speed, though, so only use it when it is safe to and you know that it can be fully built before someone fires at you.
5. Don’t shoot instantly upon seeing a player.
When starting out, it is easy to think that you should shoot at someone as soon as you see them, yet sometimes this is actually a bad move. If you have a clear head shot and know that you will be able to take them down with ease, then by all means go for it! But sometimes if you open fire on a distant enemy who is unaware of your presence and get few or even no hits on them, you have put yourself in a bad position. The player didn’t know you were nearby, but now, from the sound and possibly sight of your bullets, they will likely be able to pinpoint your location, giving up the element of surprise you previously had. Occasionally it can be better to follow a player and wait for the right opportunity to attack. Or, if you have low health or have found yourself in bad positioning, don’t be afraid to let them go. You don’t have to fight everyone you see if they’re not aware of you, but if they have noticed you, then do be prepared for a fight.
6. Have a regular order that you store your weapons in.
Keeping your weapons in a familiar order can help a lot during a fight due to the muscle memory this will have given you. For instance, I have my assault rifle in the first slot, followed by a shotgun, a sub-machine gun/explosives (for tearing down bases), a sniper, and lastly, a healing item. This results in my knowing how many button presses — or which button to press if you’re on PC — it takes to get the the gun I need. If I’m using my assault rifle and an enemy pushes towards my position, I know I’m only one tap away from pulling out my shotgun. It is good to have a loadout that works effectively for you and to get familiar with it, as there is nothing worse than pulling out a sniper during a shotgun battle and accidentally going for a “no-scope!”
7. Learn how the storm moves.
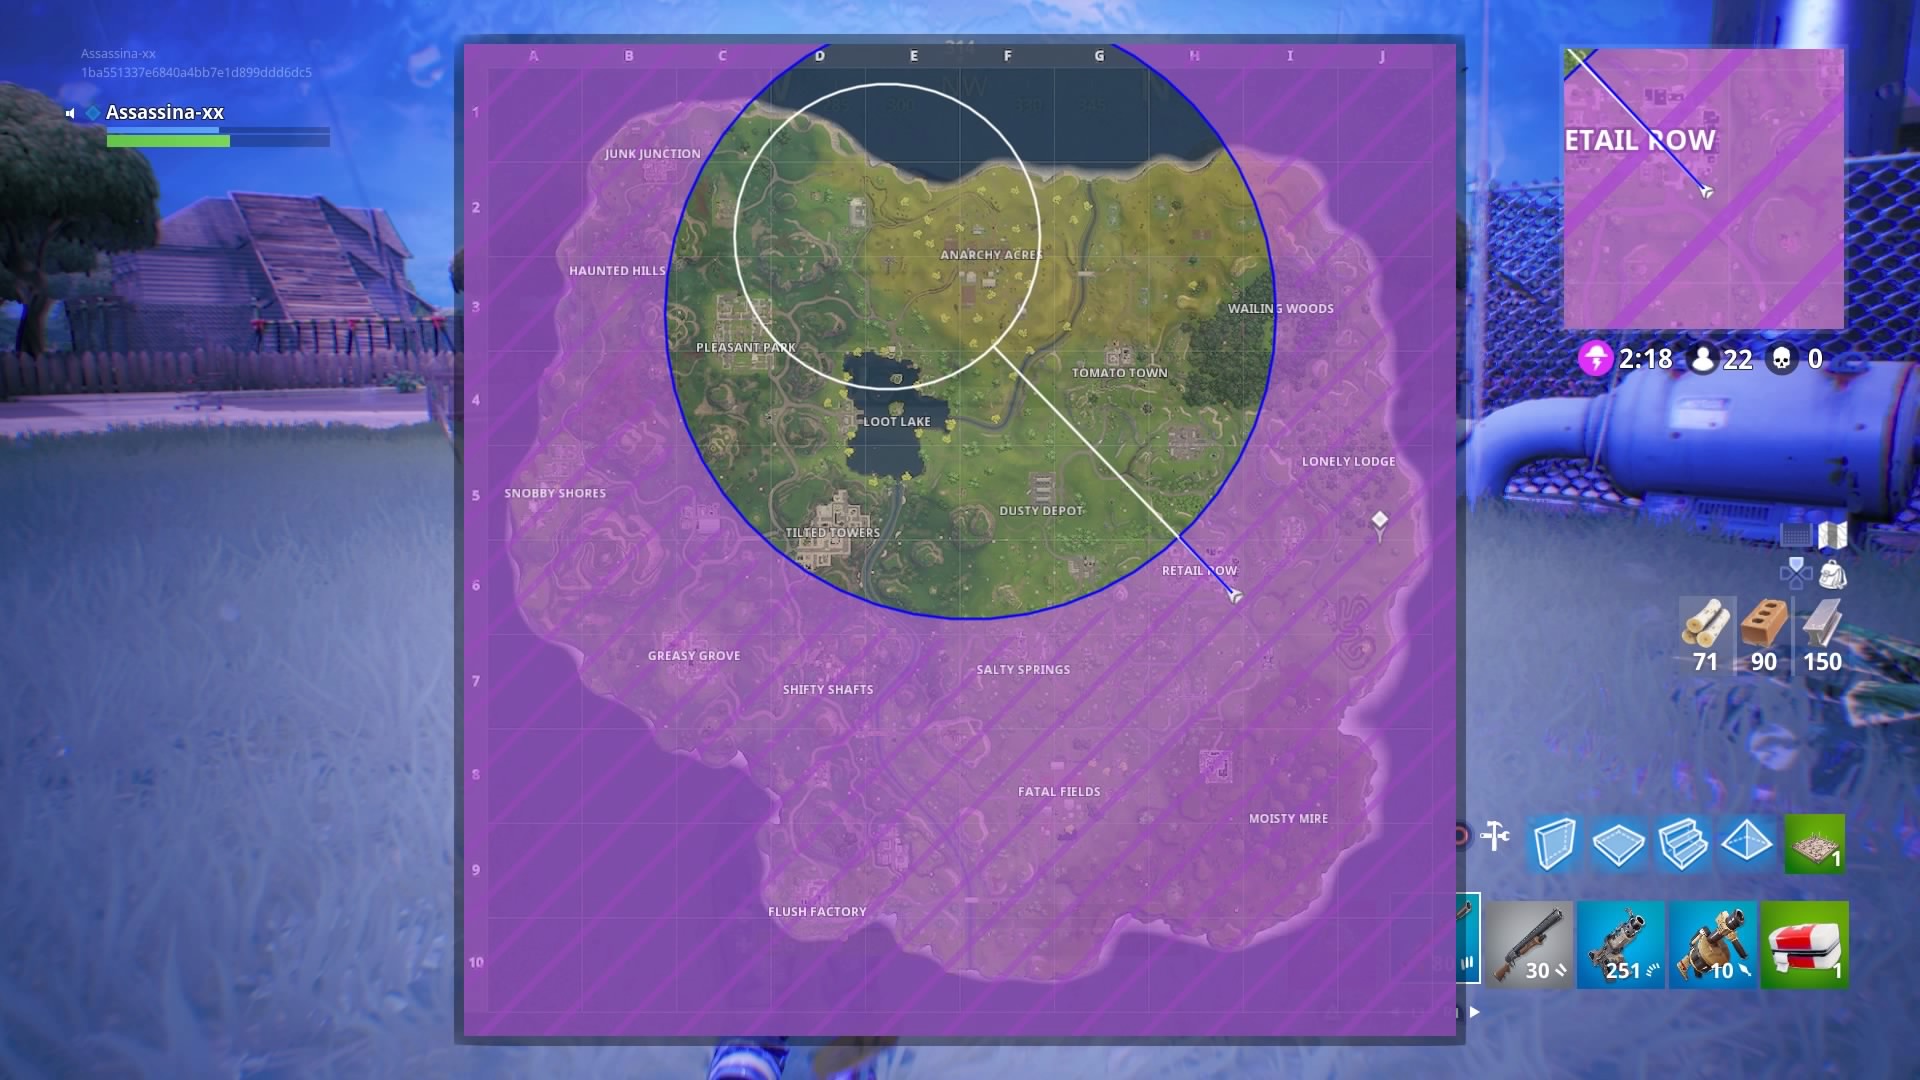
While the pattern the storm takes each game is completely random, there are some things that you should know when trying to avoid it. The most important and little-known fact is that the smaller side moves slower. This mainly applies after the first ring has closed in and the safe zones are getting smaller. When the storm is not moving, look where the next ring will be. The side closest to the current storm will move the slowest (and have fewer players!), so moving into this part can allow you more time to advance, helping you remain unseen as opposed to running across an open field with the storm right on your back!
Once this storm begins to move in, it will take 1 minute and 29 seconds to reach the safe circle. As you can see, this is a farther distance to travel if you are located on the right side, such as H5. However, if you were at E2, you would only have to move an extremely small distance in the same time frame.
Another thing to remember is that although you don’t want to get caught in the storm, you should try not to be overly afraid of it. If you know you’re about to get caught in the storm whilst near another player, you will instinctively want to run to escape the storm. However, often a bullet in the back is more damaging than the storm will be. If you can wait the player out, you should. It’s better to take a few more ticks of damage from the storm than it is to get shot. This especially applies to the first storm, which only does one damage a tick.
Conversely, in the late game, when the circle is very small, you should try to avoid being in the storm at all costs. The first circle may only inflict one damage per second, but the later circles can do up to 10. This means that you can only survive for a maximum of 10 seconds in the storm. Sometimes, even such a small amount of health can be the difference between winning and losing.
8. Be careful when it comes to navigating cliffsides and mountains.
In case you’ve not figured it out yet, there is fall damage in Fortnite. There are two ways in which you can avoid this. The first is useful if a cliff seems a little small or not at all steep. If you move backwards while sliding down (hold S on the keyboard, or hold the analog back on a controller), this lessens the impact when you reach the bottom. This mainly works on areas where it would inflict a very small amount of damage (such as five health points). Holding backwards makes your character slide a little more slowly and carefully, enabling you to avoid damage.
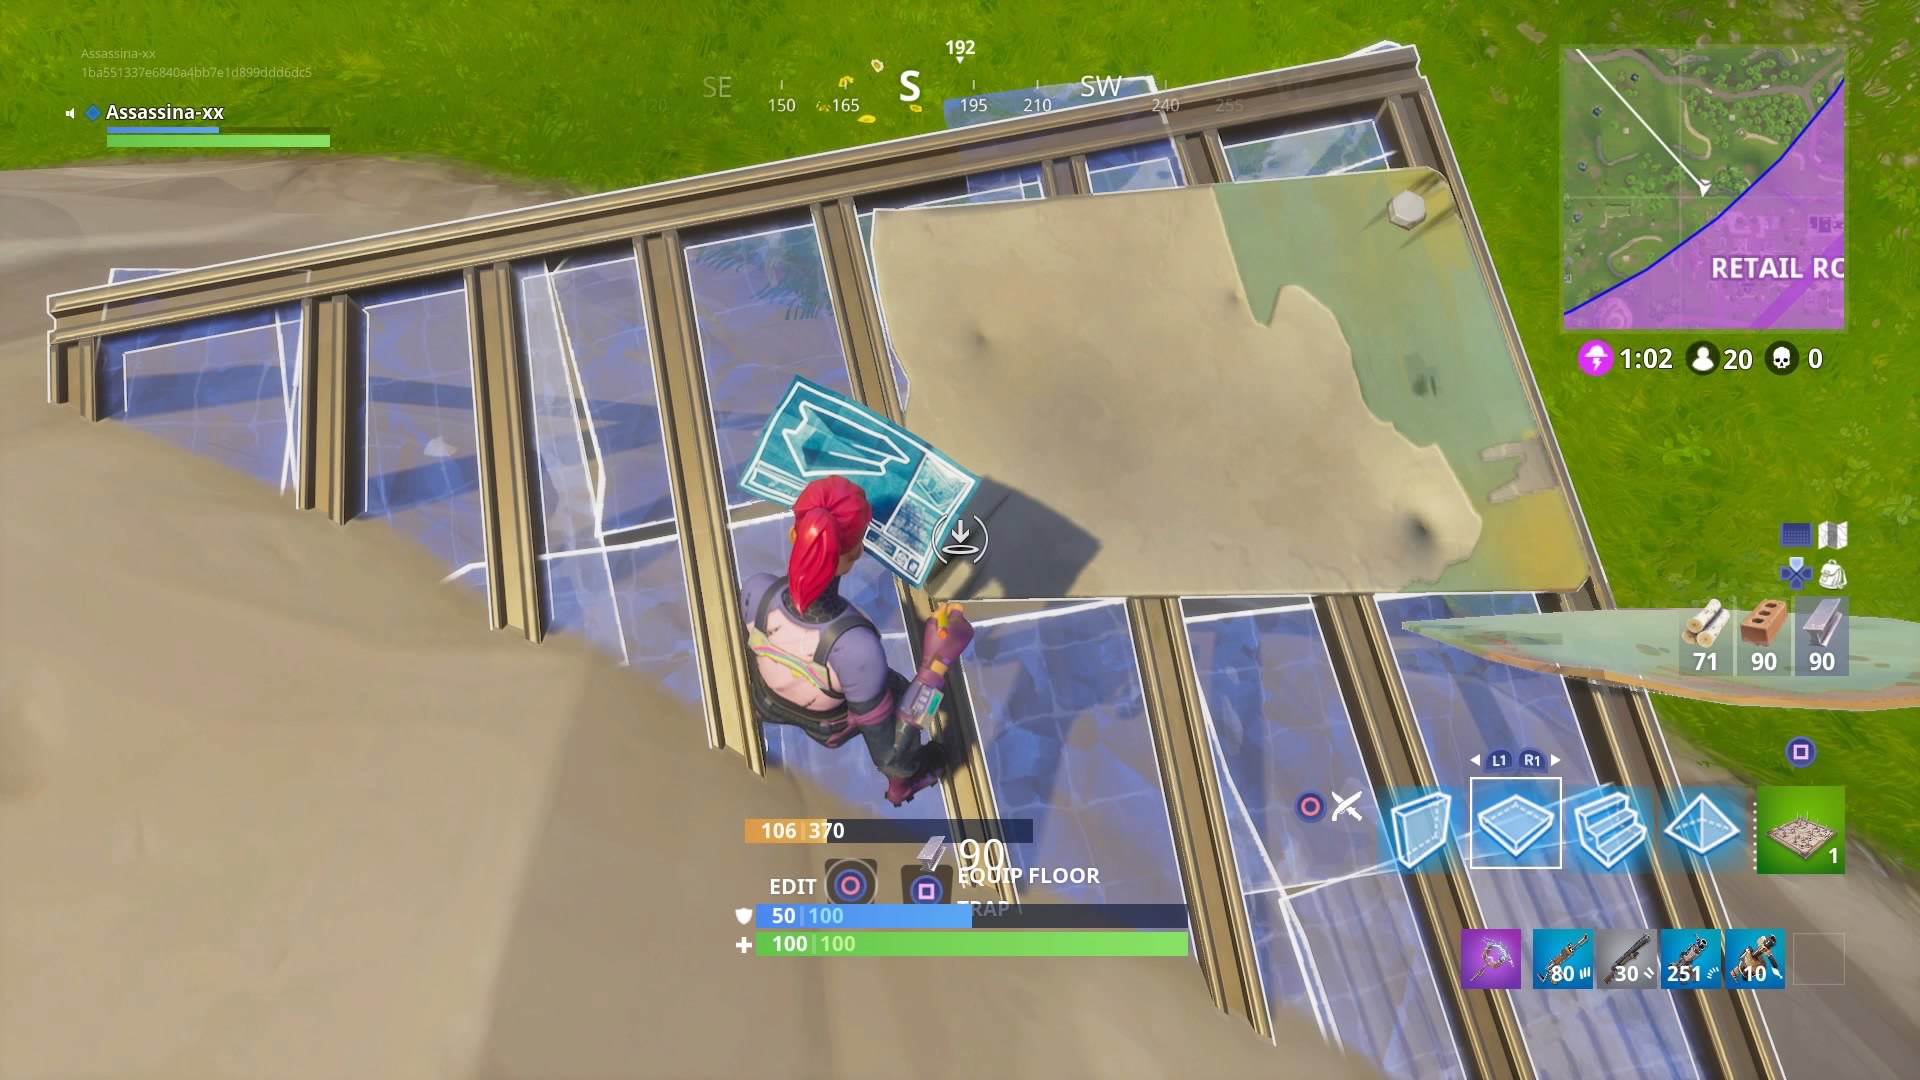
The second is to enter build mode and have floors ready. Look down and begin sliding. As you are sliding down, build a floor. This will give your character something to stand on, stopping the slide. You can then begin sliding again, placing more floors if needed.
9. Find out where some chests regularly spawn.
The chests are in set locations, and whilst they don’t spawn every game, it is still good to know where they will be. Moisty Mire, for example, has a total of seven possible chest spawns, and while it is unlikely that all seven will spawn, you can at least count on a few. Knowing which exact area in each location to go for chests will save you time and hopefully allow you to pick up a good gun and some shield before encountering another player.
10. Know how each consumable works so you can use them most effectively.
All of the health consumables work differently and need to be paired together to be most effective. In particular, Mini Shields drop in stacks of 3 but allow you to gain a maximum of 50 shield. Regular Shields will give 50 points of shield regardless. Therefore, if you have both, you should always drink the Mini Shields first and then the regular, taking you to 100 points of shield. If you drank the regular first, you would have 50 points of shield and be unable to drink any Mini Shields.
Similarly, Slurp Juice and Bandages pair well together. Bandages restore 15 points of health but do not allow you to go any higher than 75 health points; Slurp Juice restores 25 health points and gives 25 points of shield. This results in the most effective usage being to bandage up to 75 health and then drink the Slurp Juice, taking you to 100 HP and 25 shield. However, if you also have Mini Shields, you should bandage up to 75 HP, use the Mini Shields to gain 50 shield, and then use the Slurp. This would result in giving you 100 HP and 75 shield. Learning how each consumable works and how to pair them together can be essential in having enough health to survive your next fight.



Published: Feb 19, 2018 09:02 am