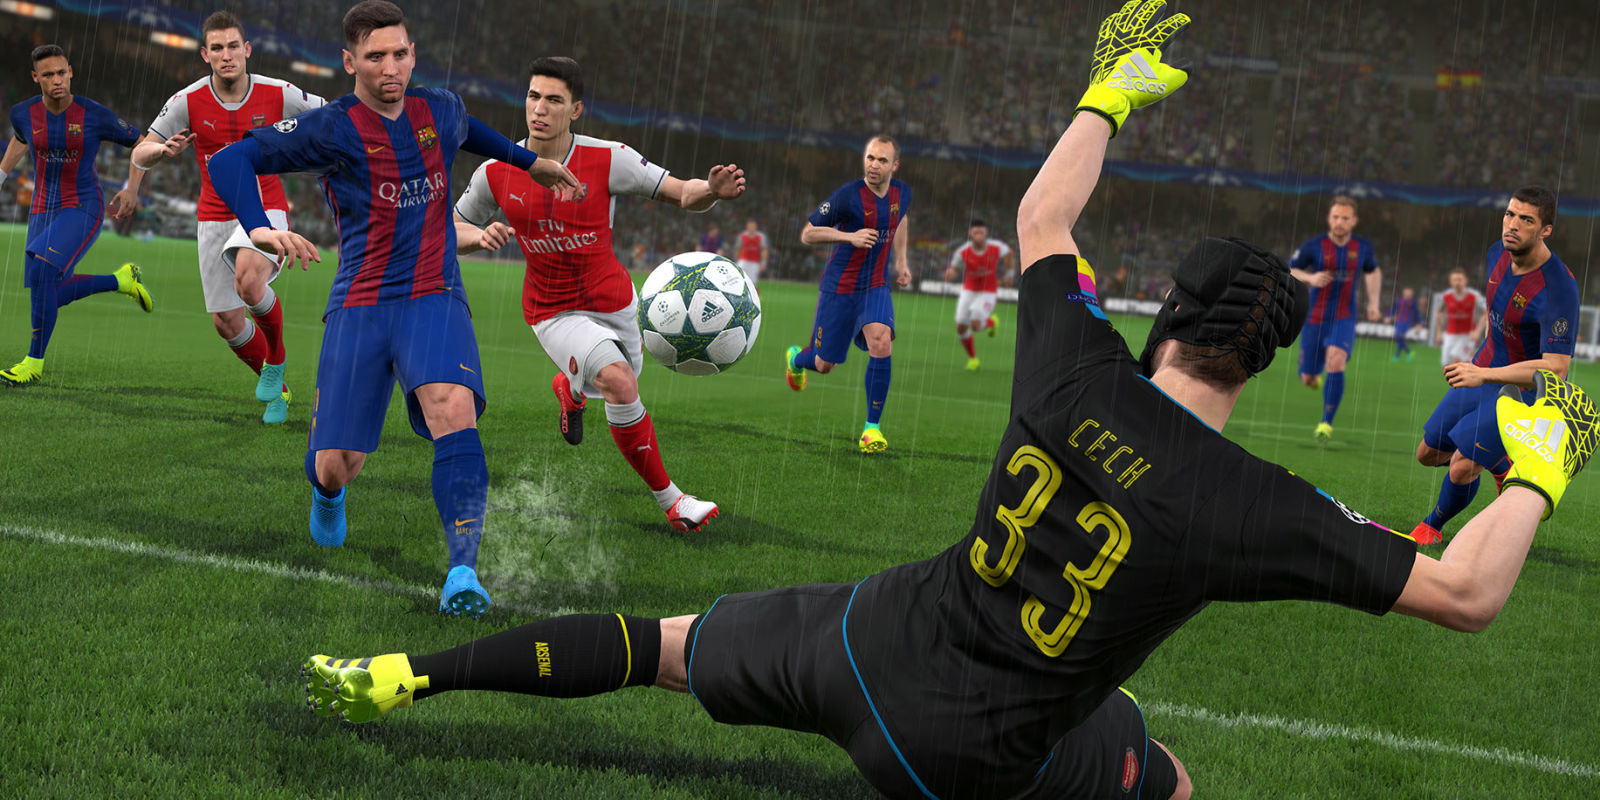
Pro Evolution Soccer has always been notorious for its fake team names and unofficial team kits due to FIFA owning the majority of the licensing rights. As with previous years, the licensing issue in PES 2017 are still as present as ever, as it continues to deter some players from even purchasing the series.
Thankfully, as discussed in our review of PES 2017, Konami has done an absolutely fantastic job at trying to rectify the issue. Players can now use the customization system to not only create and edit kits but to also import pre-made kits and emblems thanks to Option Files that have been created by the PES community. Luckily, Konami has made it easier than ever to import the Option Files onto your PS4 or PC — sorry Xbox users!
Here is our step-by-step guide on importing official team kits and emblems in PES 2017.
Importing Official Team Kits On PS4
What You’ll Need:
- A USB stick
- A PC or Mac
- Option Files
Step One
First, you will need to open your USB stick and create a folder that will be used to store all of the Option Files. For the game to be able to recognize the file, the folder needs to be called “WEPES”.
Step Two
Next you will need to download the Option Files. While there are countless different locations available for you to obtain these files, we will be using PES World for this guide. You can download the Option Files for the PS4 version here:
Once the option files are downloaded, extract the zip file and transfer them into your “WEPES” folder that you created on the USB stick.
Step Three
After downloading the options and storing them on your USB stick, you can now start up PES 2017.
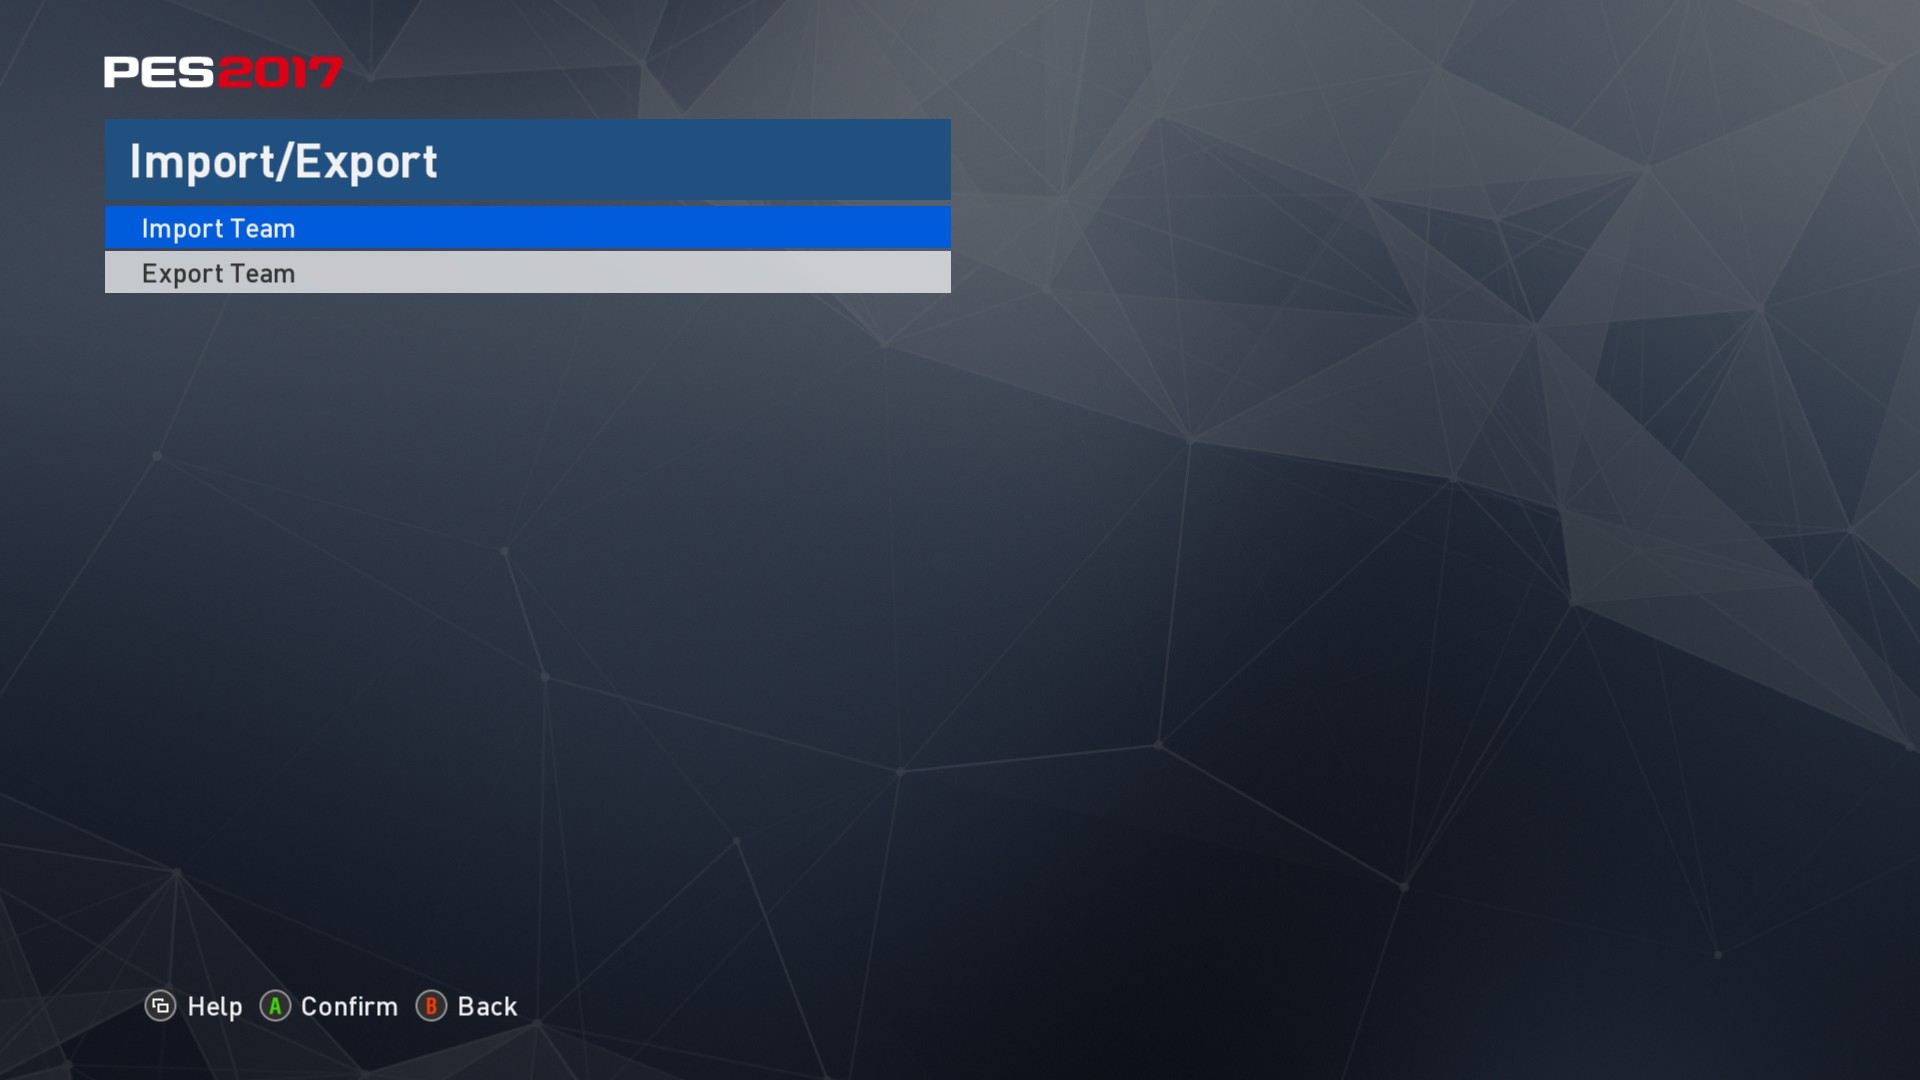
Once the game has started, navigate through the main menu and click Extras > Edit > Data Management > Import / Export. Click on “Import Team”
Step Four
Upon clicking “Import Team” a pop up will appear and warn you about the cap on imports. Ignore this pop up and proceed to select all the files in the list and click “next”.
Another pop up will appear stating “Select team to import data to” and “Apply player and squad data”. Leave both of these options un-ticked and click “next”. The game will now begin to automatically import the files into the game for you. Depending on the amount you will be importing, this may take several minutes.
Step Five
After the kits have finished importing, simply save your game and enjoy your fully licensed teams!
Importing Competition Emblems
Step One
Emblems need to be added manually, so they will be a little more time consuming but I can ensure you that it is well worth the effort.
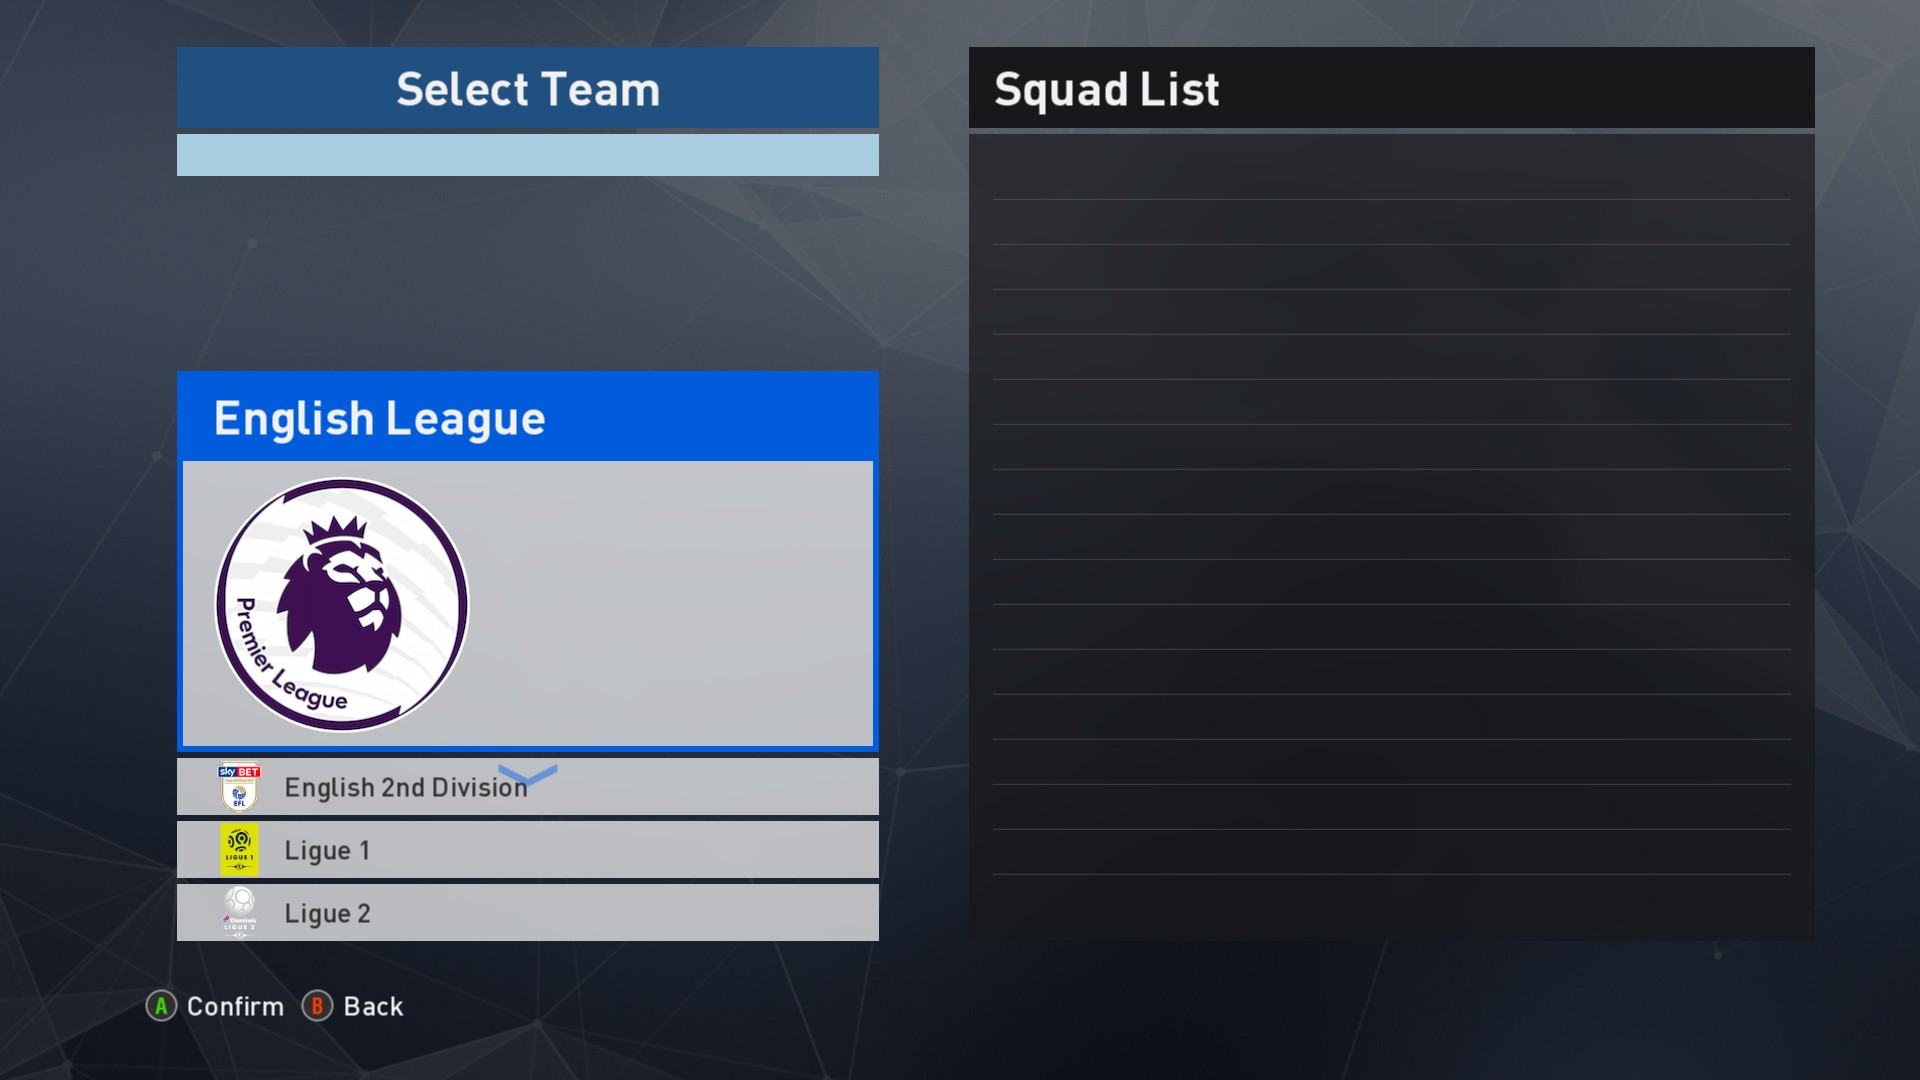
Head back to Import / Export and click Import Image > Competition Emblems. Next you will need to tick “Import Selected Images” and select all the league badges you want to import into the game.
Step Two
Navigate to Extras > Edit > Competitions. Once in Competitions, chose the league you wish to edit and click Emblem > Load. Upon clicking “Load” select the image you want to replace the default.
Click save and you are now done!
If you have any issues, you can check out NGB‘s video guide below.
Importing Option Files on PC
To get the option files working correctly on PC, the process of installing the data is a little different to the PS4.
Step One
Download the option files for PC from Pes-Patch or from another fan site of your choice. For this guide we will be using Pes-Patch.
Step Two
Once downloaded, follow the instruction prompts that the installer provides.
Step Three
Upon being asked where you want the folder to be installed, manually select the location. If you are using Steam the location will you will need is C:SteamsteamappscommonPro Evolution Soccer 2017. This location will differ from player to player depending on where you install your games.
Step Four
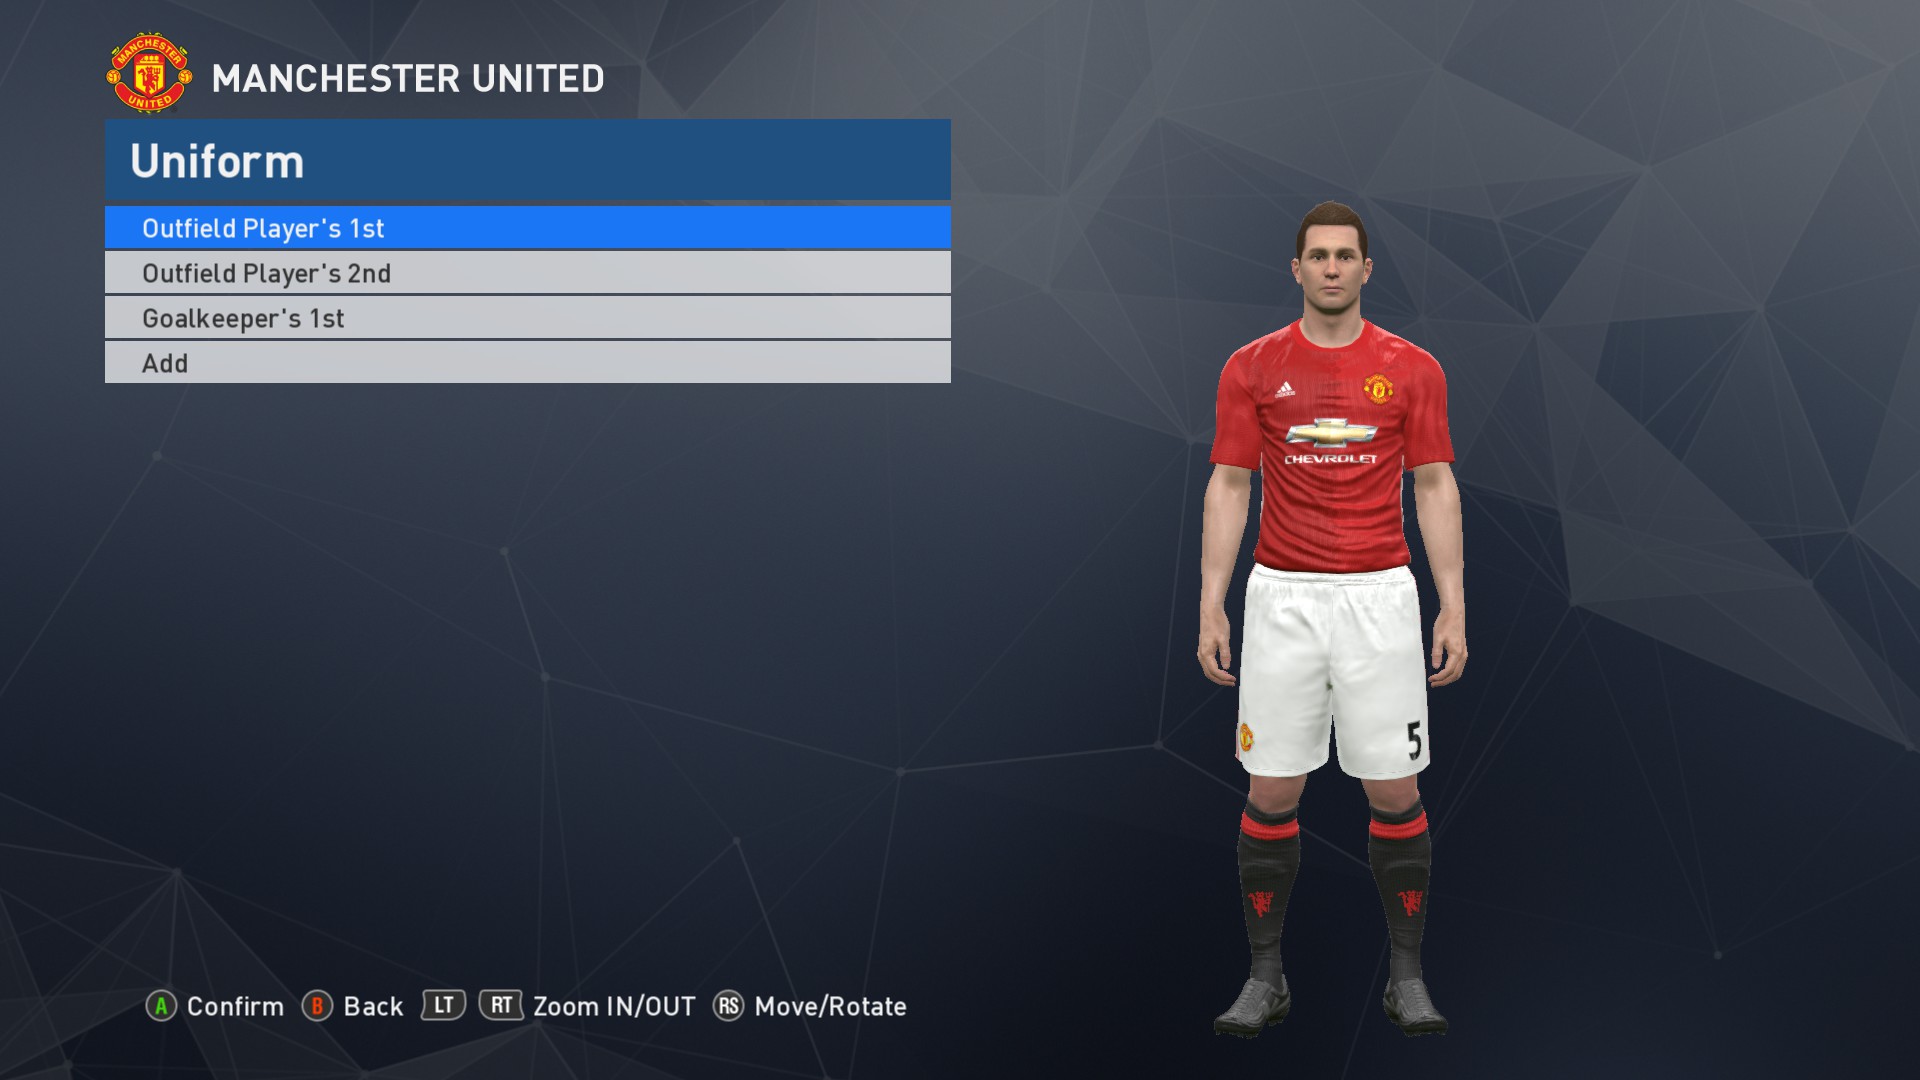
Start up PES 2017 and to ensure that everything has worked correctly, navigate to Edit > Teams. From here you should firstly notice that the league emblems have been changed and as you sort through the teams you will notice the names and kits are now correct.
What are your opinions on the licensing issues within Pro Evolution Soccer? Let us know your thoughts in the comments section below!


Published: Sep 24, 2016 07:03 am