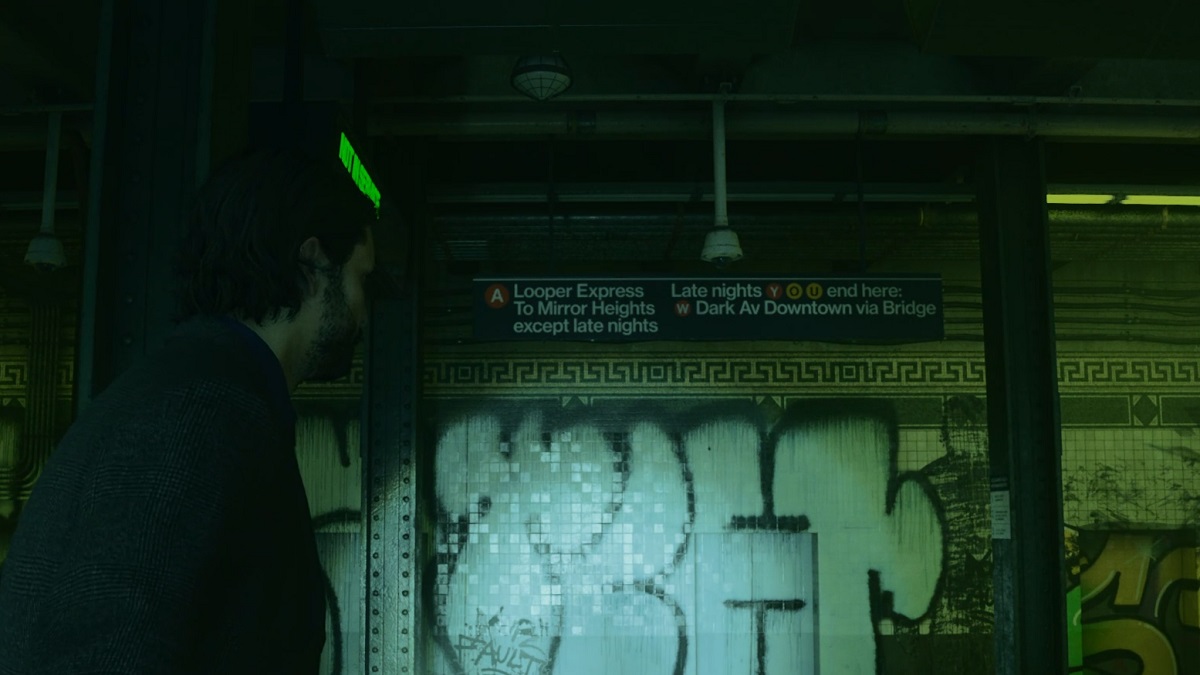
The Subway is your next destination after escaping the Talk Show Studio, and it has 10 upgrades to find. So, here’s all Words of Power Locations in the Subway in Alan Wake 2.
How to Find All Words of Power in the Subway in Alan Wake 2
Most Words of Power are located on your path through this section. But they’re easy to miss if you aren’t looking.
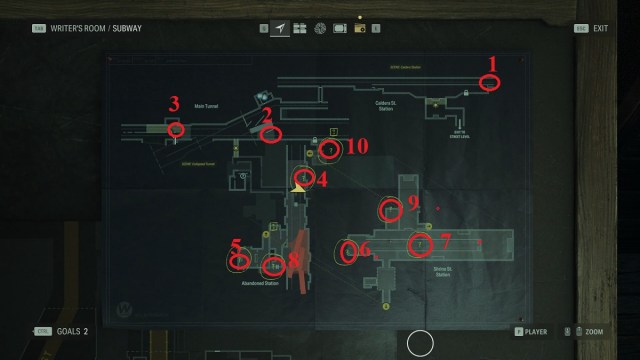
Once you find the Sheriff again, you can interact with his map to get markings added to yours. Most markings are for Words of Power, so it’s a nice addition when you’re trying to find them. I’ve circled all the Words of Power on the map below. The numbers are the order in which I found the Words, so I’ll also be going through their locations in the same order (except for Word 8, which appears after Word 4).
Word of Power 1 Location
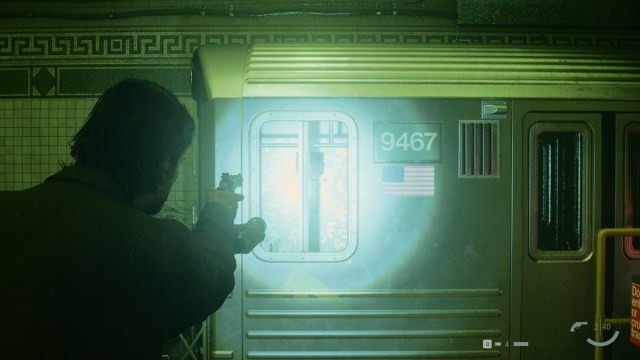
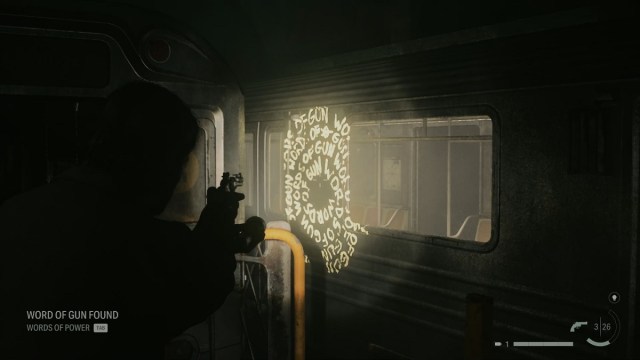
Once you enter Caldera Station and head down the steps into the subway, turn right towards the end of a train in the tunnel. Shine your flashlight into the window to grab the first Word of Power in the Subway. Part of it is on the door on the back of the train, so getting the angle right can be tricky.
Word of Power 2 Location
This Word of Power is across from the Break Room and on the other side of a train car. You’ll see a hole in the ground. Look in the direction of the Break Room, and you see the Word of Power on the wall. Then, you’ll need to head back to the main tunnel to grab the next Word. However, you can do Words two and three in any order. I simply did it this way because I knew where the second one was ahead of time and didn’t mind doing a bit of backtracking to go grab number three afterwards.
Word of Power 3 Location

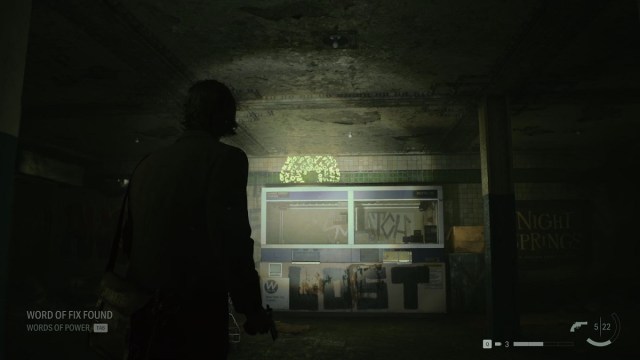
Down the main tunnel, you come across a small room that seems like it was used for storage at one point in time. Enter the room, and you need to get into the middle, then turn towards the shelving unit to find a Word of Power behind it. If you aren’t far enough inside the room, you won’t get the right angle to collect this Word due to its placement.
Word of Power 4 Location
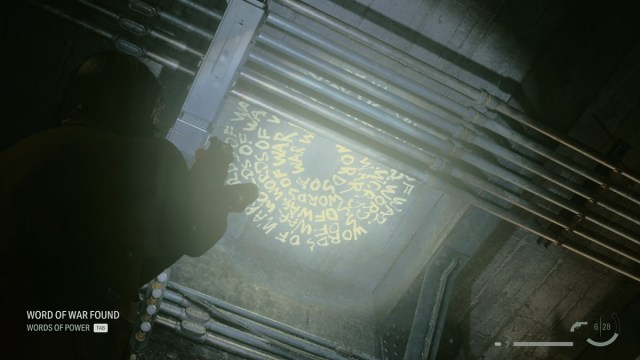
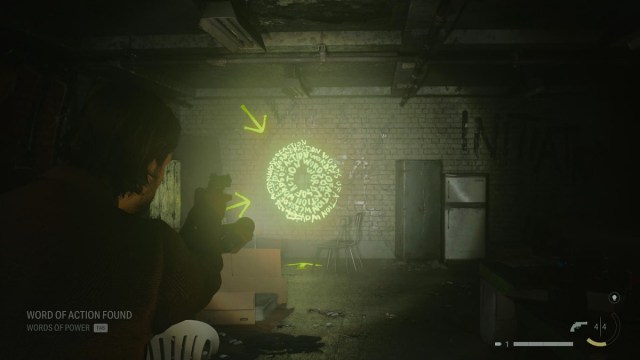
As you continue deeper and get through the Collapsed Tunnel using the Murder Cult Plot Board element, you find the Sheriff and can grab the marked map from his room. Then, continue down the map to point four, which is in another train tunnel. The yellow arrows help guide you to each Word of Power, which is useful since this one is located on the ceiling.
Word of Power 8 Location
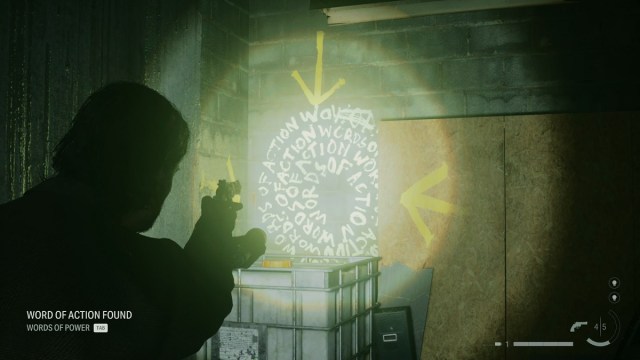
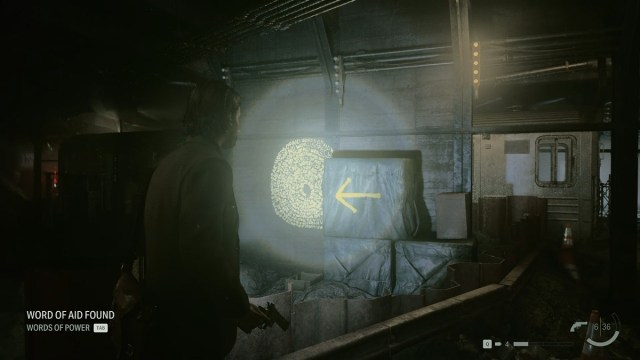
I’m jumping to Word 8 because I had to backtrack to get it, having missed it in my first pass through the area. Once you reach the bottom of the ladder, look in the small area next to it. There are yellow arrows pointing to a large board that’s leaning against the wall. Shoot the board to destroy it and collect what should be your fifth word, but was my eighth. It’s incredibly easy to miss, and then you’ll be in for a fair bit of backtracking to pick it up.
Word of Power 5 Location
You can see point 5 before you can collect the Word. There’s a section of the area that has bars. However, the door is open, so you can get in. But it’s full of Taken, so you need to deal with them before you can go deeper into the room. Then, you’re able to grab the Word that’s tucked near the ceiling.
Word of Power 6 Location
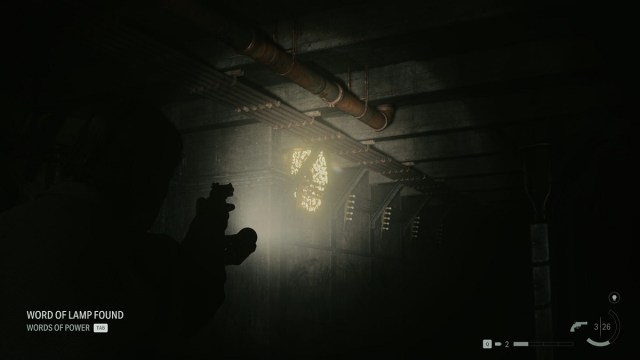
After more Light Puzzles, you’ll end up in another tunnel that’s pretty large compared to the previous tunnel. There are two trains here, but before you enter either one, go to the left and into the water. Of course, there are a few Taken here for you to deal with first. Then, you’ll be able to find the Word hidden on the wall on your left near the ceiling.
Word of Power 7 Location
After grabbing Word 6, turn around and enter the train that doesn’t have lights on. Go through it to the other side. Then, look at the front of the train, and you’ll find the Word on the side of the train with lights on inside. You can get this one quickly before any Taken reach you. Or you can deal with the Taken first and come back for the Word. Either way, you’ll want to get it before you reach the End of the Line scene and change it in the Plot Board.
Word of Power 9 Location
Use the Murder Cult scene at the End of the Line, then align the Echoes to unlock the Summoning Ritual scene. Once you have it, switch to the Summoning Ritual. Now, you can reach the opposite of the tunnel that was previously unavailable. Go through the train with lights on and then through the only door available to you on the tunnel’s wall. Across the room, you see Word 9.
Word of Power 10 Location

The path out of the room with Word 9 leads to a stairway. Head up, and you’ll find a Break Room. Once you leave the Break Room, there’s an area that’s blocked off by bars. On the other side, is the last Word of Power for this area. After you grab it, you’re ready to finish up the subway section and continue Alan’s journey to the next area.
And those are all the Words of Power locations in the Subway in Alan Wake 2. The buffs from the Words might seem small, but they add up over time to make your nightmarish adventure a bit easier. From here, check out our AW2 guides hub for more content like all Alex Casey Lunchboxes in Bright Falls or how to get all weapons.


Published: Nov 4, 2023 12:07 pm