Welcome to the second chapter of the Black Mirror walkthrough. This guide picks up where Chapter 1 left off and has been organized in order from least spoilery to “Oh my god, why did you tell me that?”. We try not to tell you every bit of story in the detailed walkthrough below, but keep in mind that venturing into that area does put you at risk. Consequently, we’ll look at drawing piece locations first, then puzzle hints, and finally the walkthrough…
As with the previous Black Mirror chapter, explore everything you can. Failing to do so can keep you from progressing in the chapter. You may want to even go back and check to make sure you have the drawing pieces mentioned in the previous chapter’s walkthrough. Why? Because when going through this section of the game, it seemed some pieces that had already been located were back in their spots.
But now that we’re ready, let’s jump in.
Drawing Piece Locations — Black Mirror, Chapter 2
Set 6
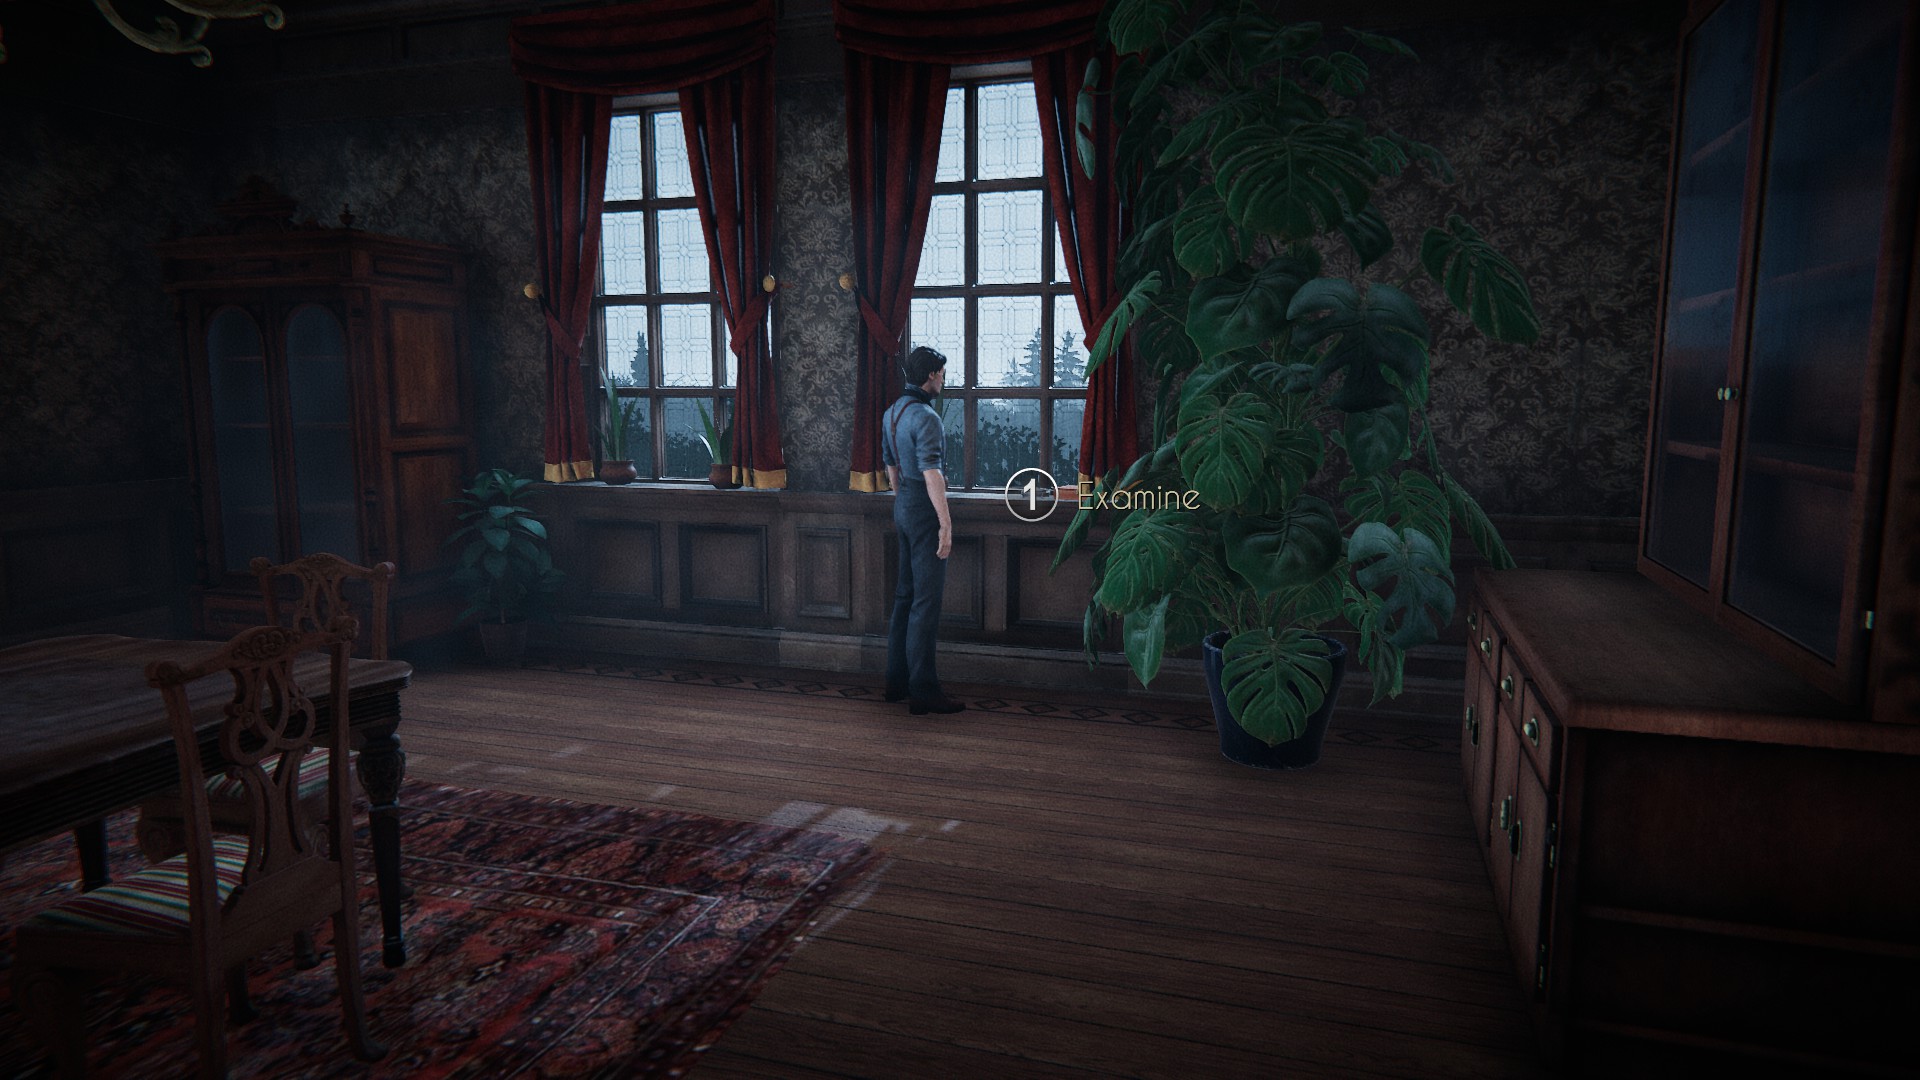
You can find this drawing piece set in the dining room in the windows at the end of the room, next to a plant.
Set 7
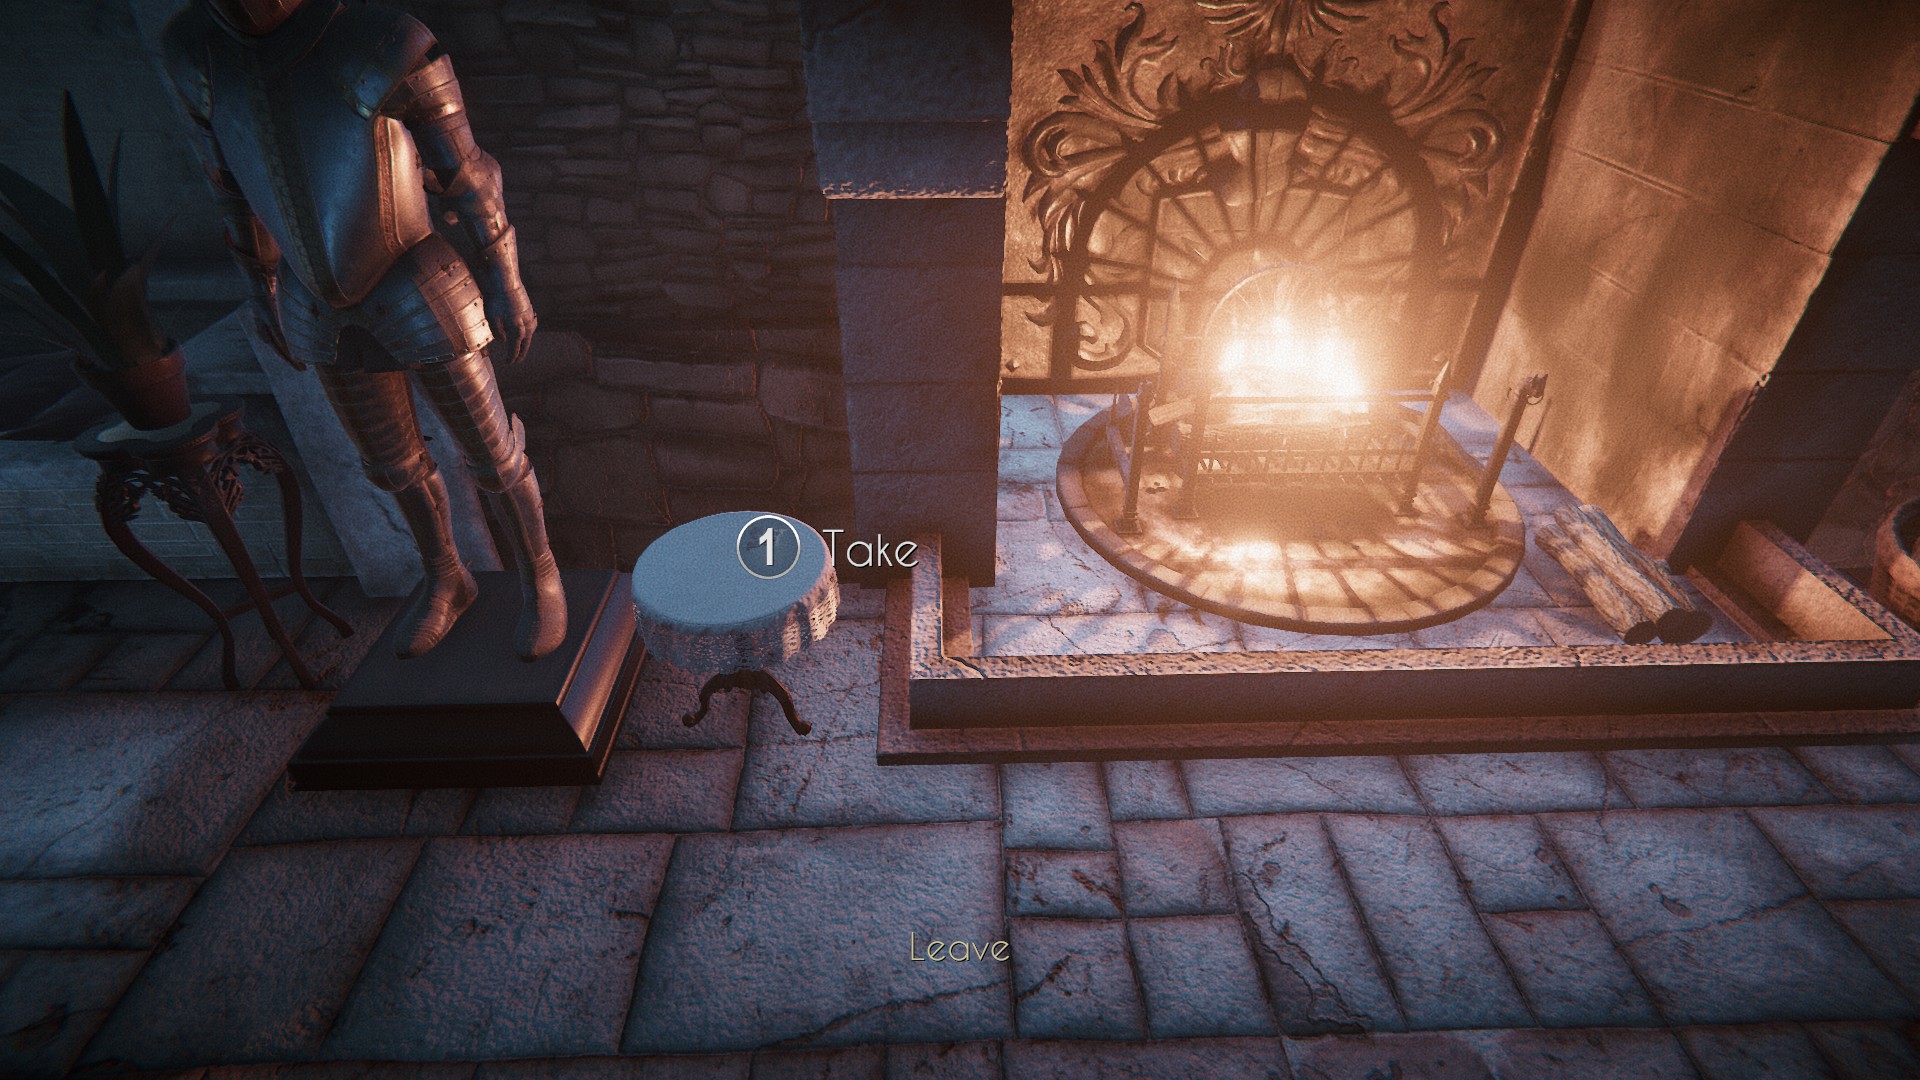
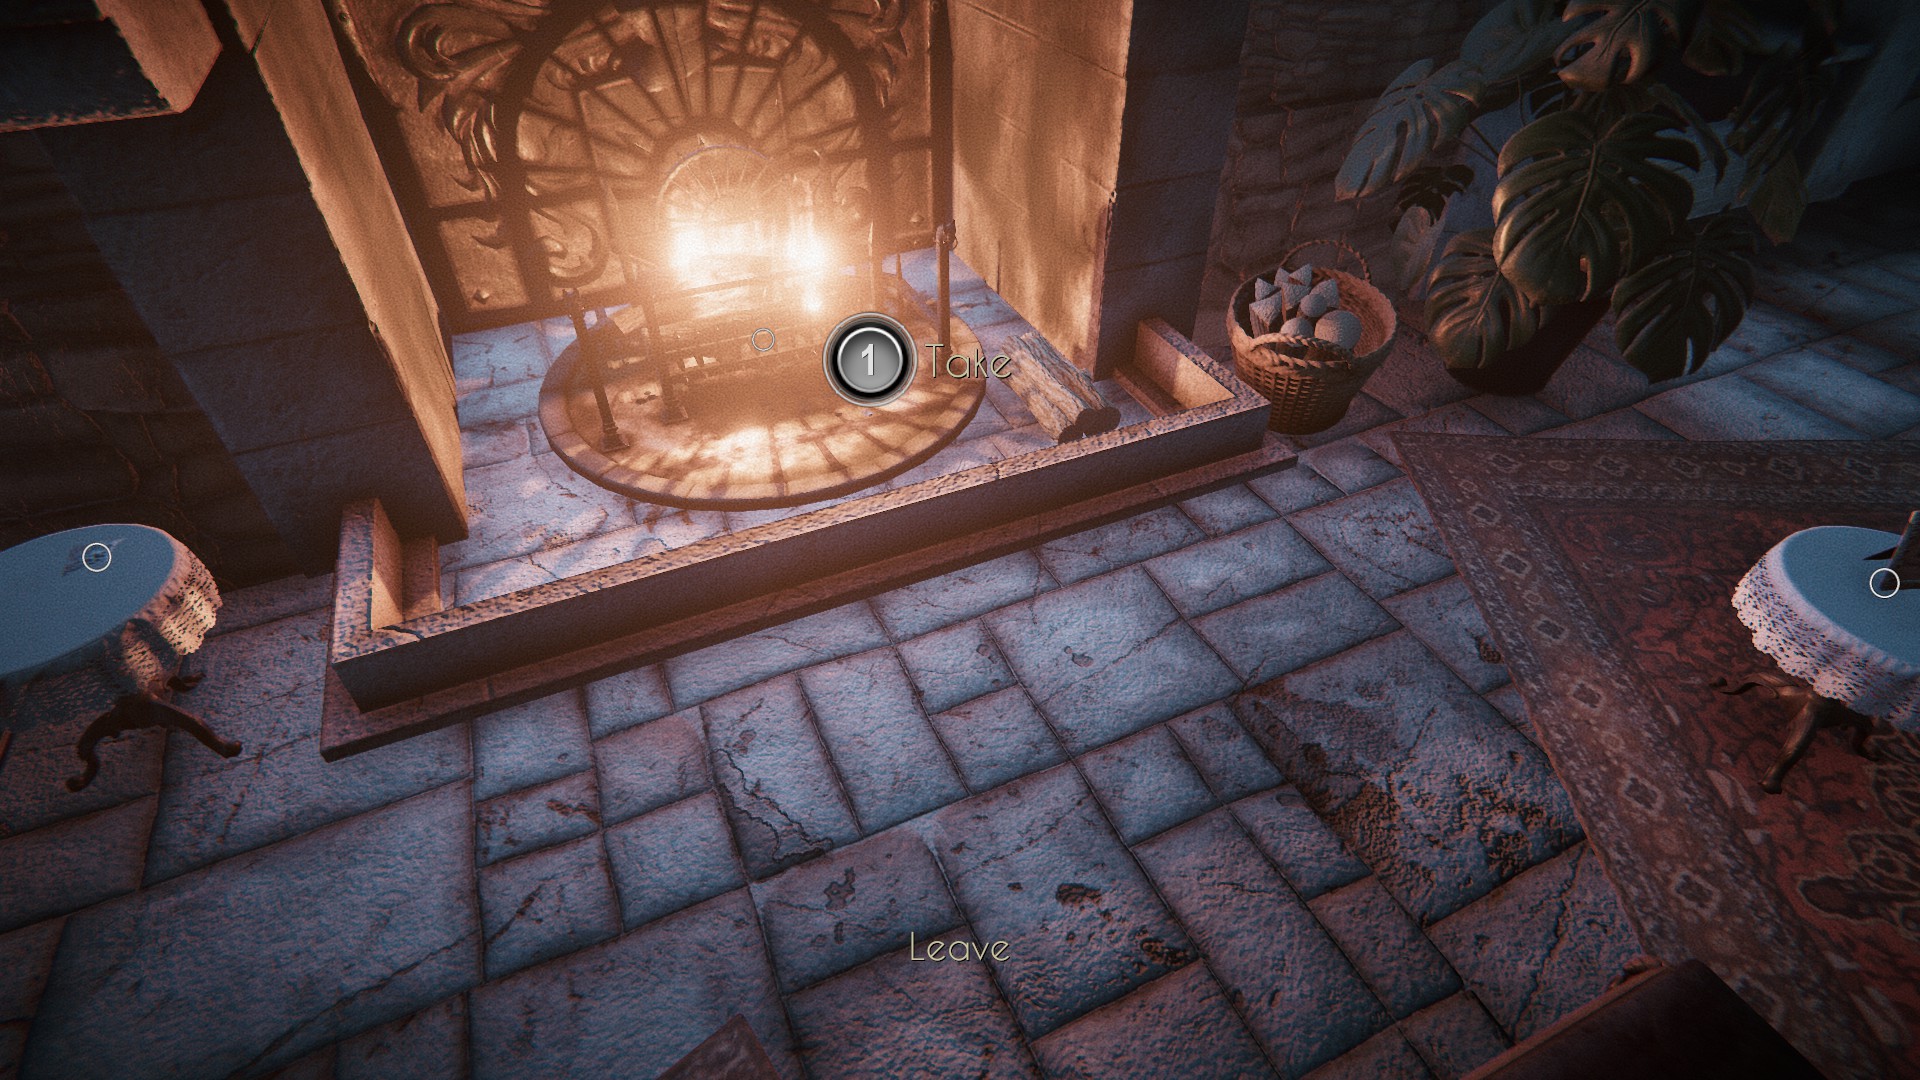
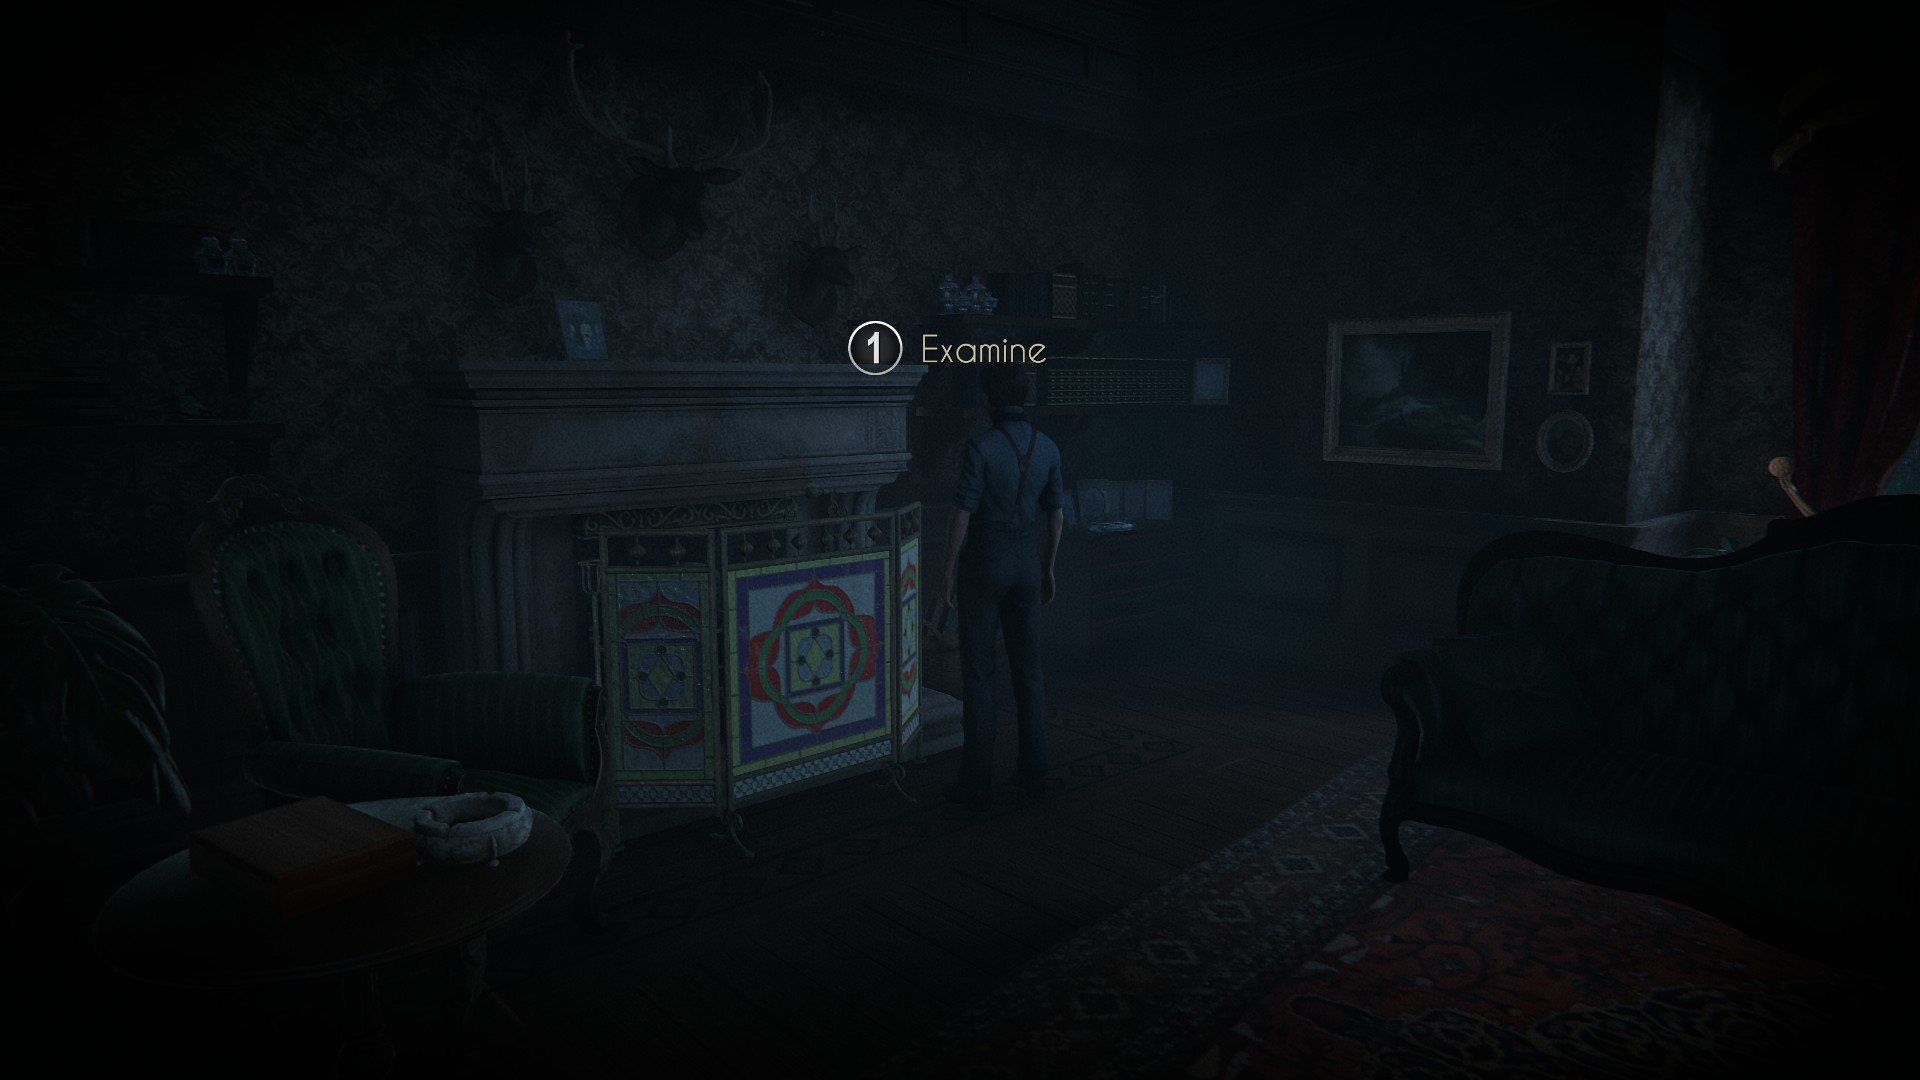
You can find this drawing piece set in the trophy room on a table to the left of the fire. You’ll be able to pick it up when you examine the fireplace.
Set 8
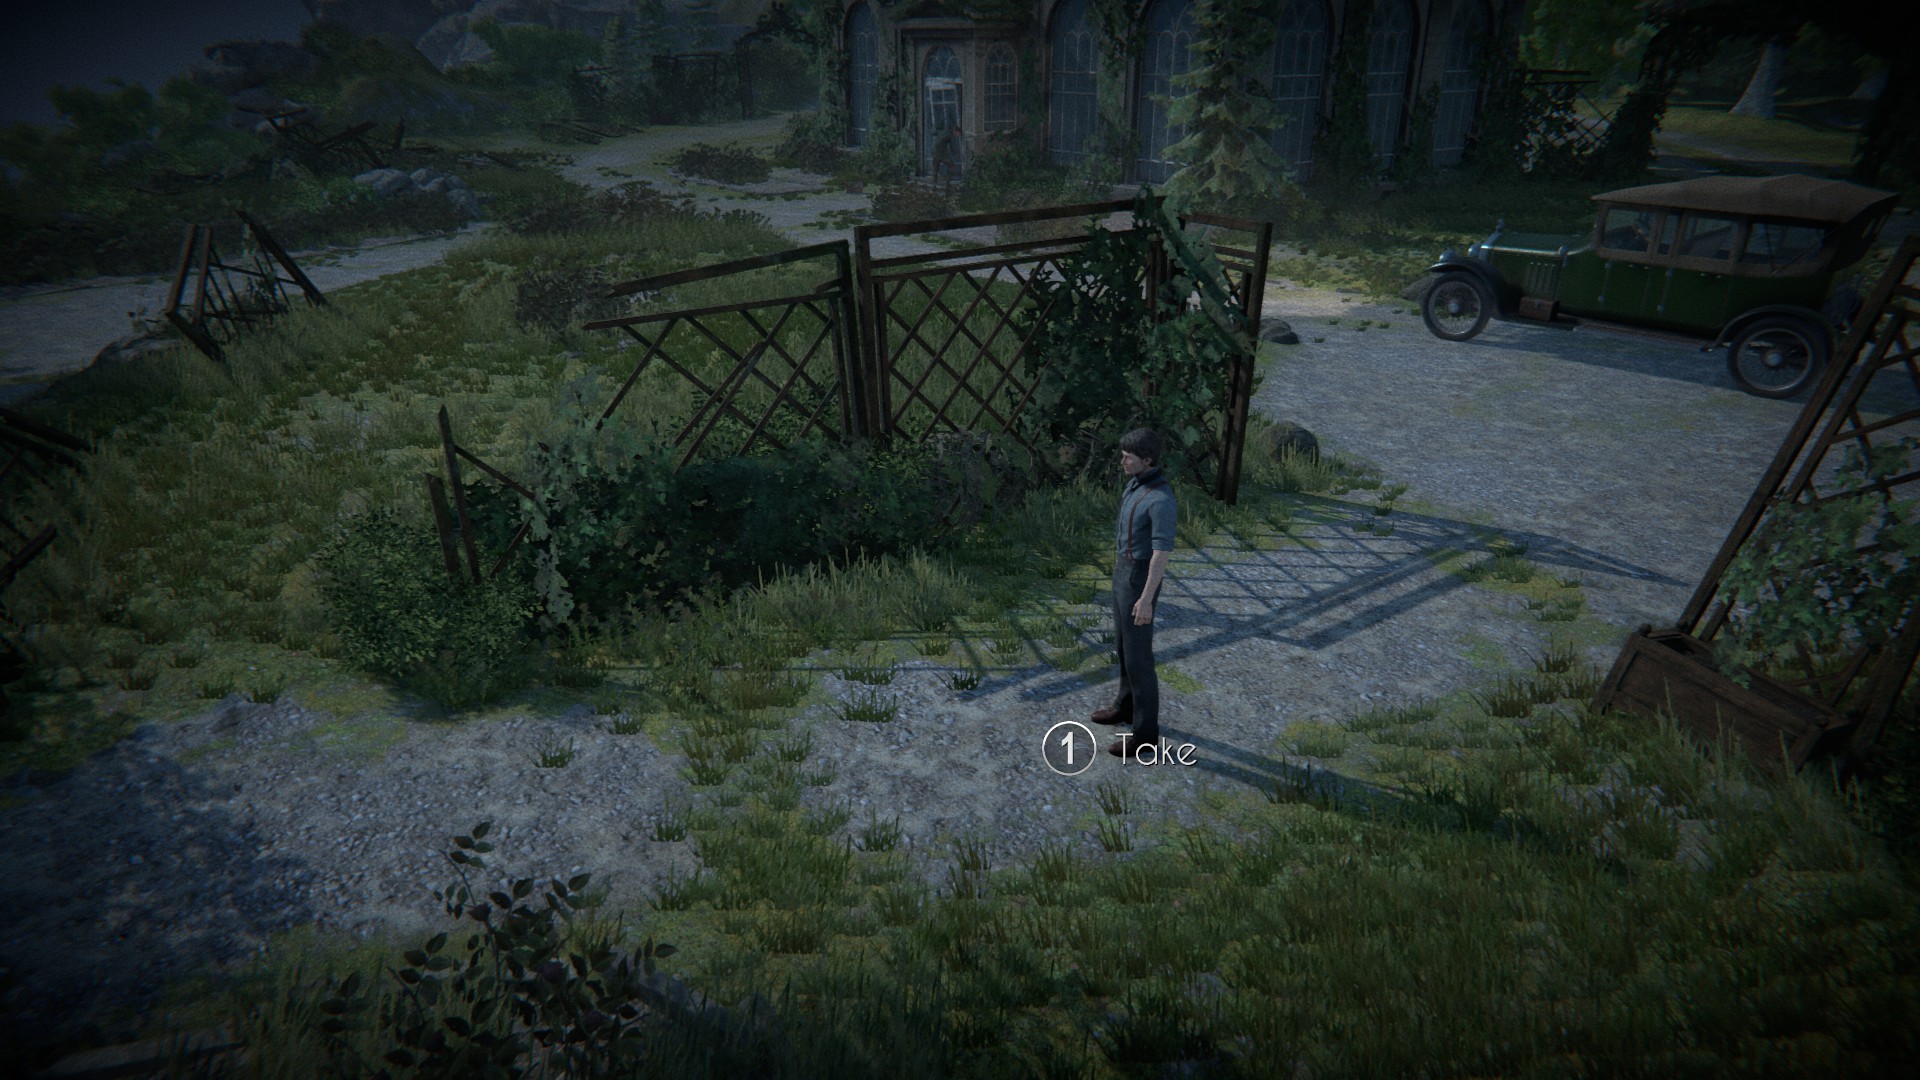
This drawing piece set can be found the garden, just outside the dining room doors. Head right toward the car and you’ll come across it on the ground.
Set 9
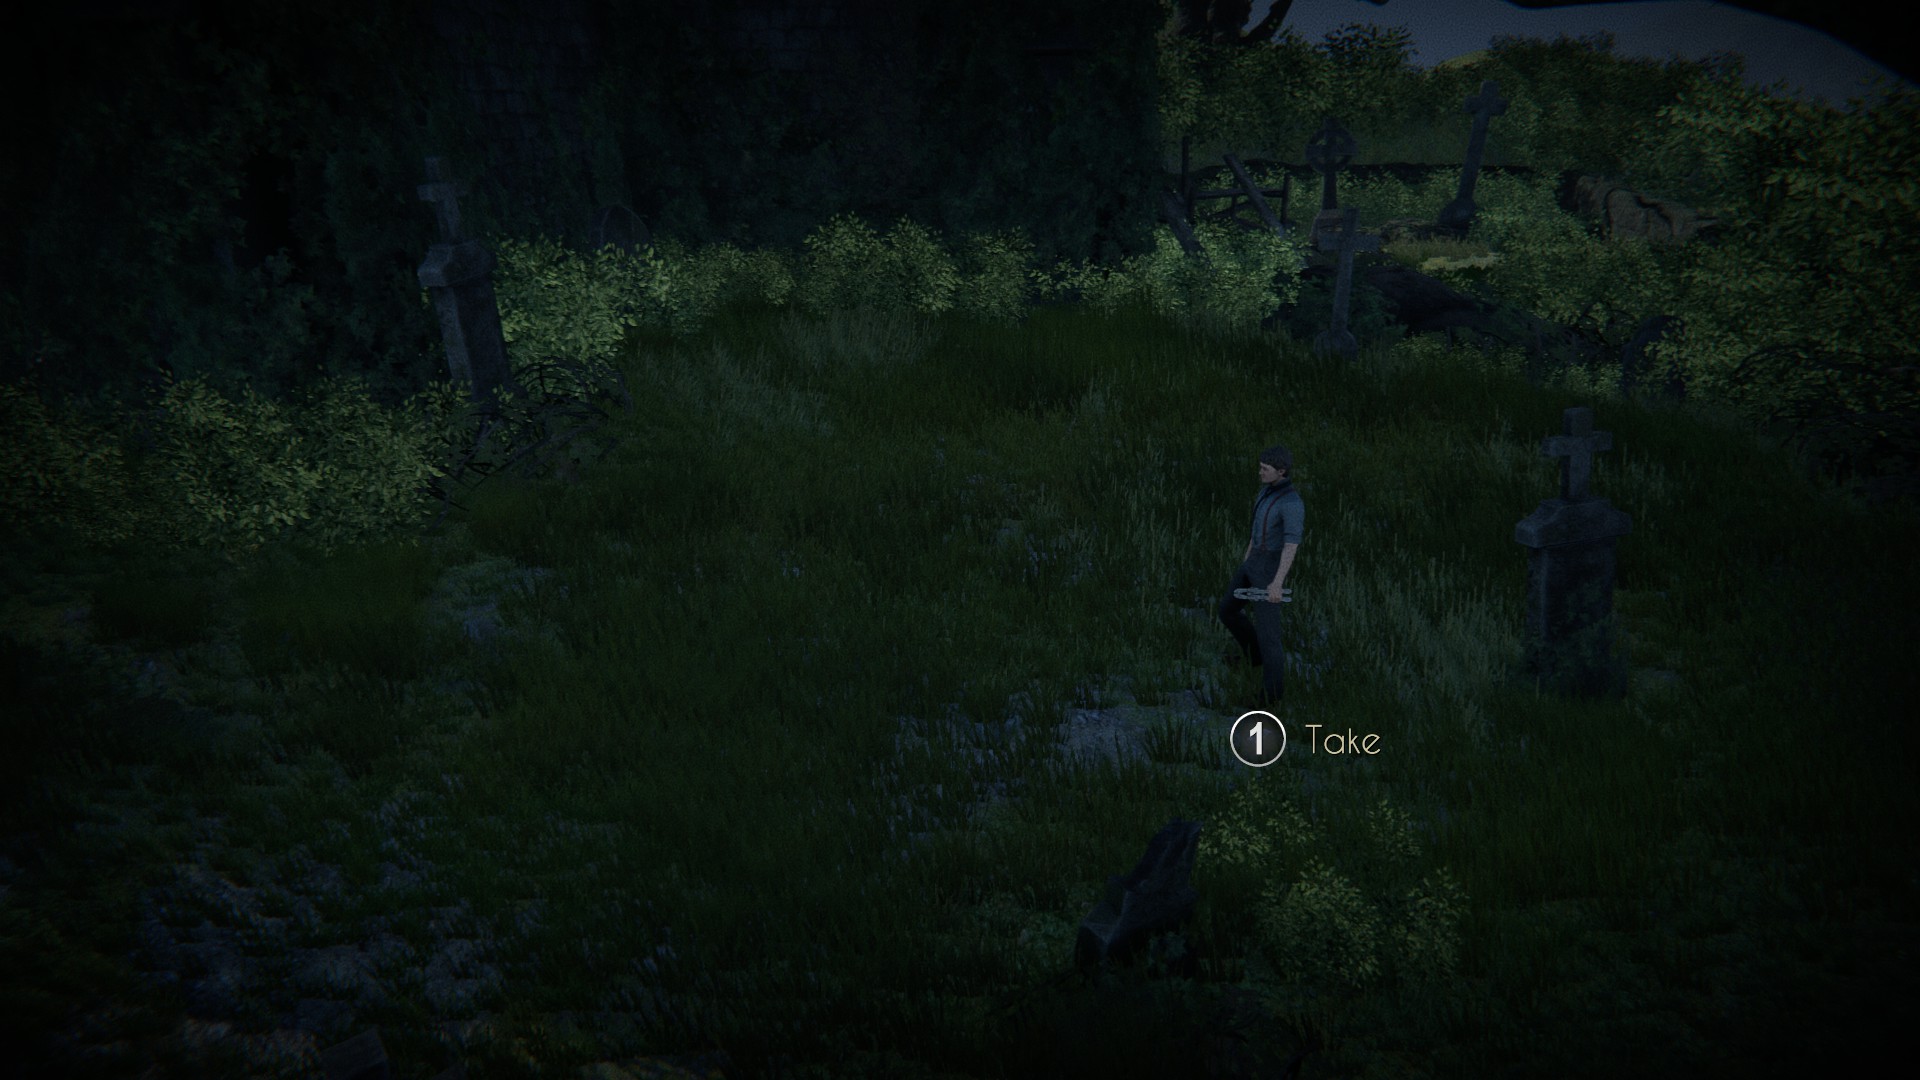
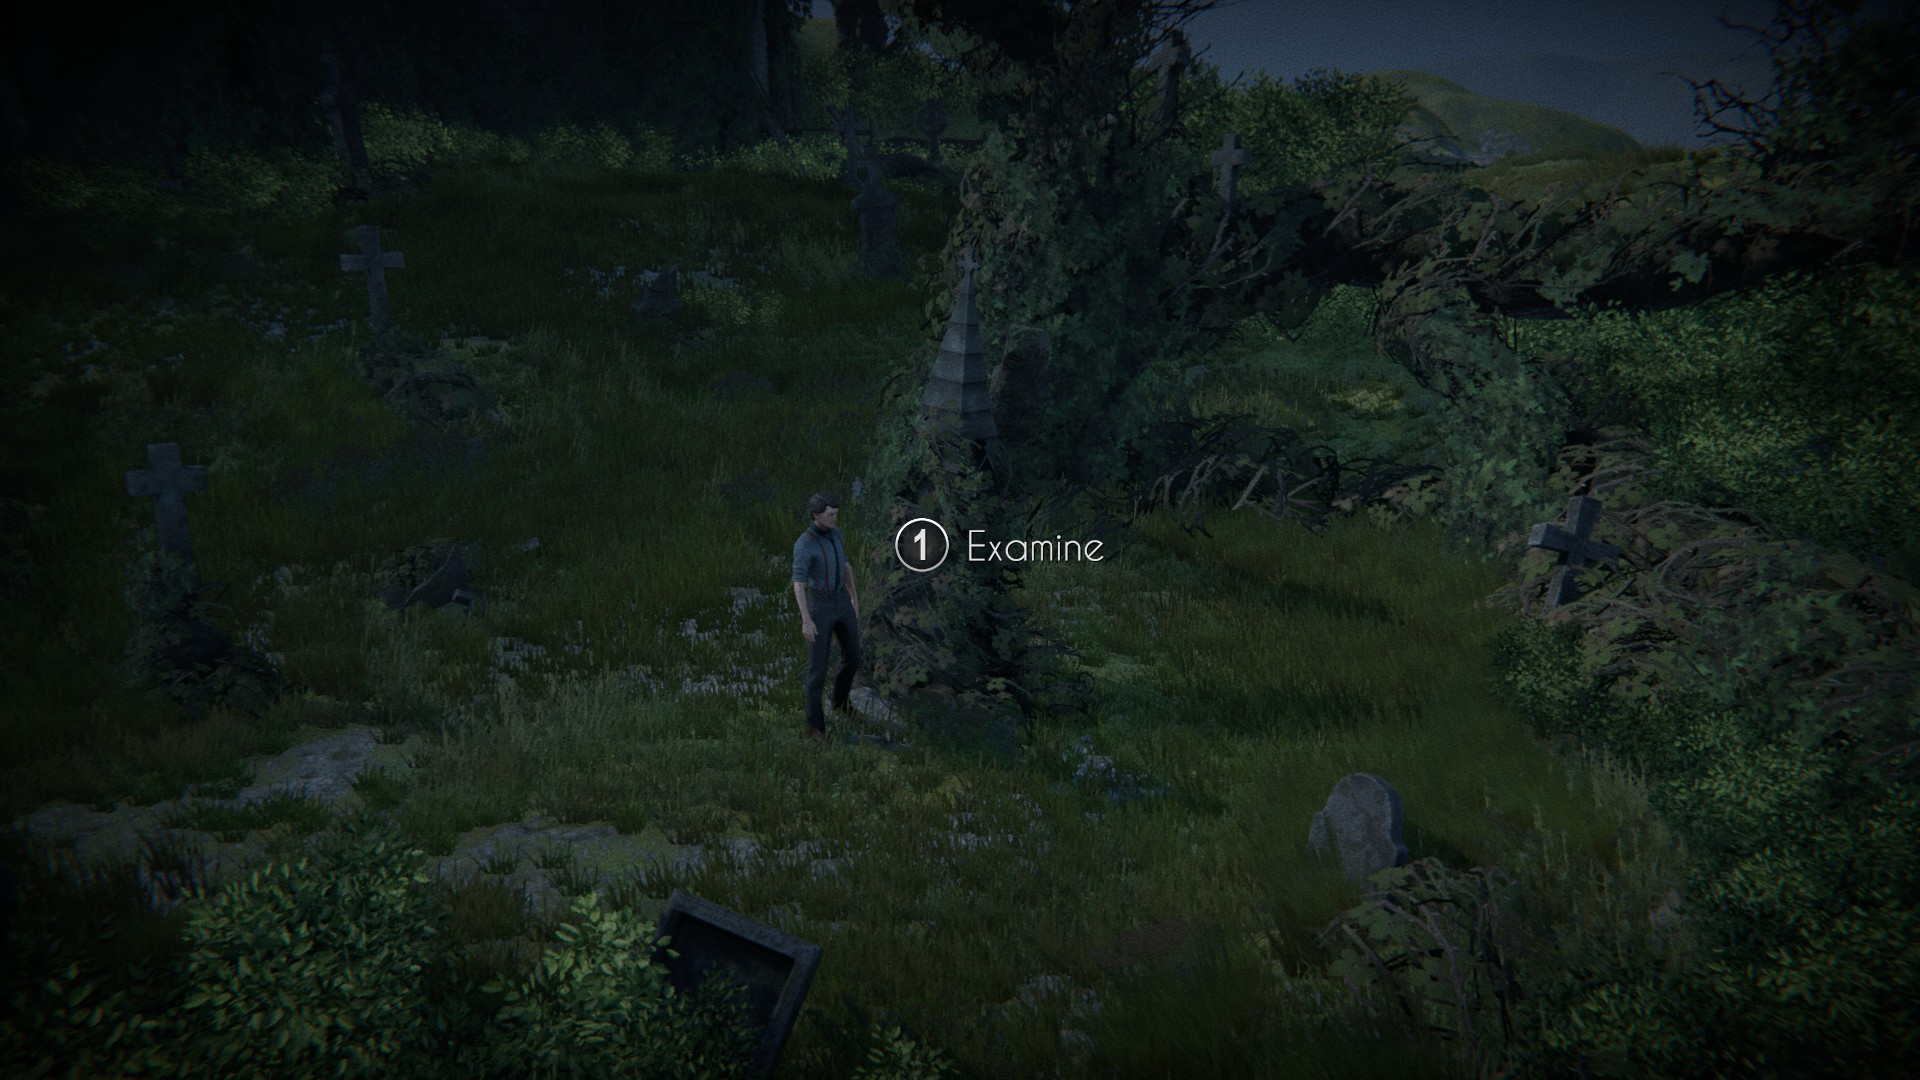
This drawing piece set can be found in the graveyard. After cleaning your aunt’s grave, walk up past the tree. The pieces will be on the ground in between two graves.
Spoiler Free Puzzle Hints for Black Mirror, Chapter 2
There aren’t really any puzzles to solve in this chapter. Just make sure you explore everywhere and click on anything that gives you the option to. Missing one item can halt the story’s progress until you get it.
Detailed Walkthrough — Black Mirror, Chapter 2
Bedroom
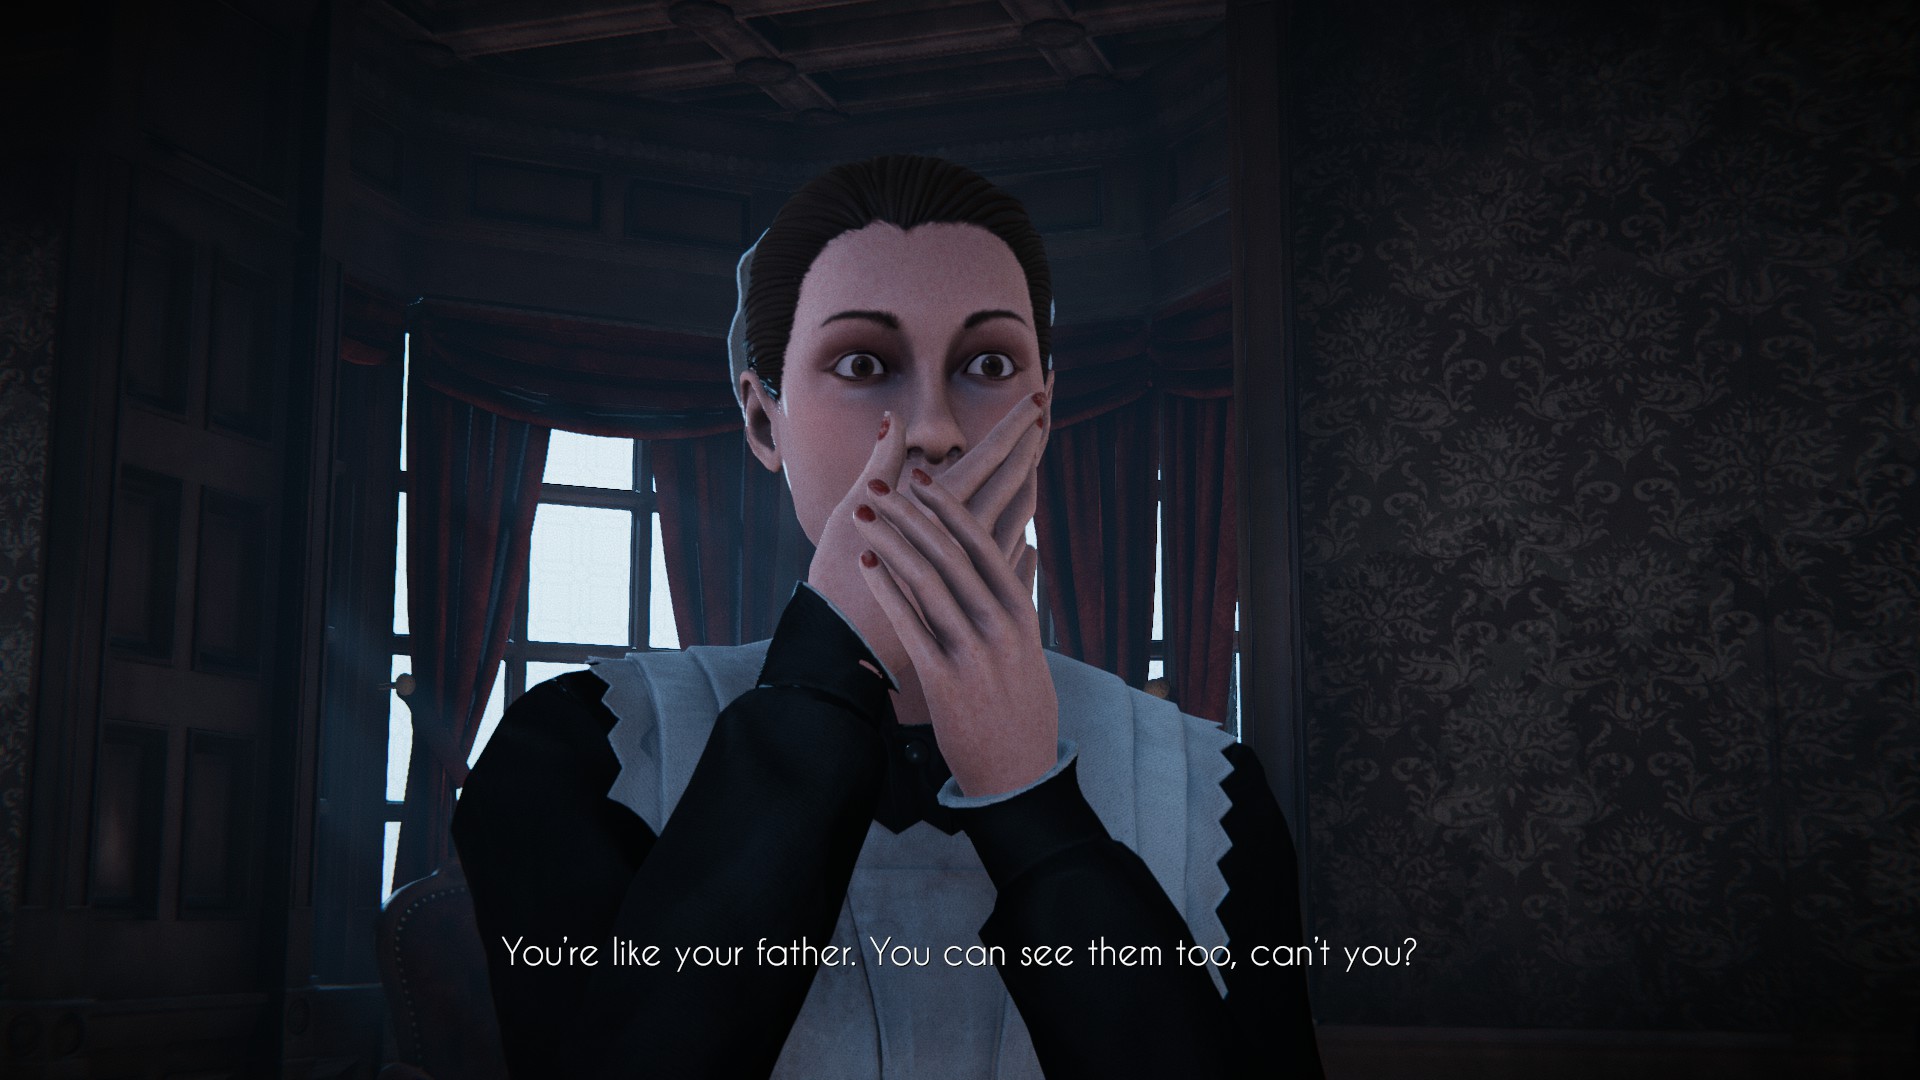
When Chapter 2 beings, it’s morning and you wake up in your bedroom. The maid, Ailsa Crannan, is there. Talk to her and she’ll give you a bit more information about your father’s relationship to the house — although not a lot. She also informs you that Andrew would like to see you in the library after breakfast.
When she leaves, you go into the bathroom and there’s a short quick-time event during which you’ll need to keep your pointer in the center of a circle while holding down the button. This will “calm” you down. Then just click on each of the dialog prompts before going back to the bedroom. Your quest log and diary have been updated. You’ll also notice that several items have been removed from your inventory.
Dining Room
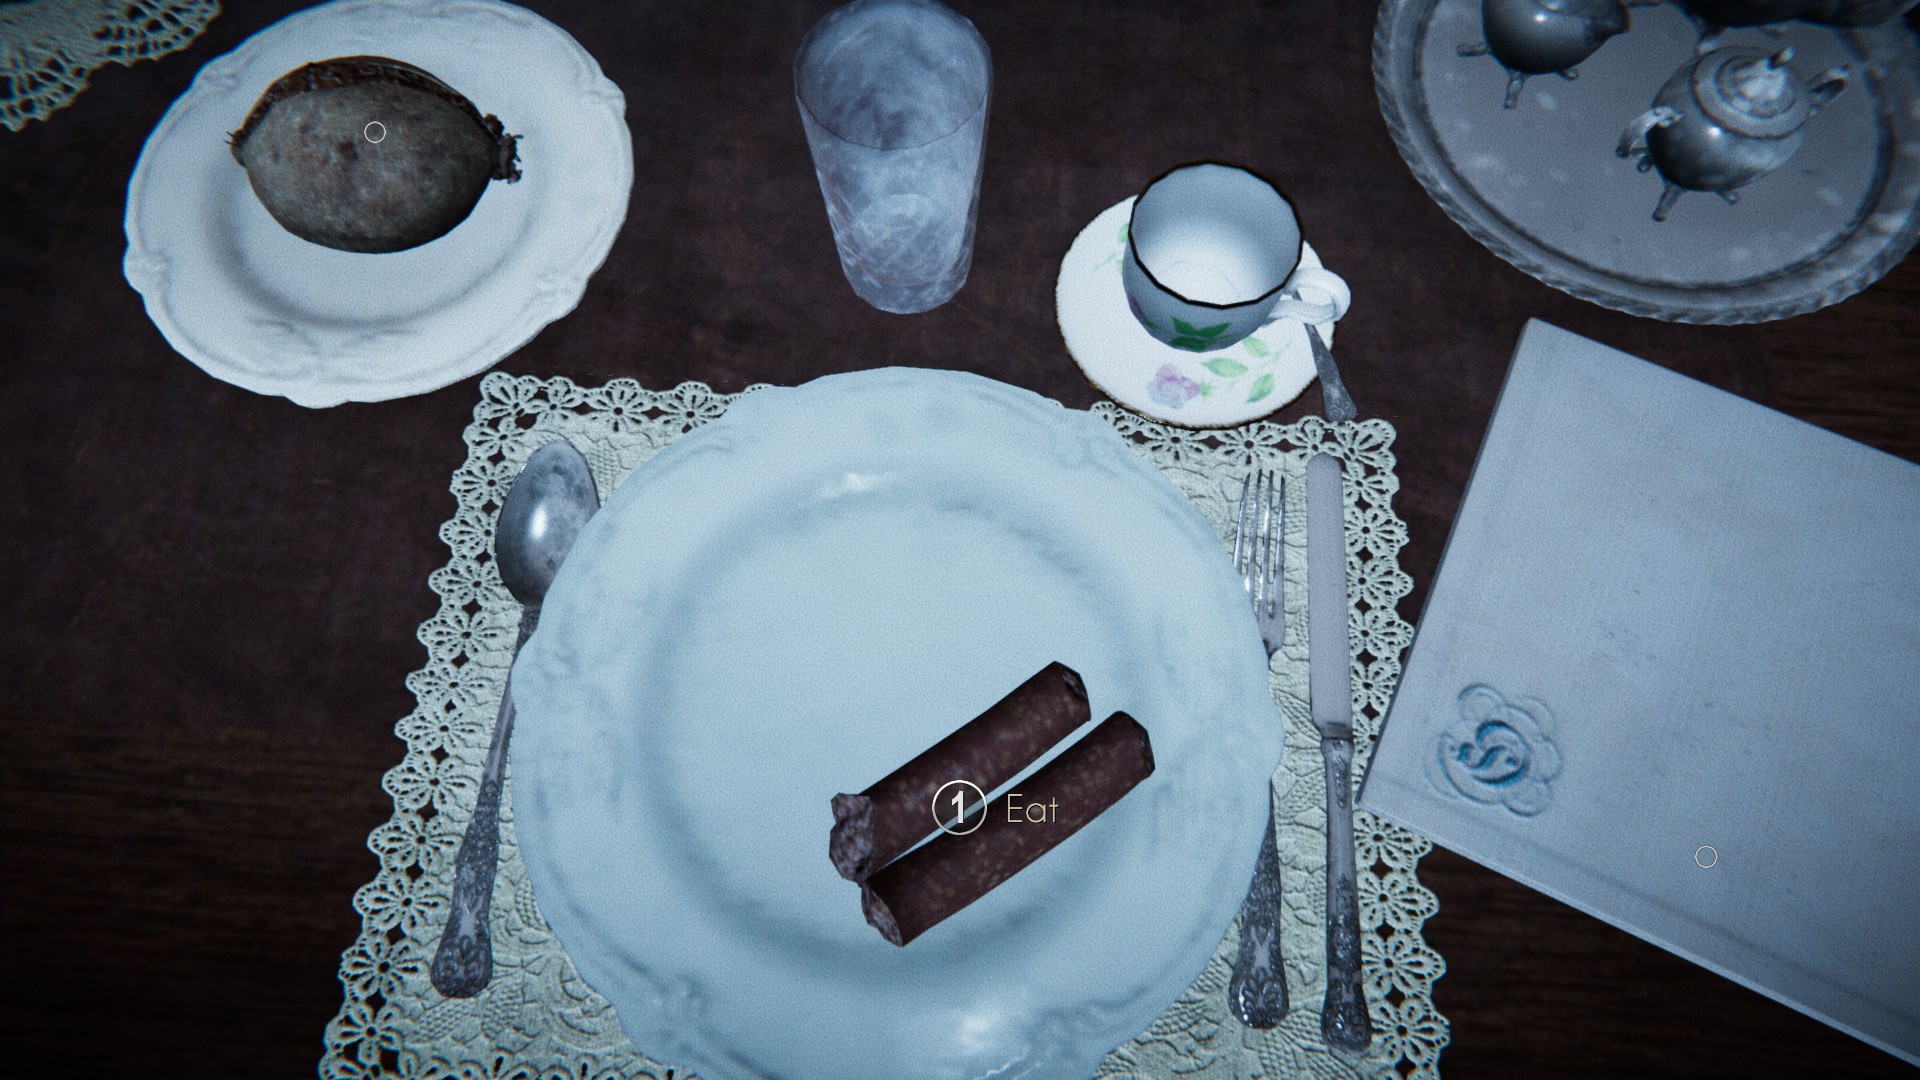
There’s nothing to do in your room for now, so just head out and you’ll get a cutscene with Angus and Ailsa in the dining room. After Angus finishes giving Elsa orders, he asks you to sit down to breakfast. Eat everything and then click on the napkin to finish breakfast.
Once you’re done, you can explore the dining room a bit more. Inspect the doors to the garden and you’ll be reminded that you should earn Ailsa’s trust before doing anything else. Before going to look for her, explore the rest of the room. At the far end of the room is a set of windows. In one of their sills, you’ll find another set of drawing pieces.
There’s nothing else to do in here right now, so head to the opposite end of the room and go through the door into the trophy room.
Trophy Room
Here, you’ll see Lady Margaret smoking a pipe. Before sitting down to talk to her, explore the room. You’ll find a few things of interest. Examine the fireplace and you’ll find a silver earring. Pick it up and then look to the table on the left. There, you can pick up the next set of drawing pieces.
Once you have those, go talk to Lady Margaret before exiting the room via the doors up the short flight of stairs. You’ll find yourself back in the foyer. Look around before heading to the library to look for Andrew.
Library
Andrew’s not there, but he did leave you a note. There’s also a paper on another table labled “Mallory”. Since there’s nothing else to do here, go to the kitchen to talk to Ailsa.
Kitchen
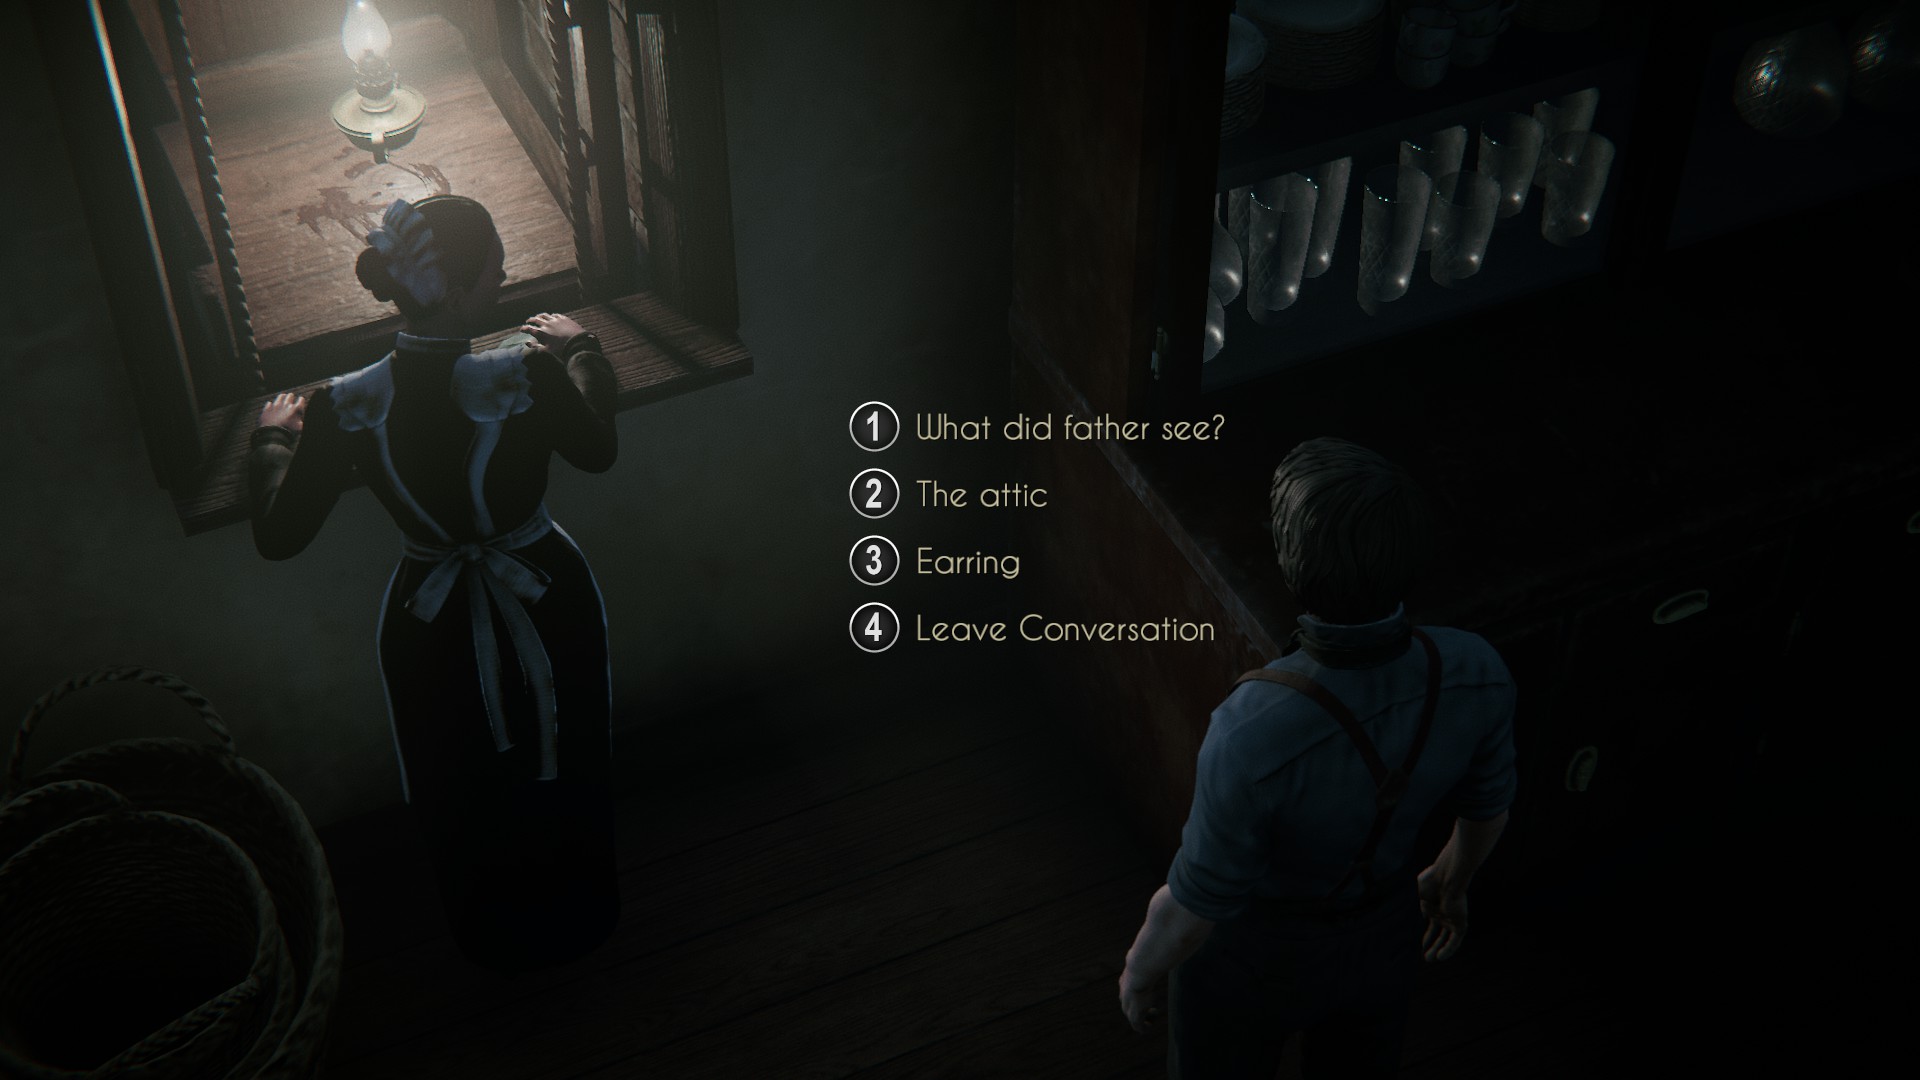
You’ll find Ailsa cleaning out the dumbwaiter. Talk to her and you’ll find out she’s scared of all kinds of things. You’ll also have the opportunity to give her back the earring you found. Go through all the dialog options and you’ll be able to offer your help with the cellar spiders.
Once you’re done talking to Ailsa, you can either head to another room in the house or head to the cellar door and prompt her to follow you. Since you’re already here, you might as well go that way.
Cellar
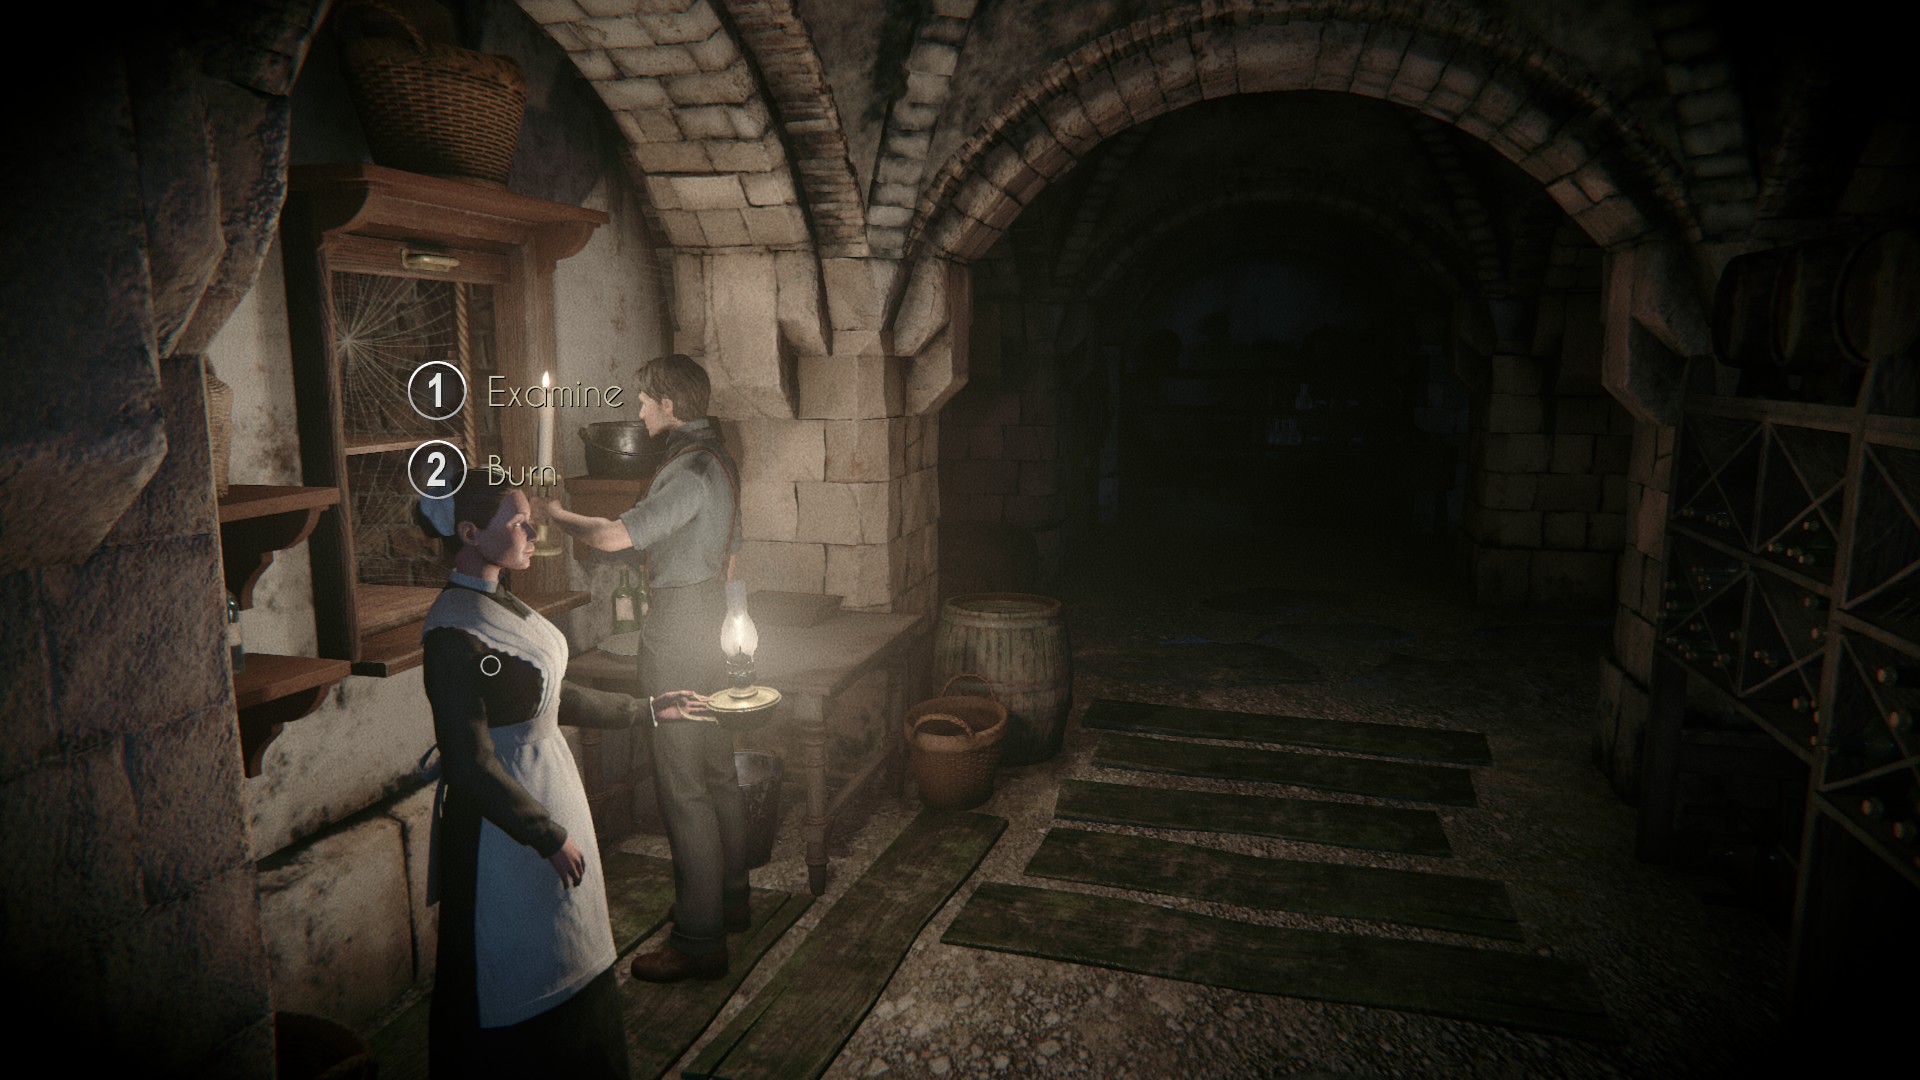
Follow Ailsa to the dumbwaiter in the cellar. There, you’ll see the spider webs she’s talking about. Inspect them, and you’ll decide to look for something that will help with their removal. Pick up the candle to the right of the dumbwaiter and begin looking around.
If you follow the path down to the wall, you’ll find a shelf with a small bottle “raw spirit” — or really potent, cheap liquor — on it that you can take. Do a quick circuit around the cellar before returning to Ailsa and you’ll learn a bit more about the family. Once you’re back at the dumbwaiter, select the “burn” option and watch the magic…
Until your cousin, Edward “Eddy” Molarie, shows up. Talk to him a bit and once you’re done you’ll be popped into a cutscene with Ailsa in the kitchen. She has something to tell you. But apparently, it’s going to have to wait a bit longer.
Once you’re done in the kitchen, head back out into the foyer and check the phone to the right of the steps. You’ll discover it’s working. Enter the door next to you and go straight across the hallway into the sitting room.
Sitting Room
There’s no one to talk to in here, which gives you a bit of an opportunity to poke around without being seen. Go across the room to the green chair by the window and you’ll have a few things you can interact with: a Victrola with a collection of recordings.
At the other end of the room, on the fireplace mantle, you’ll find a photo. Take it, and look it over. Inspect the back and you’ll have a short vision with another quick-time action. Just click the mouse button until the circle is complete.
Leave the sitting room and head down the hall to pass through the dining room on the way to the trophy room where you’ll talk to Lady Margaret again.
Trophy Room — Photo Questions
All you have to talk to Margaret about here is the photo you just found. She gives you a few answers but it’s apparent she’s being shifty about it. Inspect the fireplace again and look to the right at the table next to Lady Margaret. Examine the picture there and then head back to the dining room and click on the doors leading to the garden. You can finally go outside.
Garden
Take the first path to the right, toward the car and you’ll come across some more drawing pieces on the ground. Grab those and turn left toward the greenhouse where you’ll run into the gardener trying to fix a door. Talk to him for a bit then follow the path up to the family graveyard.
To the right of the path, you’ll see headstones covered by brambles. There are only a few you can inspect, but make sure you go far enough to the right to spot the one shaped tile a spire top and give it a look. Try to remove the plants and you’ll discover you need something to cut through them with. Head back to the gardener and ask to borrow some of his tools. Take the bolt cutters and head back to the graves.
Clean off the spire grave and then dig around a bit to find another piece to the castle model.
While still near the graves, go up past the tree and stand in between two headstones. You’ll find another set of drawing pieces there. From there you can head to the mausoleum. But before you do, head back to the gardener for a minute and ask him about your aunt. Then return to the mausoleum. Open the doors and go in.
Mausoleum
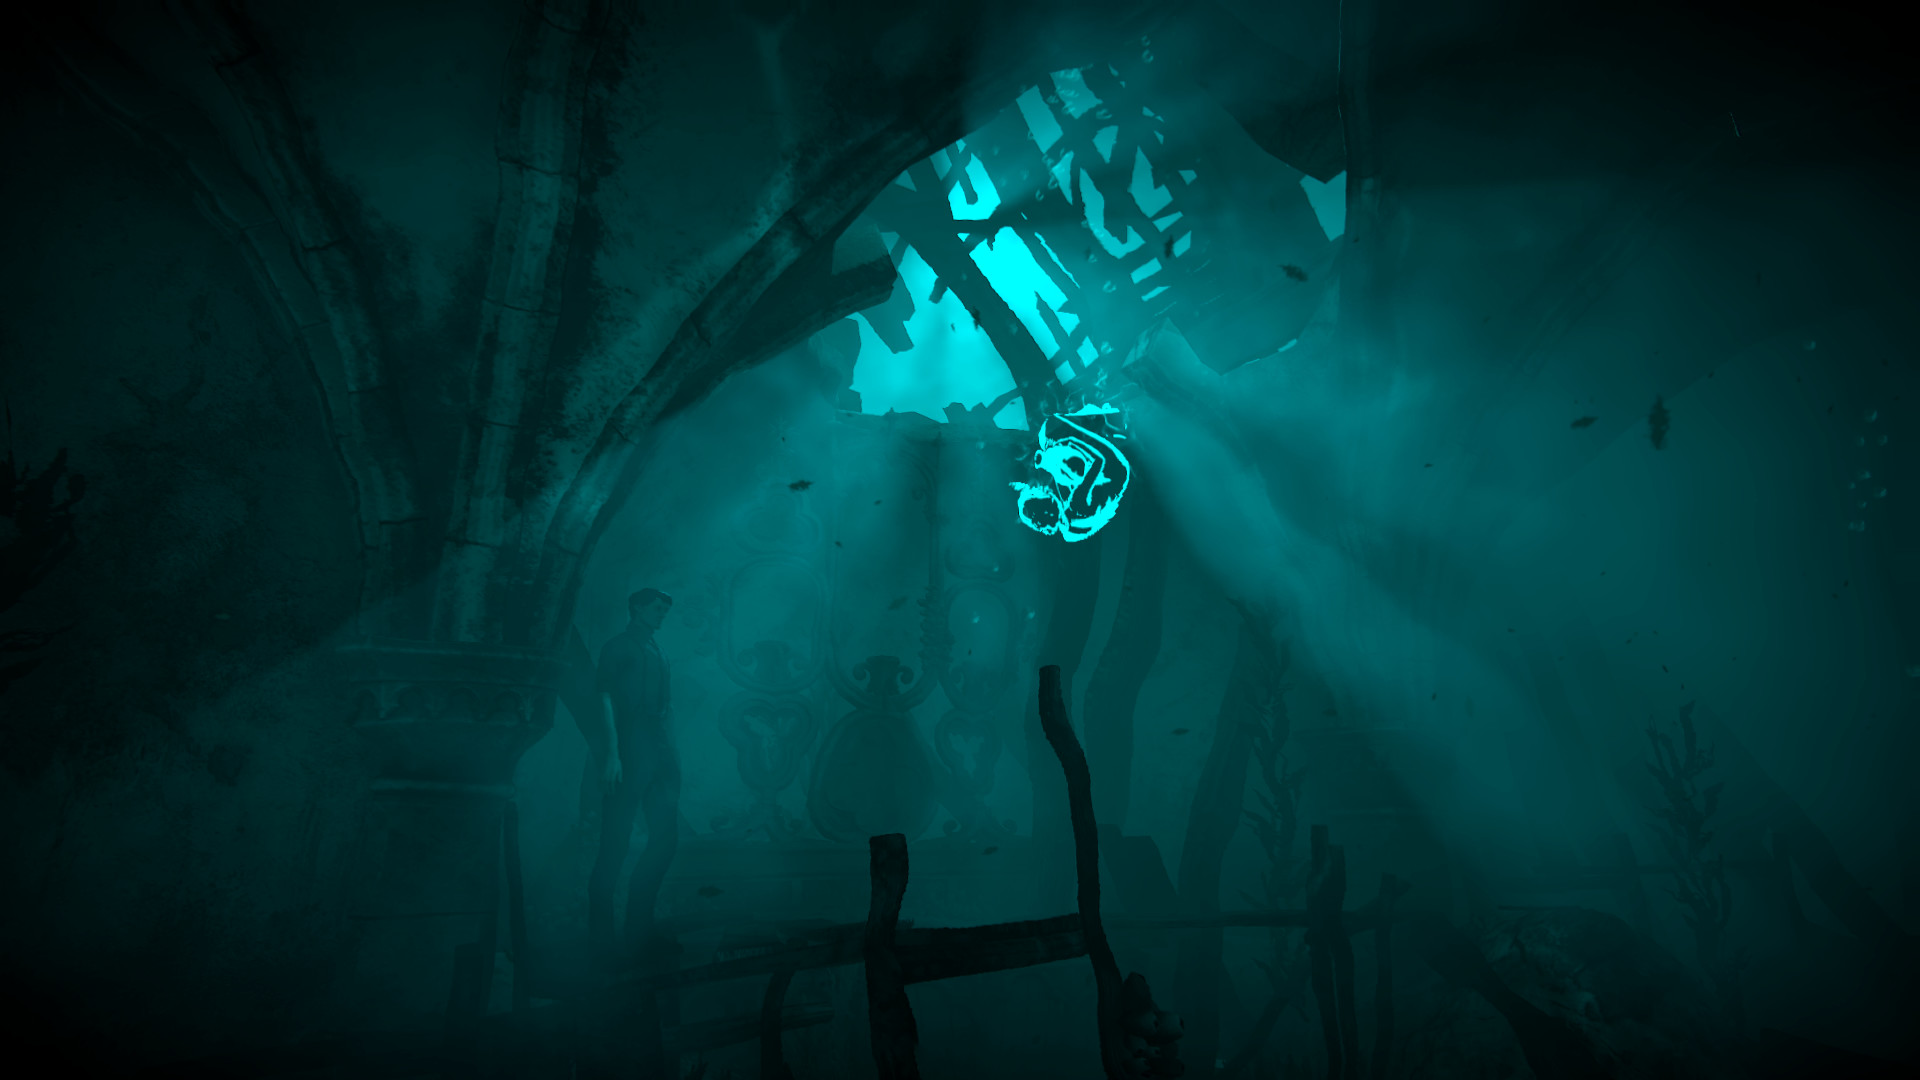
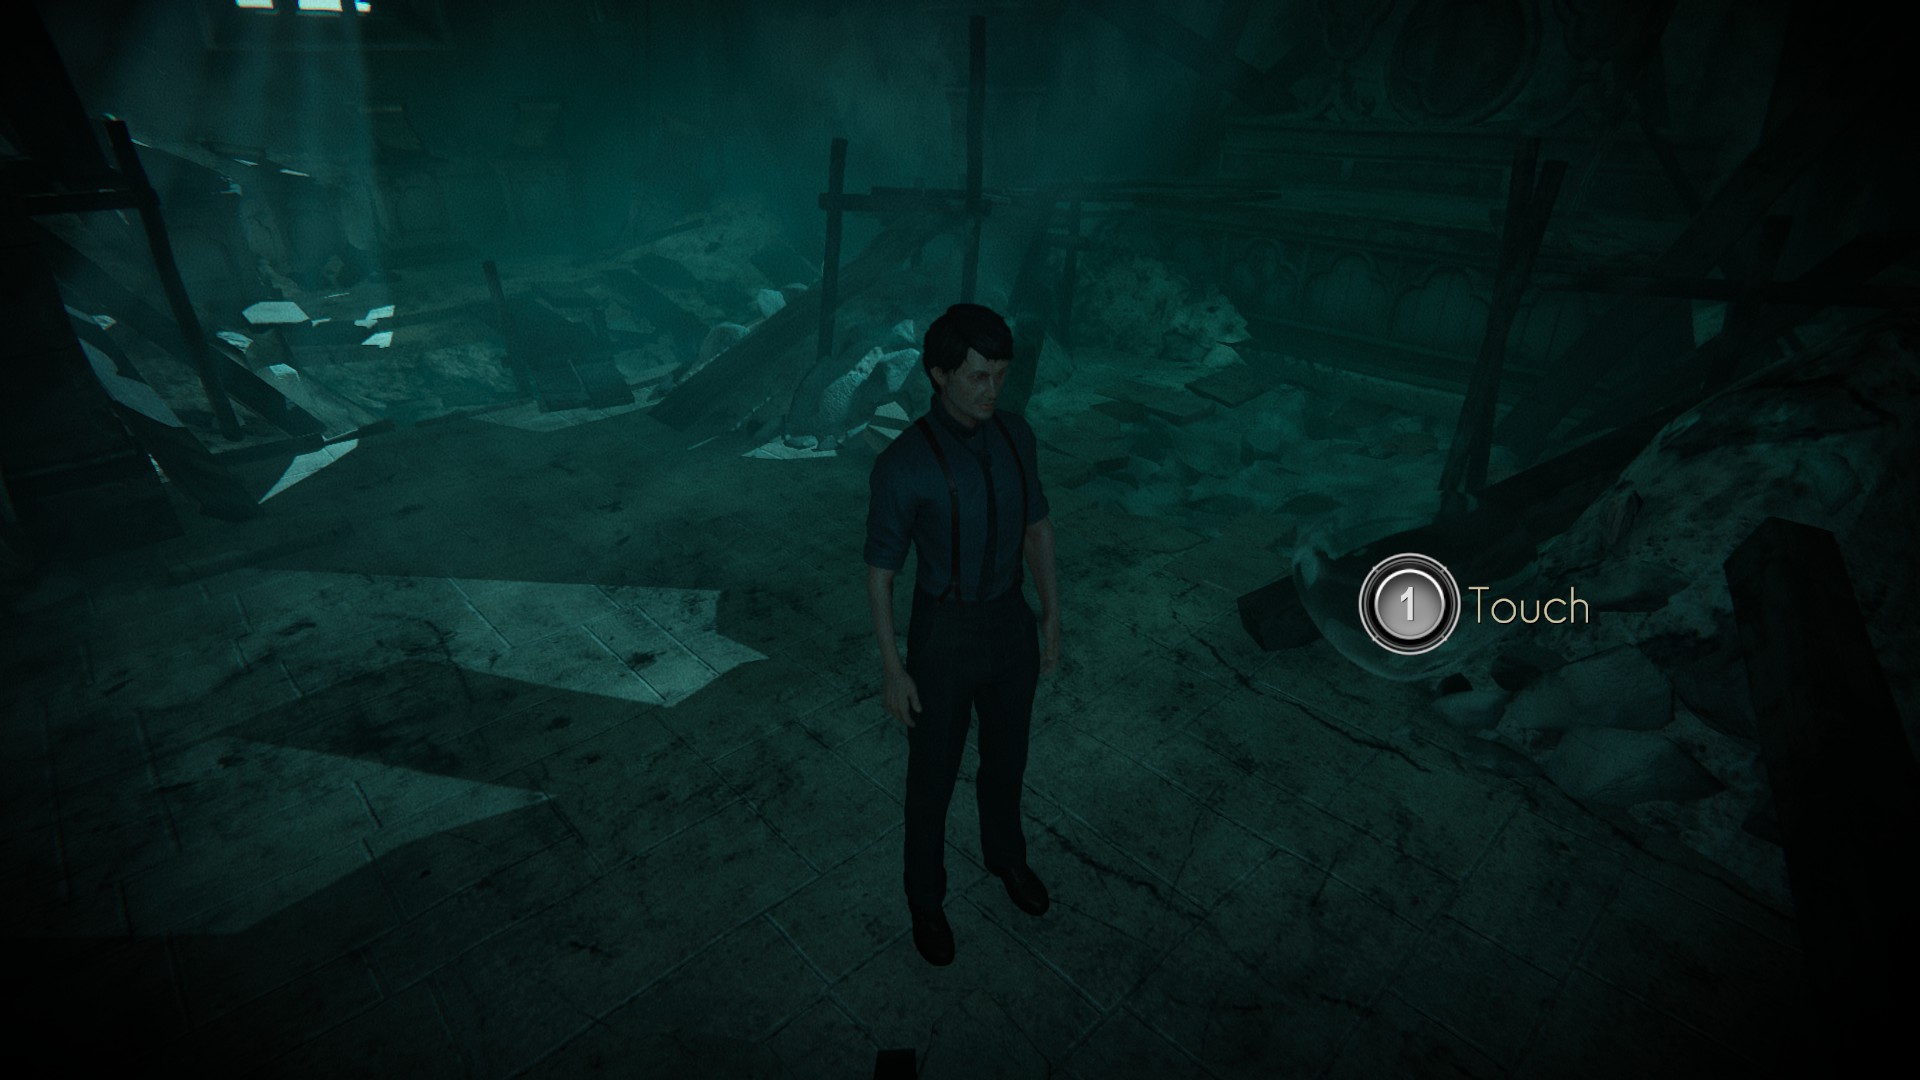
Once inside, go forward and turn left, walking across the boards to the scrolls on pedestals. Read them in the order prompted and you’ll hear a noise. Walk back across the boards to the right, until you see a bubble floating in the air. Touch it and you’ll be underwater. Go back to the door you came in and touch the plant next to it. Then walk back to the center of the room and touch the ghostly fish.
You’ll see a ghostly woman with an urn falling from above. Move closer and investigate her. Just don’t stand too close for too long. Before stepping to the left and climbing the scaffolding there. You’ll get another chance to examine the woman mid-fall.
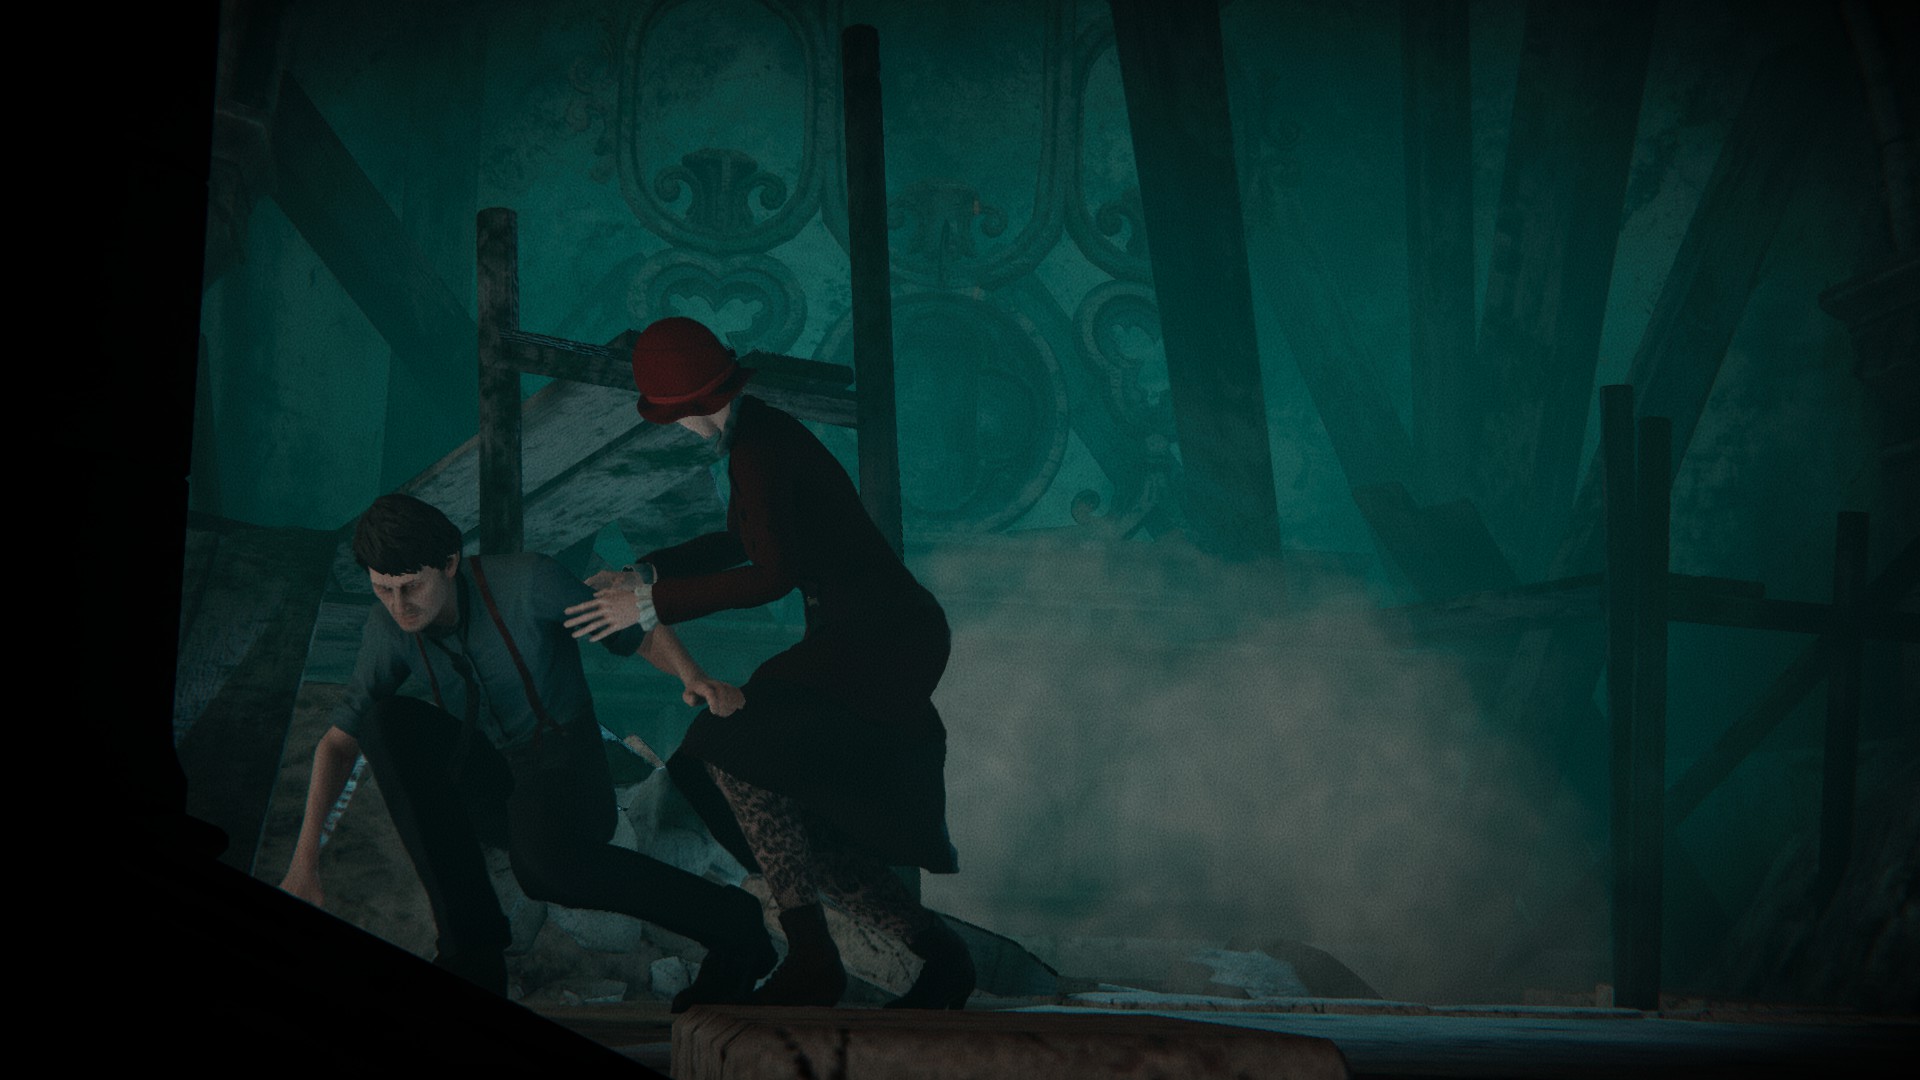
Walk up to the wall and climb it as well. Walk to the right to stand next to ghost Edward and examine him. Again. Don’t stand too close. Both of these ghosts are deadly. Do this successfully and you’ll get another cutscene where you end being saved by your father’s old psychiatrist, Dr. Leah Faber.
After she introduces herself the scene will cut and you’ll find yourself back in the kitchen talking to her. During the talk, you hear a scream from the cellar and rush down to find Eddy and the body of the maid, Ailsa.
Thus ends Chapter 2 and begins Chapter 3.
Be sure to check out our other Black Mirror guides and walkthroughs here.



Published: Dec 4, 2017 05:54 pm