If you’ve already powered through the single player campaign’s tale of heroism in the face of overwhelming danger, then it’s time to move on to the real goods with Call Of Duty: World War 2 — Nazi Zombie Mode!
While surviving wave after wave of increasingly powerful undead soldiers is always a good time, it’s the Easter egg you should really be going after so you can tackle the big bad end boss with your friends.
CoD Easter eggs have been getting more and more ludicrous with every new iteration, and WW2’s Nazi Zombie Easter egg doesn’t disappoint.
If you’re just getting started with Zombie Mode, be sure to head over to these guides first so you know how to stay alive and upgrade your weapons before kicking off the epic Easter egg hunt:
COD WW2 Nazi Zombie Easter Egg Guide
Open The Sewers/Bunker
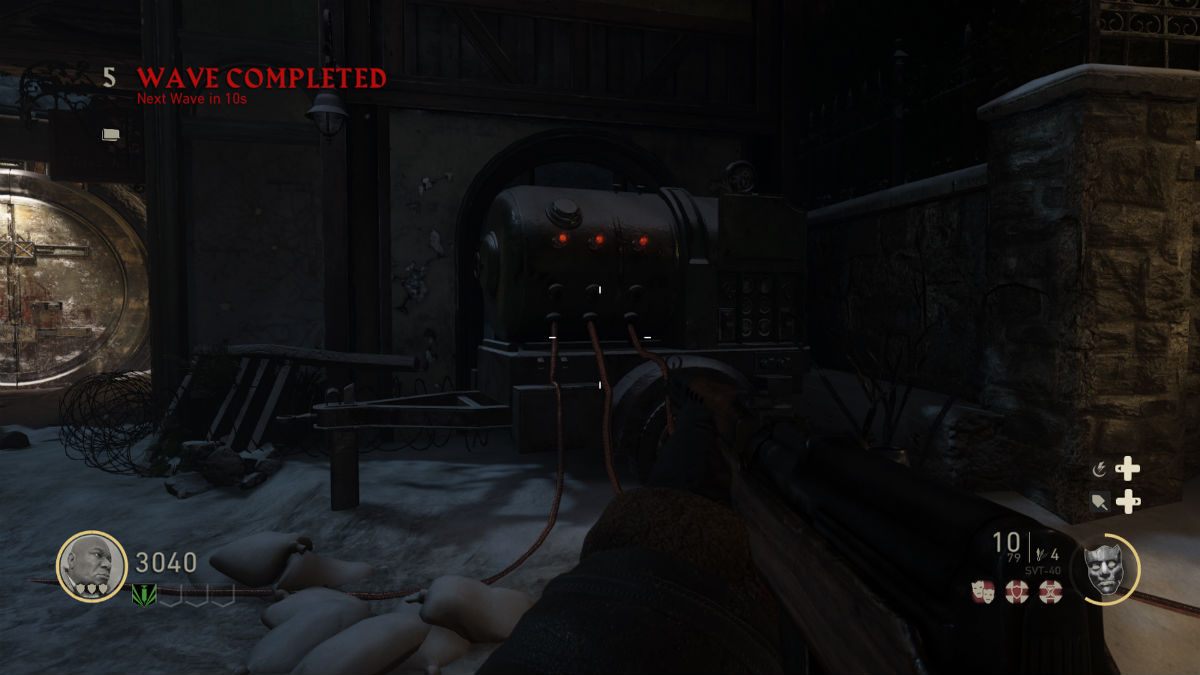
After unlocking the first gate around the second or third wave, you can move into the Village Square where you will find a locked bunker door and a generator near a blocked hole in the ground.
To get the Easter egg hunt started, turn on all three pumps connected to the generator (just follow the cables on the ground to reach each pump). Be careful, though — the pumps take about 20 seconds to prime, which leaves you vulnerable.
After all three pumps are operational, turn on the generator and then use the pilot light (the big drill type machine near the bunker) to blow a hole in the ground. Fight off the wave of flaming zombies that crawl out.
Jump down into the sewers and turn on the second generator there (no pumps required this time) and now you can finally open the bunker door in Village Square.
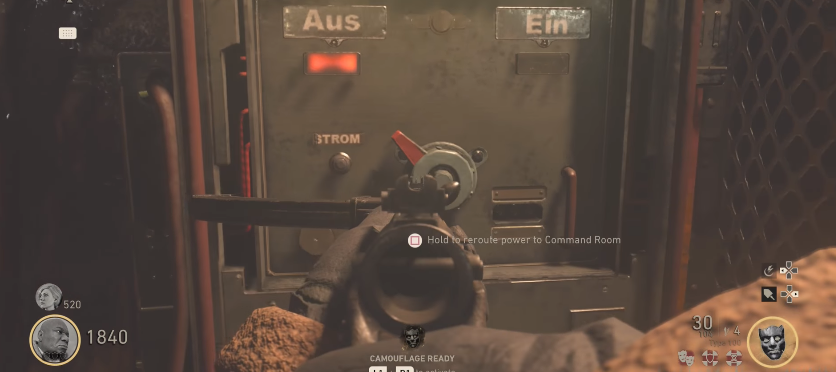
Flip The Power Switches
This next part is extremely time sensitive, so it’s much easier to do with a group of people instead of solo.
Use your saved-up jolts to unlock the two doors inside the bunker’s Command Room area, and send one person into the Laboratory and another into the Morgue. You need to flip the switch near the end of the Lab and then the Morgue areas right after each other. If you wait too long, the switches will disengage and you’ll have to start over.
It is possible to do solo if you absolutely book it from the Lab switch straight to the Morgue switch, but you’ll likely end up doing this several times if you don’t know where both are located during your first try.
Power And Escort The Altar
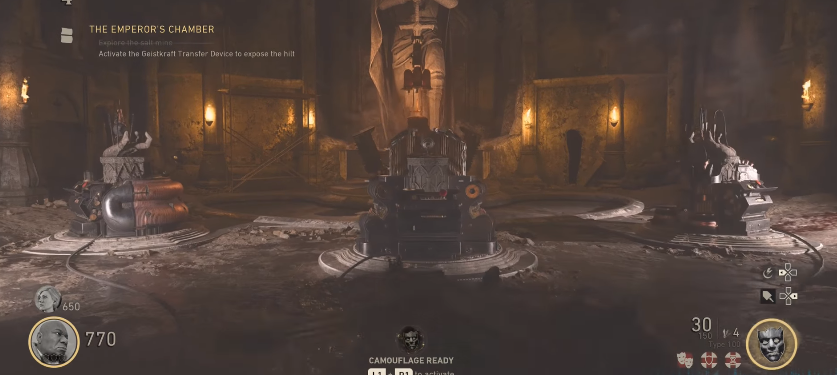
With the power on, head back into the Command Room and unlock the door to the Salt Mine. Take the right-hand path in the Mine to reach the Emperor’s Chamber and turn on the machine.
You need to charge the weird Nazi altar/machine with zombie souls. Kill zombies during a wave inside the chamber to charge up the altar. You’ll see a flash of red light when enough zombies have been killed.
With the machine turned on, go back to the Command Room and look for the triangular metal device with a turn crank. Activate the turn crank (which leaves you momentarily vulnerable) and wait for the device to unfold.
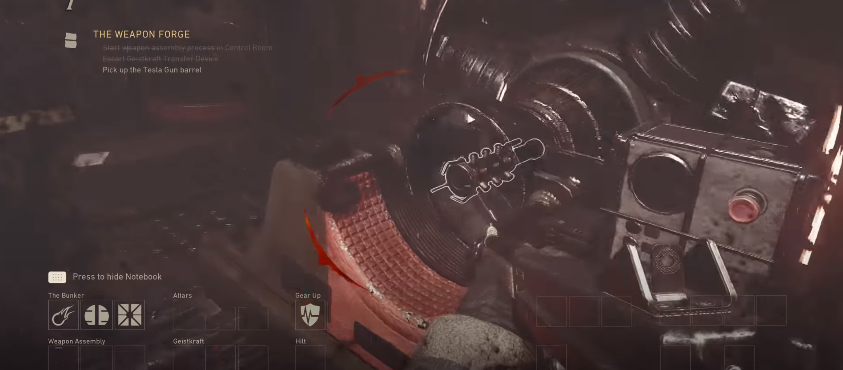
Now, quickly run up the nearby stairs and press the red button sitting next to the metal bench to activate the weapon forge. Once this is turned on, the machine from downstairs will slowly move on a track. Follow the machine and escort it on its journey, killing any zombies who attack along the way.
Building The Tesla Gun in Nazi Zombies
When the machine stops moving, just stand in the red circle beneath and kill zombies to get it going again. After the machine reaches its destination, stay nearby for about 30 seconds and wait for the Tesla barrel piece to pop out.
With the barrel in hand, head back upstairs to the weapon assembly station and set down the first piece of the Tesla weapon. At this point, the machine will start moving again. Just repeat the escort process and kill zombies in the red circle as necessary to get it moving.
Eventually, it stops again and after about 30 seconds, you can grab the core piece. Go back to the weapon assembly station and drop the second Tesla piece, then escort the machine a third time. This time around, you’ll be going back to the Command Room.
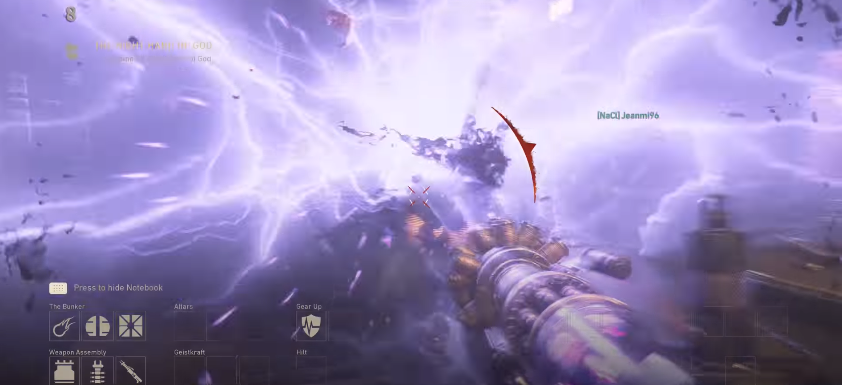
Assemble the third piece when it pops out, and then grab that oh, so sexy Tesla gun — which makes zombies explode in glorious purple light. Doing all of this also unlocks the Lightning Handler achievement and trophy.
Power Color Puzzle
Go back down to the Emperor’s Chamber and turn on the “Hand Of God” console, which doesn’t seem to be functioning yet.
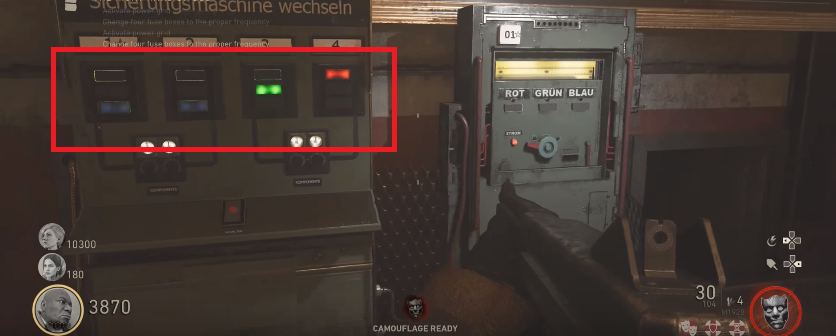
Return to the weapon assembly area by the Command Room, and open up the breaker on the wall. Inside you will see four colors with numbers. Your color/number combo may be different than what’s shown in the screenshot below as it seems to be randomized.
For instance you might get blue, blue, green, red or instead get red, red, green, blue, or even some other combo of four colors.
Now you have to travel all over the map to turn four power stations to their equivalent colors. There isn’t a color indicator on the stations, however. You have to turn the crank to the name of the color – “rot,” “grun,” or “blau.” So for instance, if the first station’s color is supposed to be red, you’d turn the crank to “rot.”
The stations are found at these locations (each is marked with a number at the top so you know which color to use):
- Station 1: Immediately to the right of the color switch panel (that’s handy!)
- Station 2: In the Sewers by the tunnel leading to the Morgue
- Station 3: Near the Sewers upgrade station by the Riverside tunnel
- Station 4: Near the Tower gate outside the Pub
Activate the Lightning Rod
After turning on the color switches, go to the Tower area and pull the red lever to turn on the lightning rod. Here you need to defend the rod and the levers while waves of zombies arrive.
During one wave, you will be prompted to turn on two levers on opposite sides of the Tower at the same time and defend them both simultaneously.
Once that process is done, go back to the Emperor’s Chamber and you can finally turn on the machine you looked at previously that wasn’t functional.
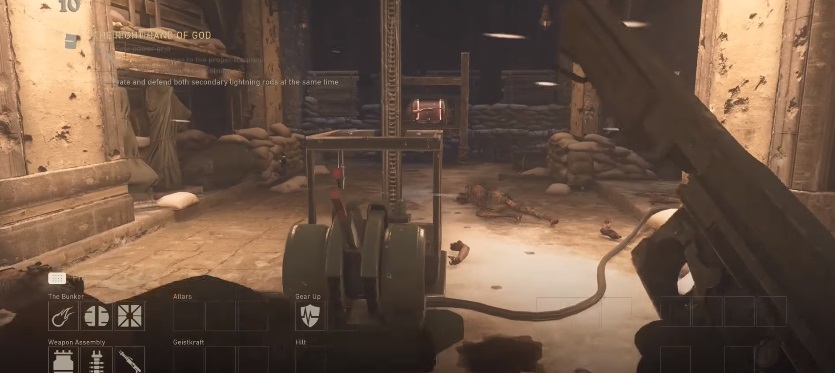 Defending the Lightning Rod at the base of the Tower
Charge Zeppelin Generators
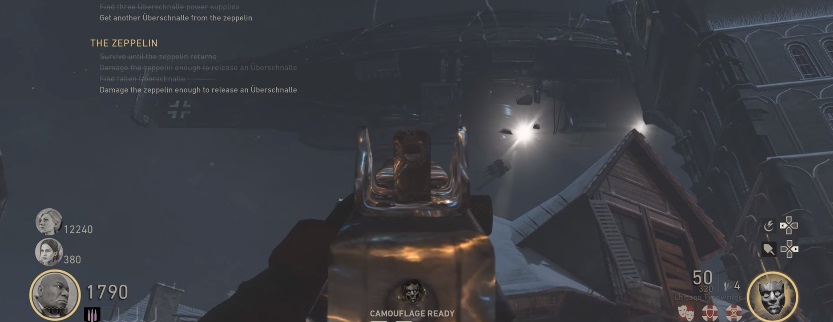
Did you think you were done turning things on and defending them? Not even close! Return to the surface of the Final Reich map and wait for a Nazi zeppelin to appear and start raining down hellfire on your team.
Shoot at the glowing red weak point to force a generator to drop off the zeppelin. When it lands, kill zombies around the generator to power it up. Now for the fun part — pick up the generator and carry it (leaving you very slow and vulnerable) back down to the Emperor’s Chamber and set it in one of the devices.
Repeat this process two more times so you have three fully powered generators dropped from the Zeppelin, and carry each one back down onto their corresponding locations in the Emperor’s Chamber.
Activate the Voice Of God
With the devices turned on in the Emperor’s Chamber, you then need to grab a Brenner head from the flamethrower zombie enemies.
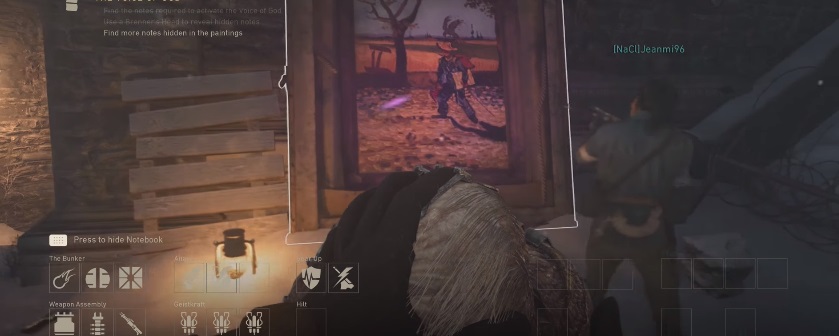
The head will be used like your gun, and you have to aim it at paintings found around the map to decipher a code. Take the head and aim at these spots:
- Painting 1: In the Pub on the wall next to the bar
- Painting 2: Down in the Sewers near the Pack-A-Punch station
- Painting 3: In the Mortuary in the pitch black section
- Painting 4: In the Courtyard by the stairs
Each painting will reveal a number and an image pointing one of the cardinal directions. Write down each combo as you find it. After tracking down all four codes, return to the Emperor’s Chamber and match up the symbols on the central device with the appropriate numbers.
Boss Fight!
Next up is the final boss, so make sure you’ve got all the gear, auto-revives, and weapon upgrades you need. Have all four players simultaneously shoot the orange light in front of the emperor statue to retrieve the sword hilt.
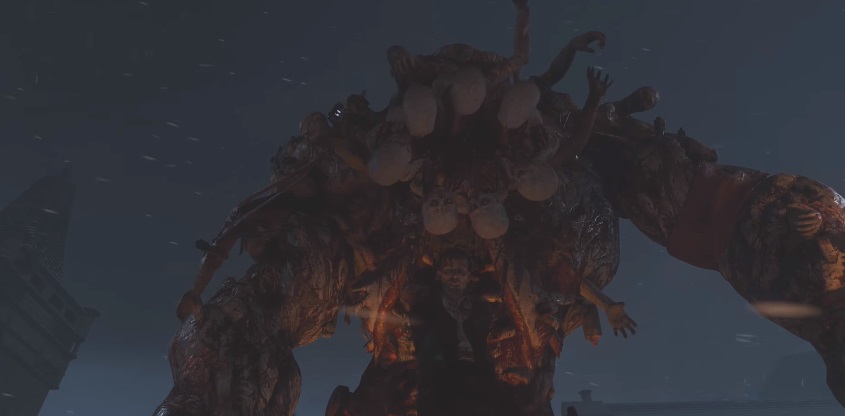
Wait for the cutscene to play, and you can finally take on the Nazi Zombie mode boss: the Panzermorder!
There are three phases to this fight, but they all involve doing the same things. Repeat the process of firing at the light underneath the zeppelin to get a generator and power it up with zombie kills.
Next, shoot the boss until it’s stunned, then pick up the battery and run it over to the boss to move onto the next phase. Repeat this two more times to finally kill the Panzermorder and complete the Easter egg!
Good luck getting through the whole Easter egg, and many thanks to PowerPyx for the screenshots! Still need help with any other part of the game? Check out our complete listing of Call Of Duty WWII guides over here.





Published: Nov 5, 2017 06:58 pm