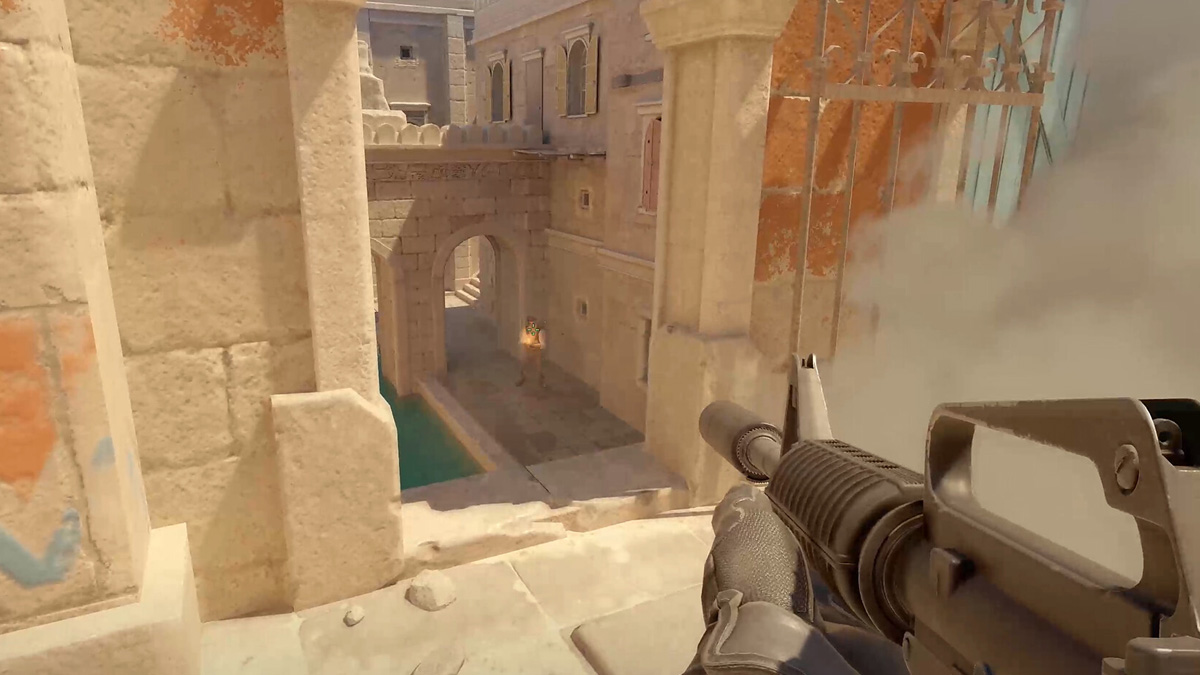
Like its renowned predecessor, Counter Strike 2 offers a wide variety of game modes to compete in. Be it the classic Deathmatch or the fast-paced Wingman mode, CS2 has something for virtually anyone. However, if the competitive scene isn’t quite your thing, you can also create private servers to play with friends. For obvious reasons, these games don’t affect personal stats, but they can be used as an avenue for casual fun or valuable practice before entering more competitive matches. Here’s how to create dedicated servers in CS2.
How to Create a Dedicated Server in CS2
Using the Main Menu

The easiest and most streamlined way to create a CS2 dedicated server is through the game’s official menus. This is done by creating a practice server. To create a practice server, follow these steps:
- Launch CS2.
- Click Play in the game’s main menu.
- Choose the Practice option.
- Select whatever game type you prefer.
- Choose a map.
Upon launching the private game, you can invite your friends and start playing. I prefer using this method because it’s the easiest route. However, there is another way to create dedicated servers if you wish to.
How to Create a Dedicated Server in CS2 Using the Console
Alternatively, the in-game developer console can be used to create a practice lobby in CS2. While this process is technically quicker than using the menus, it does require enabling the console through the Settings menu. After enabling the use of the console, do the following steps:
- Launch the developer console.
- Type “map X,” press Enter, then replace “x” with whatever map you’re looking to play on. You can choose one of the base maps in the game or one that you installed via Steam Workshop.
That’s how to create dedicated servers in CS2. For more information on playing custom servers, check out our guide on how to play Surf Servers or how to engage in some classic 1v1 action, all in the dedicated CS2 guides hub.


Published: Oct 16, 2023 03:01 pm