
Curveballs, broadly speaking, are a variety of back-pocket game changers that are one of your best tools for survival in Dead Island 2. Here’s where to find all Curveballs, what they do, and when to use them. (Constantly. All the time.)
For additional information on using Curveballs, check out our Curveball use guide.
Frag Out: All Curveball Locations and Effects in Dead Island 2
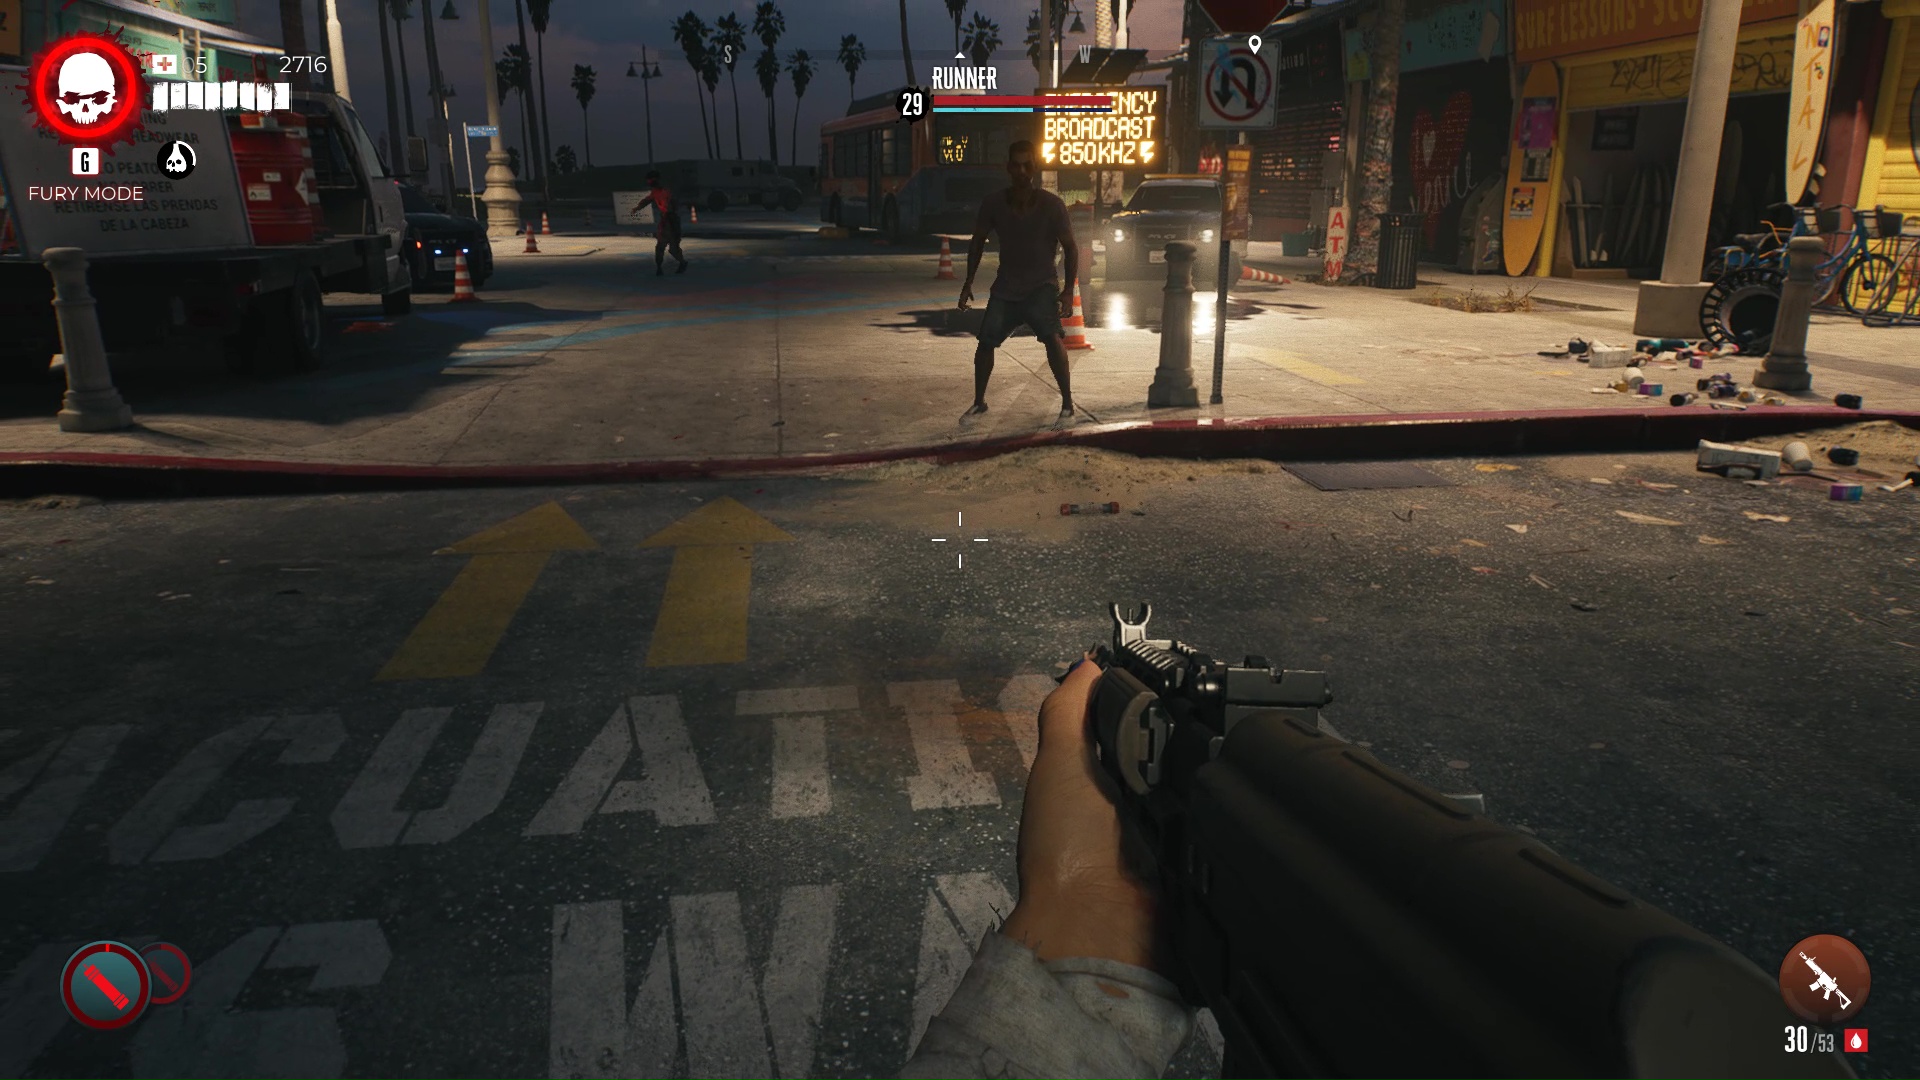
There are a total of 13 Curveballs in Dead Island 2. While a couple are made obsolete eventually, they all have their uses. If you’re having trouble with the game, especially early on, it’s possible you aren’t exploiting your Curveballs to their full potential.
Meat Bait
 Screenshot by GameSkinny
Carlos, the trader in Emma’s living room in Bel-Air, offers this for free during “Call the Cavalry.”
The first Curveball you get is also the most consistently useful. Meat Bait, when thrown, creates a gross meat puddle (see above) that attracts any Walker, Shambler, or Runner towards it, even if it means walking into fire or acid. Most Apex Infected don’t seem to notice the Bait, with the exception of Slobbers.
It’s worth keeping Meat Bait equipped throughout most of the game, just to keep inconvenient Walkers off your back. Note that hitting a zombie will get its attention back on you.
Shuriken
 Screenshot by GameSkinny
When you first reach the Halperin Hotel map, you can find this sticking out of a car in front of you.
The Shuriken, when thrown, launches three plate-sized stars in a shallow arc. They do some damage, but the primary use of the Shuriken is to maim zombies. Before you get a decent rifle, your Shuriken is your best bet for dismemberment at a distance.
There’s a Combat Challenge, Ninja, that requires you to dismember 3 zombies simultaneously with one Shuriken toss. To accomplish Ninja, your best bet is to lure a large number of Walkers or Shamblers into one place, then drop a stun on them like the Flashbang and try to scythe their legs out.
Chem Bomb
 Screenshot by GameSkinny
This is found directly in your path at one point as you make your way through the Halperin Hotel. It’s required to make your way past a couple of obstacles that you encounter immediately afterward, so you effectively can’t miss this.
The explosion from the Chem Bomb puts out fires, places pools of conductive fluid, and inflicts the Soaked status effect, while any zombie who gets struck with the Bomb itself is briefly stunned. This includes most Apex Infected, like Crushers, which can be a lifesaver in the early game.
While the Chem Bomb can extinguish Burning zombies, this doesn’t seem to do anything but make them less environmentally volatile. They’re still immune to fire even if they aren’t on fire.
Pipe Bomb
 Screenshot by GameSkinny
When you enter the checkpoint tunnel that separates Beverly Hills from Monarch Studios, you can find the Pipe Bomb in an open case on the table to your left.
 Screenshot by GameSkinny
While the Pipe Bomb’s useful as you fight through that checkpoint, it’s not as exciting after that point. The Pipe Bomb doesn’t do as much damage as you might think, and it can sometimes bounce out of the way before it explodes. You’ll need a little practice to get the most out of it.
Unfortunately, it quickly becomes obsolete in the face of better weapons, firearms, and its big brother the Sticky Bomb.
Electric Star
 Screenshot by GameSkinny
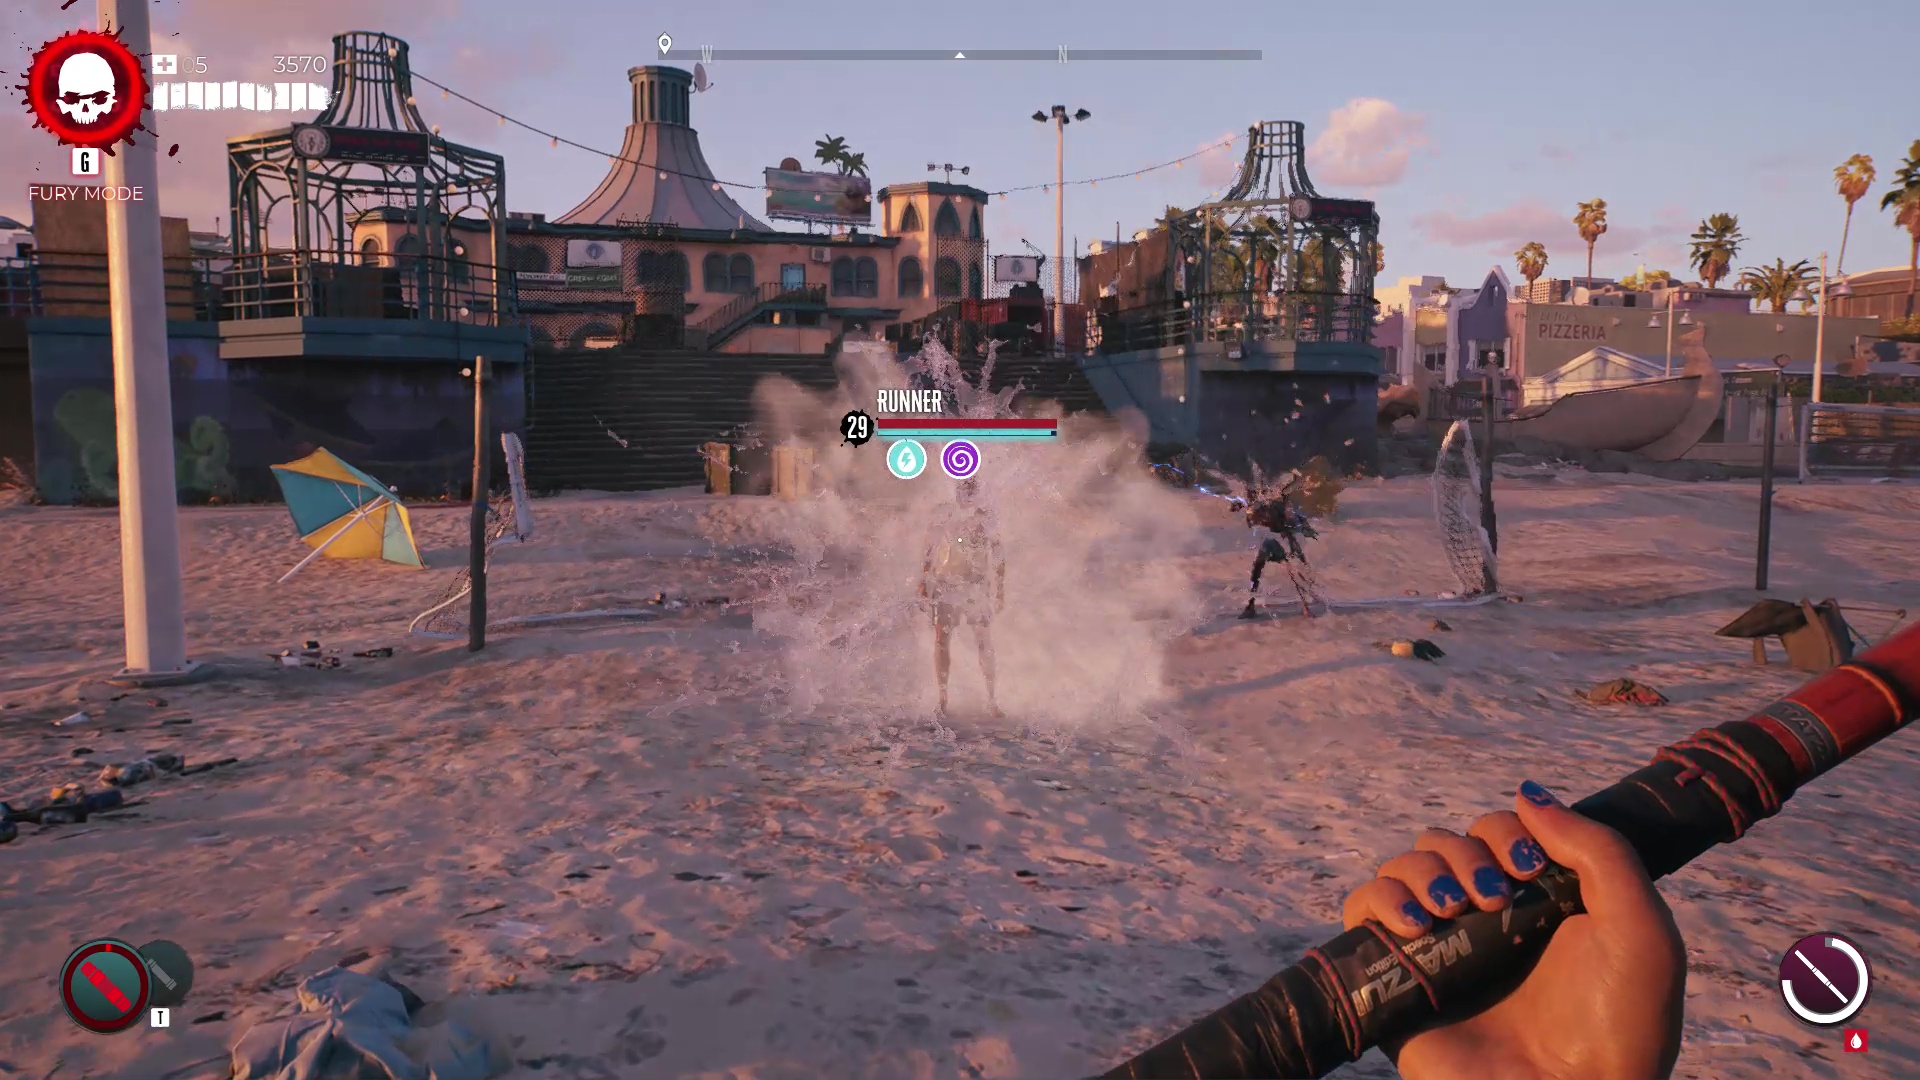
You can find this sticking out of the inner fence in the water treatment plant in Beverly Hills (above), right at the start of “Justifiable Zombicide.”
If you miss it here, the Electric Star will also show up in Rodriguez’s inventory for $1,500 after “Cremains of the Day” on Venice Beach.
 Screenshot by GameSkinny
The Electric Star asks the question, “What if the Shuriken was also electrified?” The Shuriken does slightly more damage on hit and throws 3 projectiles at once, whereas the Electric Star instantly inflicts physical damage plus the Electrified status on a single target.
Like the Pipe Bomb, however, the Electric Star gets rapidly outclassed by later Curveballs, particularly the Electric Bomb. It’s got its uses for setting up environmental kills, but the Electric Star is already a bit niche when you get it and only becomes more so as your arsenal improves.
Molotov
 Screenshot by GameSkinny
This can be found as you explore the Brentwood Sewers, next to the office in the Filtration Access and Servicing room.
As you might expect, the Molotov sets targets on fire. This inflicts the Burning status straight away and creates a short-lived ground hazard that’ll ignite anything in its vicinity. It’s a classic for a reason, and comes in handy in the rare event where there isn’t any other way to set everything on fire.
However, as we noted with the Cremator mods, half the zombies in Hell-A are specifically immune or resistant to fire. That limits the Molotov’s utility, but it’s fun to use.
Caustic Bomb
 Screenshot by GameSkinny
Complete the side quest “The Rav-Ages of Caustic X” in the Halperin Hotel. To start it, answer Hana’s radio call on your way out of Monarch Studios after “O Michael, Where Art Thou?”
The Caustic Bomb is fused, so it shares the Pipe Bomb’s habit of bouncing a little further away than you’d like, but anything caught within the detonation takes light damage and is hit with the Melting status effect. The Bomb also leaves a pool of solvent behind, so it’s an excellent hazard for bottlenecks if you place it correctly. Hazmat zombies, Slobbers, and Firefighters are immune to Caustic.
Flashbang
 Screenshot by GameSkinny
Once you’ve completed the side quest “Cremains of the Day” in Venice Beach, W.O. Rodriguez will be willing to trade with you. She’ll sell you a Flashbang for $2,500.
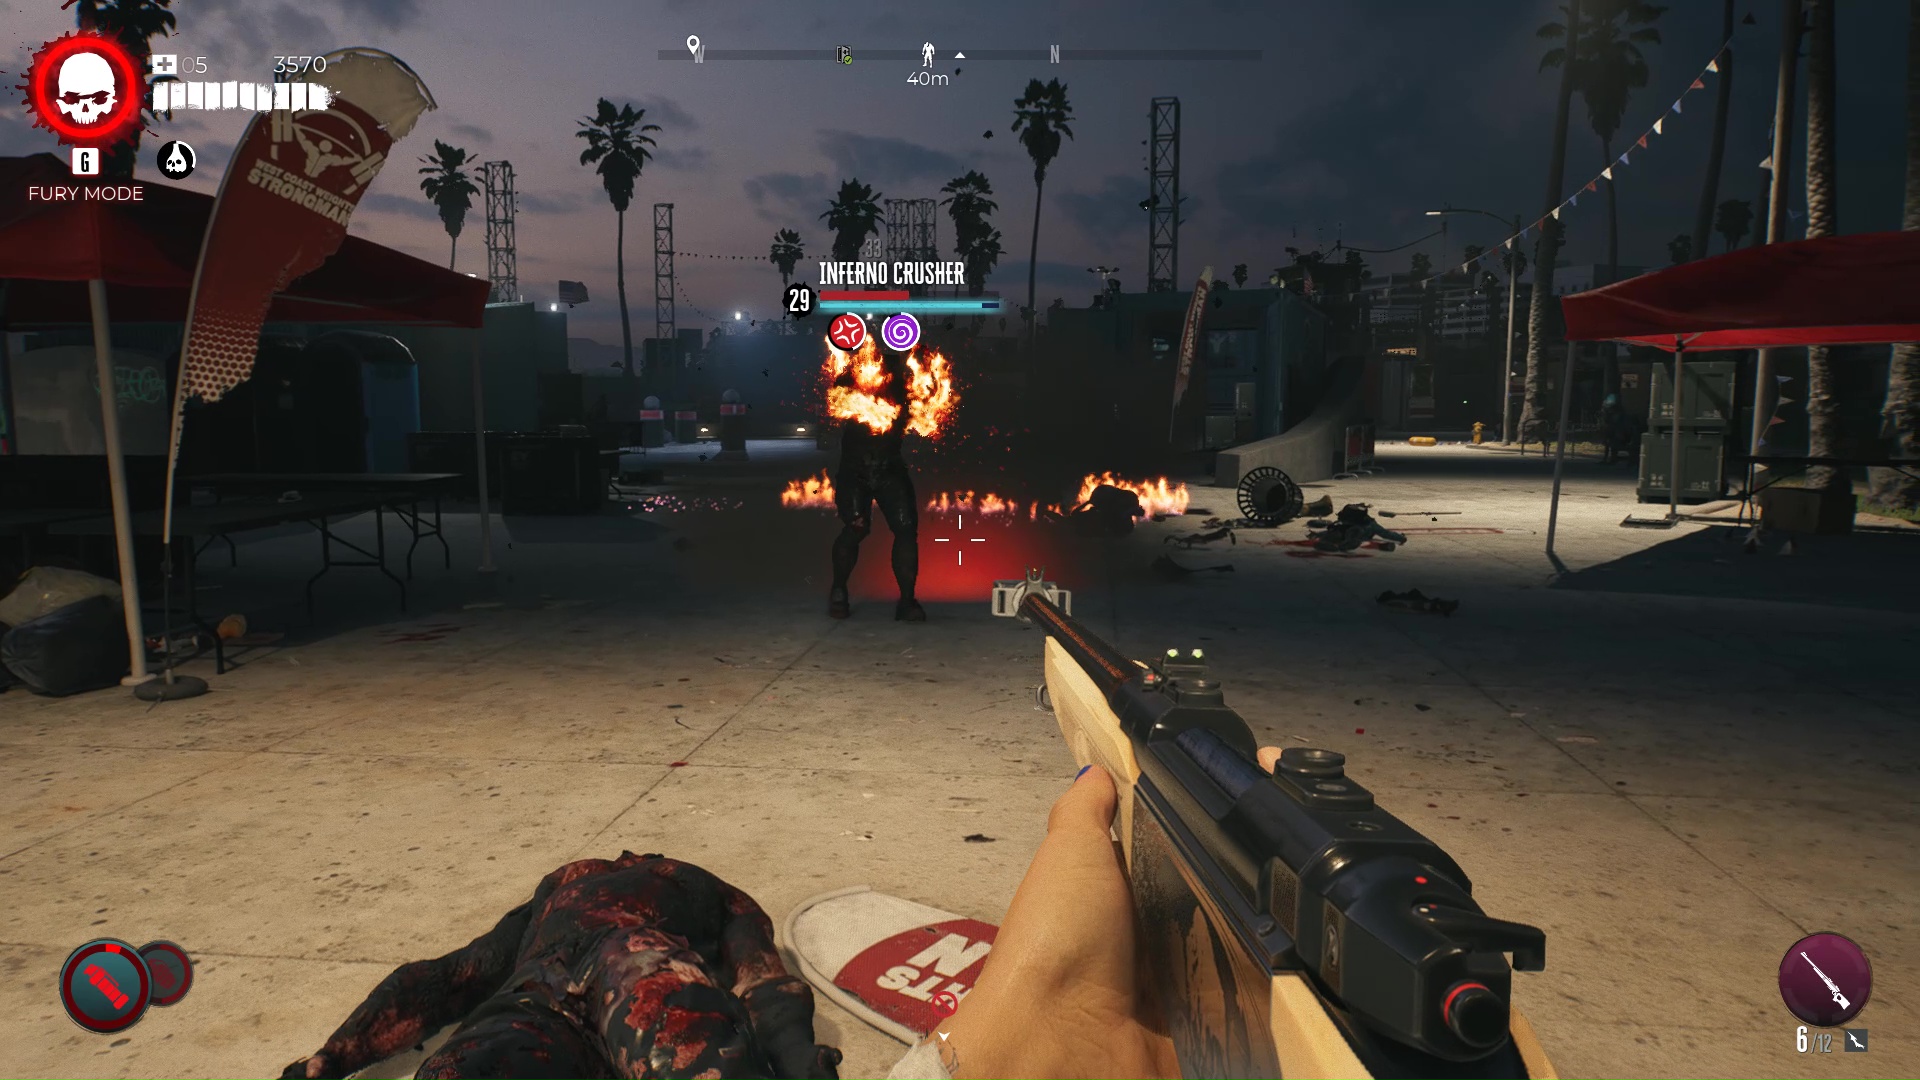
I didn’t give the Flashbang enough credit on my first run through the game, but it’s the dark horse contender for the second-best Curveball behind Meat Bait. Zombies caught in the Flashbang’s explosive radius all suffer the Traumatized status effect, which stuns them, and anything at the center of the blast is opened up for a Counter attack.
The real bonus here is that the Flashbang works on Apex Infected, which makes it a useful tool against hard targets like Inferno Crushers (above). Otherwise, it’s an area-of-effect stun that lets you get some space or reposition yourself.
Nail Bomb
 Screenshot by GameSkinny
If you visit the Thalia Residences on Ocean Avenue, you can find this Curveball inside the only open apartment on the second floor. This is open as soon as you reach Ocean Avenue, but you’re also eventually directed here for a meeting with Tisha if you follow the main quests.
The up-front damage from the Nail Bomb is relatively light, but it inflicts a full dose of Bleeding on any zombie caught within its blast radius. Naturally, Bleed-immune targets like Spiky Walkers barely notice the Nail Bomb, but this is a useful Curveball to throw at crowds.
Sticky Bomb
 Screenshot by GameSkinny
Once you can do business with Dougie in the bar at the Serling Hotel, he’ll sell you this for $1,500.
The natural upgrade to the Pipe Bomb, the Sticky Bomb doesn’t bounce. You can hit a zombie with it (above), then watch it explode a couple of seconds later (below). Alternatively, you can use Sticky Bombs like proximity mines, or simply as a timed detonator for environmental hazards.
 Screenshot by GameSkinny
After extensive testing, the Sticky Bomb deals significantly more damage than either the Pipe Bomb or Military Grenade, so if you’re after raw DPS, this is the Curveball for you.
Bait Bomb
 Screenshot by GameSkinny
After you clear “The Search for Truth” on Ocean Avenue, return to Dougie and he’ll sell you this for $3,500.
It’s the Meat Bait, but it also explodes. What’s not to like? The Bait Bomb doesn’t do any appreciable damage to Apex Infected, but it can clear out a lot of Walkers and Runners in a hurry. Even better, it has no elemental component attached to it, so it’ll affect all zombies equally.
 Screenshot by GameSkinny
Note that the Bait part of the Bomb lingers for a while after the Bomb goes off, and functions identically to the Meat Bait.
Military Grenade
 Screenshot by GameSkinny
Complete the side quest “Boz Makes a Bang” in Monarch Studios. This is part of the Bobcats chain, so you’ll also need to complete “The Rav-Ages of Caustic X” and “Dez and the Mother of Satan.”
The Military Grenade, unlike the Pipe or Sticky Bombs, explodes on direct contact with the ground, a wall, or a zombie. The resulting explosion won’t do more than annoy a Crusher or Slobber, let alone anything tougher, but for quick crowd control it’s hard to argue with. Meat Bait combo’ed into a Military Grenade will get a lot of zombie hordes out of your hair in a hurry.
Electric Bomb
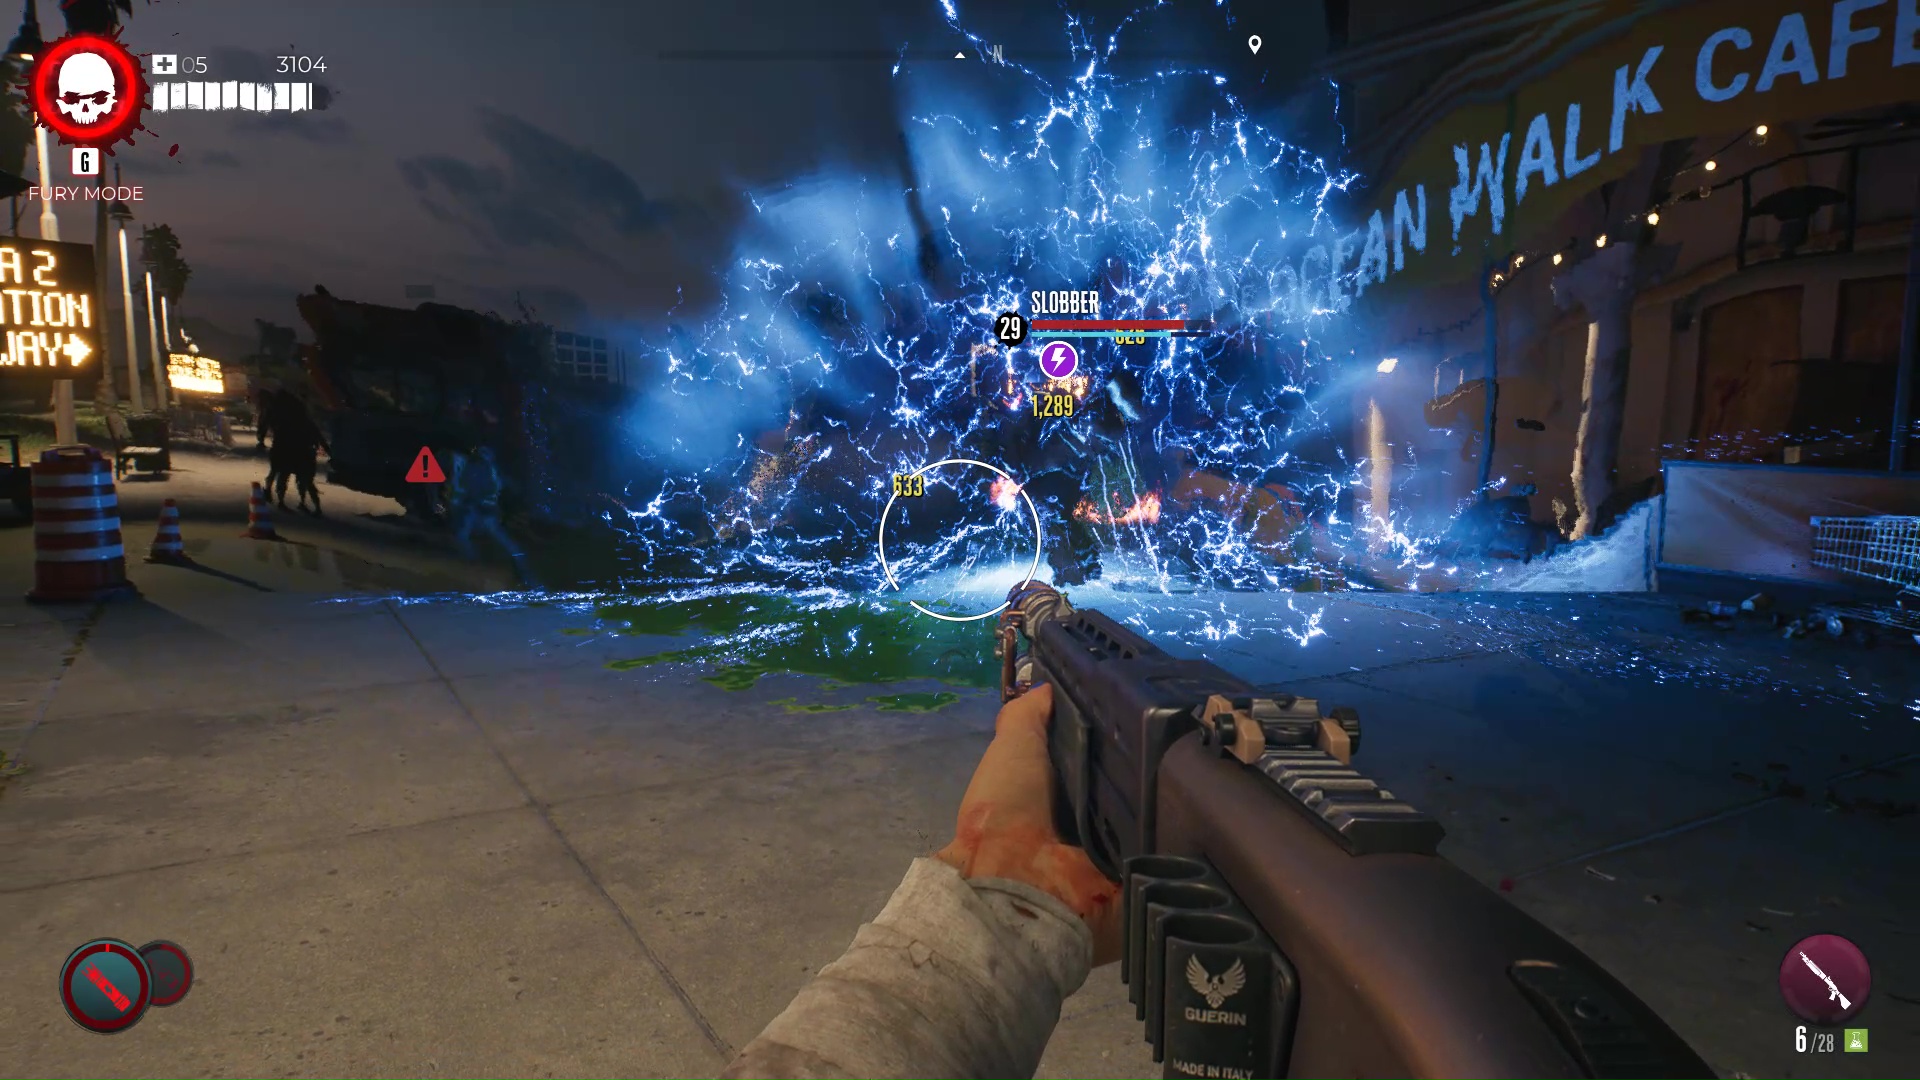 Screenshot by GameSkinny
Complete the Lost & Found quest “Jo’s Secret Stash” in Venice Beach.
This is basically a Shocking Walker explosion that fits in your pocket. The Electric Bomb bursts into a field of lightning around its landing zone, which inflicts the Electrified status on anything nearby. This is excellent for stunning/killing entire hordes of zombies, as well as detonating anything in the surrounding block that’s even remotely flammable or destructible. You’ll want to make sure both you and your teammates are a good distance away.
For more tips on surviving Hell-A, check out our Dead Island 2 guides hub.


Published: Apr 21, 2023 03:55 pm