There’s a new exotic scout rifle to collect in Destiny 2 Season of the Chosen. It’s called Dead Man’s Tale, and it’s the ultimate reward for the Voices From the Other Side Exotic Quest and the Presage mission.
You won’t need to jump through too many hoops to get your hands on the new gun, but the Presage mission involves light puzzle-solving and platforming that can be a bit tricky.
In this guide, we’re going in-depth on how to unlock the Presage mission and will walk you through the mission step by step to help you get your hands on Dead Man’s Tale.
How to Unlock the Presage Mission
When Destiny 2 received its weekly update on February 16, 2021, a closed door in the Arms Dealer Strike quietly opened.
The door in question is at the back of the beginning area, where you and your fireteam spawn in. Kill the first group of enemies you come across, and instead of going left to continue the strike, go right and through the newly-opened door.
Beyond is a chamber filled with auto-turrets. Kill them and go through the door at the back of the room. You’ll see a boss Phalanx enemy waiting for you in the hanger. Kill it, and head to the rightmost outside platform. There is a crate, and inside is a datapad containing the distress signal you’re looking for.
With the datapad in hand, go back to the Tower and meet with Zavala. He’ll drop a little lore on you and send you to Reef, where the Presage mission awaits.
Open up Tangled Shore, and click Engram symbol in the top-left, which launches the mission.
Presage Walkthrough
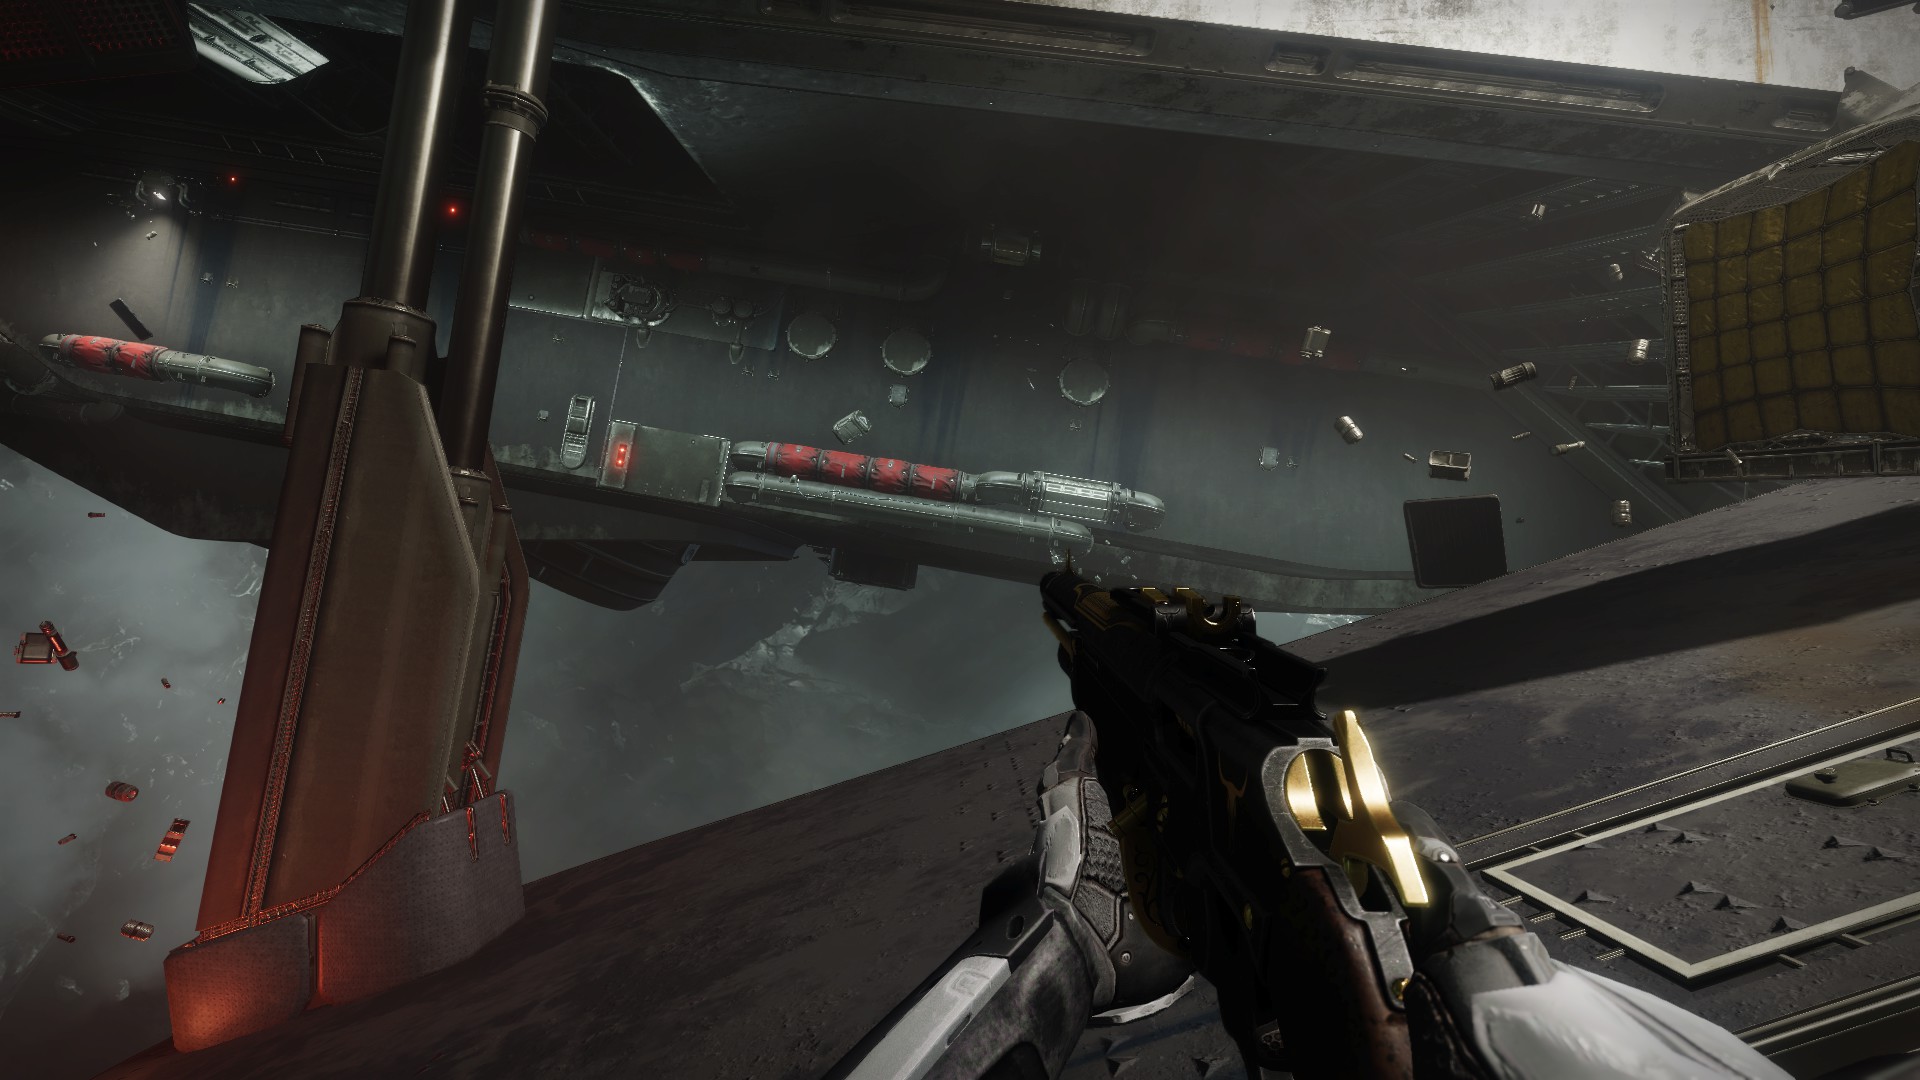
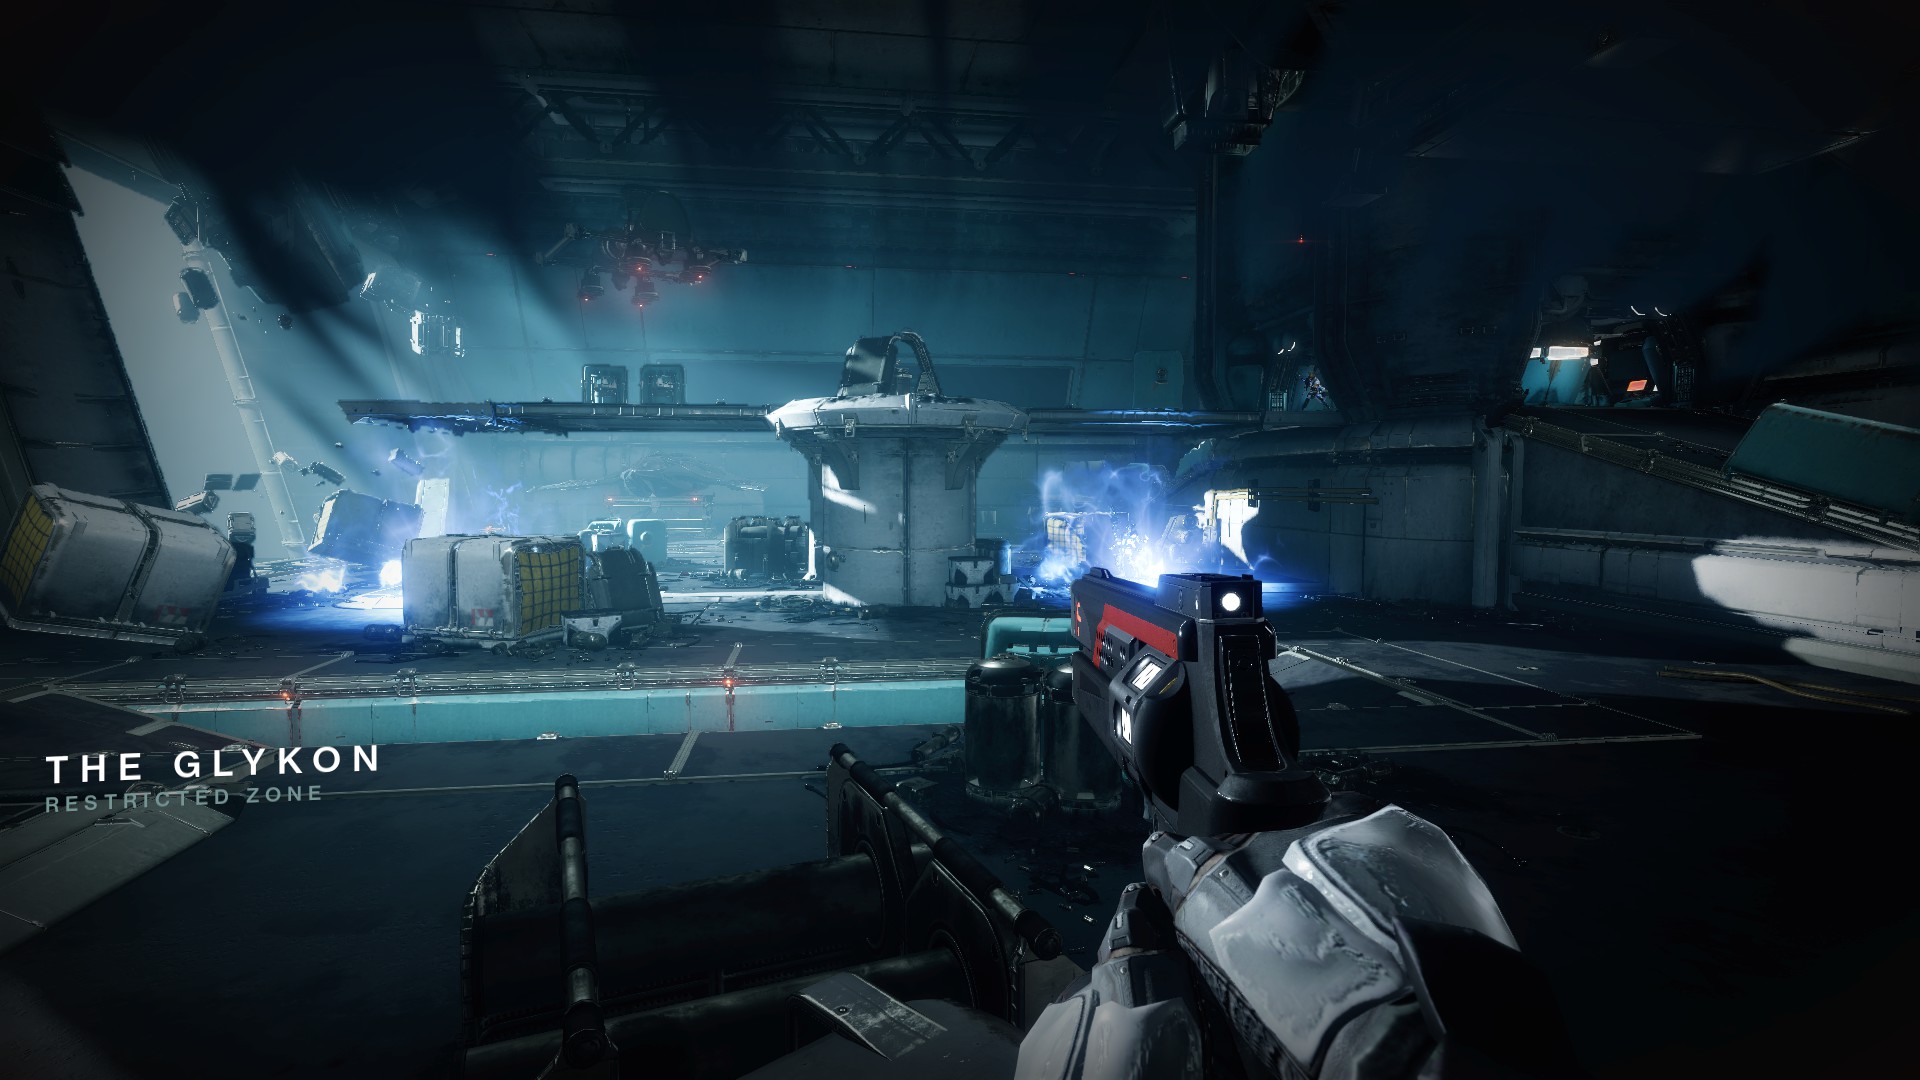
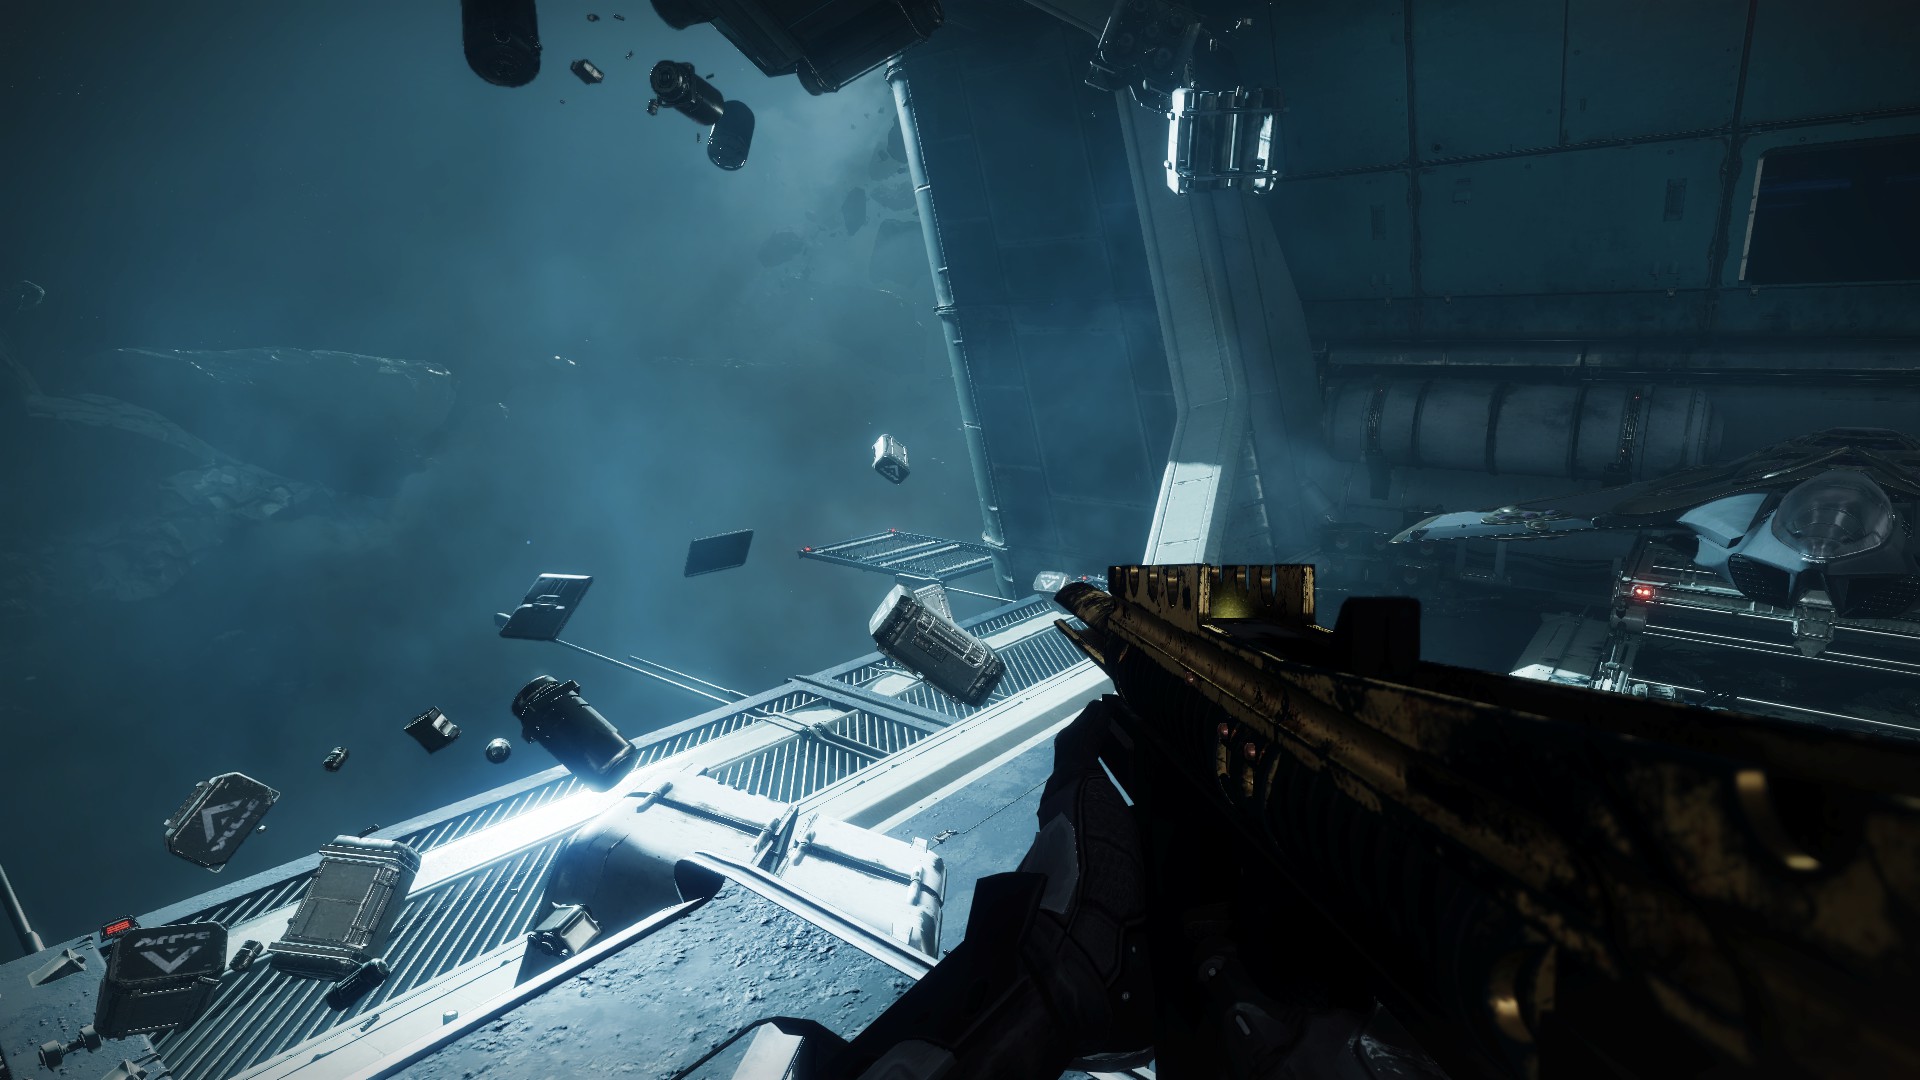
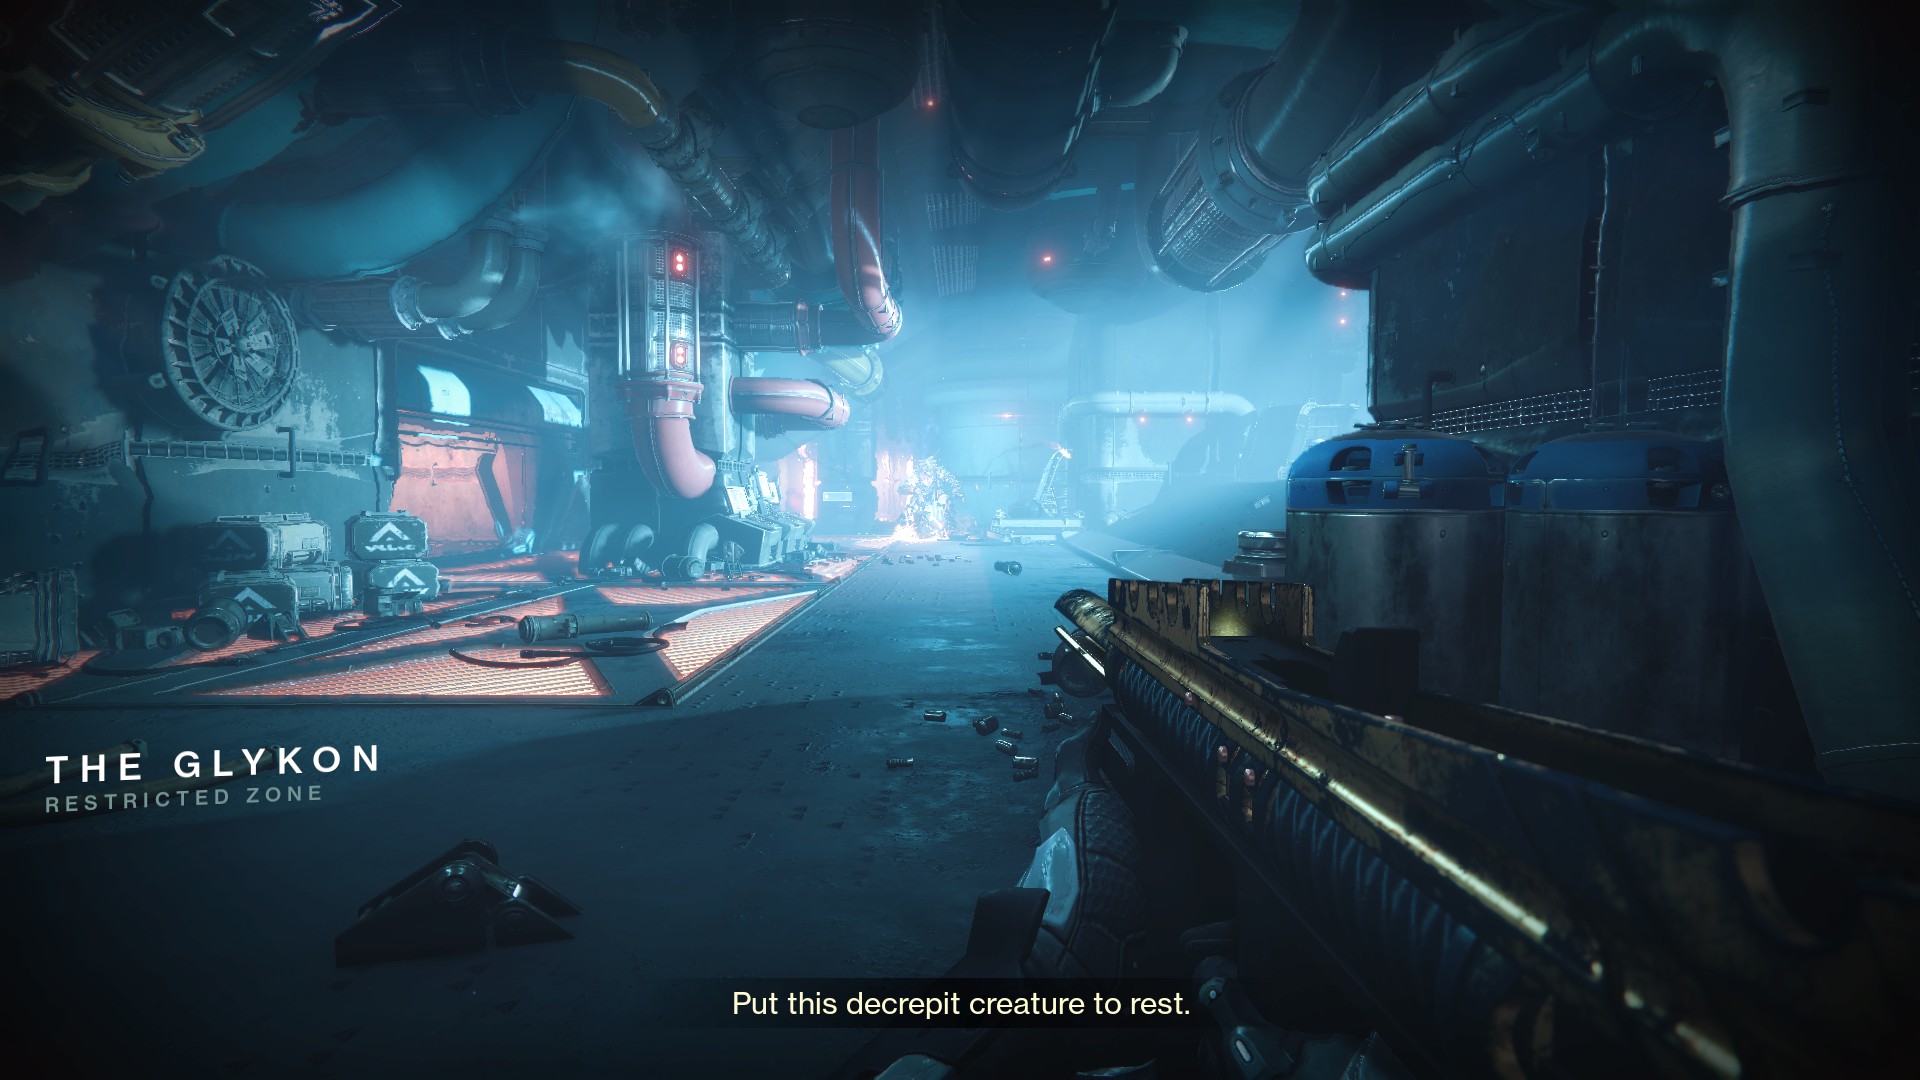
In a dark corner of space, the Cabal vessel Glykon floats aimlessly through a debris field. Once you load in, you’ll be at the back of a loading dock. Turn to your left, and you’ll see a red platform. Jump across.
Follow the red platforms and lights around the side of the ship. At the end, you’ll see a platform above your head. Jump up to it.
From the first platform, jump to the small outcropping on your right.
Next, jump to the platform directly in front of you. Then turn around to the other platform.
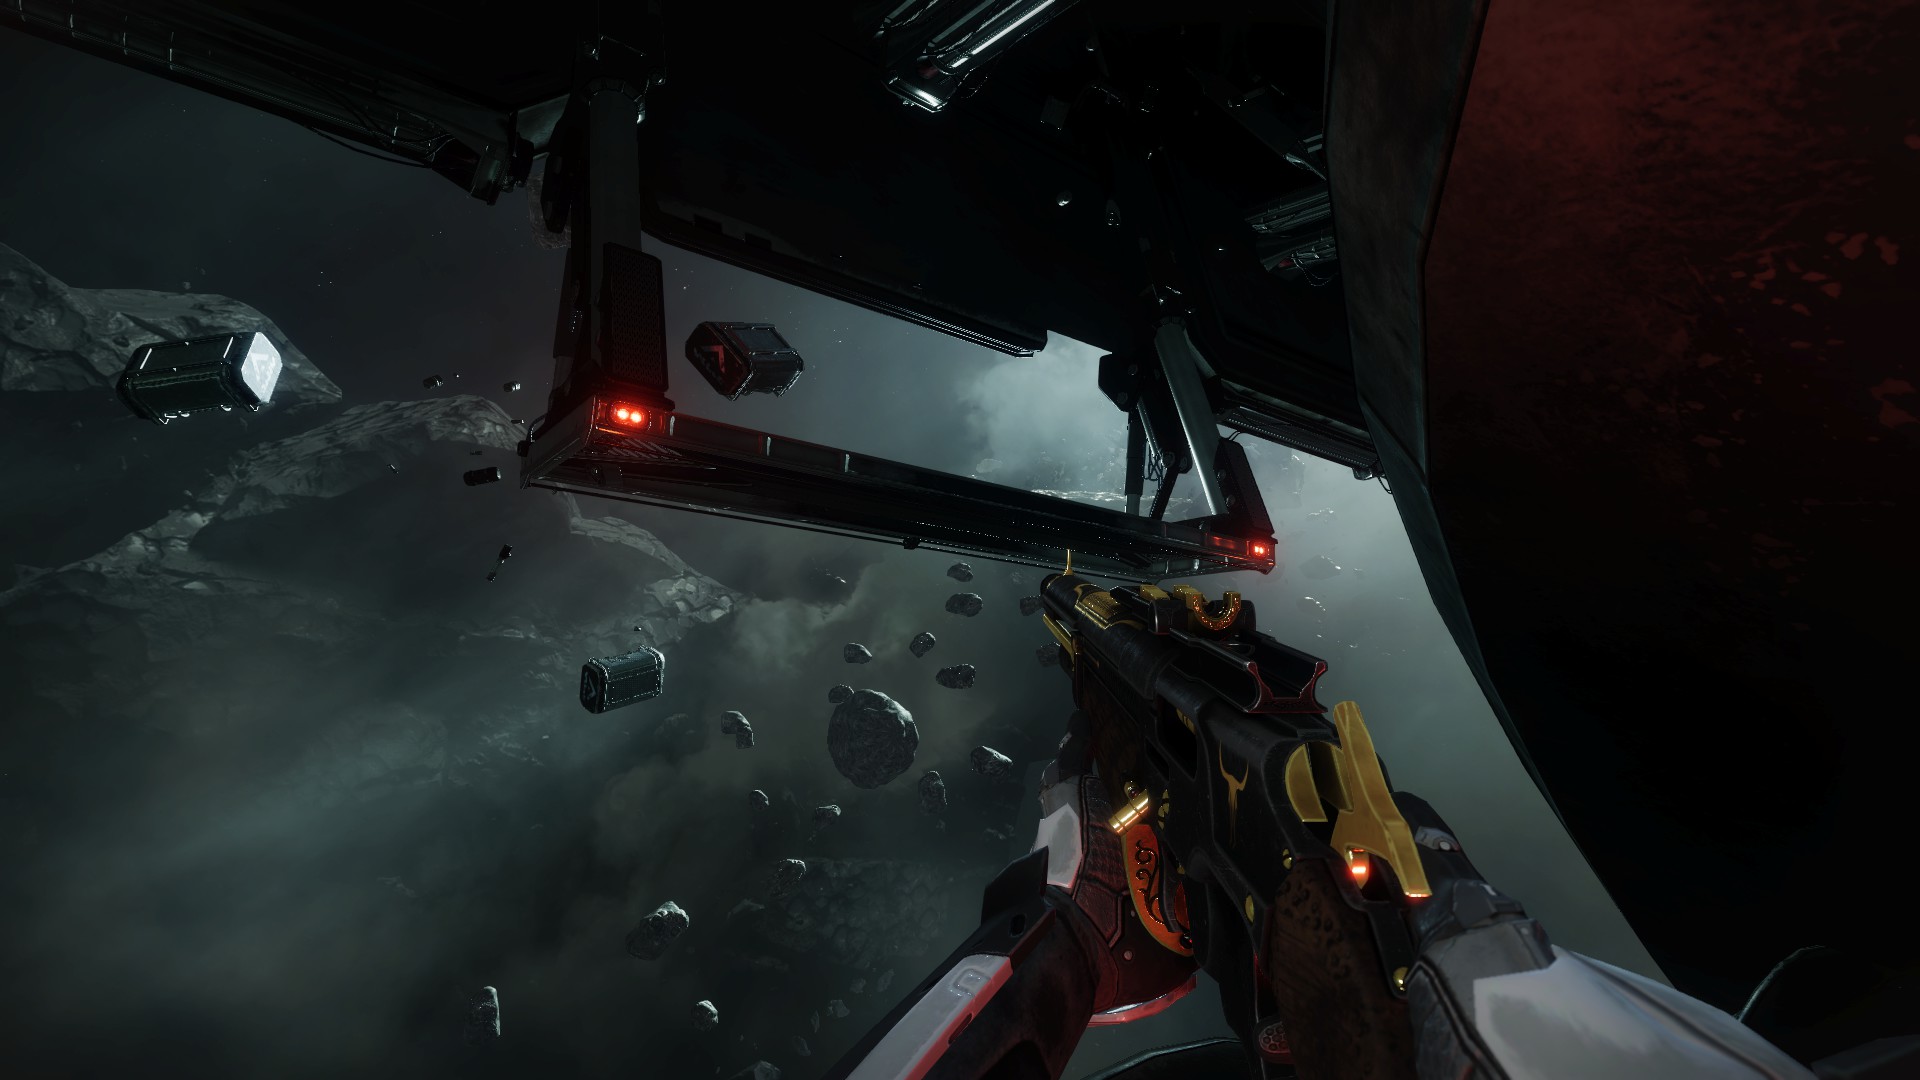
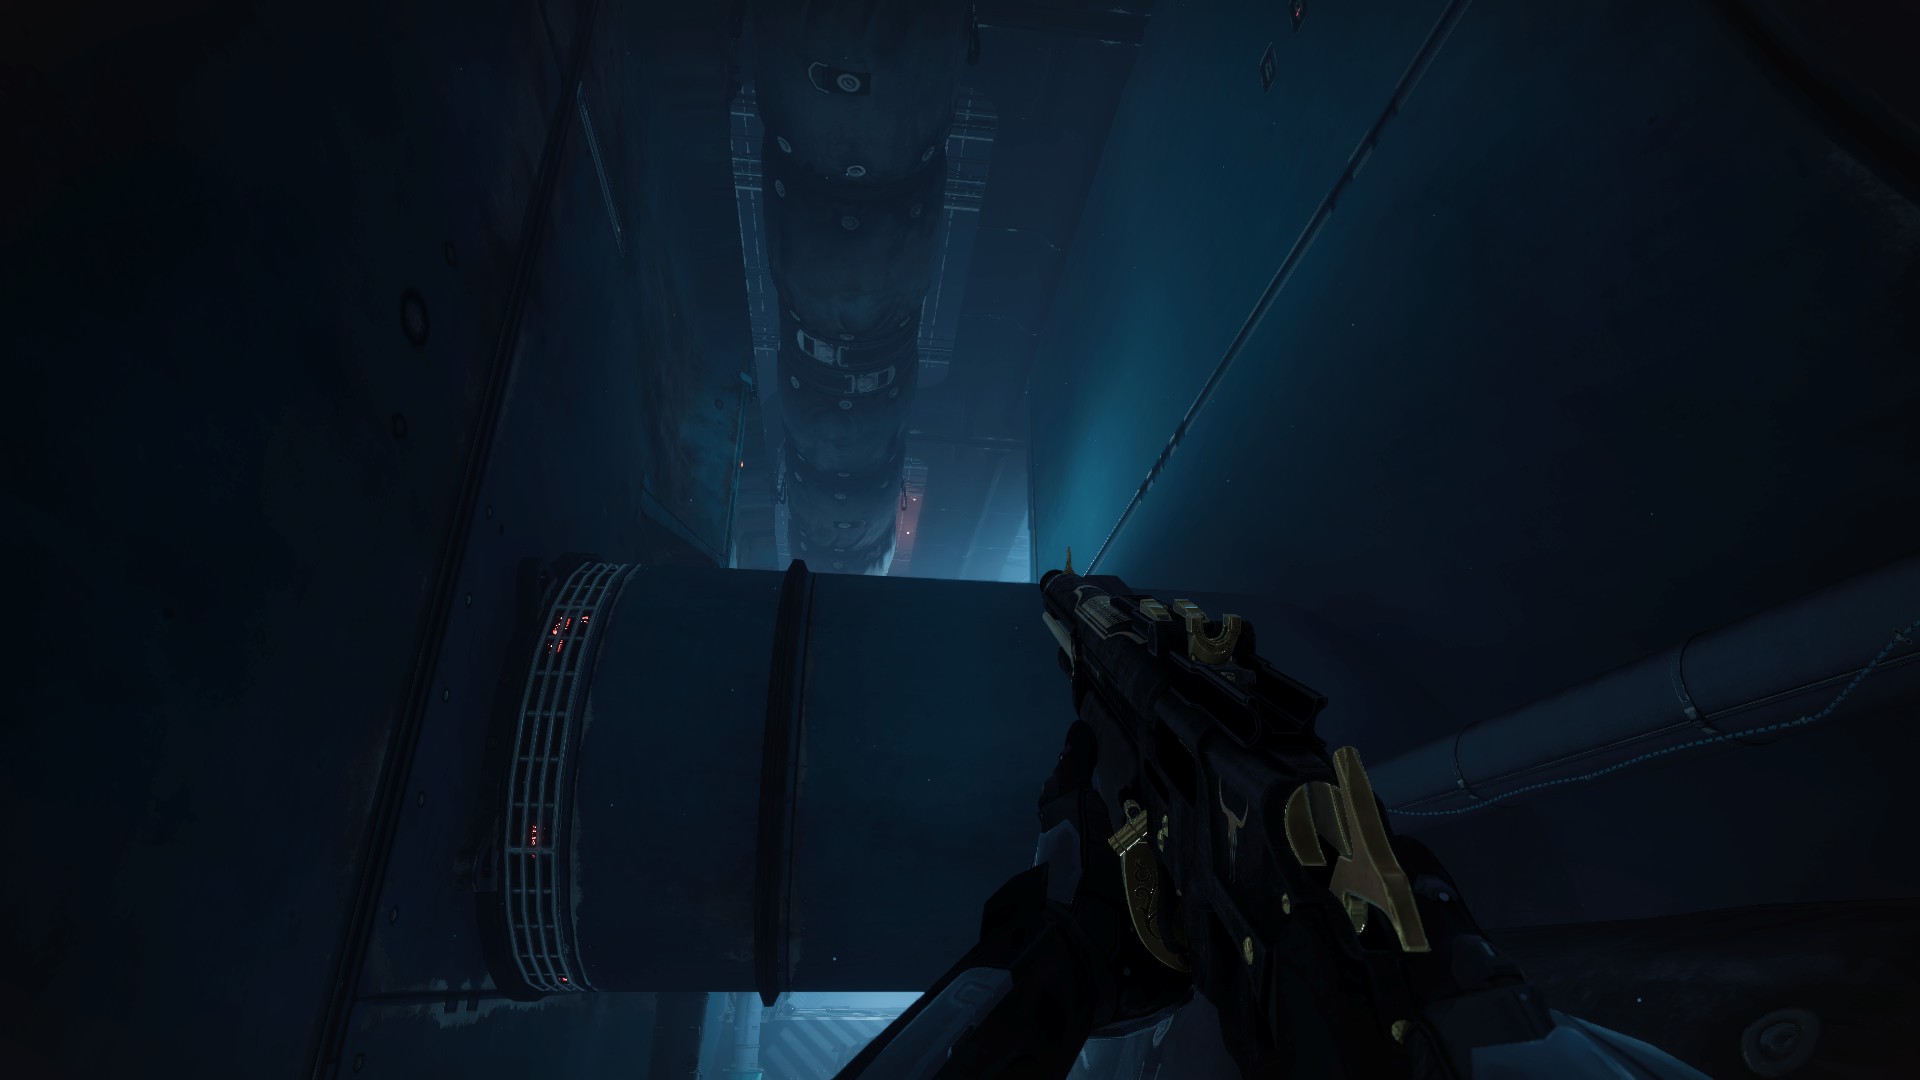
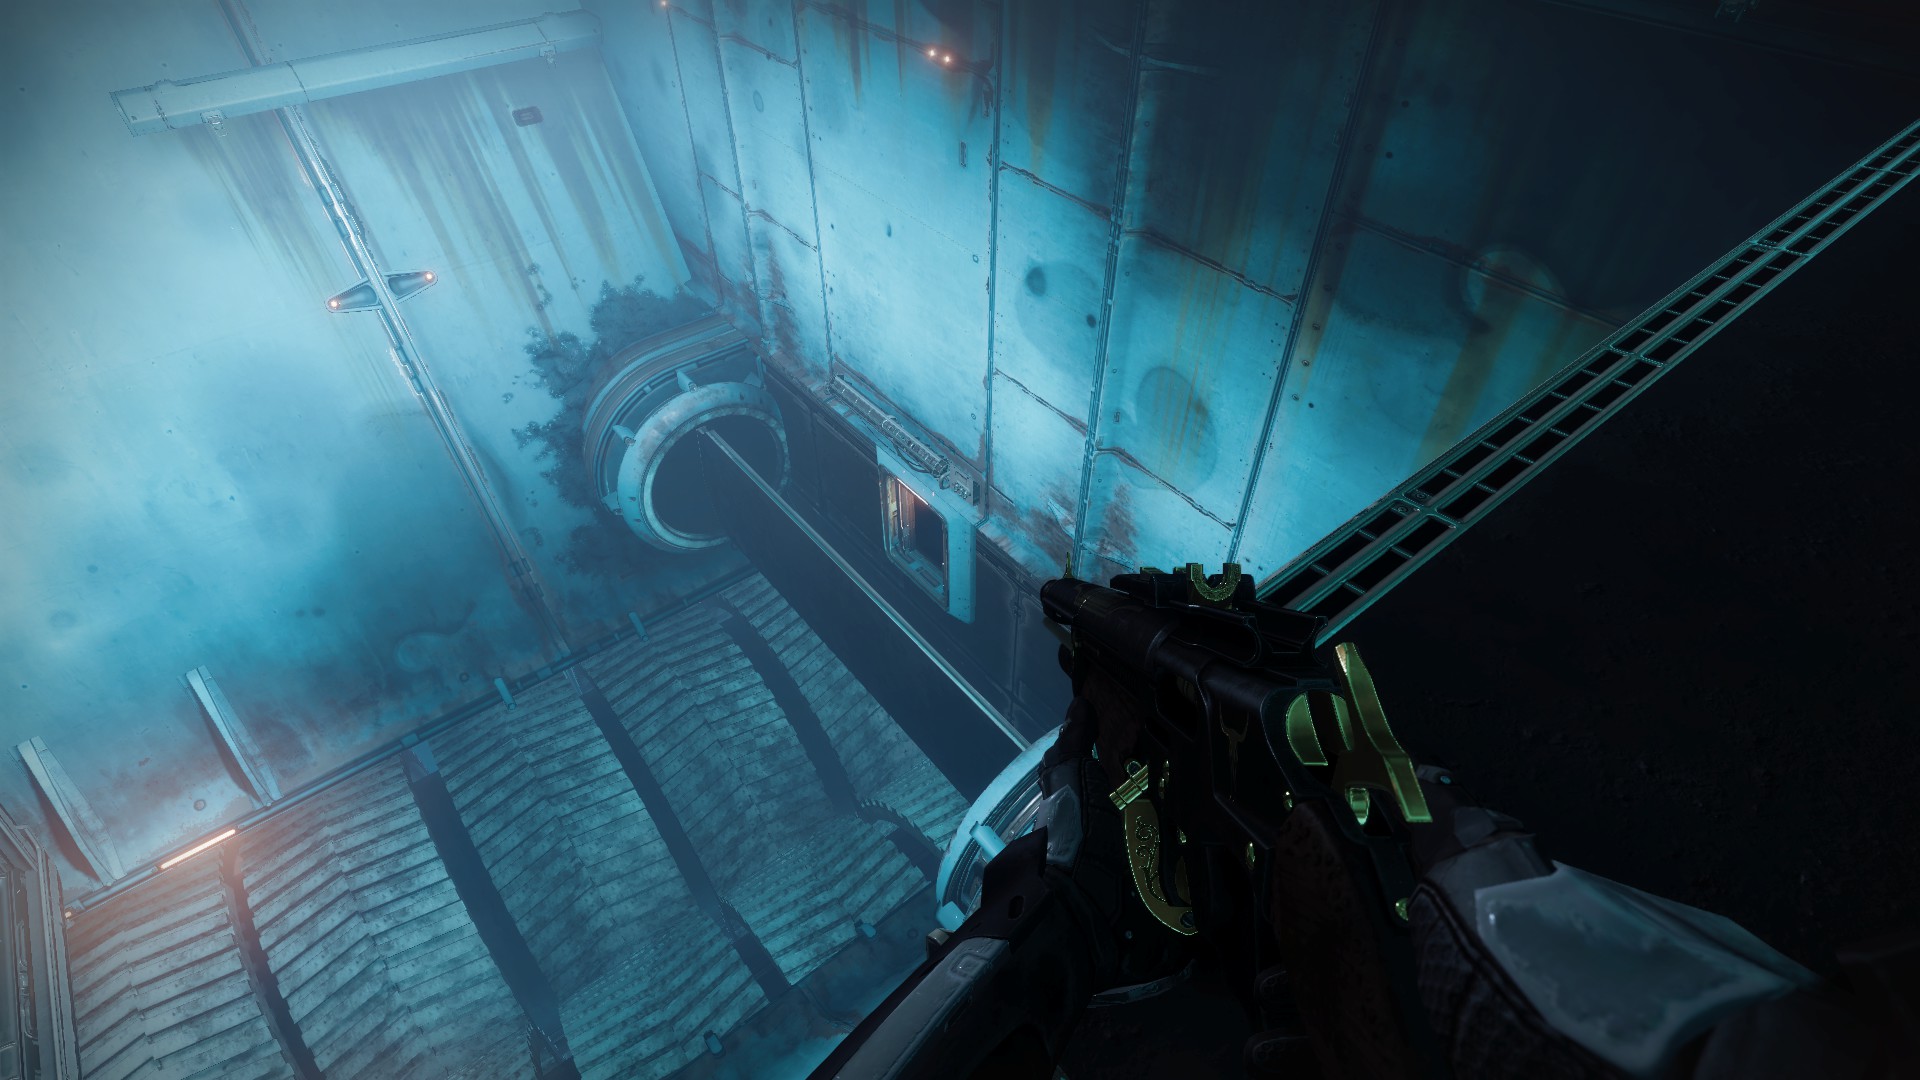
Your next jump is a doozy. Turn back around, and look up. You’ll see a platform high above your head and quite the ways away.
There is a platform more directly above you that you could make your way onto, but it’s actually easier to make the big leap. Aim for the close-right corner and try to get the maximum height out of your class’s jump.
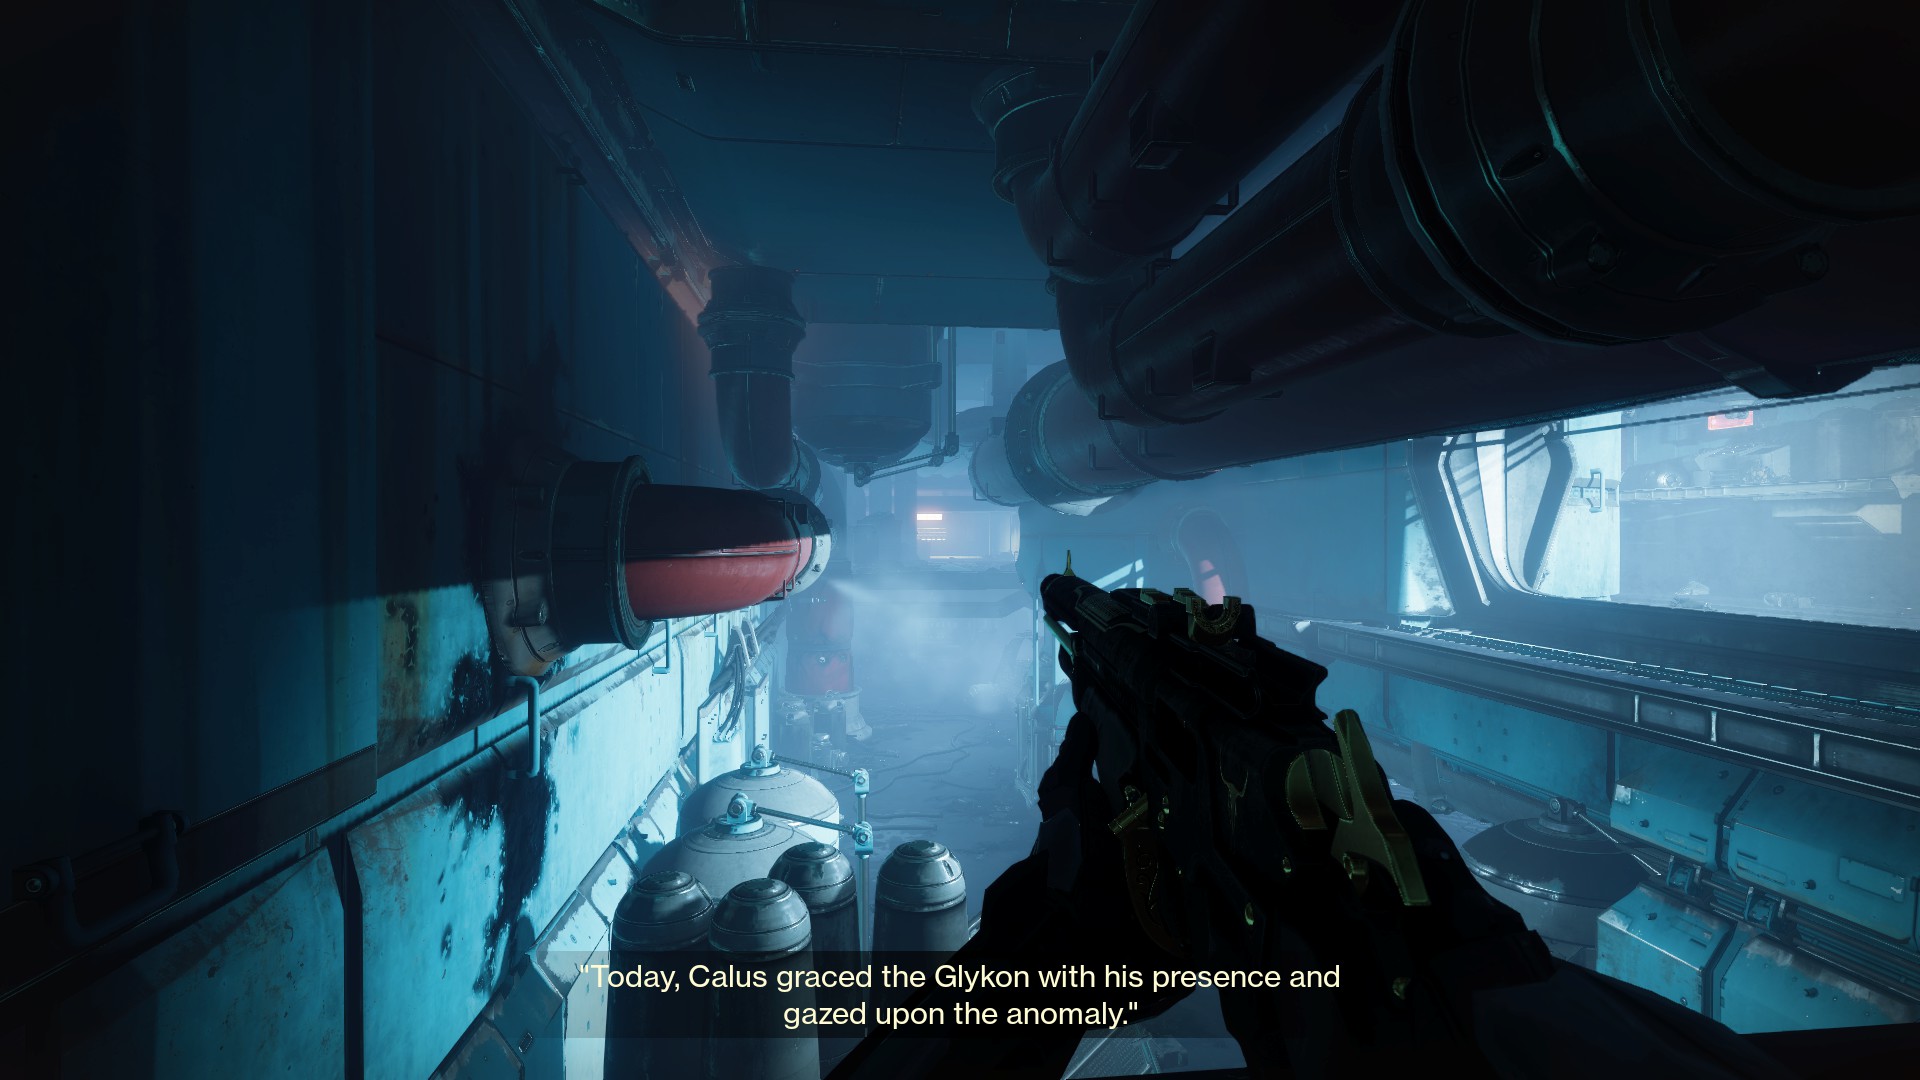
Once you make the big leap, you’ll see a platform in the distance. Be careful of the overhang, and extend your jump as far as you can. You’ll make it into a red-lit hallway. Proceed inside until you reach a breakable grate. Shoot through it and head to the end of the hallway, where you’ll see another grate behind a pipe.
Beyond the “hidden” grate is another hallway. Head to the end, slide beneath the large pipe, then turn around and look up. You’ll be able to jump into an upper hallway with an opening at its end.
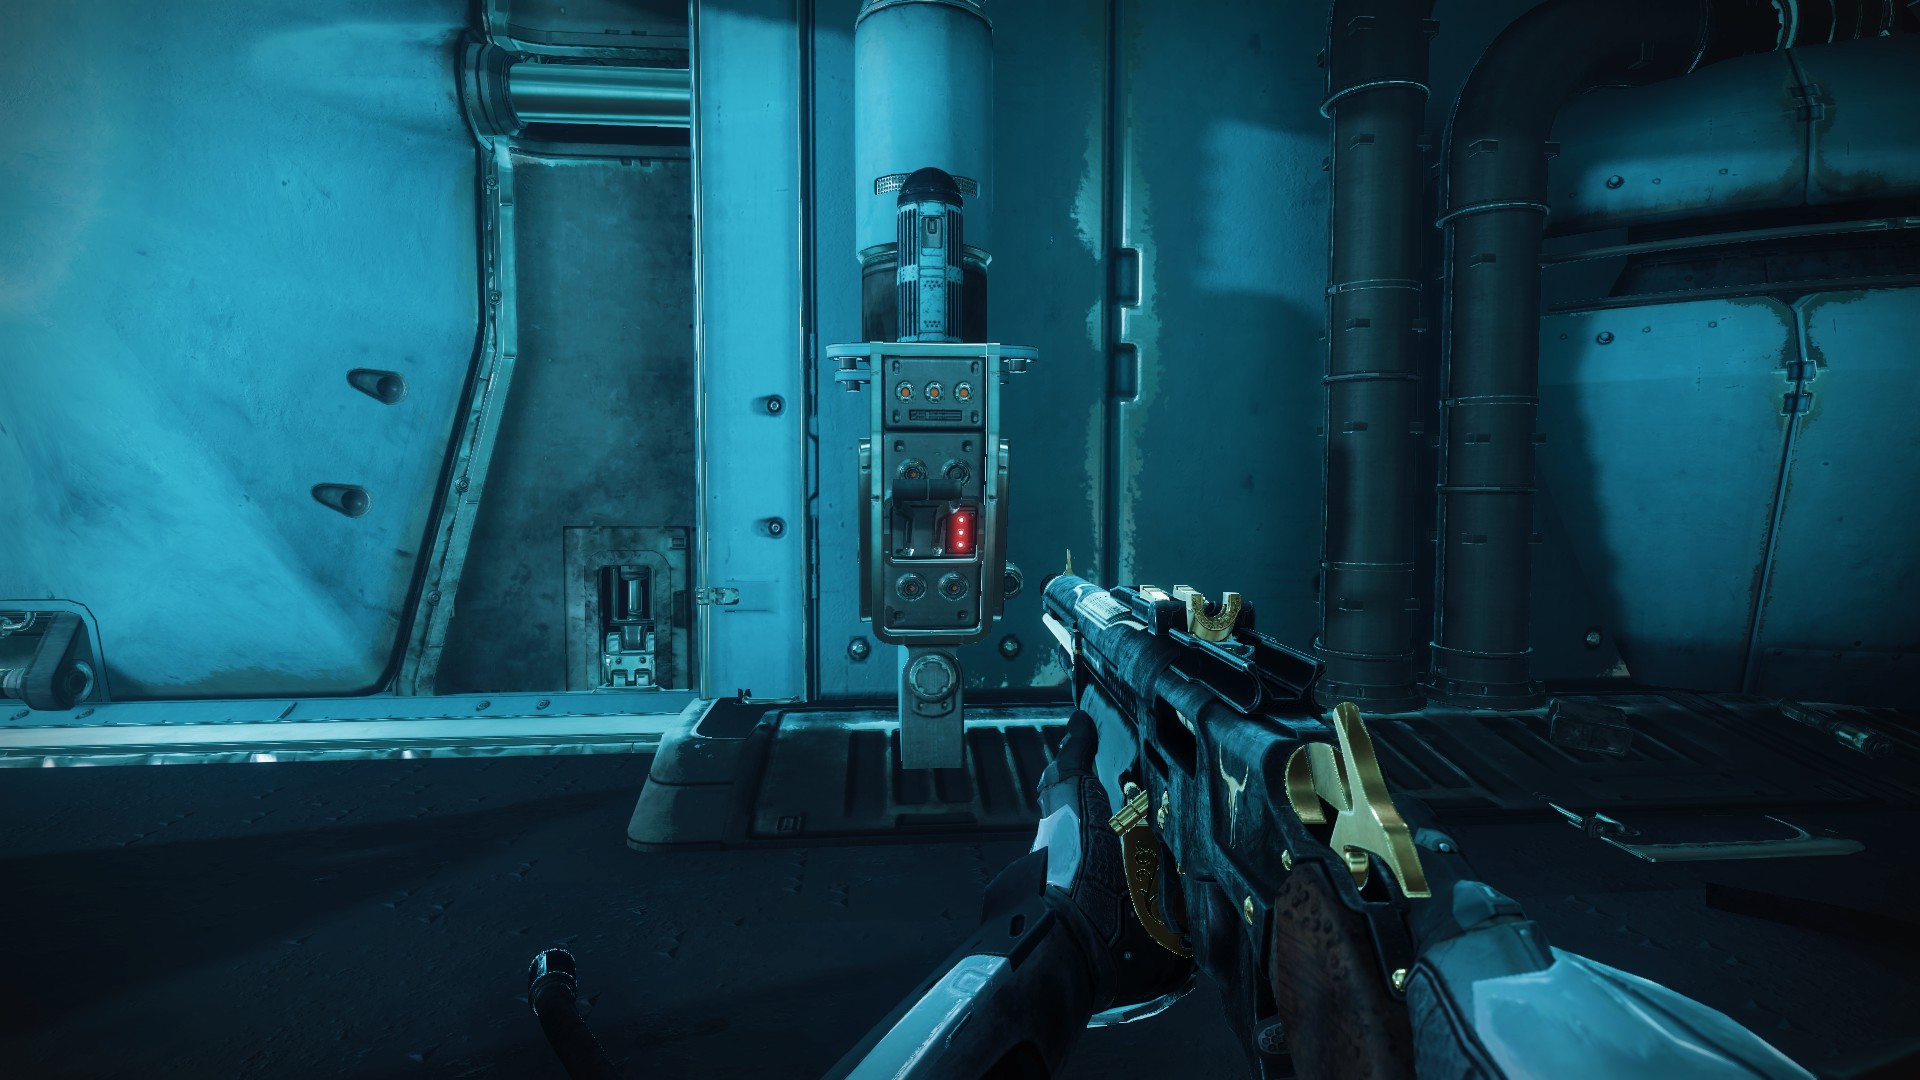
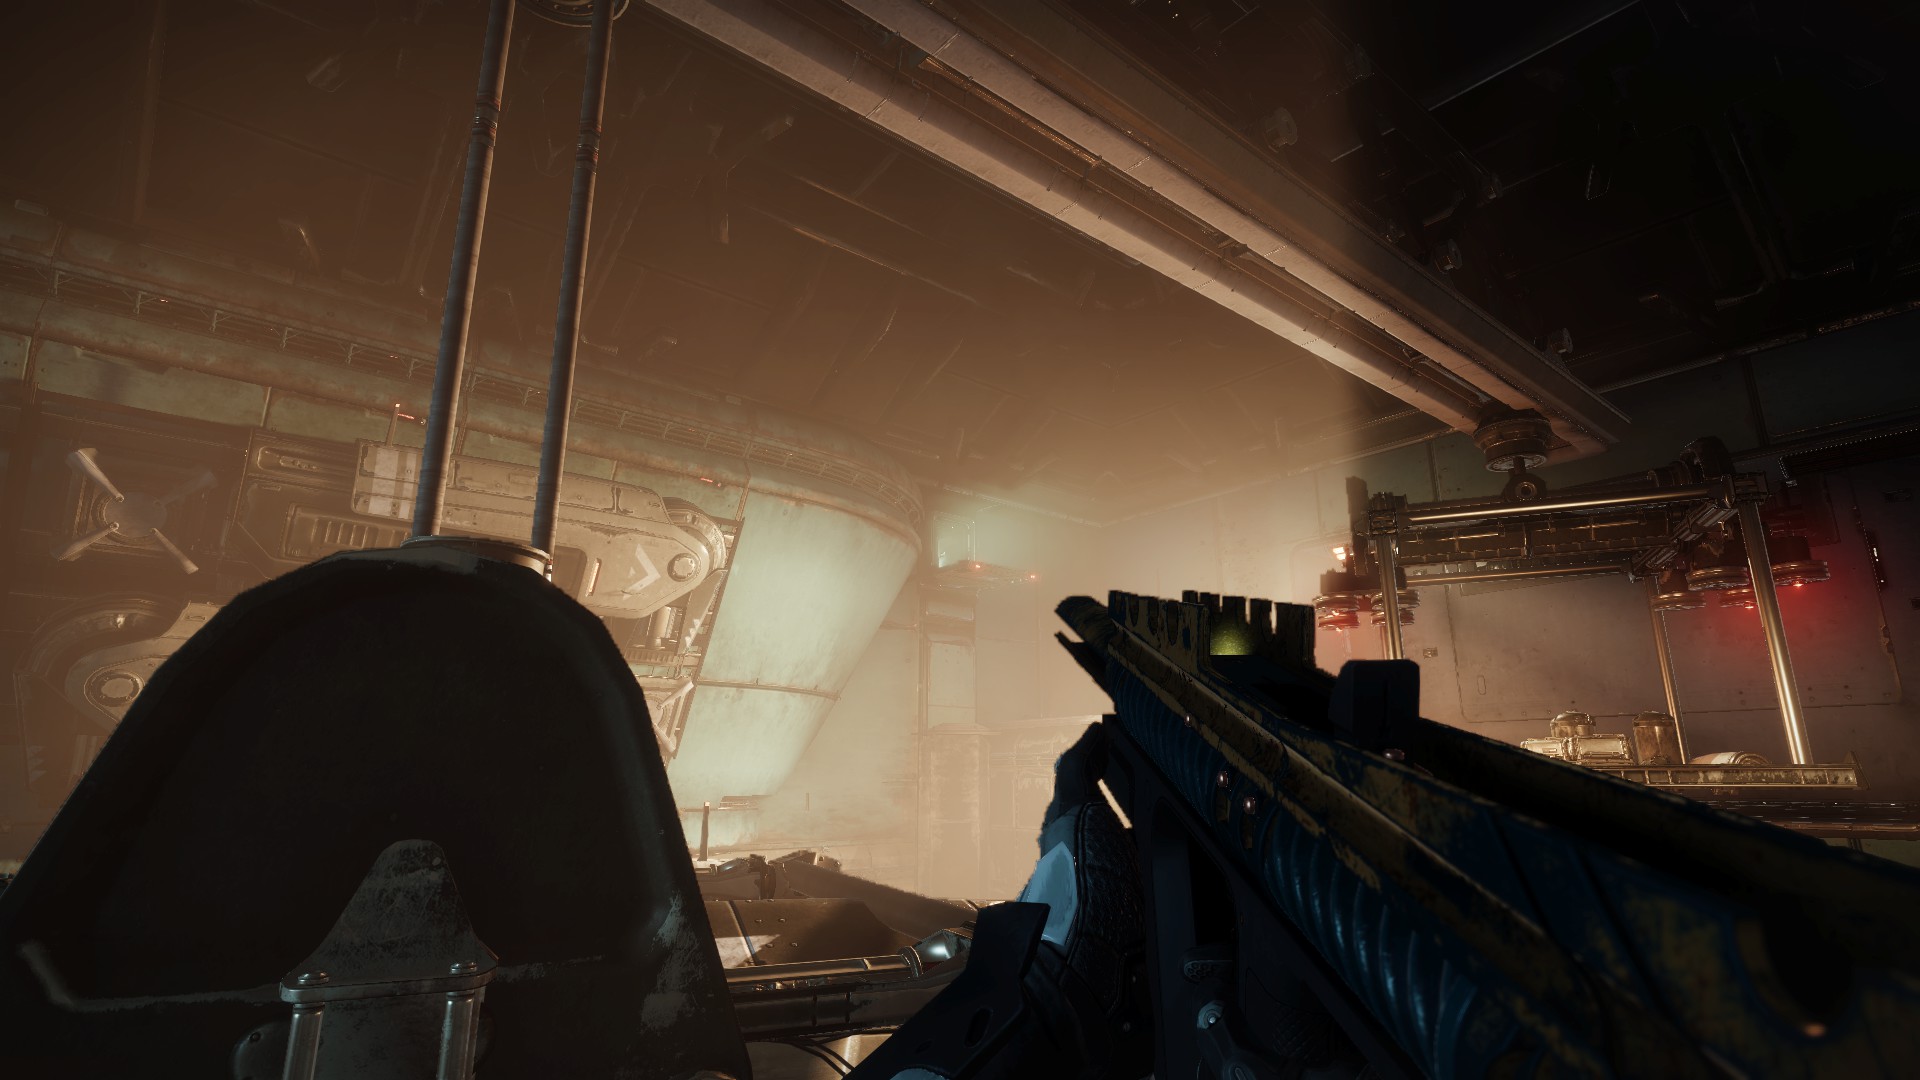
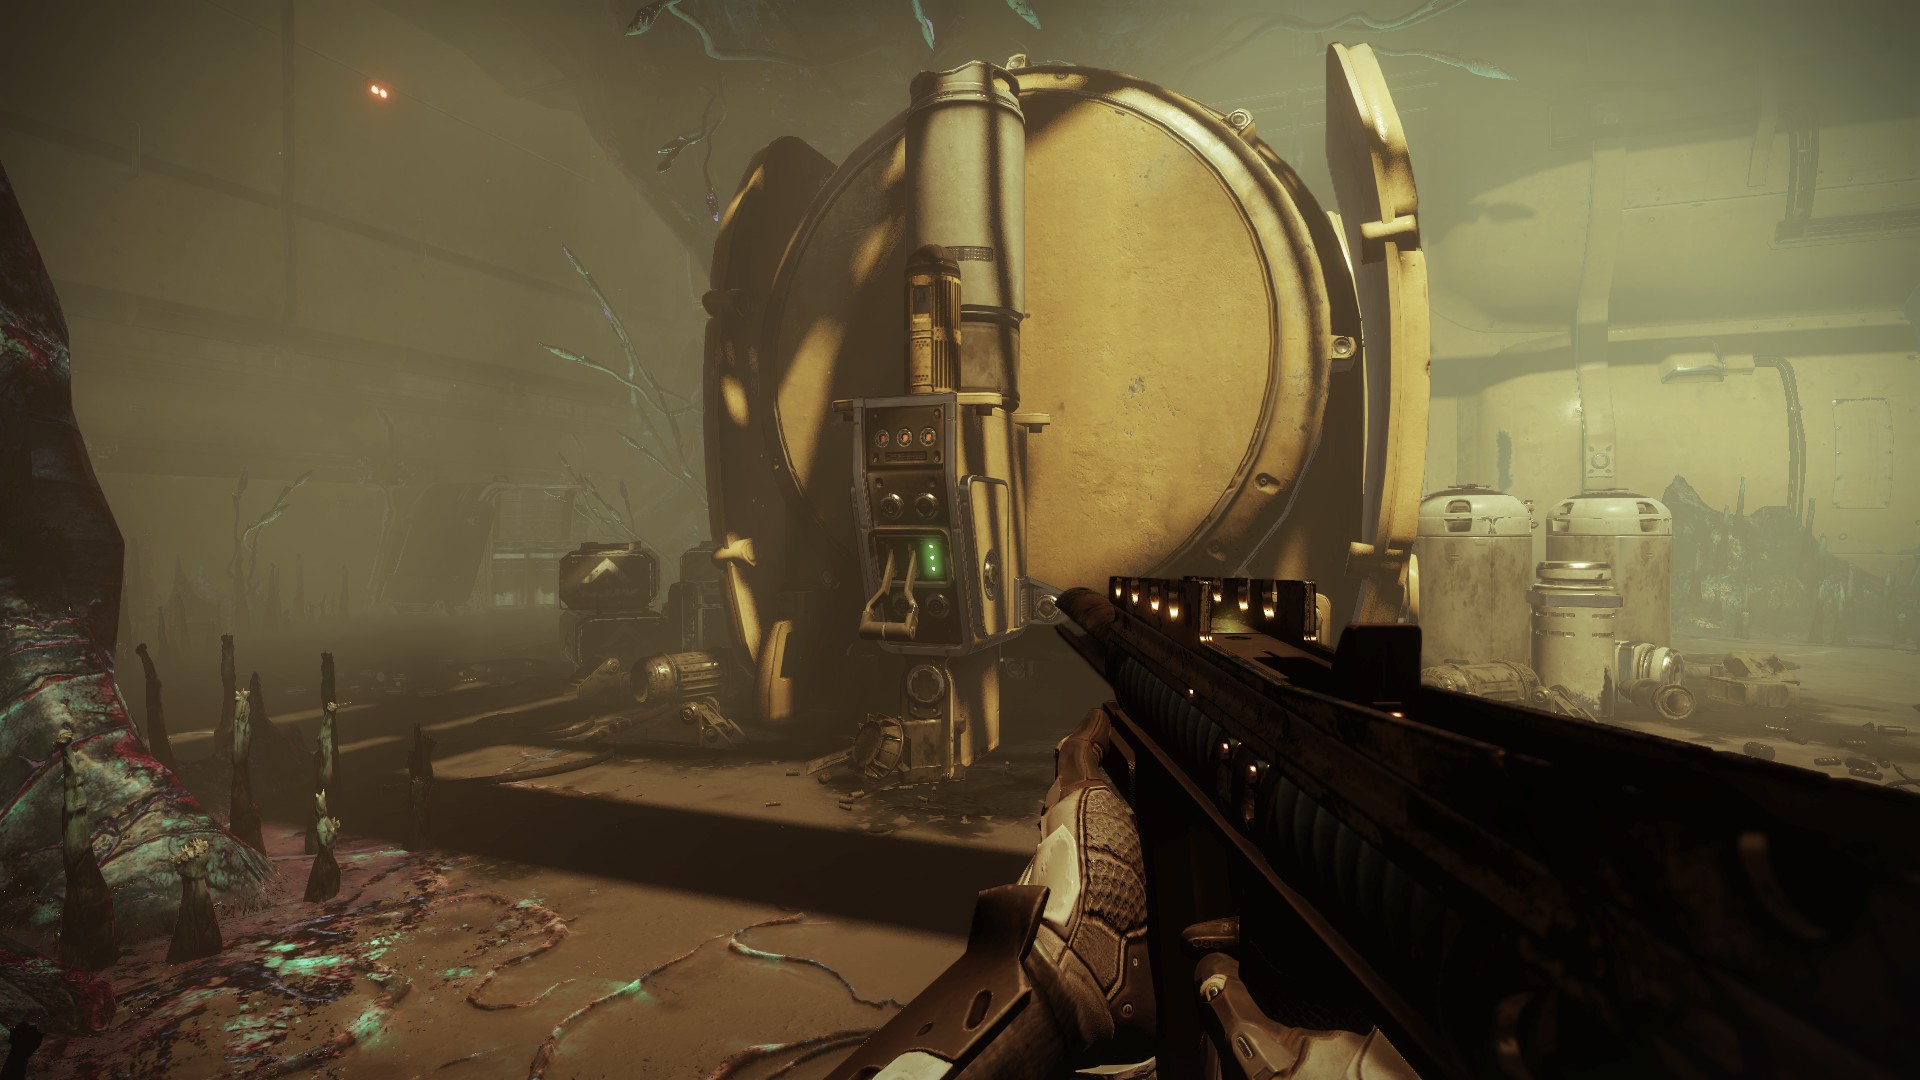
There’s another grate (be ready for a lot of these), which will drop you into a hanger bay. In here, you’ll see a switch on your right. Flip it to open the way to the beginning of the level.
These switches are one of three main mechanics you’ll be using throughout Presage. On the other side of the room, beyond a blast door, is one of the other mechanics in this mission—a Darkness door.
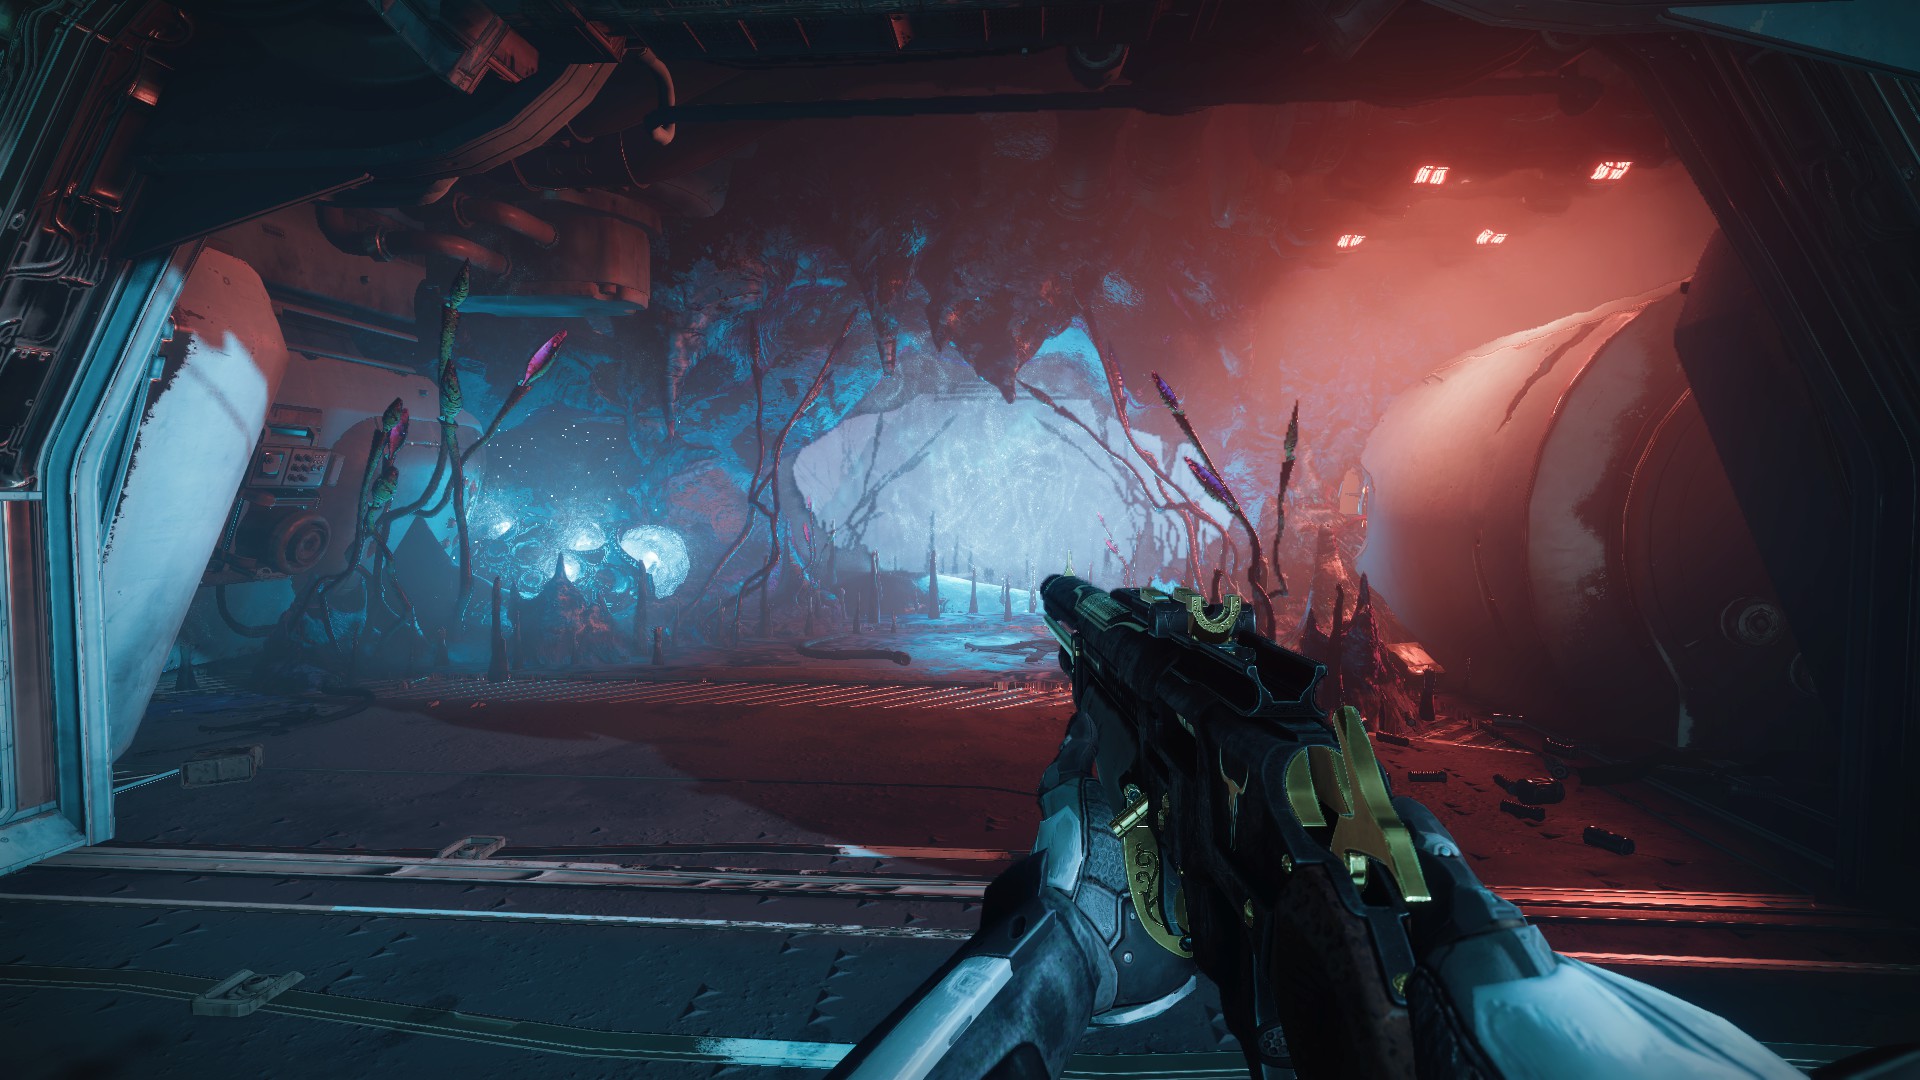
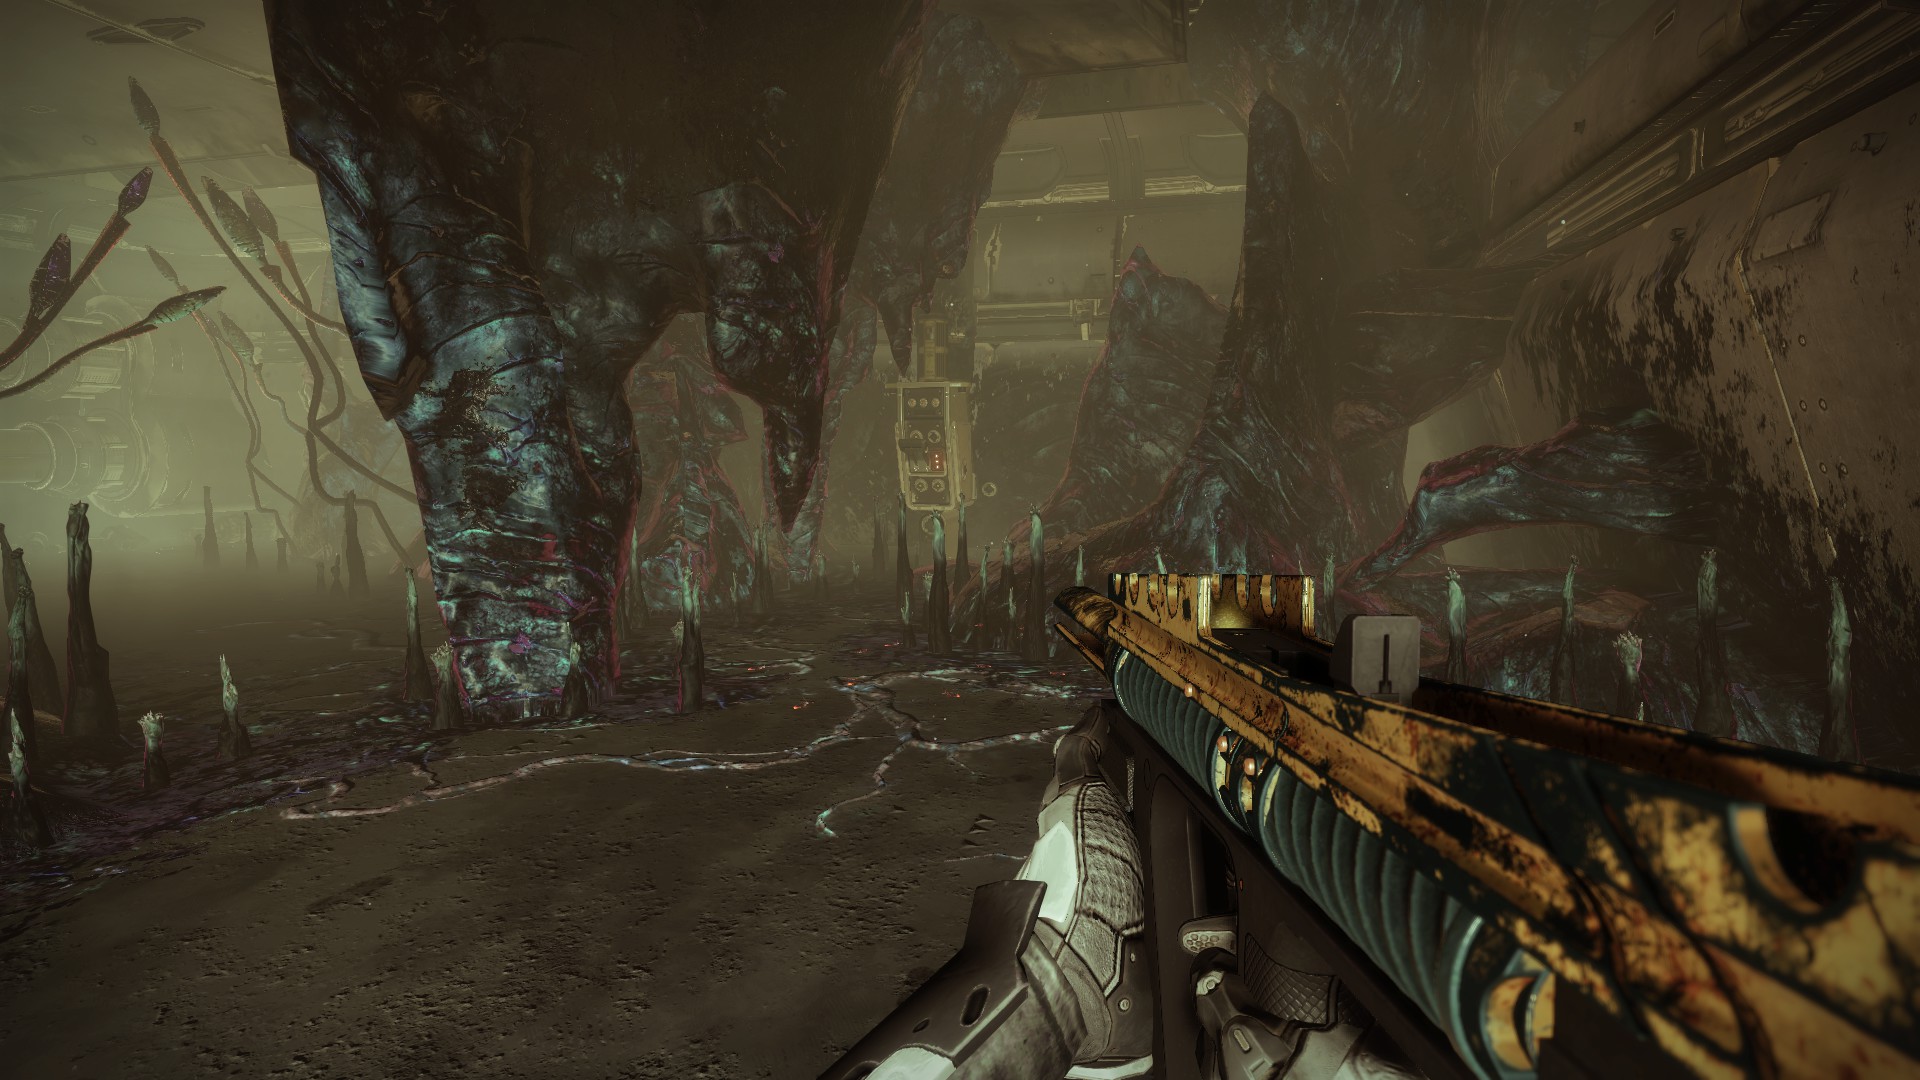
The Darkness door is a silvery mist that, if touched, will kill you very, very quickly. To the left of the mist is a mound of spore pods. Move right up next to them and shoot until your screen glows, and you a buff called Egregore Link. You’ll have 15 seconds to make it through the mist.
You only need to make it through the mist, though. The areas beyond will not hurt you.
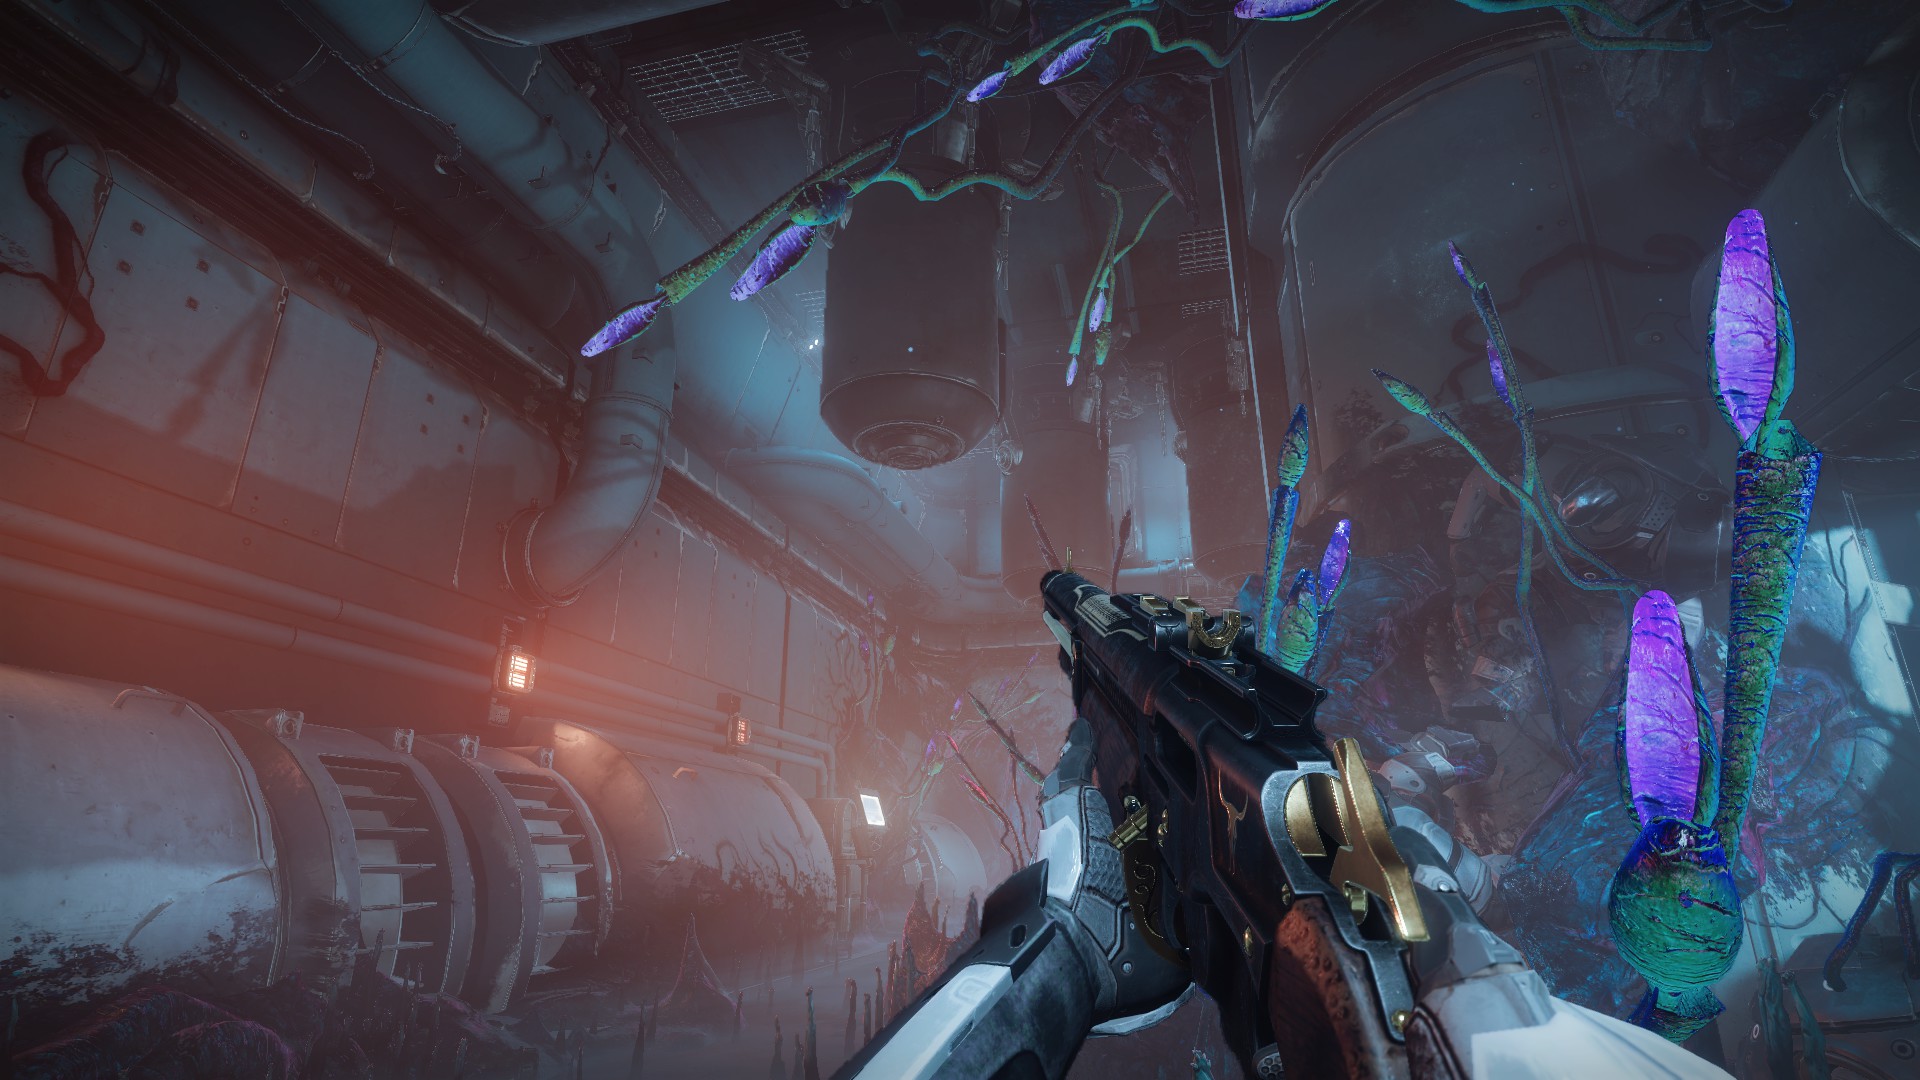
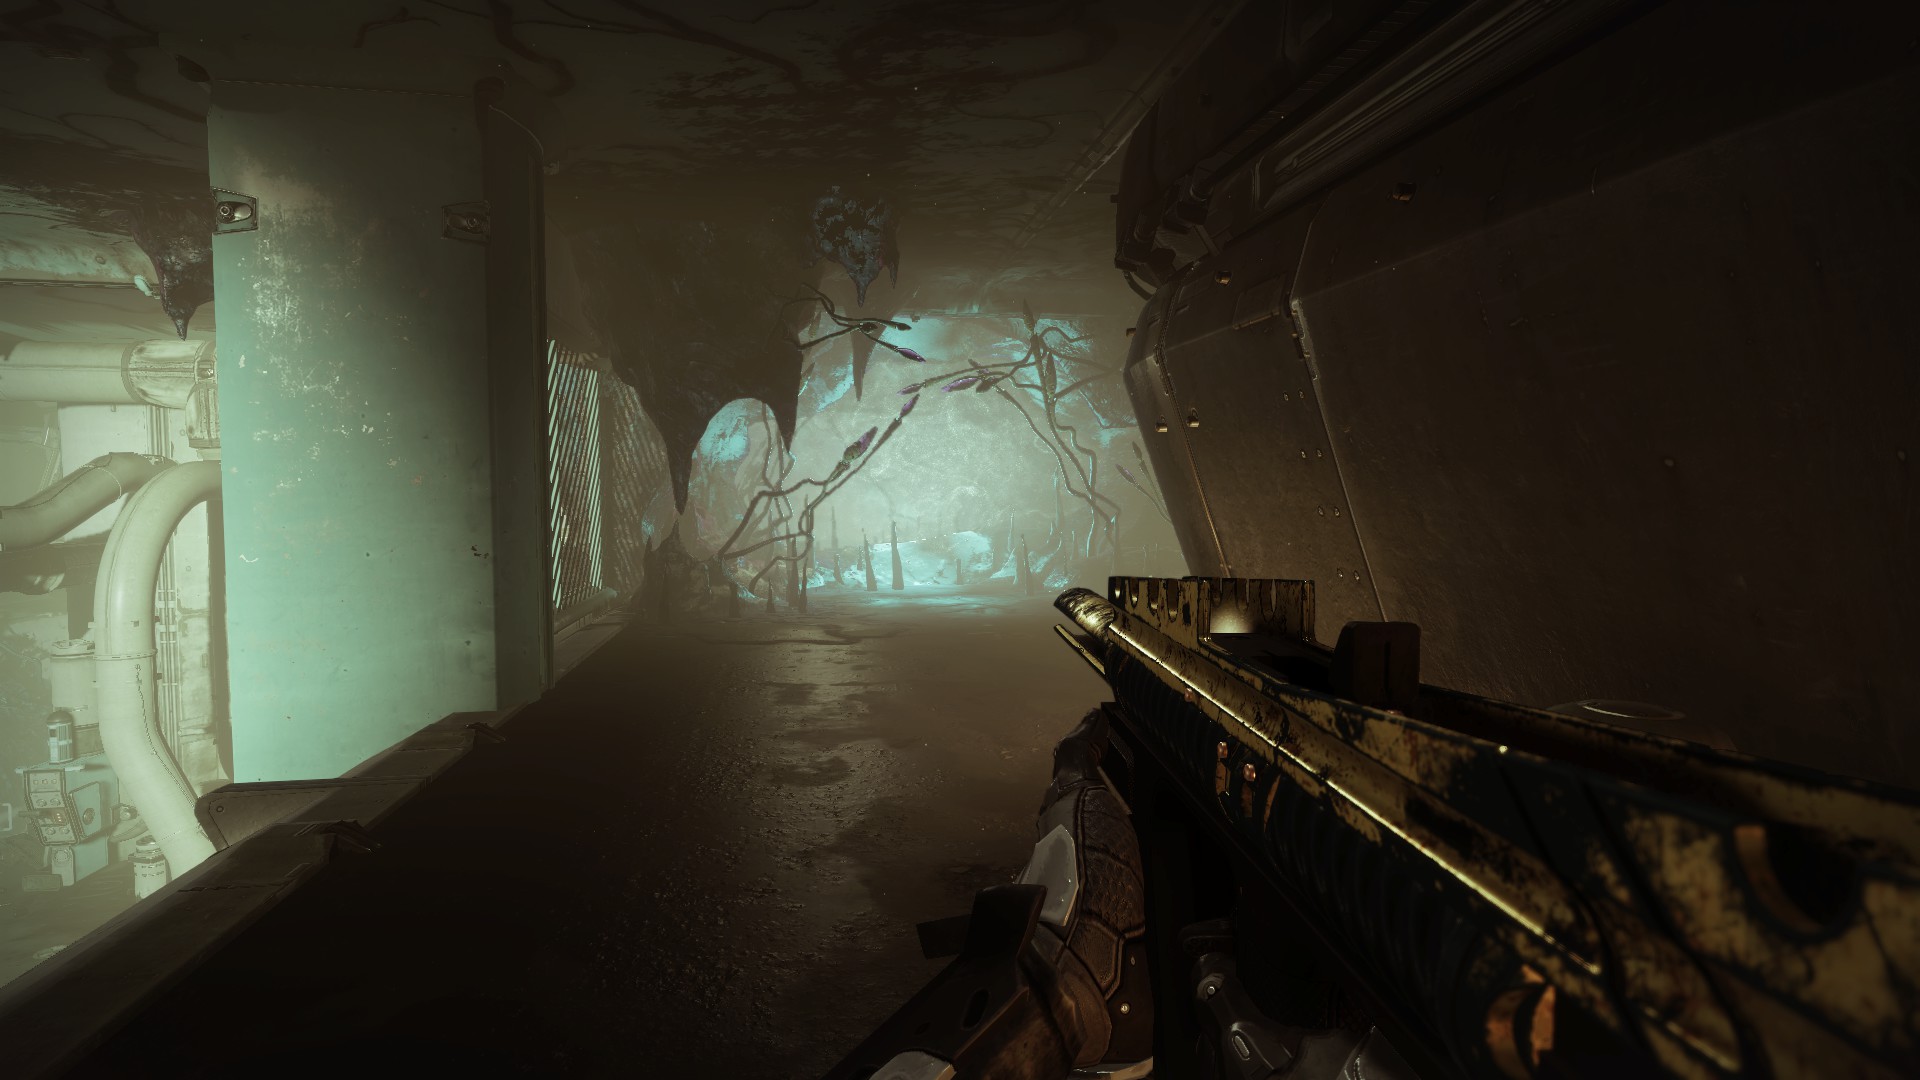
Through this first mist is a large room with a bunch of Darkness flora and locked doors. There’s a platform at the top left of the room — make your way up through the breakable grate.
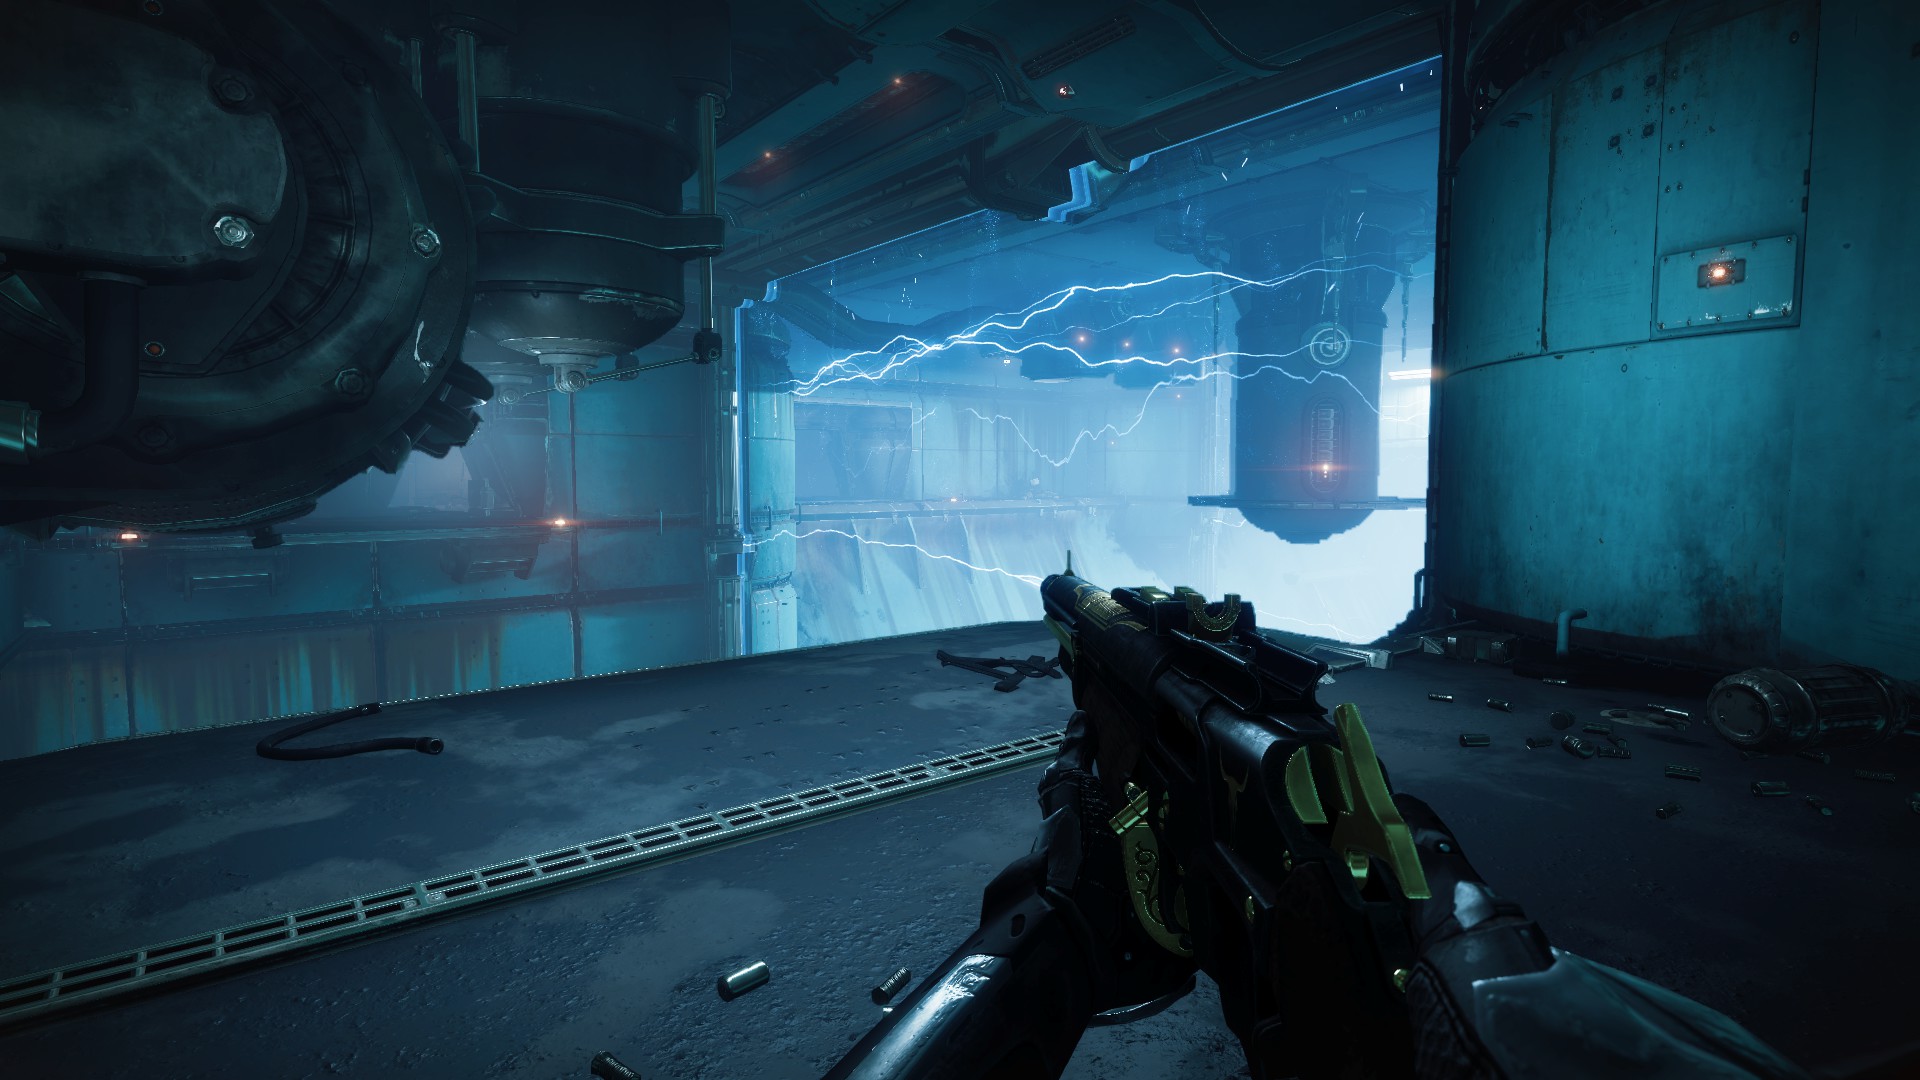
Follow the resulting hallway to a hole in the floor, which will drop you into a large room with impassable electrical walls.
Before proceeding forward, turn around and head to the end of the hall behind you. There’s a switch you’ll need to flip.
Flipping this switch will open the way to spores where you dropped in.
Go ahead and gather the Egregore Link and jump across the chasm. There’s another set of Darkness doors. Which you choose doesn’t matter this time. Beyond the mist wall will be some Screebs, and you’ll be in the middle of the two electric walls.
Across the way, you’ll see the third and final mechanic: destructible fuses. Shoot this one, and the door hatch in front of it will open.
Head down into the dark chamber, kill the Screebs that spawn, then jump into the orange-lit area. Flip the switch there.
That switch will open the upper door on the other end of the chamber.
Beyond that door is the end of the electric wall room. Jump across the chasm and flip the switch on the far side, which will open the lower hatch and expose a circuit.
Breaking this circuit will open the hatch near the bottom of the electric wall room you just left. Head back up and then jump down. The platform in front of the hatch will rotate so you can land on it.
This hatch will lead into a horrible dark tunnel, which takes you to an equally horrible room with collapsing walls.
You’ll flip one switch, and the walls will begin to close in on you, eventually crushing you flat and sending you to respawn.
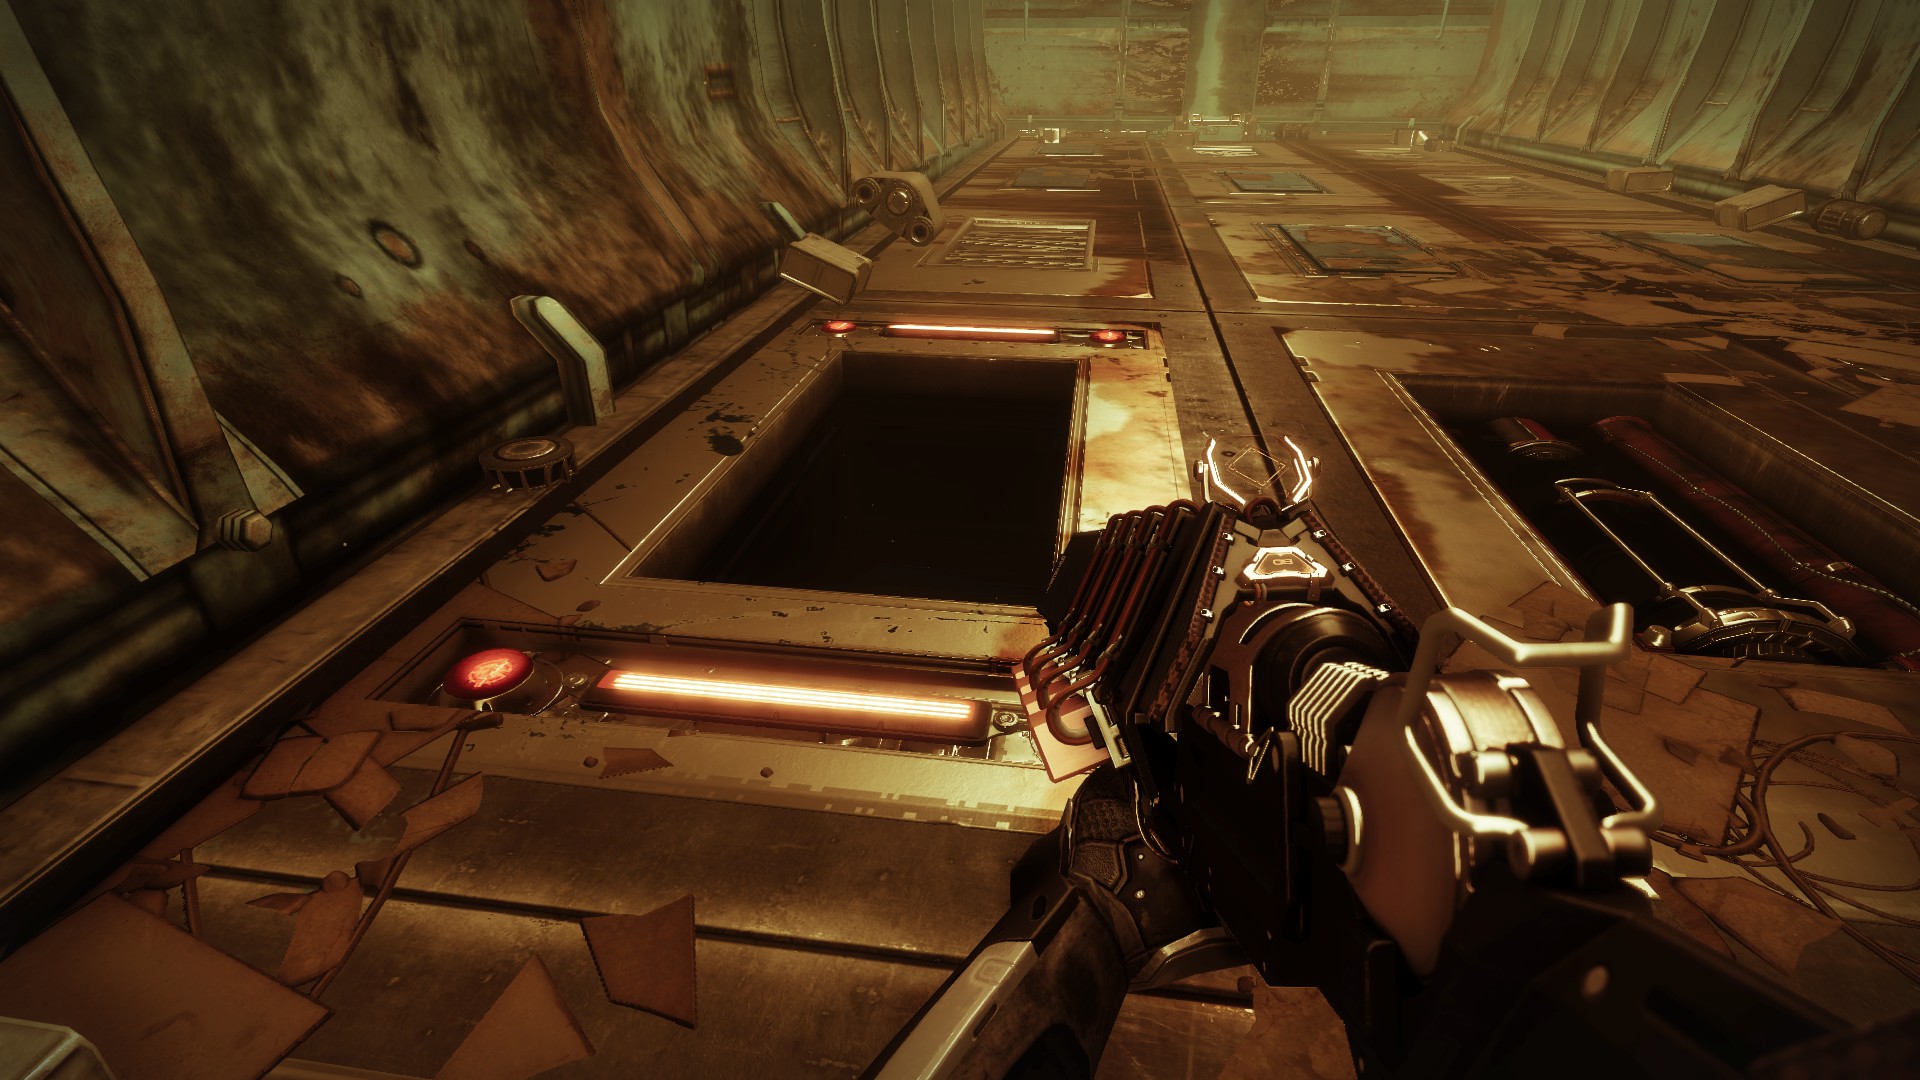
You’ll have to destroy at least three and as many as six circuits beneath grates on the floor. Their locations and their number are randomized, as is the exit hole, also hiding beneath a grate but marked with bright red lights.
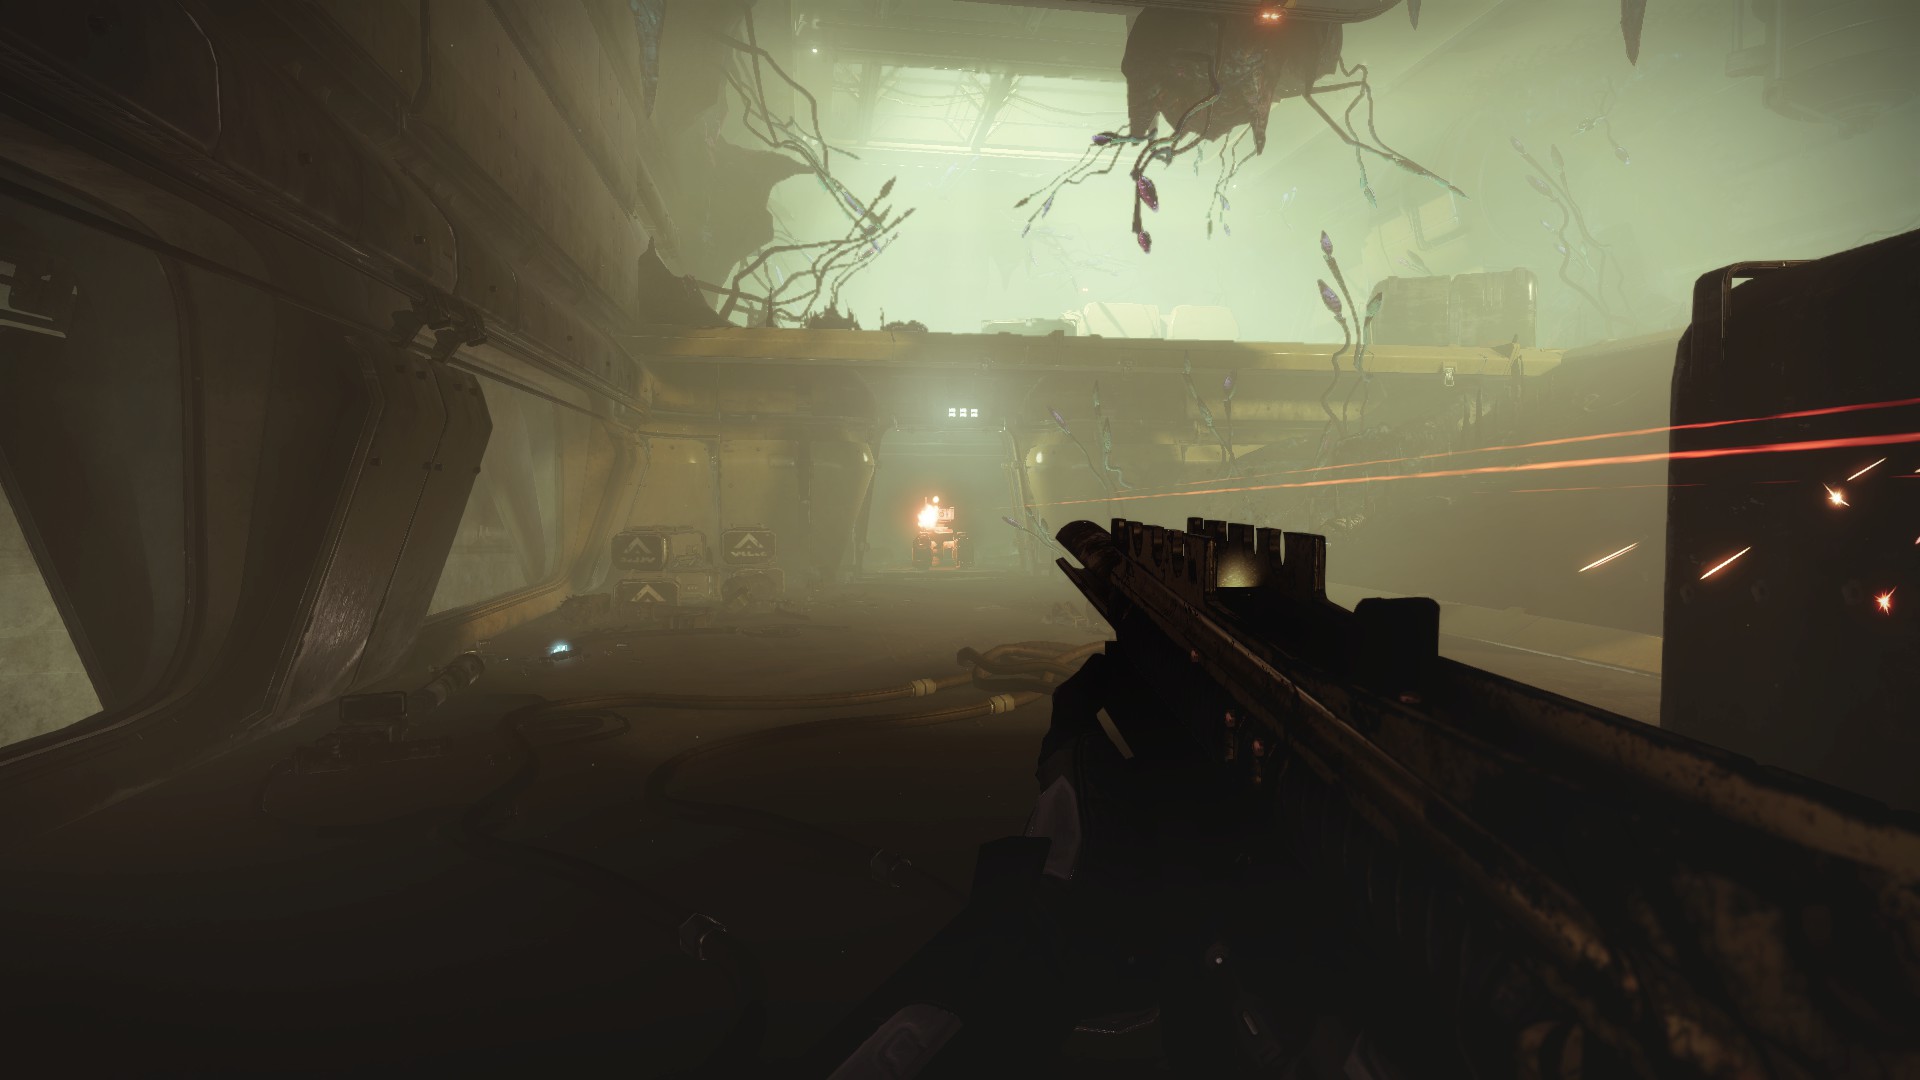
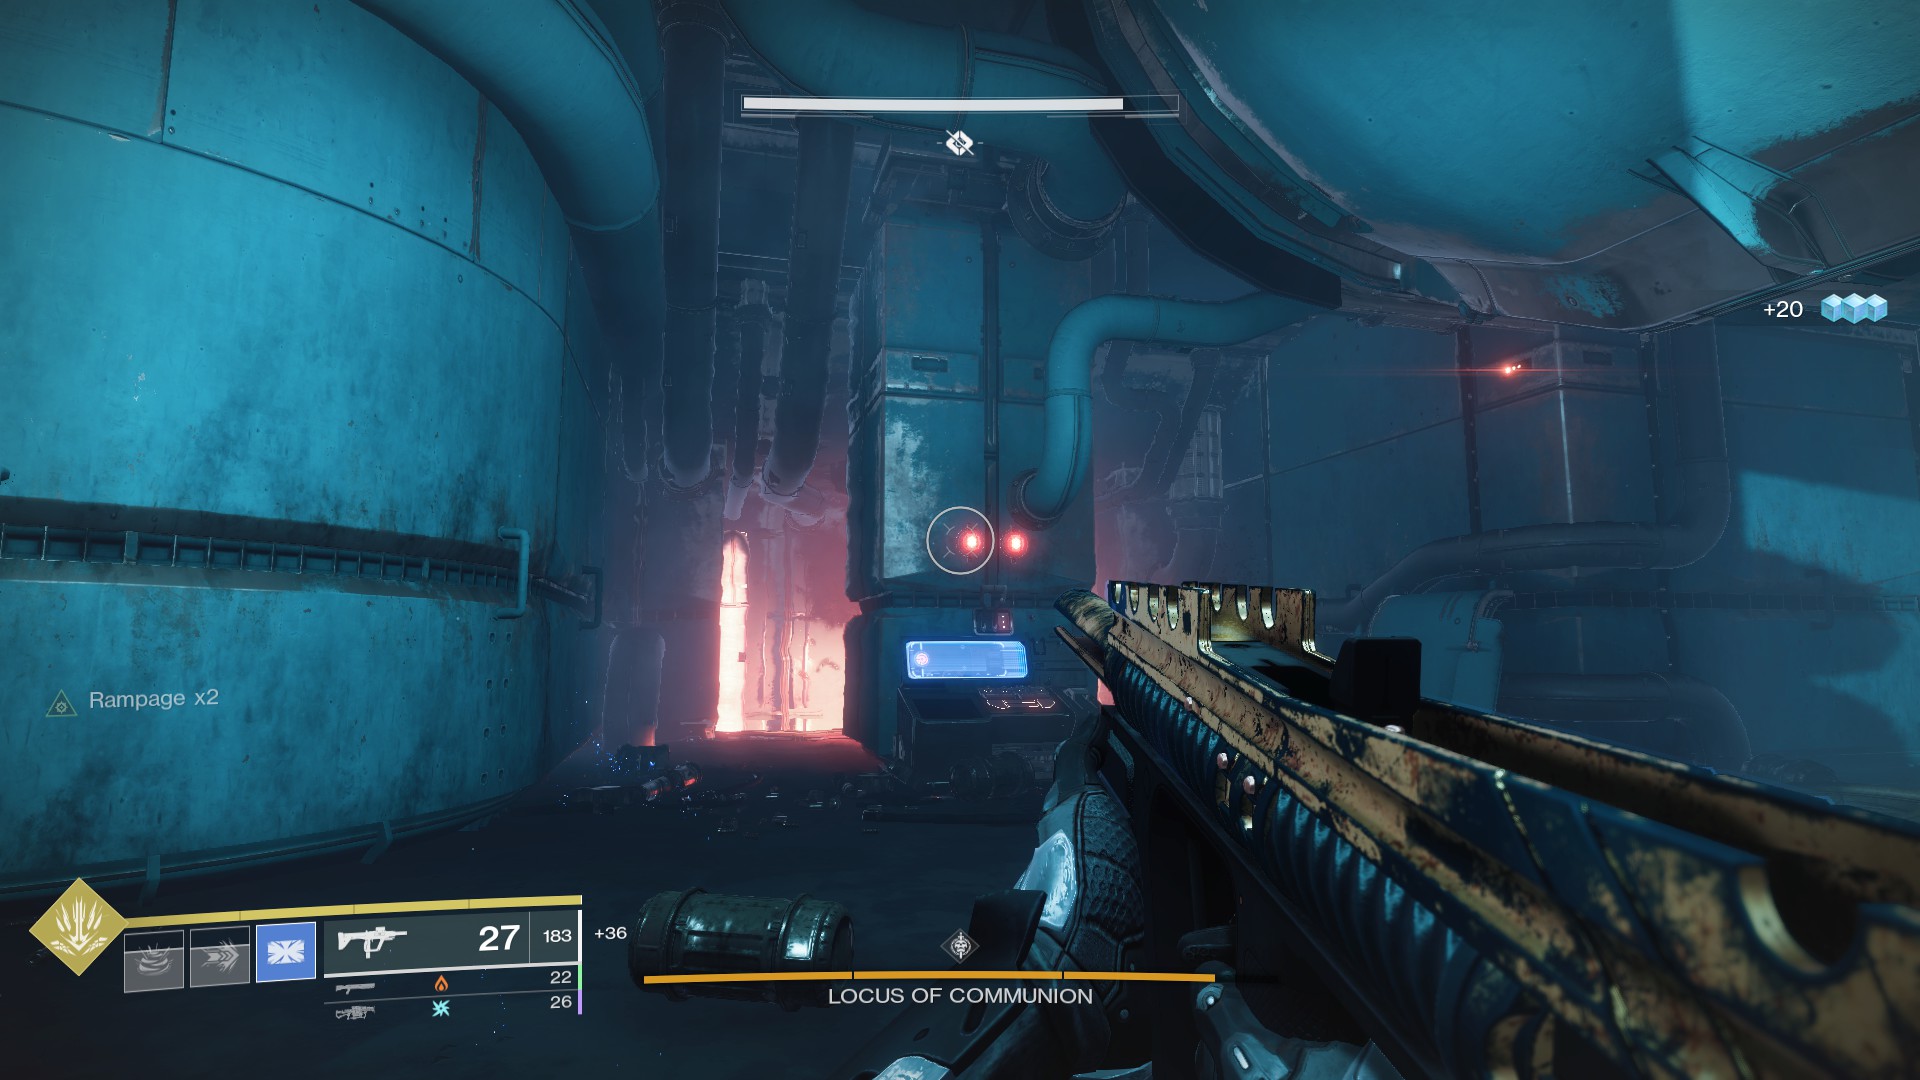
Down the hole is a one-way dark hallway that ends in another drop, where you’ll see the boss of the area: the Locus of Communion. He’ll summon a bunch of Scorn enemies. Kill them and head through the door at the back of the room.
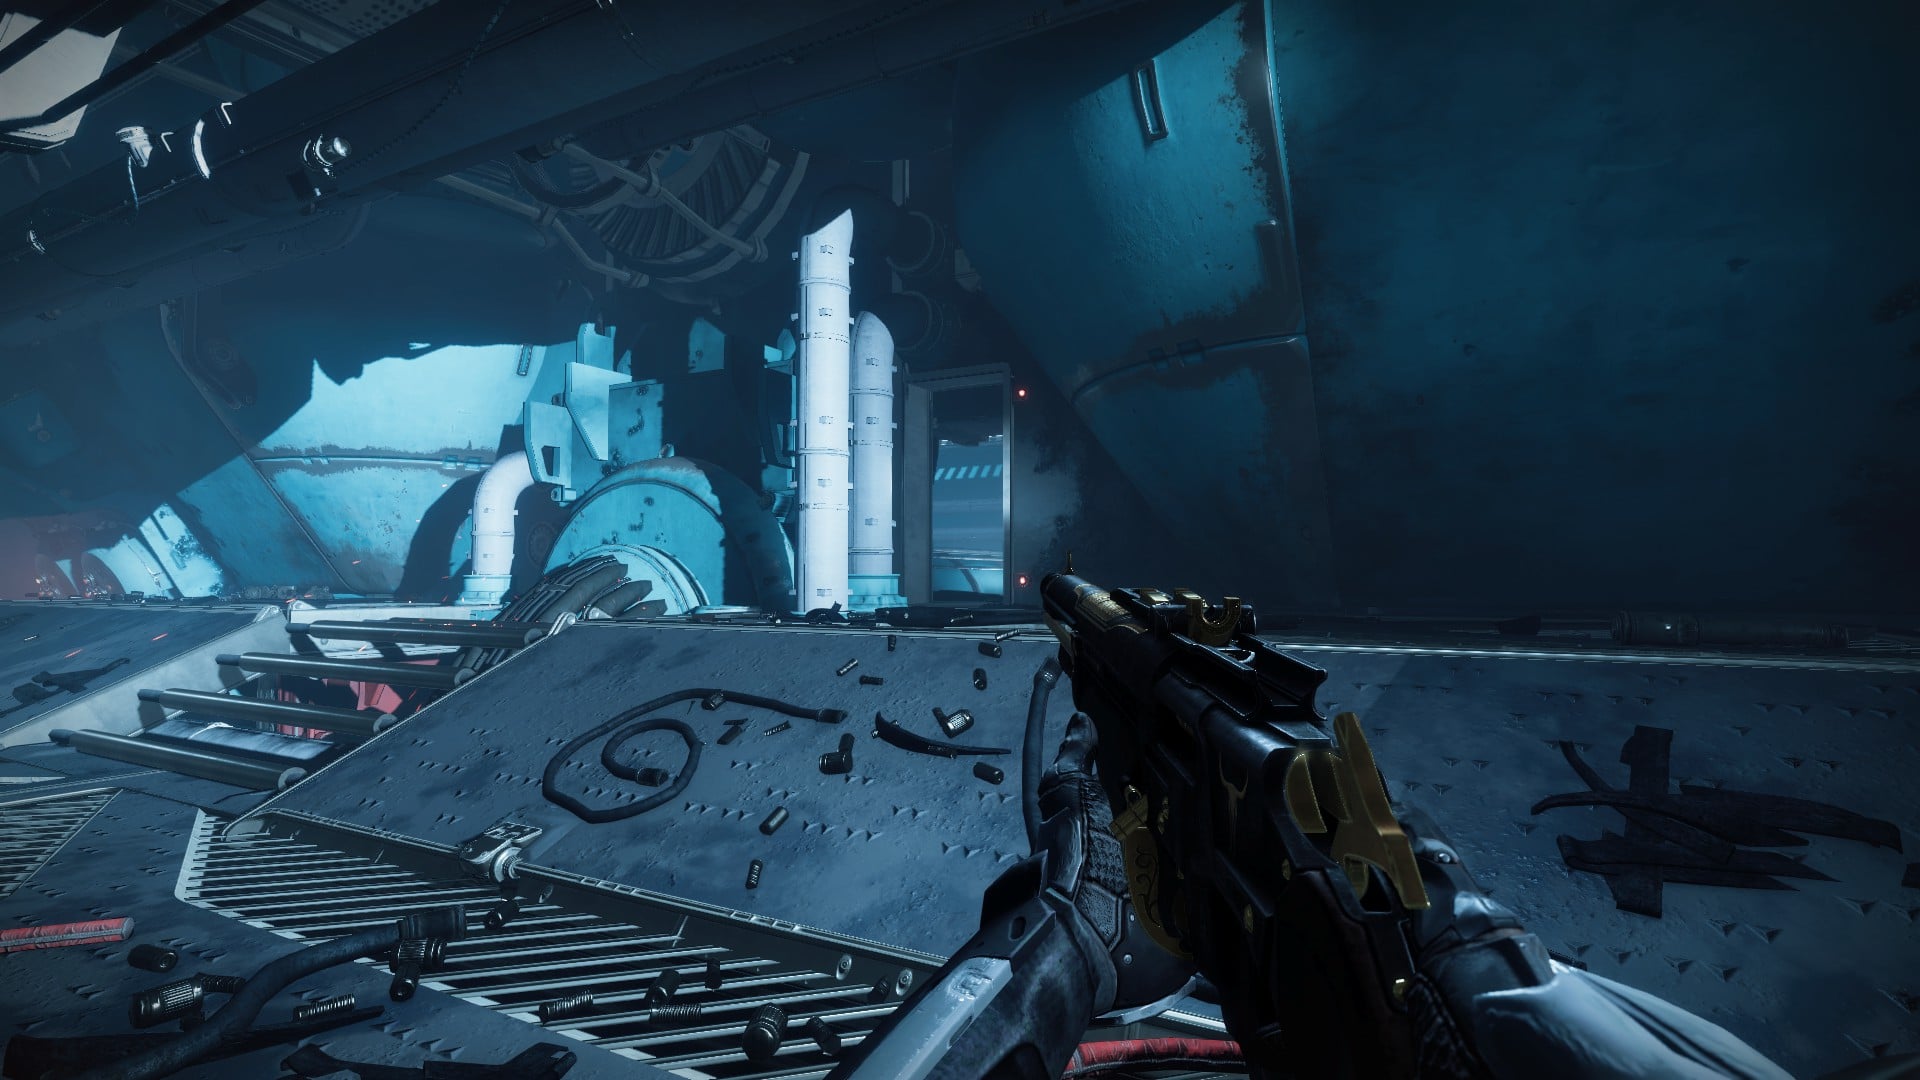
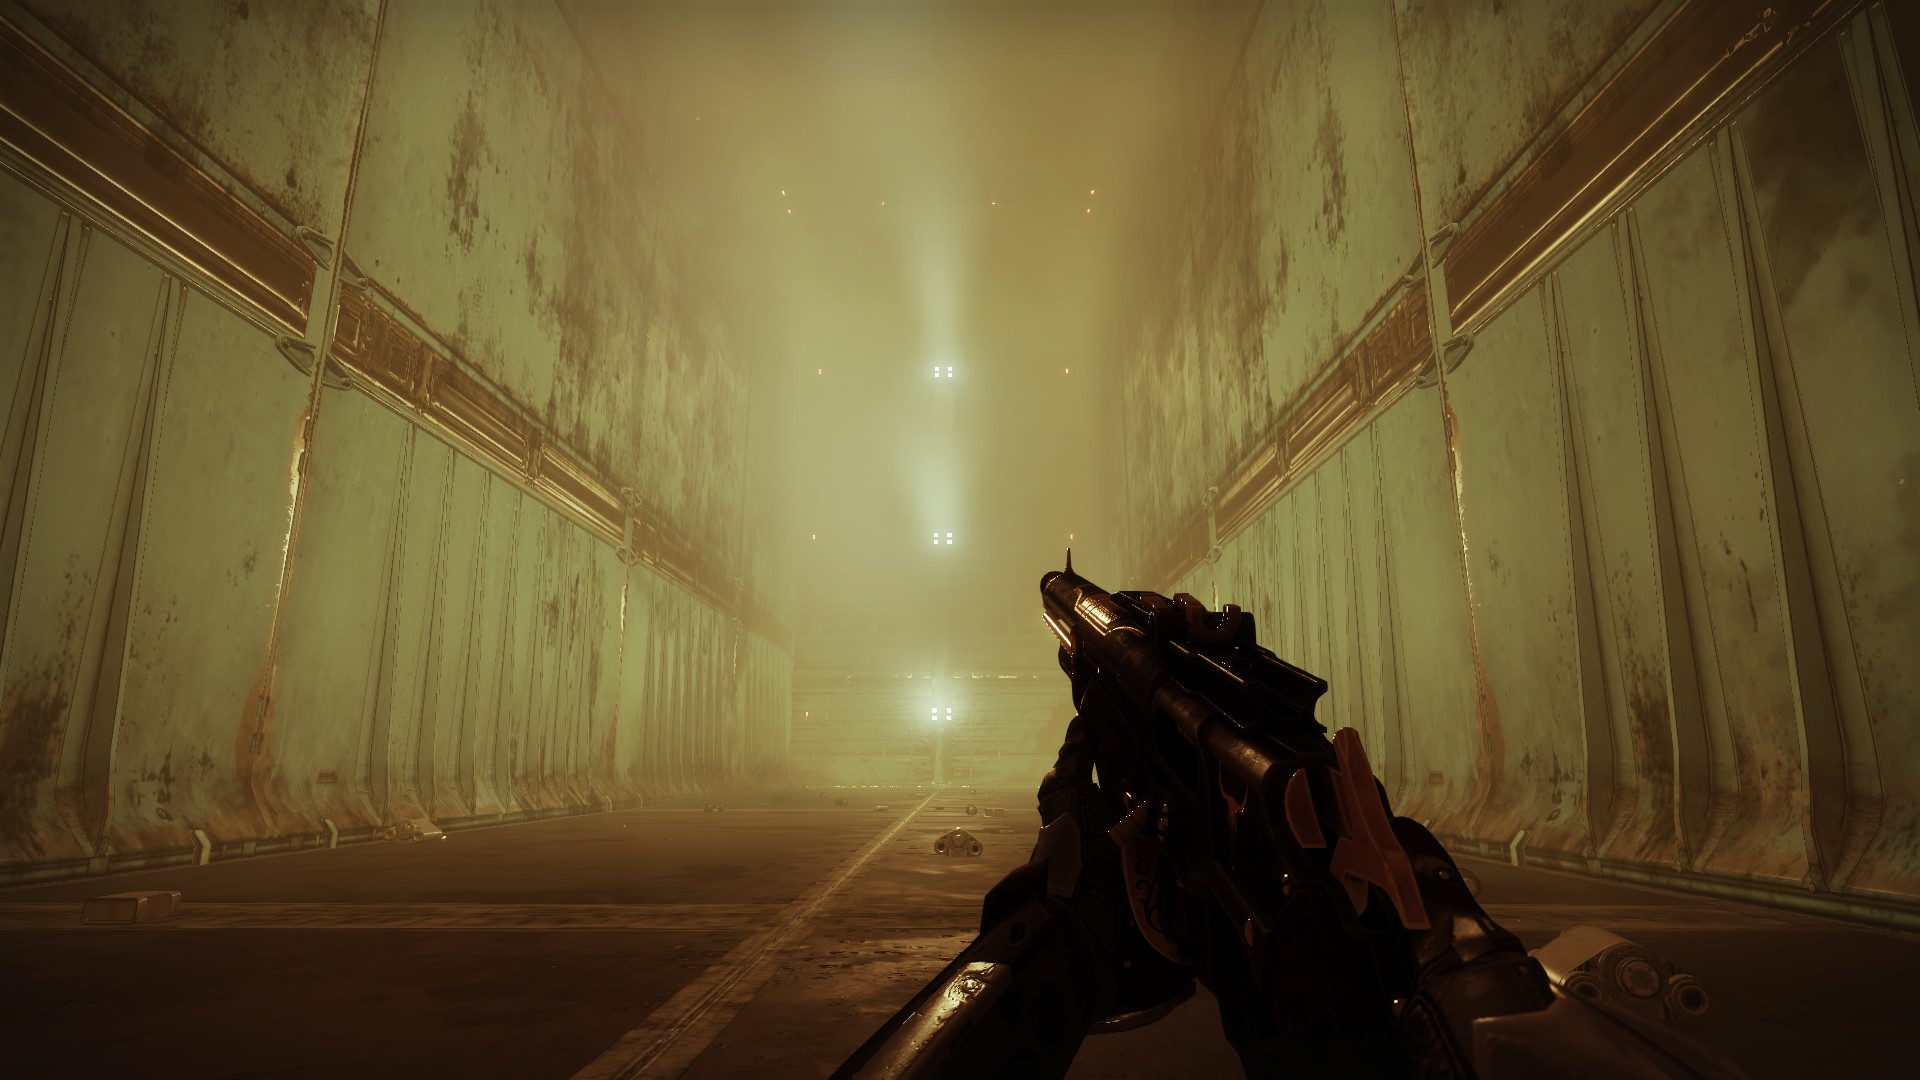
Follow the path around until you reach a large, dark room. Head beyond this room to reach the largest hanger bay yet. Be ready for a fight. This one is a doozy.
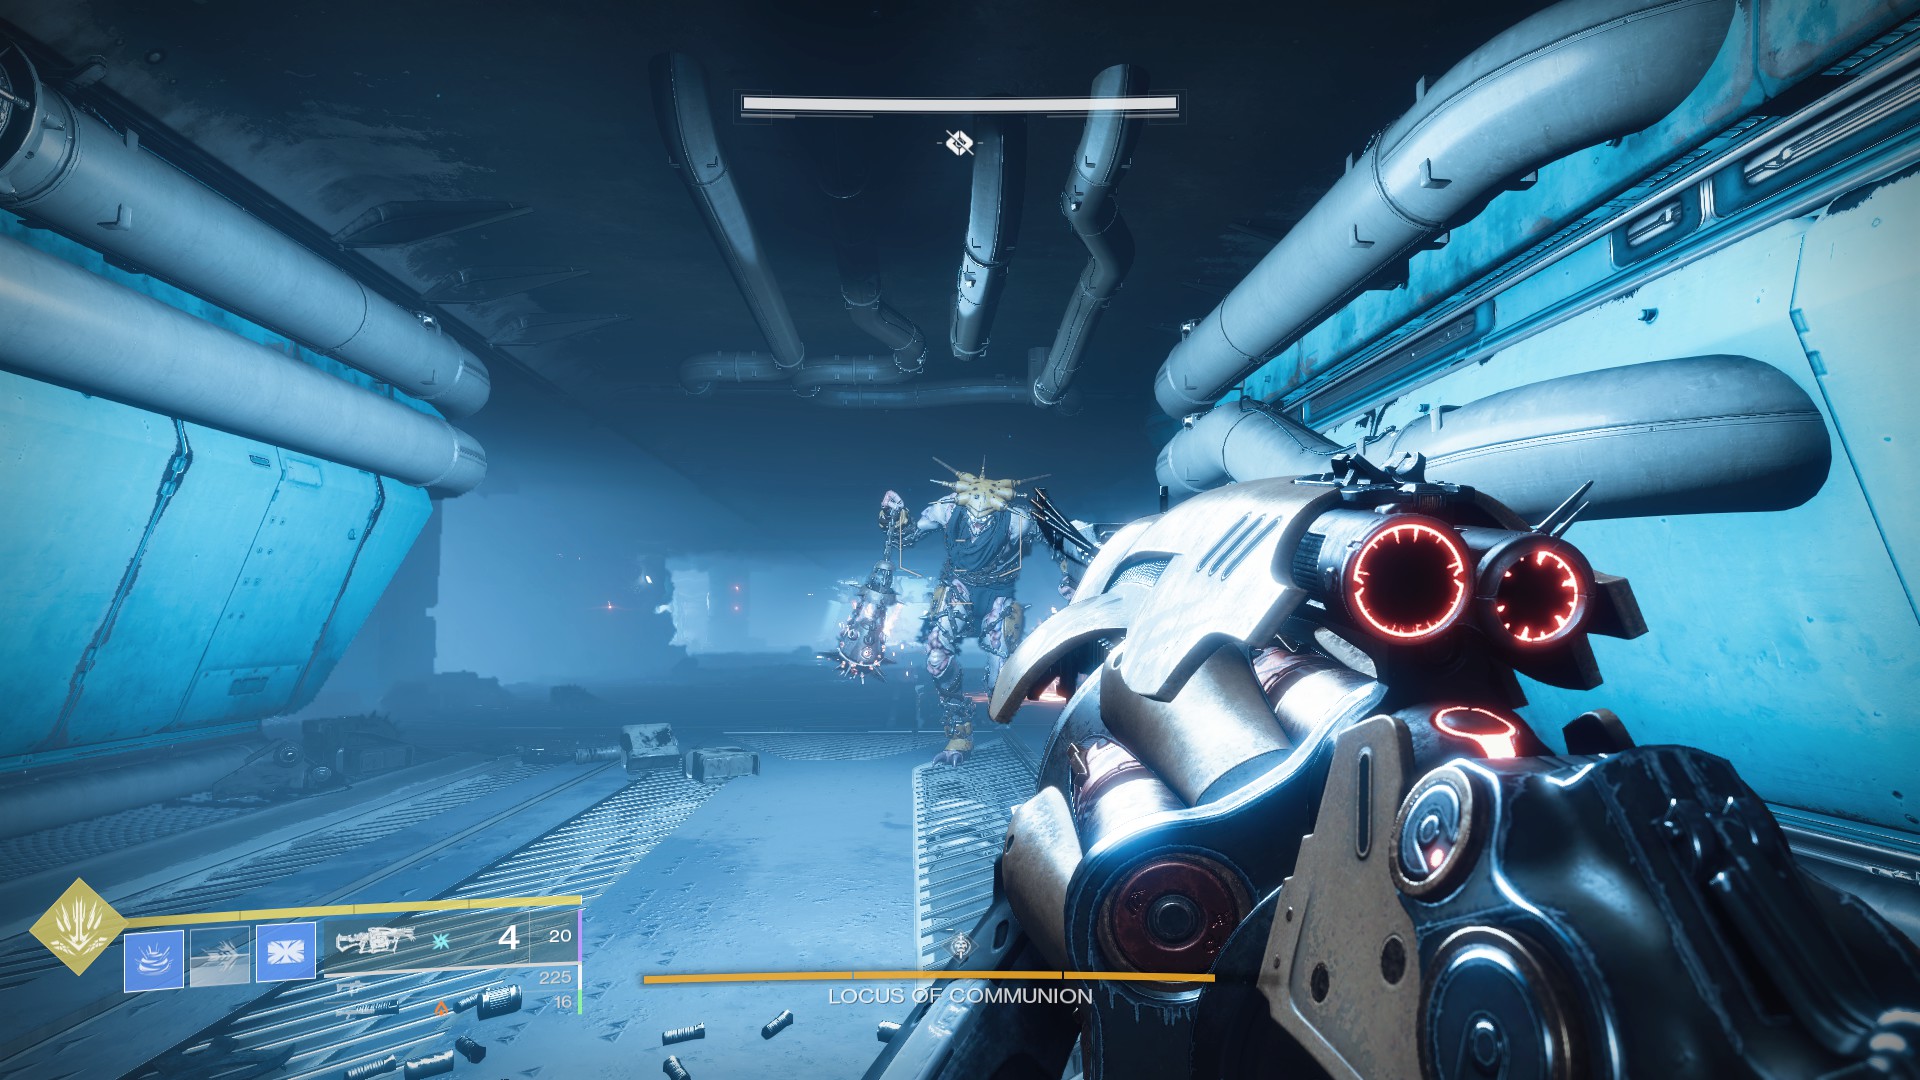
Your best bet is to stick to the back of the room and use the cover however you can. The Anarchy Exotic Heavy Grenade Launcher will be your best friend here, but anything that can deal a lot of damage at range is ideal. Two Abominations will spawn, and they’ve got a ton of health. Don’t focus them, however, as too much damage will spawn more enemies.
Instead, clear out all the lesser foes first, then work on the big guys. Don’t be discouraged if you fail this fight a few times. It’s probably the toughest in the mission.
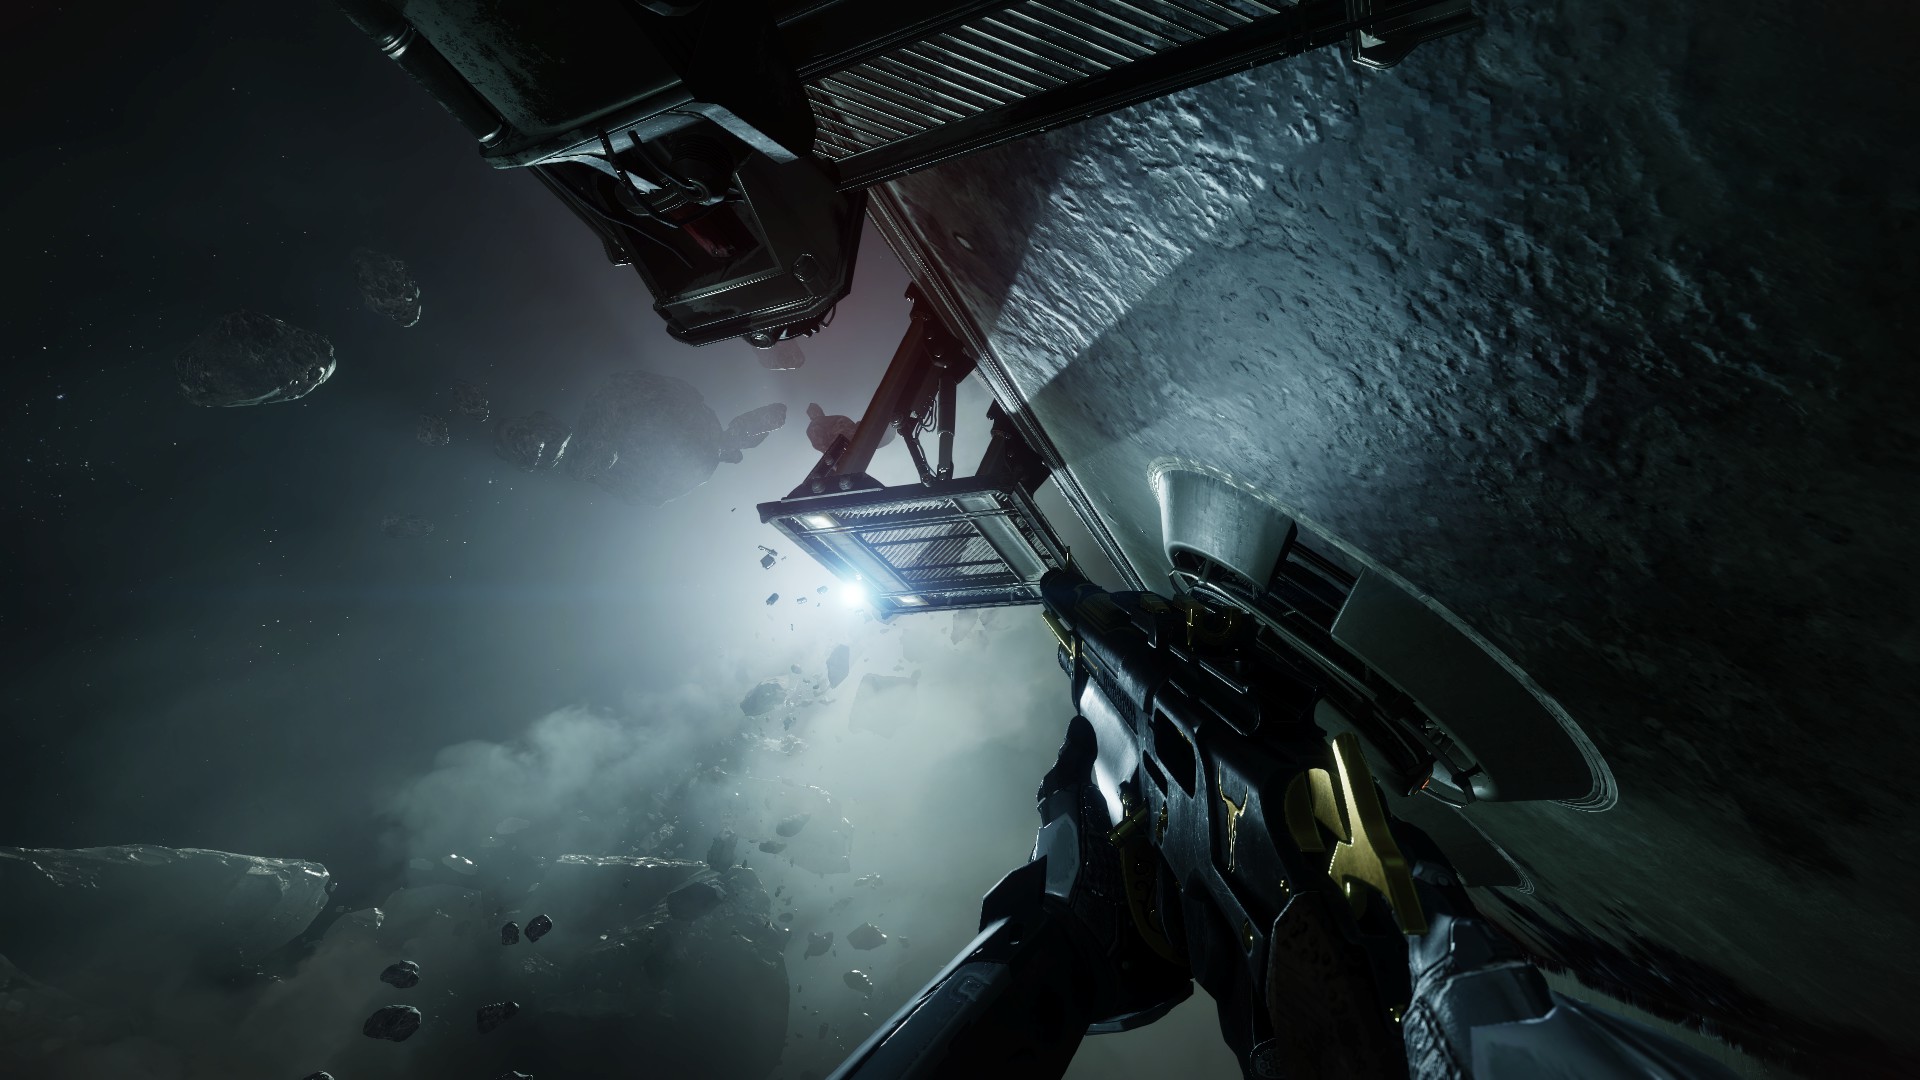
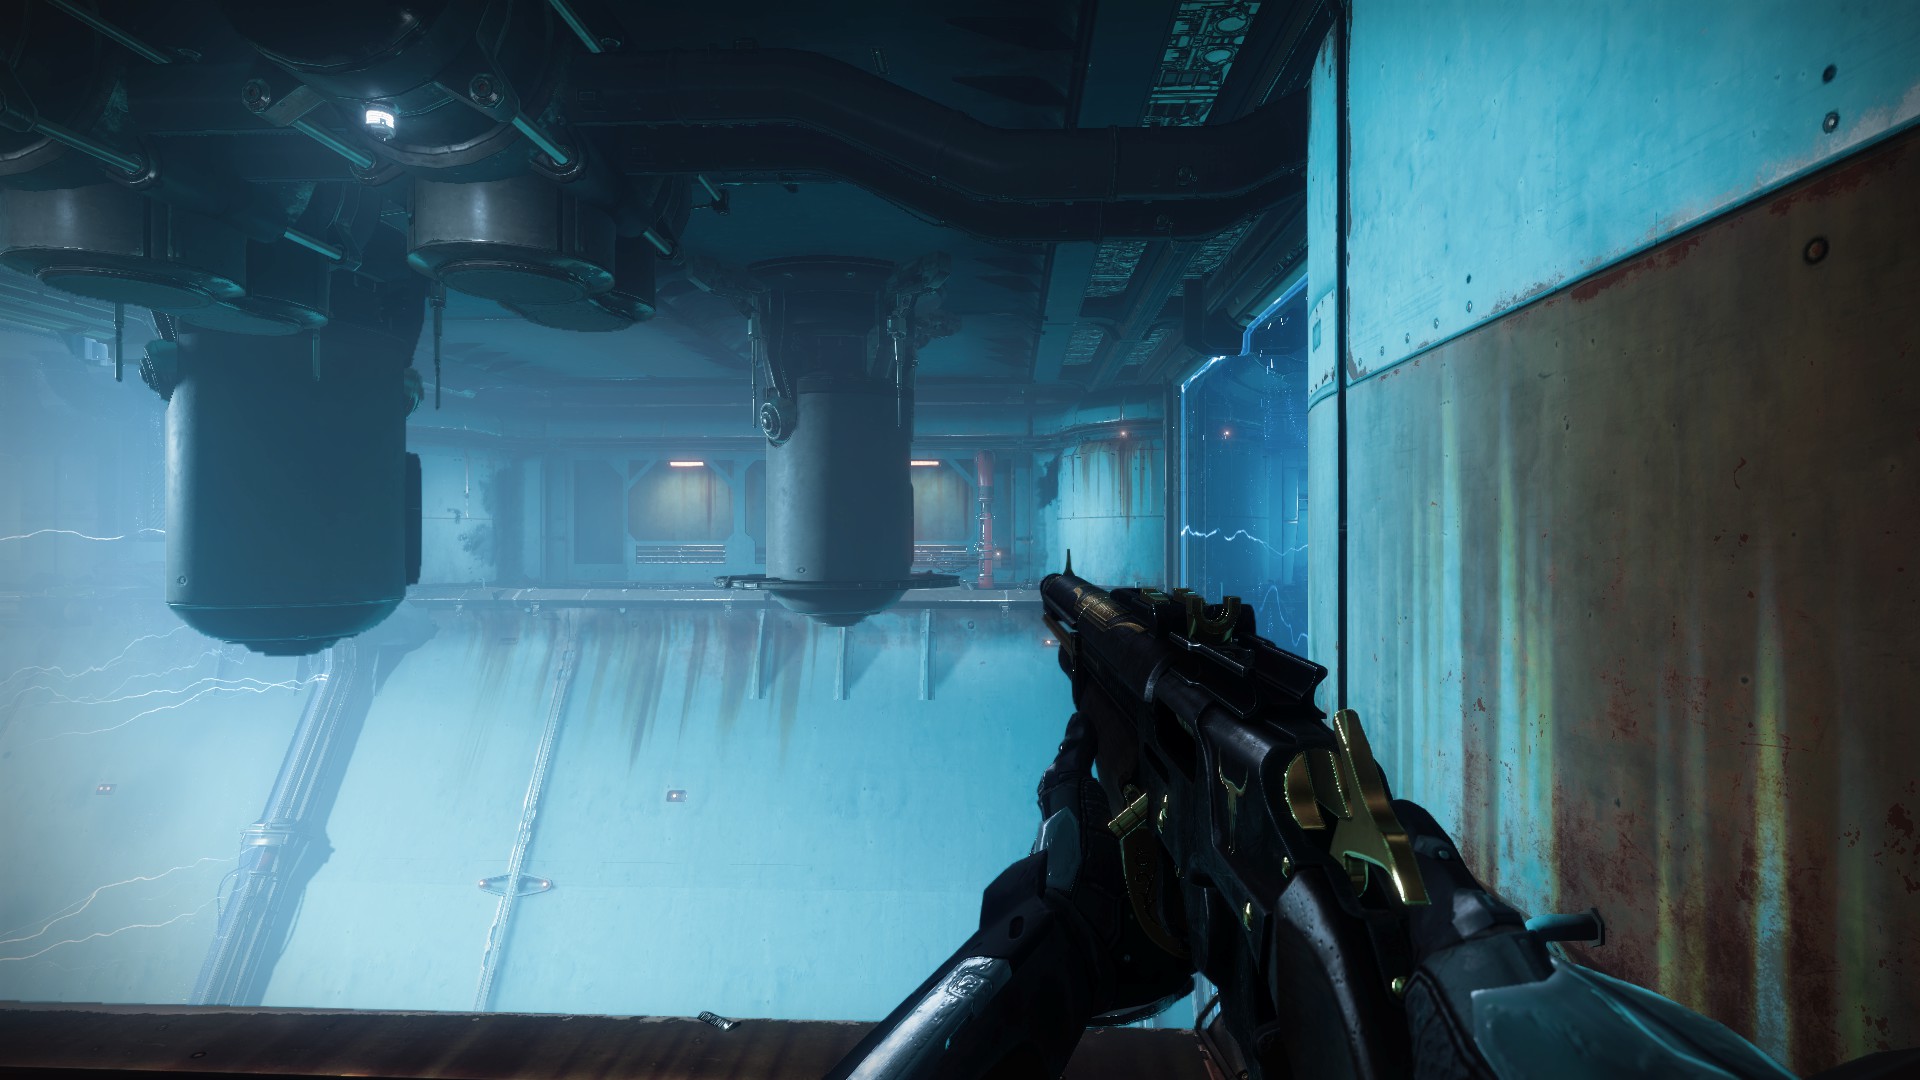
Once you do finish, look out into space. There’s more platforming to do.
Follow the platforms until you reach another hanger bay, then make your way up the ship and other equipment until you reach a door near the top of the room.
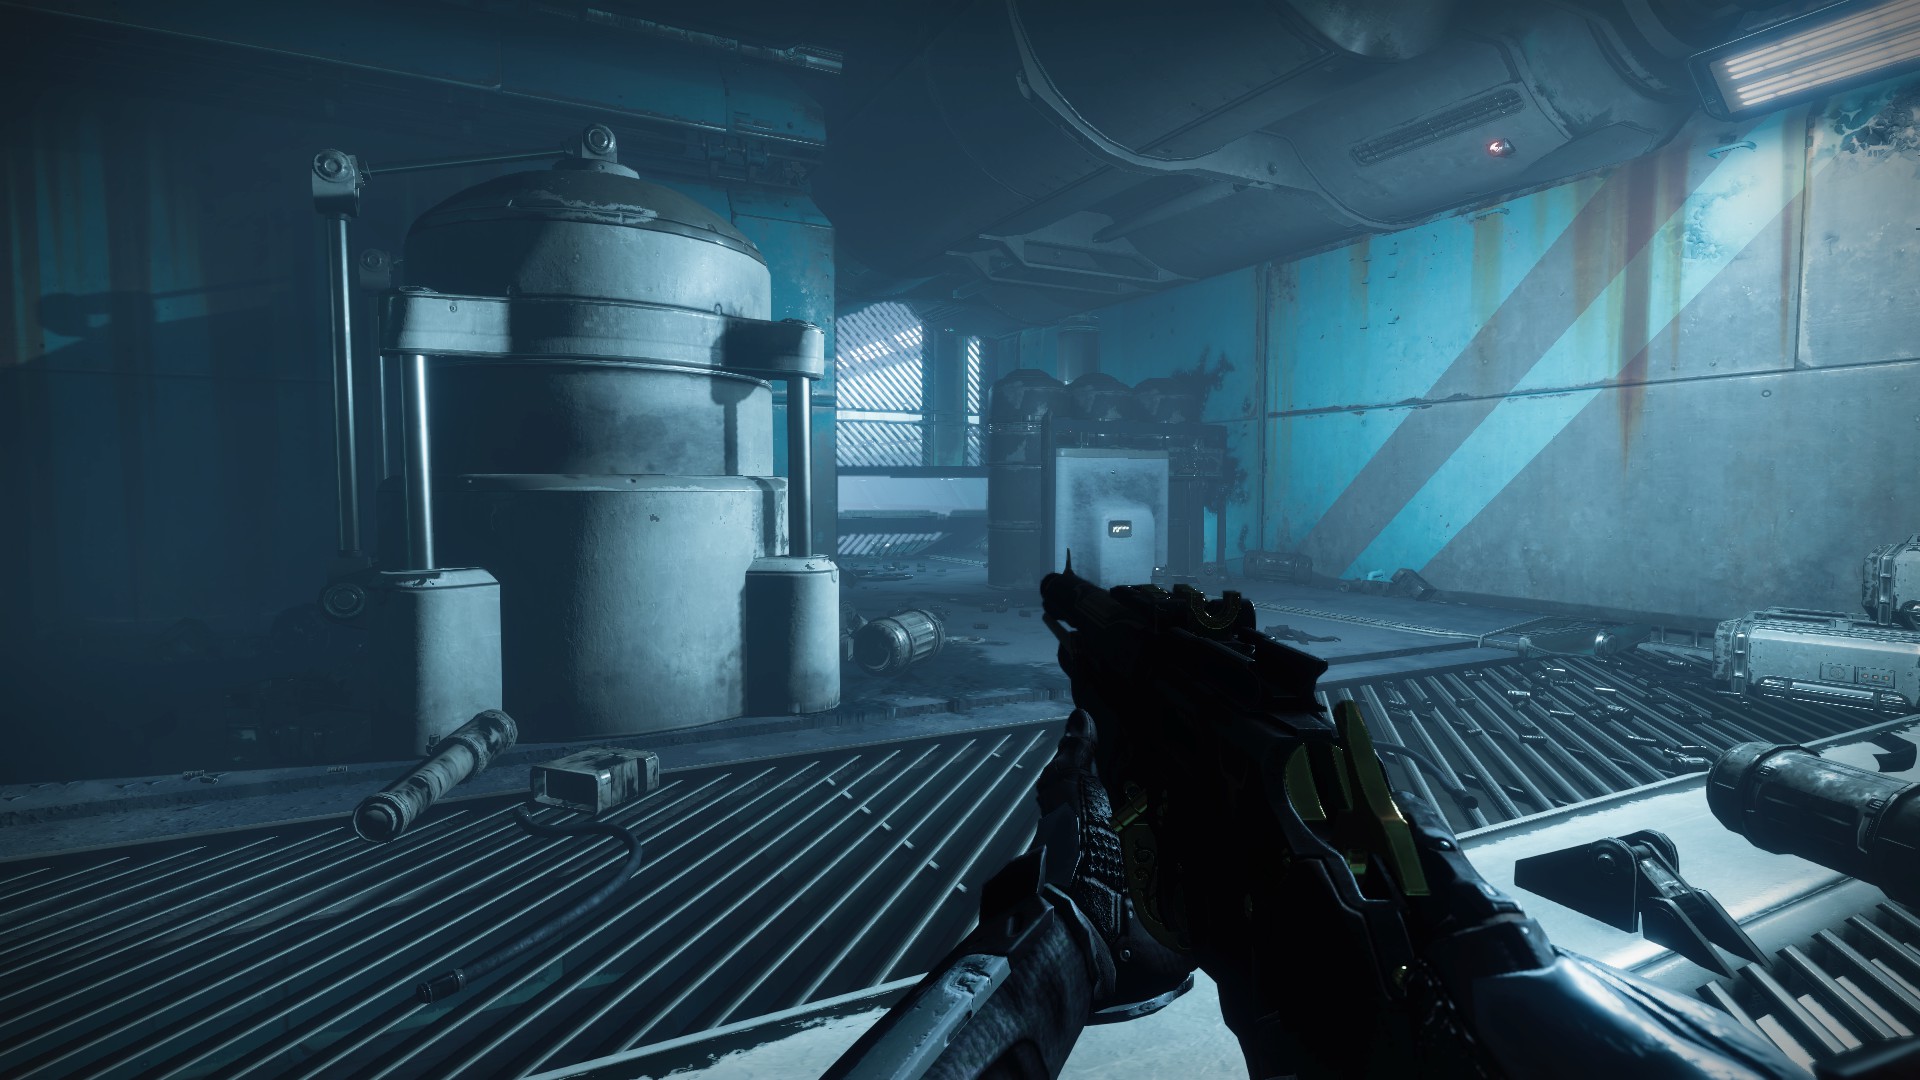
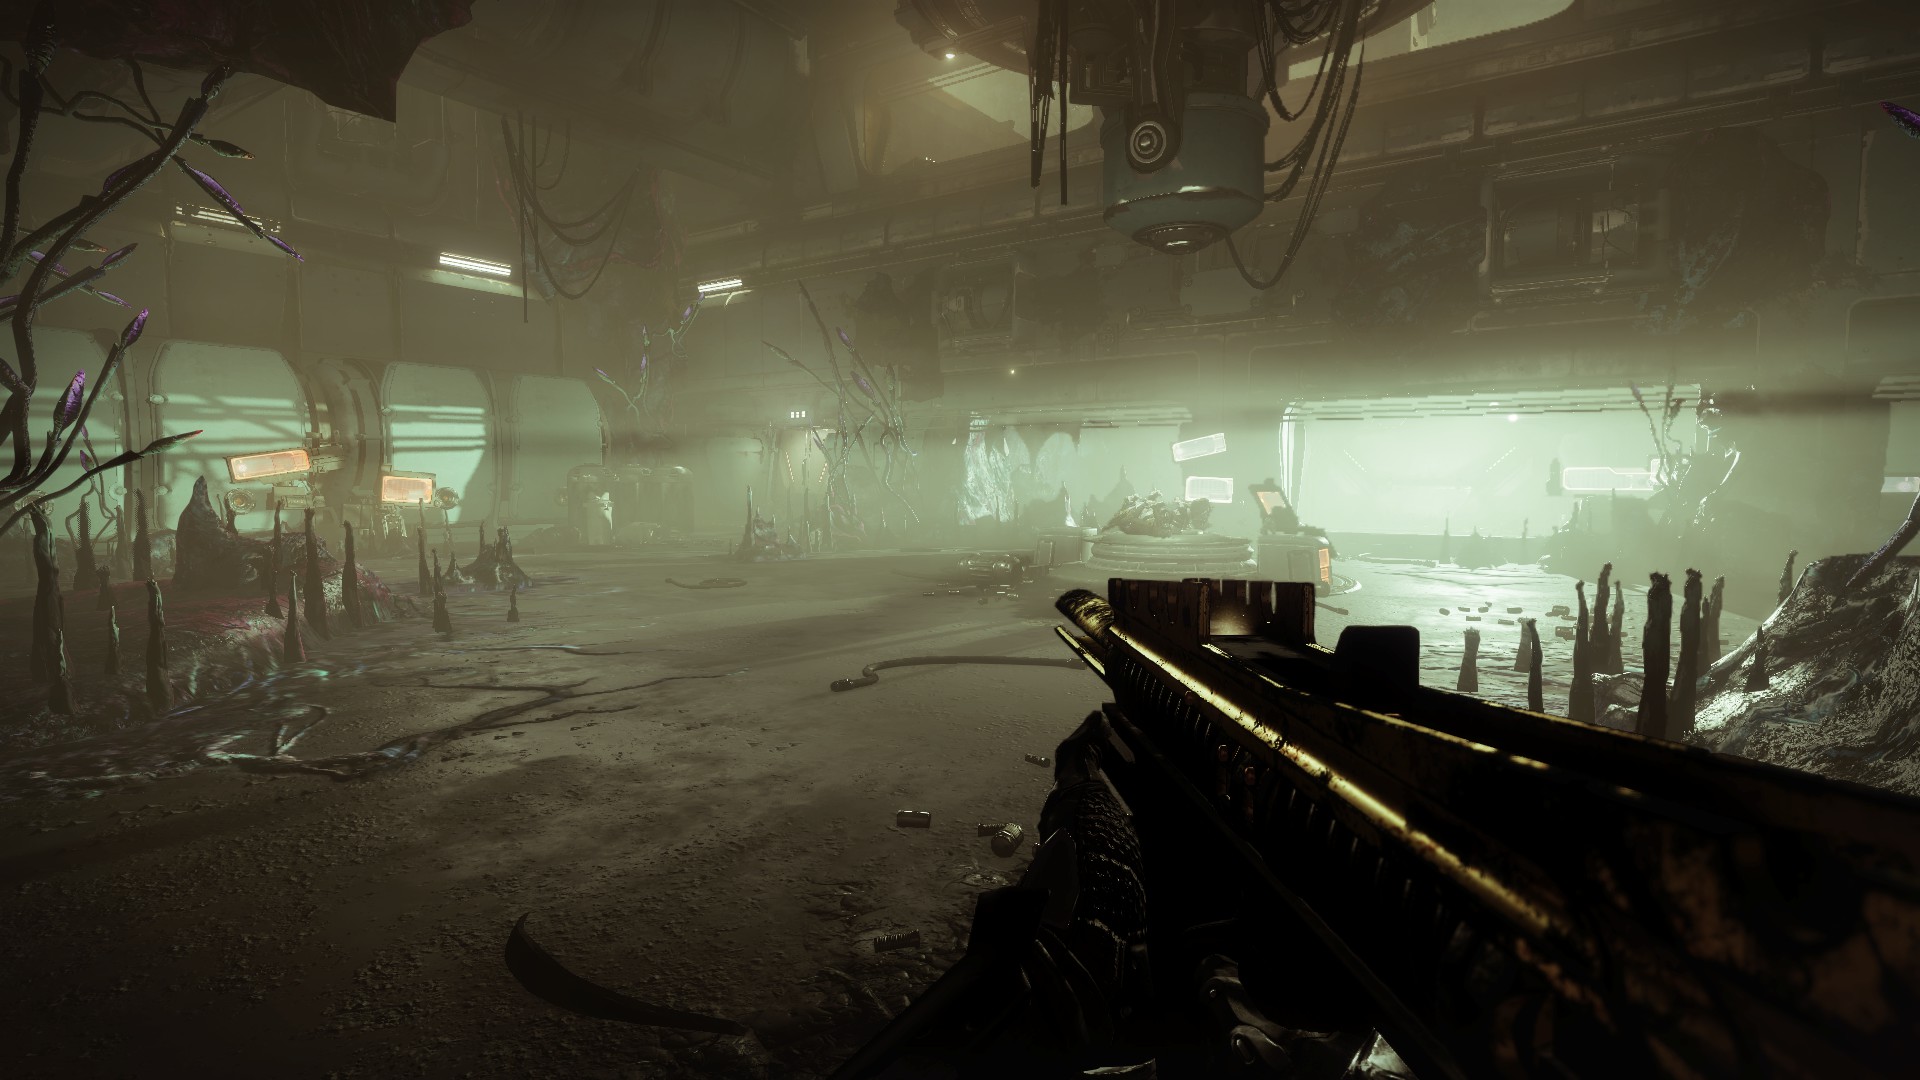
Head through the door and around the green-lit hallway. Fall through yet another hatch in the floor until you reach the green room with the dead Scorn in the middle.
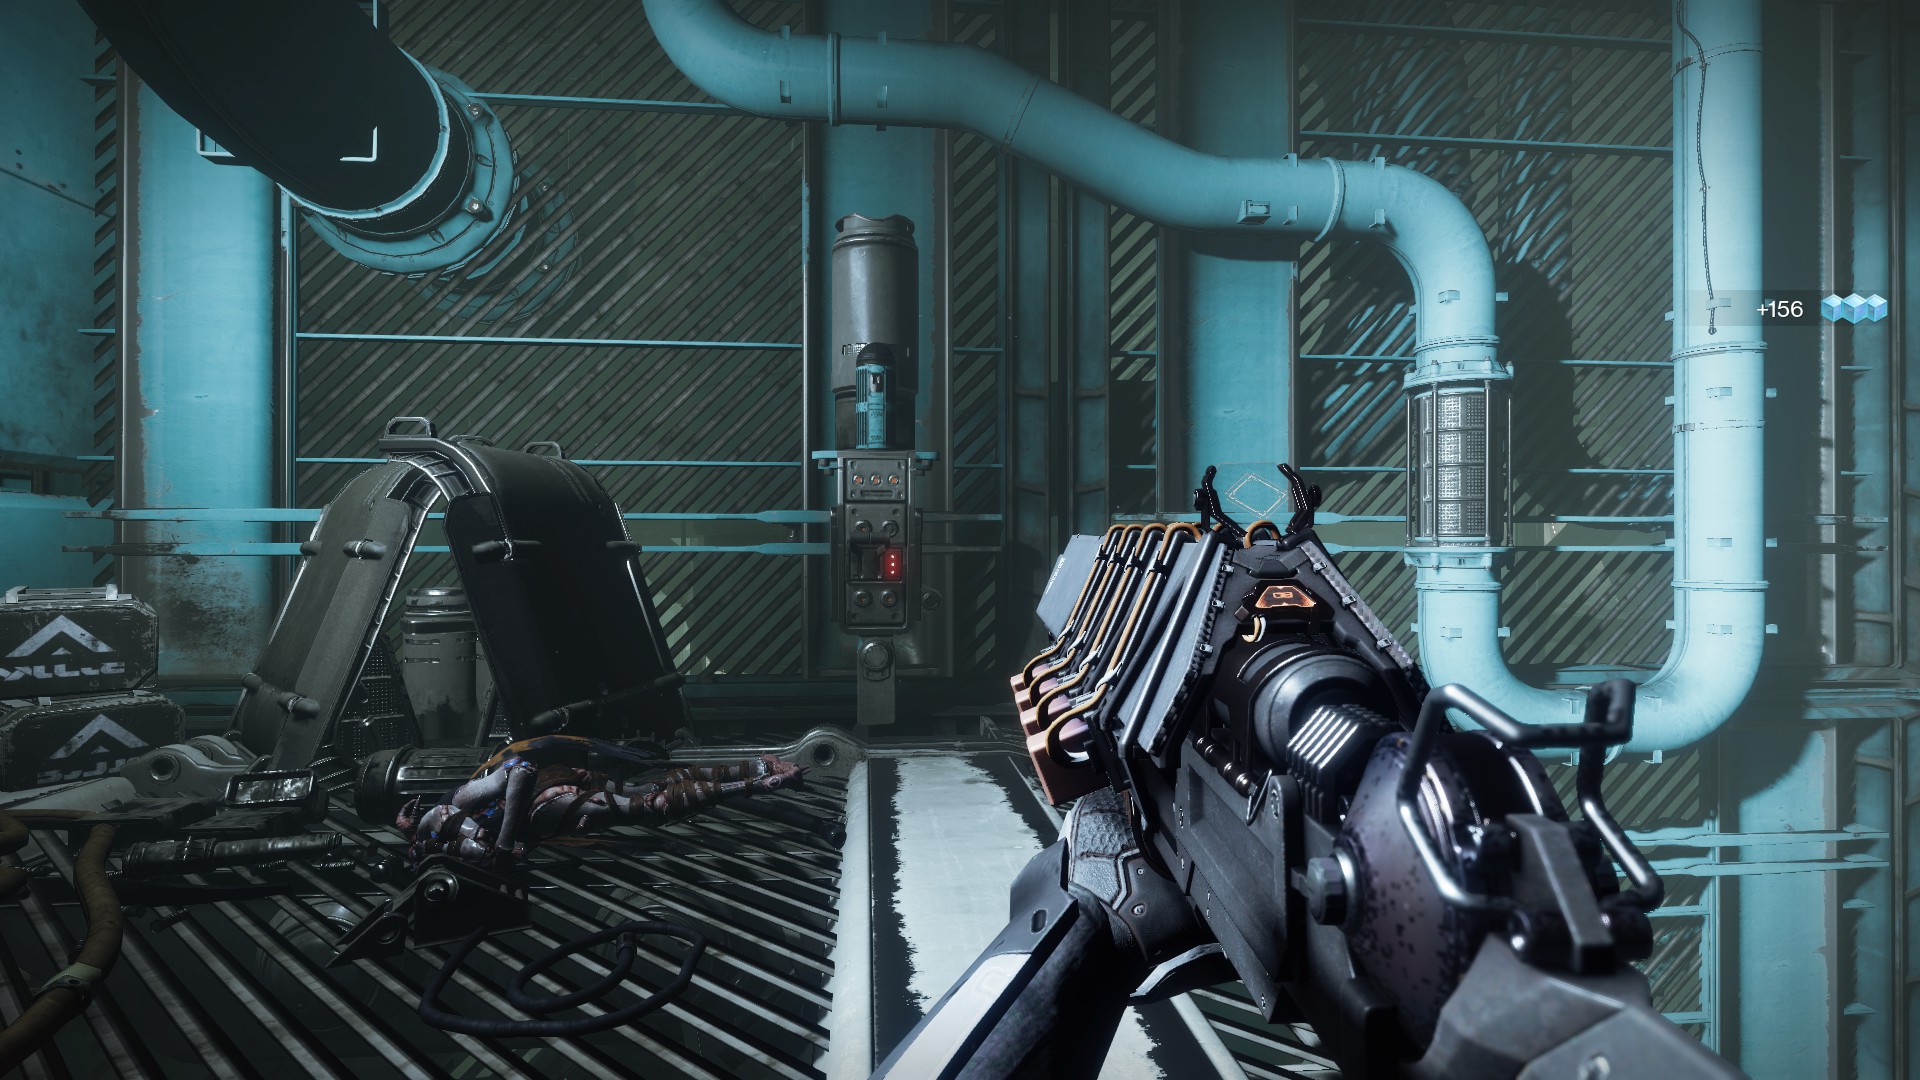
Turn left, and you’ll see another switch that, when flipped, will open the door to spores. Pick them up and head across the room to the door. Beyond it is a Darkness mist barrier. Go through that as well.
At the far end of the room you reach will be another switch. Flip it to open the door to a circuit.
Breaking that circuit will turn off the electric wall above the switch, but you’ll have to shoot from across the room, as the wall will only be off for a short time. Jump into the chamber behind the electric wall and flip both switches. The first will open the way to more spores; the second will let you back down.
Head to the spores, pick them up, and go to the mist gate at the back of the room around the corner.
The room behind the mist will have some enemies to kill. There is another switch to flip at the back of the room. Do so.
That switch opens the door on the lower level of the room, but you’ll need to get through a turret first.
The little room with the turret has another circuit to break. Do so, and you’ll open another set of spores. Pick those up and head through the hole in the floor at the far end of the room near the switch.
You’ll drop into a maze, but the actual solution to progress goes through the double grate to the spores’ light and the double grates across from the spores.
Eventually, you’ll run into an intersection where more Screebs spawn. Take the left hallway to find the Darkness mist door. You’ll have more than enough time to make it through.
Past this door, you’ll find yourself back in the lab with the Scorn corpse. Go through the now open door to your left and through the Darkness mist.
You’ll enter a room with two orange-bar Abominations and some other Scorn enemies. Kill them and proceed to find another mist door. Look for another switch nearby surrounded by Darkness goop.
Flipping the switch will open a circuit door back towards the room entrance, hiding behind a set of pipes.
Break the circuit to unlock the door to more Spores. Head beyond the Darkness mist and into the penultimate chamber.
Prepare for more doubling back here. Make your way across the rotating platforms, watching out for the Scorn snipers on your path. At the end of the jumping section will be a locked door and a switch. Flip the latter.
Activating the switch opens a circuit in the middle of the platforming section. Head over and shoot it.
Breaking this circuit will open the door to another Darkness mist, so go back to the area’s entrance to load up on spores. The middle mist leads to more spores, which will take you out of this platforming challenge.
Beyond the final mist door, you’ll see a spot for a Raid banner. Plant it and prepare for a boss fight.
How to Defeat the Locus of Communion
There are three phases to the Presage mission boss, known as Locus of Communion.
The battle will start in the upper portion of the arena, but after taking about 20% of his first health bar, Locus will teleport away. Enemies will spawn. Clear them until only a few remain, and move to the terminals at either end of the room. The red lights above them will start to flash when they’re ready to be activated.
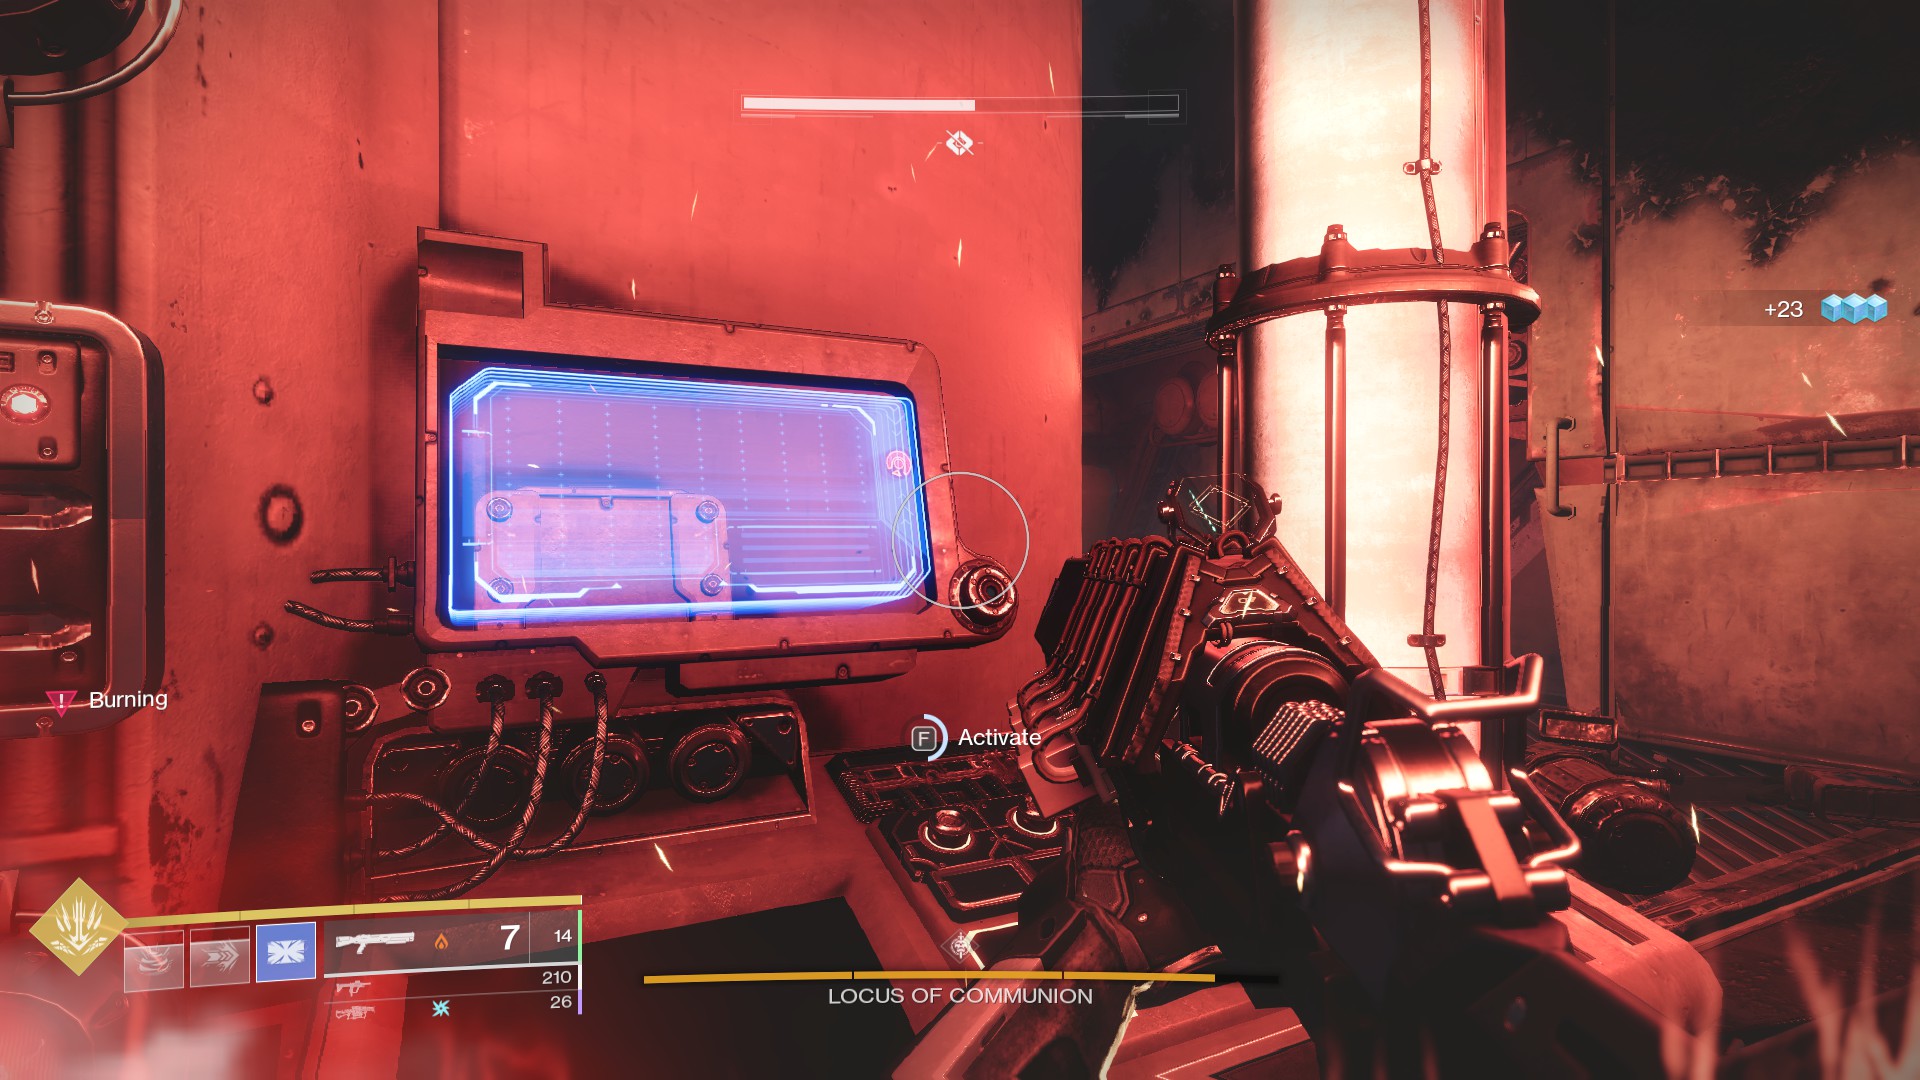
Once activated, you’ll see a message about Coolant Flush Initiated. Trouble is, you need three terminals, not two. The third is in the red room in the middle.
Going inside will damage you over time, so unless you have a Warlock’s healing rift, you need to get in and out fast.
Once you’ve completed all three Coolant Flushes, you can go down into the lower area and deal damage to the boss.
Get the boss to one-third health and the lower room will begin to heat back up. You’ll have a few seconds to escape and deal with the new wave of enemies up top.
Repeat the process two more times, and you’ll have completed the final encounter. A door will open at the back left corner of the top room (relative to where you first came in), leading to the final chamber with more lore and the unlock condition for Dead Man’s Tale.
There’s some juicy lore associated with the last room of the mission, so I won’t spoil it here.
And that’s how you complete the Voices From the Other Side Exotic Quest and Presage mission to get Dead Man’s Tale. Be aware that your first Exotic Scout will not have random perks, but rerunning the mission will reward one with random perks and a separate pinnacle-power drop. As of right now, it seems you can only receive one random Dead Man’s Tale per week, per account, so don’t expect to have a Vault full of them anytime soon.















Published: Feb 19, 2021 12:05 am