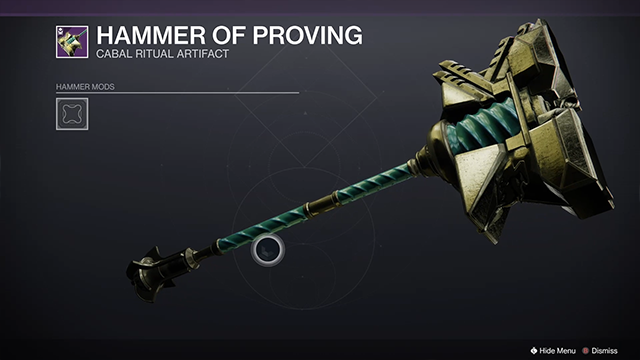
Destiny 2 Season of the Chosen has arrived, and with it, a new object called The Hammer of Proving. This is a key item for the new Battleground events introduced this season, and it increases the amount of loot you can receive. It’s also key to focusing Umbral Engrams, giving you a measure of control over what weapons and armor your guardian receives.
Here is our guide on how to get it, and how to use it for maximum benefit.
How to Get the Hammer of Proving
The process of getting this new item begins as soon as you boot up Destiny 2 for the first time following the Season of the Chosen update.
First, you will need to complete the quest A Challenger Rises, which you can read about in our Seasonal Artifact Guide. Once that is done, you will receive the quest called Challengers Proving from Zavala at the War Table in H.E.L.M.
Completing Challengers Proving
Step one of this quest is easy. You will listen to a conversation between Osiris and Crow, who appear next to you. Next, you will head over to the Umbral Decoder across the room and complete a quick tutorial, walking you through the process of focusing umbral engrams.
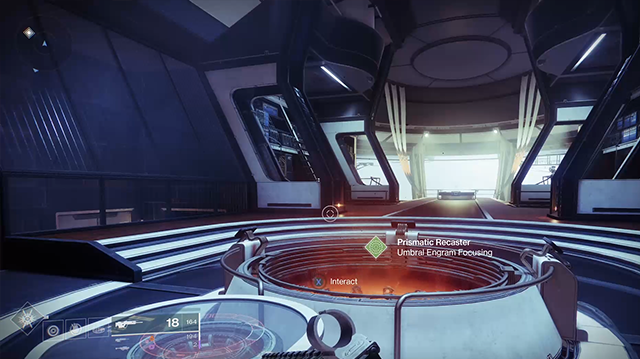
Finally, Zavala will send you to Europa to complete Battleground: Hailstone.
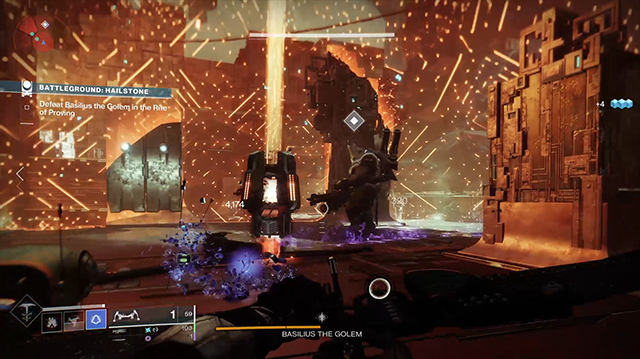
This Battleground is simple, defeat waves of enemies until they spawn explosive orbs. Use the explosive orbs to destroy three generators to progress. Then, kill all the enemies that spawn in the subsequent areas until you reach the final room.
Near the entrance of the final room, you will see a pillar with a hologram and a button prompt to “Begin the Rite of Proving.” Activate that to fight Basilius the Golem, a towering Cabal colossus, and the boss of this Battleground.
How to Beat Basilius the Golem
The boss fight is pretty straightforward. Do damage to Basilius until his health bar loses its first segment. Adds will spawn, as will a champion. Defeating those enemies removes the boss’s shield. Repeat until Basilius collapses in a heap of space rhinoceros.
Head back to H.E.L.M to claim your prize.
Charging and Using It
Instead of an actual, wieldable item, this is a key for loot.
First, you need to collect Cabal gold by completing missions around the solar system. This “currency” can be acquired by completing any of these activities:
- Crucible
- Gambit
- Dungeons
- Nightmare Hunts
- Public Events
- Strikes
How to Equip the Hammer
Destiny 2 advises that you need to equip your new chest-smasher. This can be a bit confusing, as it does not exist in your inventory, and isn’t actually equipable.
Instead:
- Go into the quest screen and find the item
- Open the details page
- Apply an Etched Challenger Medallion for 14 Cabal gold to ready it for use
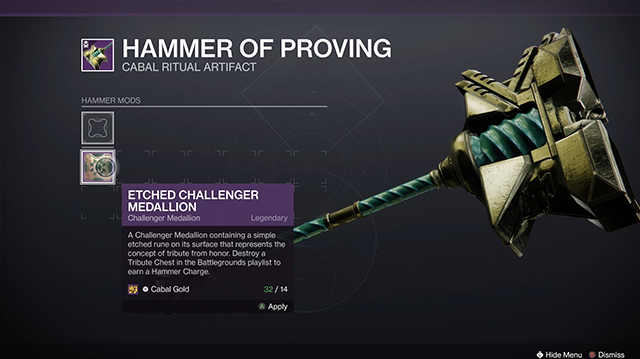
Now go to Battlegrounds.
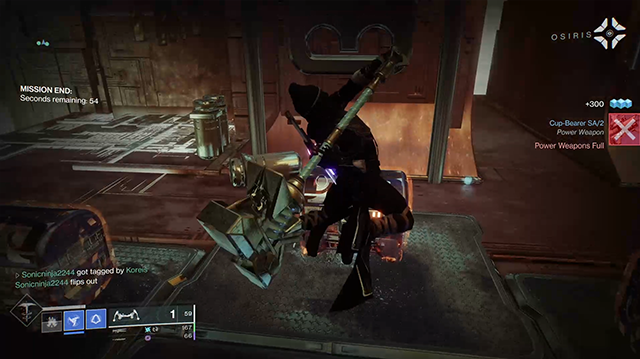
The hammer is used to smash open special Tribute Chests after defeating Battleground Bosses. You can access either Battleground directly from the maps, though only the Battleground option in the Vanguard Playlist will have Tribute Chests at the end, so make sure to start the mission from there.
Complete the Battleground as usual. Once your clear the boss, three Tribute Chests will spawn. You and any fireteam members with a readied hammer choose your favorite (separate) chest. Now smash!
Shattering the chests will reward you with additional loot, and load one “charge” into the hammer.
What are Charges?
Charges are used by the Prismatic Recaster in the H.E.L.M. to focus Umbral Engrams, allowing you some measure of control over what sort of loot you receive when the Umbral Engrams are decoded.
What are Tiers?
Initially you can do Tier I focusing, which consumes one charge and lets you control whether you receive armor or weapons from the engram. Tier II focusing allows you to specify what weapon or armor category you want, but will cost more charges. Tier III focusing gives you control over some of the perks and stats of the weapons and armor, and it requires the most charges.
How to Upgrade It
Having enough charges to activate those latter tiers will require some upgrades. These are acquired through the war table at H.E.L.M.
Completing weekly challenges increases war table XP, which allows you to activate upgrade nodes on the hammer. These range from increased chances for umbral engram to drop and more opportunities to acquire cabal gold, to increasing the number of charges your loot mallet can hold, which is necessary for high-tier focusing.
You will only be able to complete a few upgrades per week, so expect that it will take most of the season if you want to unlock every upgrade node.
There you have it. Acquire your hammer, and smash your way to some spoils. Then upgrade it, and focus those umbral engrams for your ideal loot. For more tip and tricks, be sure to check out the rest of our Destiny 2 guides.






Published: Feb 13, 2021 03:55 pm