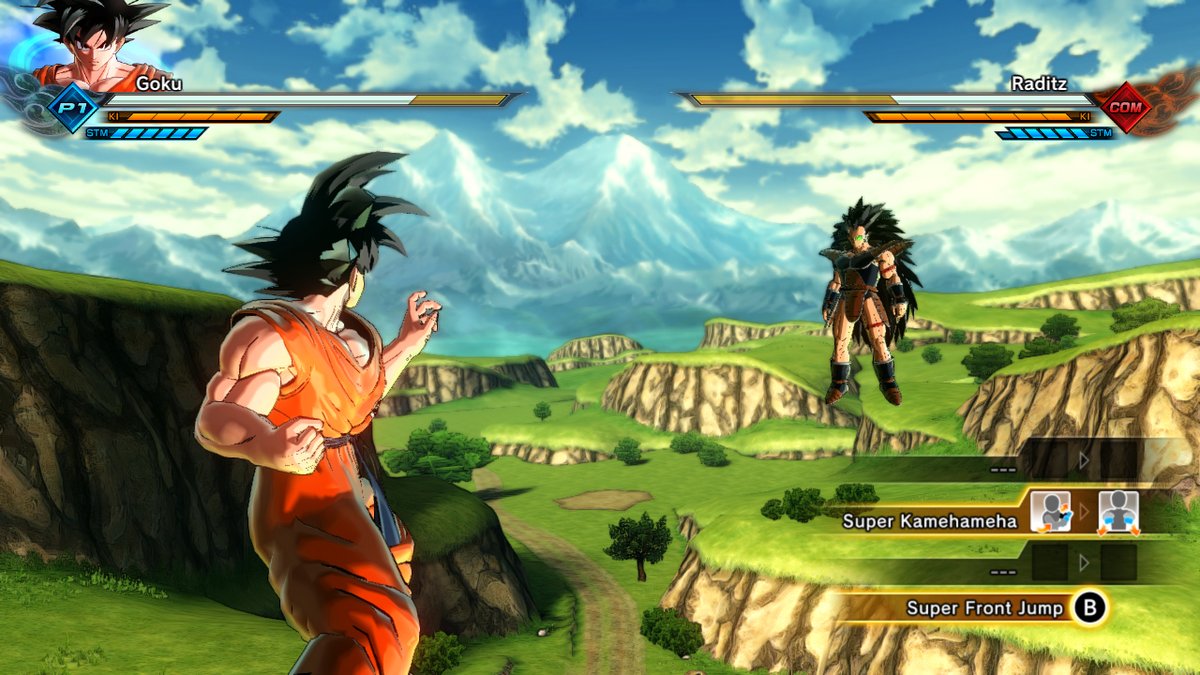
Dragon Ball Xenoverse 2 for Nintendo Switch comes with the option to use Motion Controls in battle. Using the Joy-Cons that come with the console, you have the option to mimic the motions of the move you want to use by following on-screen Motion Icons.
Motion Icons do a decent job of illustrating the movement you’re supposed to follow, but without specific instructions, many of the moves are difficult to execute, and you’re left flailing your arms in a desperate attempt to get anything to work. Following this guide, you’ll be able to execute Motion Controls far more accurately than ever before.
How to Execute Skills with Motion Controls in Dragon Ball Xenoverse 2 for Nintendo Switch
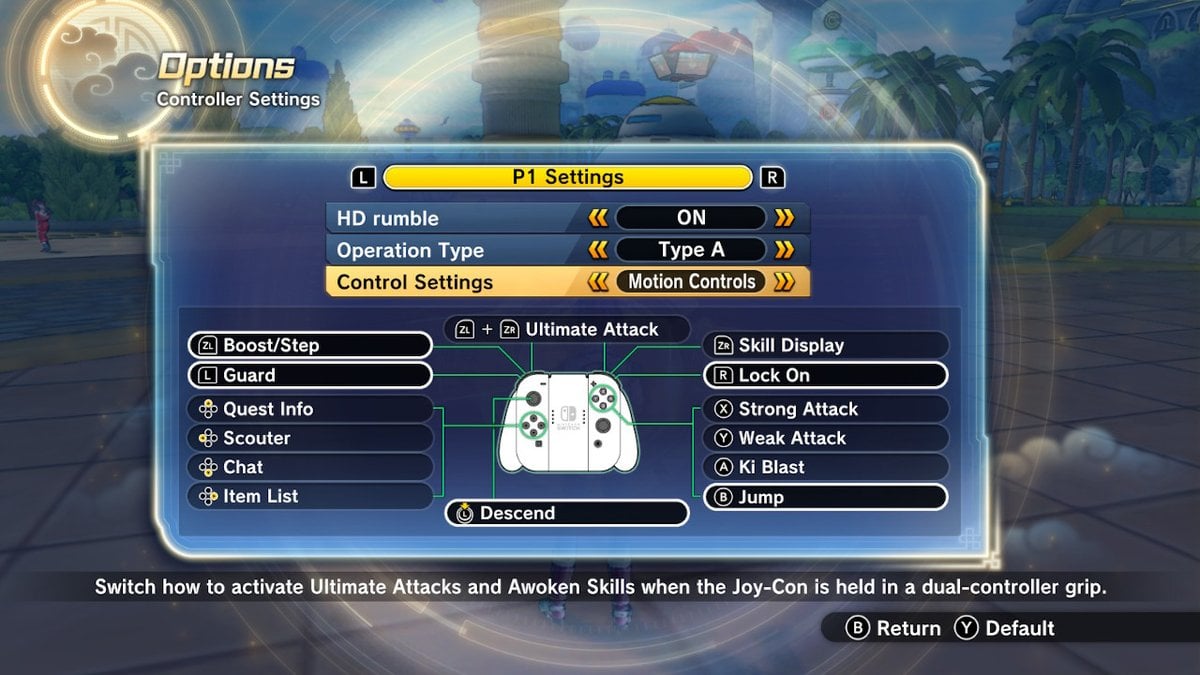
If you want to use Motion Controls, they must first be turned on under Controller Settings in the Options menu. Hop into battle with Motion Controls activated and you’ll quickly notice that it’s not actually much different than Xenoverse 2‘s Button Controls. That’s because bread and butter moves are still mapped to buttons — the only things that require actual Motion Controls are Ultimate Attacks and Awoken Skills.
Rather than an Ultimate Attack or Awoken Skill activating as soon as you press their button combinations, you’ll have to hold the move’s associated buttons and follow the movement illustrated in its Motion Icons in order to execute the skill. There are seven main types of Motion Icons that are split up into variations that utilize both the left and right Joy-Cons.
Motion Icons and What They Mean

- Pull back arms to where your hands are near your waist.

- Bring fists up to your upper chest and shoulder area, crossing them.

- Stretch out your arms.

- Push your arms forward.
- Note that you may need to put some force behind this motion to get it to work.

- Raise your arms skyward.

- Lower arms straight down to where your hands are around your lower hip and upper thigh area.

- Hold both hands by your hip.
Note that all Motion Icons found in the game are mirrored to make moves easier to illustrate. This means you need only mimic the Motion Icon as if you were looking through a mirror, that way you don’t have to actually flip your rights and lefts before performing a move.
If you’re having trouble pulling off the moves detailed in the Motion Icons, try to be a bit more visceral about your movements. Exaggerate everything and be sure to play around with the force required to trigger the skill.
That’s not all there is to Xenoverse‘s motion controls, however.
Driving Your Vehicle with Motion Controls
After your very first mission, you’ll be gifted a vehicle. As it turns out, this vehicle can also be driven with Motion Controls — if imprecisely.
With Motion Controls enabled, pull out your vehicle and push your left arm forward to accelerate. Rotate the Joy-Con to the left or right in order to turn your vehicle in 45-degree increments. Pulling back on the Joy-Con will execute a 180-degree flip, and returning it to the resting position should stop your vehicle.
Compared to the Motion Icons, I found driving your vehicle with Motion Controls to be far more imprecise. However, it’s still good for a bit of fun when you just want to mess around in the HUB town.
—
Ultimately, the Motion Controls found here are little more than a novelty. They certainly add to the flavor of the experience, especially while brawling your way through the main story mode, but that’s about it.
Whether you’re looking to find out more about Nintendo Switch exclusive features or simply want to learn how to build your character, be sure check out the rest of our Dragon Ball Xenoverse 2 guides.





Published: Oct 12, 2017 04:36 pm