Running a resistance against an entrenched and heavily armed cult requires some backup, and a lone wolf won’t make it far in Far Cry 5. That’s why Fangs for Hire, such as Boomer, Cheeseburger, and Peaches are so important.
Sure, you can recruit Guns for Hire from the Montana citizens sick of being picked on by an apocalyptic group of extremists, but it’s really the dog, bear, and cougar that provide the most fun — and useful — companion options.
Below we cover all the Far Cry 5 animal and Fangs for Hire locations, as well as everything you need to know to recruit adorable puppy Boomer, stealthy cougar Peaches, and the big old tank of a bear Cheeseburger.
Where Find and How to Complete Far Cry 5 Fangs for Hire Quests
Boomer (The Dog)
Location: Holland Valley — Rae-Rae’s Pumpkin Farm
Having Boomer as your companion is helpful because he marks enemy and animal locations without having to use your binoculars, and he will also fetch weapons to bring to you.
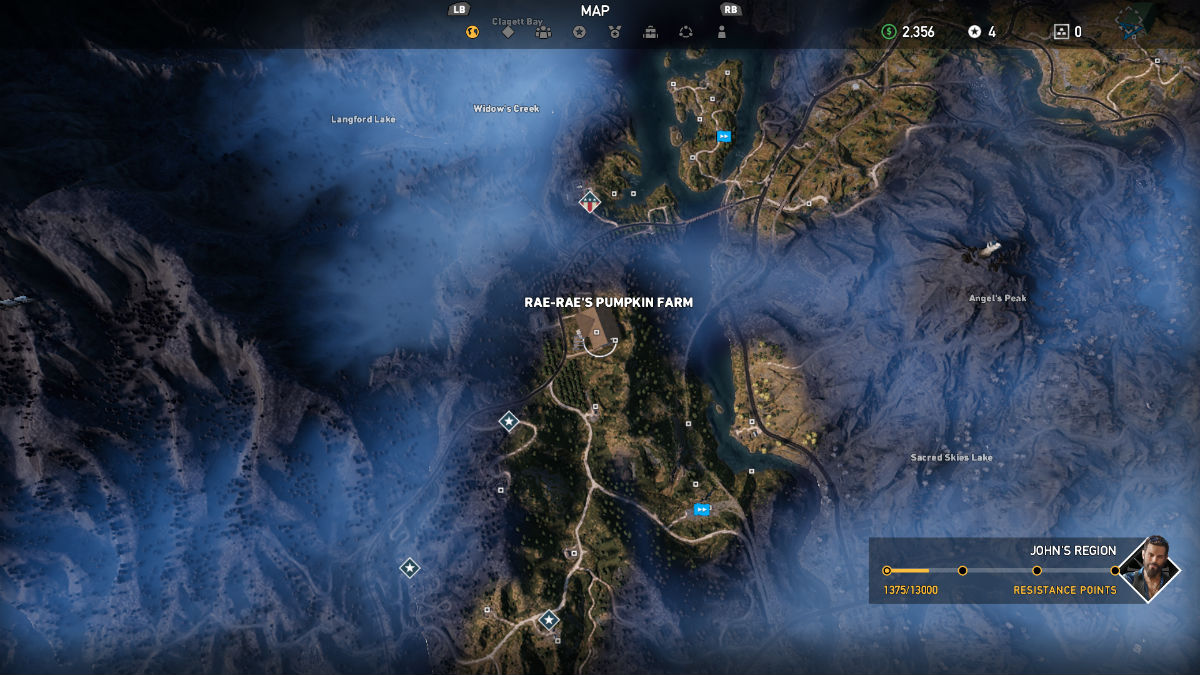 Boomer’s Location in John’s region
Boomer is the easiest of the three Fangs to unlock. Just travel to the Pumpkin Farm (southwest of the starting island and on the way to the first main quest area in John’s region) and kill the cultists standing around this area.
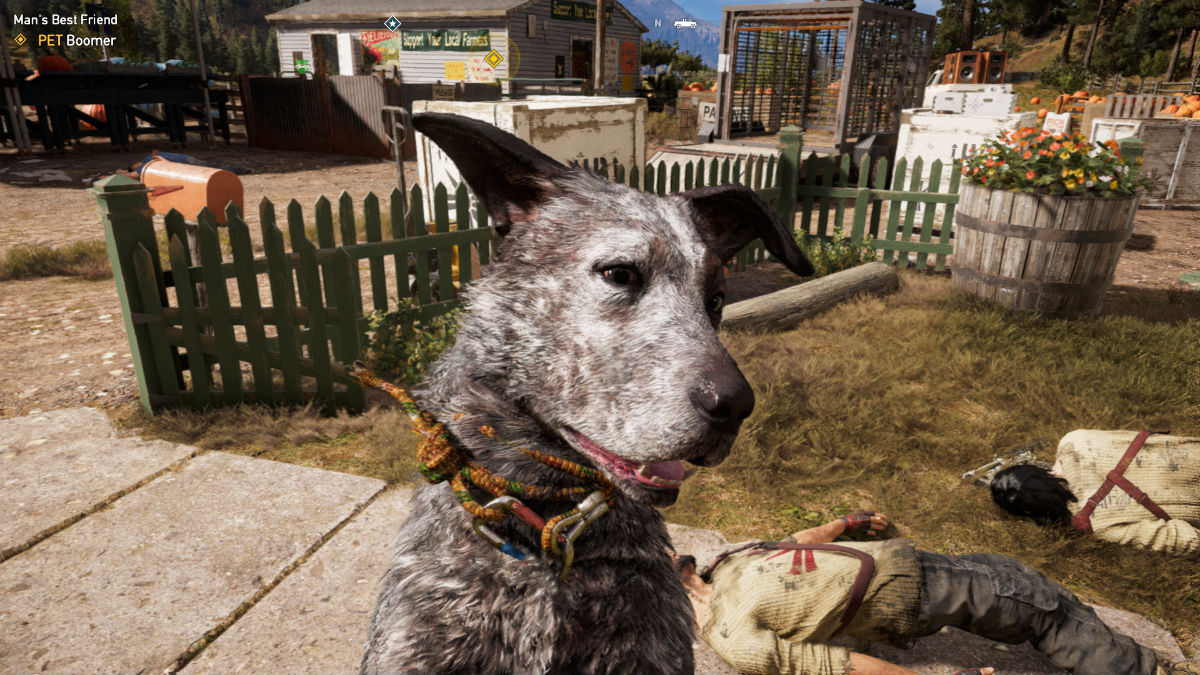
You should find Boomer locked in a trailer on the dirt road. Use a melee attack against the front of the trailer to set him free, then follow Boomer to his dead masters and pet him.
Highlight the dog and hold the interact/loot button (X on Xbox One, square button on PS4, “E” on PC) to initiate the petting animation — this part can be kinda tricky if there are dead enemies or weapons lying in that area, as it will frequently highlight other things instead of Boomer. But once you pet him, this Fang for Hire will now be available from the hire screen of the Roster menu.
Peaches (The Cougar)
Location: Henbane River — Peaches Taxidermy
While Peaches won’t tag enemies for you like Boomer, the cougar stealth kills enemies and will stay hidden while stalking through tall grass.
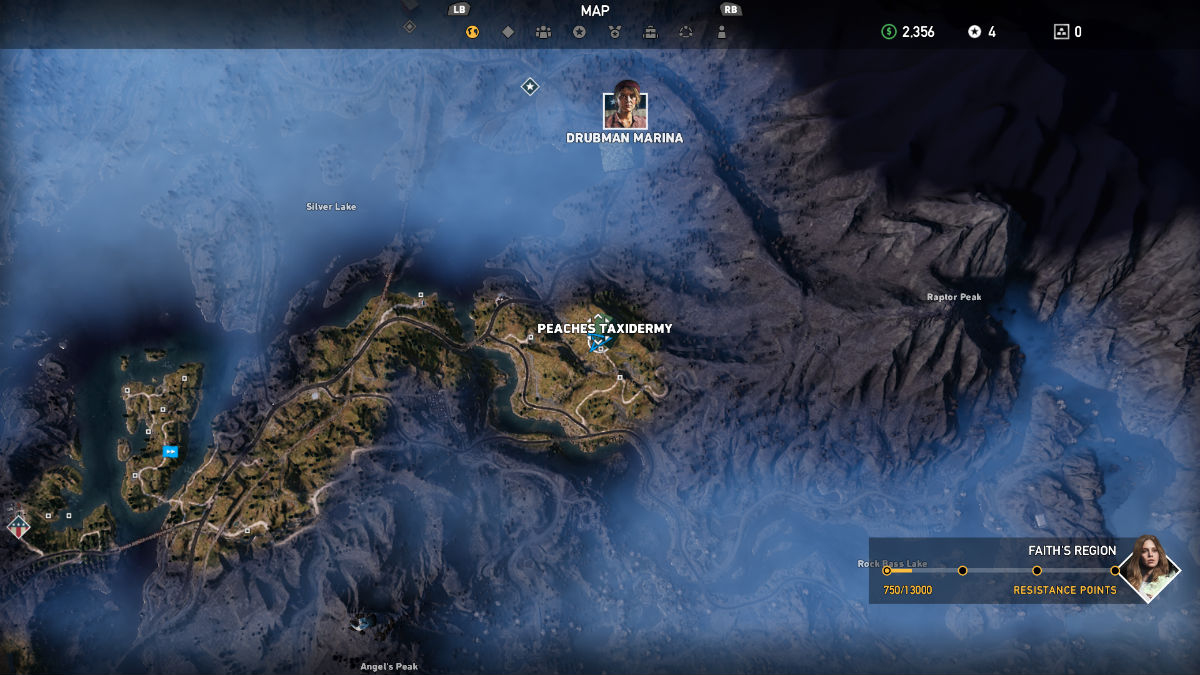 Peaches’ Location in Faith’s region
Head over to Peaches Taxidermy in Faith’s region to start this quest. However, unlike with Boomer, there are no enemies in this area of the Henbane River, so you can just drive in with a vehicle and not have to worry about scouting cultists first.
Talk to the taxidermist, who reveals that Peaches got out and has been busy killing cultists (and vacationing hippies).
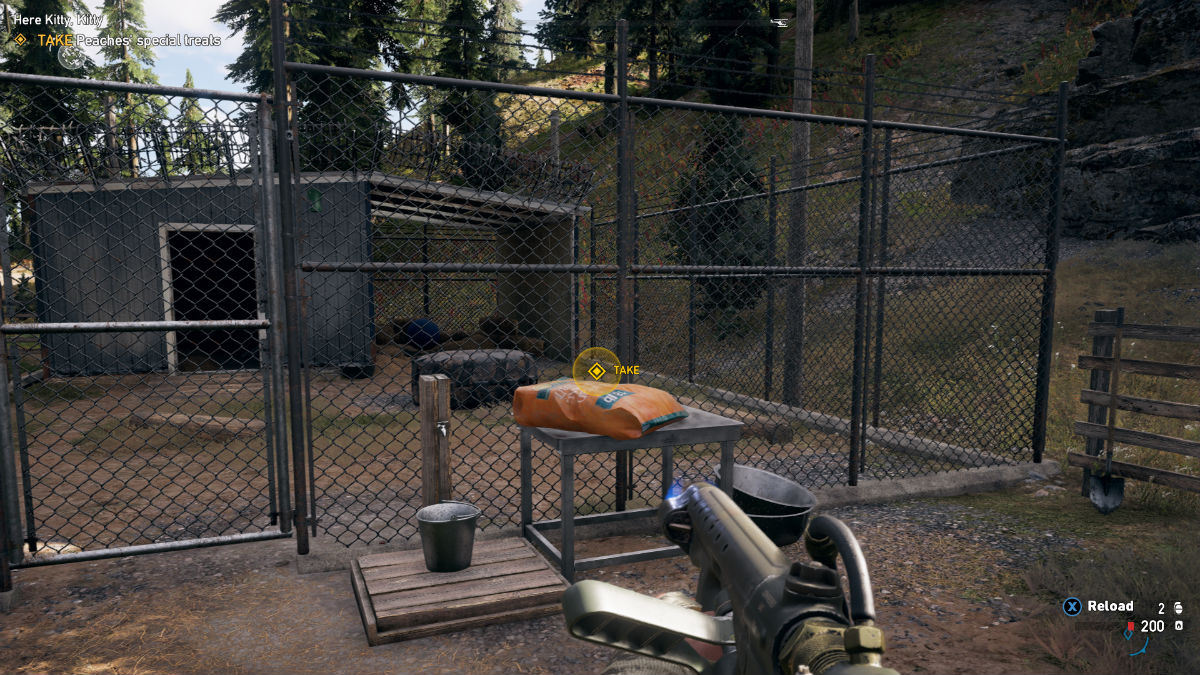
Grab the bag of treats sitting in front of the fence outside, and then follow the quest marker to the grove where Peaches is fighting a bunch of cultists.
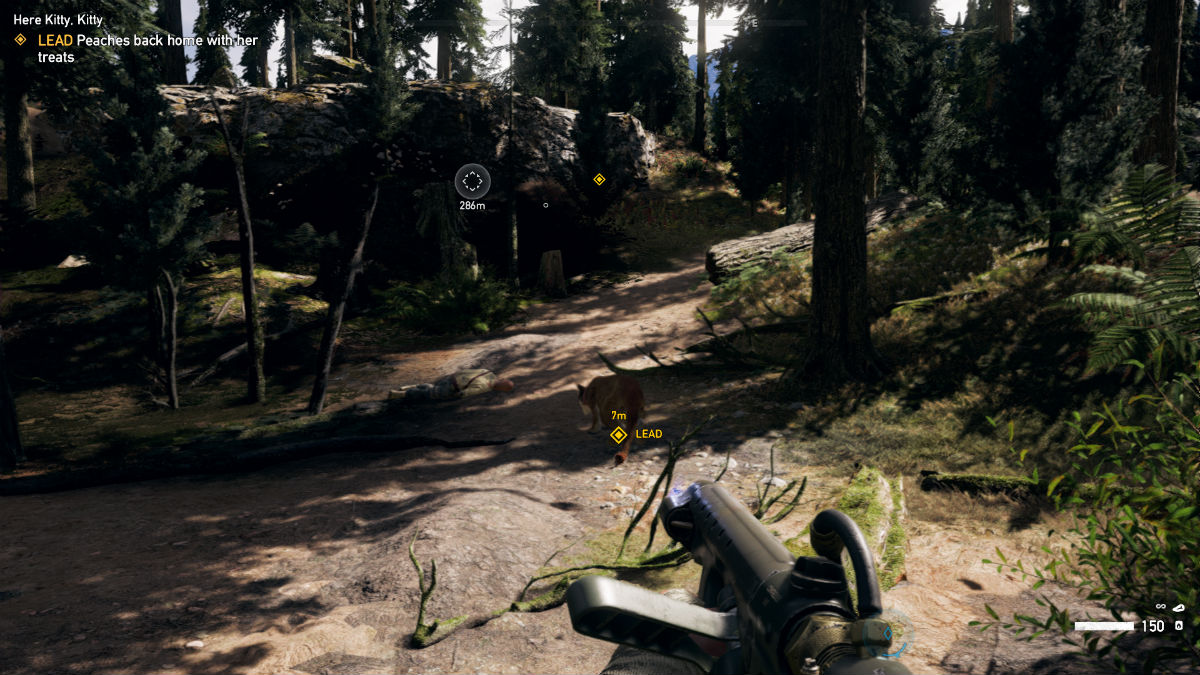
After the battle, throw treats in front of you as you walk back toward the taxidermy building to get Peaches to follow you.
You can switch to the treats by pulling up the weapon wheel, going to the bottom entry (the one with the throwing knives and bait procured by skinning animals), and using the d-pad to switch over to the third entry.
For the duration of this Fangs for Hire quest, there will be infinite treats in your inventory, so you can’t run out. While leading Peaches back, she seems to run away when combat erupts and doesn’t always follow very well, so you may want to shorten the journey to ensure you actually make it back with the cougar following close behind.
If you turn left just before the cultist enemies waiting on the bridge and go down the hillside, you can rappel down to a small stream if you’ve unlocked the Grapple perk. This makes it a much shorter distance to travel with Peaches — just throw the treat down the cliffside before rappelling down, and you can then sneak around the back of the building to attack the cultists from behind.
Kill the cultists looking for the cougar (make sure to revive Peaches if she was injured in the battle), and then throw a treat inside her fenced-off pen area. Finally, just talk to the taxidermist one last time to unlock Peaches as your second fang for hire!
Note: If you have a repair torch, remote explosives, or the lockpicking skill, you can also break into a safe here in the main building.
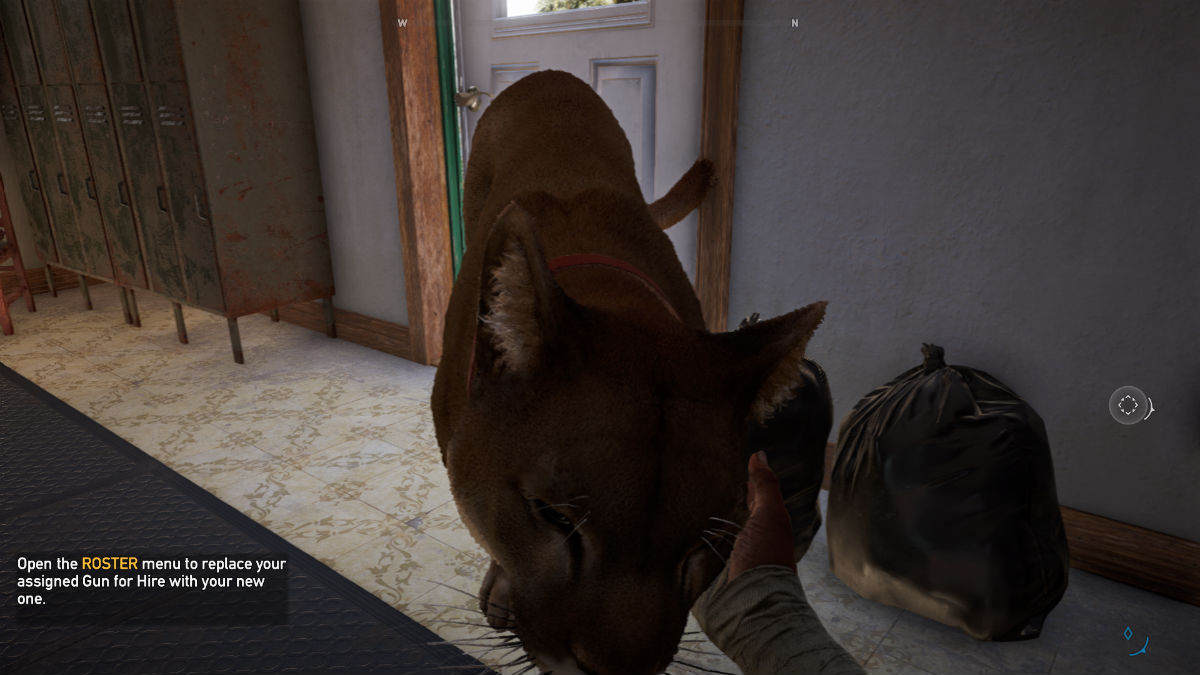 Petting Peaches after completing the quest
Cheeseburger (The Bear)
Location: Whitetail Mountains — F.A.N.G. Center
This big, furry bear companion draws fire away from you in combat and also attacks more often than Peaches or Boomer.
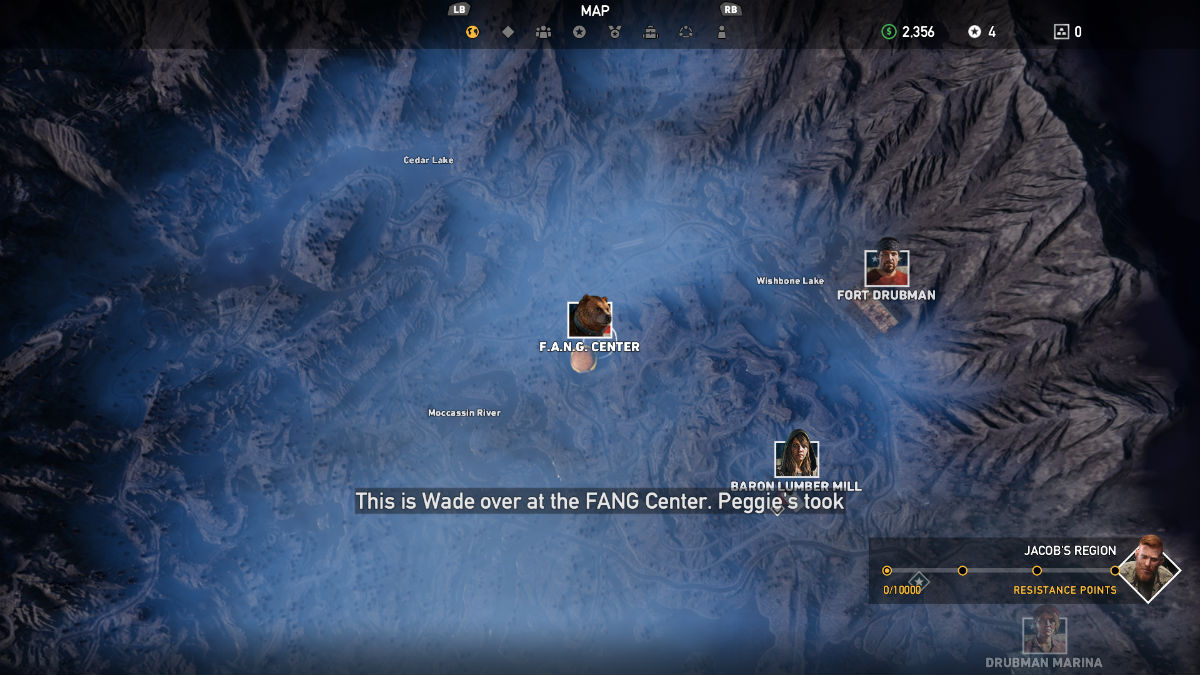 Cheeseburger’s Location in Jacob’s region
To find Cheeseburger, head to the F.A.N.G. Center in Jacob’s region. It’s an enemy outpost swarming with enemies that can call in reinforcements, so be careful!
If you made a beeline straight here to get Cheeseburger immediately after the tutorial mission, you are likely going to die repeatedly, as this is one of the harder outposts to take over.
The enemies consist of the Bliss zombies and cultists outfitted in riot gear (both of which require sustained gunfire to take down) as well as a bunch of the Judges (giant wolves). Your best bet is to stay in stealth and perform quiet takedowns as long as you can while trying to disable the alarms before getting noticed.
To make things at the F.A.N.G. Center easier, climb up the hill where the giant animal mascot can be seen, and then pull out your binoculars to tag all the enemies and wolves. From there, zipline down to the roof and perform a stealth takedown on the guard. Move silently through the camp, killing the human cultists with takedowns, throwing knives or using your bow.
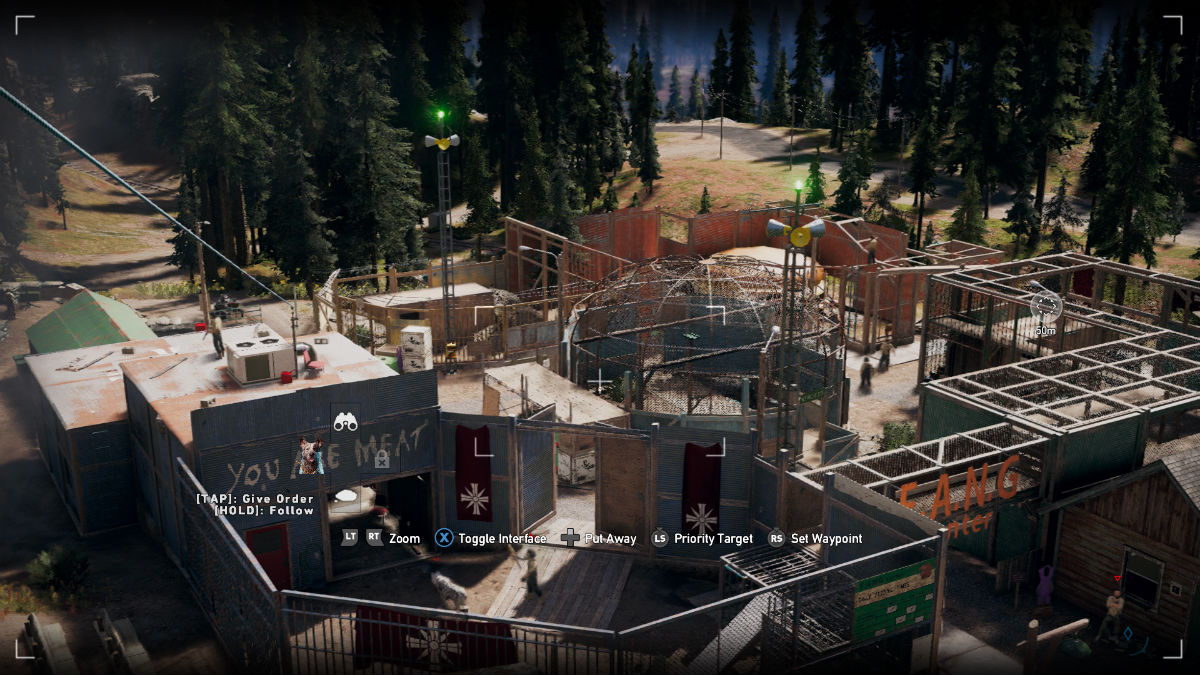 Scouting the F.A.N.G. Center before beginning the assault
Eventually, the wolves will sniff you out, however, and things will get frenzied. I recommend placing some remote explosives at the entrance to a building before this happens and then luring them in to all be taken out at once (or just throw grenades and molotovs toward the entrance point).
If reinforcements are called, a helicopter will show up, so make sure to grab a rocket launcher off either the cultist V.I.P. or one of the guys running up along the top of the wolf cages.
After liberating the outpost, go find Wade, who takes down the guy crucified on the wall and replaces the body with a flag. He’ll tell you that poor Cheeseburger developed the dia-beet-us from eating too much BBQ, so now he’s on a salmon-only diet.
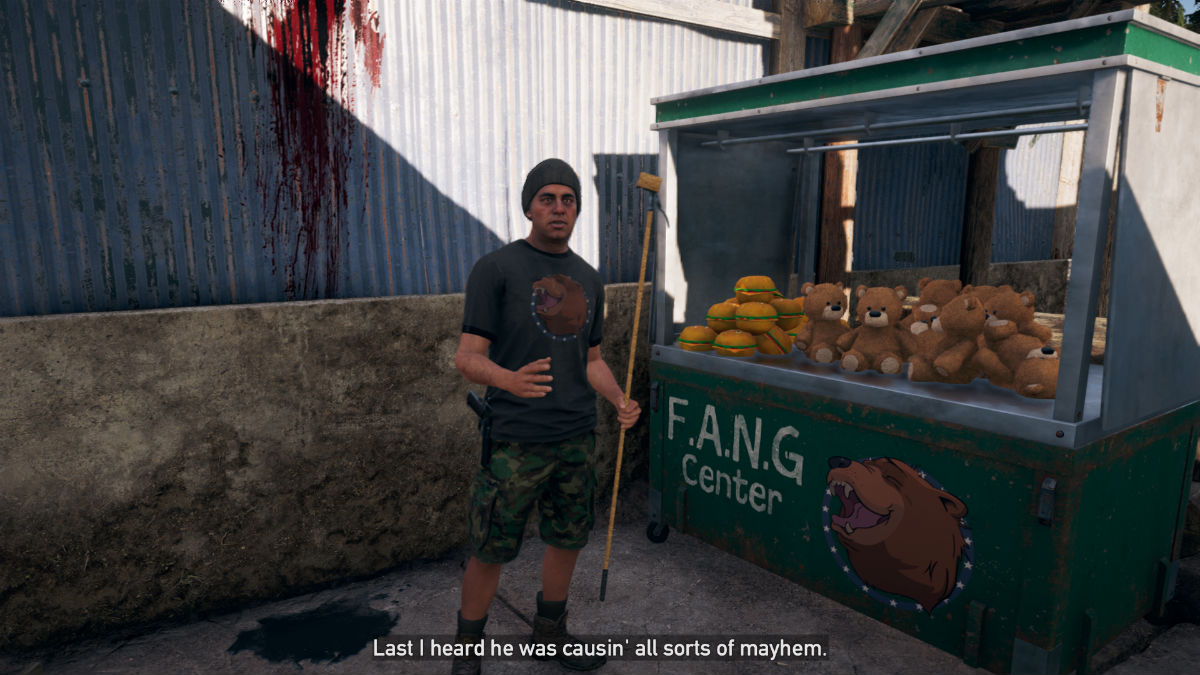 Talking to Wade after liberating the Center
The Fang quest will automatically update with a location of where to find fresh salmon, so don’t worry about searching for a good river spot if you haven’t been fishing before. The fishing access point is right next to a doomsday prepper stash, so watch out for some cultists to be milling around the area.
Fish for some salmon, then follow the quest marker to a junkyard filled with old railway equipment and boxcars. Kill the cultists here and then go all the way to the back of the junkyard to approach Cheeseburger and hand him the salmon you caught.
At this point, several truckloads of cultists will approach from three different directions. You can set up remote explosives ahead of time if you want, or just use a combo of grenades and LMG fire to take them out without too much trouble. Afterward, you’ll finally get your bear companion.
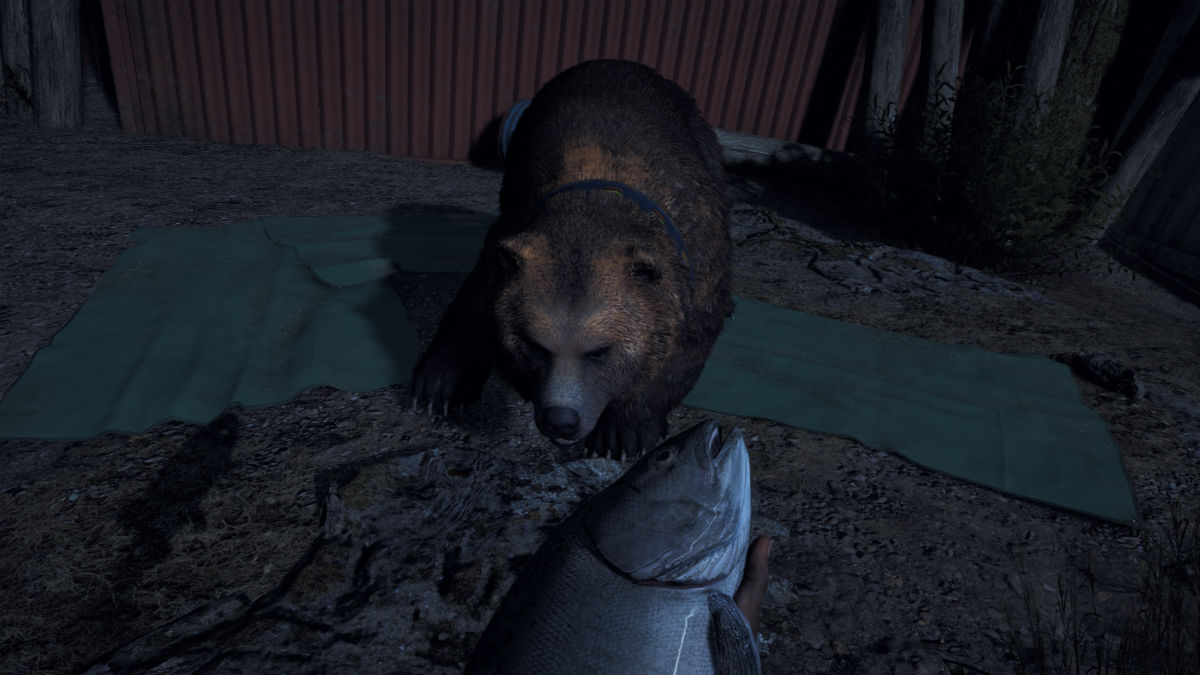 Approaching a wild bear with a fresh-caught salmon sounds like a great idea!
After completing the recruitment quests for each companion, your fang companions can revive you in single-player mode, so tap the “cling to life” button when you go down (A on Xbox One, X on PS4) until they have a chance to run over and help you back up.
Don’t forget that letting your animal companions get kills also unlocks challenges that provide extra points for buying new perks, so don’t always gun down cultists before they have a chance to attack.
That’s all you need to know to get the three Far Cry 5 fangs for hire! Since Boomer, Peaches, and Cheeseburger count as three unique characters, you can also now unlock the Leadership perk for six points, which allows you to use two hirelings (or fanglings) at a time.
Still need help with the rest of the game? Be sure to check out our other Far Cry 5 guides here:
- Best Perks / Skills To Pick
- Complete Comic Book Locations Guide
- Far Cry 5 Secret Alternate Ending Guide





Published: Mar 22, 2018 08:44 pm