Each act in Hello Neighbor tells a different segment of the story, skipping around in time as a boy grows up and bad things happen in the neighbor’s house.
By Act III, you should already have a pretty good idea of the game’s mechanics and what sort of things to look out for in terms of finding new routes or discovering items and keys.
There are a few changes in the formula for this last act, though, and the basic run through is quite similar to the the previous Alpha build with the Dr. Seuss/Willy Wonka-style roller coaster.
Hello Neighbor Act III Guide
Some overlap exists between Hello Neighbor Acts II and III. If you haven’t yet finished the in-between segment taking place in a different time, walk into your house for a cutscene, then grab the green key out of the car trunk to access the neighbor’s house and pick up the phone. With that out of the way, it’s time to get started back on the regular gameplay.
First, grab any small, throwable item (such as the VHS tape in your house) and two boxes. There are again boxes in the closet of your house, or you can find some outside in the neighbor’s yard.
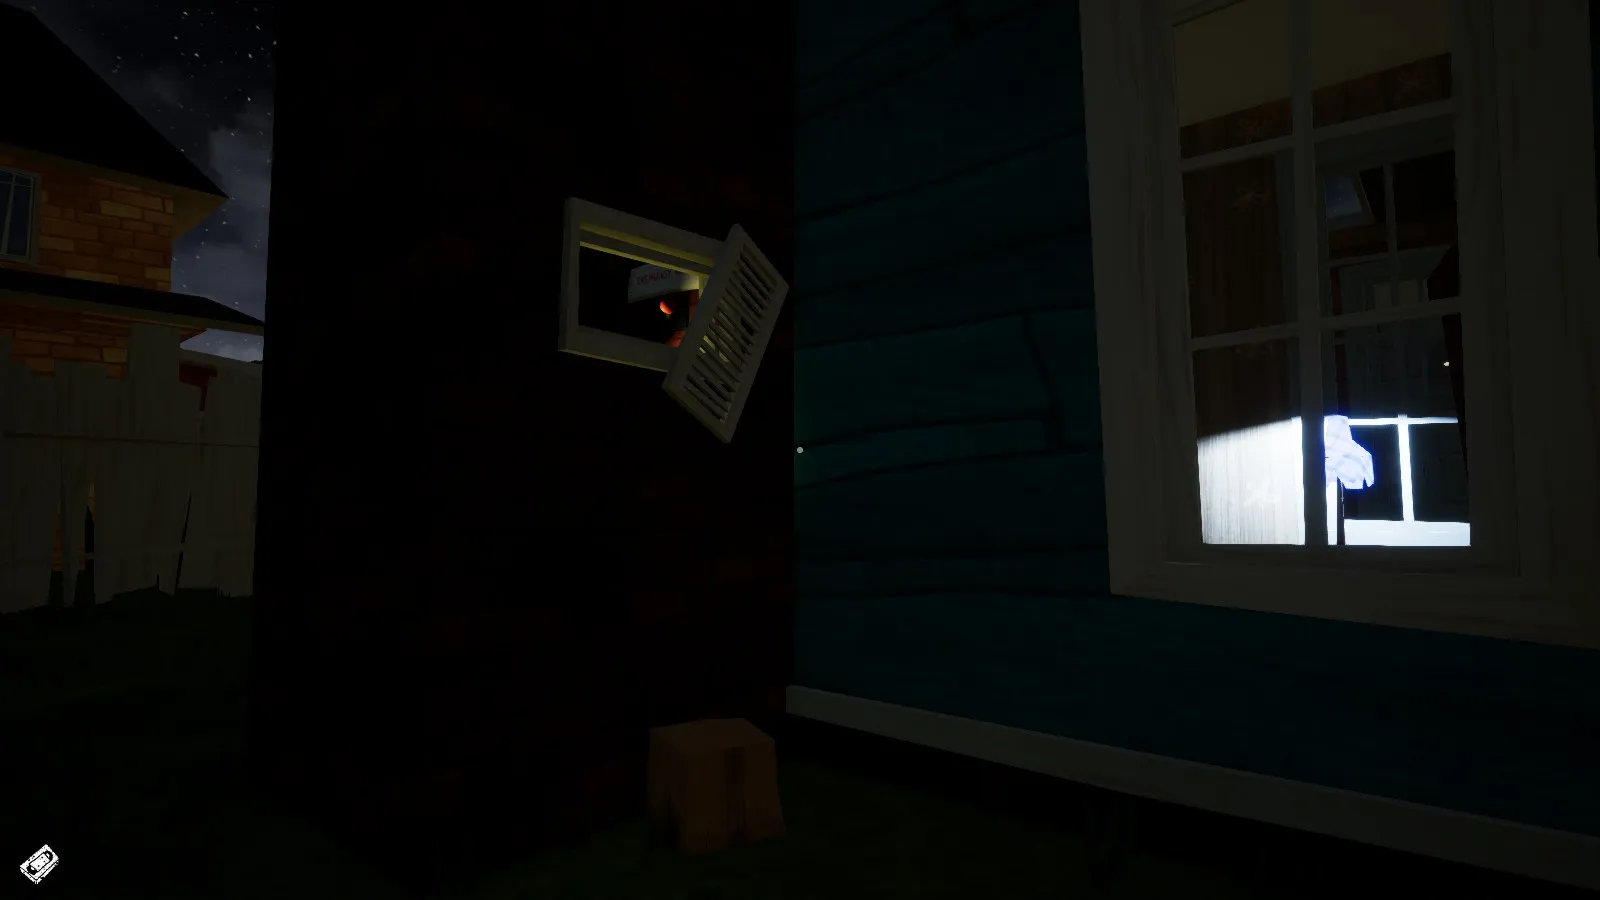
With those items in hand, head around the right side of the neighbor’s house to the back. Throw down the boxes in front of the open grate where a red switch is just barely visible.
Jump on the box tower and throw your item at the switch to flick it over and unlock a door inside the house.
Break the window directly next to you and head inside the house. Immediately turn left and enter the door that was opened by the switch, which leads to several long sets of ladders going up.
Go up the first two ladders to a landing platform, then pull the red switch above the door. Head inside to find the rollercoaster track. We’re not going on this section quite yet, though. Instead, go down the red staircase to your right, and open the door to your left at the bottom of the stairs.
Looking down through the open door, you should see empty space leading to part of the track and a window far across. If you step down onto the track, you should see a hole just in front of the window that you can jump into.
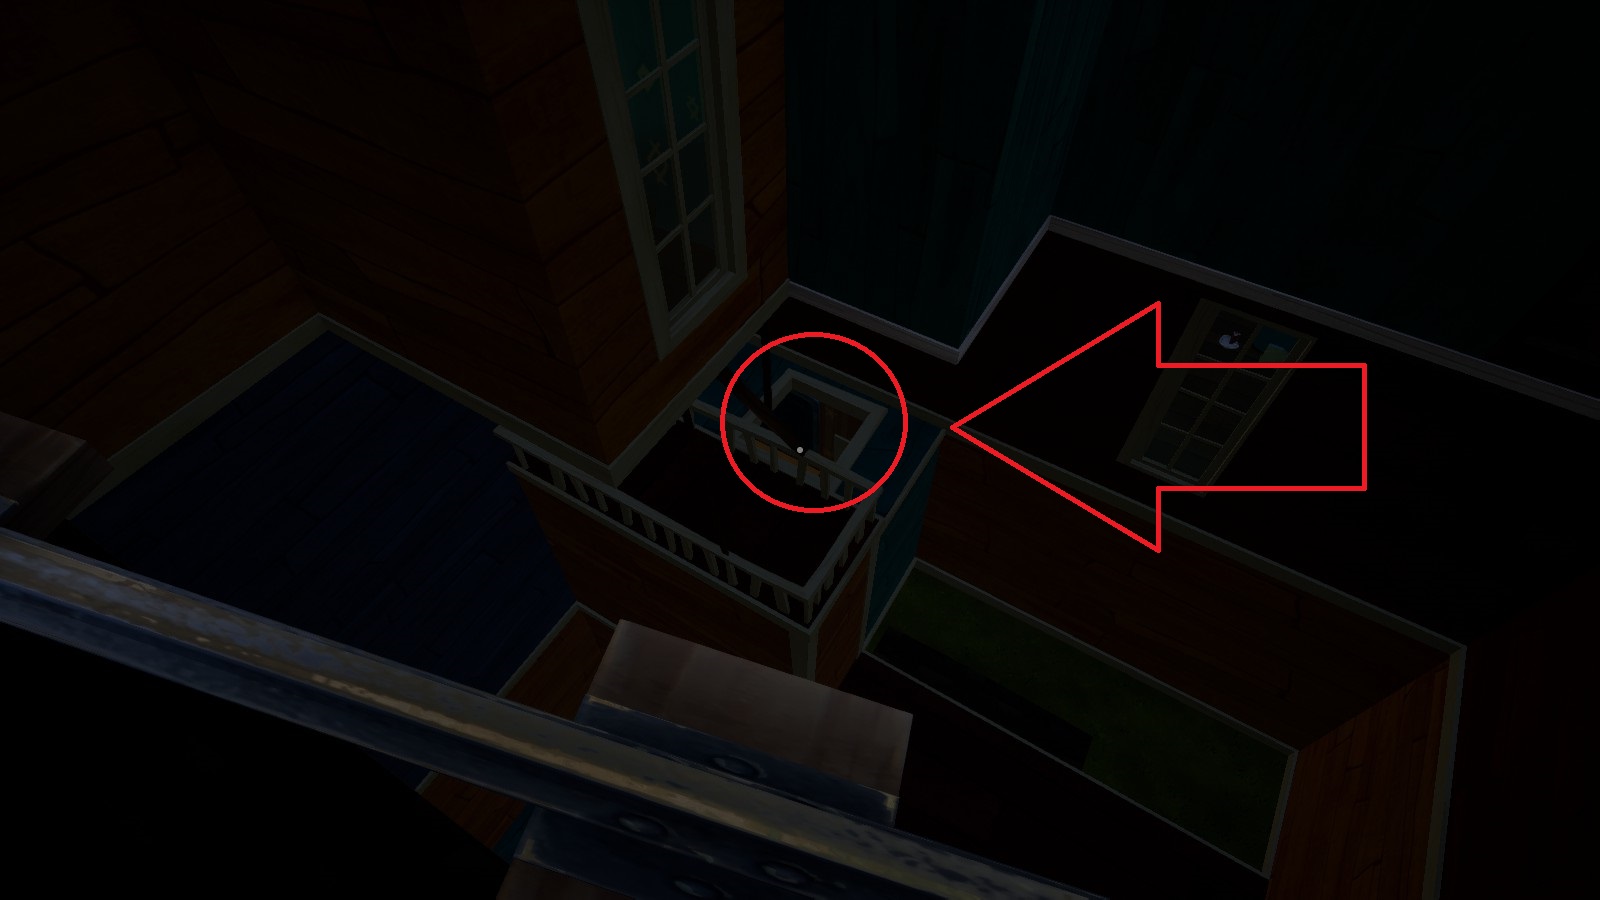 Aim for the hole in the left-center near the window
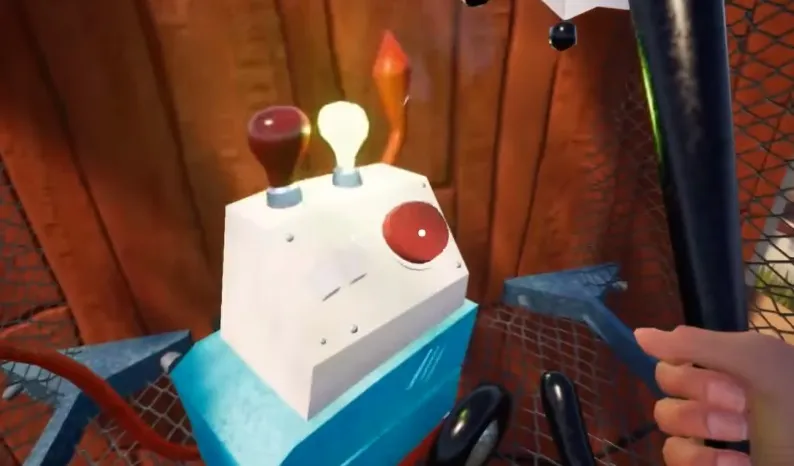
Jumping through the hole takes you to the roller coaster track control room. Flip the switch on the far left side of the control panel (be careful not to move too far over and fall through the hole), then push the red button to the right to start the track running.
After pressing the button, jump through the hole in the floor right in front of the control panel to return to the yard. Head back into the house through the same window you broke before, and go up the stairs to your right near the cluttered hallway (if you are entering through the front door instead, go to the back of the house, and the stairs will be on your left).
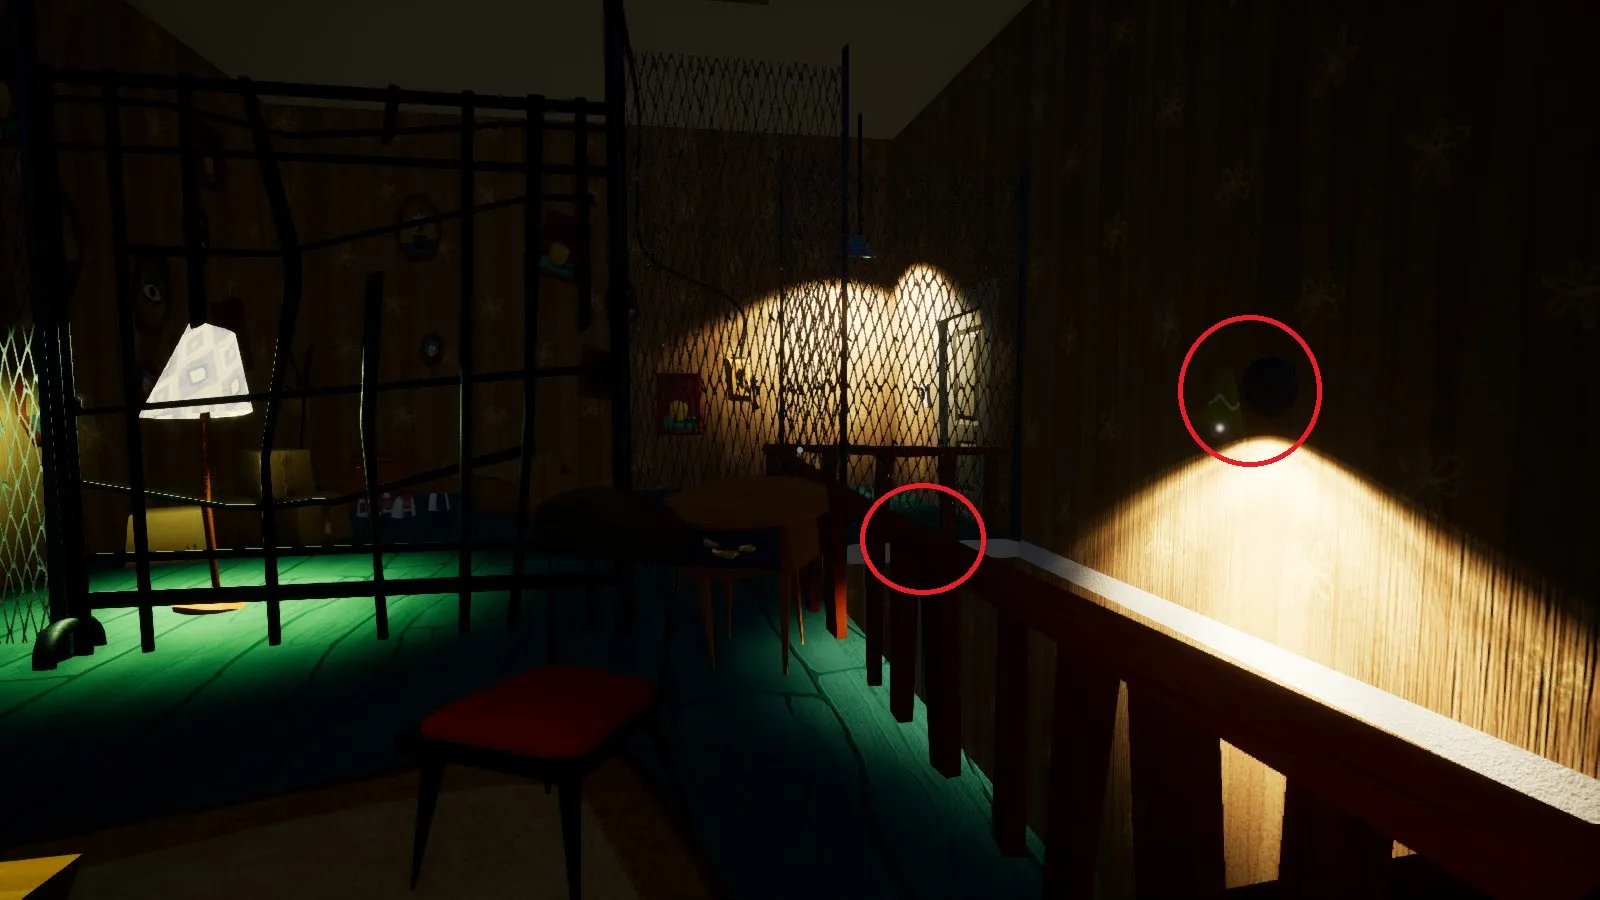
On the second floor, up the stairs, you will see a gated-off portion of the room. To get past the gate, jump up onto the wood railing, then turn and jump onto the lamp on the opposite wall.
From there, turn around again, and you should see an open section of floor you can safely reach with a jump.
You can pull the switch on the wall if you want, which opens the gate so you don’t have to do the jumping puzzle again, although this does mean the neighbor will also be able to patrol the area more easily.
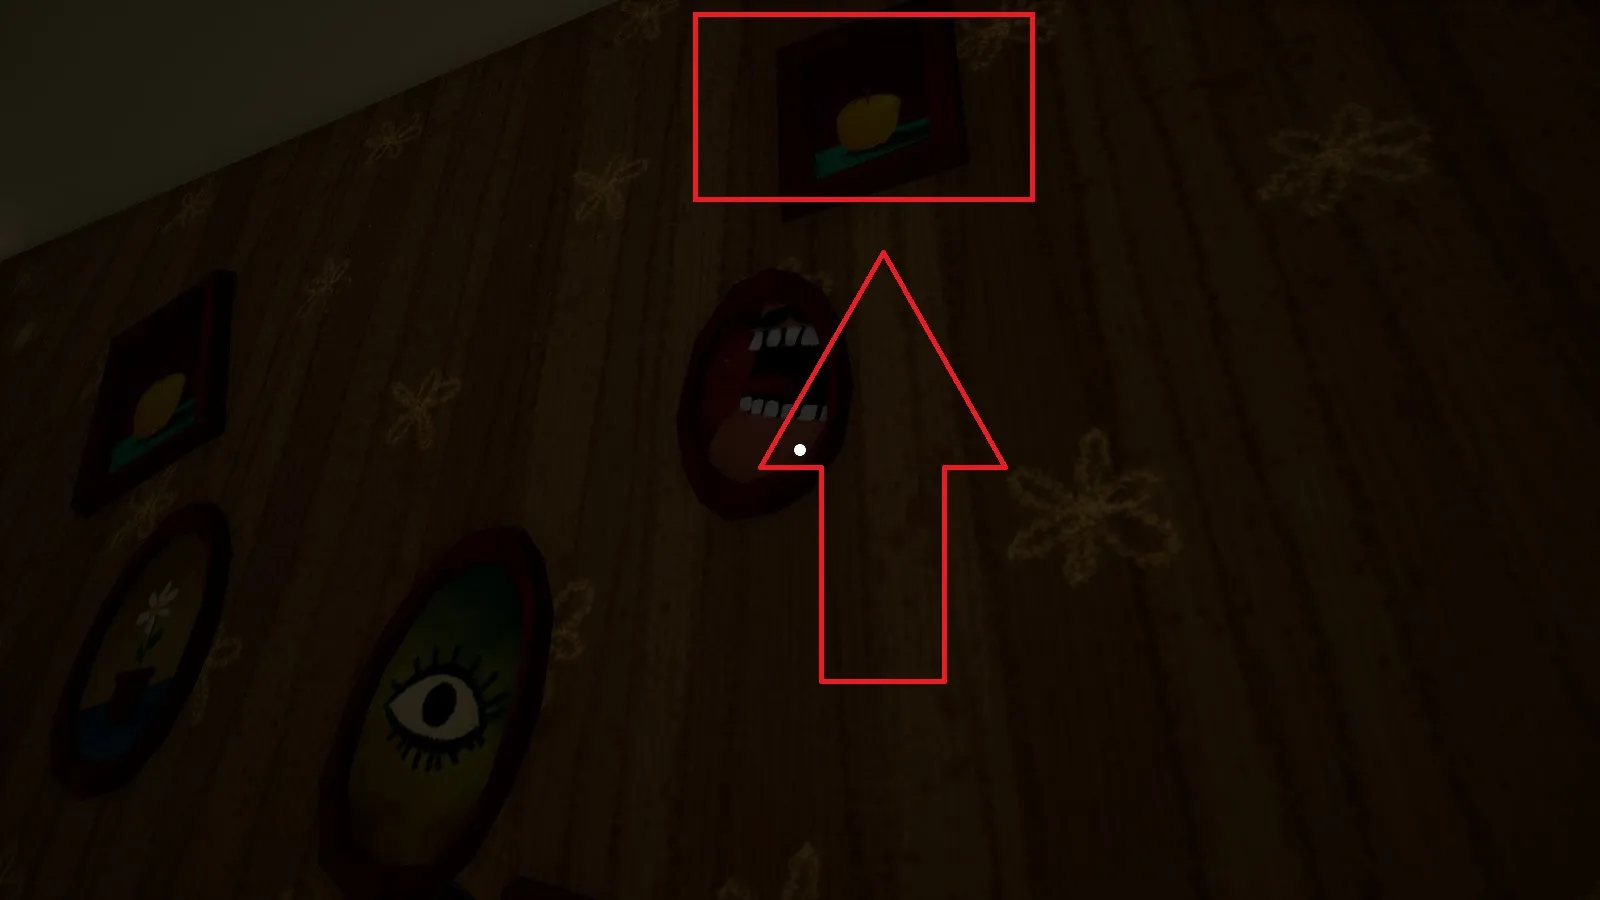
Use the boxes in this room to make a tower so you can reach the paintings on the left wall. Interact with the painting of the apple at the top near the ceiling to turn it sideways (just press E instead of holding it to pick up the painting), which opens a ramp back on the other side of the gate.
Run up the painting ramp, then head up the stairs and ramps until you reach the top floor, where you can see a candy cane-striped entrance with a “No Guns” sign.
Head inside, then take the door on the right, and the next door on the right, until you reach a room with more metal bars blocking off part of the room. We aren’t actually going to get past them this time, though.
Ignore the wall fence and instead grab the shoe off the shelf, then turn back around towards the bars to find a box with a switch on the wall.
You can’t open the box, but if you hold down right click to wind up a throw for the shoe, you can launch it through the grating into the box on the right side, holding the lever into the open position.
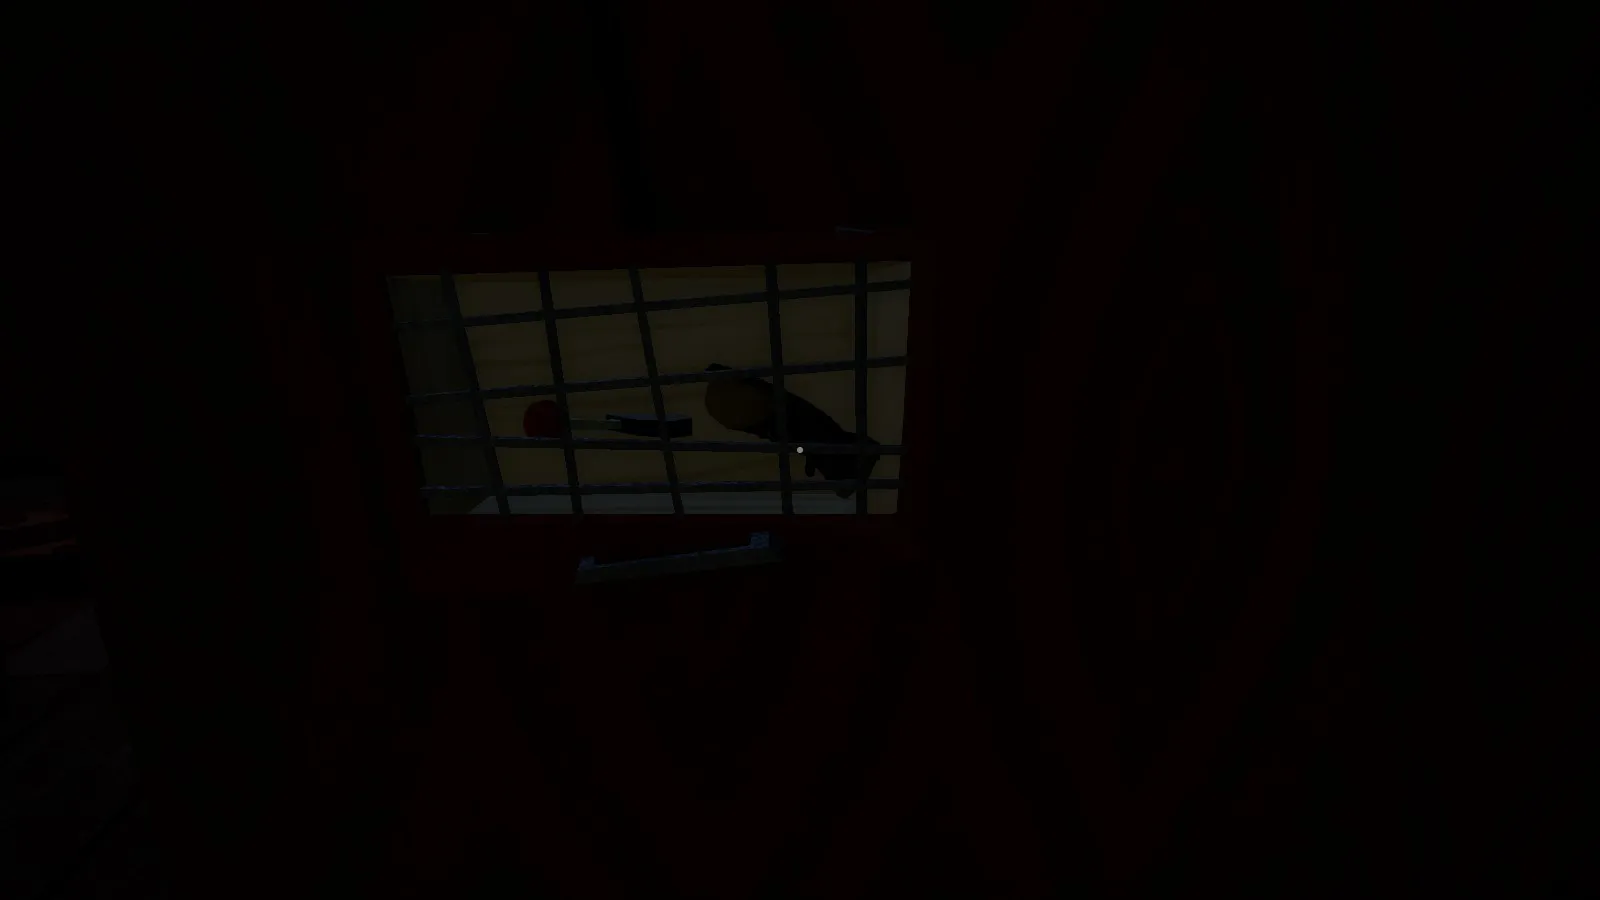 Propping over the lever with a shoe
Run back into the previous room, where another sealed box will now be open, letting you grab a red key. It’s easy to accidentally mess up this segment, so if the shoe doesn’t move the lever over, just grab something else like the binoculars off the shelf and try again.
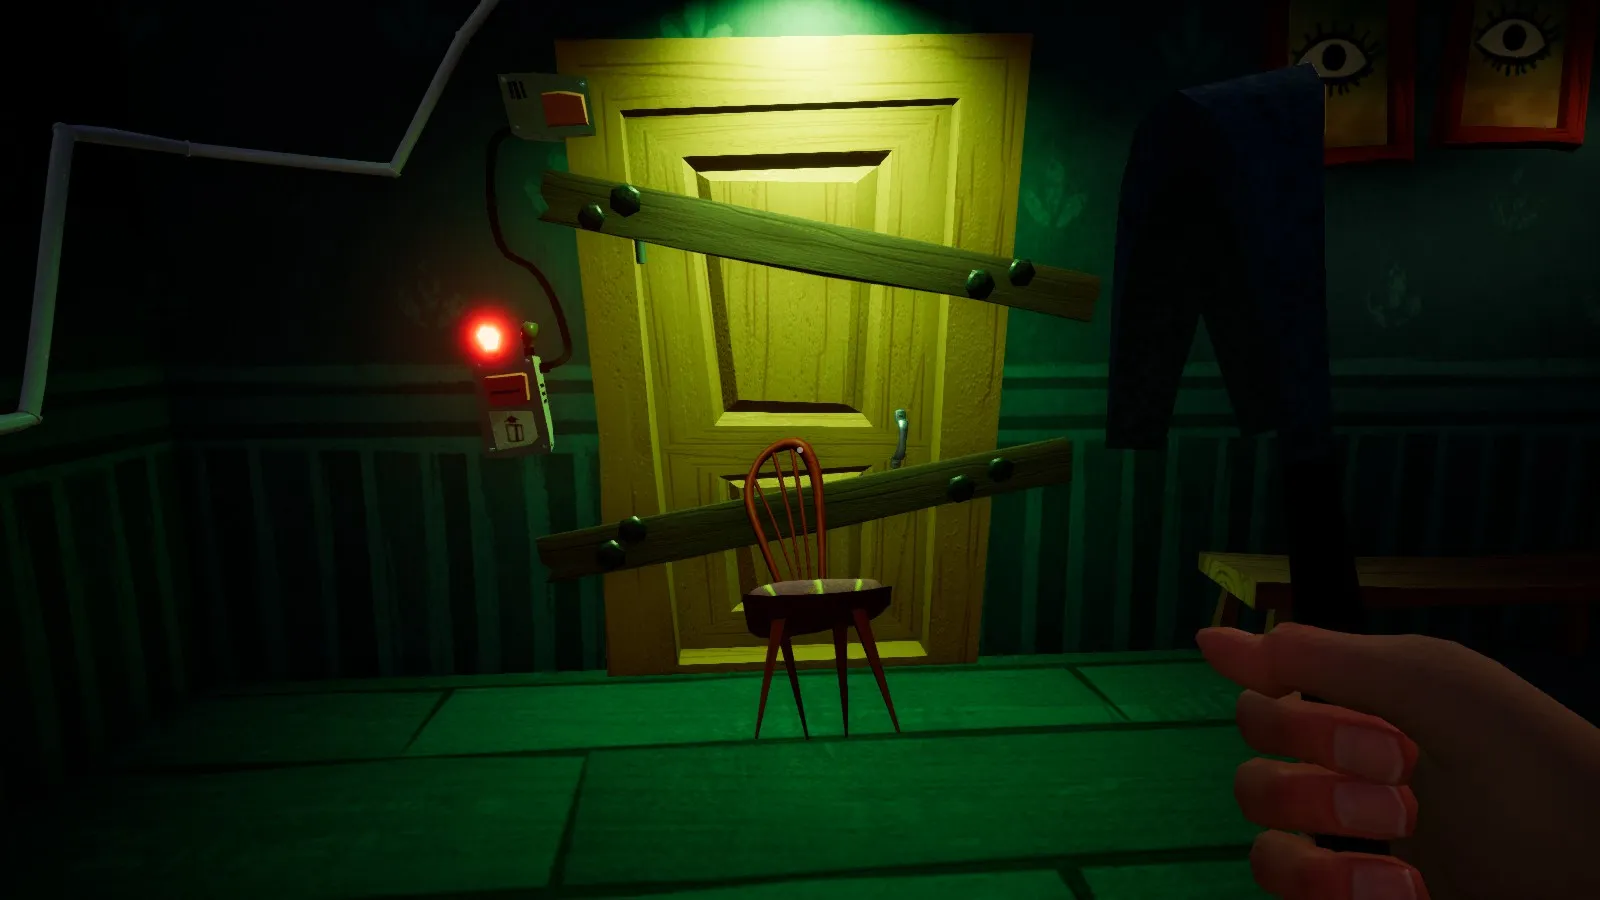
Go back into the room with the metal fence, and open the door on the left to find a new room where a door is held closed by a chair. Pull off the chair and open the door, but don’t step forward, as you will fall to the lower floor.
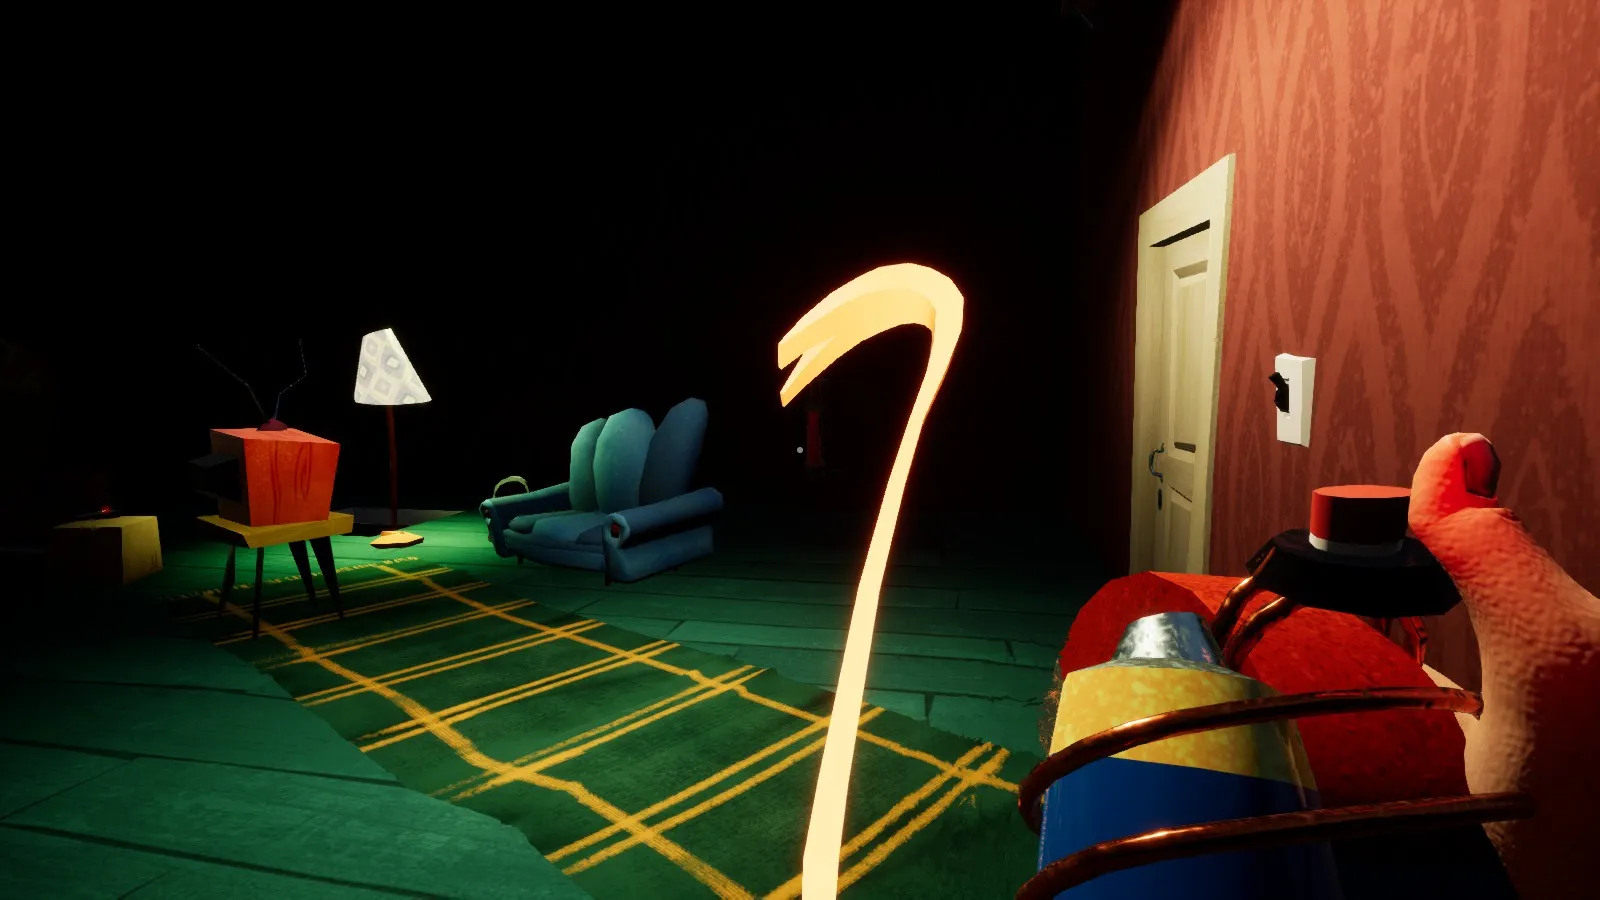
Instead, open the breaker to your right to find a red-hot crowbar. Grab the crowbar, which will immediately fall, as it is too hot to hold.
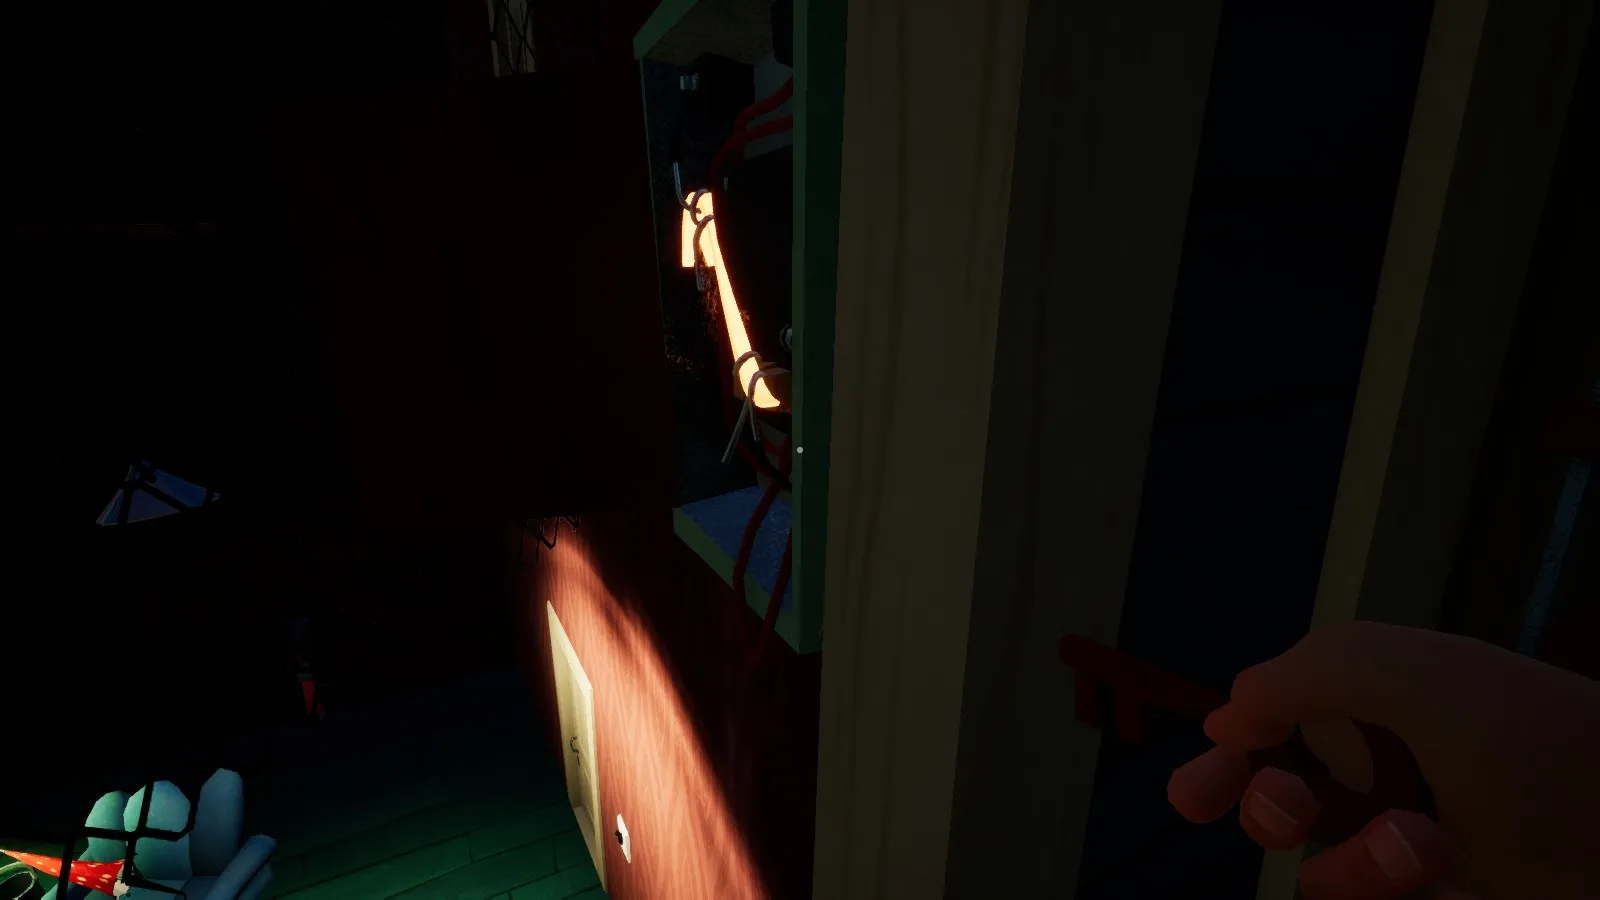 Too hot to handle, but we’ll need this for later
We’ll have to do something about the crowbar being heated up, but first jump down into the lower room and grab the umbrella off the floor.
With the umbrella in hand, jump through the square hole next to the couch to enter a strange room with a half-open wall to your right.
Look through the hole and search the bookcase to find a barely visible magnet. Grab that, as you will need it to pick up a metal object.
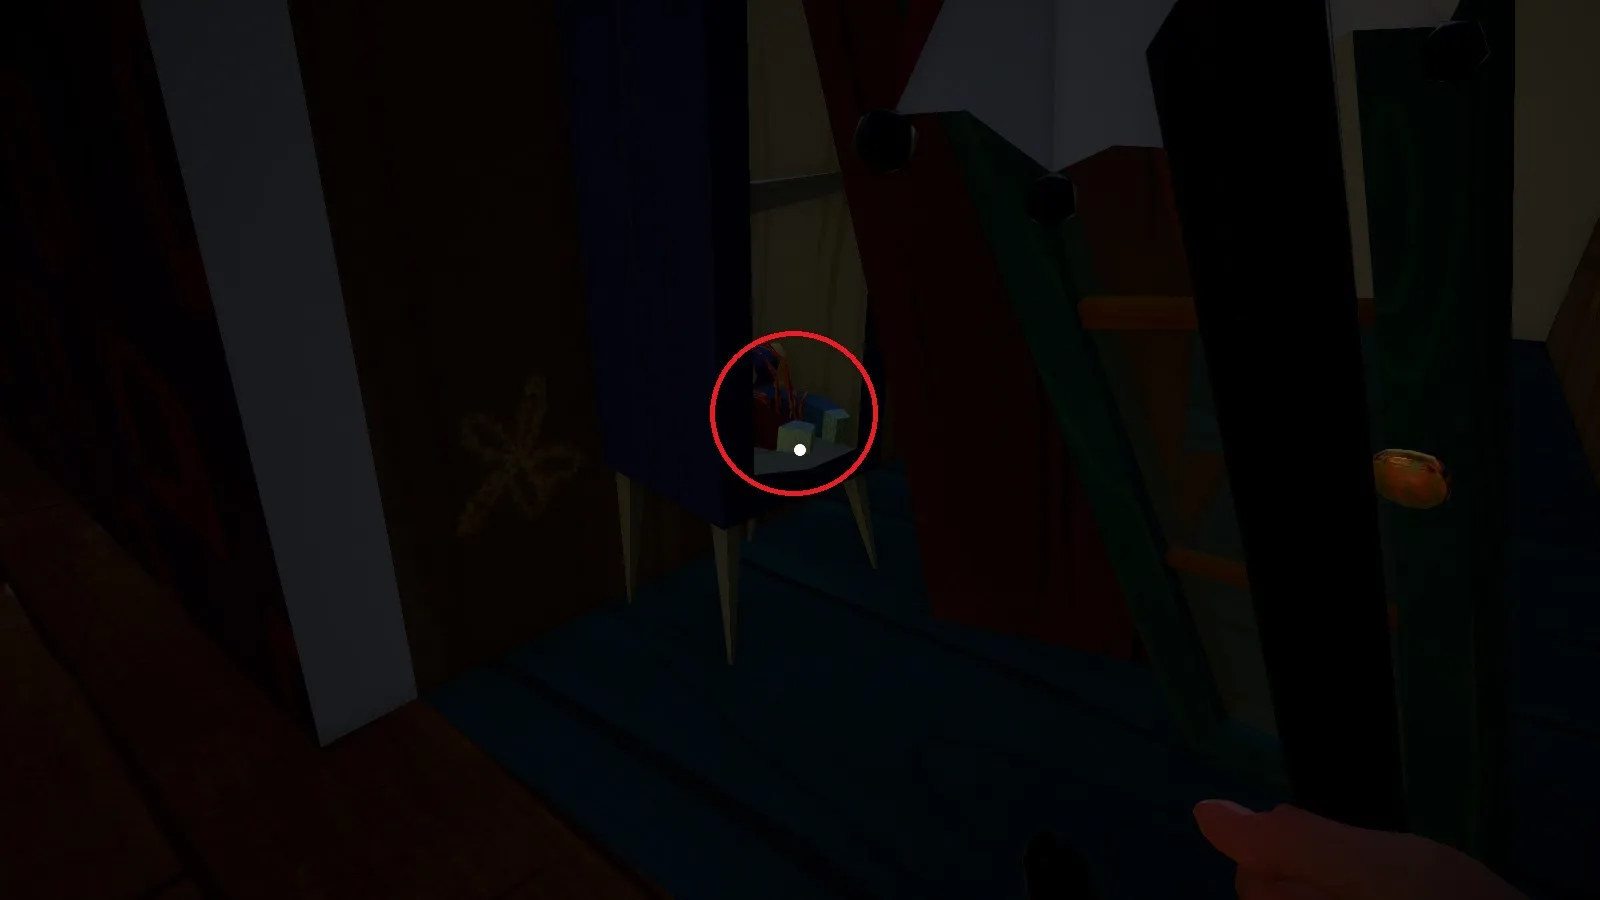 With this, we can pick up the hot crowbar!
Now, head back into the room where the crowbar dropped. There should be several routes there now, as you have opened the ramp and unlocked the doors.
When you get back to the room, use the magnet to pick up the crowbar by holding left click while pointing at the crowbar with the magnet in your current inventory slot.
Go back down through the square hole next to the couch to again enter the room where you found the magnet. This time, throw the switch on the wall and go through the metal fence when it opens. There’s a key on the box in this room you can use to explore another area, but it isn’t required to complete the act.
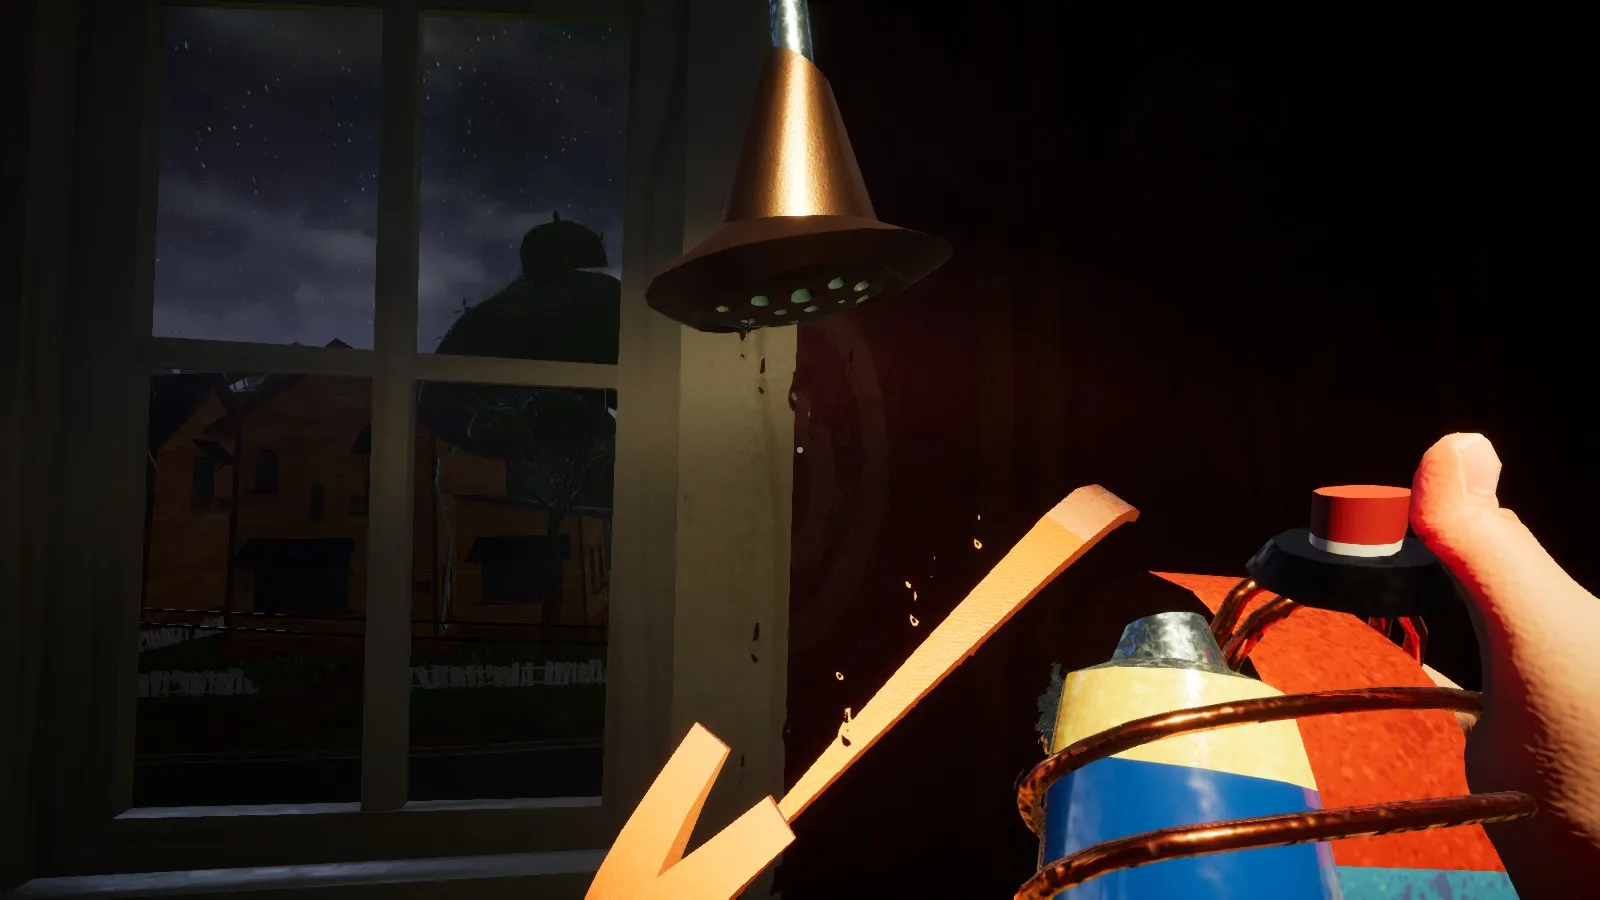
Head through the door right in front of you (ignore the doors on the right and left sides of this room) to enter the bathroom. Turn on the shower and hold the glowing hot crowbar under the stream of water. After a few seconds, it will cool down so you can hold and use the tool (finally).
Pick up the cooled crowbar so it goes in your inventory, then head back out into the hallway. Turn left, then remove the chair and open that door to enter a room with a large chair and a bunch of television monitors.
Open the drawer underneath the TVs, and you should hear a click. Head to the right side of the room and open the door on the floor to jump down to the ground level.
Go through the door to your right to return to the main ground floor room. Here you can use the crowbar to remove the bolts holding the boards in place that restrict access to the basement.
Although the chair and boards are removed, you still need a keycard to open the electronic lock to the basement. Make sure you still have the umbrella in your inventory, and return to that long series of ladders you used way back at the beginning.
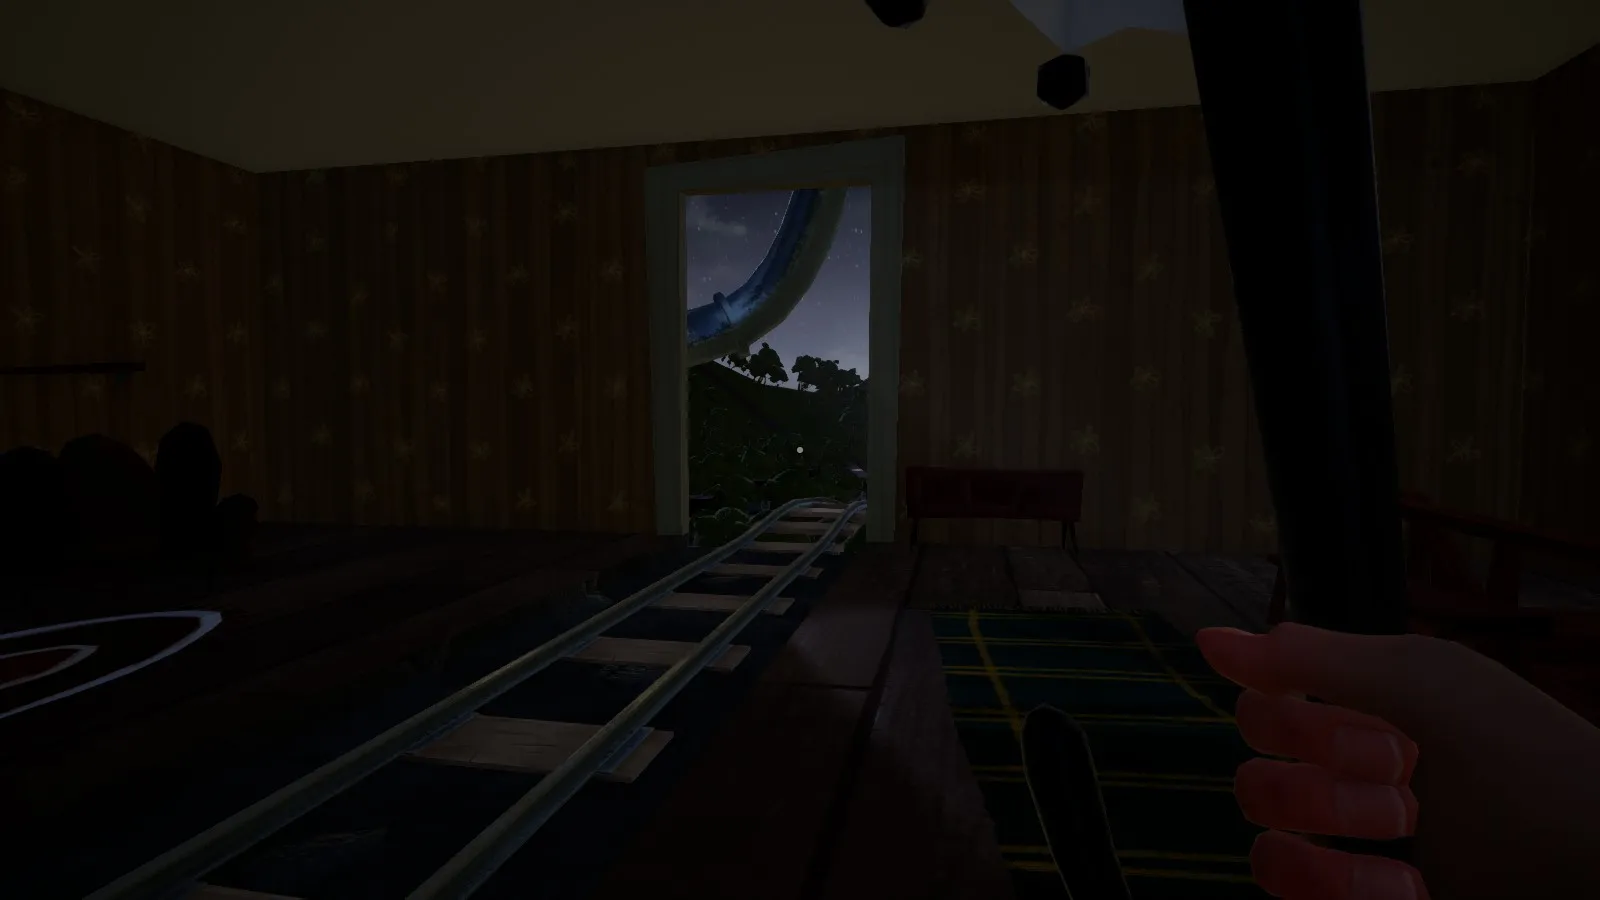
Go back through the door you opened with the switch to return to the room with the track. If the trolley is there, wait for it to pass. Otherwise, walk forward out onto the track and into the area outside the house.
Run down the track until you re-enter the house and can turn into a room on your right.
You have to time this part carefully so you don’t get hit by the trolley, as it may be close to you when you get to this section. If you have trouble, wait for the trolley to reach you, then go right after it leaves.
Don’t forget that the umbrella slows your fall if you press left click while holding it, so you can actually use it to jump out of the way if the trolley is hurtling towards you.
Stand in the side room until the trolley slows down and stops in front of you. Open up the door and hop inside to take a ride across the track.
Move into the second section of the trolley and wait until you are almost through the hole in the wall that returns to the main track room. Pull the lever to stop the trolley, then jump out.
This part is super glitchy and behaves in odd ways, so you’ll probably end up flying through the air and then walking all the way back up into that first track room.
Drop a box on the track and jump onto the pipe on your left, then from there, jump on top of the stopped trolley. Turn so you are facing the front of the trolley, and jump onto the roof section right in front of you.
If you find this part totally glitches out for you constantly and you can’t get it to work, just wait for the trolley to pass, then stack two boxes on the edge of the track to jump across to the pipe, then drop another box so you are higher up. With a few tries, you can use the umbrella to reach the roof manually without the trolley.
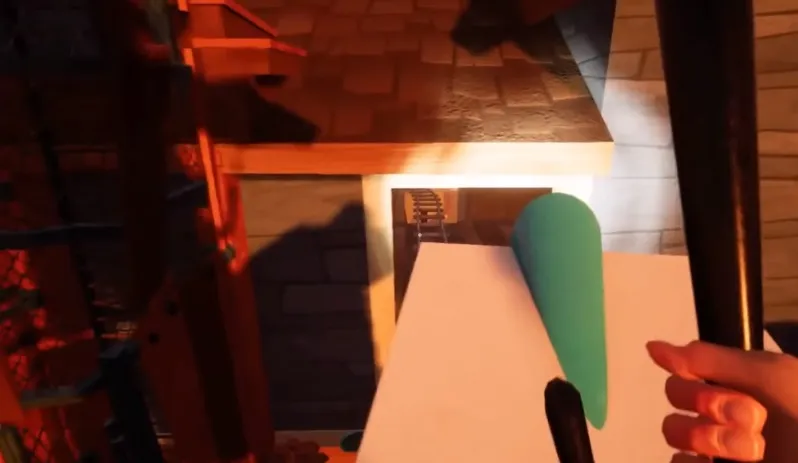 Jumping onto the roof from the trolley
Turn left and run up to the top of the roof to find a bunch of trees growing. Jump across the tree tops to the opposite corner of the roof, where you will find a small breaker box-type opening on the ground. Open it and throw something like a box in to junk up the gears.
With that done, go down the right side and jump onto the pipe. Out in the distance you should see a small building suspended in the air by boards. Jump across and activate the umbrella to land on top, then jump down the access hole.
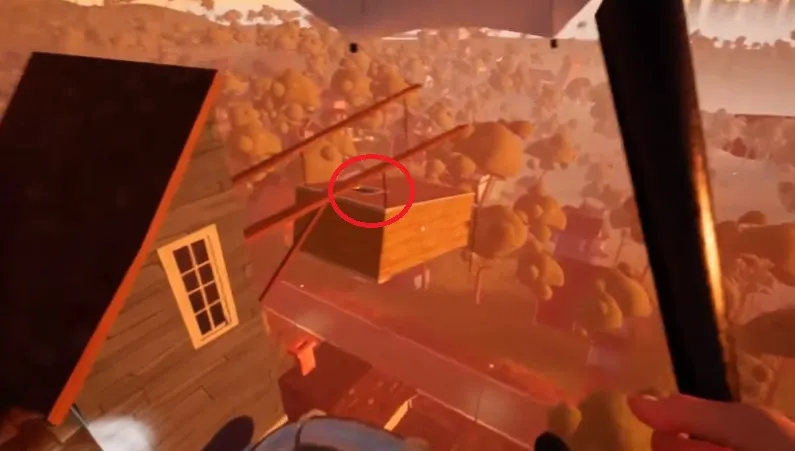 Reaching the secondary building
Use the red key we got waaaaaaaaaay back at the beginning to open the door inside, which takes us into a fear room, where you are shrunk down to tiny size.
Make your way up the shelves, knocking over boards with cups when necessary to make your own ramps. When you reach the toaster, jump inside to be catapulted upwards.
After exiting the fear room, go back to the main track room and go out the opposite side of the track you had been traversing before. When you can see segments of the house again, jump forward and go to the left so you land on the area with the bullseye rug and a chair.
Go through the outside door and then the next door to your right. Now head through the next door that should be on your left (if it’s locked, it means the neighbor dropped a chair on the other side, so you will need to go through the house from the other direction).
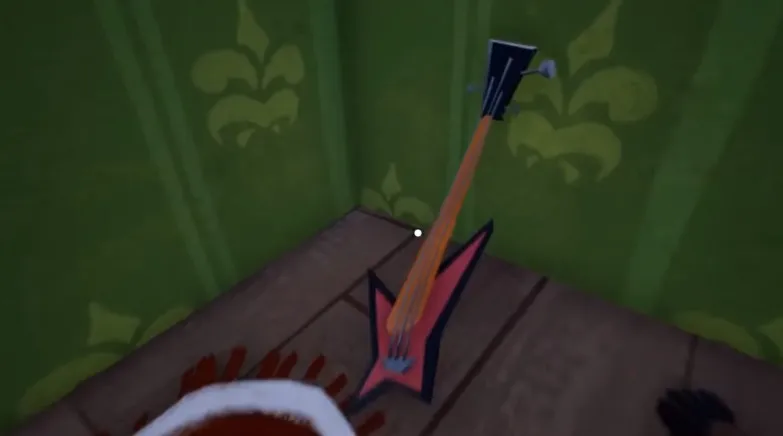
Flip a switch on the wall and head through the odd metal door to enter a green room. Grab the guitar on the floor here.
Go back out into the hallway and head in the other direction until you see some boxes. Grab the flashlight on top of the boxes, then proceed around the corner to find a blue kid’s room.
Your goal here is to recreate the dresser and wall segment exactly as it is shown on the wall painting. Put the flashlight on the shelf, the guitar and hat on top of the drawers, the pillow on the floor to the right of the drawers, and the skateboard directly in front of the drawers. You will hear a sound if you did it properly.
Look for a black wire on the ground running over to the window. Follow the wire and jump out onto the fenced area, which should now be open, and press the red button on the generator. This turns off a device preventing you from grabbing the green key.
Return to the main track room, and jump up on the railing for the red stairs to see an open section of wall blocked off by boxes up above. Throw something at the boxes to get through, then run into the next room and grab the green key.
Return to the main floor and go to the hallway where the ladders are located, and there are the stairs leading up to the ramp room.
Instead of taking either direction, go down the cluttered hallway on the side and jump over the boxes. Use the green key to open the door and enter another fear room.
After finishing the fear segment, go back up the painting ramp and return to the room where you first grabbed the umbrella (the one with the small square hole next to the couch).
Turn the red lever (connected to a long black cable) positioned behind the blue couch. Head through the wood door that opens after you pull the lever to enter the next fear room.
When you complete this segment, return to the main floor and enter the kitchen. Open the freezer to find the keycard to the basement now waiting for you (if you haven’t completed the fear rooms, the keycard will not be there).
Now you can finally enter the basement for the last time, where things get super freeform and weird as the story wraps up. Enjoy!
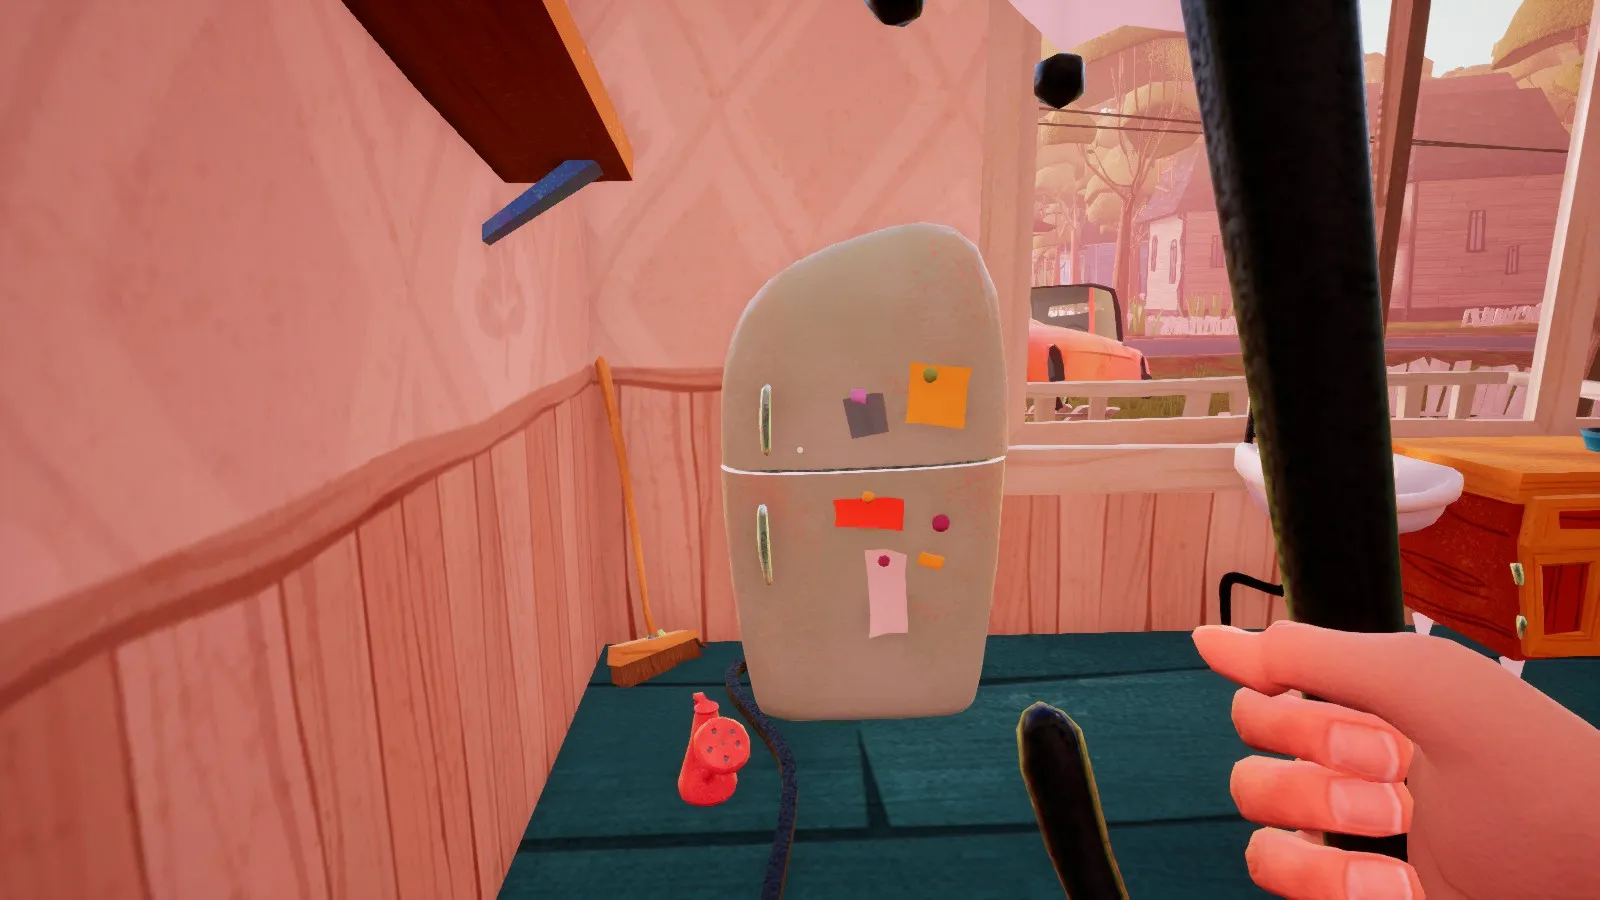 It was in the freezer the whole time?
Did you find any other secrets we missed? Let us know in the comments section below!
Haven’t finished the earlier parts of the game yet? Check out our full Hello Neighbor walkthroughs for the game’s two previous acts right here:



Published: Dec 19, 2017 06:20 pm