Grab a drink and get comfortable—there’s a ton of Hitman 2 wisdom packed into this guide! Let’s dive right in.
Many of these challenges will be easier if you’ve unlocked certain starting disguises, locations, or gear. We’ll mention those opportunities when they’re relevant, but no challenge is impossible to complete without them; you just may have to do a little more prep work on your own. This guide also assumes you have a basic understanding of the various ways to manipulate NPCs—namely, by poisoning them and creating distractions.
TIP: We’ve presented related challenges in a logical order wherever possible, but there’s more than one way to combine many of them. Make liberal use of Ctrl+F to find the names of any challenges, disguises, or locations you’re looking for within this guide.
The Map
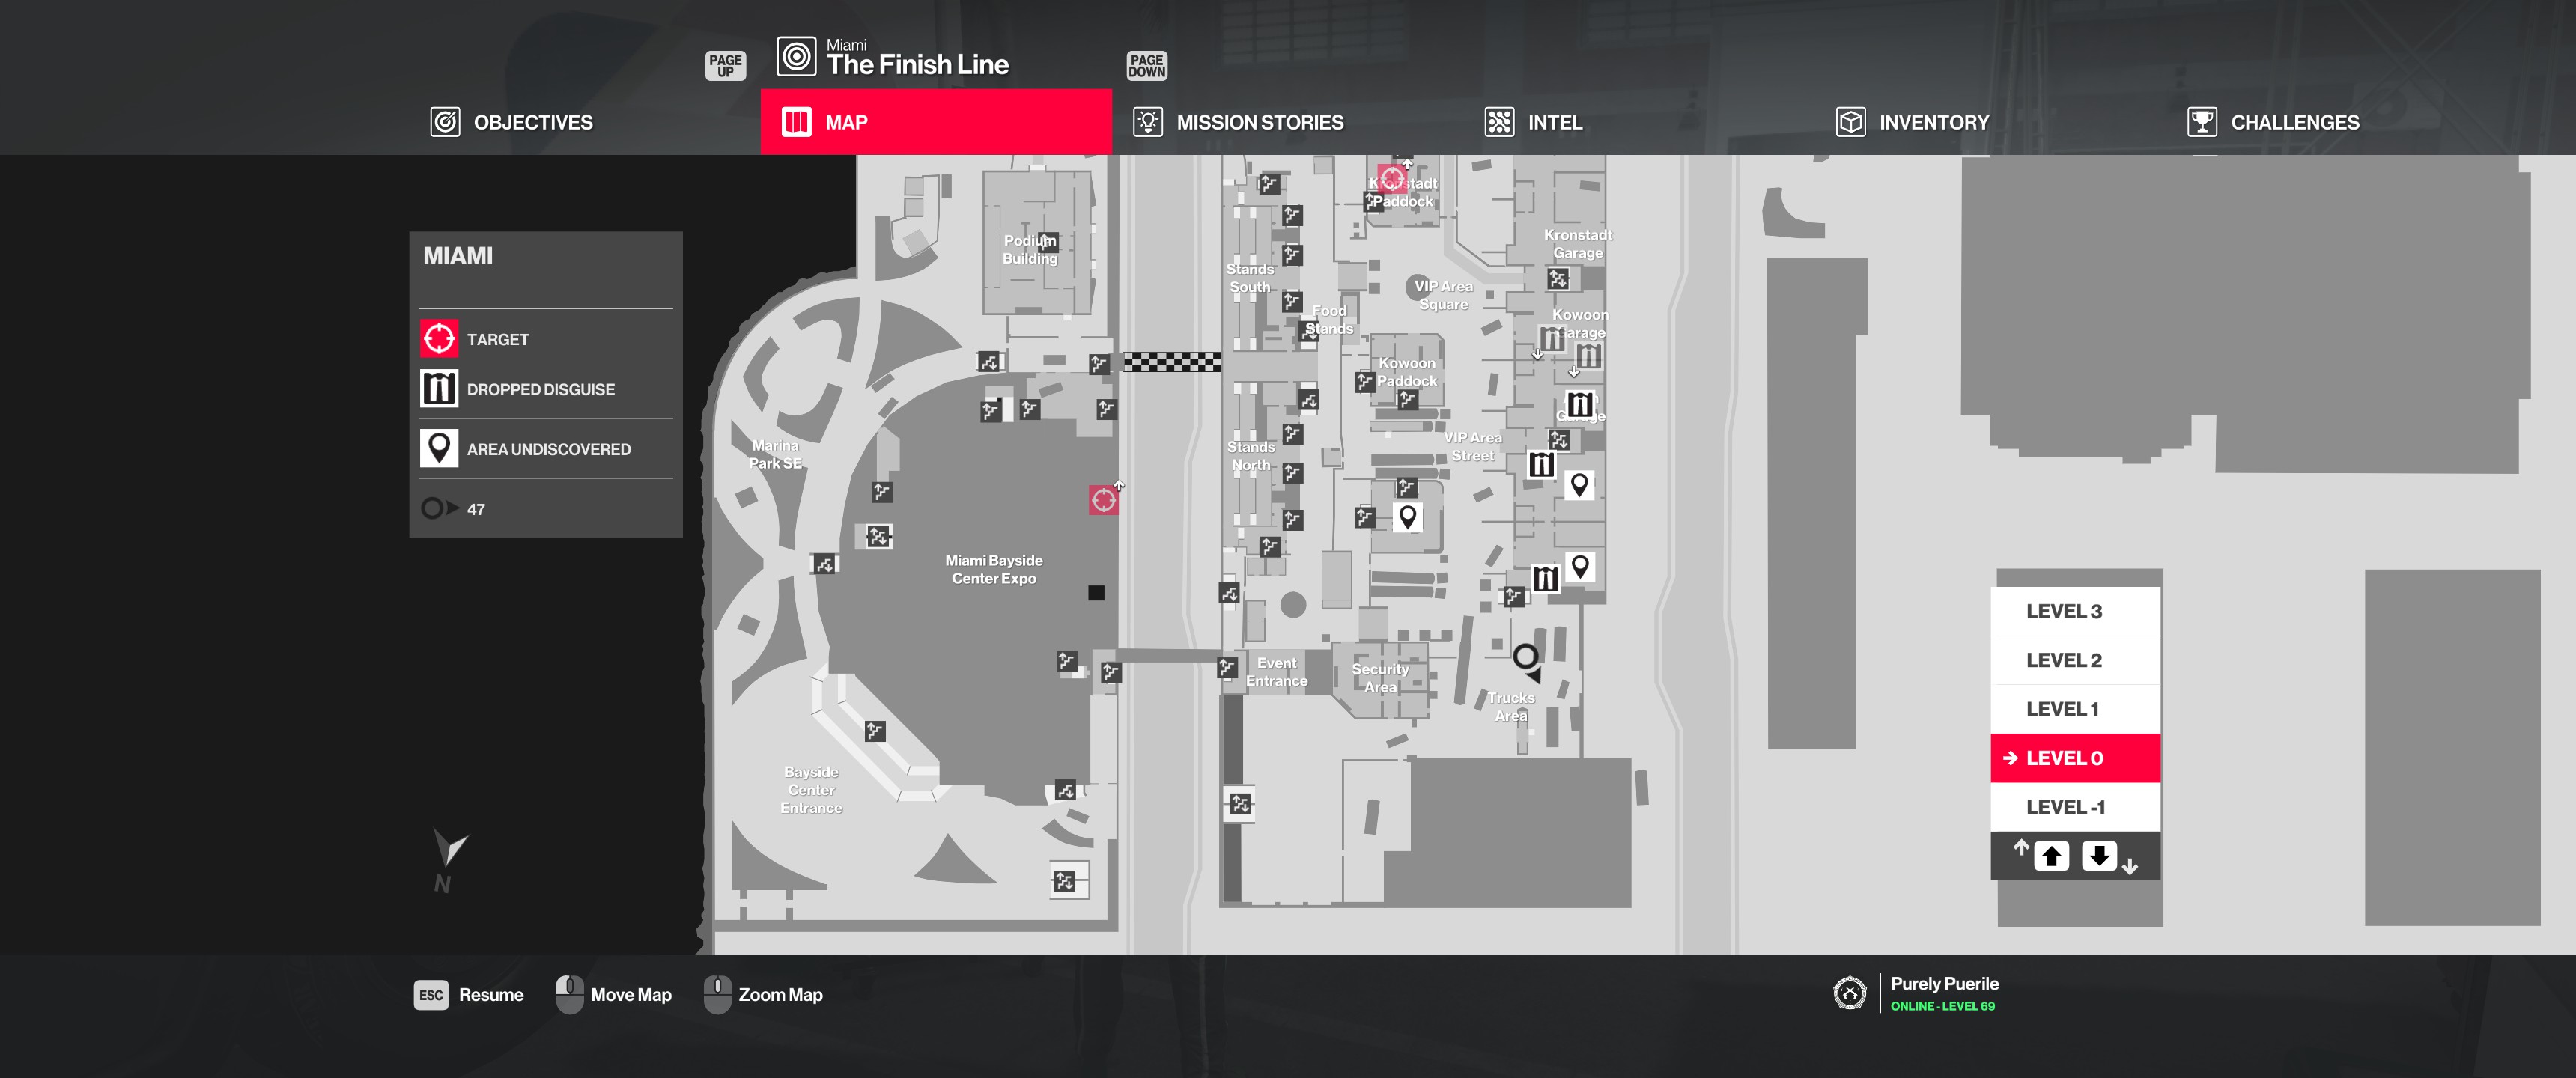
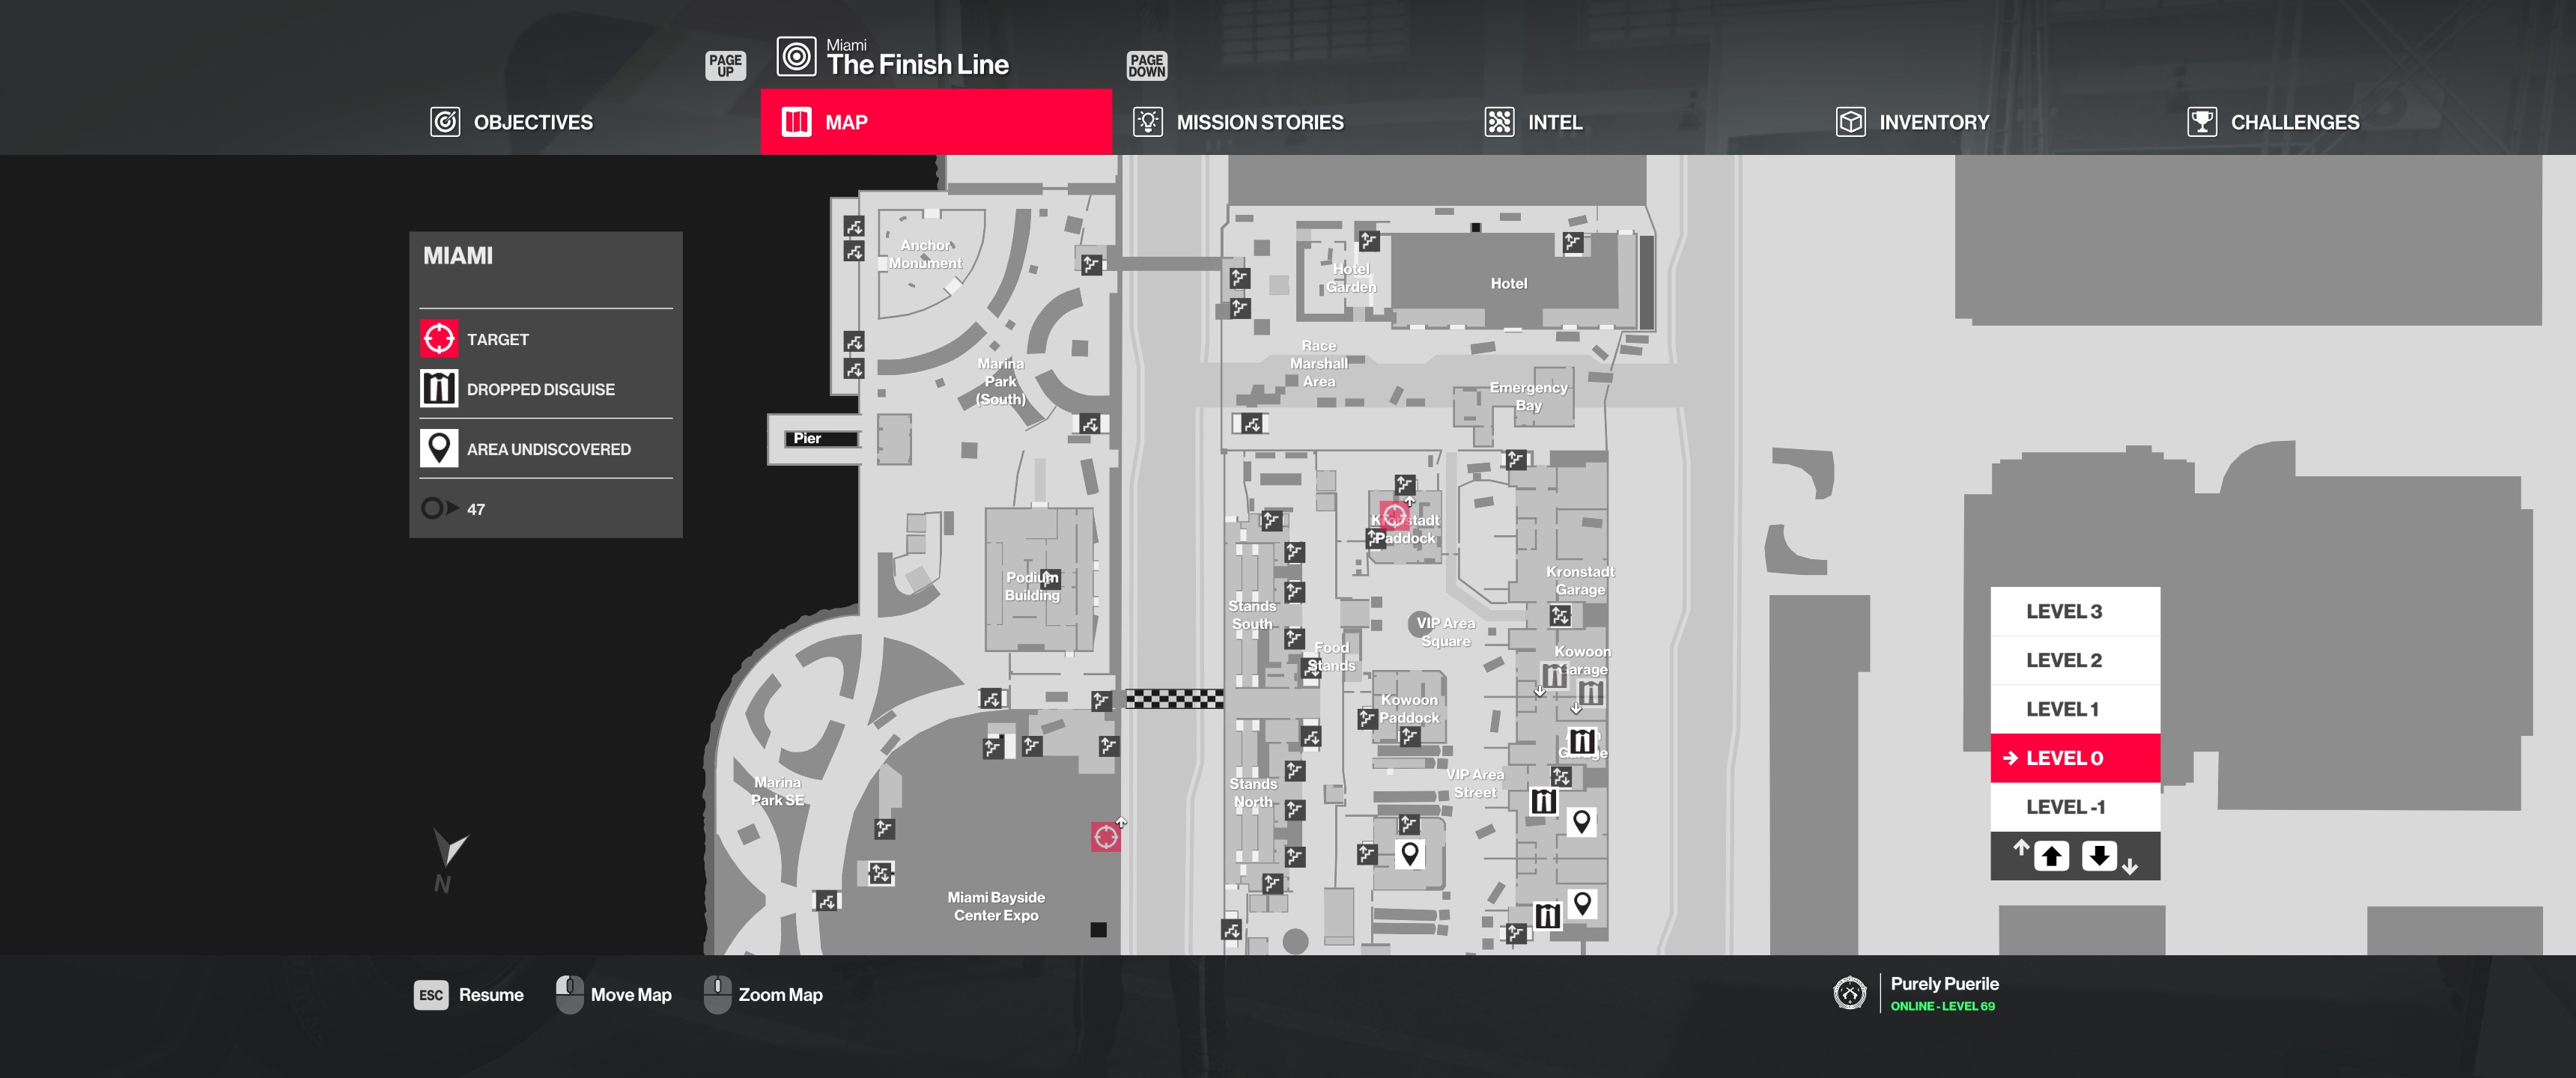
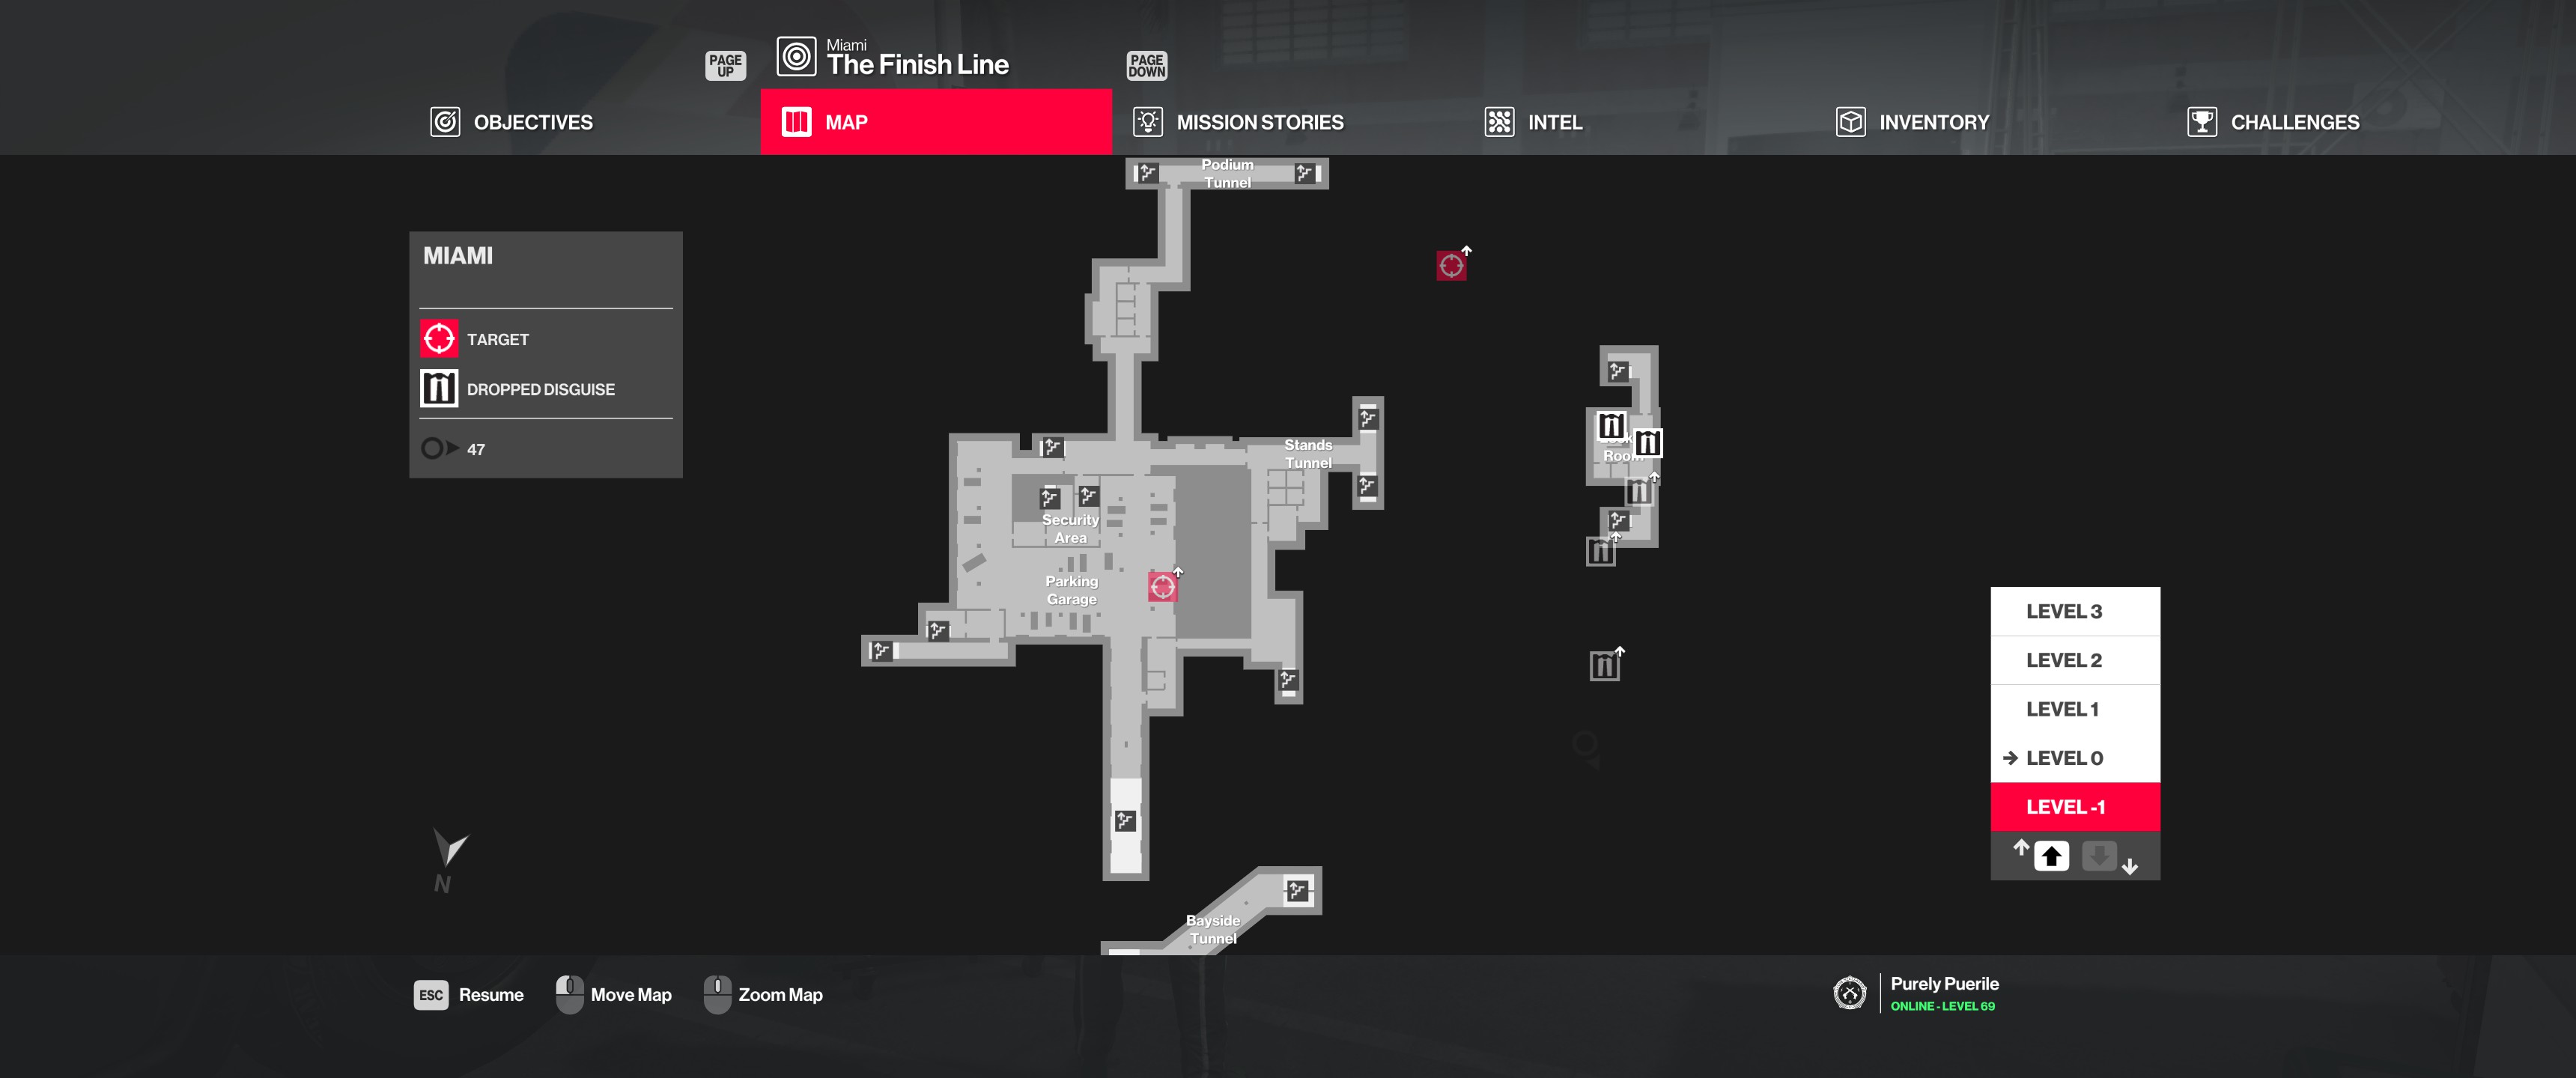
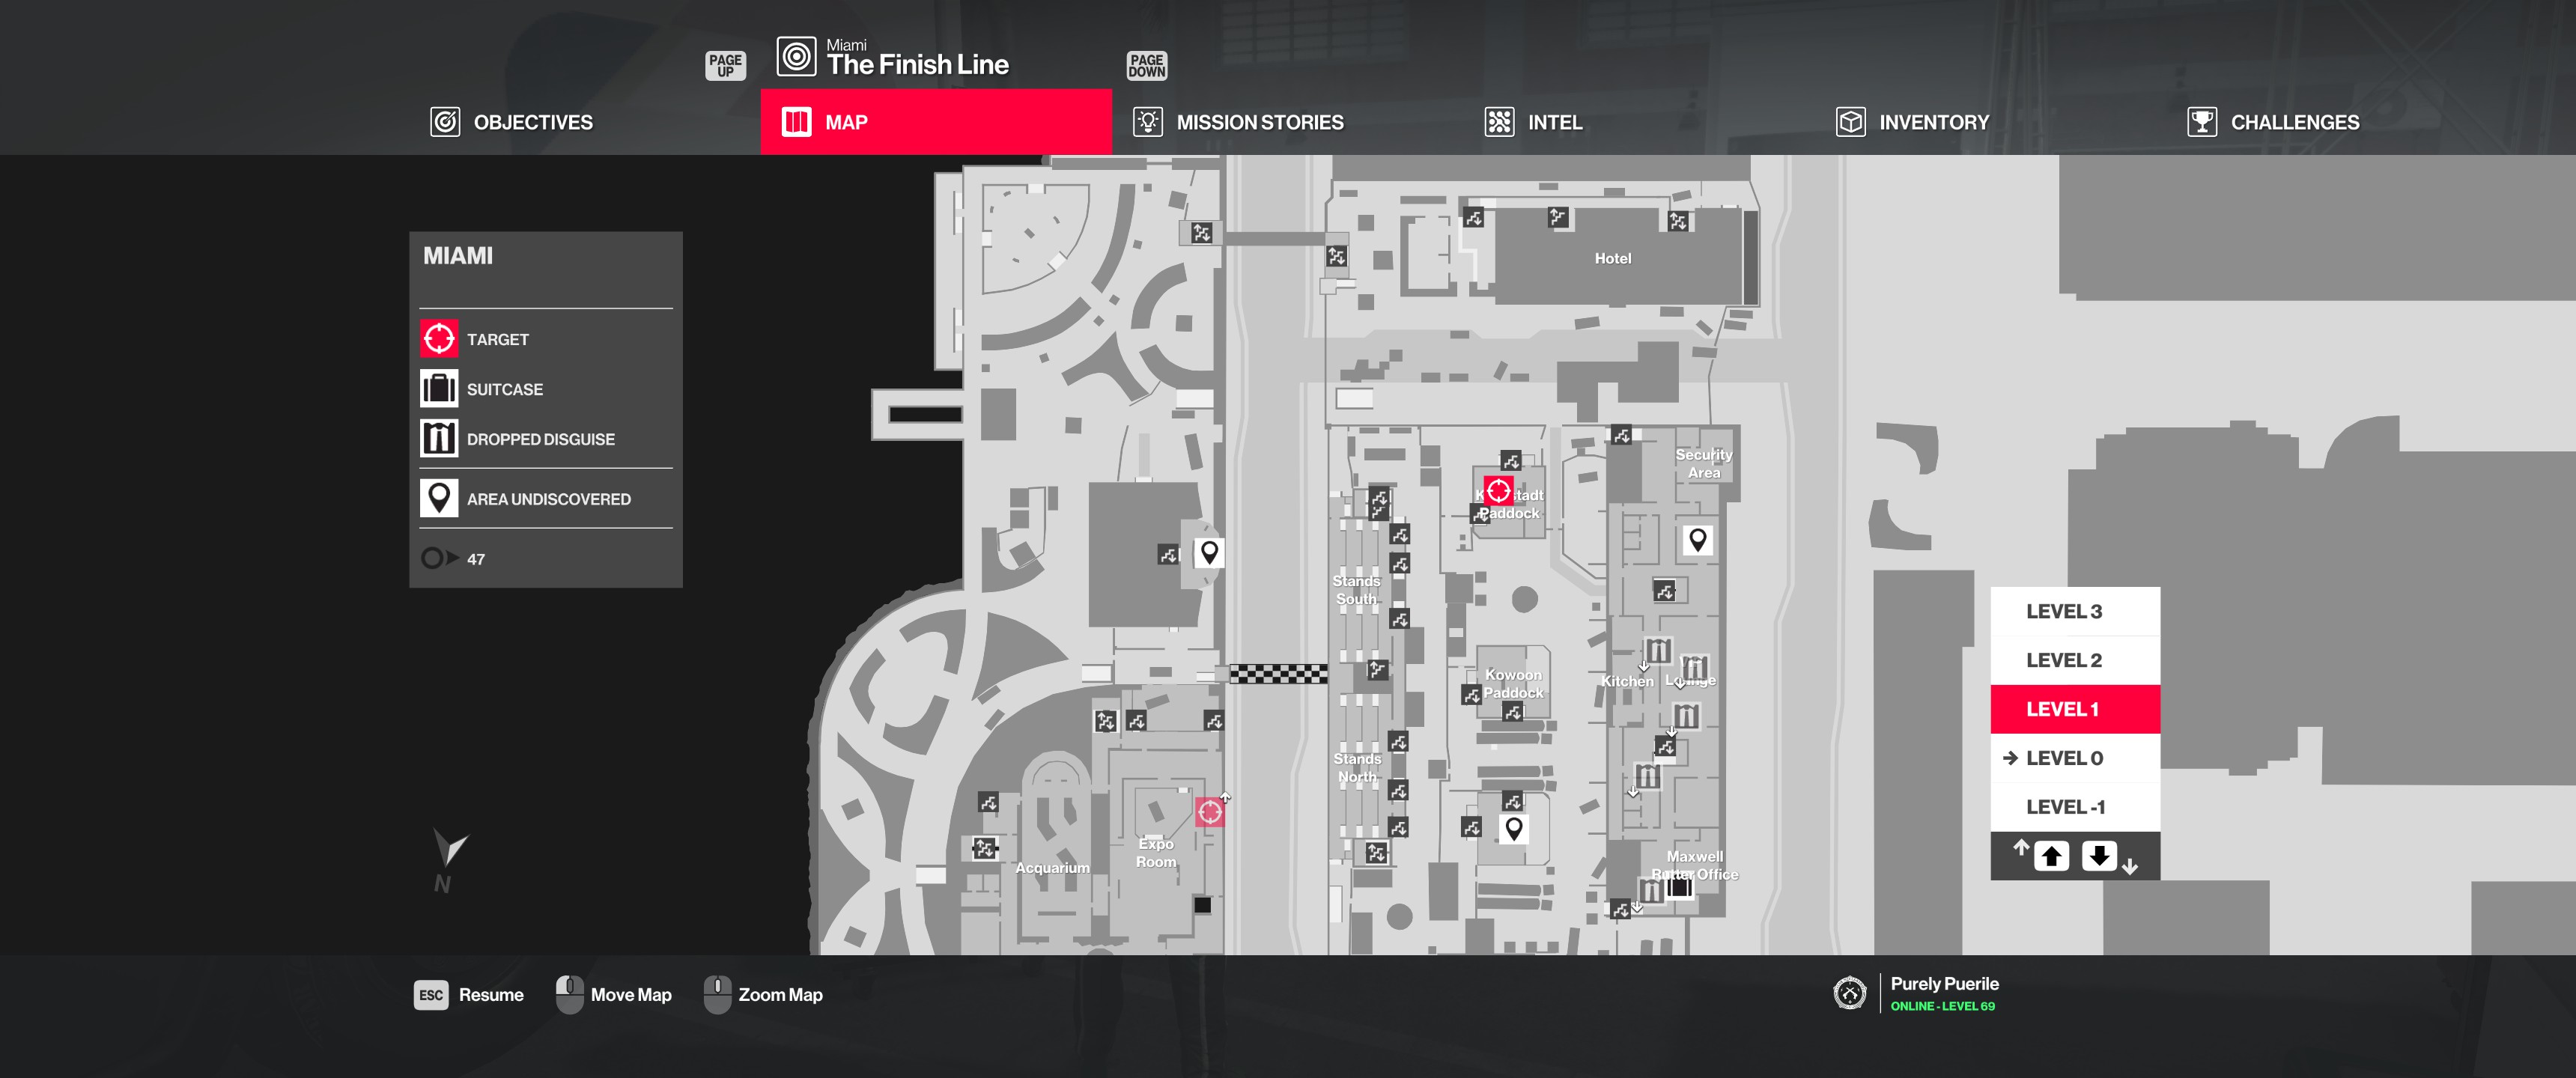
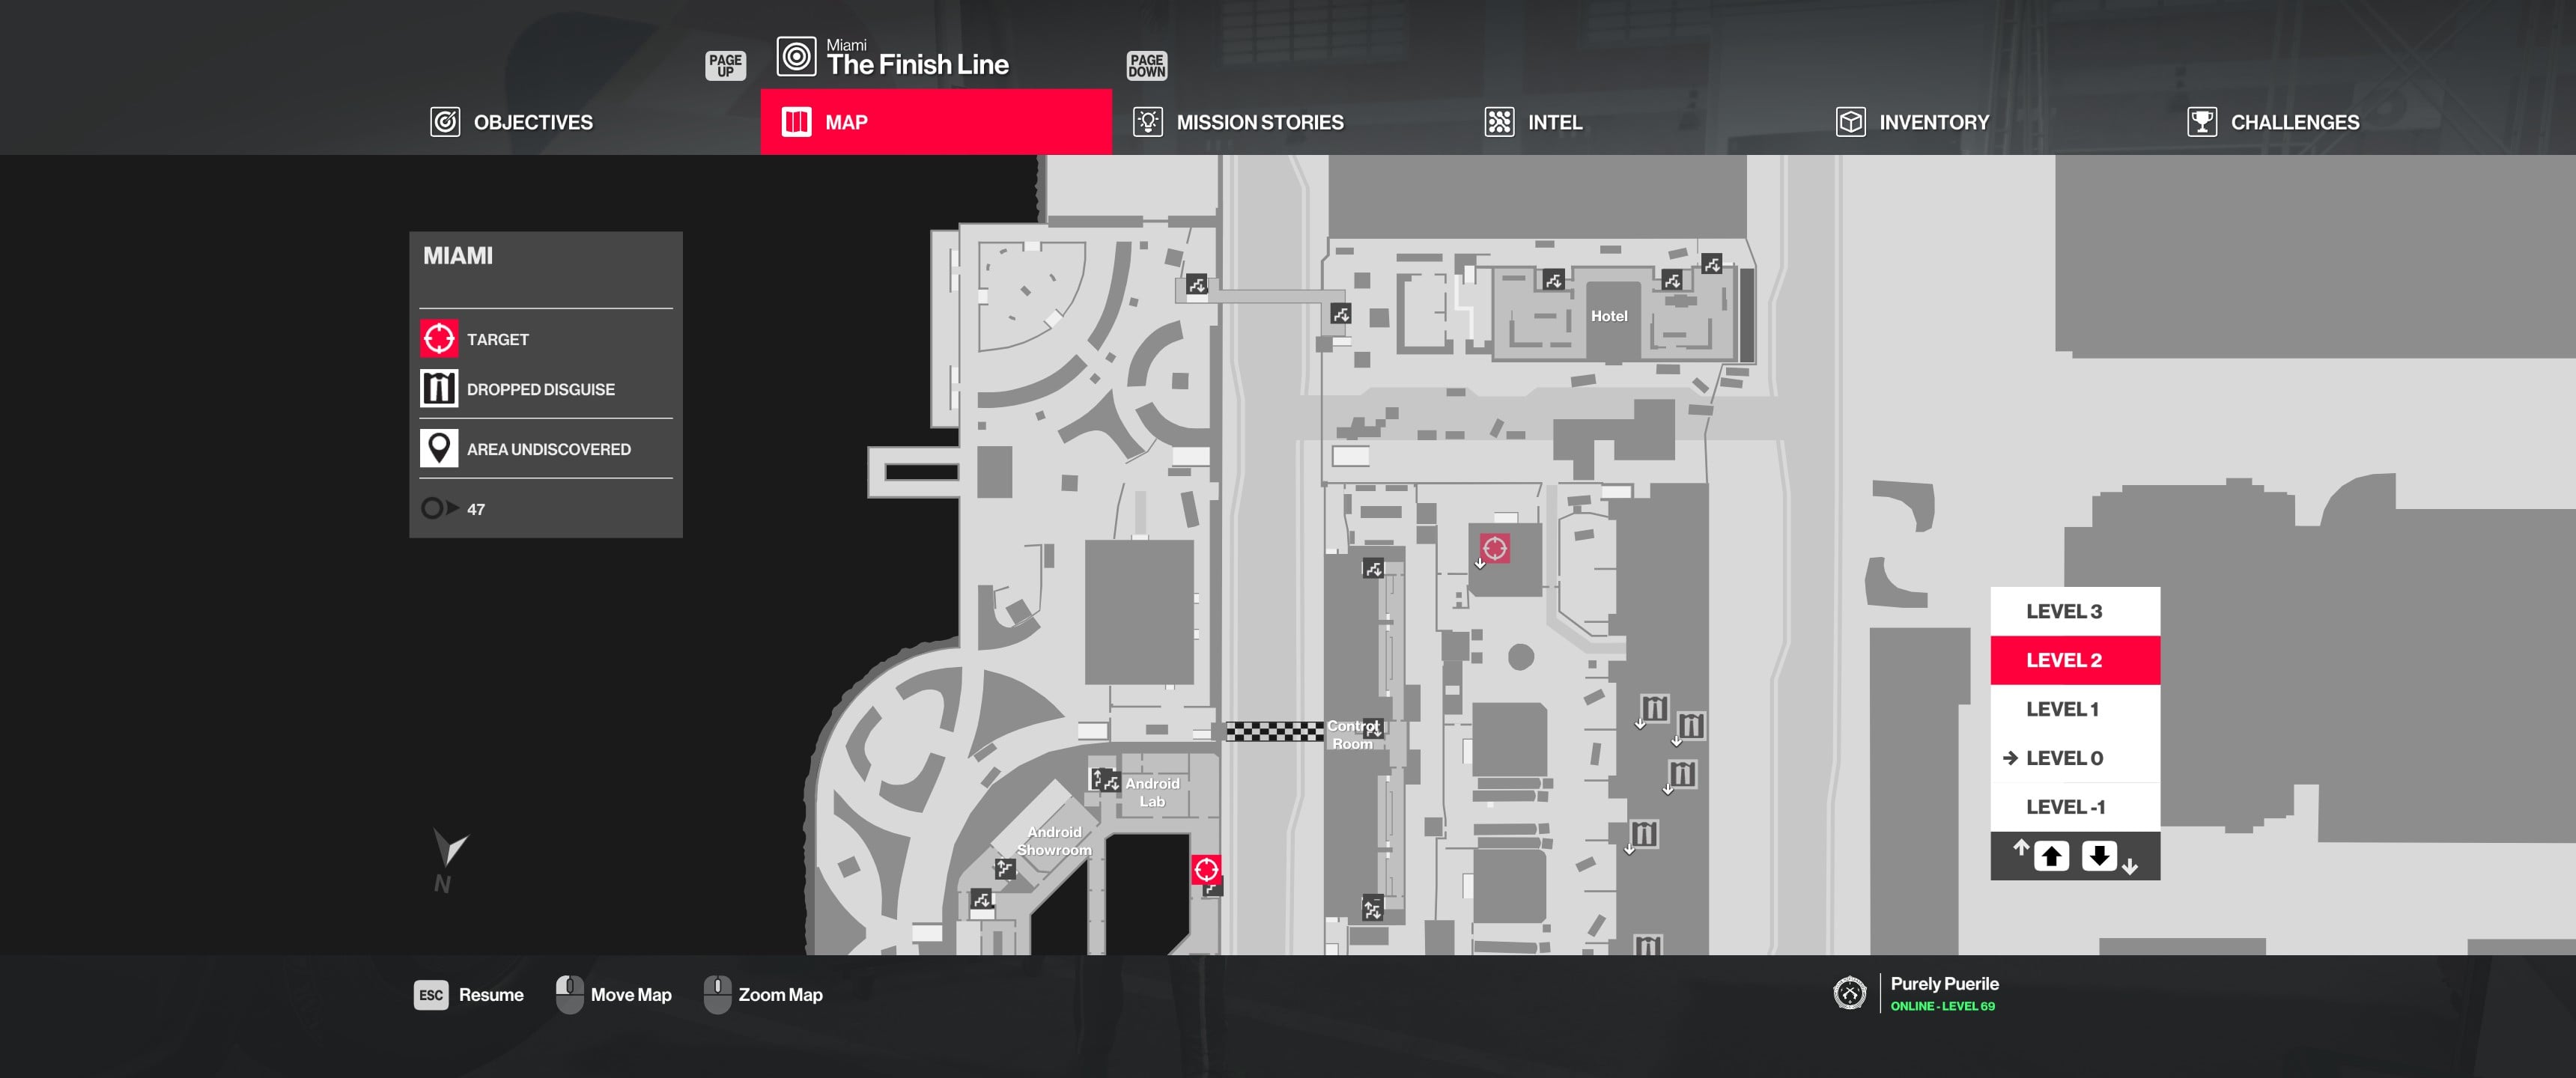
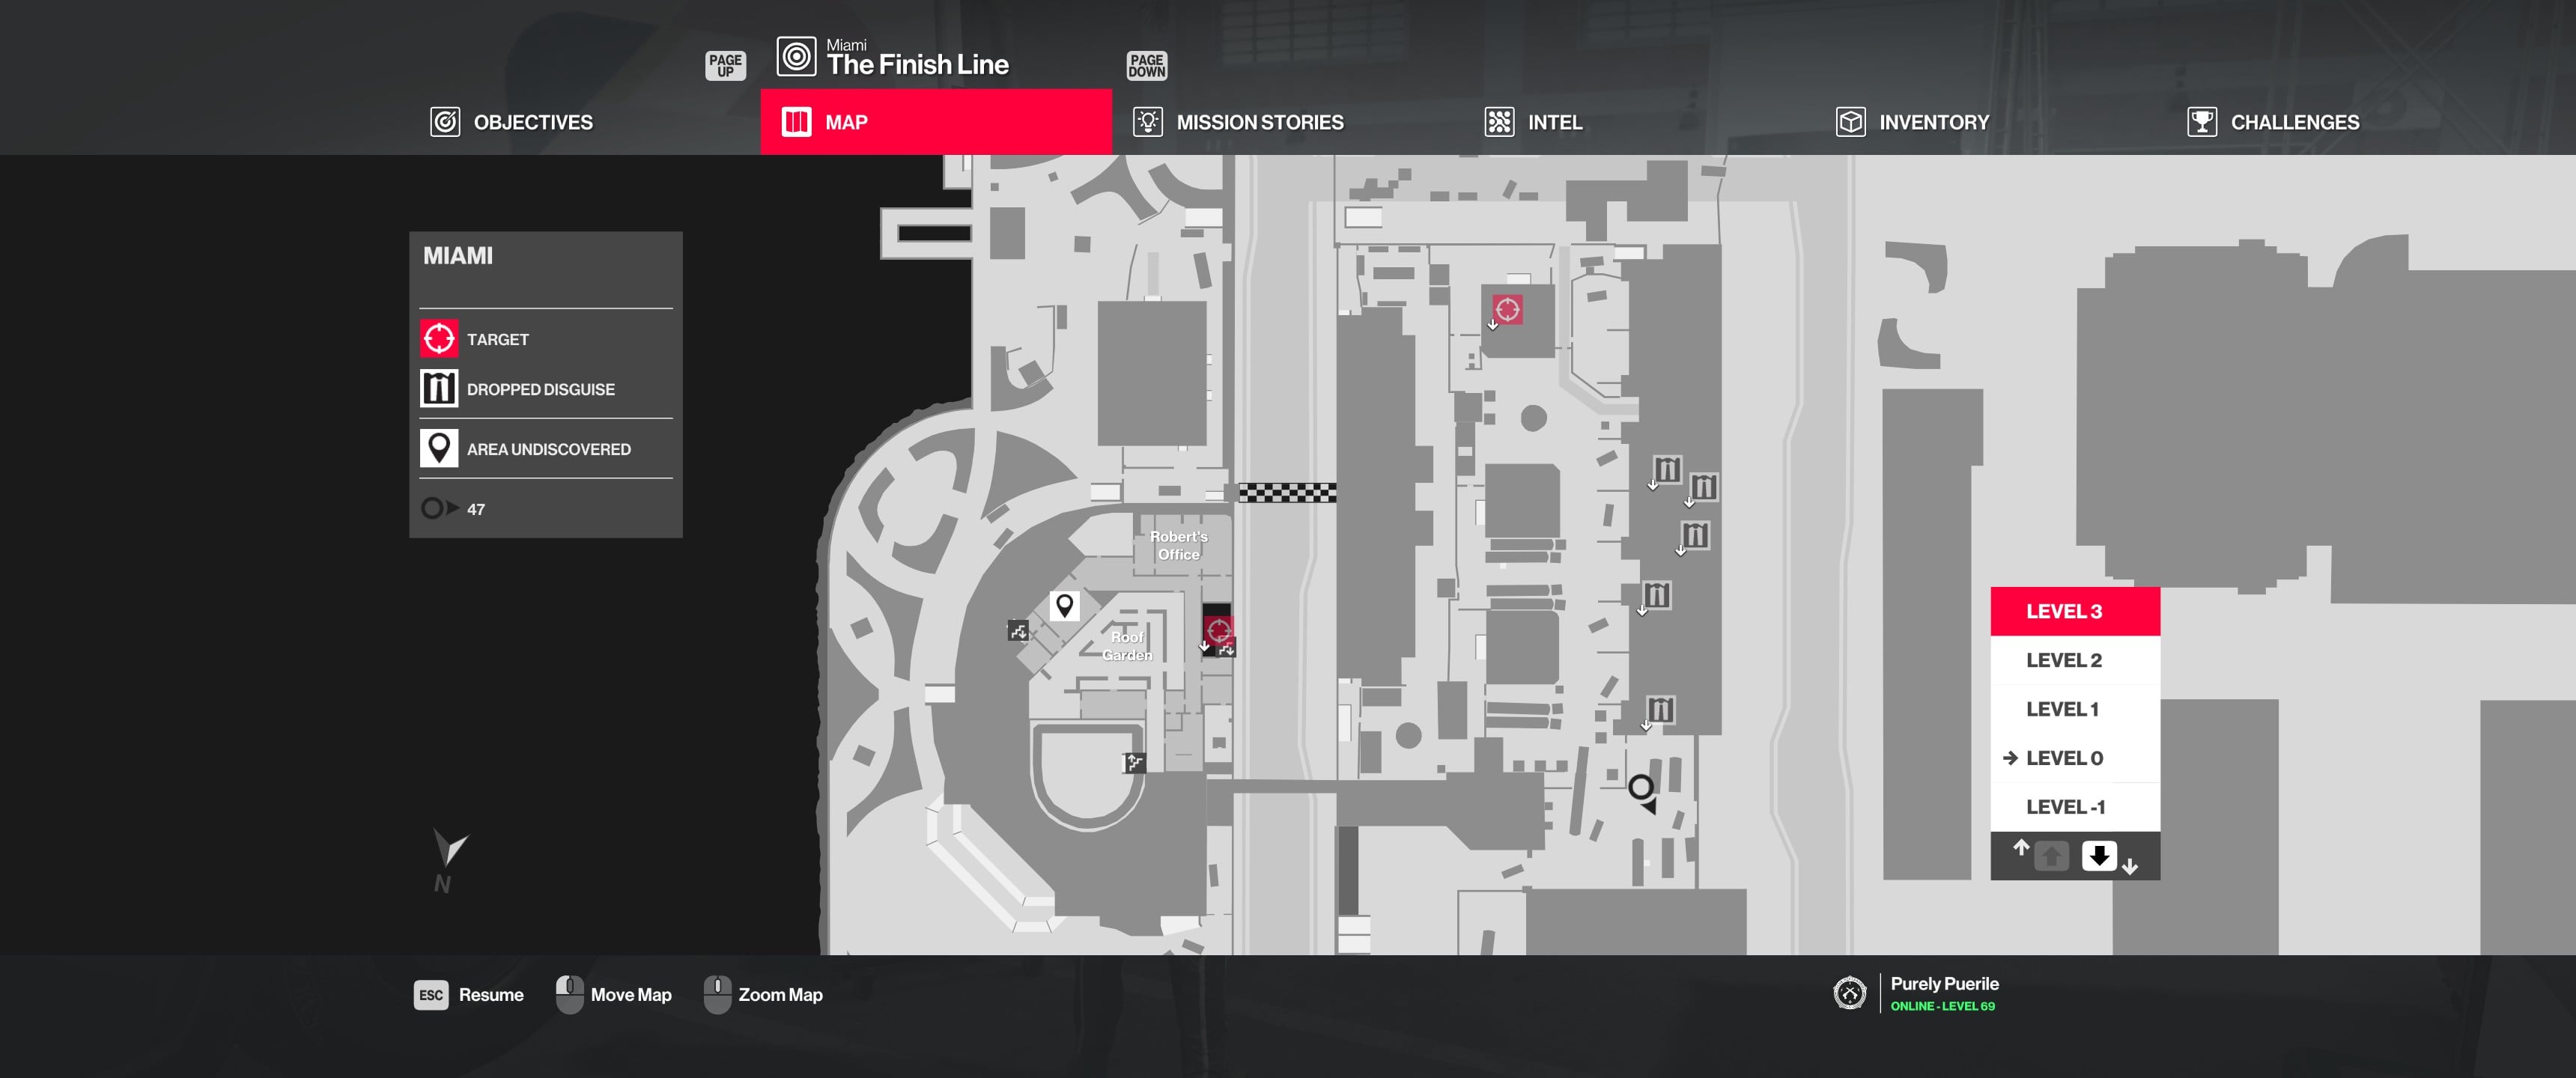
You may want to open each of these images in a new tab and keep them handy for reference, especially if you aren’t intimately familiar with the area yet. All 48 locations required for the DISCOVER MIAMI challenge are marked for you. Underlined text within this guide refers to named map locations.
Discovery Challenges
There are 16 discovery challenges in this mission.
DISCOVER MIAMI – Reveal 48 map locations as shown on the maps above
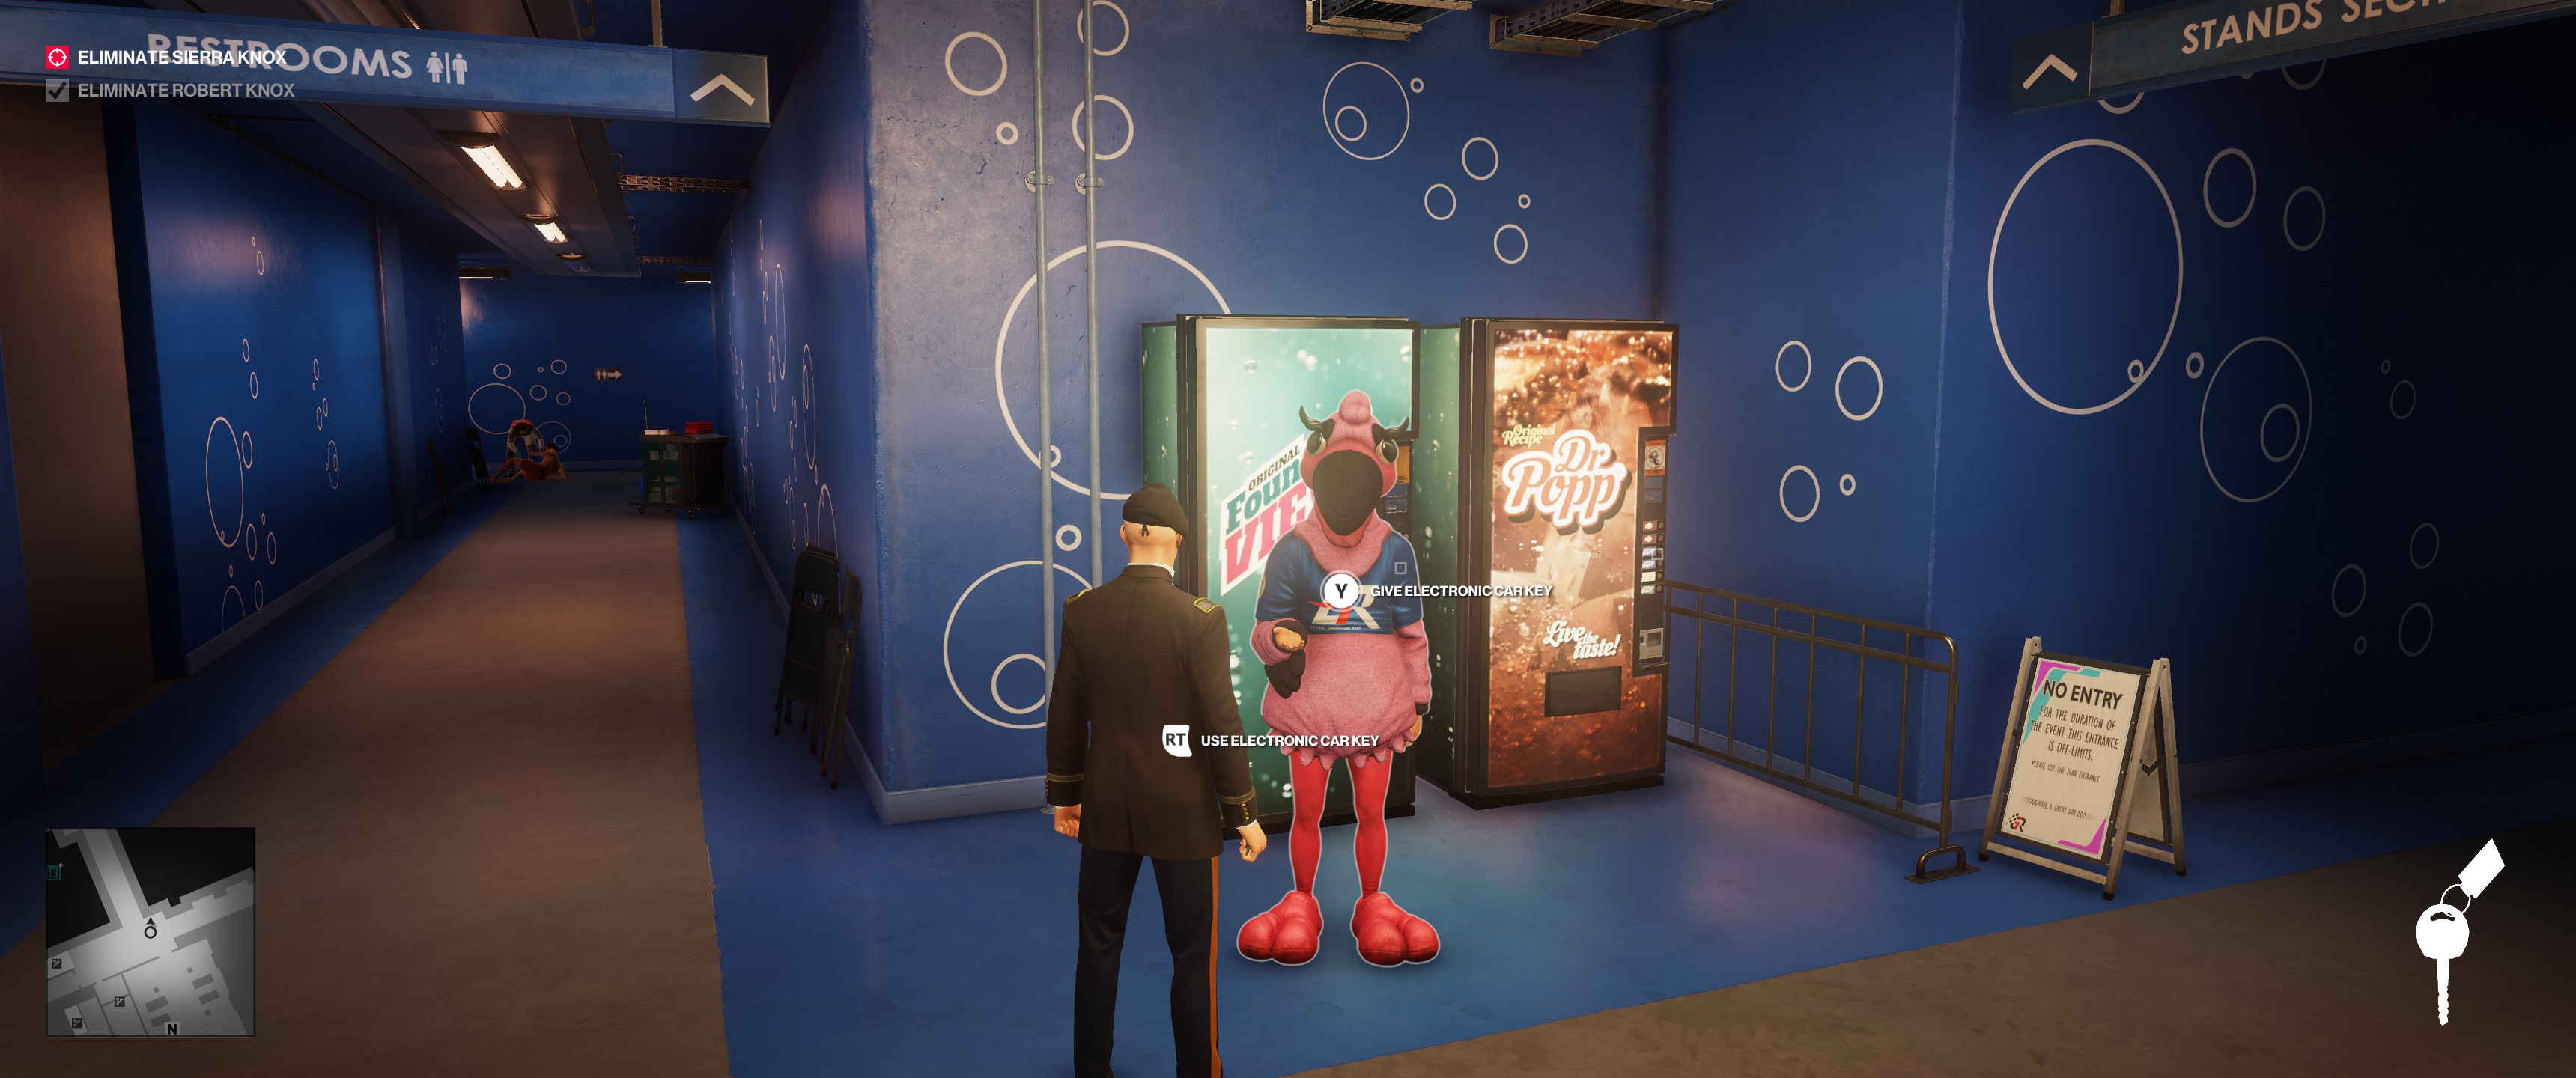
THE FLAMINGO – Disguise yourself as the mascot
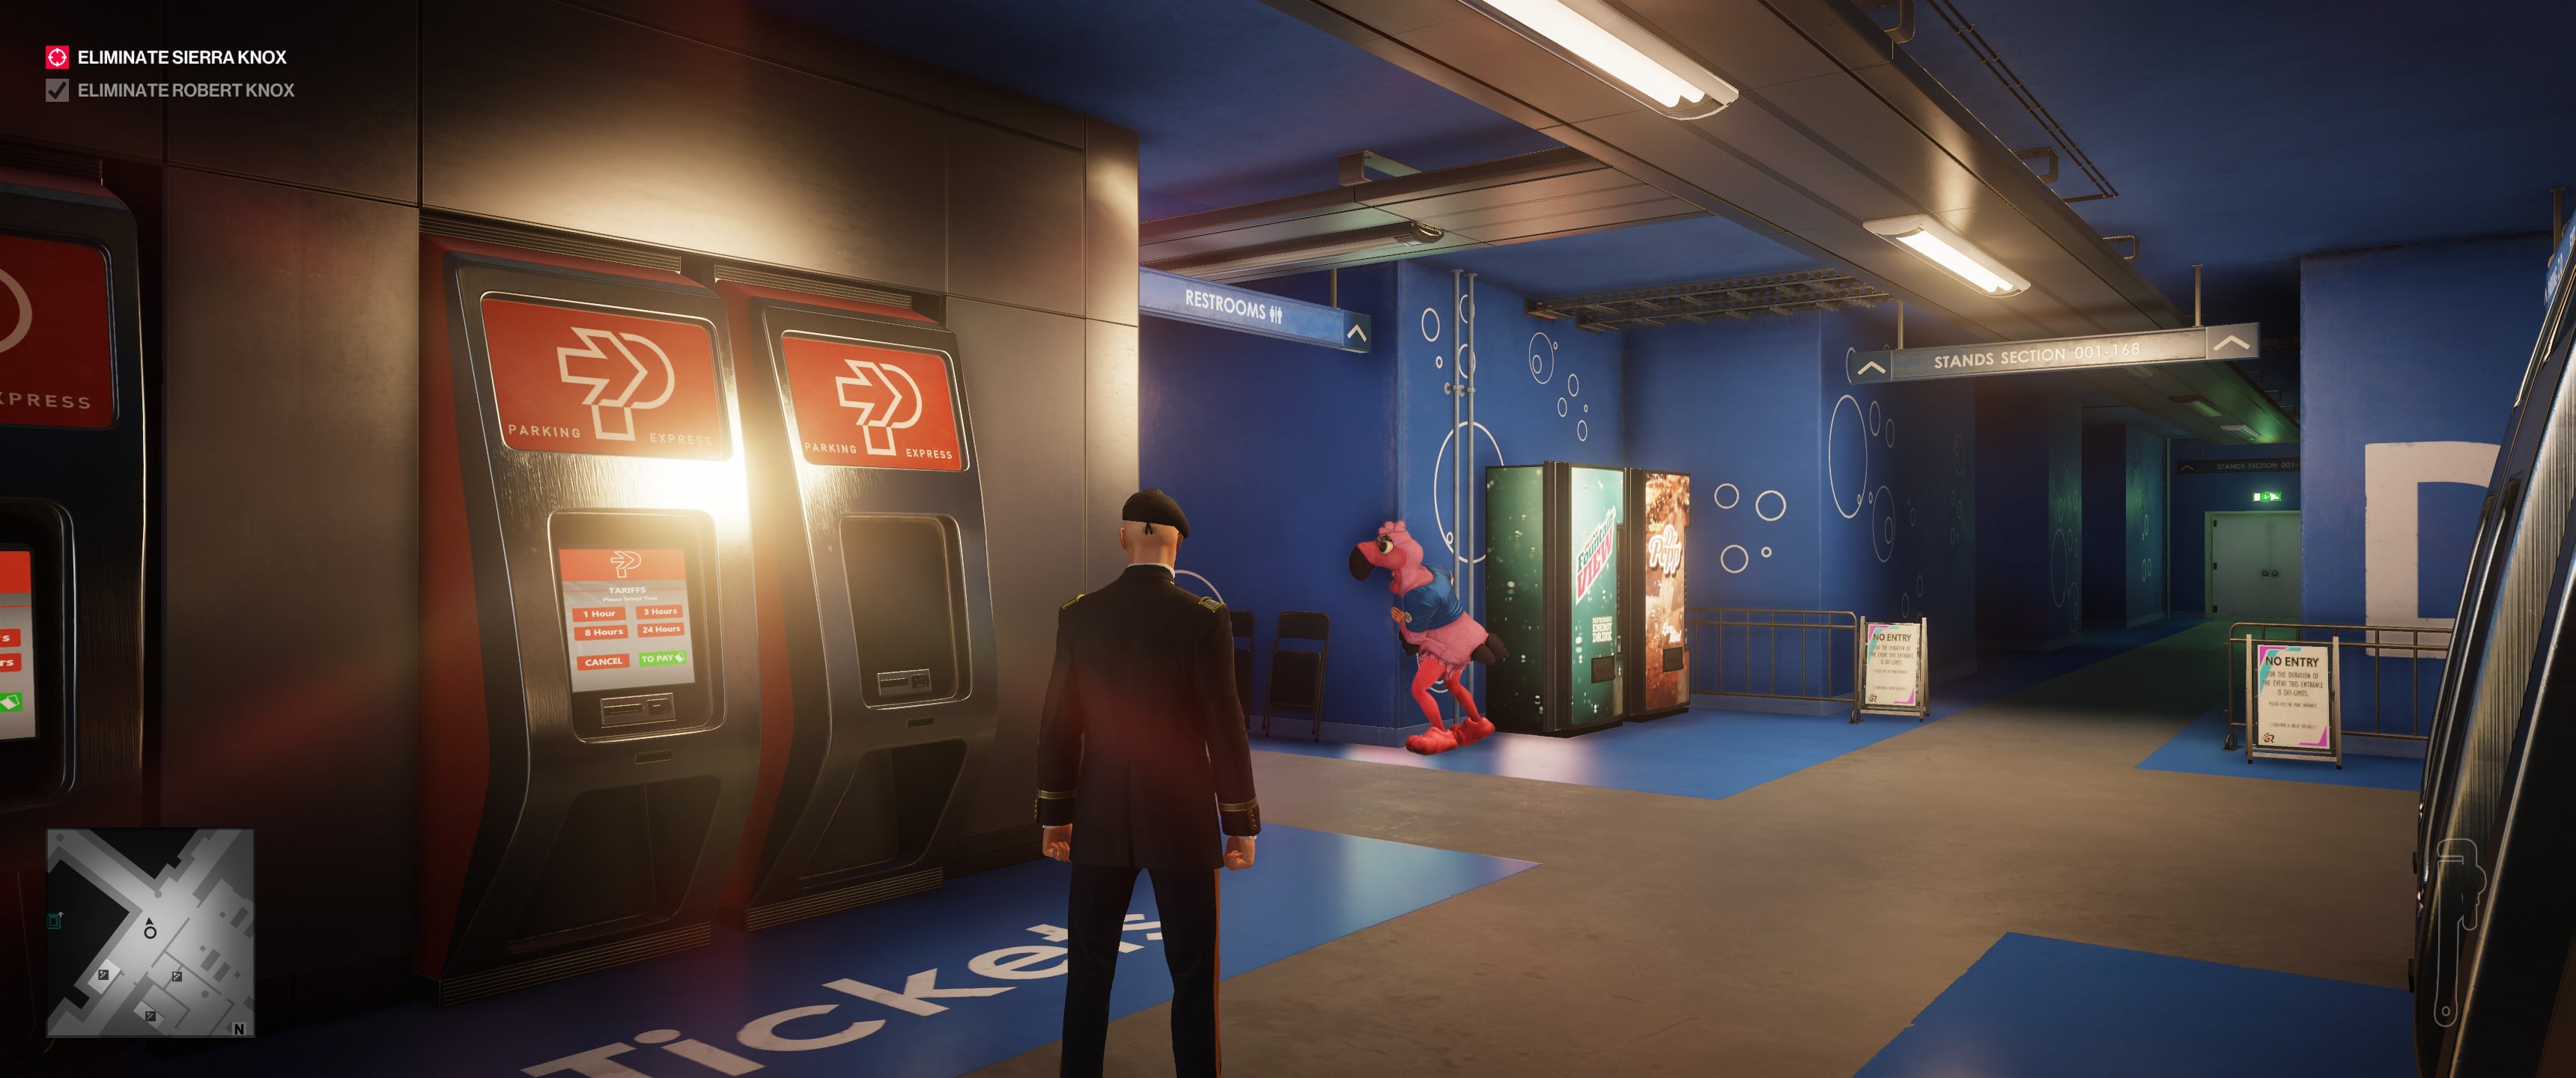
The mascot can be found in the parking garage on floor B1.
THE MILITARY MAN – Disguise yourself as Ted Mendez
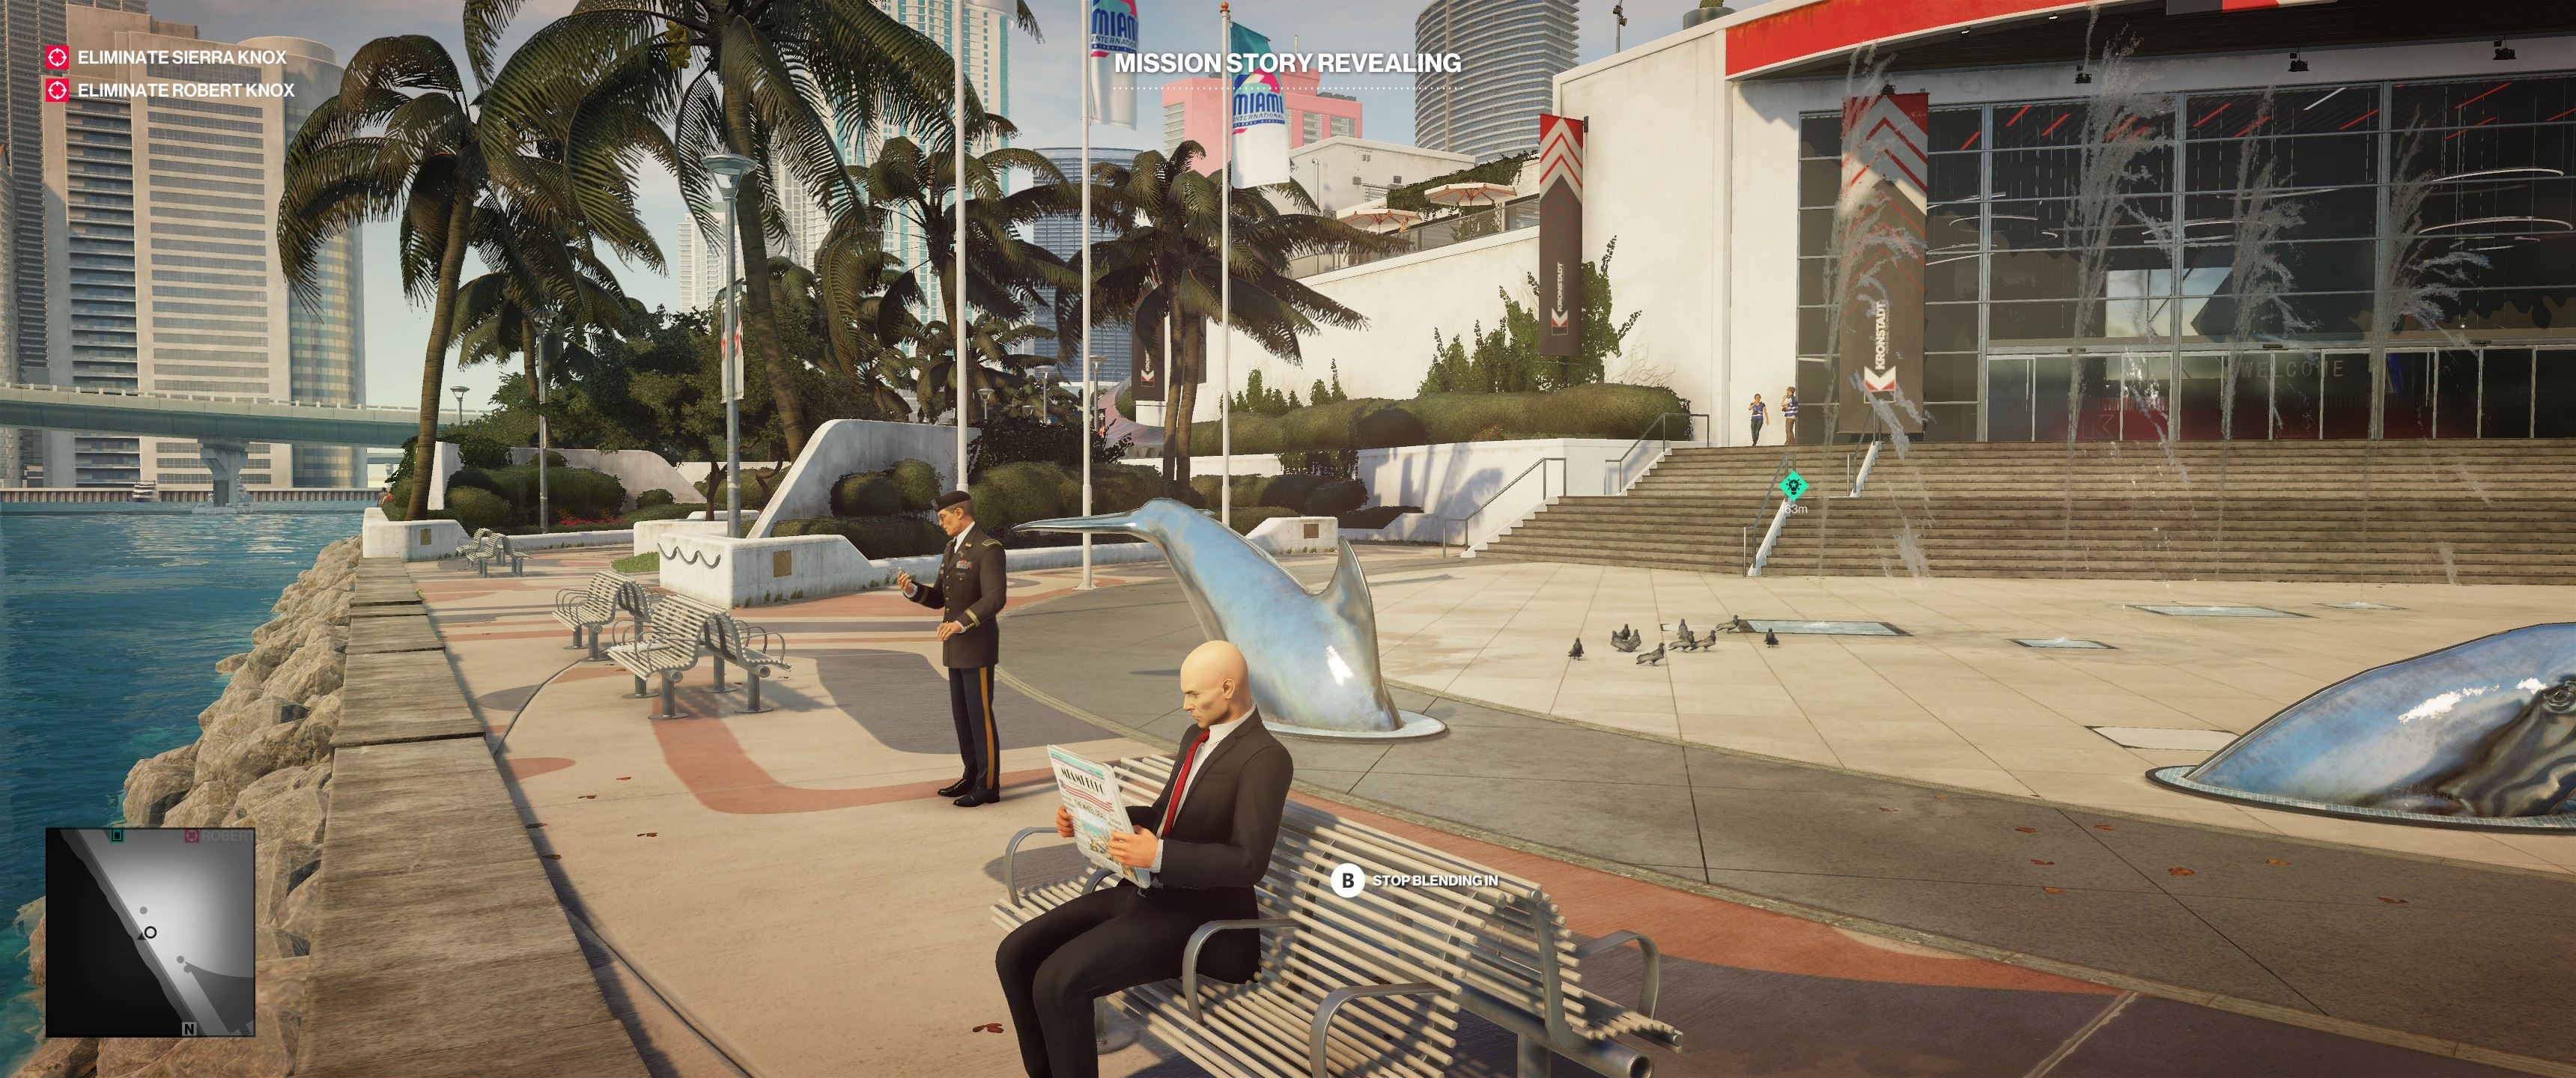
Ted Mendez wanders around outside the Miami Bayside Center Expo, near the dolphin fountains. Lure him to a private spot to steal his threads.
COCONUT BALLS – Disguise yourself as Florida Man
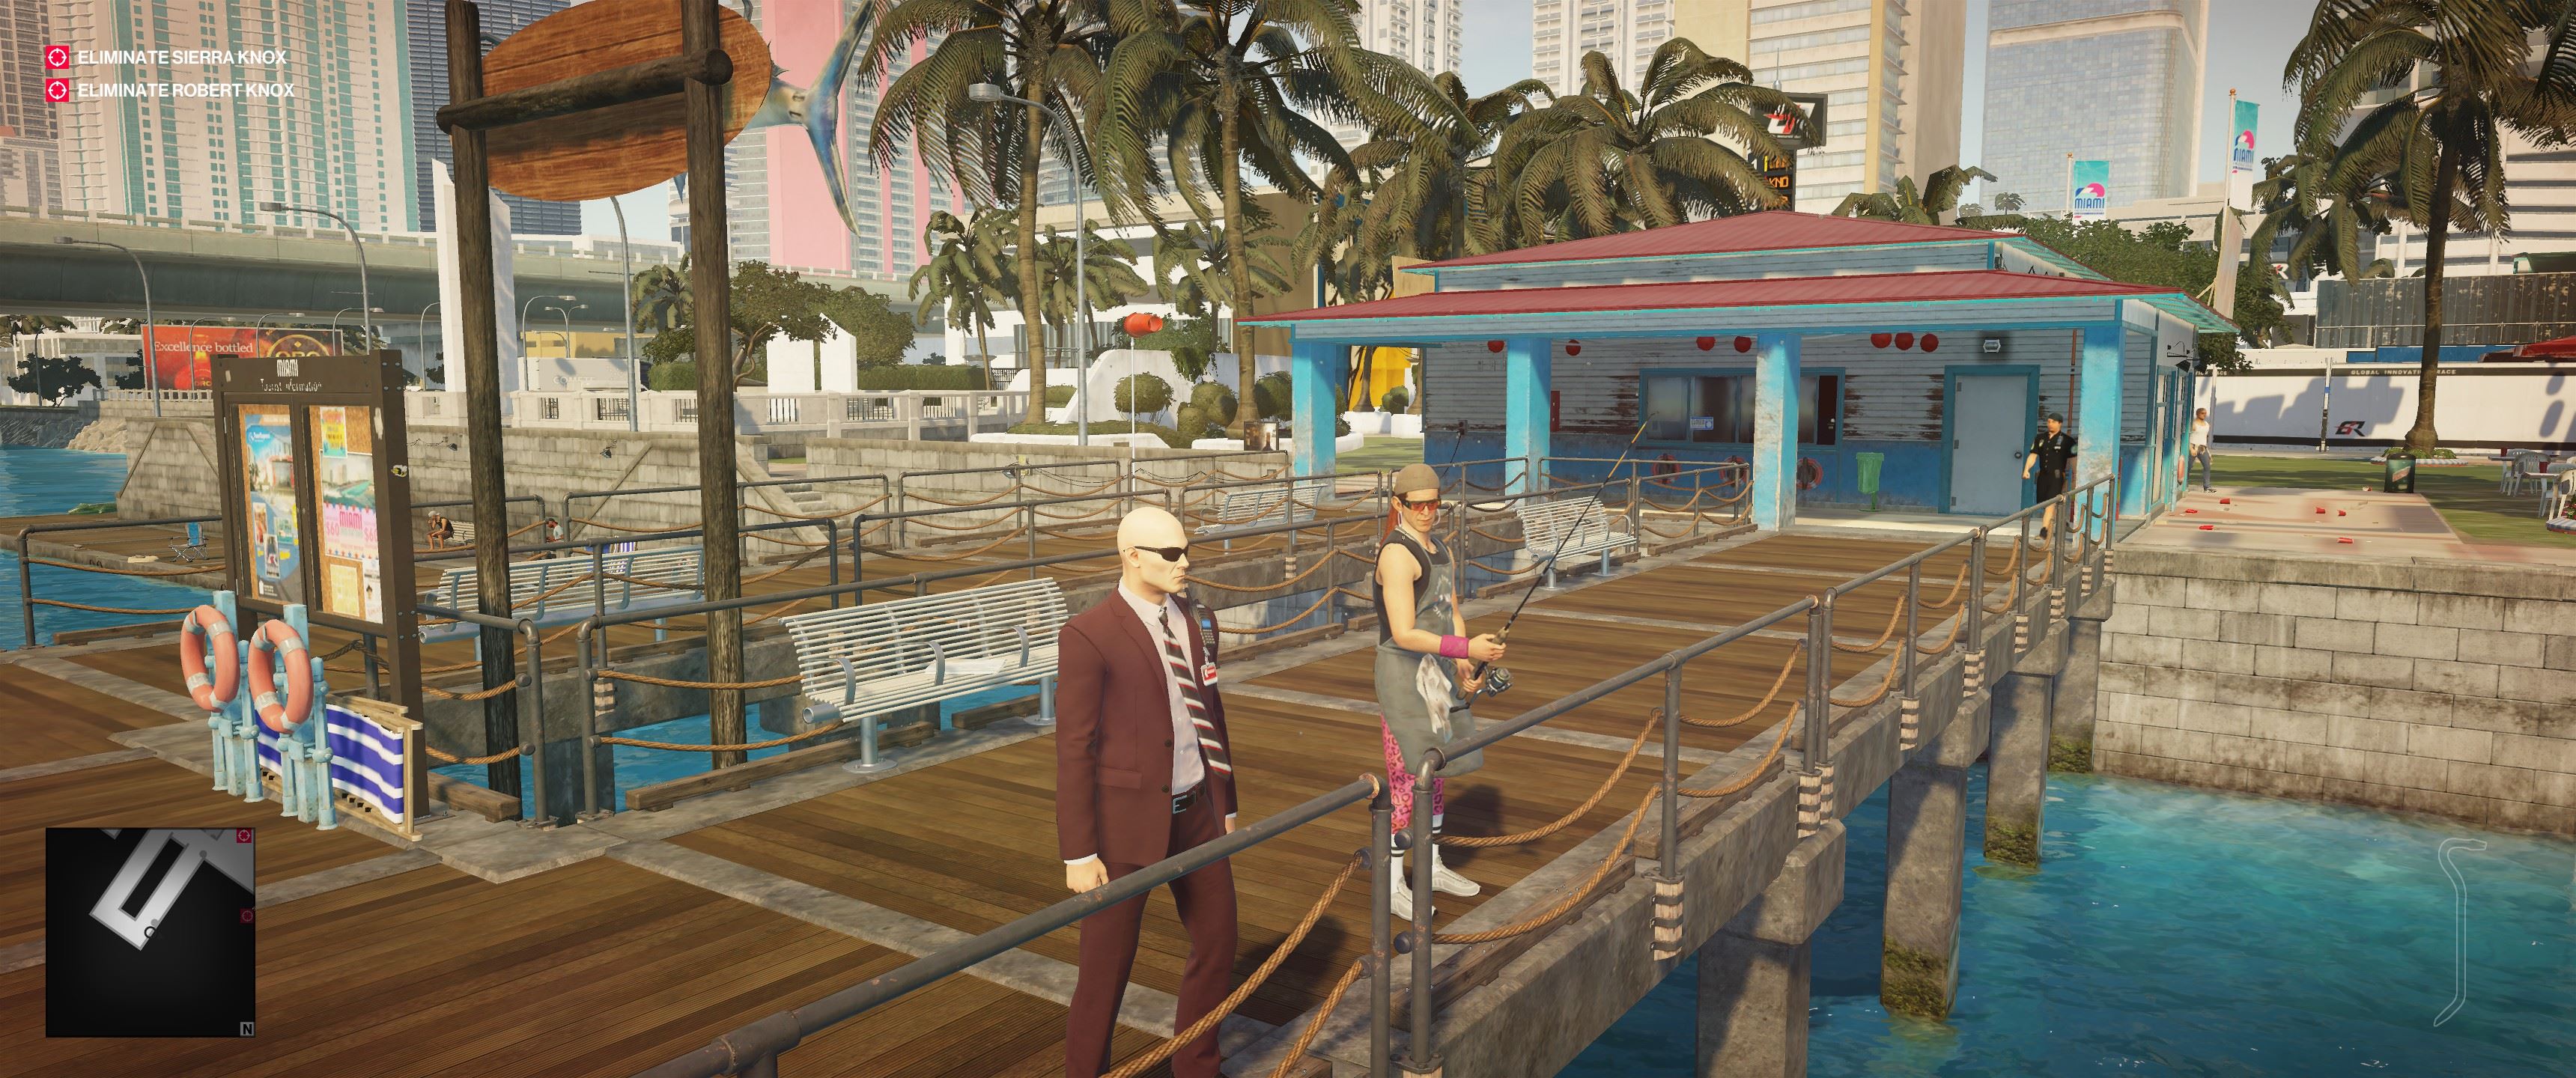
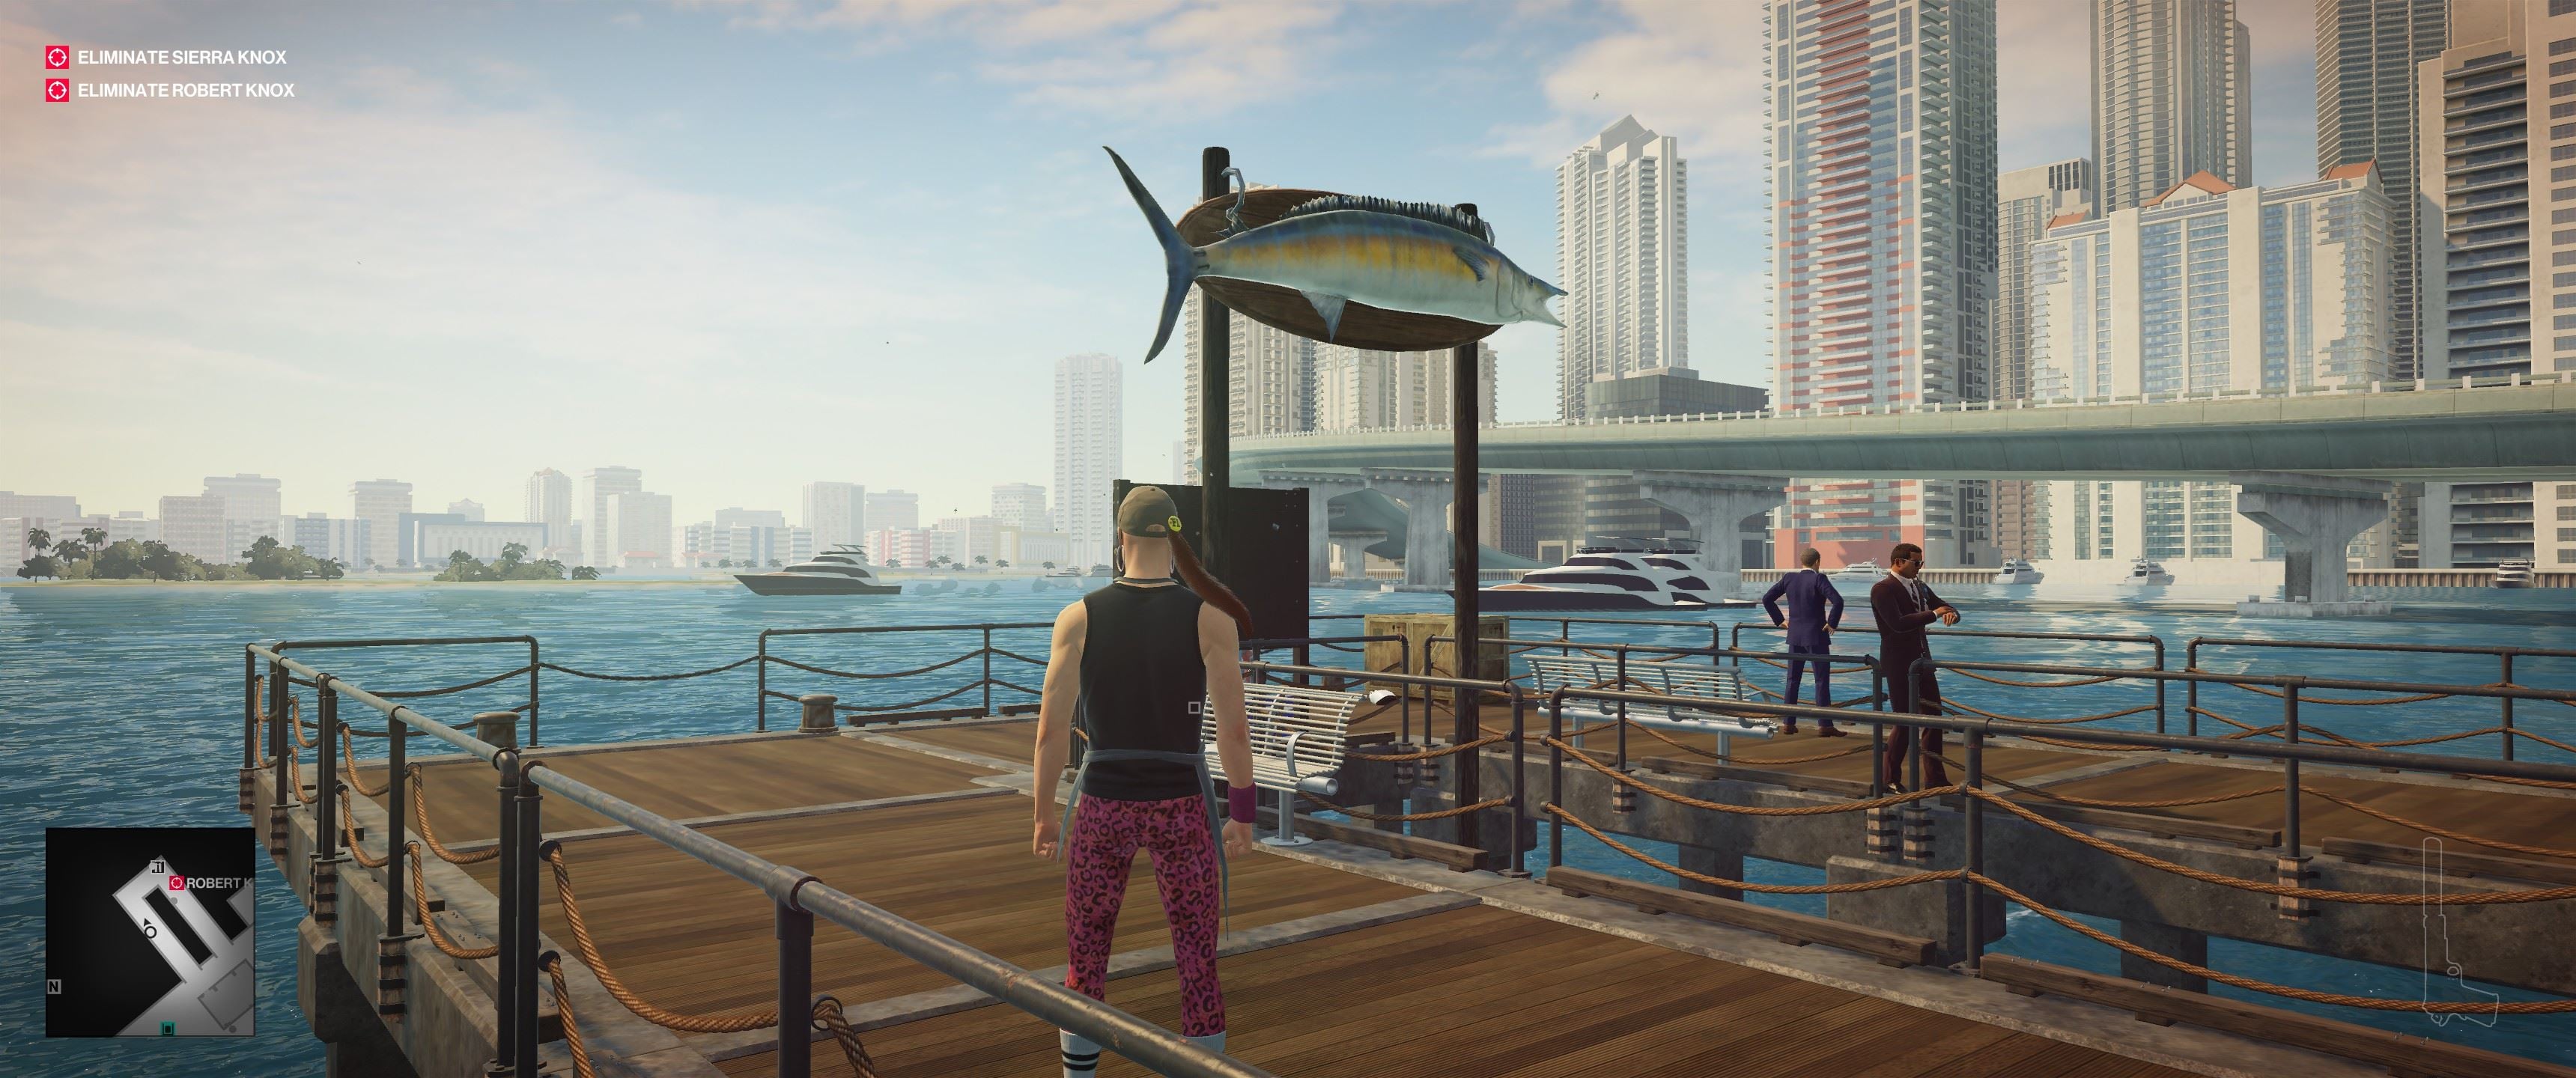
Florida just can’t catch a break. This walking stereotype can be found fishing on the docks in Marina Park South.
SHEIK ZANZIBAR, I PRESUME? – Disguise yourself as the Sheik
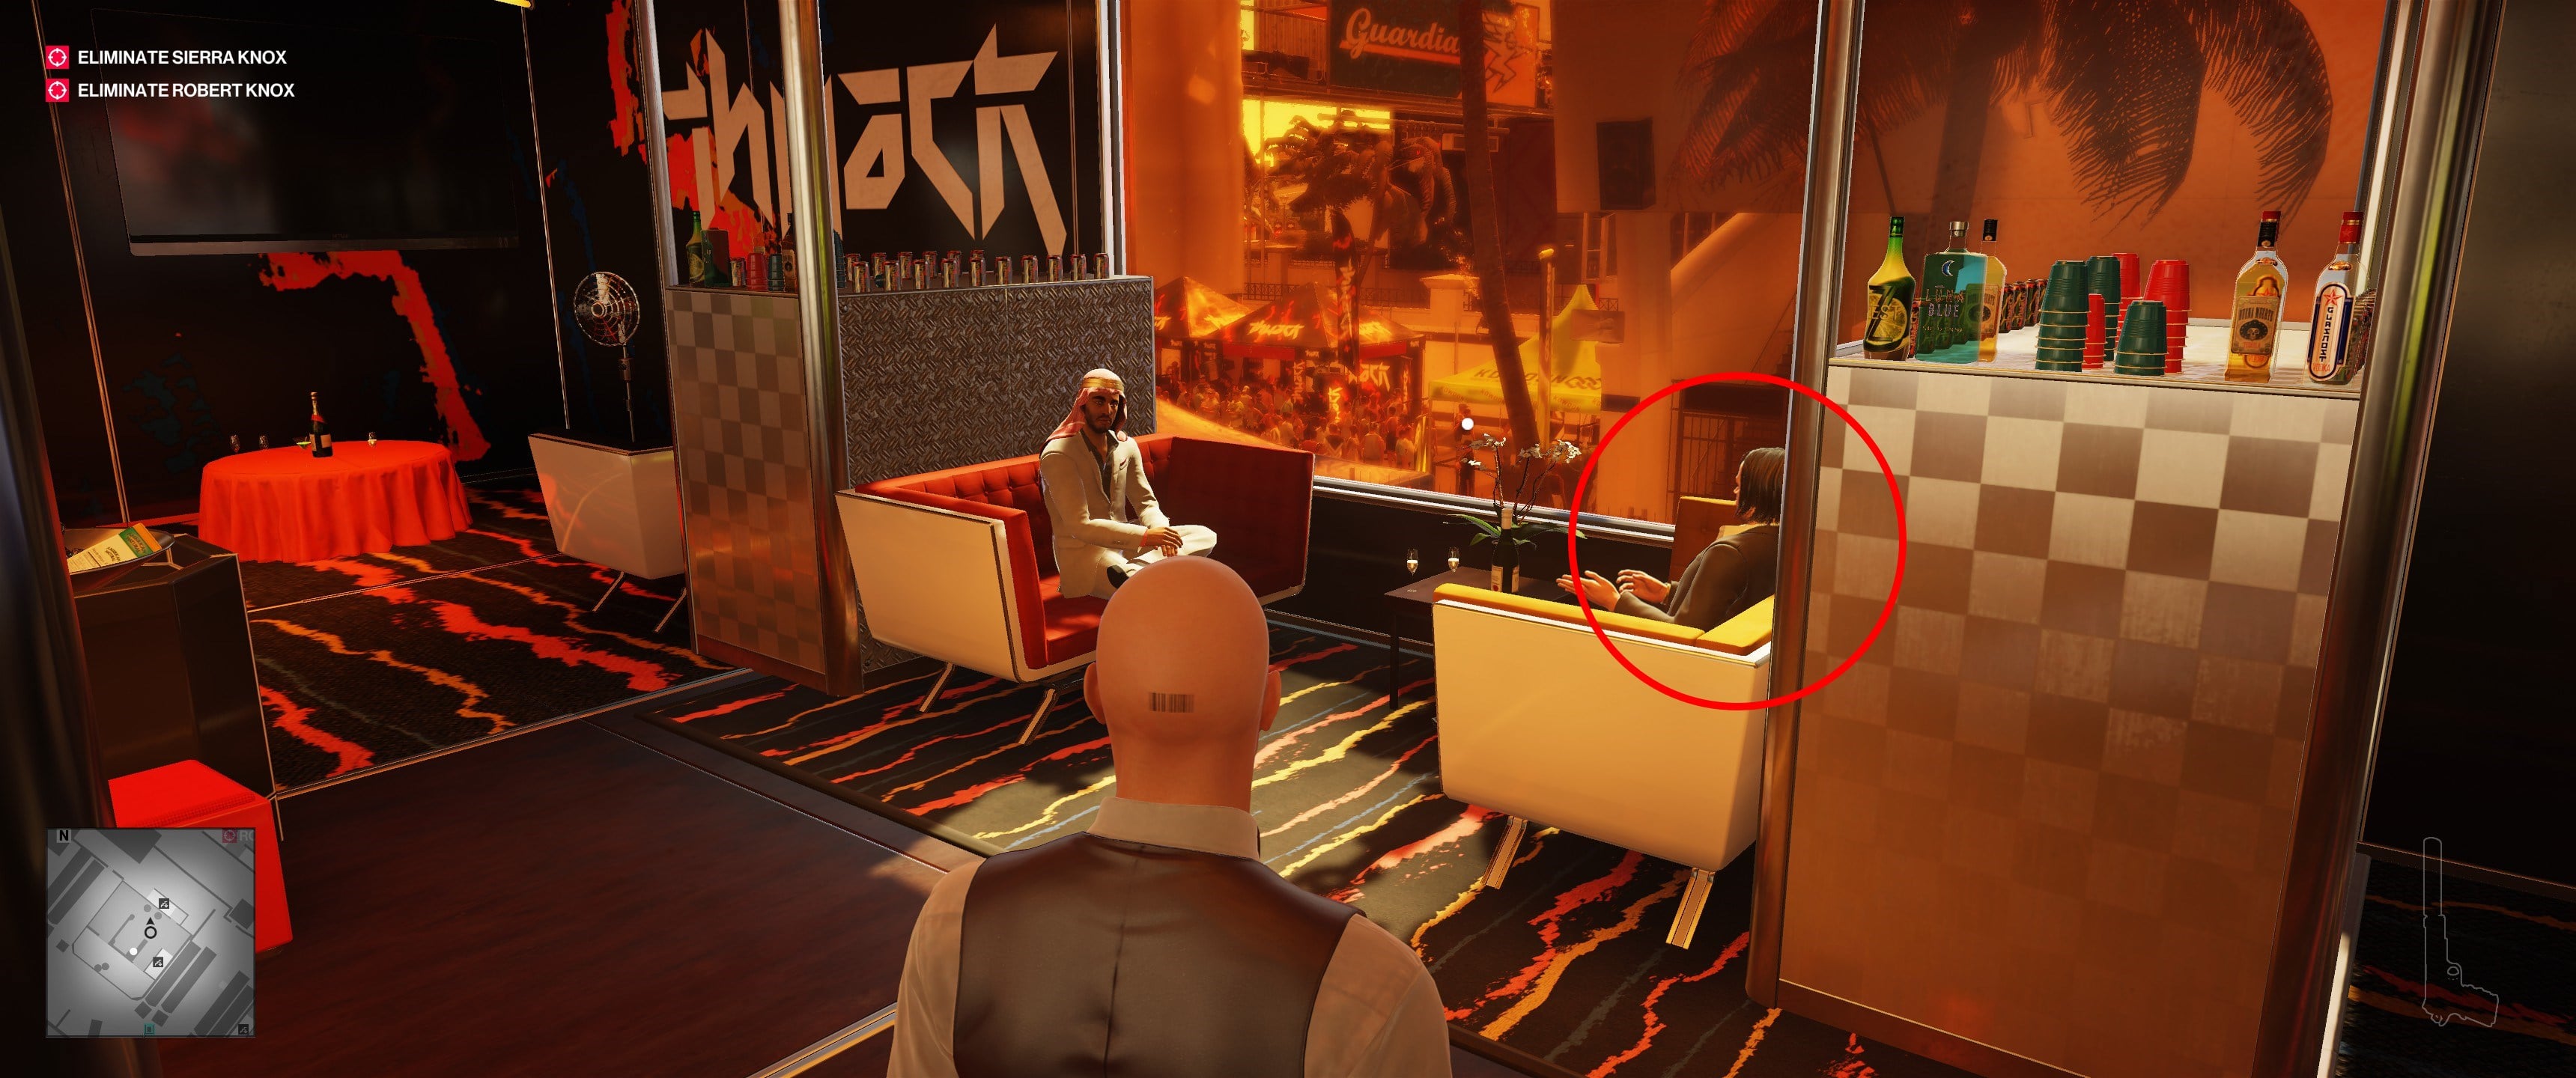
Sheik Zanzibar can be found on the second floor of the Thwack racing paddock, having a drink with someone you might recognize from the “Three-Headed Serpent” mission…
ONE KILO BRICK – Find a brick of cocaine
The annoying tool talking to the sheik is Hector Delgado, and he’s carrying a highly illegal substance. Take it from him however you wish. Maybe don’t cause a time paradox by killing him.
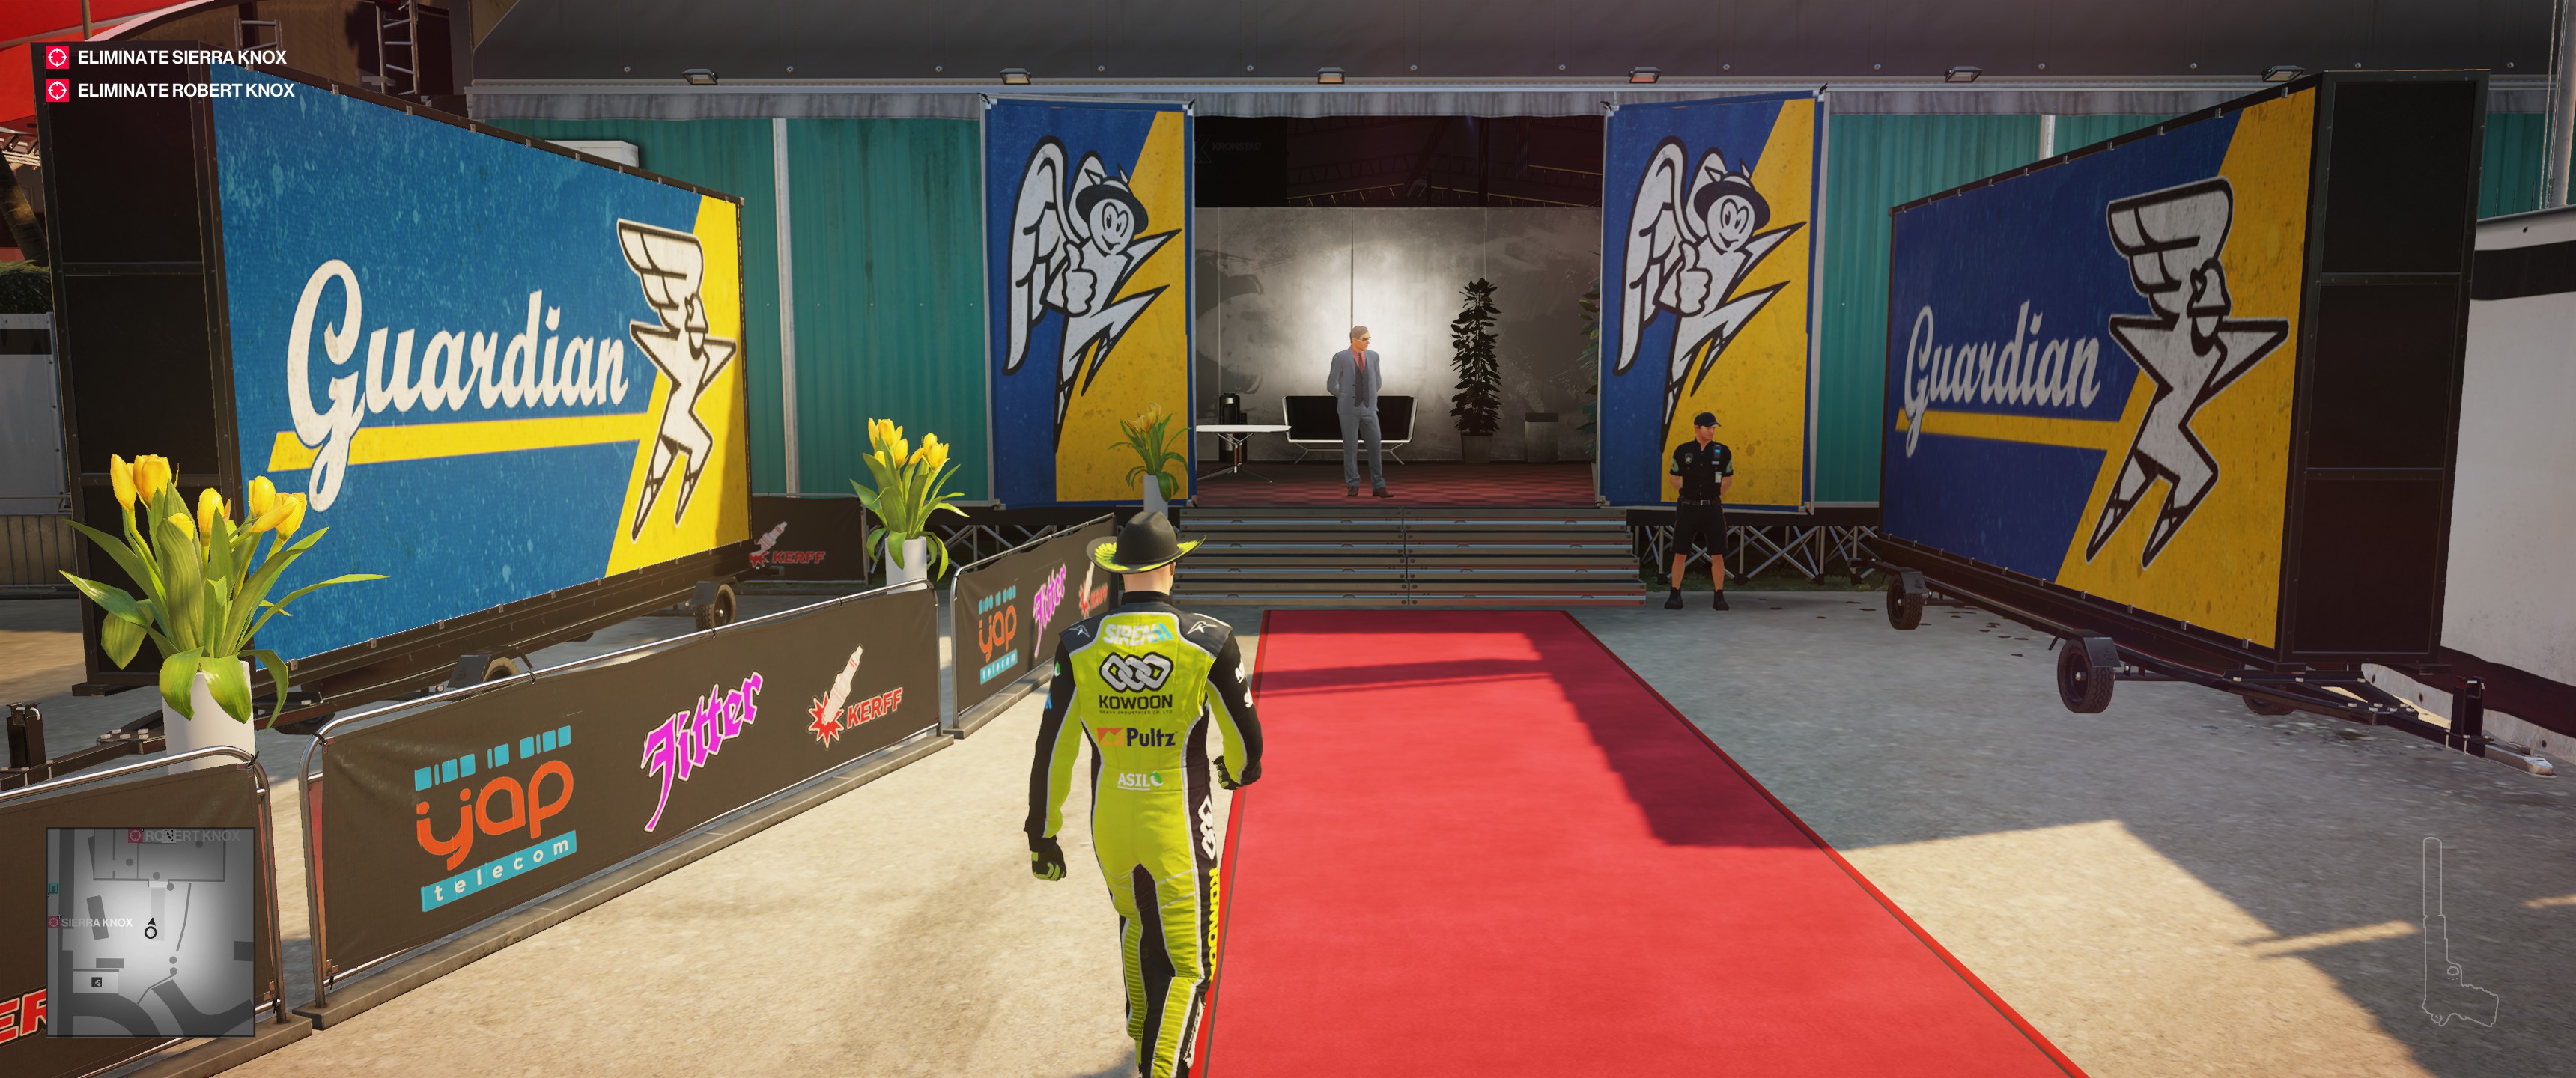
THE RIVAL – Disguise yourself as Moses Lee
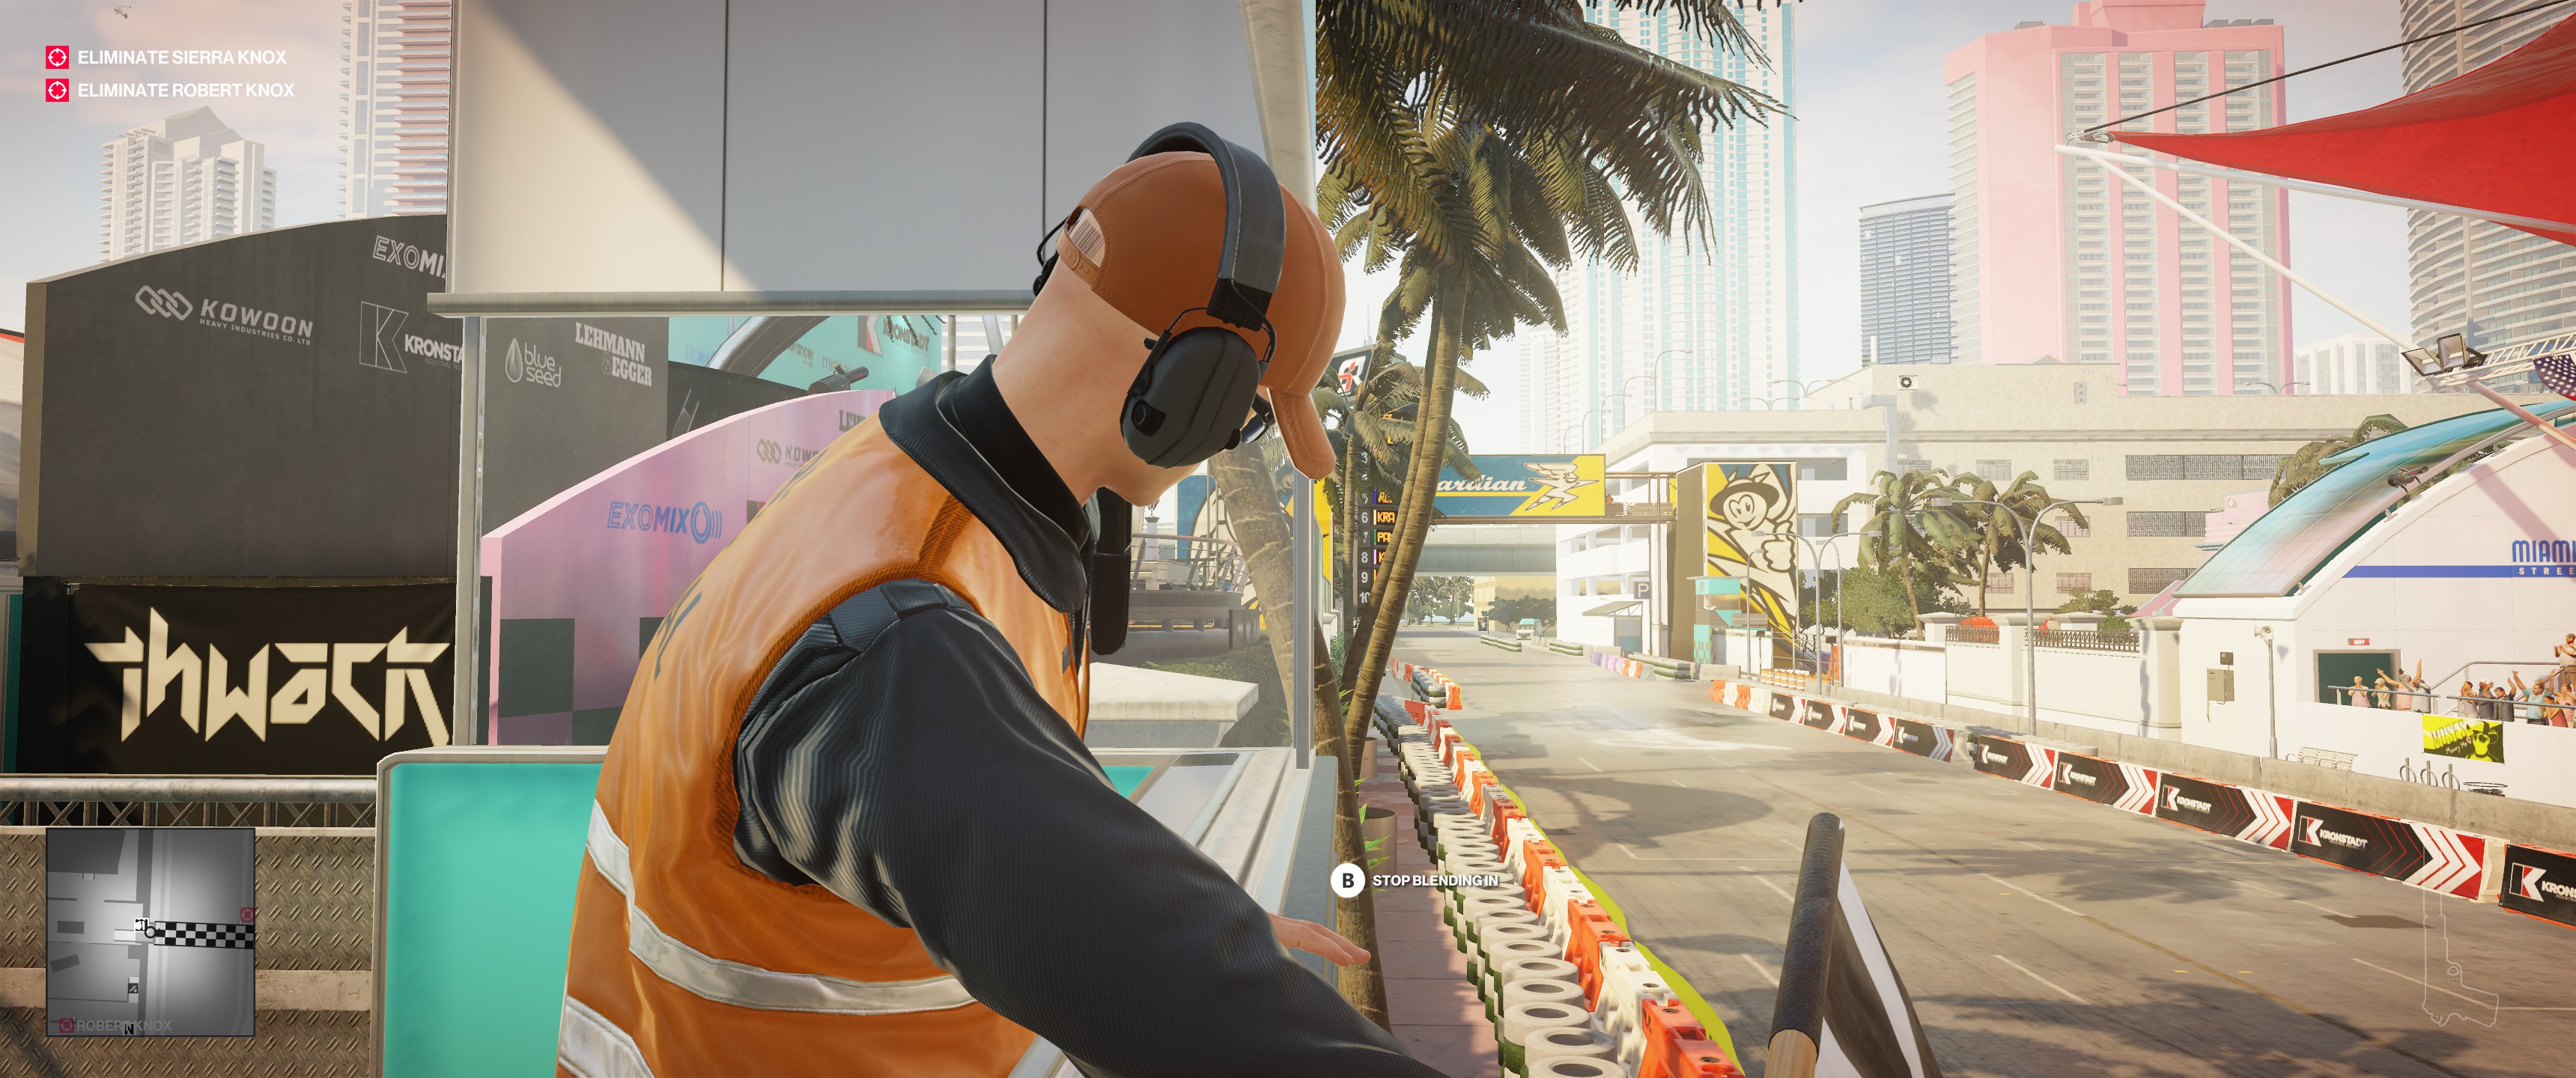
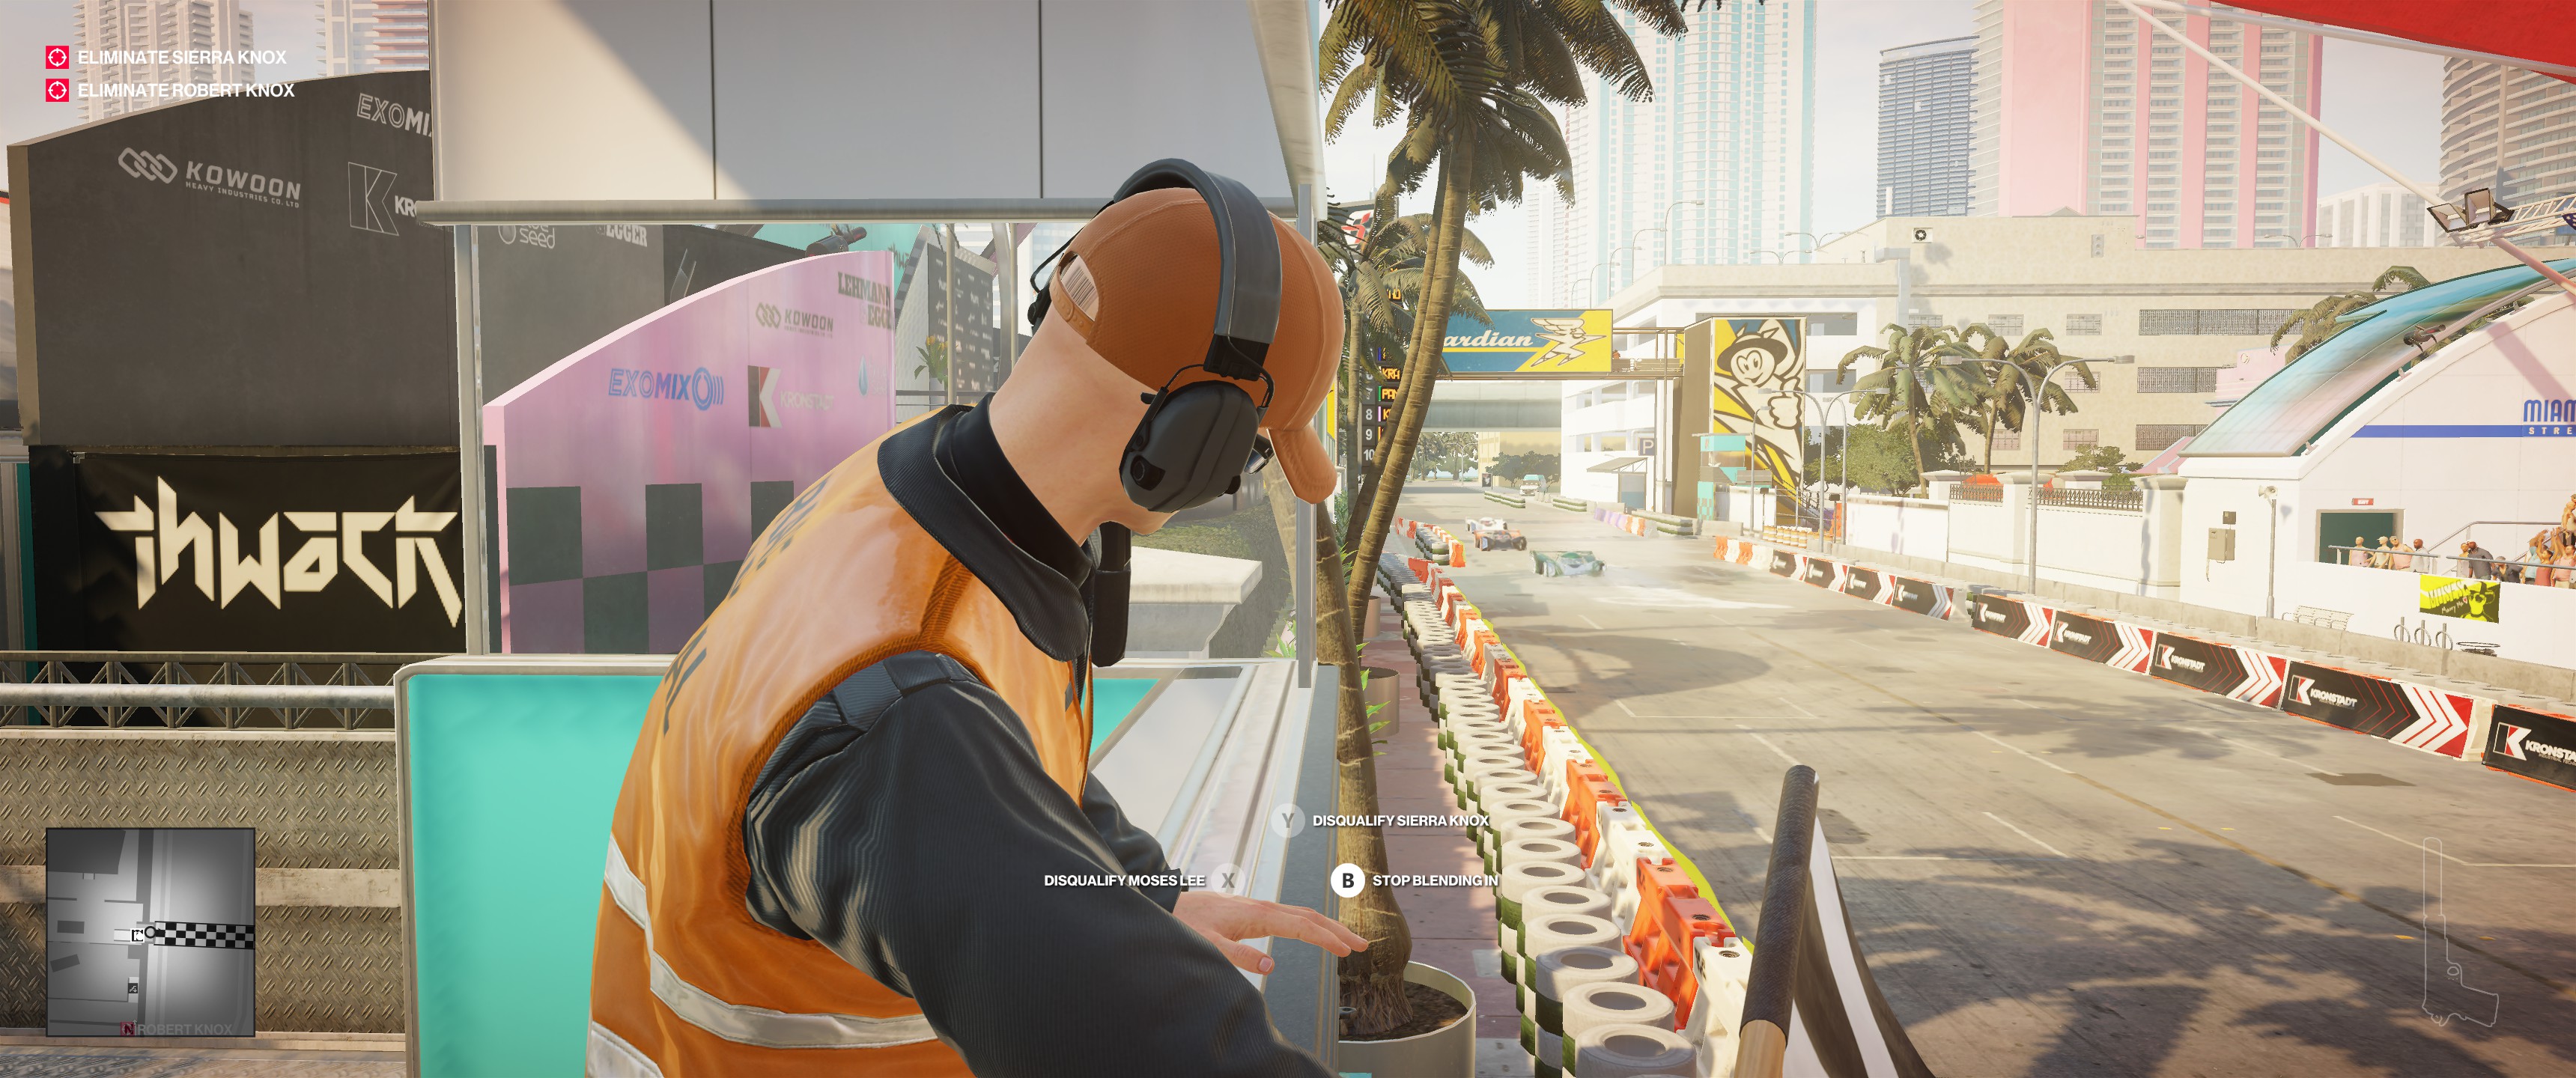
This challenge is easiest to accomplish by starting the mission in a race marshal disguise, but you’ll need one even if you don’t have it available from the start. Head west across the race track overpass toward the hotel, and descend the stairs to the ground floor. Next to the tower is a race marshal’s station. Take up the flag and disqualify either driver when prompted. (If you disqualify Moses Lee, doing so will also complete the ODD ONE OUT feat.)
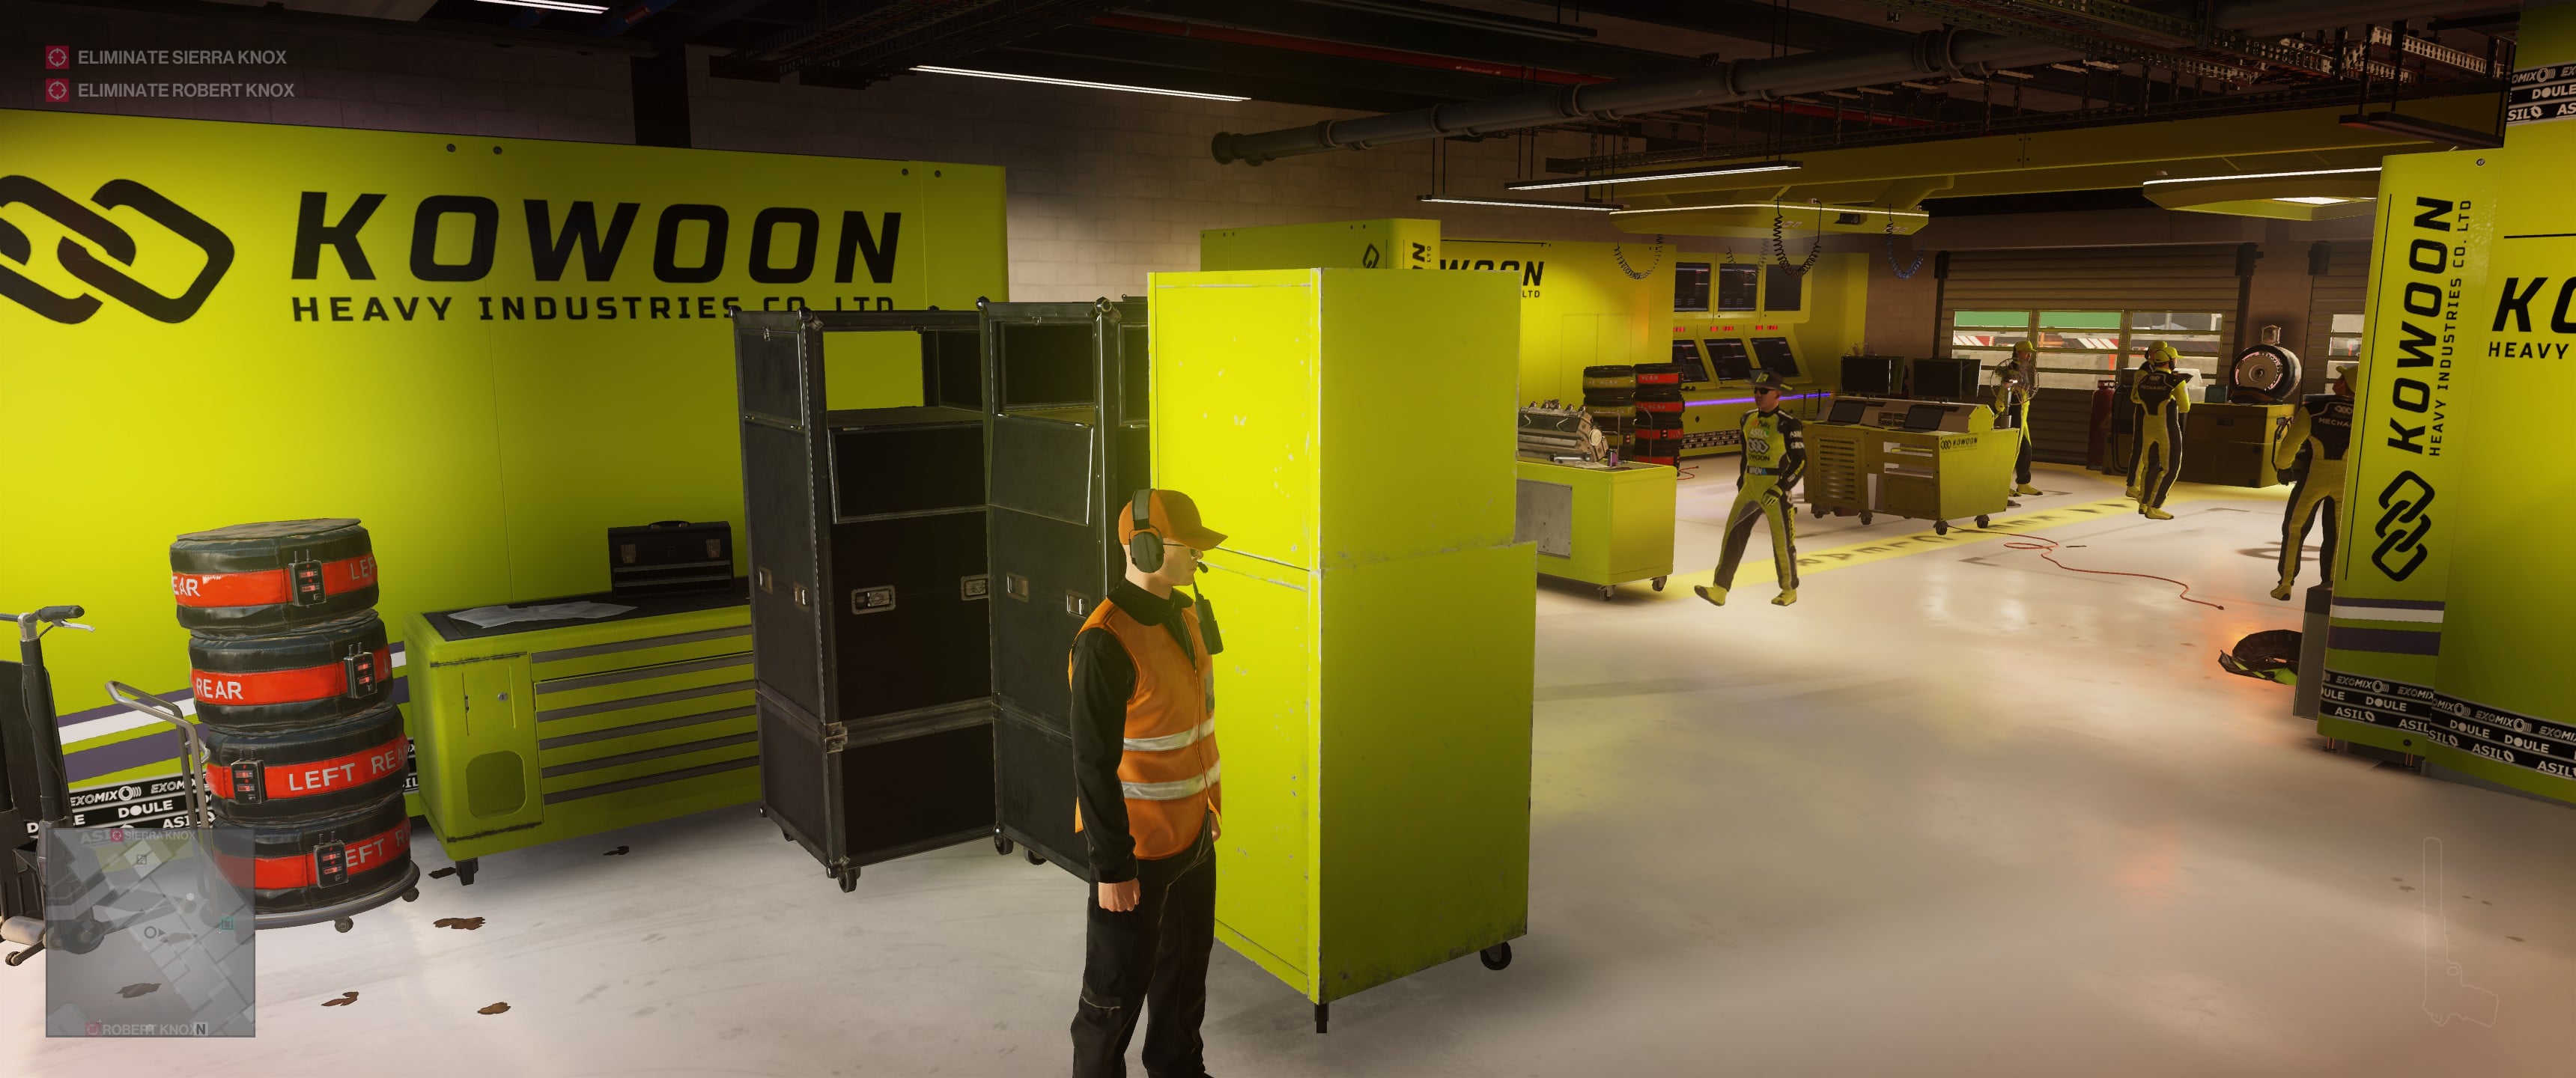
Immediately turn around and run across the street toward the garages. Moses Lee will be in the Kowoon team garage, which is the yellow one—second in line if you start from the southernmost garage and head north. Follow him until a convenient opportunity to snag his duds presents itself.
VERY IMPORTANT PERSON – find a VIP race pass
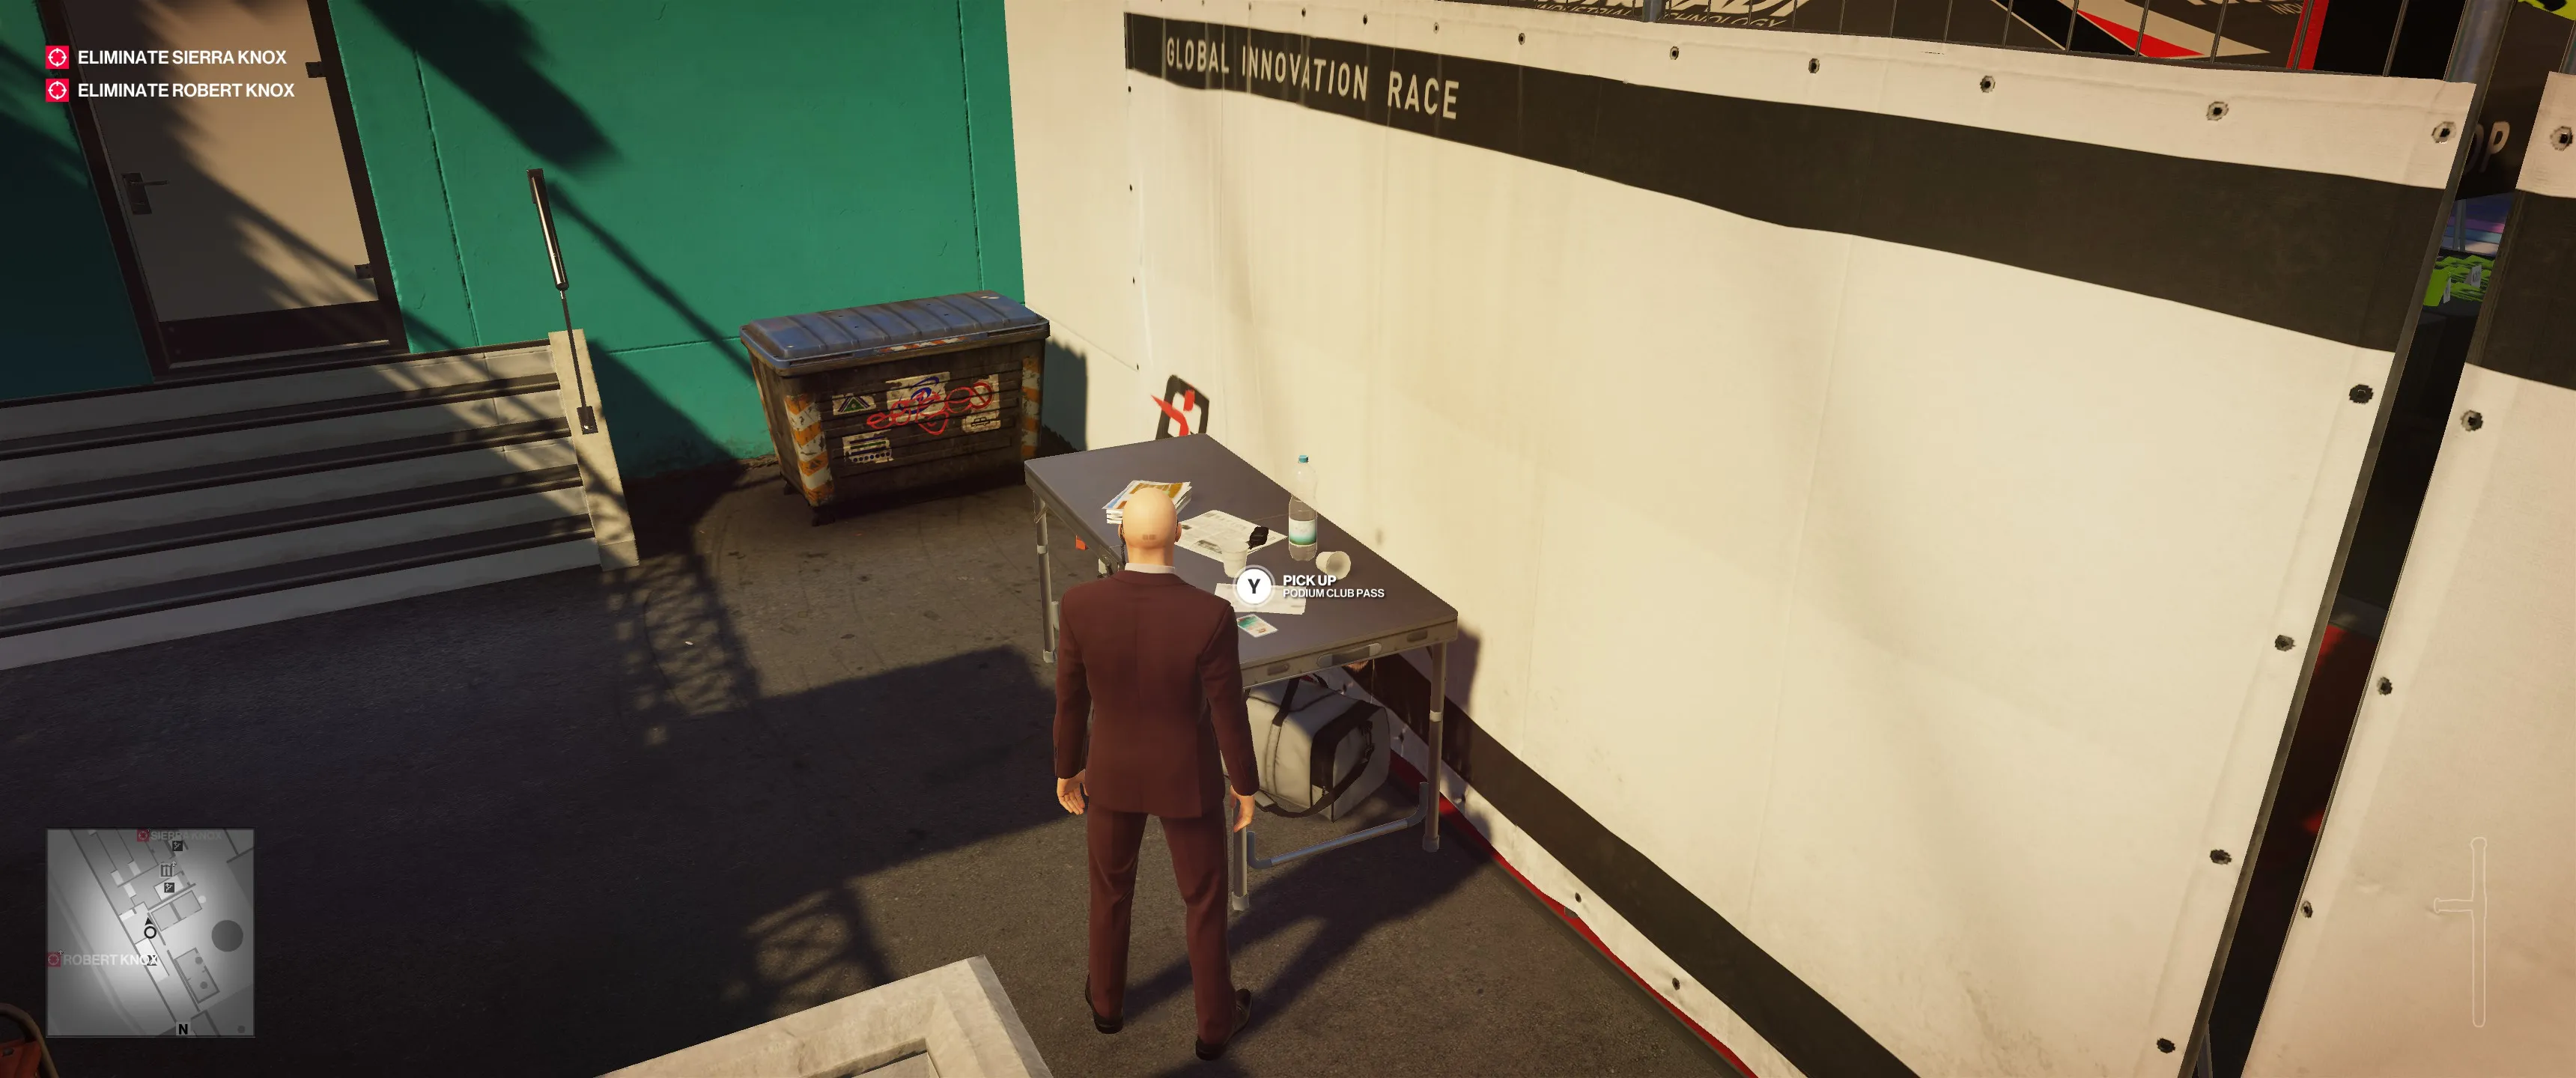
From the default starting location, take an immediate left and look for a door to the right of the stairs. You’ll need a lockpick or crowbar to get it open, and take care to make sure nobody is watching you pop the lock. The Podium Club Pass is on a table just behind the door.
BACKDOOR ENGINEERING – Find the event crew keys
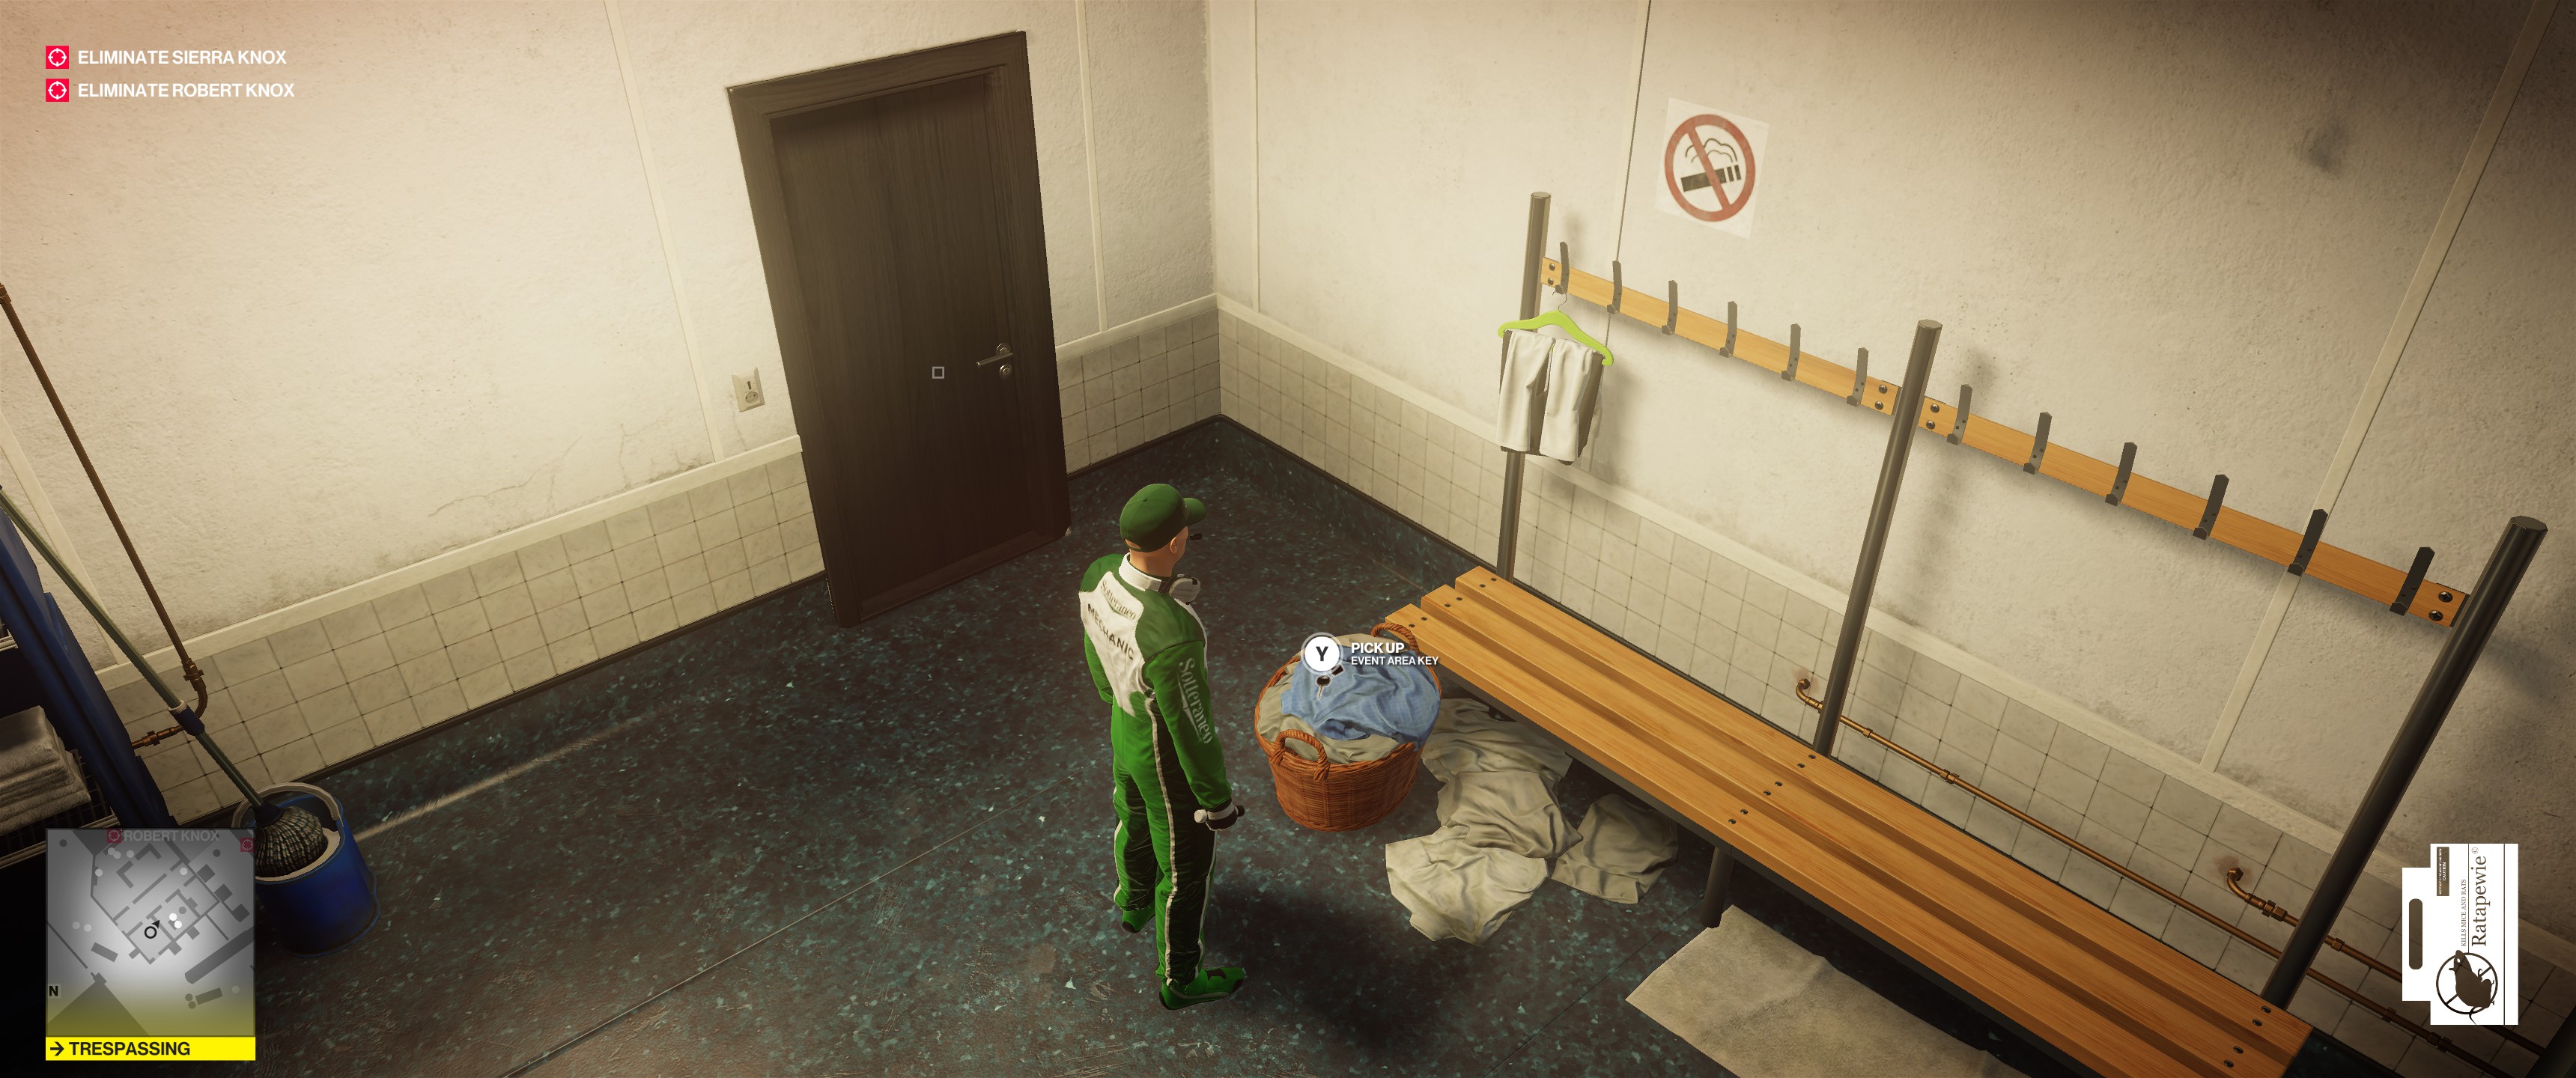
From the starting location, look for a white door behind and to the right of you. This leads to the trucks area. If you don’t have a valid disguise, sneak carefully into the locker room and snag the keys from the gross laundry basket.
DAY AT THE AQUARIUM – find a Bayside Center keycard
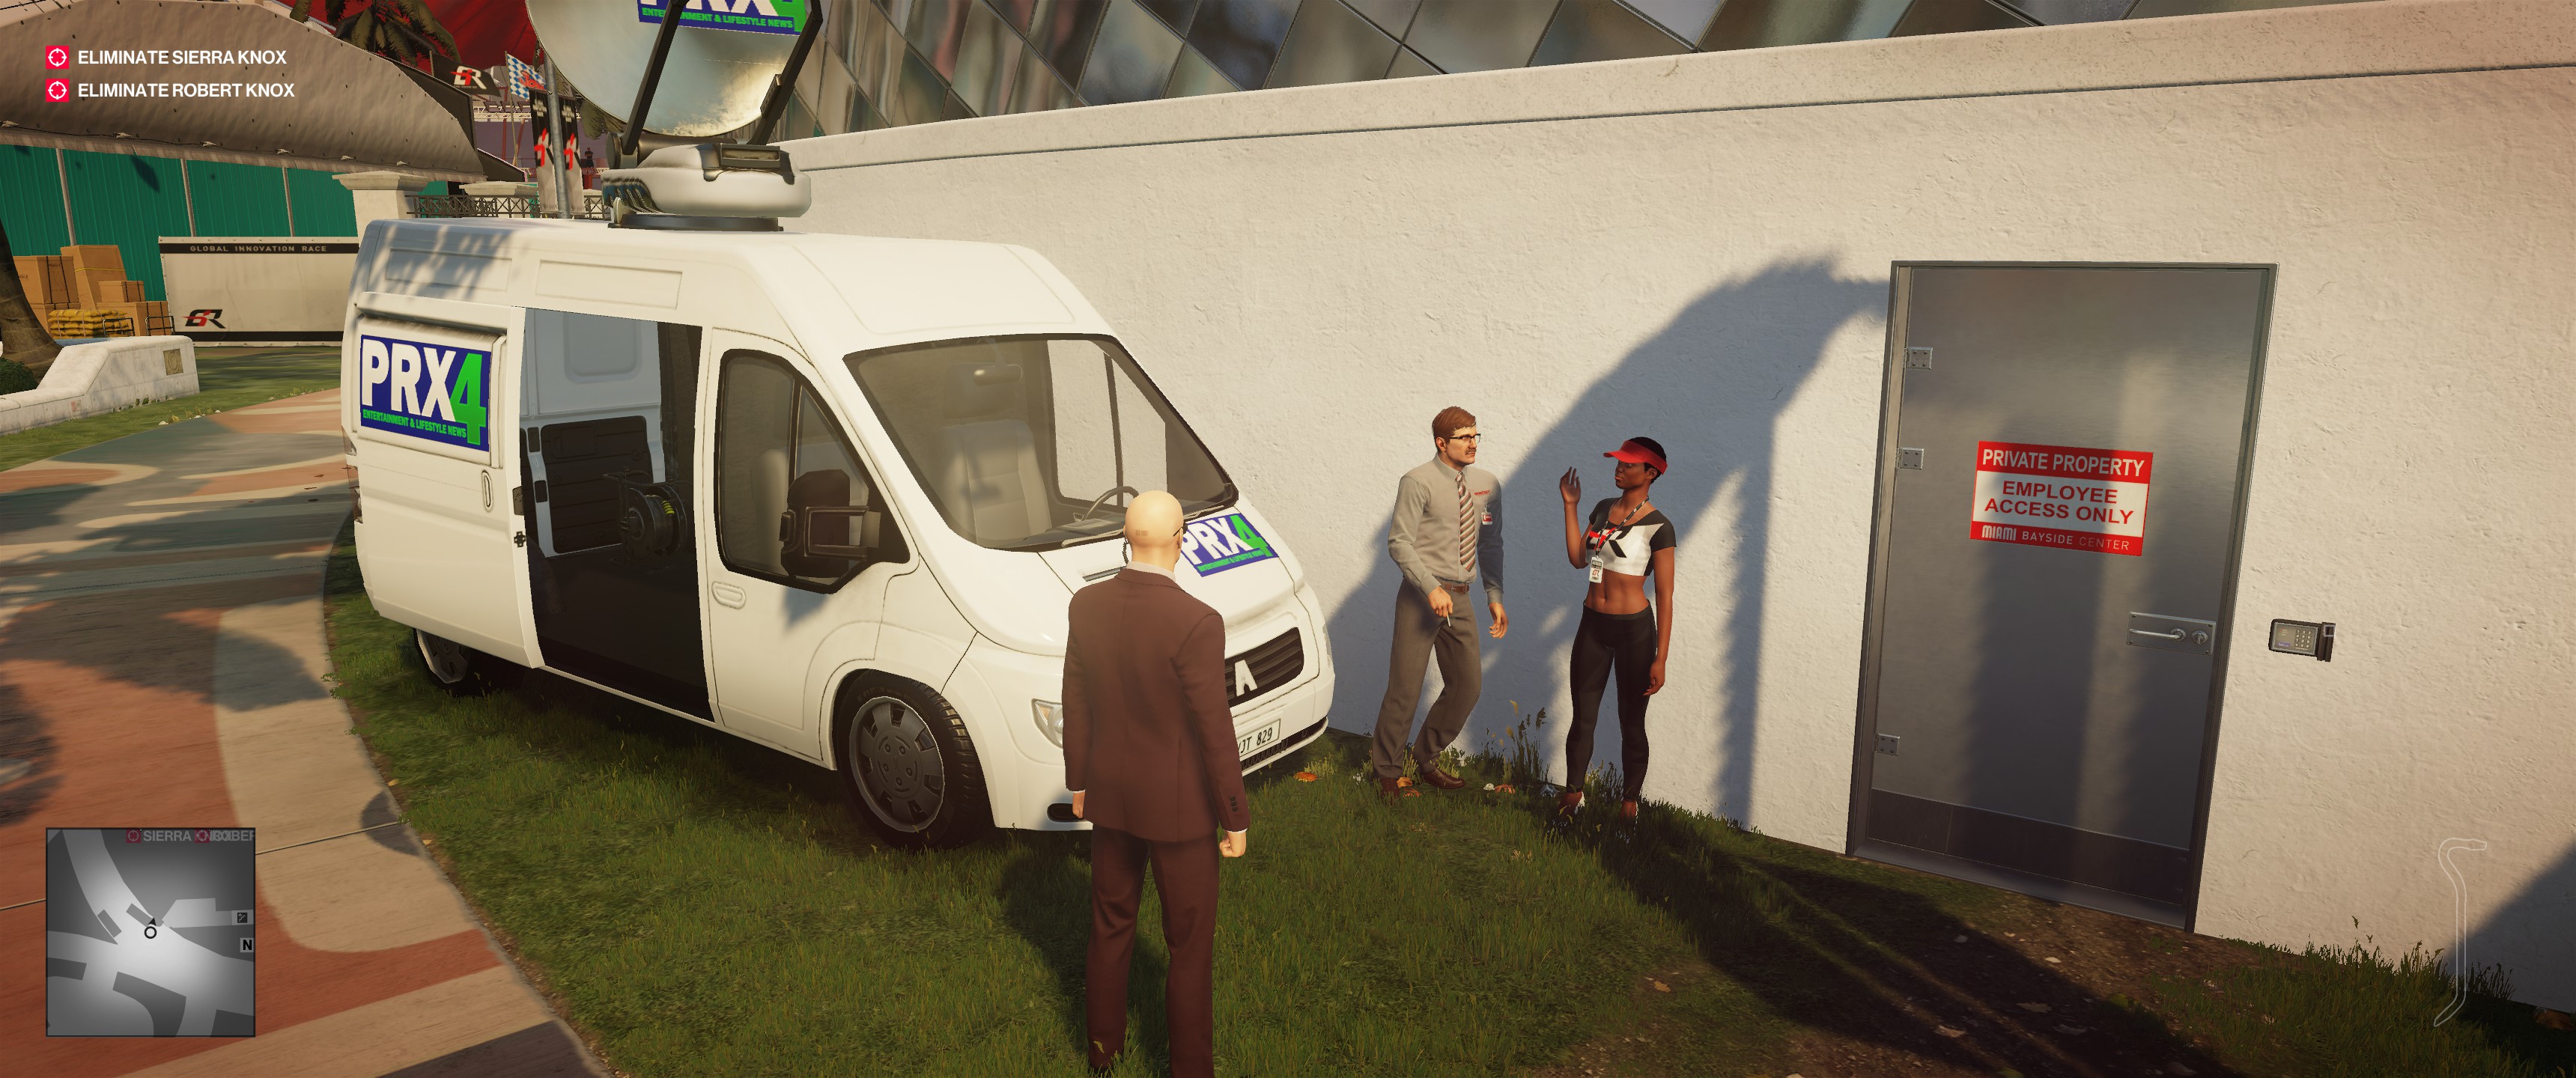
There are Bayside Center keycards all over this mission; two are easy to access from the default starting location without needing any particular disguises. The Kronstadt engineer outside the employee entrance in Marina Park SE has one you can snag after disposing of him.
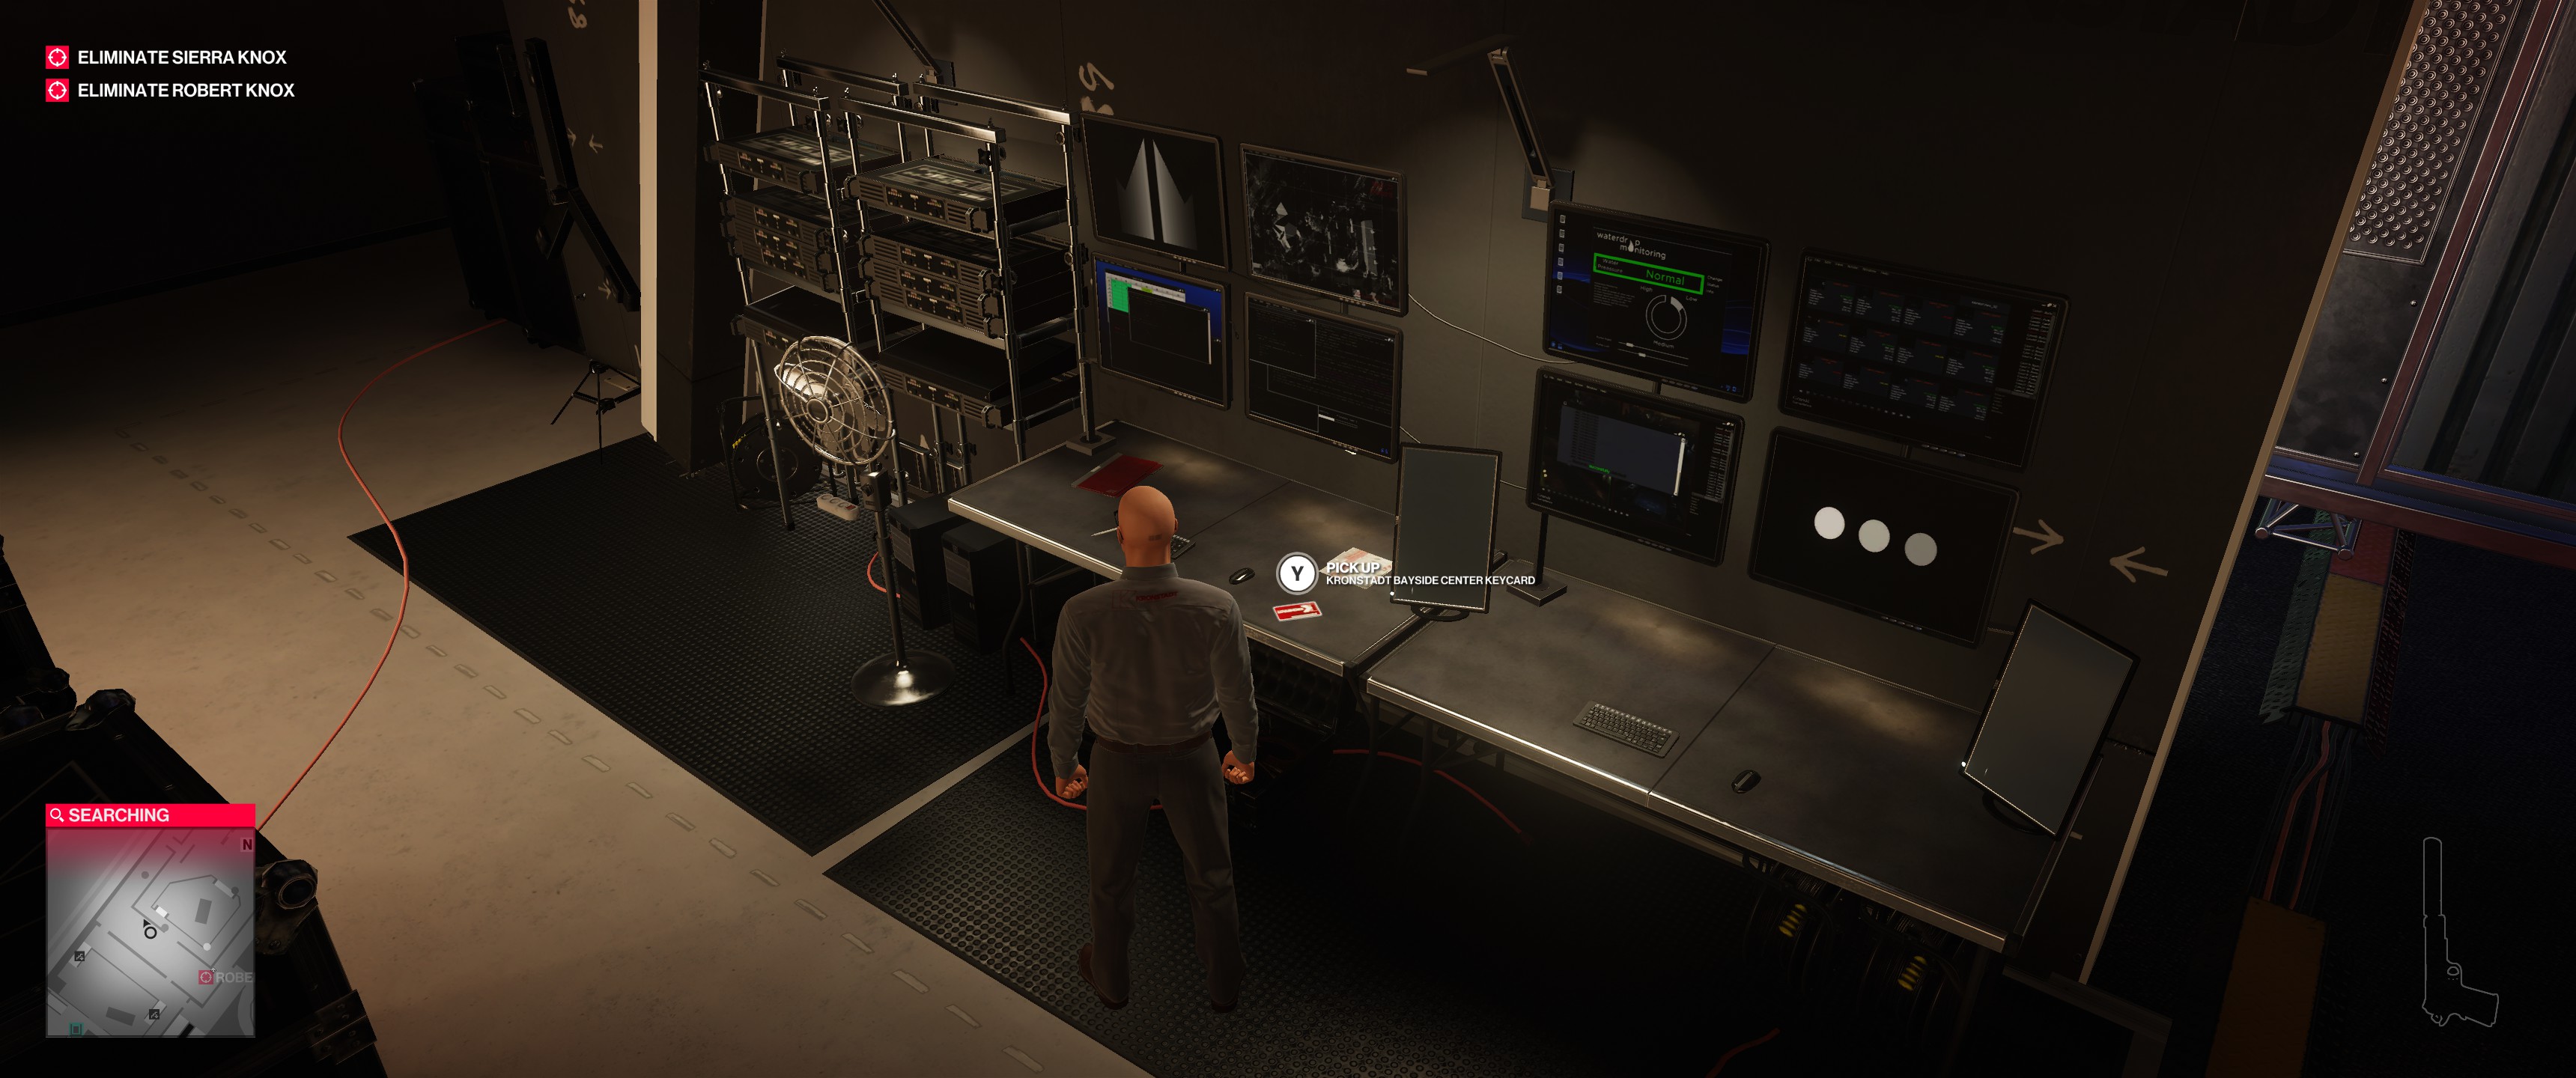
Alternatively, you can grab one from a table in the staff area behind Robert Knox’s demo car in the expo room.
BLACKMAIL – Find the blackmail documents
This challenge is a bit misleading, because the item you’re looking for is actually called incriminating evidence. You’ll find it naturally by following the mission story “Pretty in Pink” (and wouldn’t you know it, we’ve got a guide on how to do that right here).
FRUTTI DI MARE – Find two aquatic “weapons”
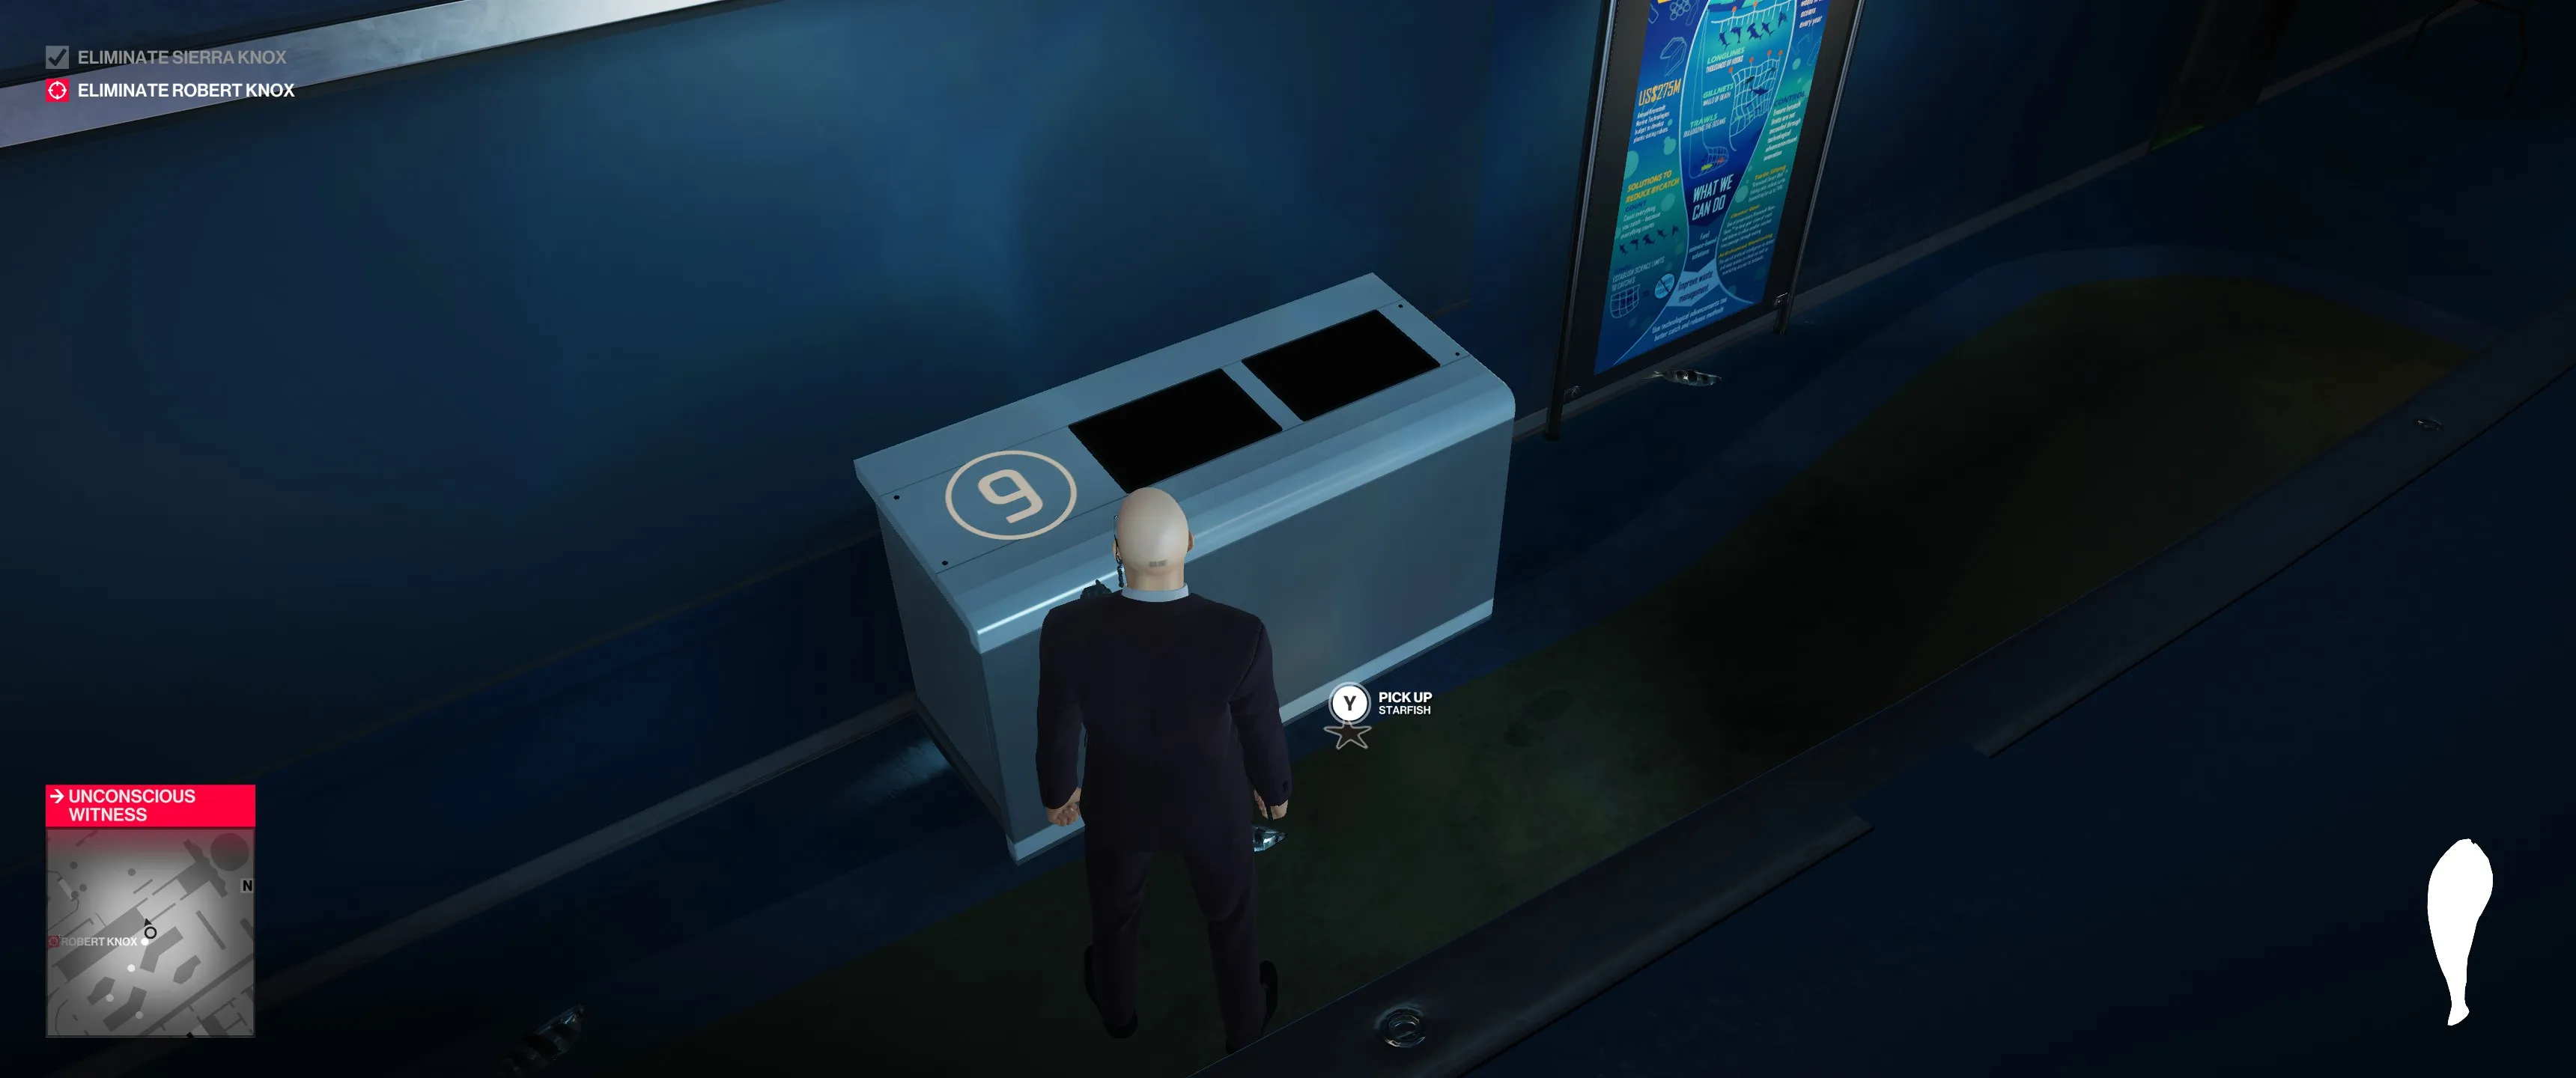
Ok, this one’s just weird. You need to find a fish and a starfish, both of which can be used to inflict terrible carnage. (Just like in real life, I guess?) Head to the aquarium and get ready to radically increase the owner’s insurance premiums. Shoot the glass out of tank #9 to dump its contents all over the floor and find the starfish. Fish can be found in several of the other tanks.
WHAT’S IN THIS THING? – Open the evidence locker
It would seem someone’s trying to kill one of Robert Knox’s rivals, but the bomb they tried to mail has been intercepted. The fastest way to get to the evidence locker it’s stored in is to start as a food vendor or a waiter, if you have either. Find any lone security guard, knock him out, and take his clothes. (This isn’t required, but it makes the next part much easier.)
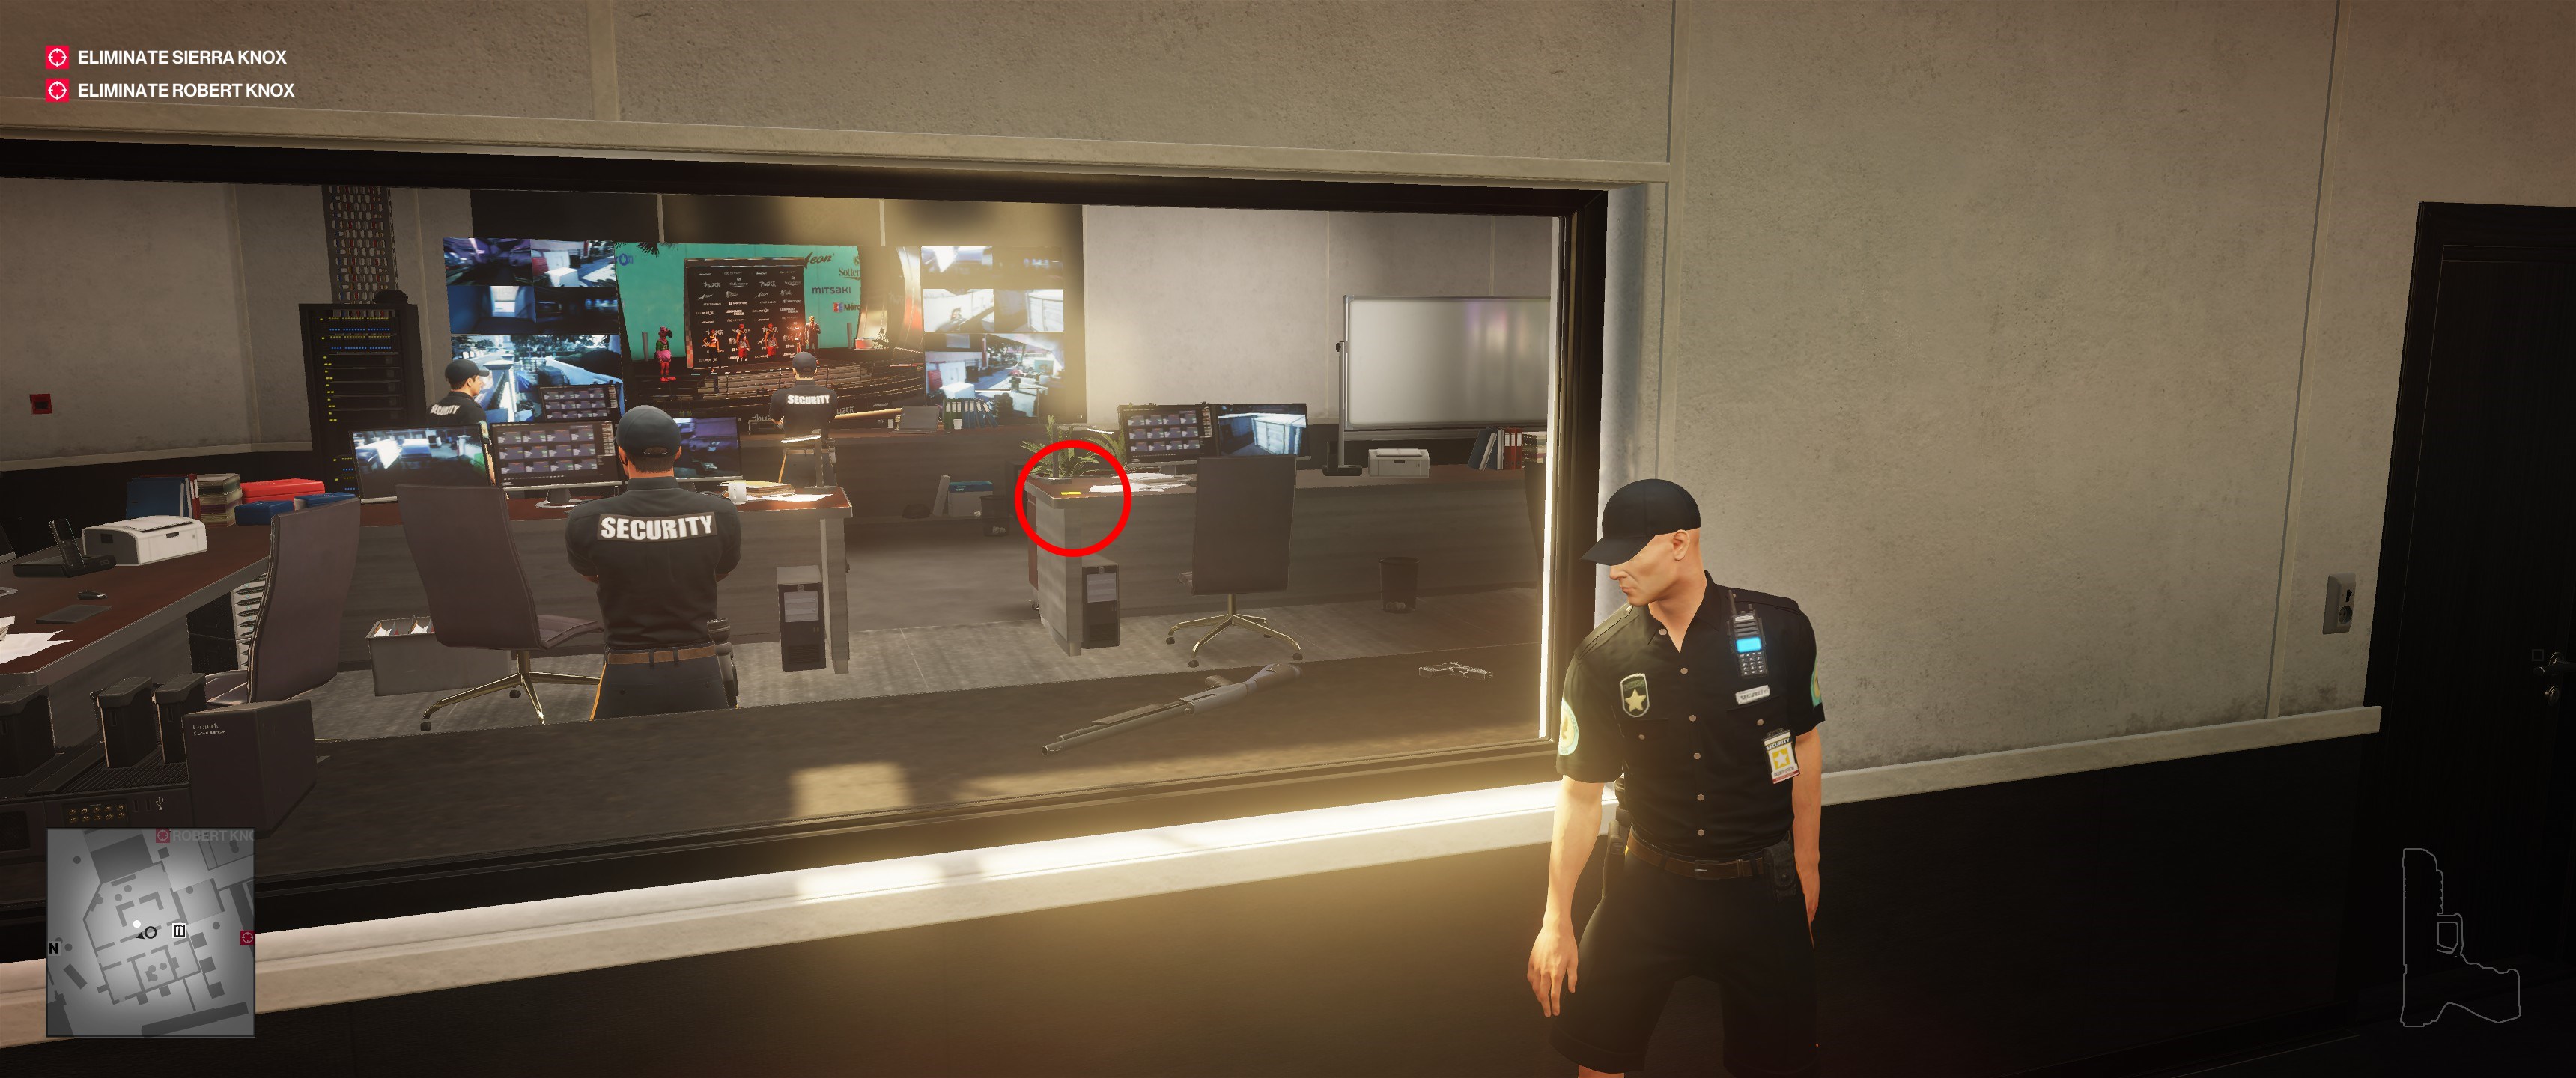
Make your way down to the security area. See that tiny little yellow post-it note on the desk that I circled in the screenshot? That’s the combination for the evidence safe. Sneak in there and grab it, but watch out for the one or two guards in the area that won’t be fooled by your outfit.
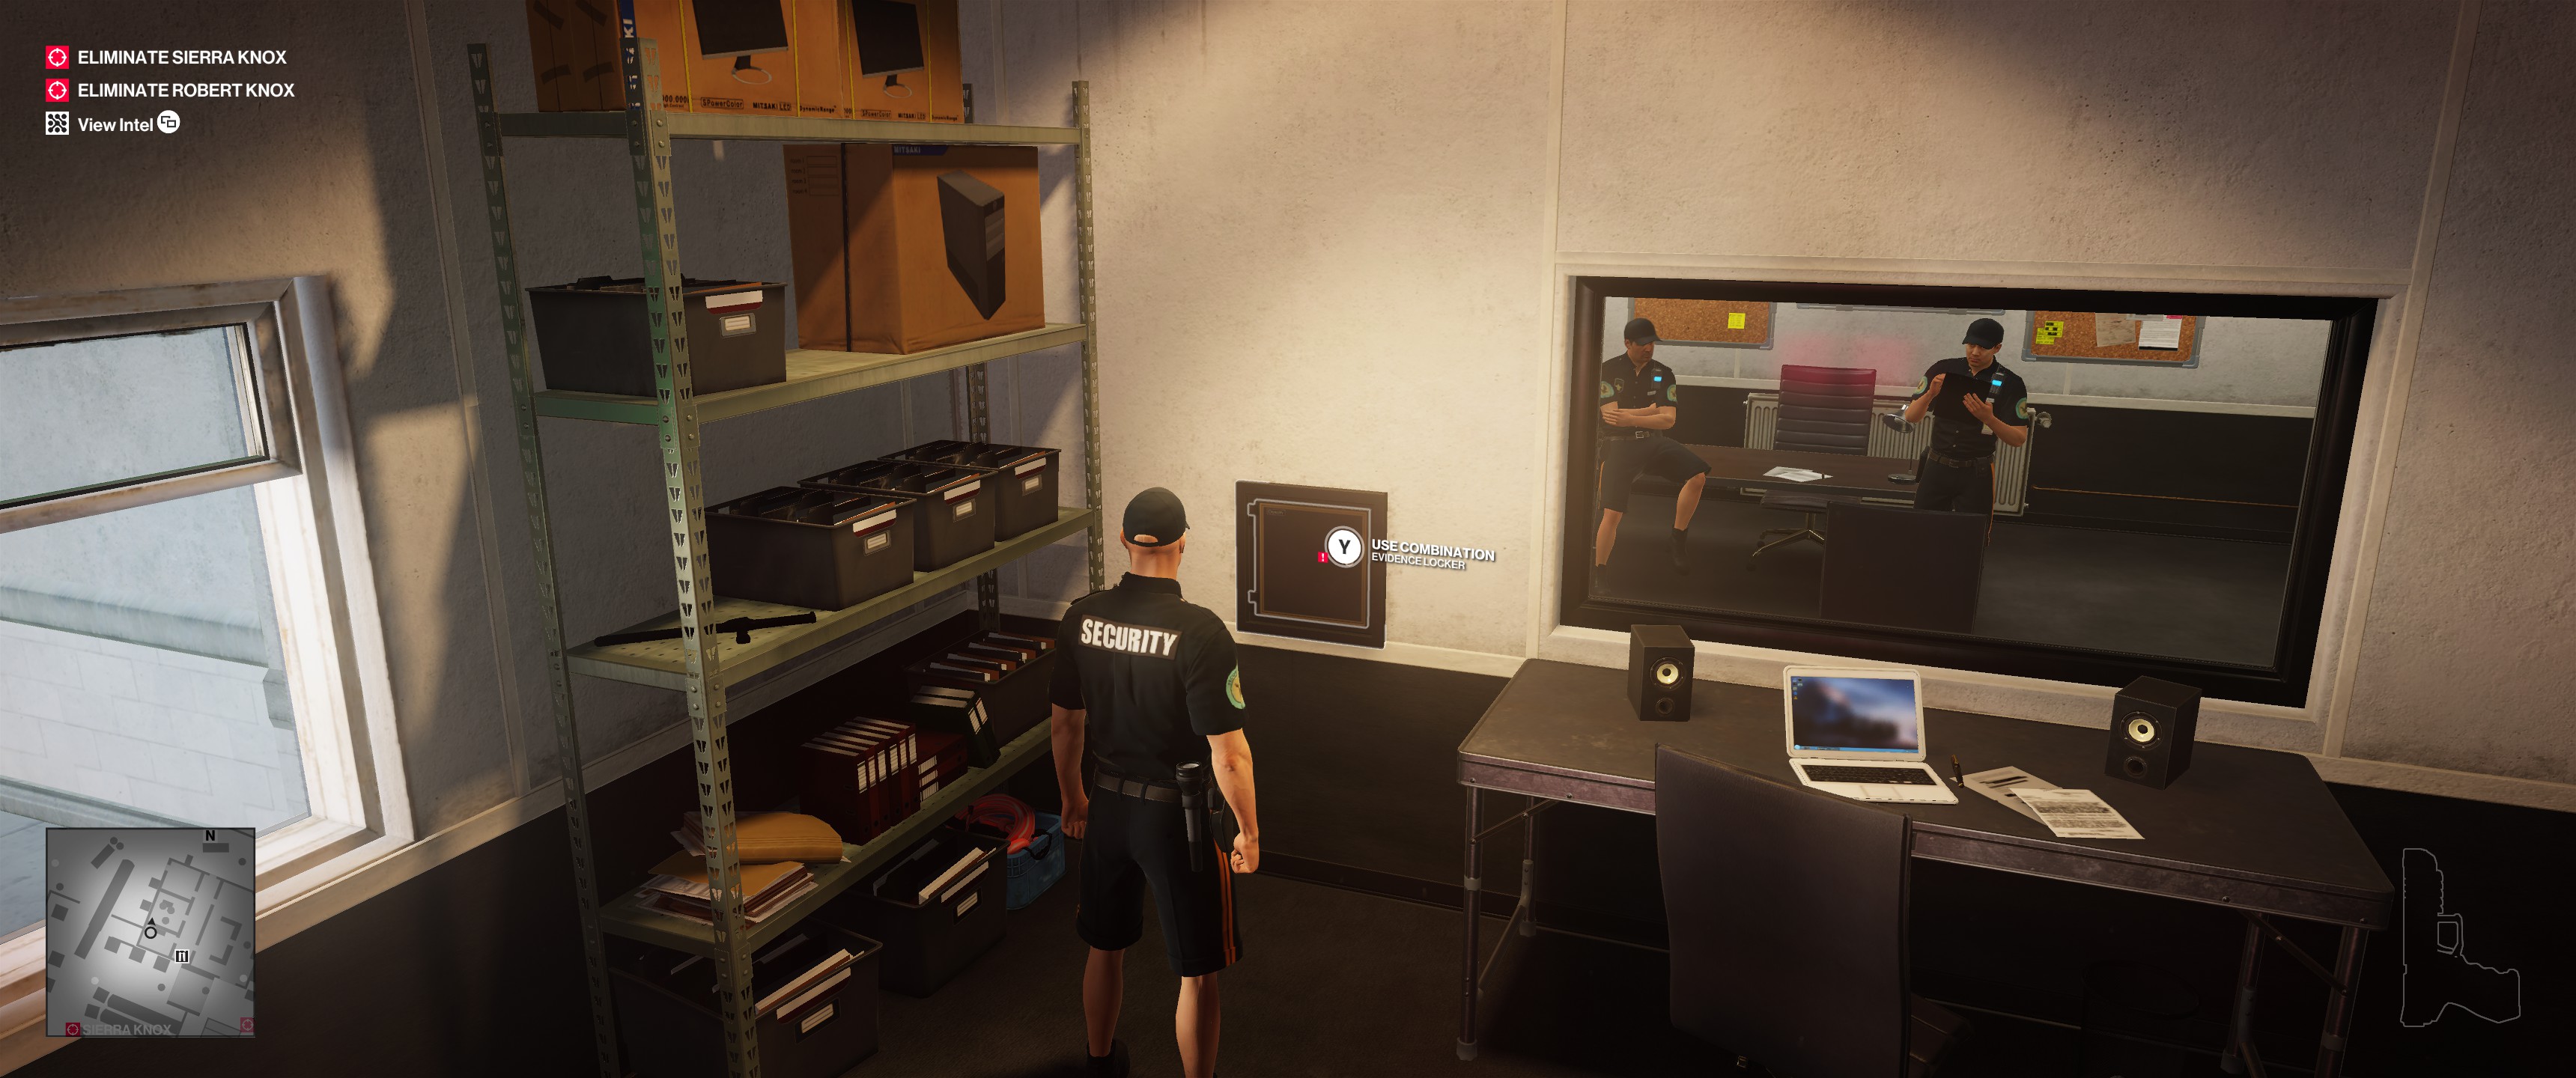
Once you’ve got them digits, head across the hall into the southernmost room (the one with a police baton on a shelf). Open the evidence locker. Strictly speaking, this is all you need to do for this challenge, but if you also want to complete the EXPLOSIVE LIAISONS assassination challenge, grab the car bomb and the note and hop over to that section of this guide to see what to do next.
COMMUNICATION BREAKDOWN – Sabotage the satellite dish
A Kronstadt security outfit will make this a hundred times easier, but sadly, you can’t start with one. To get one easily, start as a Kronstadt engineer and grab a Bayside Center keycard from an office just down the hall from your starting location.
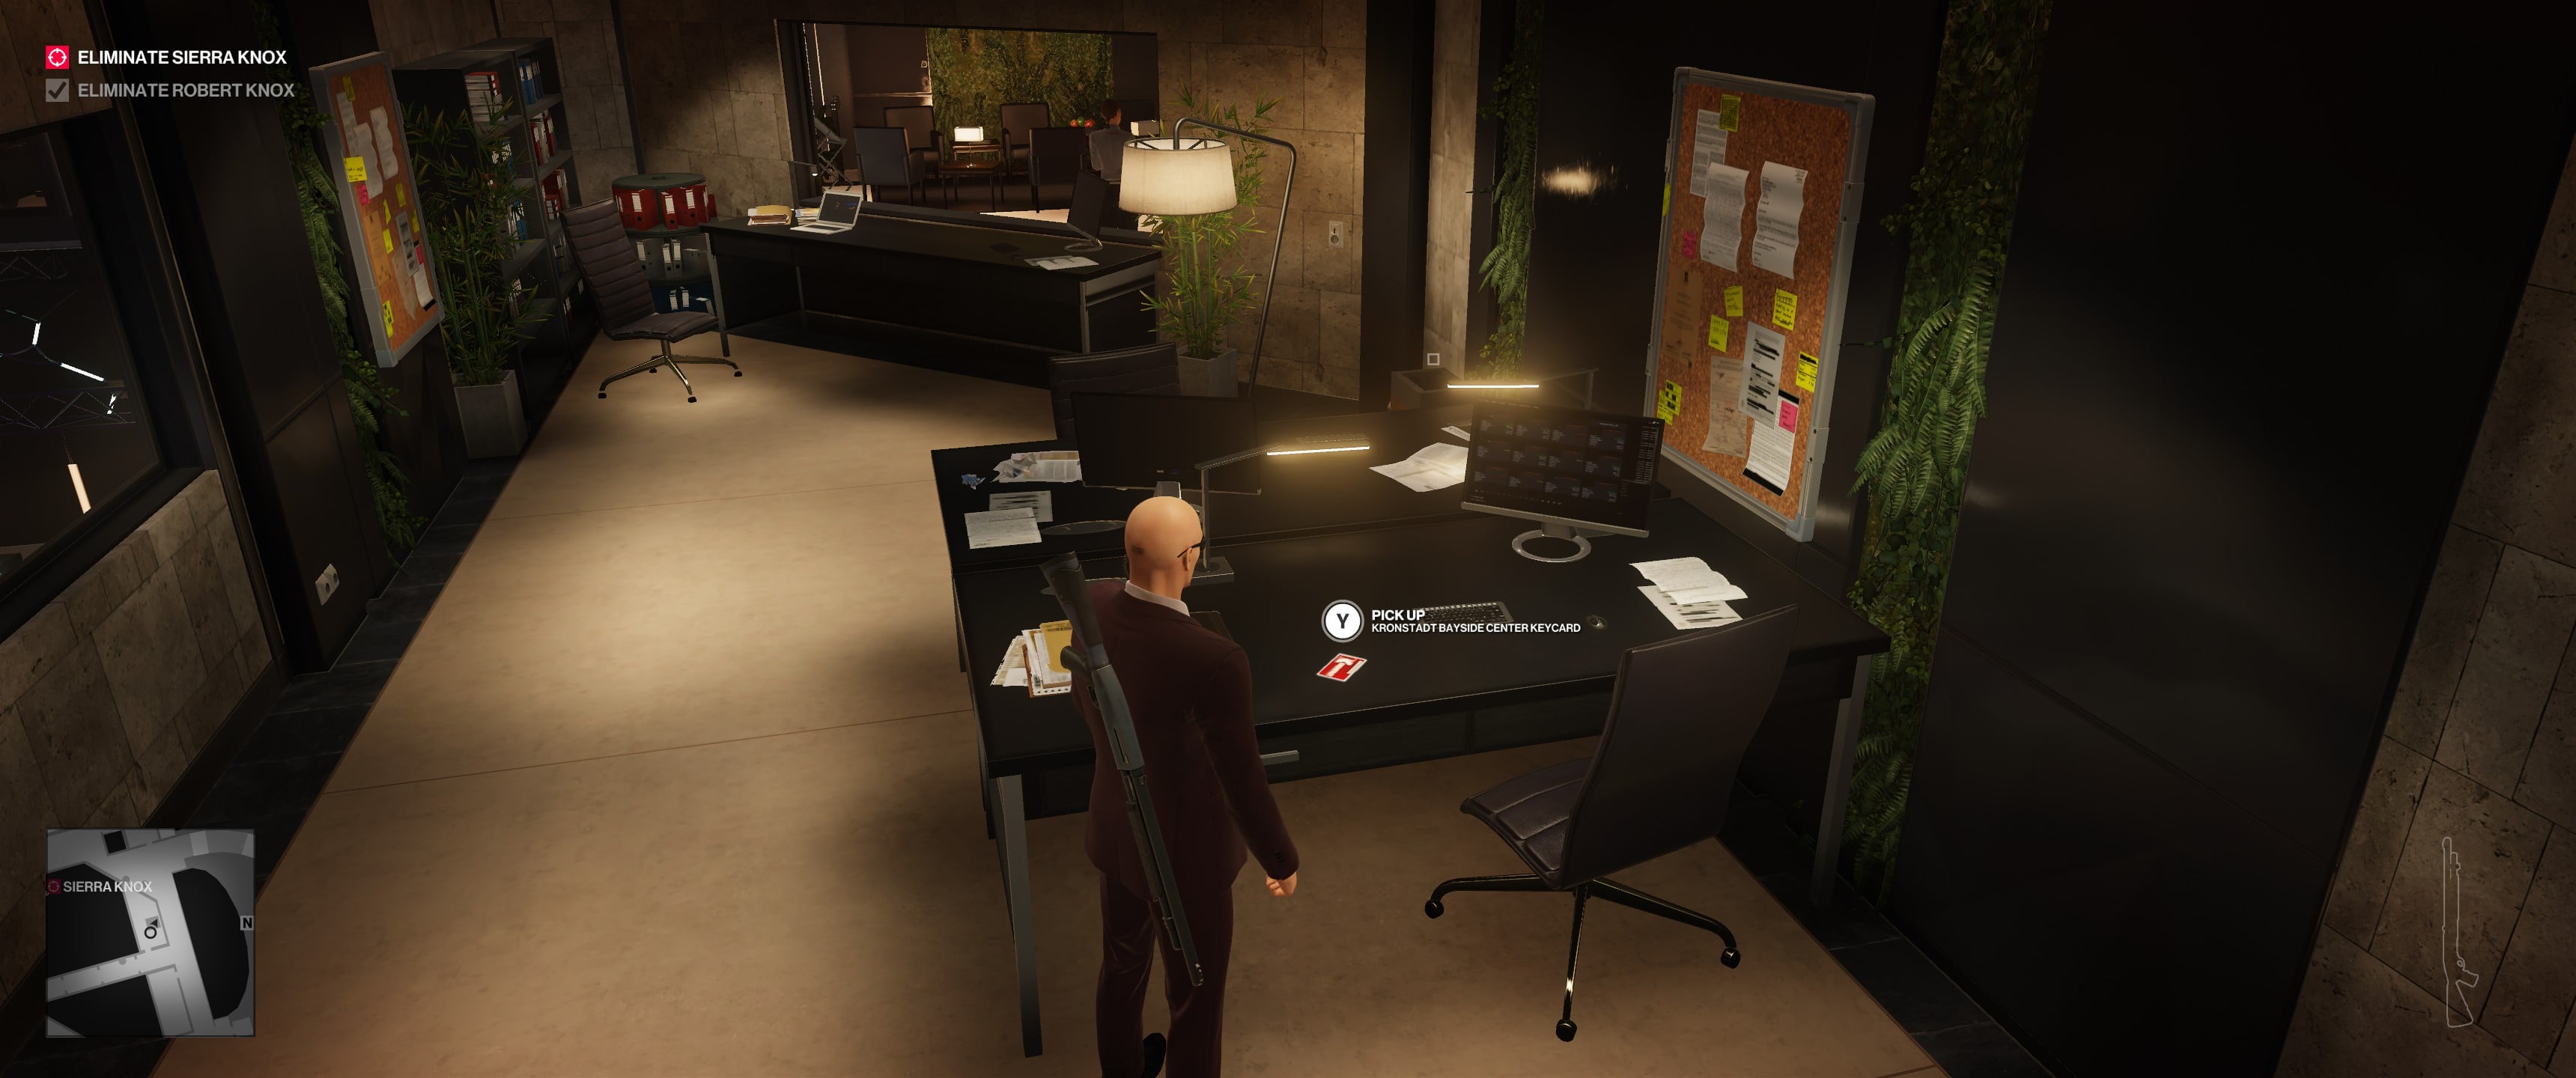
There are lots of bodyguards on this floor; isolate one however you prefer and grab his suit. That done, jog up to the third floor—preferably via the southwest staircase, as it’s the only one not guarded by security personnel that won’t be fooled by your disguise. Head to Robert’s office and snag the electronic access dongle from Knox’s desk.
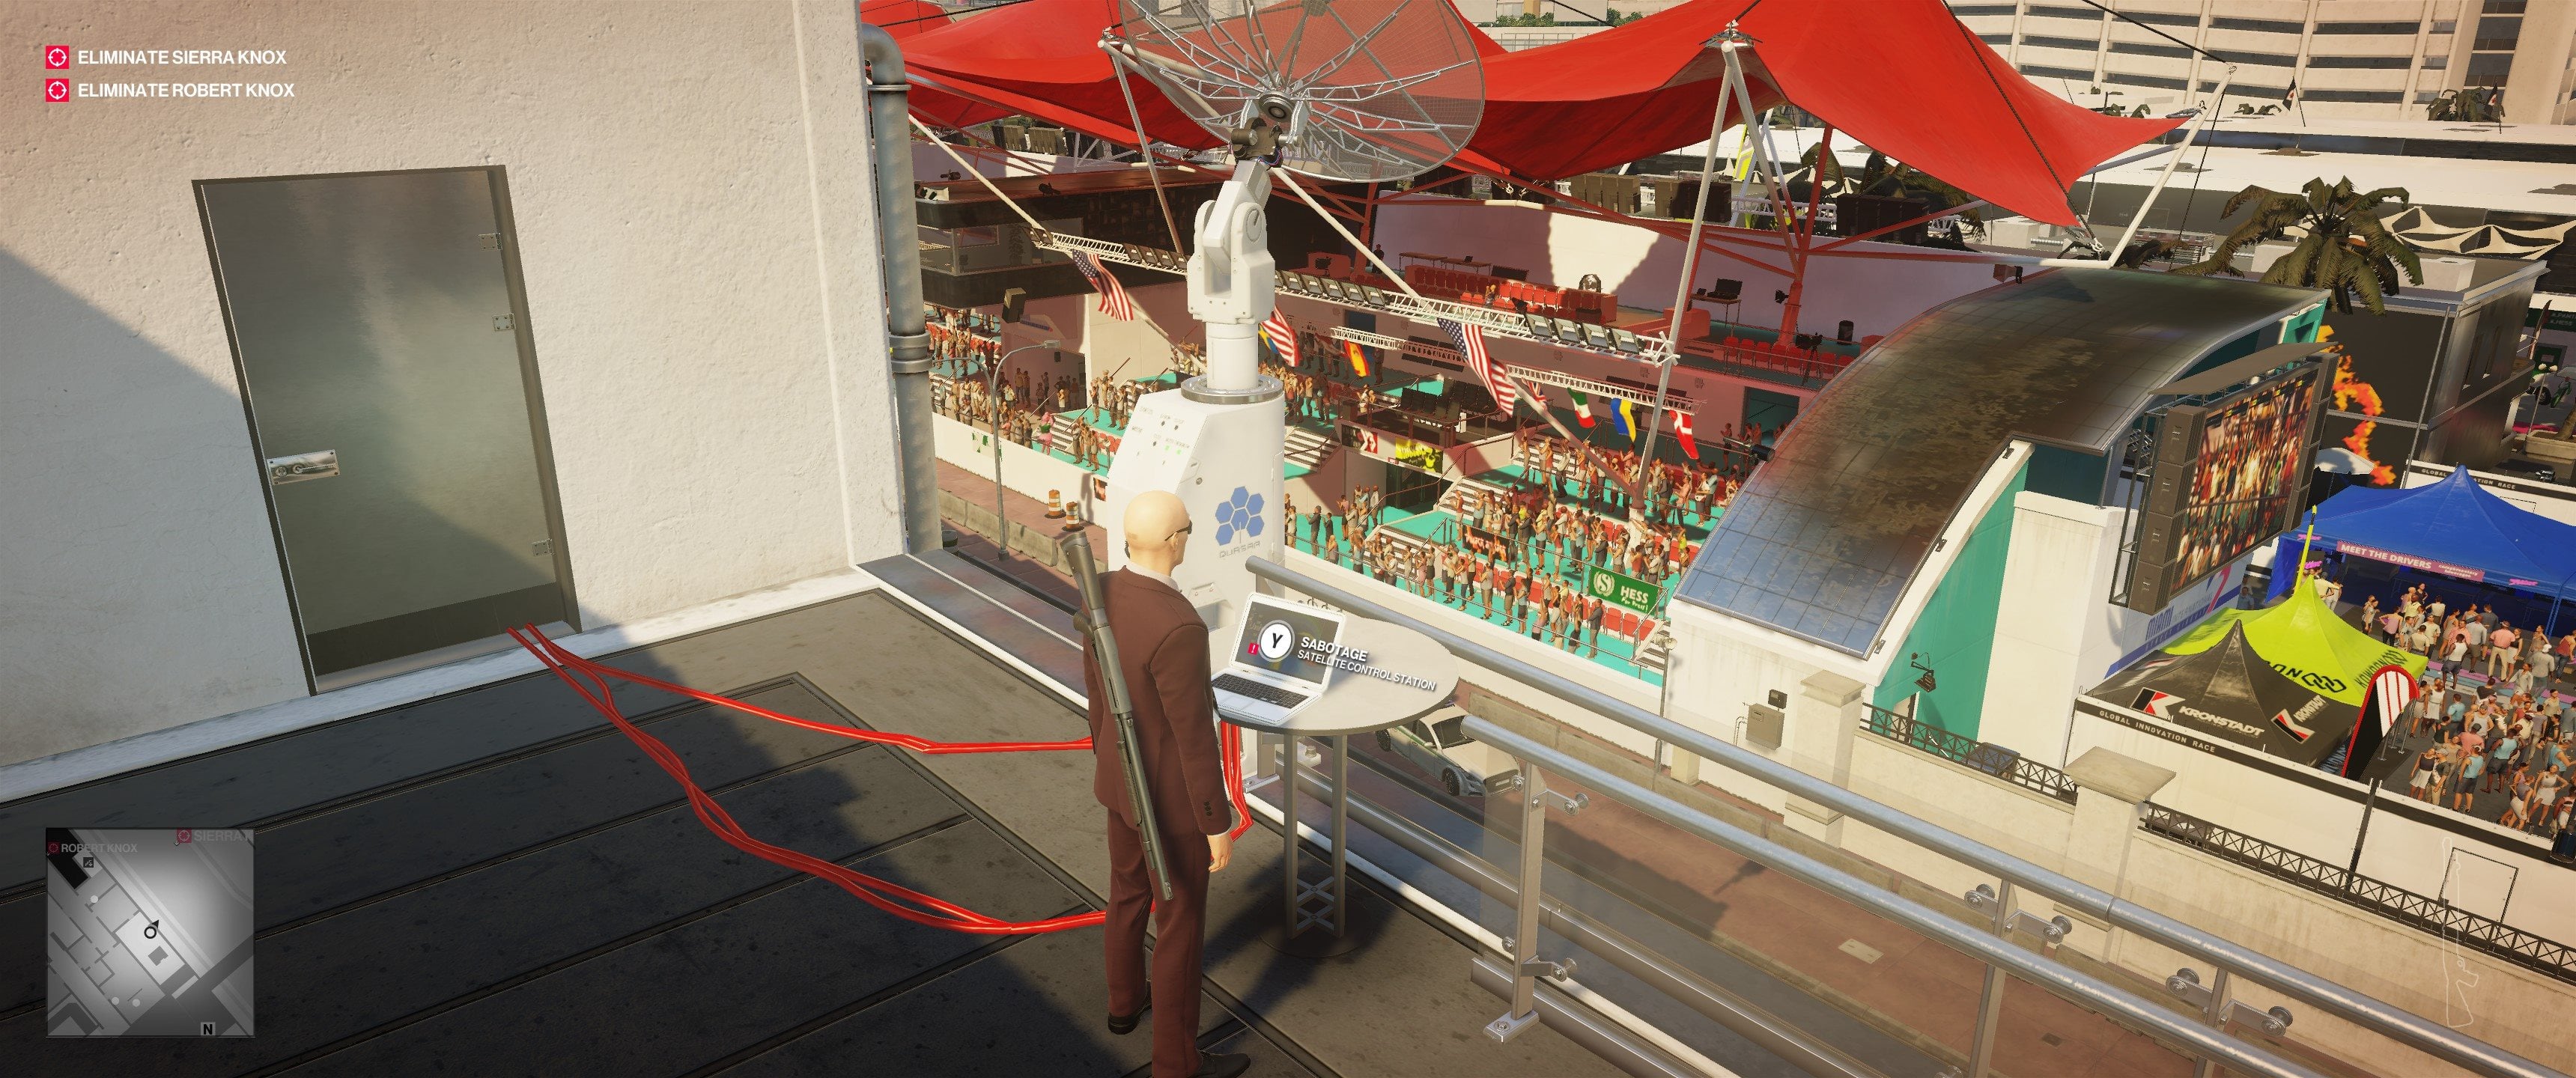
Now head north down the hallway to the server room. Hop out the window on the west wall and use the dongle on the laptop next to the satellite dish. This challenge is now complete, but you’re now perfectly set up for the assassination challenges THE MESSAGE and THE TREE FALLS ON THE APPLE. Scoot over to those sections if you’re after those challenges.
SLICE OF VICE – Escape Miami on a speedboat
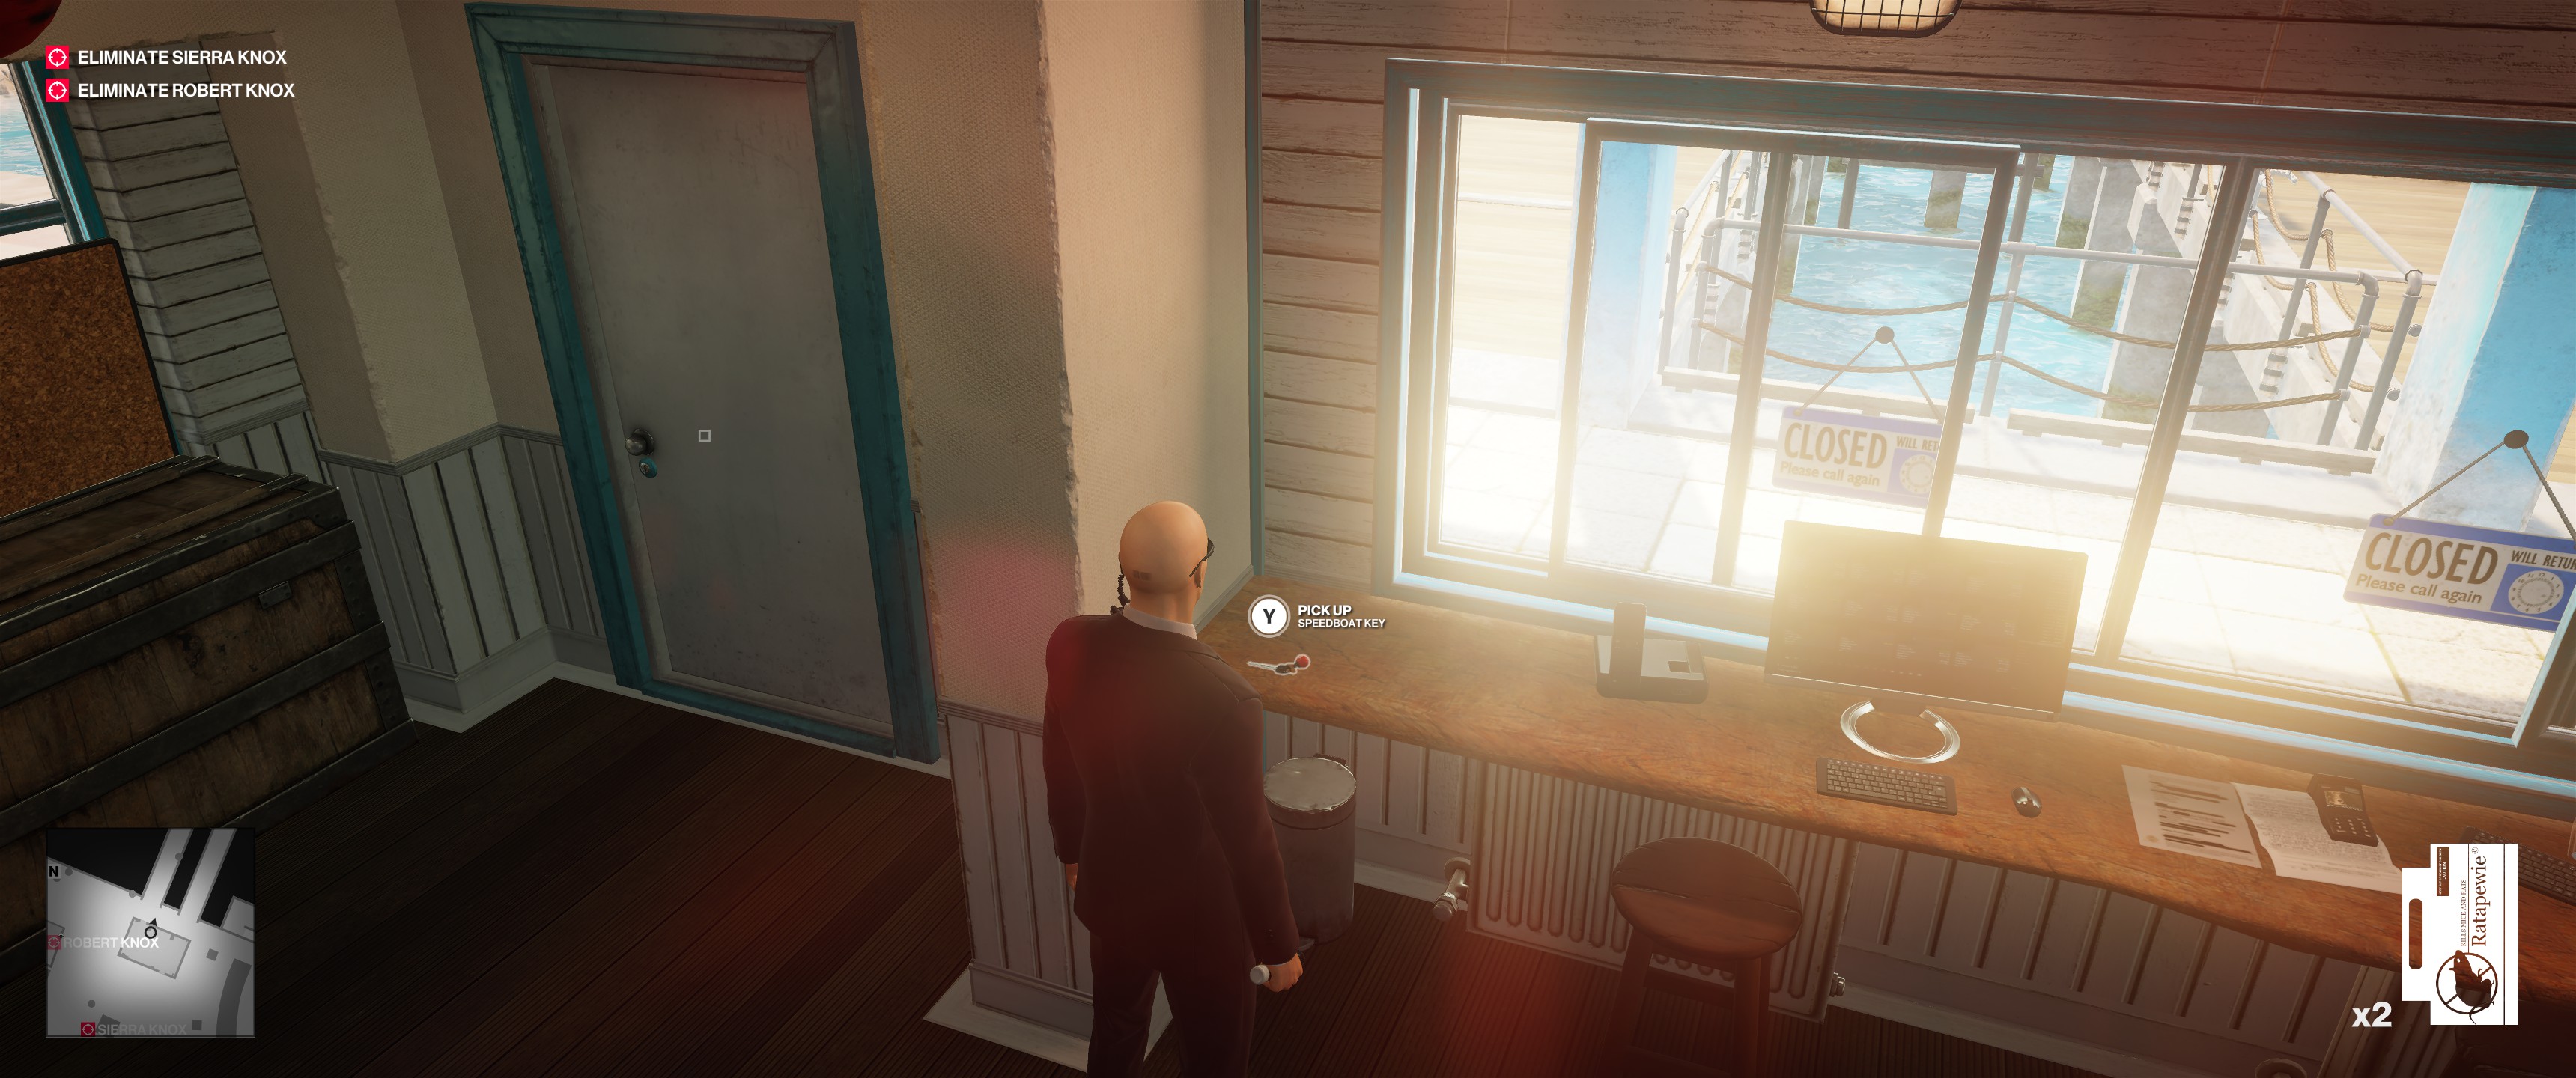
Once you’ve eliminated both targets, head to the Marina Park South and break into the boat rental shack, but make sure the patrolling guard doesn’t see you do it. Snag the boat key from the counter inside and use it on the boat moored just outside.
THE SEWER BEYOND – Escape through the sewers
This is a perfect escape route if you’re doing any of the mission stories or assassination challenges that involve Sierra Knox and the mascot (PRETTY IN PINK, SYMPATHY FOR THE BIRD, PINK MENACE or LAST WORDS), but you can exit through the sewers anytime. The entrance is conveniently located in the hotel courtyard. You’ll need a crowbar to lift the manhole, so come prepared.
Whew! That’s all 16 discovery challenges done. Take a break, stretch, go outside for a bit.
Feats
There are 33 feats in this mission.
MR. TAMBOURINE MAN – Take the street musician’s clothes and play his instruments
This is super easy. From the default starting area, head left and go down the stairs. The street musician is right there in the tunnel. Take him out anyway you choose, steal his duds, and then interact with his drums to blend in.
ARMS DEALER – Pacify a researcher with an android arm
To finish this challenge in 20 seconds, start as a Kronstadt engineer and scoot over to the android lab, just across the hall from the android showroom. There are arms and nerds everywhere; grab one of the former and bean one of the latter.
THOROUGH DEMONSTRATION – Make the killer robot waste someone other than Robert Knox
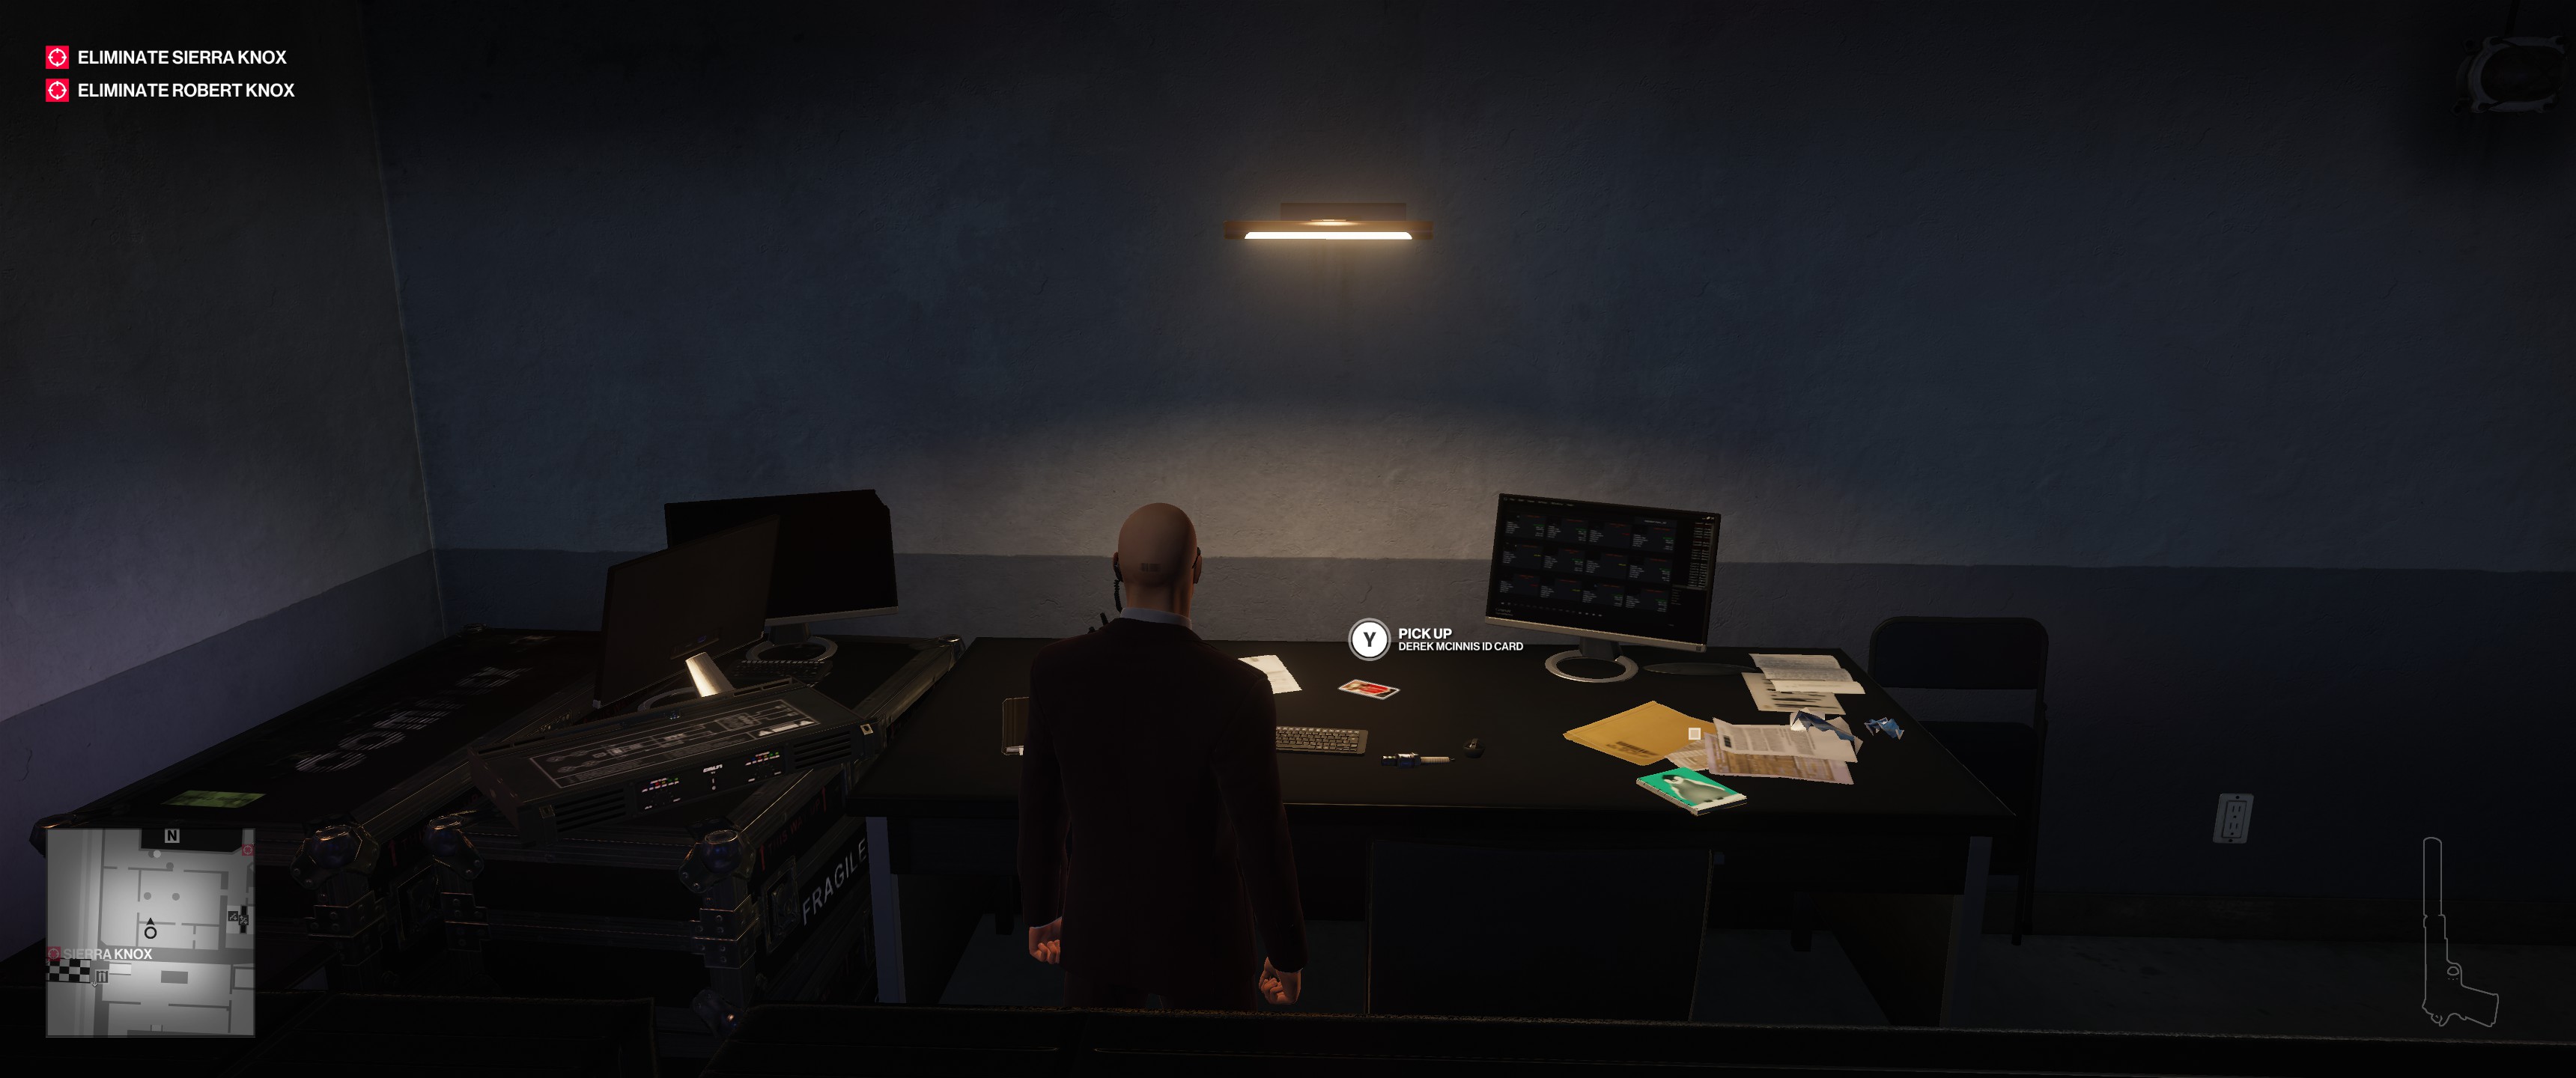
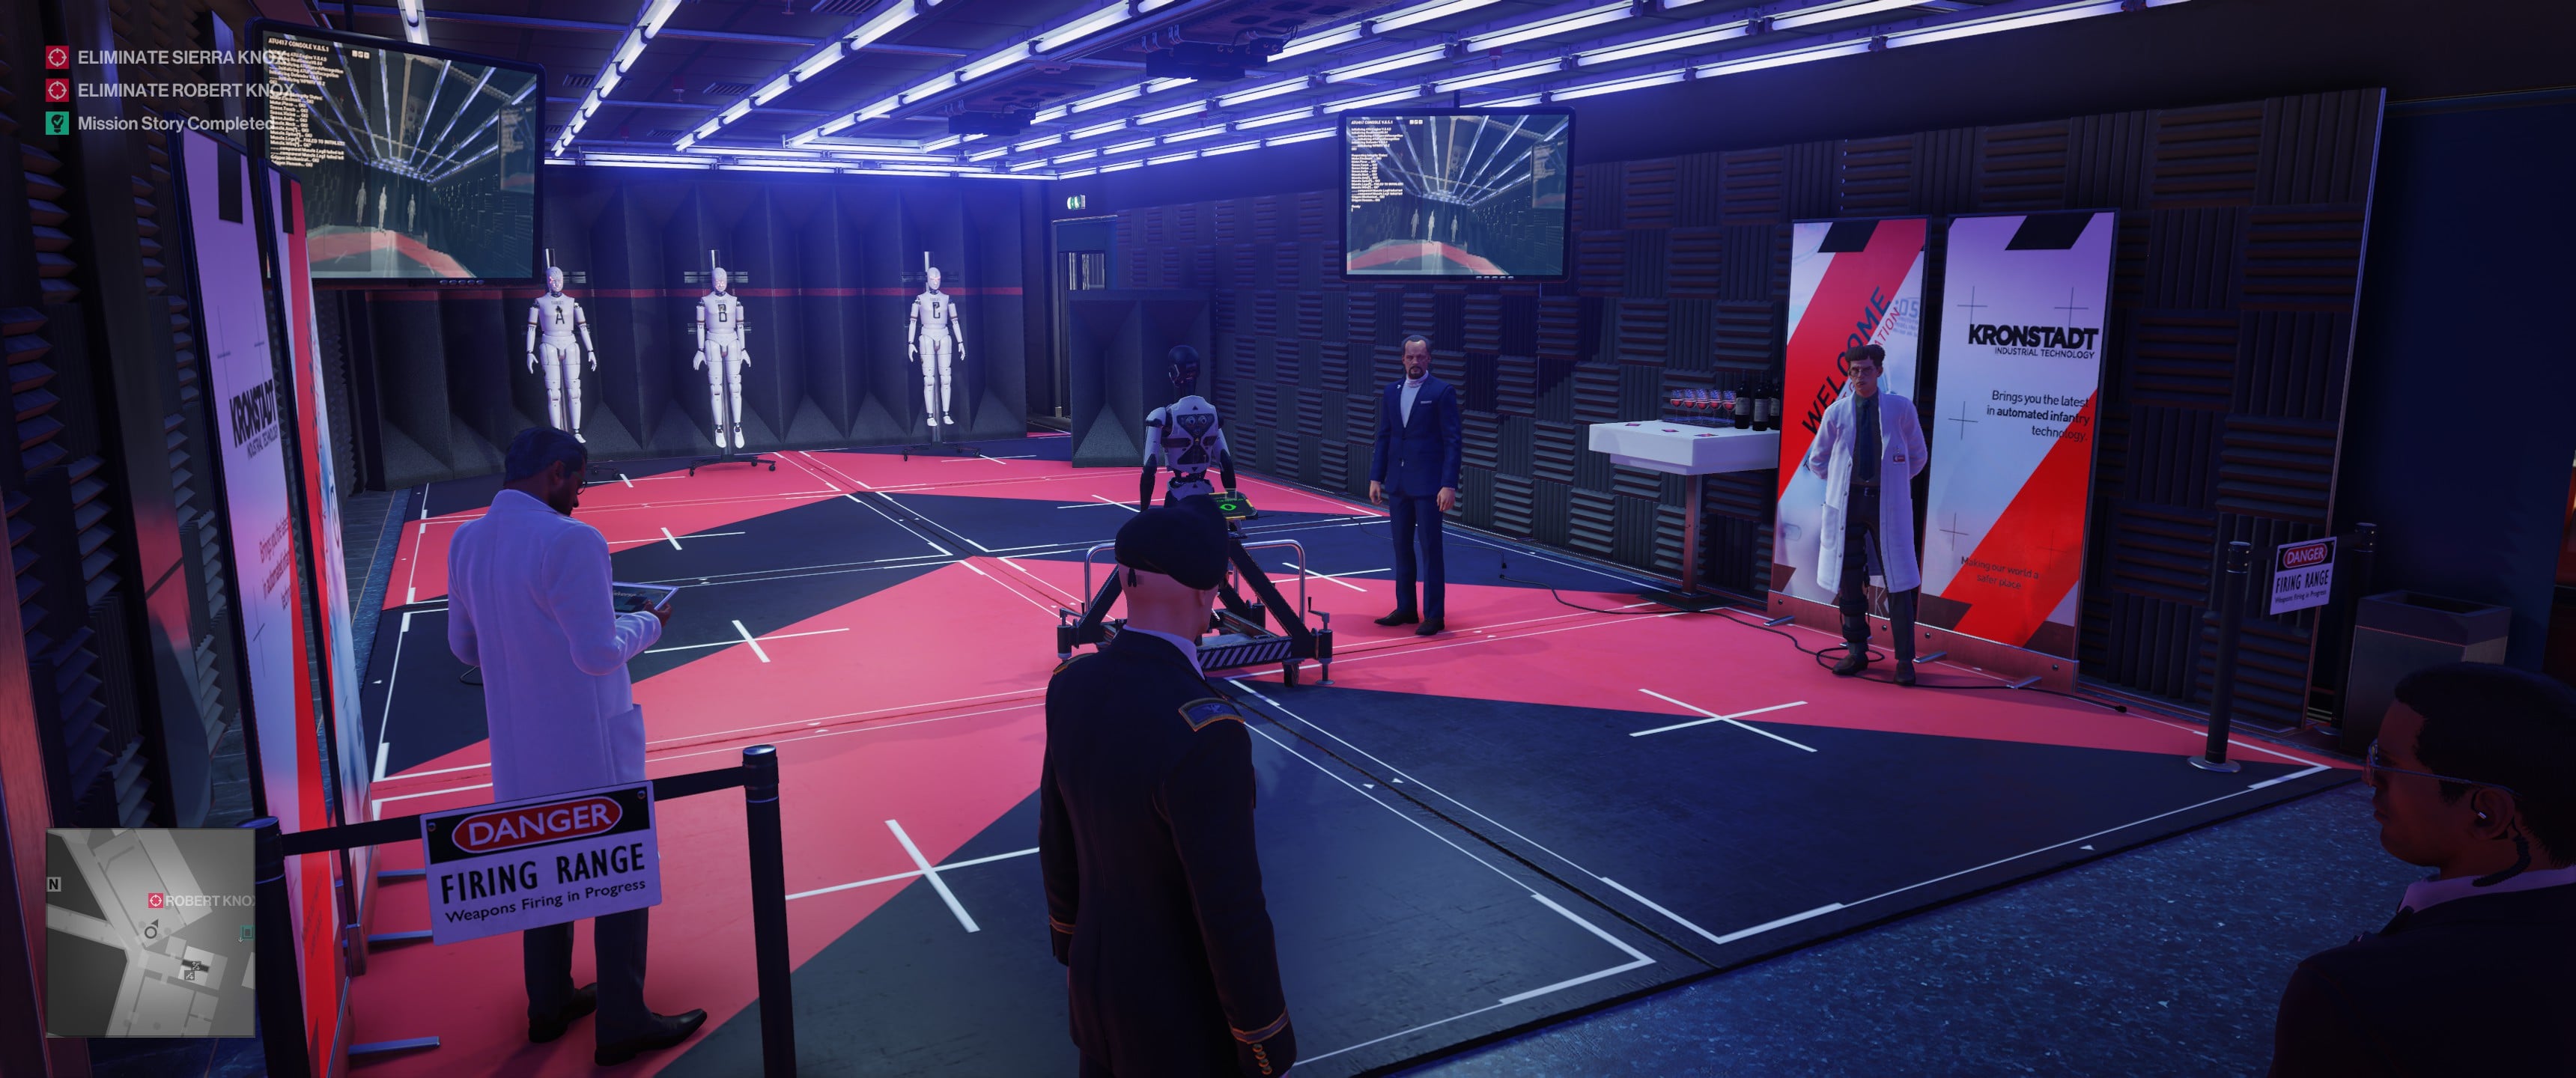
This one’s also fast and easy if you start as a Kronstadt engineer. Jog over to Office 1C on the second floor, then into the server room adjacent to it. You’ll find Derek McInnis’s ID card on the desk. Run to the android showroom and wait for dear Derek to step in front of the killer robot. Scan his ID card and feel free to giggle. (You can also do this to Ted Mendez, whose ID card can be found behind the 1F reception desk, but it’s a lot more convoluted to pull off.)
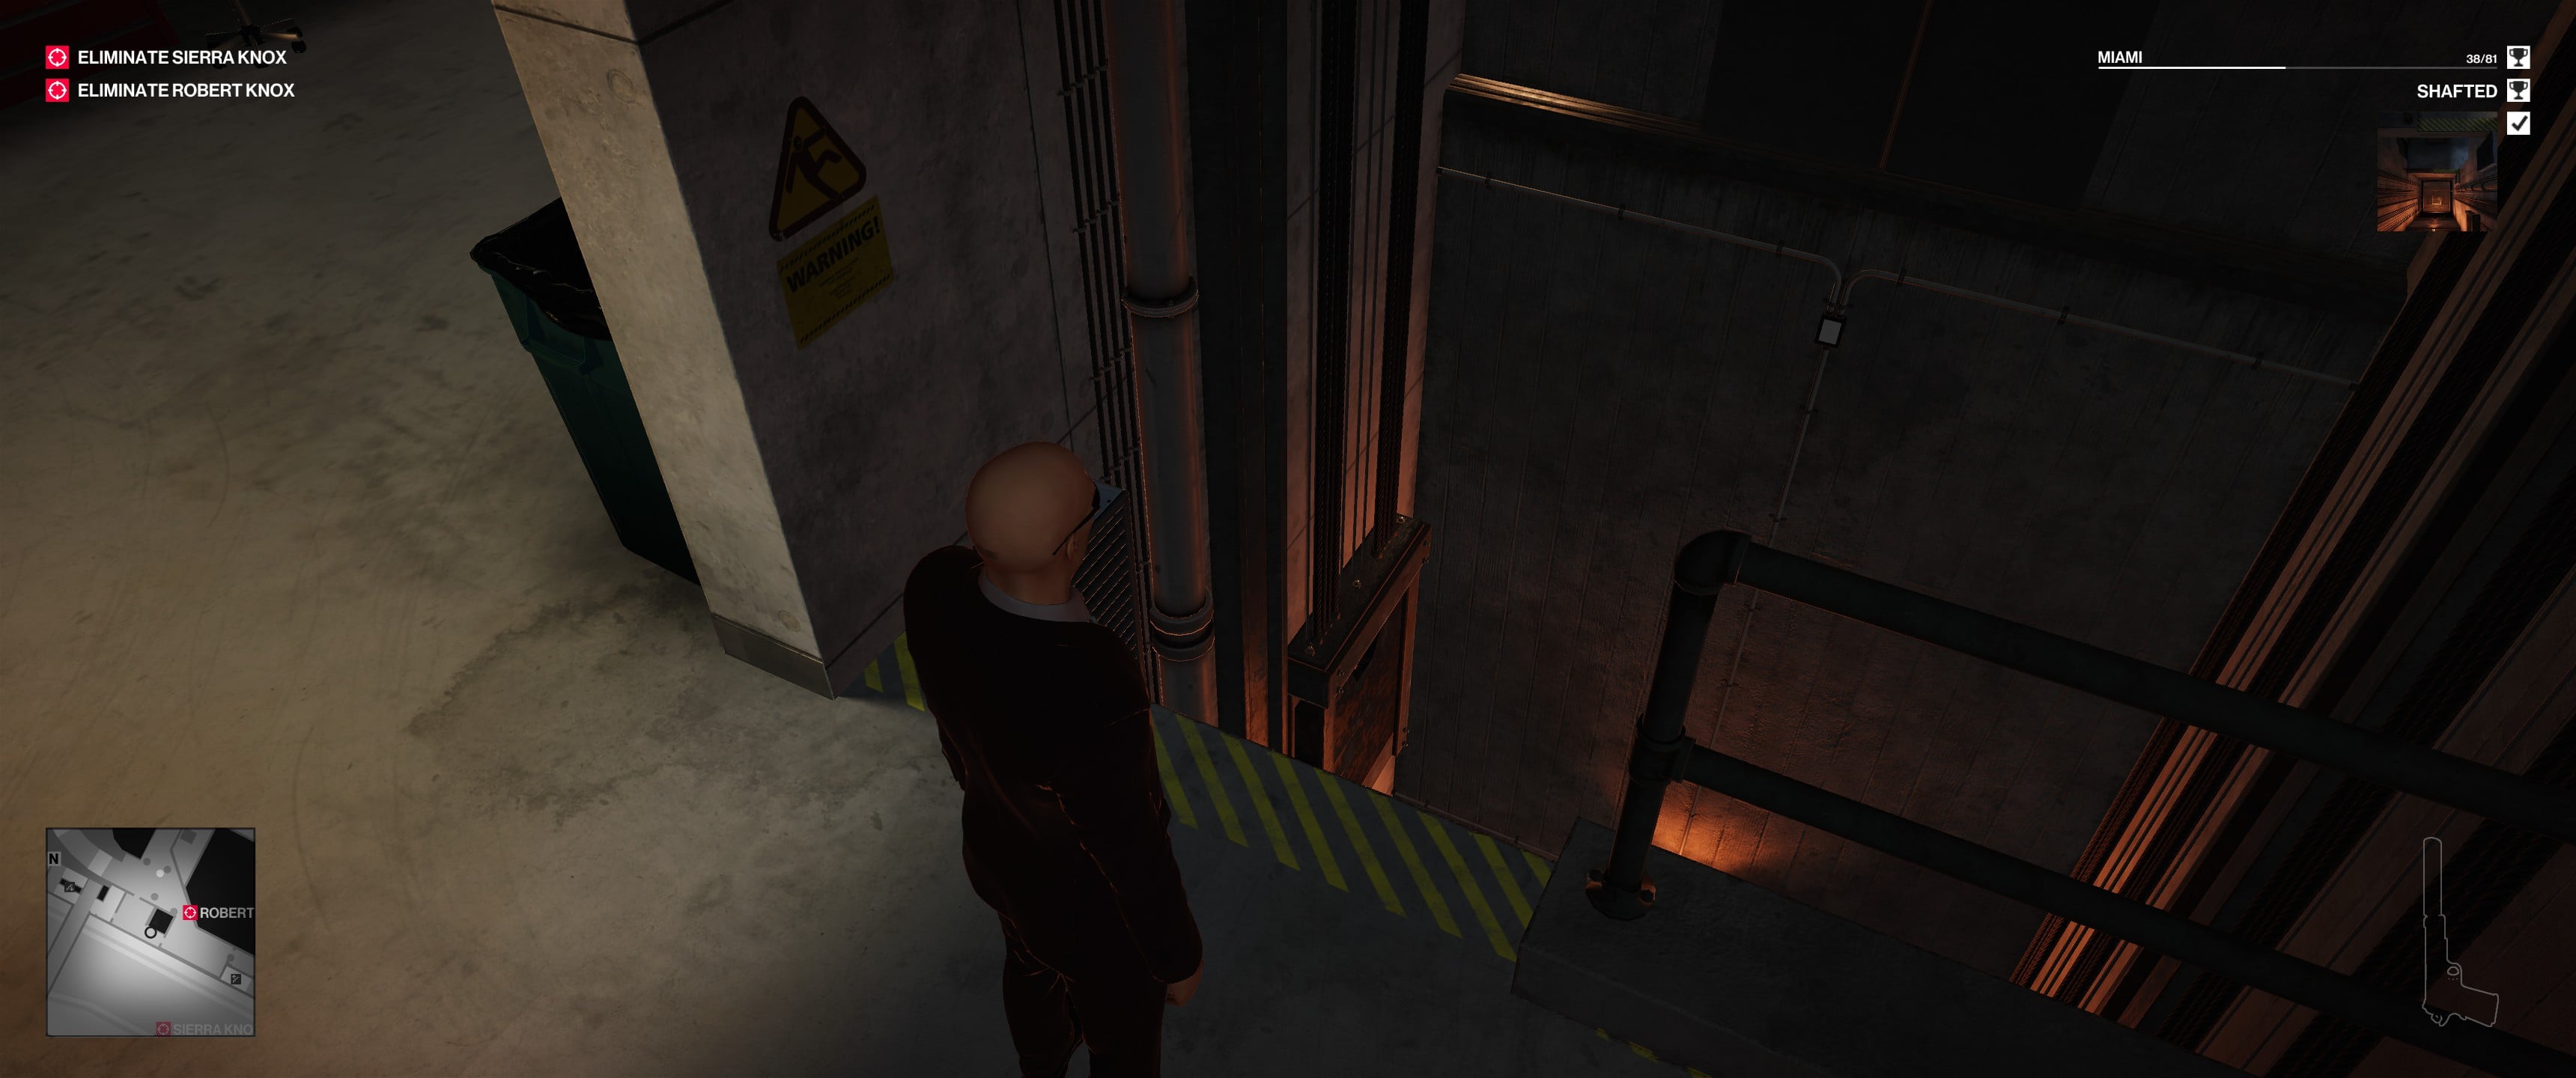
SHAFTED – Push someone down an elevator shaft to their death
This can be done on the 2nd floor of the Kronstadt building, in the maintenance room immediately to the right at the top of the main staircase. Lure someone into the room by throwing objects or turning on the sink to flood the room. Coax them to the very edge of the elevator shaft with further distractions and give them a gentle shove, then reflect on what a terrible person you are.
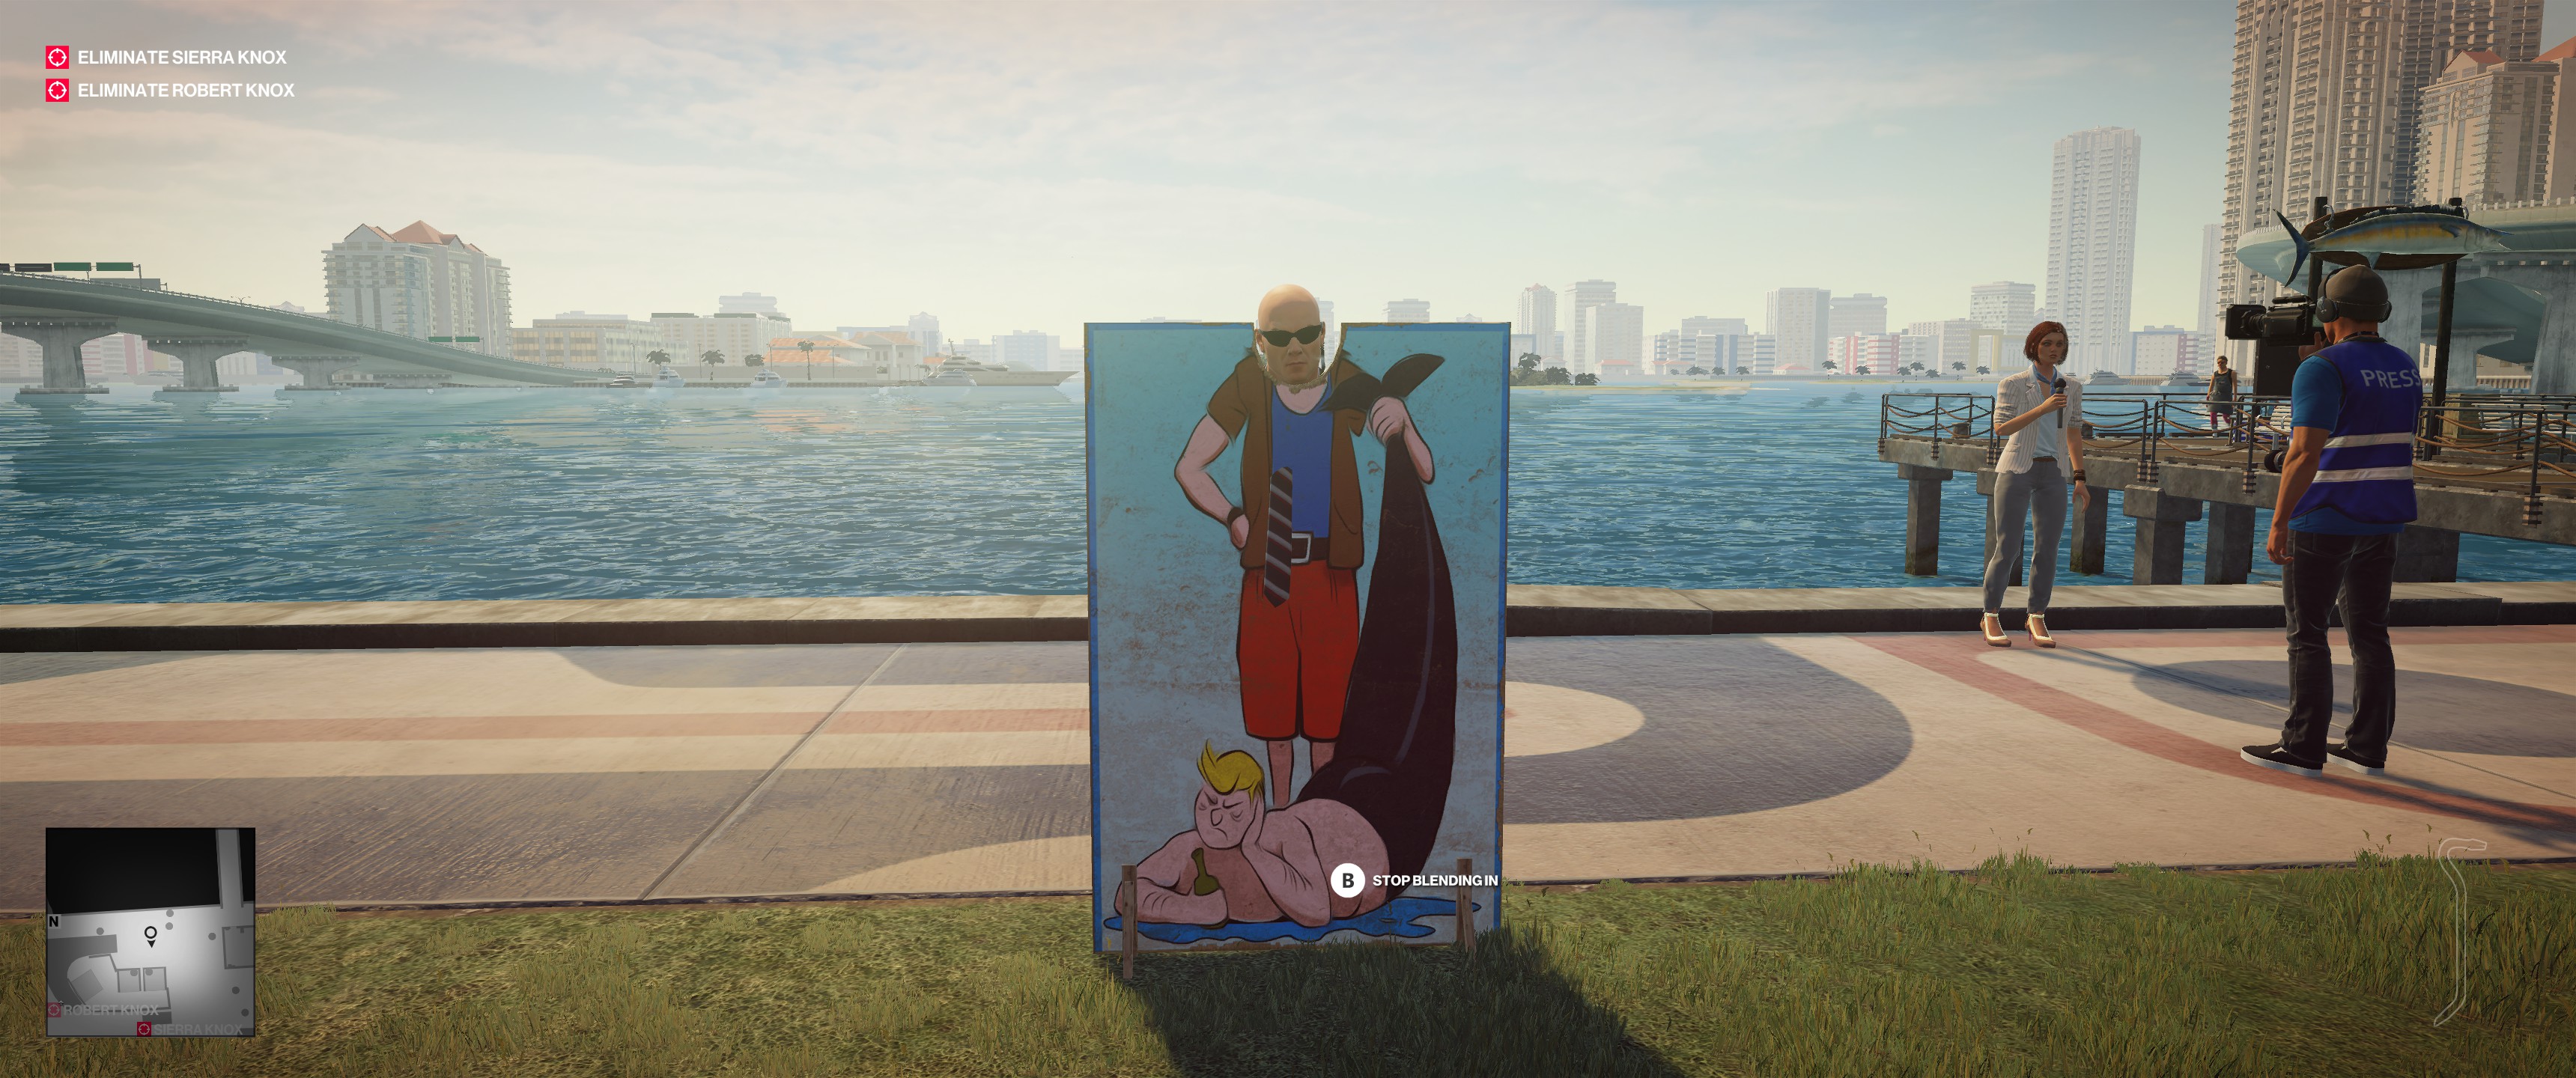
TINTAMARRESQUE – Take a cheesy photo
In Marina Park South, near the dock where Florida Man hangs out, you’ll see a goofy photo-op cutout. Simply interact with it.
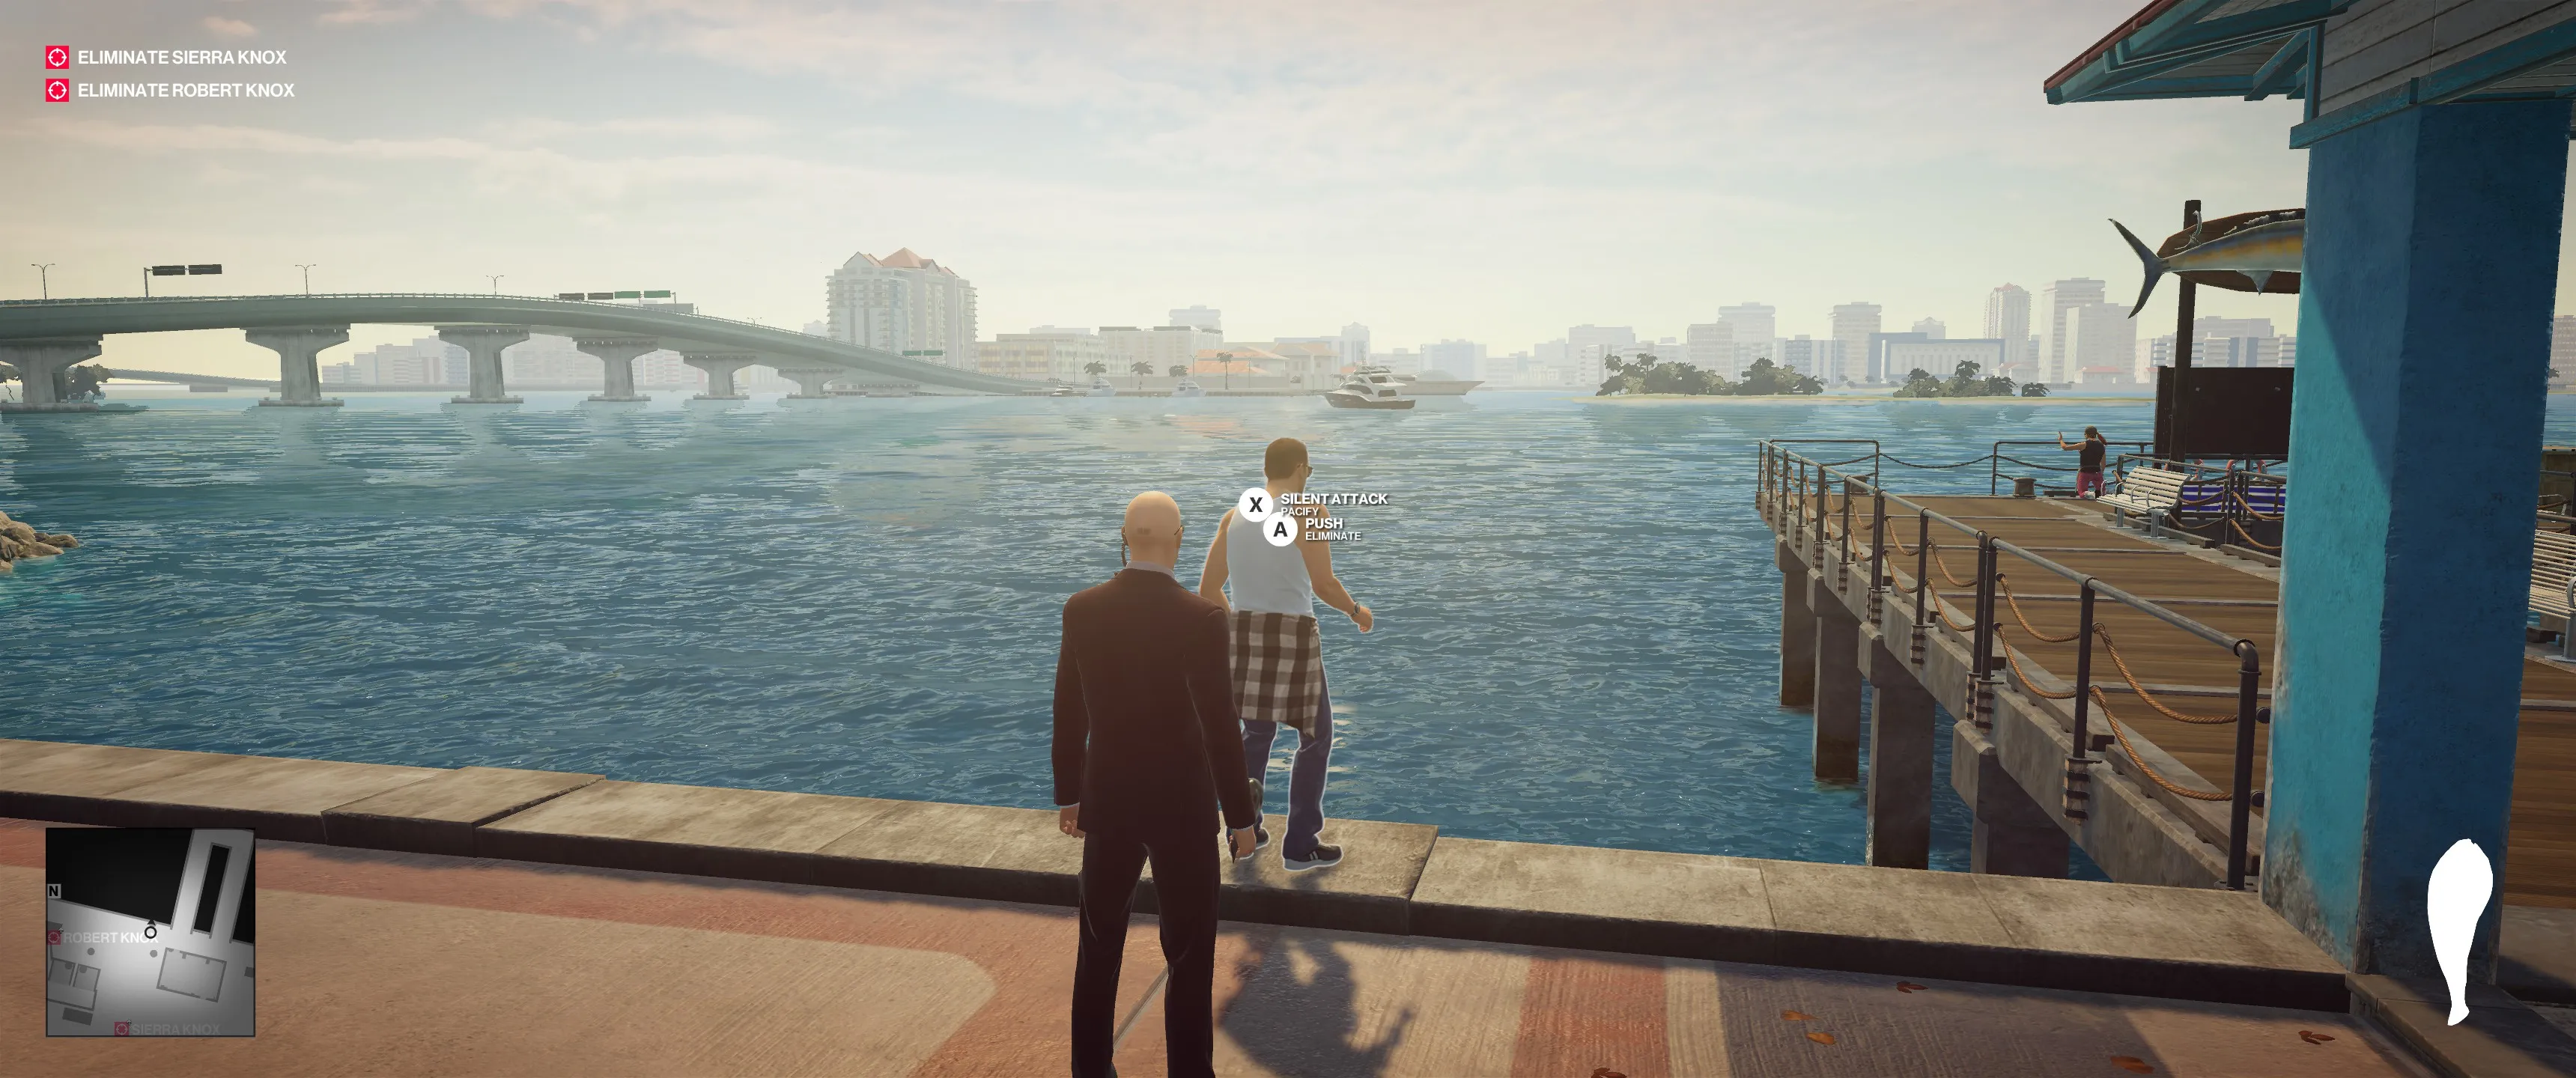
FISH SLAPPING DANCE – Slap someone into the ocean with a fish
Yeah, you read that right. You can probably start the mission with a fish as one of your items, it’s a fairly low-level unlock. If you don’t have it yet, snag one from the aquarium as detailed in the FRUTTI DI MARE section.
The roaming security guard in Marina Park South near Florida Man makes an easy target, but you can use any of the NPCs in the area. Lure the unfortunate soul to the edge of the pier by throwing stuff, then approach and beat him with the fish to make him fall in the water. What a weird sentence to type.
FREE FISHIE – Help a fish go home
Immediately after you complete FISH SLAPPING DANCE, toss the murder weapon back to whence it came. Or, if you’re not a total monster, just toss any fish into the water—you don’t need to kill someone with it first.
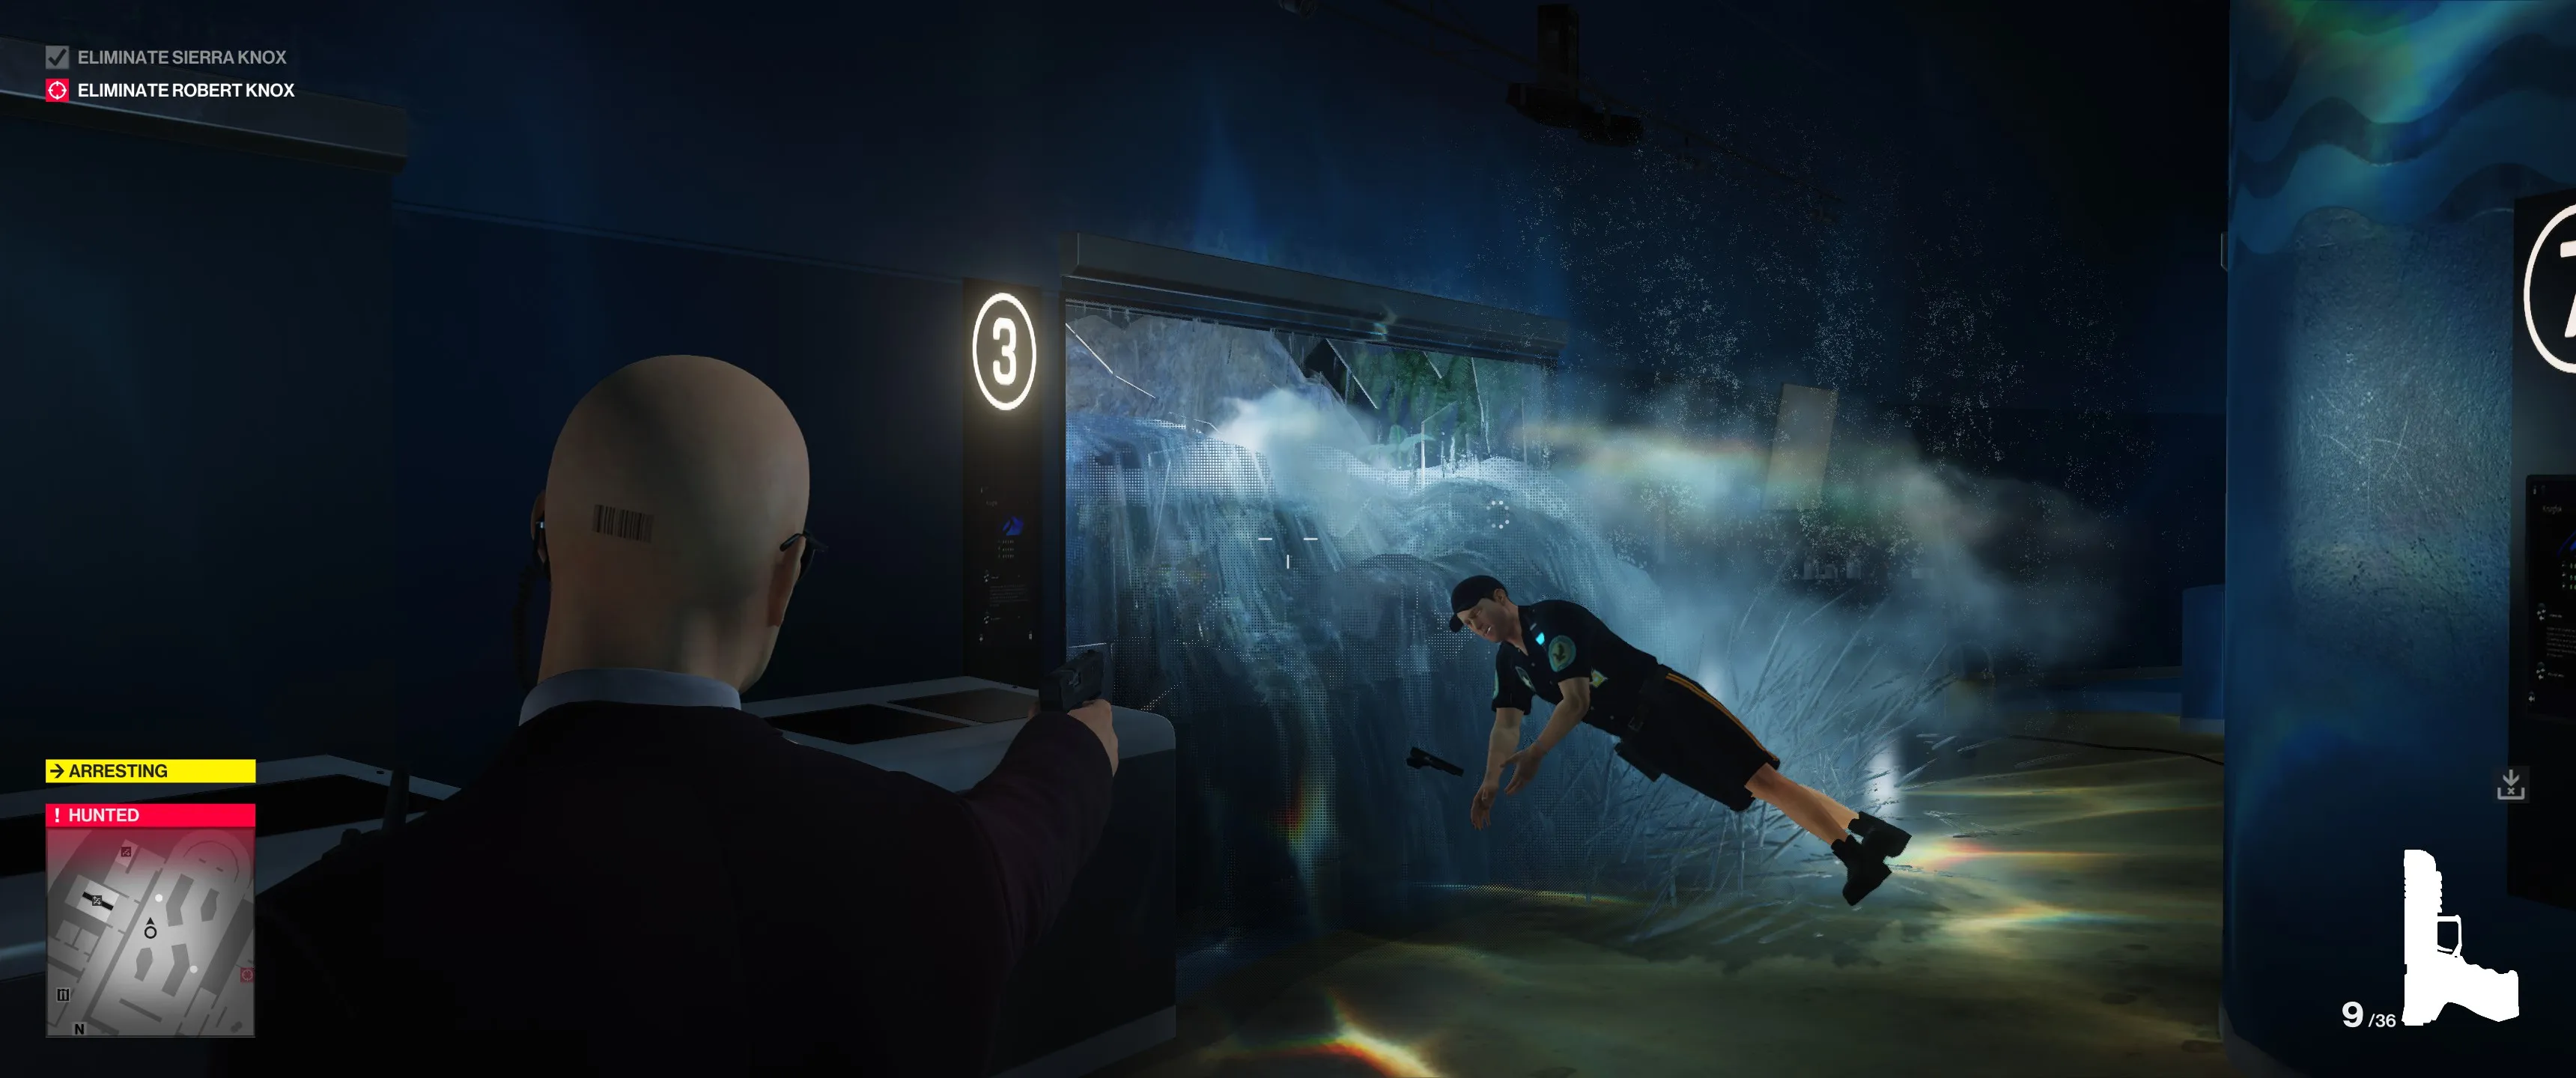
TANKED – Incapacitate security guard(s) by shooting a fish tank
You’ll need a gun for this—any will do. Two security guards patrol the aquarium. Wait for one or both of them to stop next to or pass by any of the wall-mounted fish tanks, then shoot the glass a few times.
SLEEPING WITH THE FISHES – Dump a body into a fish tank
After completing TANKED, just dispose of the guard(s) in any of the open-top fish tanks. It’s the perfect crime; nobody will ever notice the shattered glass or the gasping fish flopping all over the floor.
SAFETY FIRST – Tamper with the pressure release valves for the pyrotechnics display
This is a required step for the BETTER BURN UP THAN FADE AWAY assassination challenge; see that section for details.
ODD ONE OUT – Disqualify Moses Lee
Dress up as a race marshal and disqualify Moses Lee from either of the two race marshal stations at the base of the raceway overpass towers.
SWEET VICTORY – Put sugar in Moses Lee’s gas tank
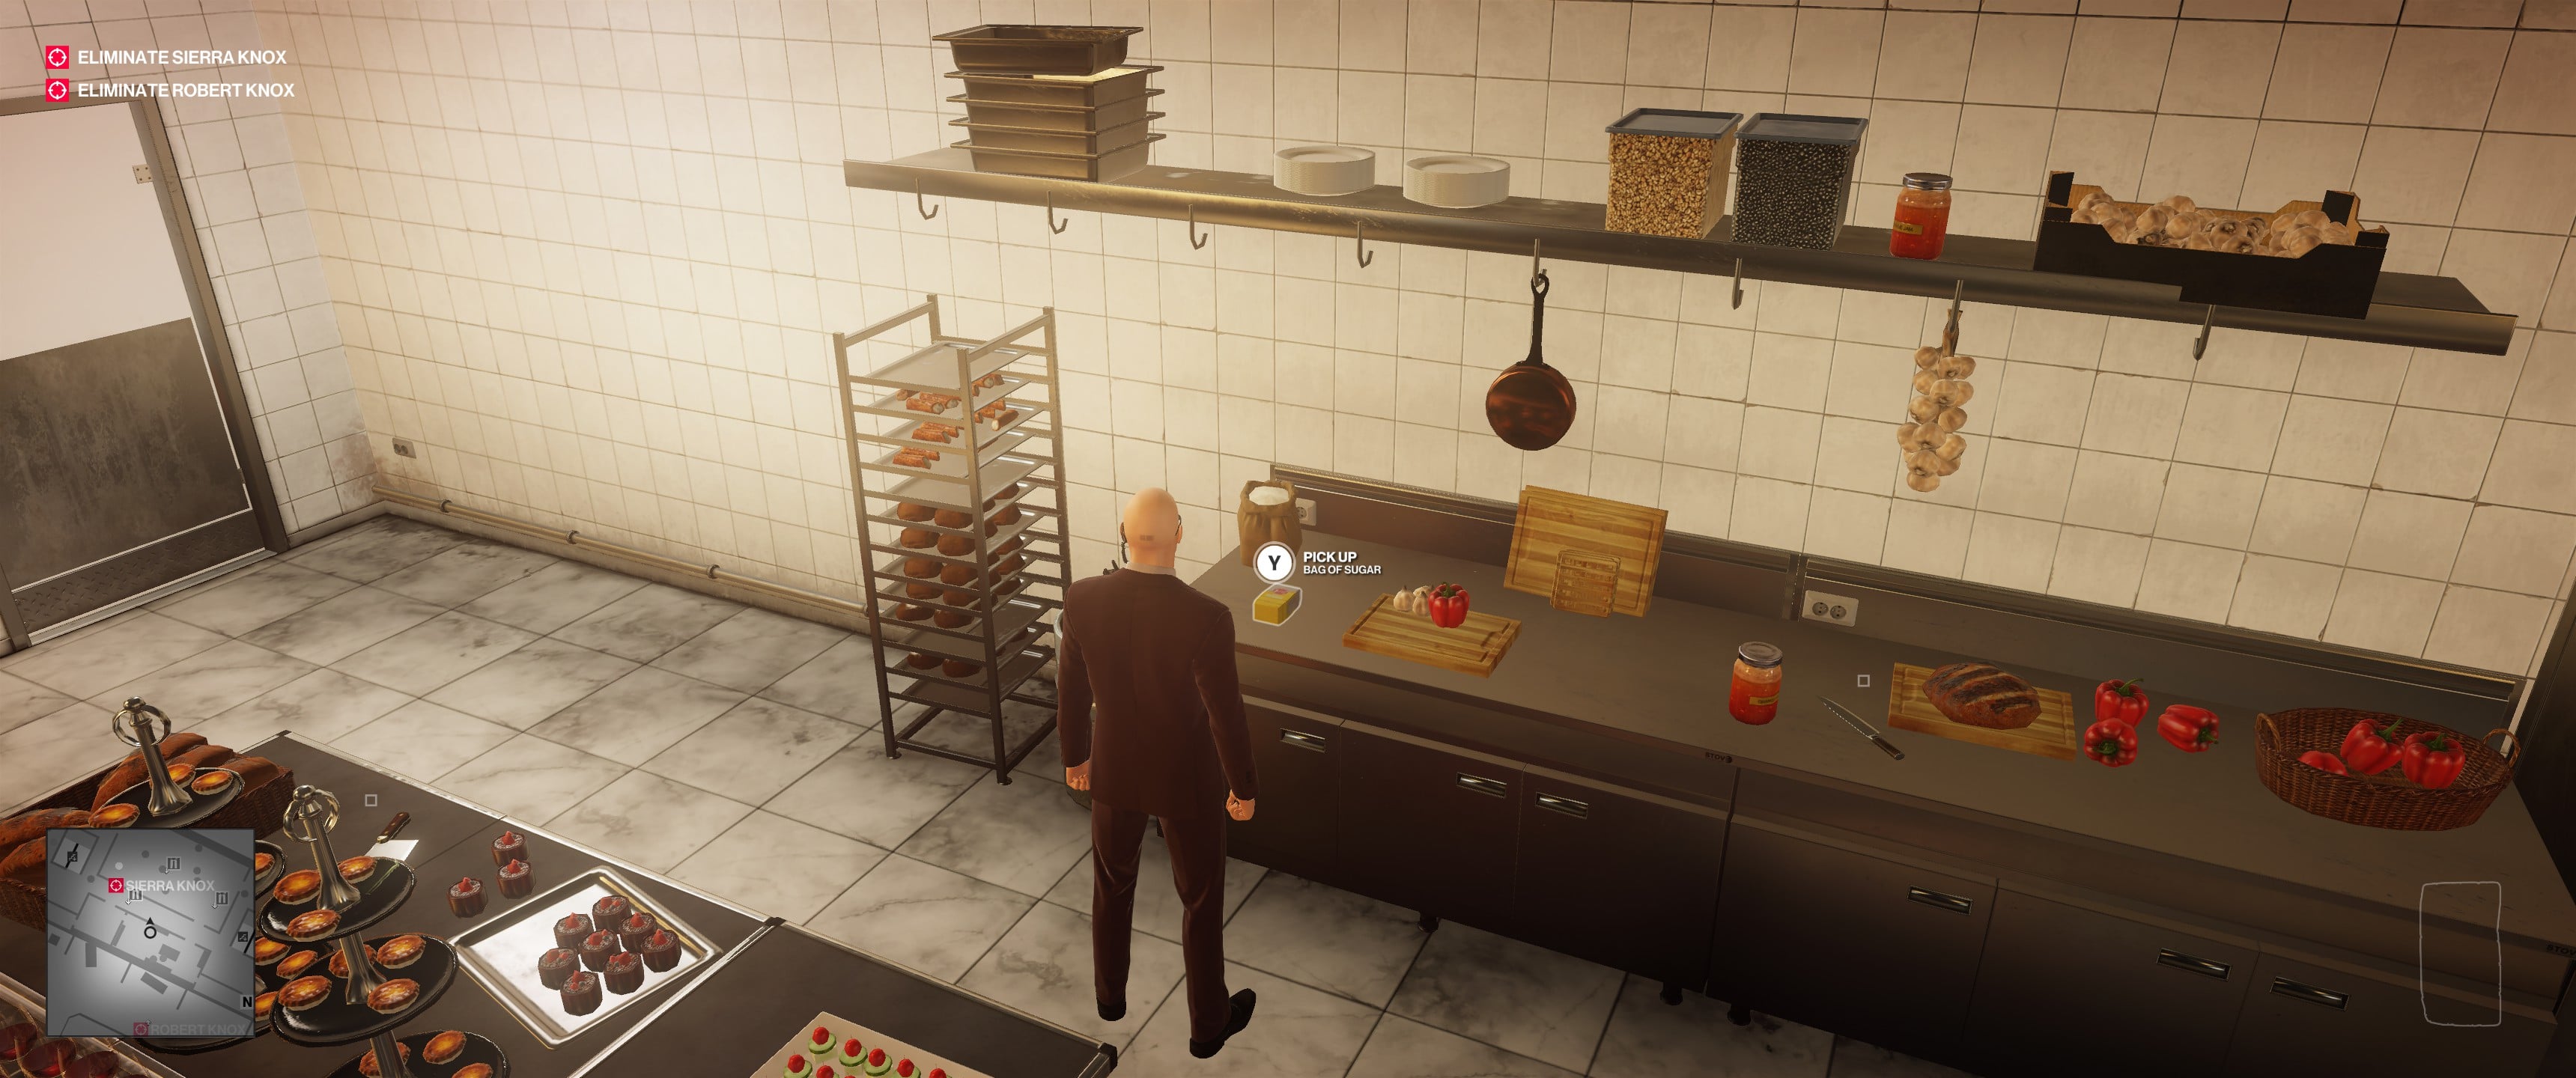
If you’ve reached Mission Mastery level 20, you can start as a mechanic in the Kowoon garage, which is perfect—but starting as a waiter in the driver’s lounge is a good choice too. In either case, head into the kitchen just across the hall from the driver’s lounge. Snag a bag of sugar from the counter.
Now head back to the Kowoon garage and change into a mechanic’s uniform if you didn’t start with one. Click on the pit crew station and select the funnel to use the sugar in a cutscene. Challenge complete!
47 ON THE SCOVILLE SCALE – Drink the chili shot during a drinking contest with Sierra Knox
This challenge, as well as MILKY WAY and HOT SHOT, can all be set up fairly quickly by disqualifying Sierra Knox from the race. (Moses Lee wins by default unless you disqualify him; these three challenges can all be completed regardless of who wins, but all of them go a lot faster if Moses wins.)
No matter how you choose to approach the setup, you’ll need to get Moses Lee alone, incapacitate him, and change into his clothes after the race is over. Head to the driver’s lounge and wait for Sierra Knox to show up. (Sometimes she dawdles, or won’t come to the lounge at all. If you go find her and speak to her as Moses, that should prompt her to come to the lounge.)
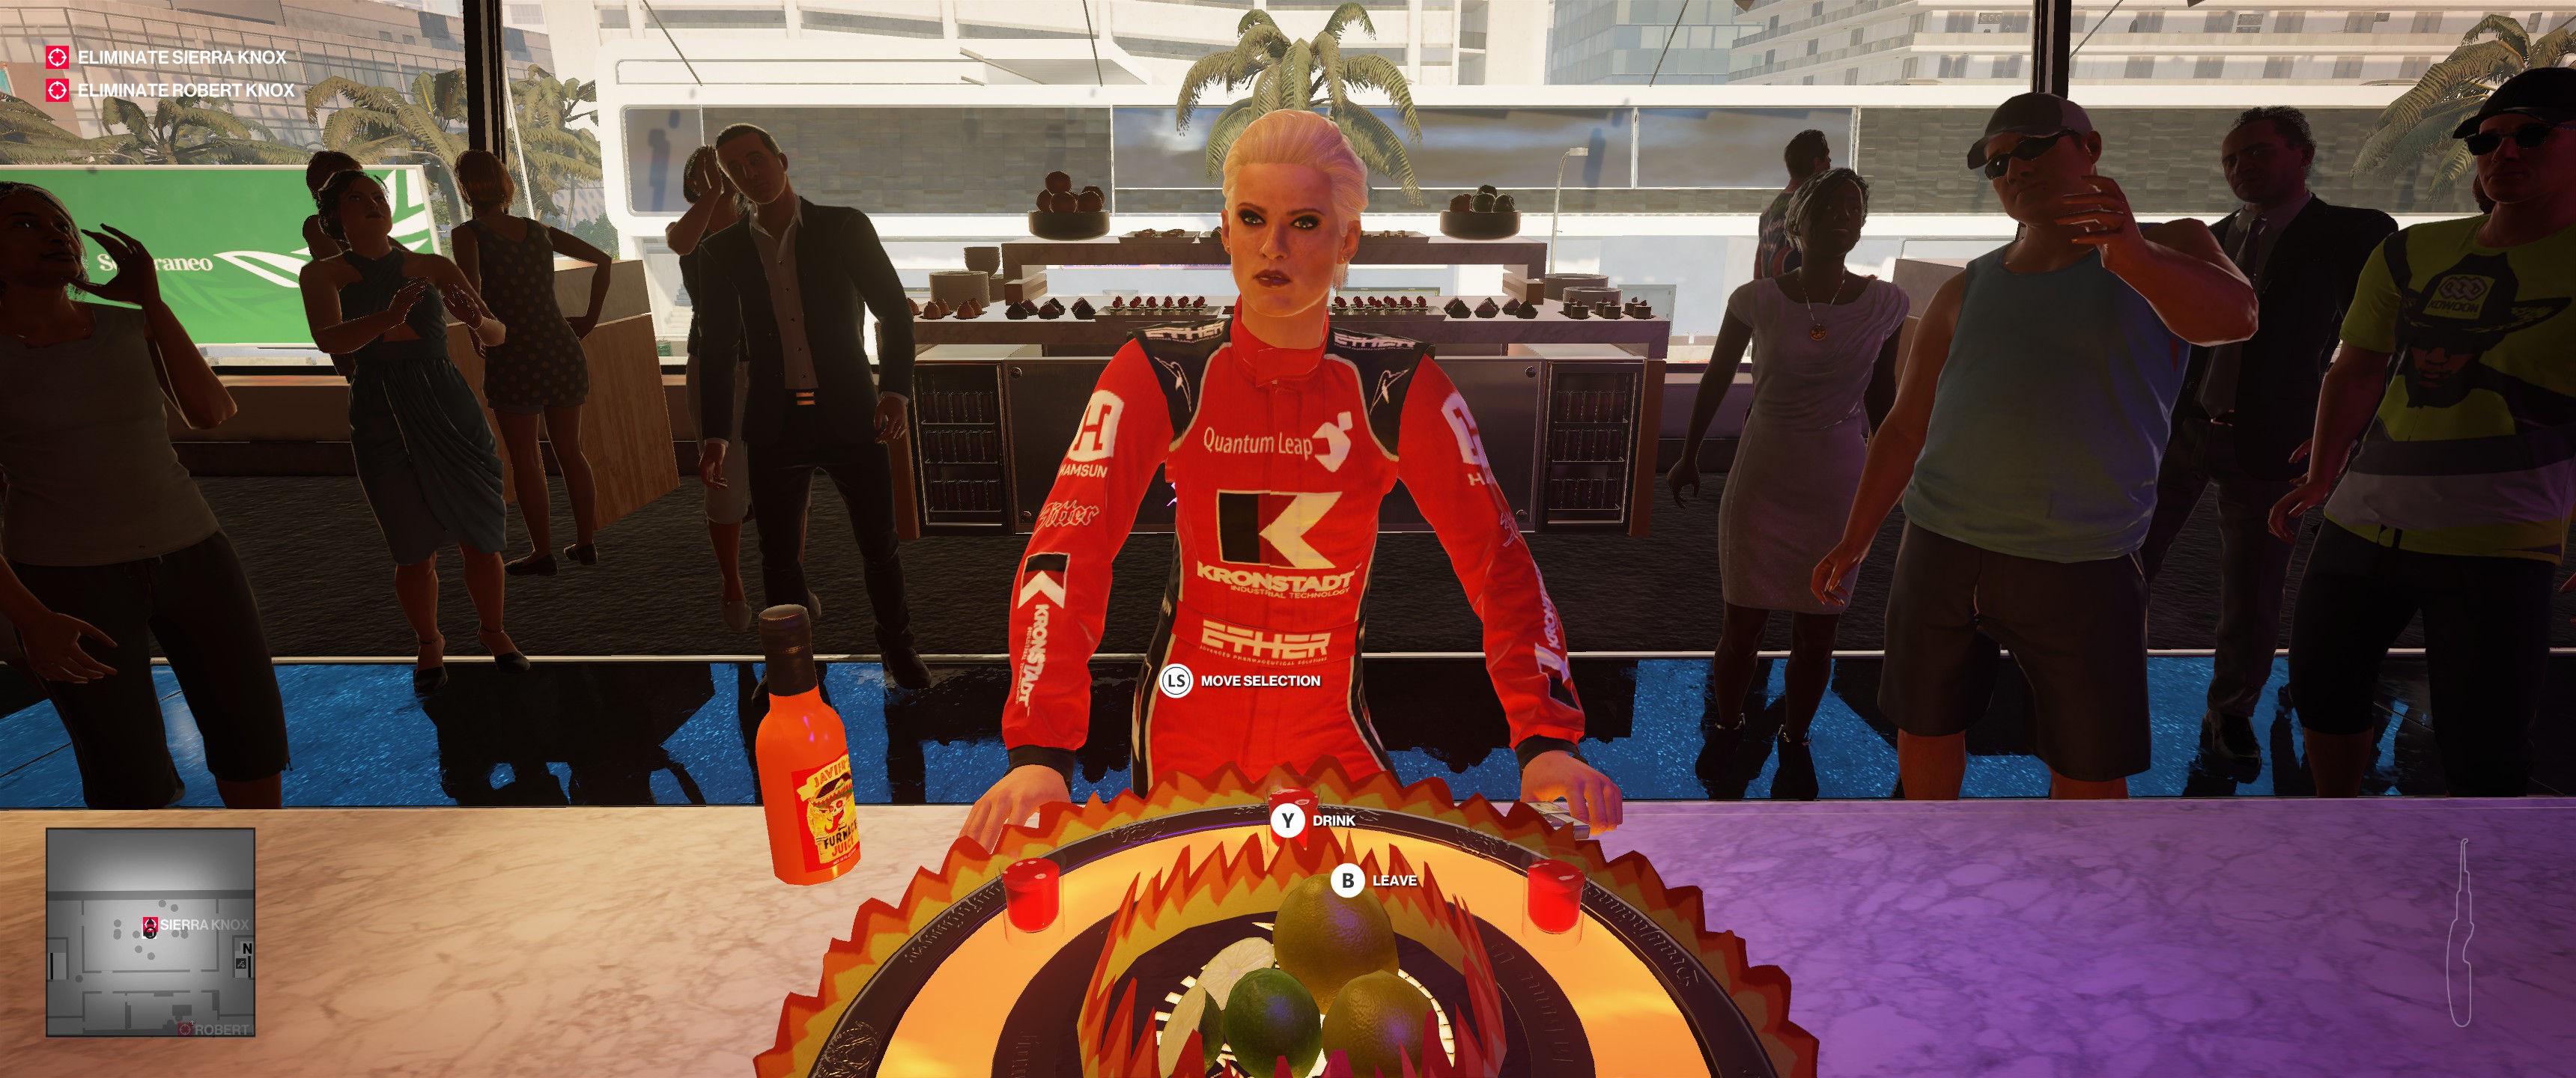
Once she arrives and the drinking contest gets underway, watch the glass she puts the chili sauce in very closely. She’ll spin the serving tray and invite you to take the first shot. If you kept your eye on the spicy glass, you’ll know which one it is—either drink it or don’t, depending on whether you’re going for this challenge or MILKY WAY.
MILKY WAY – Make Sierra drink the chili shot
Follow the instructions for 47 ON THE SCOVILLE SCALE above, just make sure she drinks the shot instead of you. (This is also a good opportunity to poison the chili sauce with emetic poison before Sierra arrives, if you want to send her to the bathroom in order to complete HOLD MY HAIR. Doing so while dressed as a waiter will avoid arousing any suspicion.)
RED FLAG – Stop the race early by crashing multiple cars
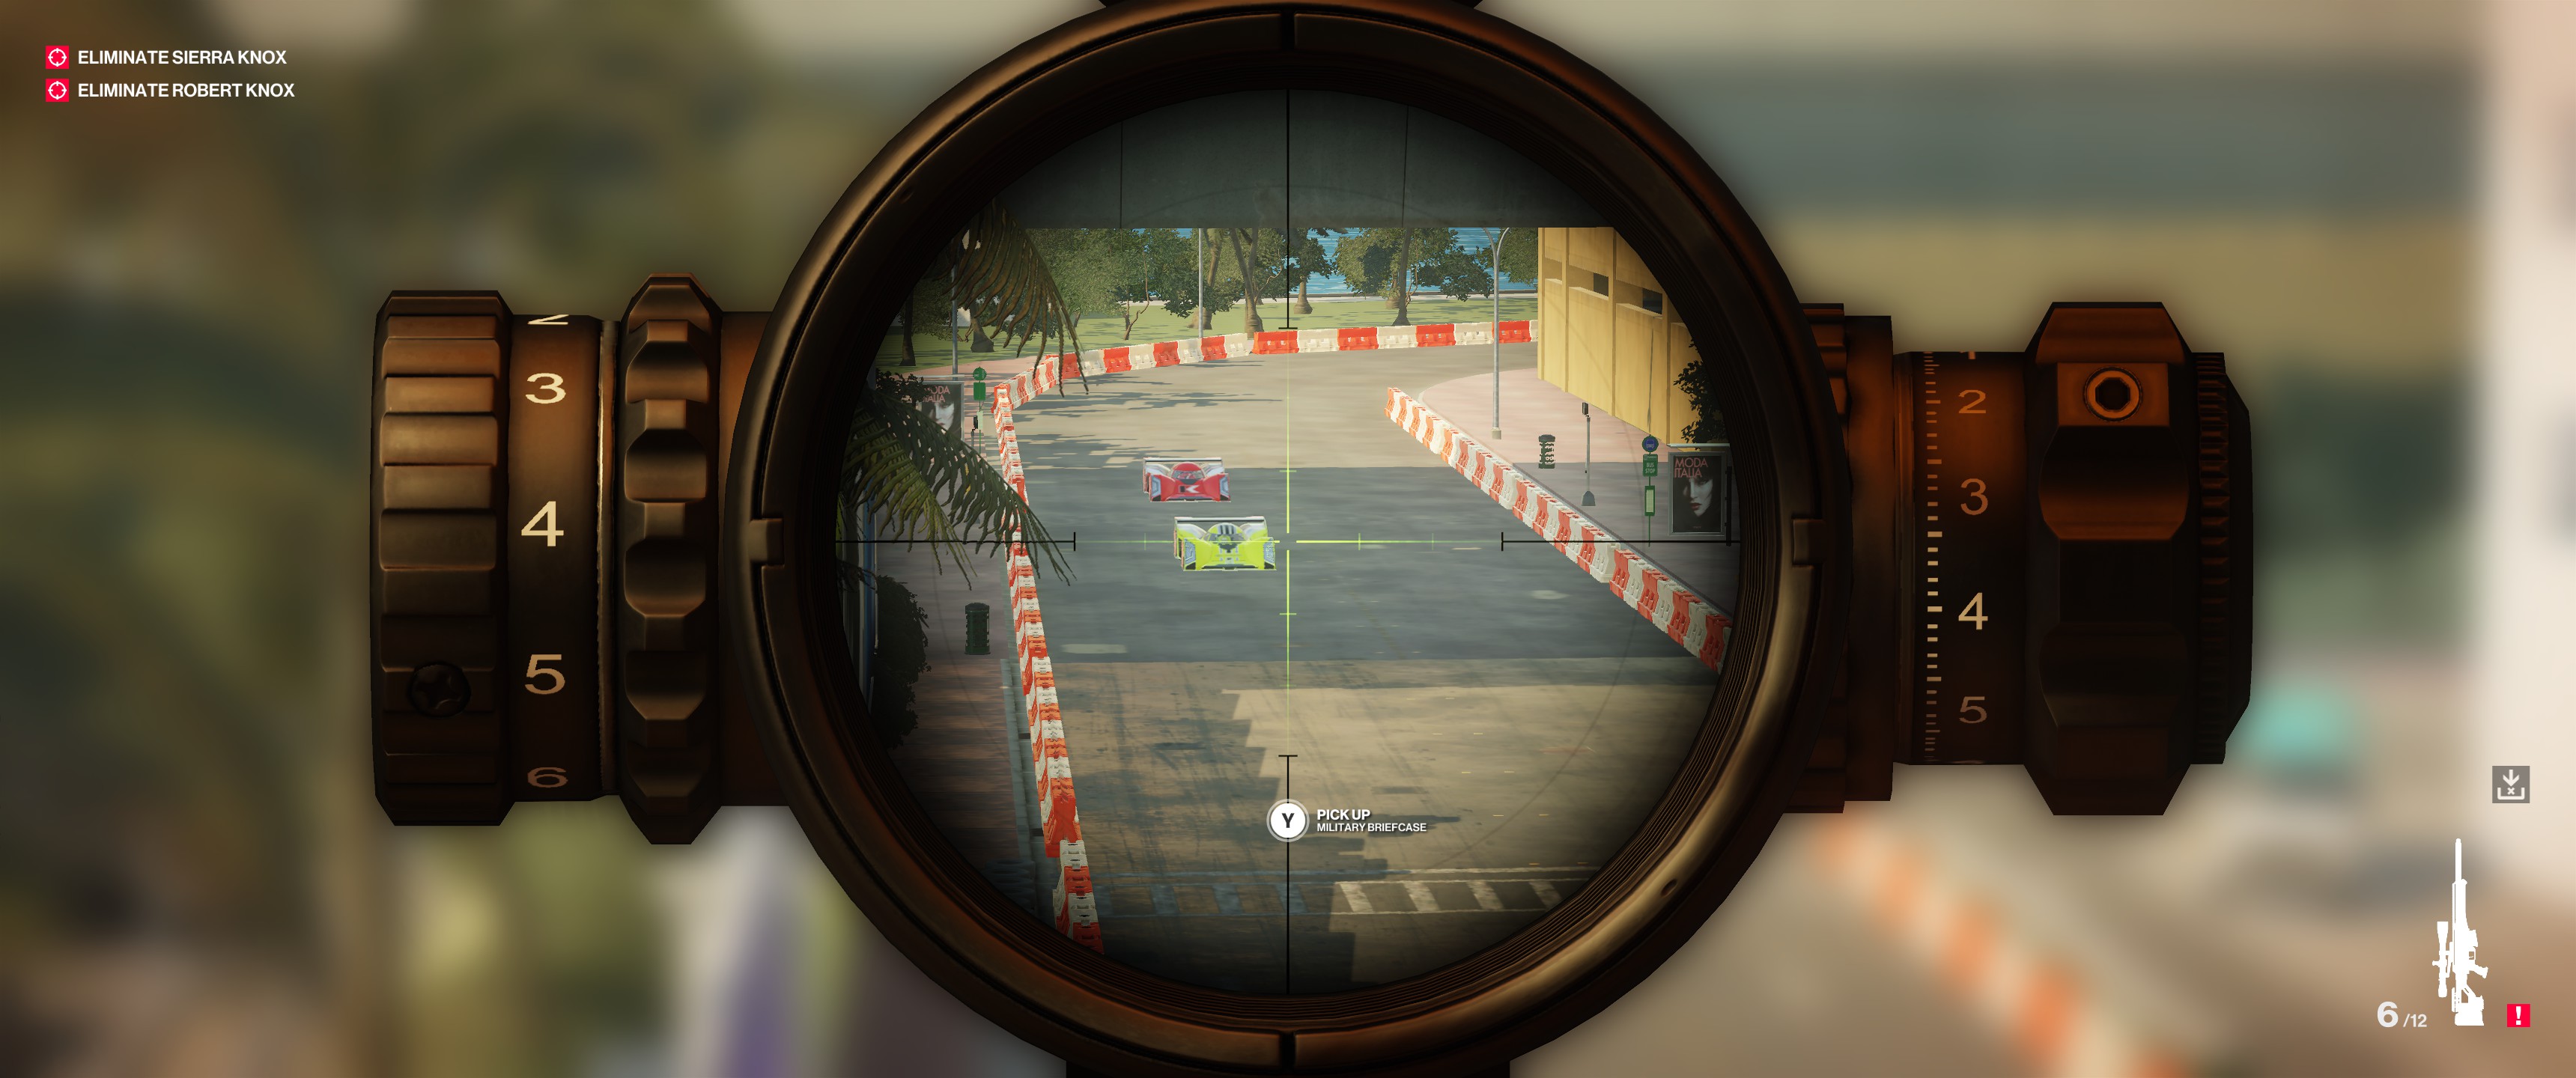
The ideal setup for this one involves starting as a race marshal with a sniper rifle smuggled into the parkside food stands, but it doesn’t matter where the rifle is as long as you can get one. You can also check off the DÉJÀ DUE feat and the MOVING TARGET assassination challenge with this setup.
Return to the overpass with your rifle and take out one or both of the real race marshals, if necessary.
Shoot Sierra’s car with your rifle when it comes down the straightaway, completing MOVING TARGET in the process. (You can’t shoot other cars until hers is destroyed.) Simply continue shooting other cars until the challenge completes.
DÉJÀ DUE – Snipe a poor, innocent, defenseless pigeon
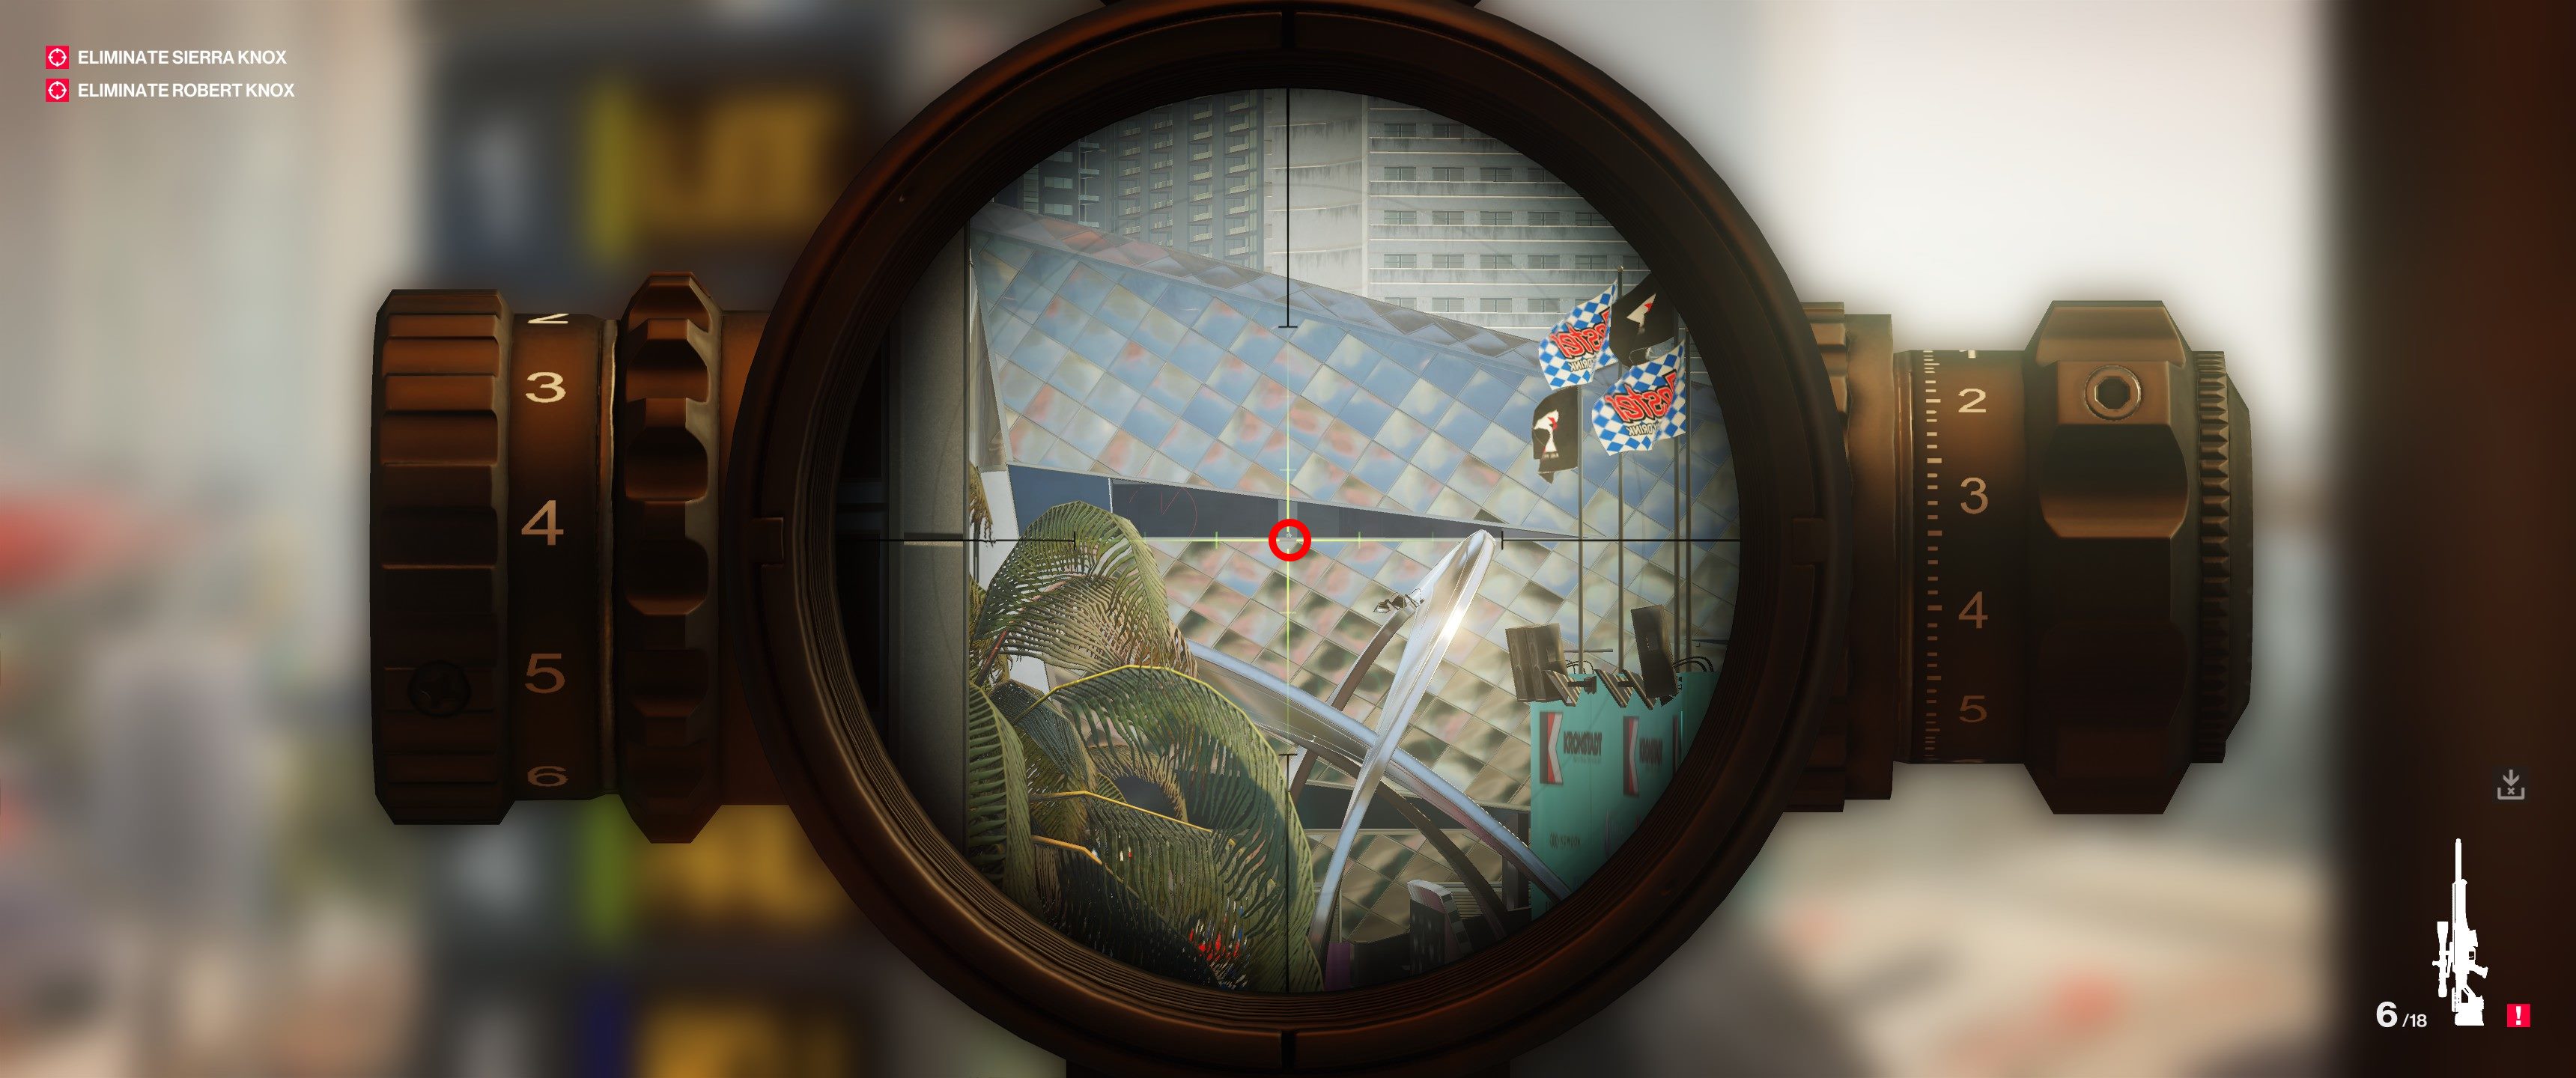
This might be the hardest feat in this mission, simply because the pigeon is so difficult to find. (You’re welcome.) As in RED FLAG, bring a sniper rifle to the raceway overpass and face north. Looking at the screenshot below, you may not see anything. He’s just reeeaallyy far away. Zoom in, he’s there, I promise. Blast him.
THE THUNDER THIEF – Accept the race trophy as Moses Lee
To do this, you’ll need to either disqualify Sierra Knox or wait for the race to end naturally; Moses Lee will win if you don’t interfere. Once the race is over, you’ll need to move fast. You have to intercept Moses and take his clothes (undetected) before he gets to the podium tunnel.
Make a hard save as soon as you’ve swapped places with Moses, because the following section can be buggy. Follow the red carpet outside the Kronstadt garage, down through the podium tunnel. On the other side, you’ll run into this dude in a gray suit.
Stop before him and let him chatter a bit, then follow him when he tells you to. You need to wait until 5 other NPCs show up and position themselves at the top of the stairs before you can go accept the trophy; sometimes this process takes several minutes, and sometimes it doesn’t happen at all. Try reloading an earlier save if 5+ minutes go by and you still haven’t been called to accept the trophy.
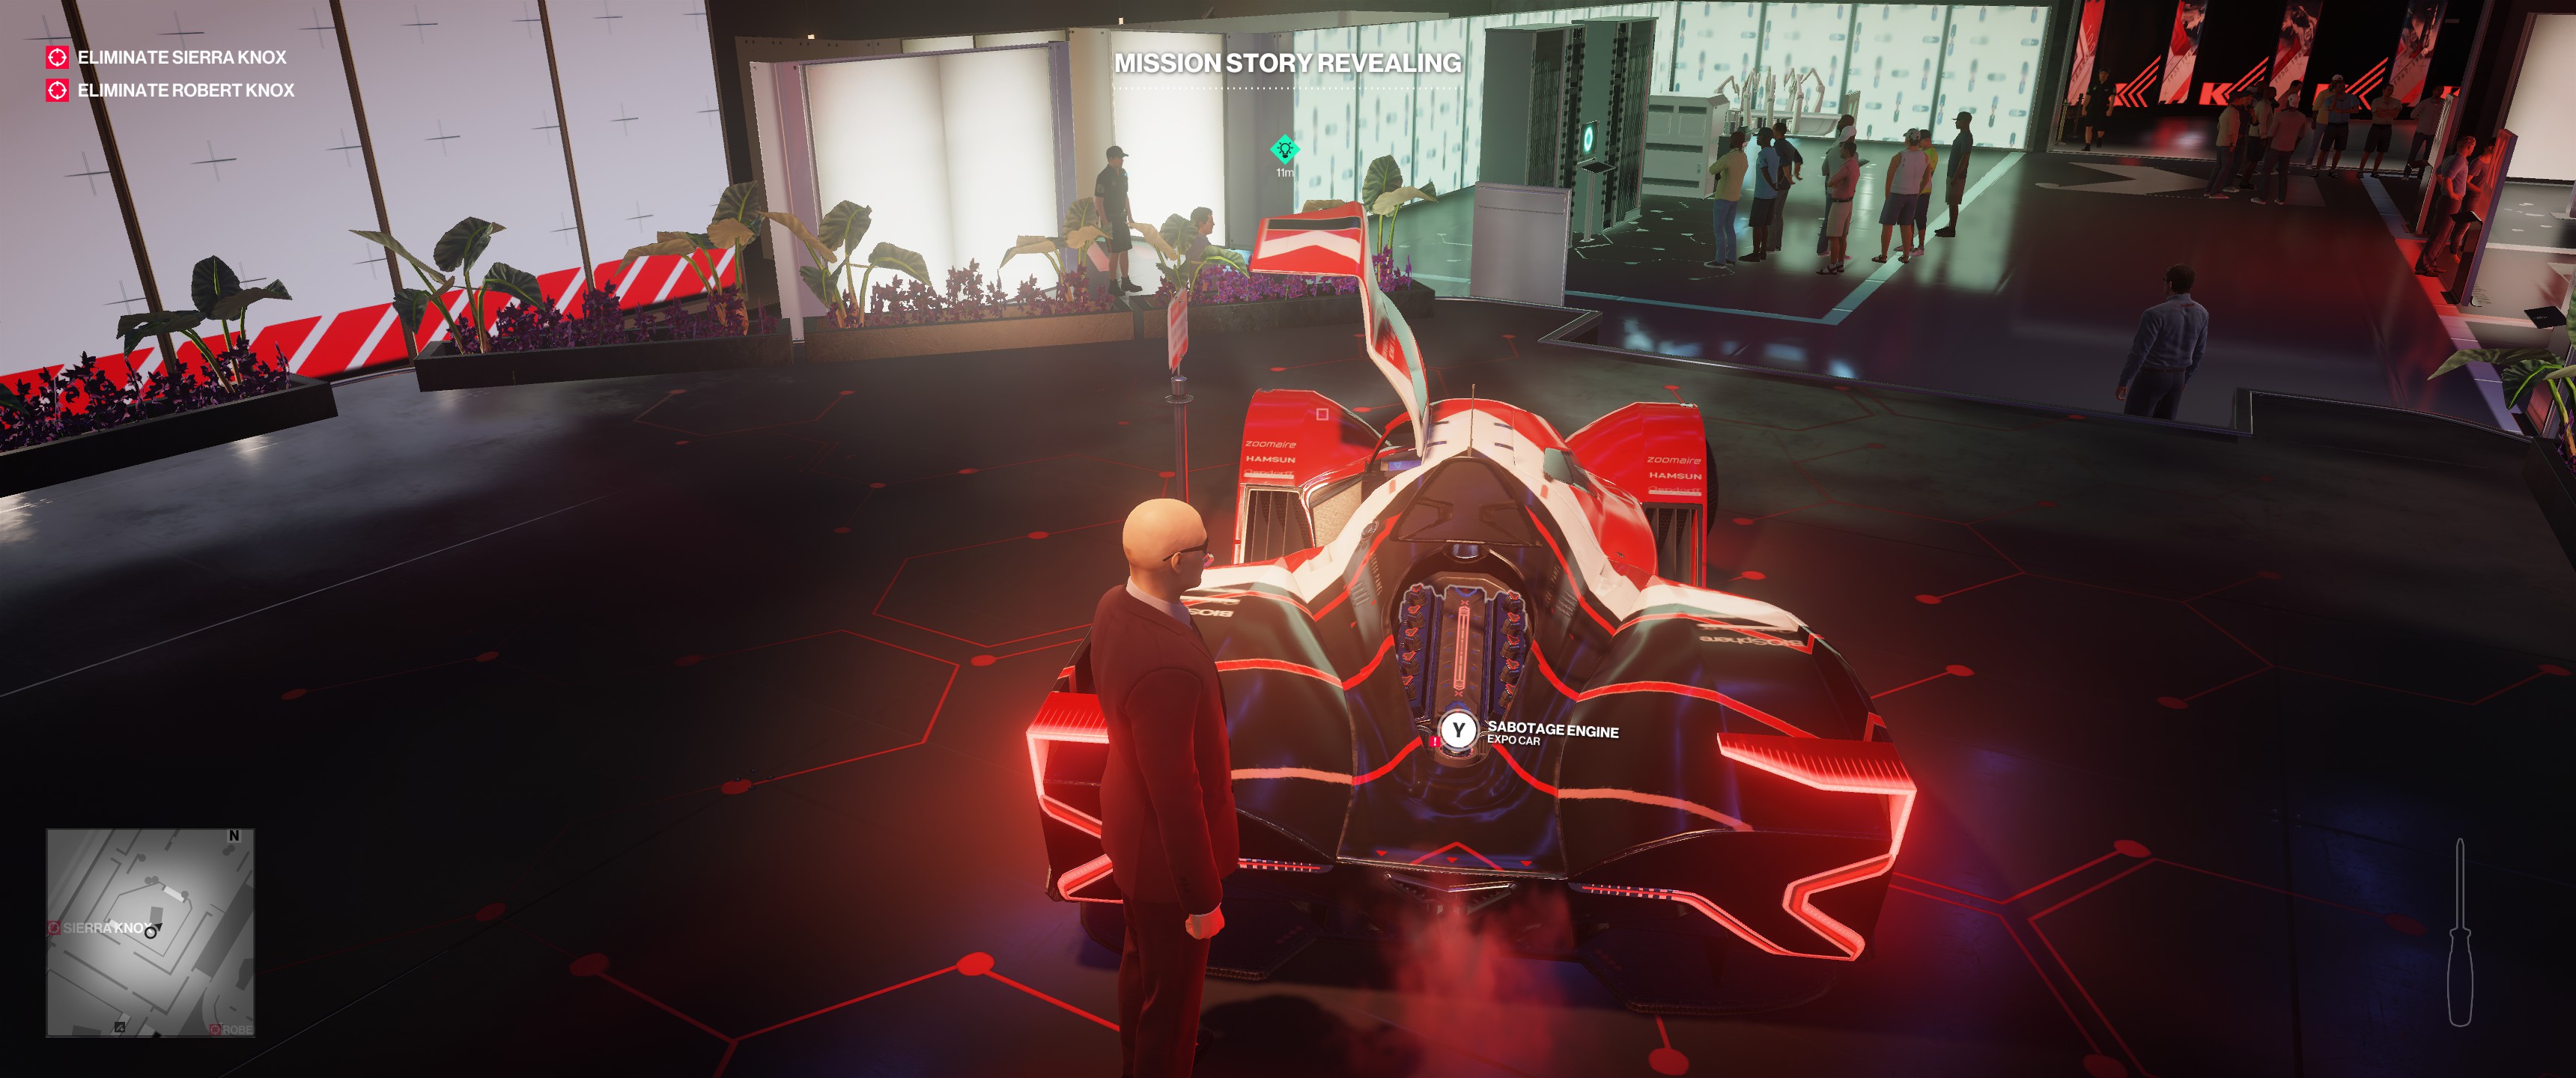
YOU GOT A FAST CAR – Sit in Robert Knox’s new prototype race car
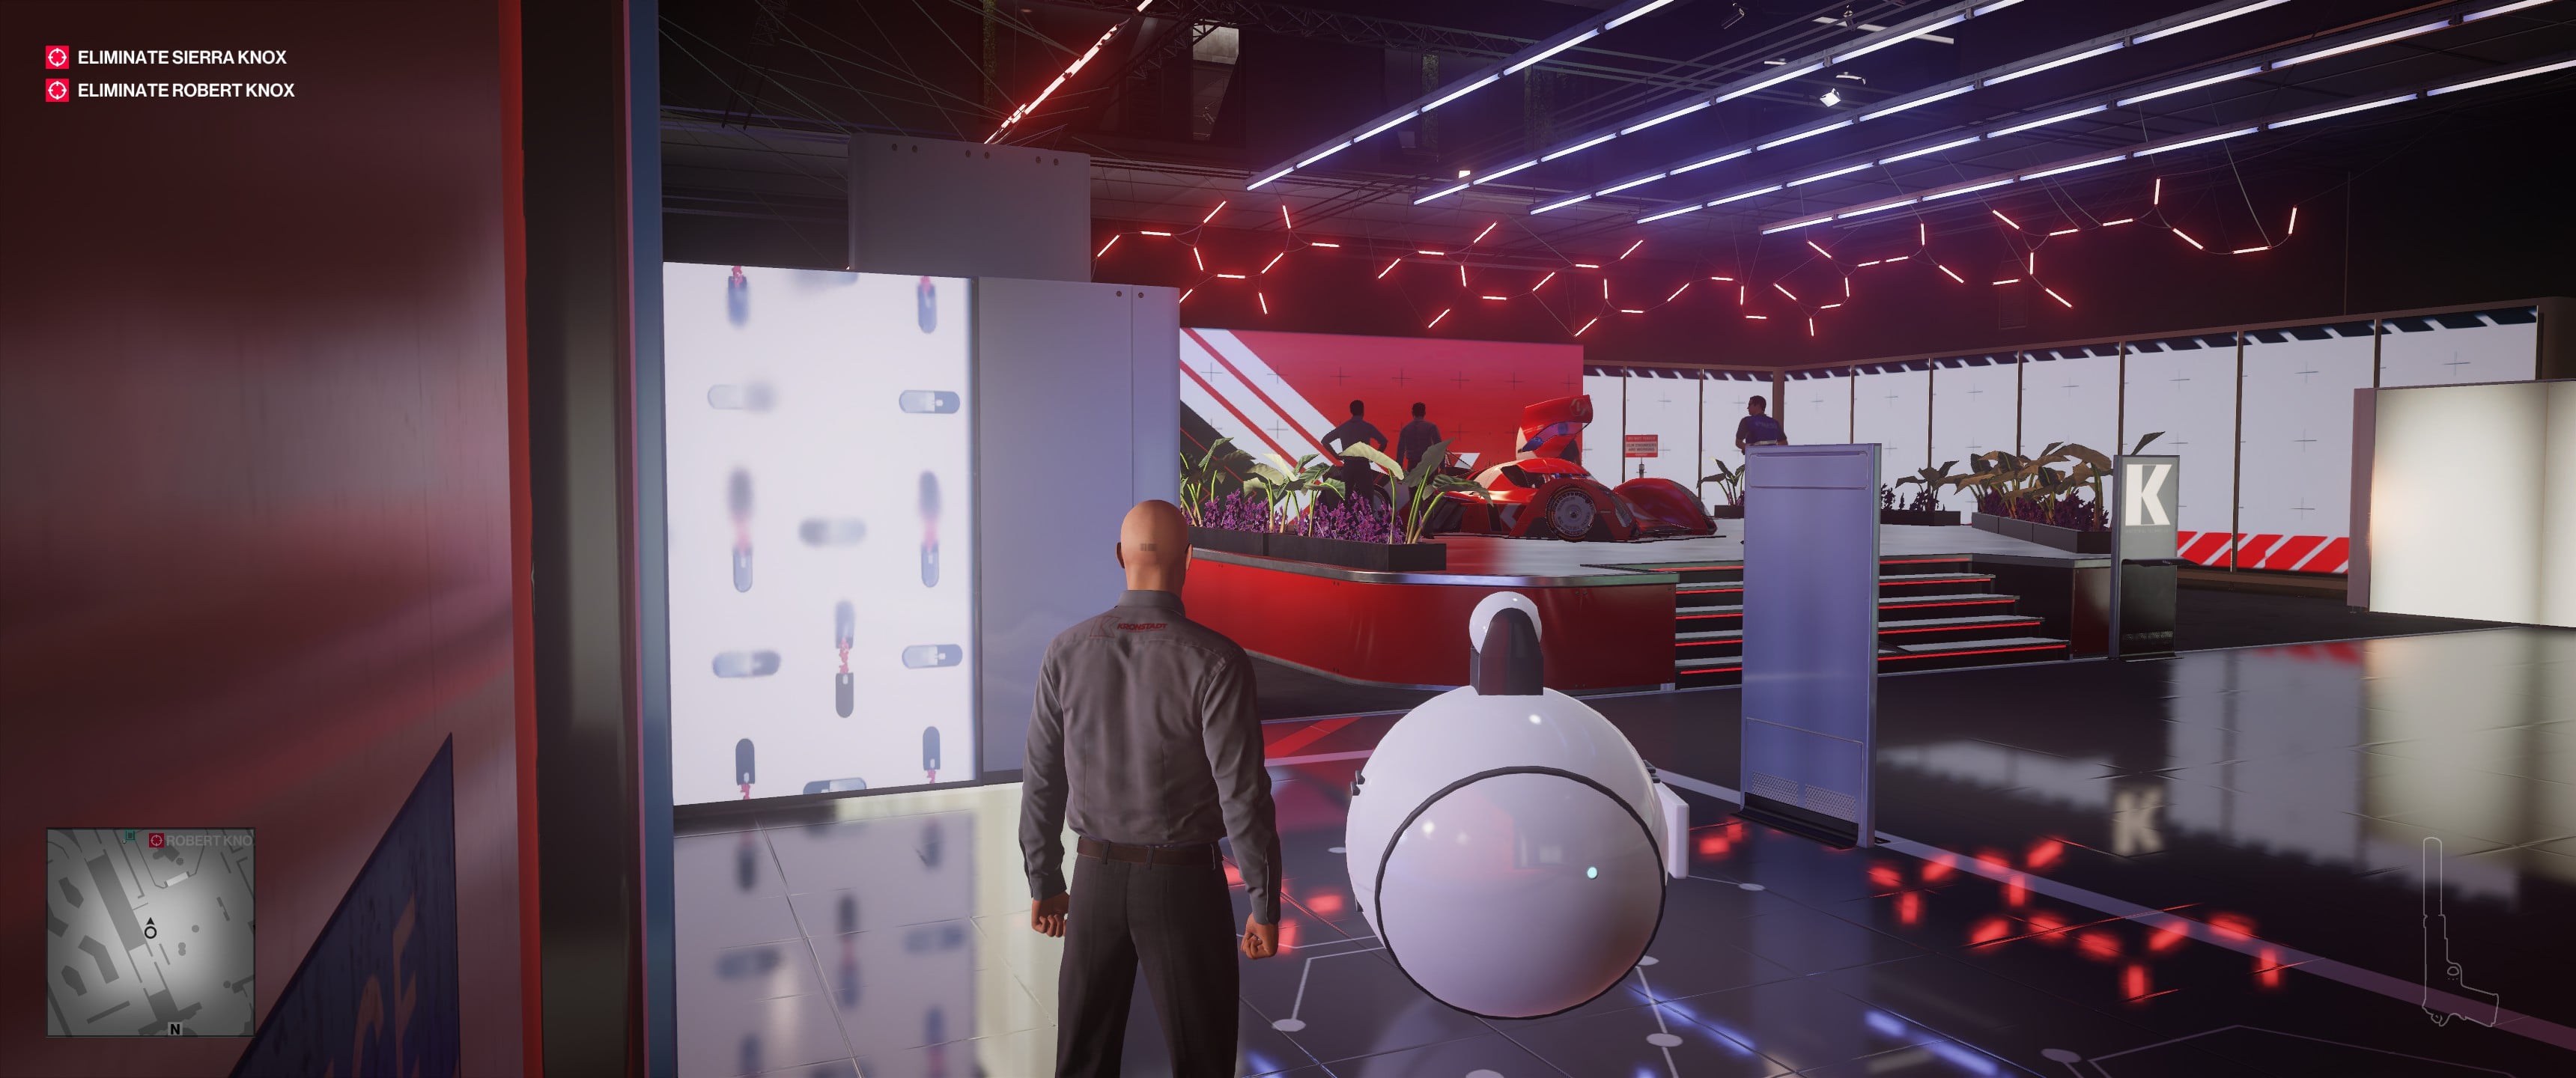
The car in question is located in the expo room, and you can get to it most easily by starting as a Kronstadt engineer. You’ll need a screwdriver, so pick one up anywhere (there’s one in the maintenance room just northeast of the car itself).
Use the screwdriver on the car’s engine and wait for another engineer to call Robert Knox to report the problem. The boss will come running and will direct you to sit in the car when he gets there. (This completes this challenge and leads into the assassination challenge EXTERNAL COMBUSTION ENGINE, but to do that one, you’ll need to have done something else first; see that section of this guide for more info.)
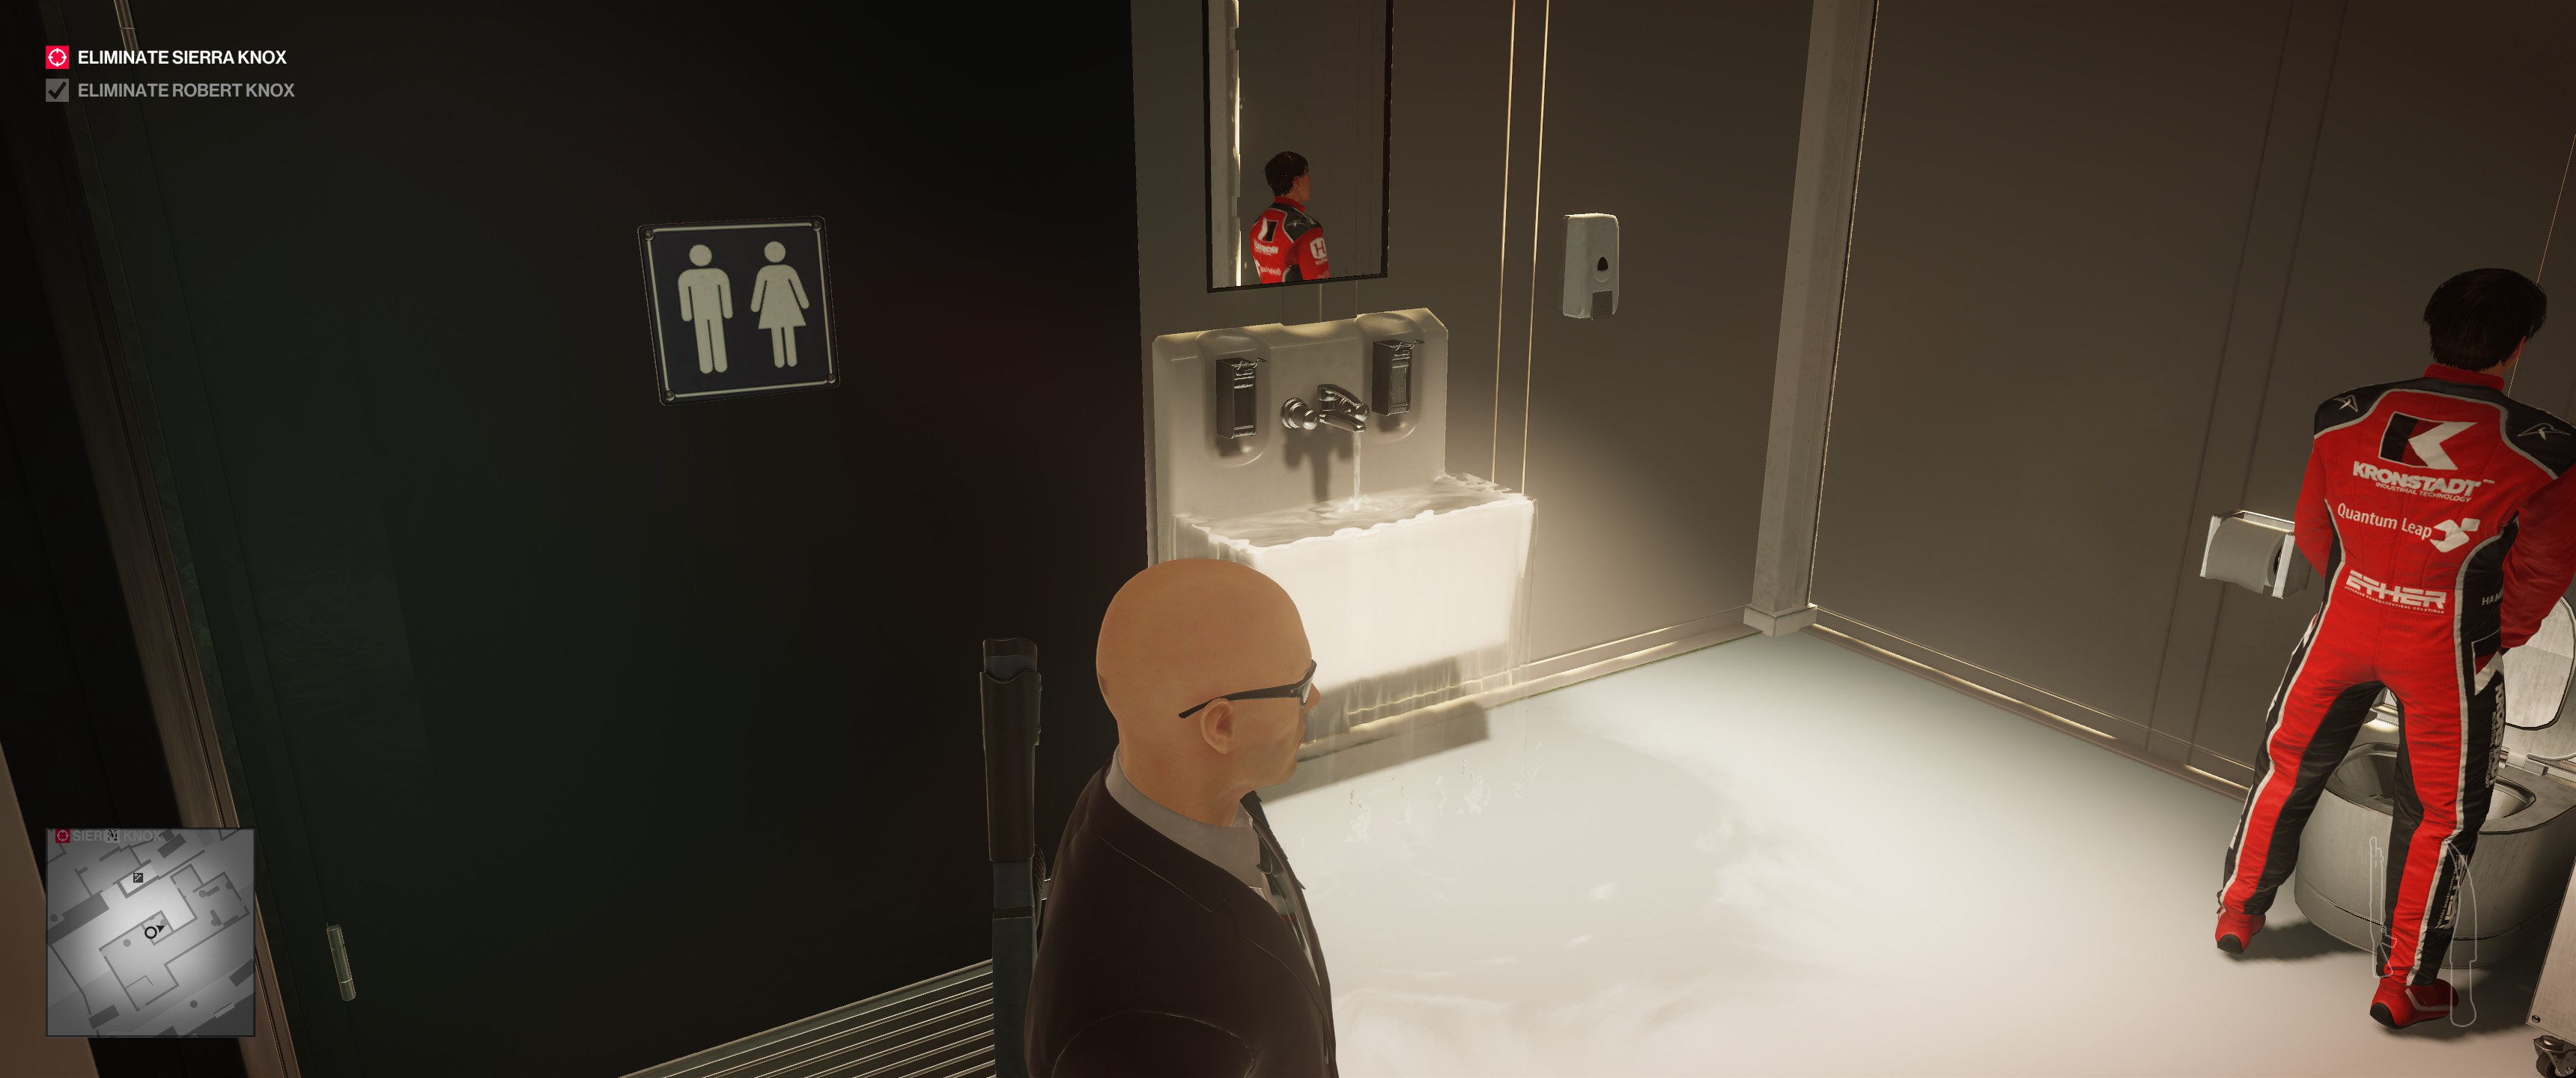
POTTY TRAINING – Make the doctor’s patient leave without killing him
In the emergency bay, a Kronstadt team member is struggling to provide a urine sample. You could just bash his brains in, but this challenge is asking you to show a little finesse. Just follow him into the bathroom and turn on the sink to, uh, correct his problem.
Completing this challenge will put you in a good position to complete the DOCTOR 47 and/or VITAMIN OVERDOSE assassination challenges.
SYMPATHY FOR THE BIRD – Stop Sierra Knox from killing the mascot
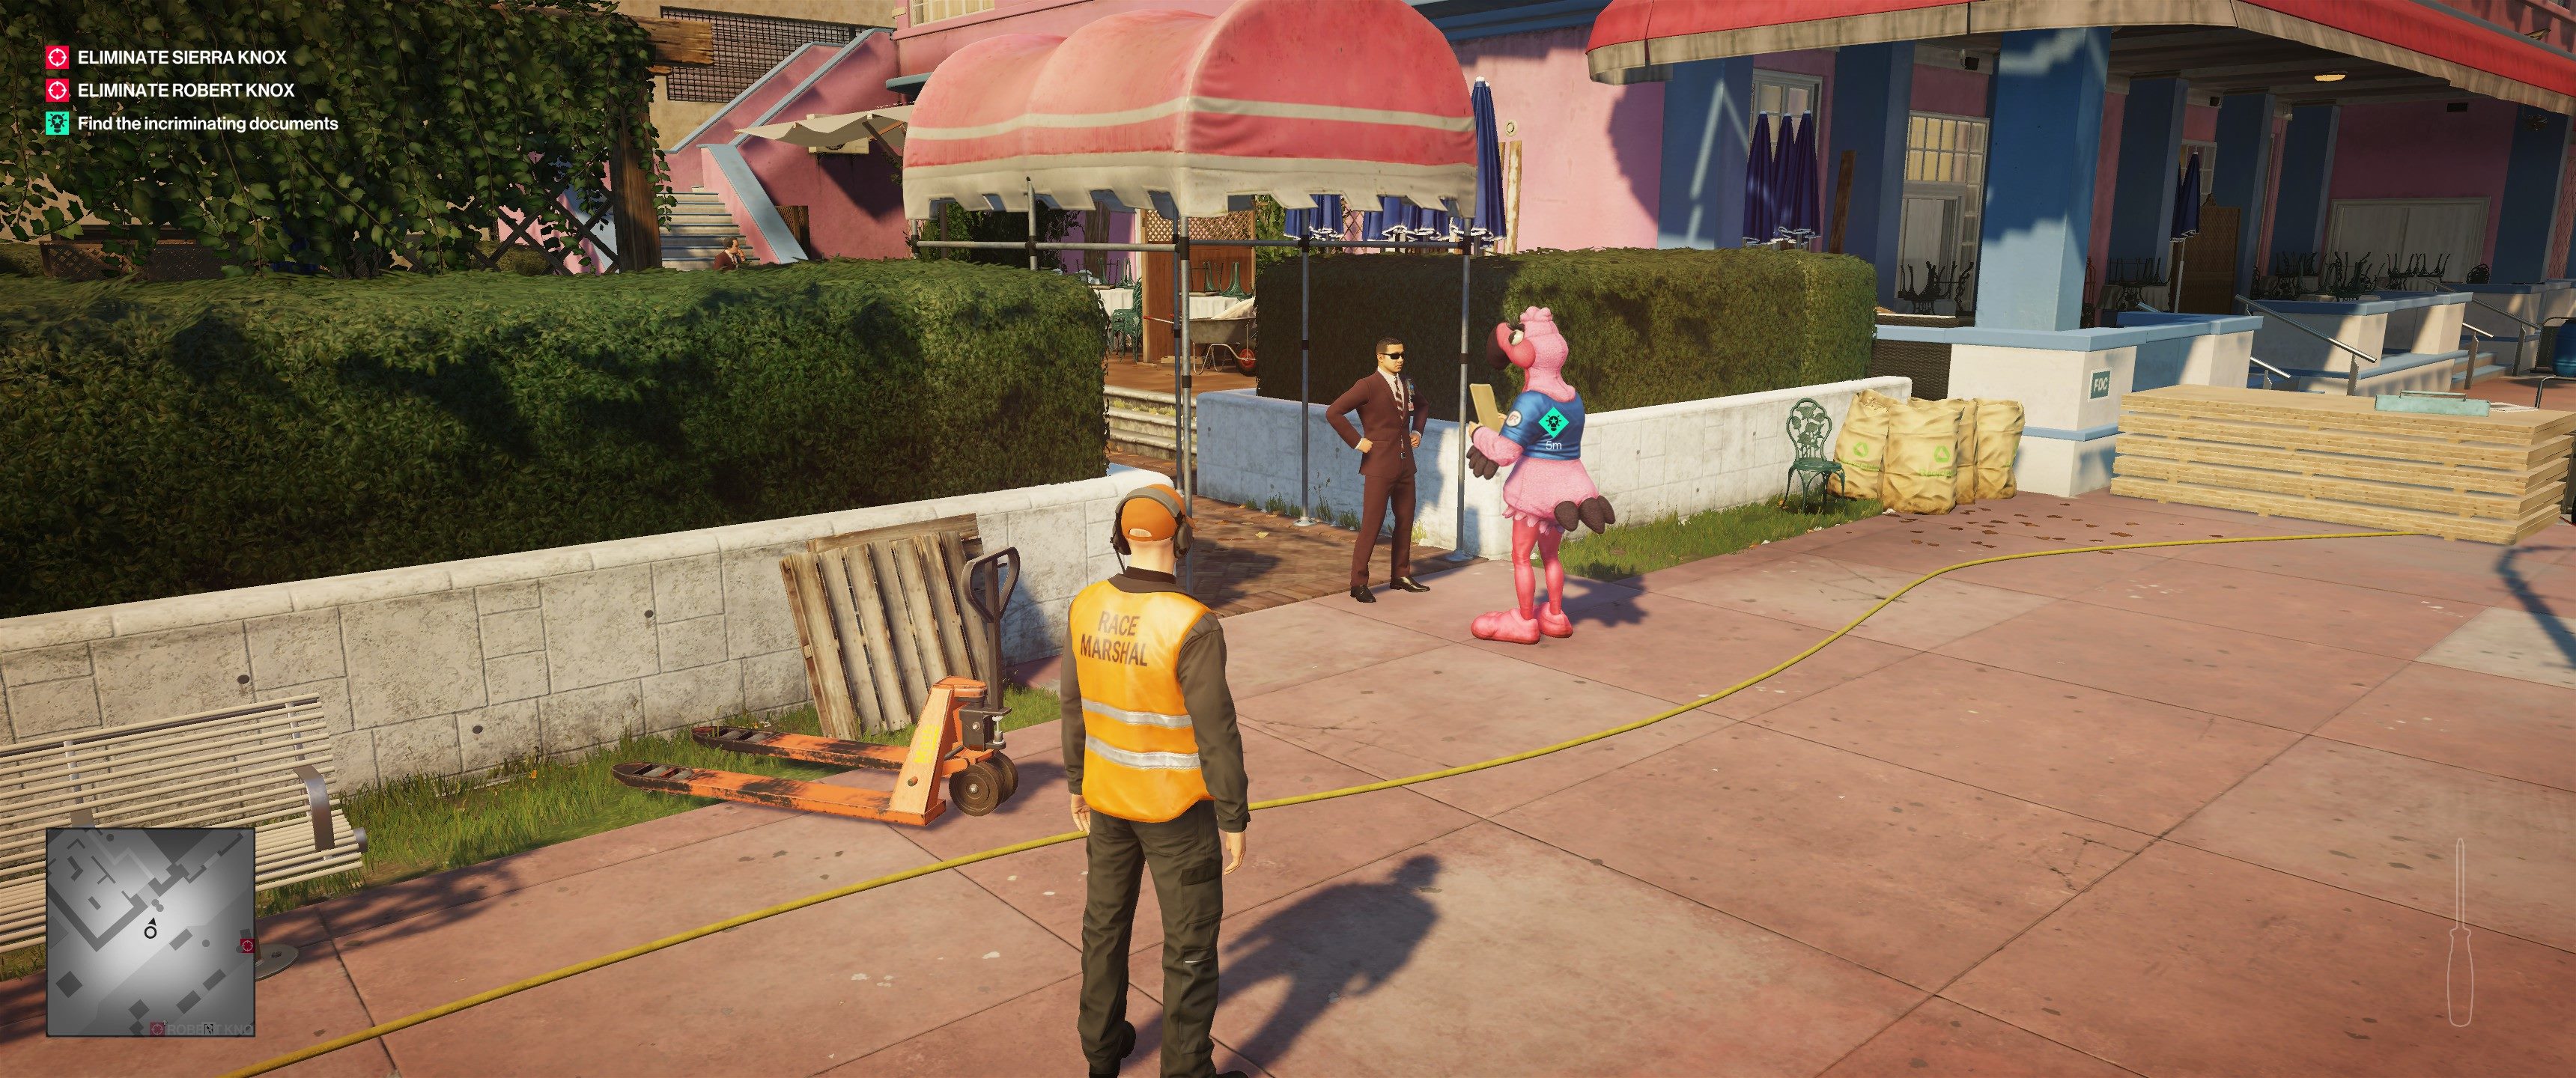
To make this possible, you’ll first need to find the mascot in the B1 parking garage before the race ends. Return his car keys and don’t mess with him after that—just wait for the race to end, and head for the hotel in the meantime.
Eventually, the mascot will show up and be led into the courtyard.
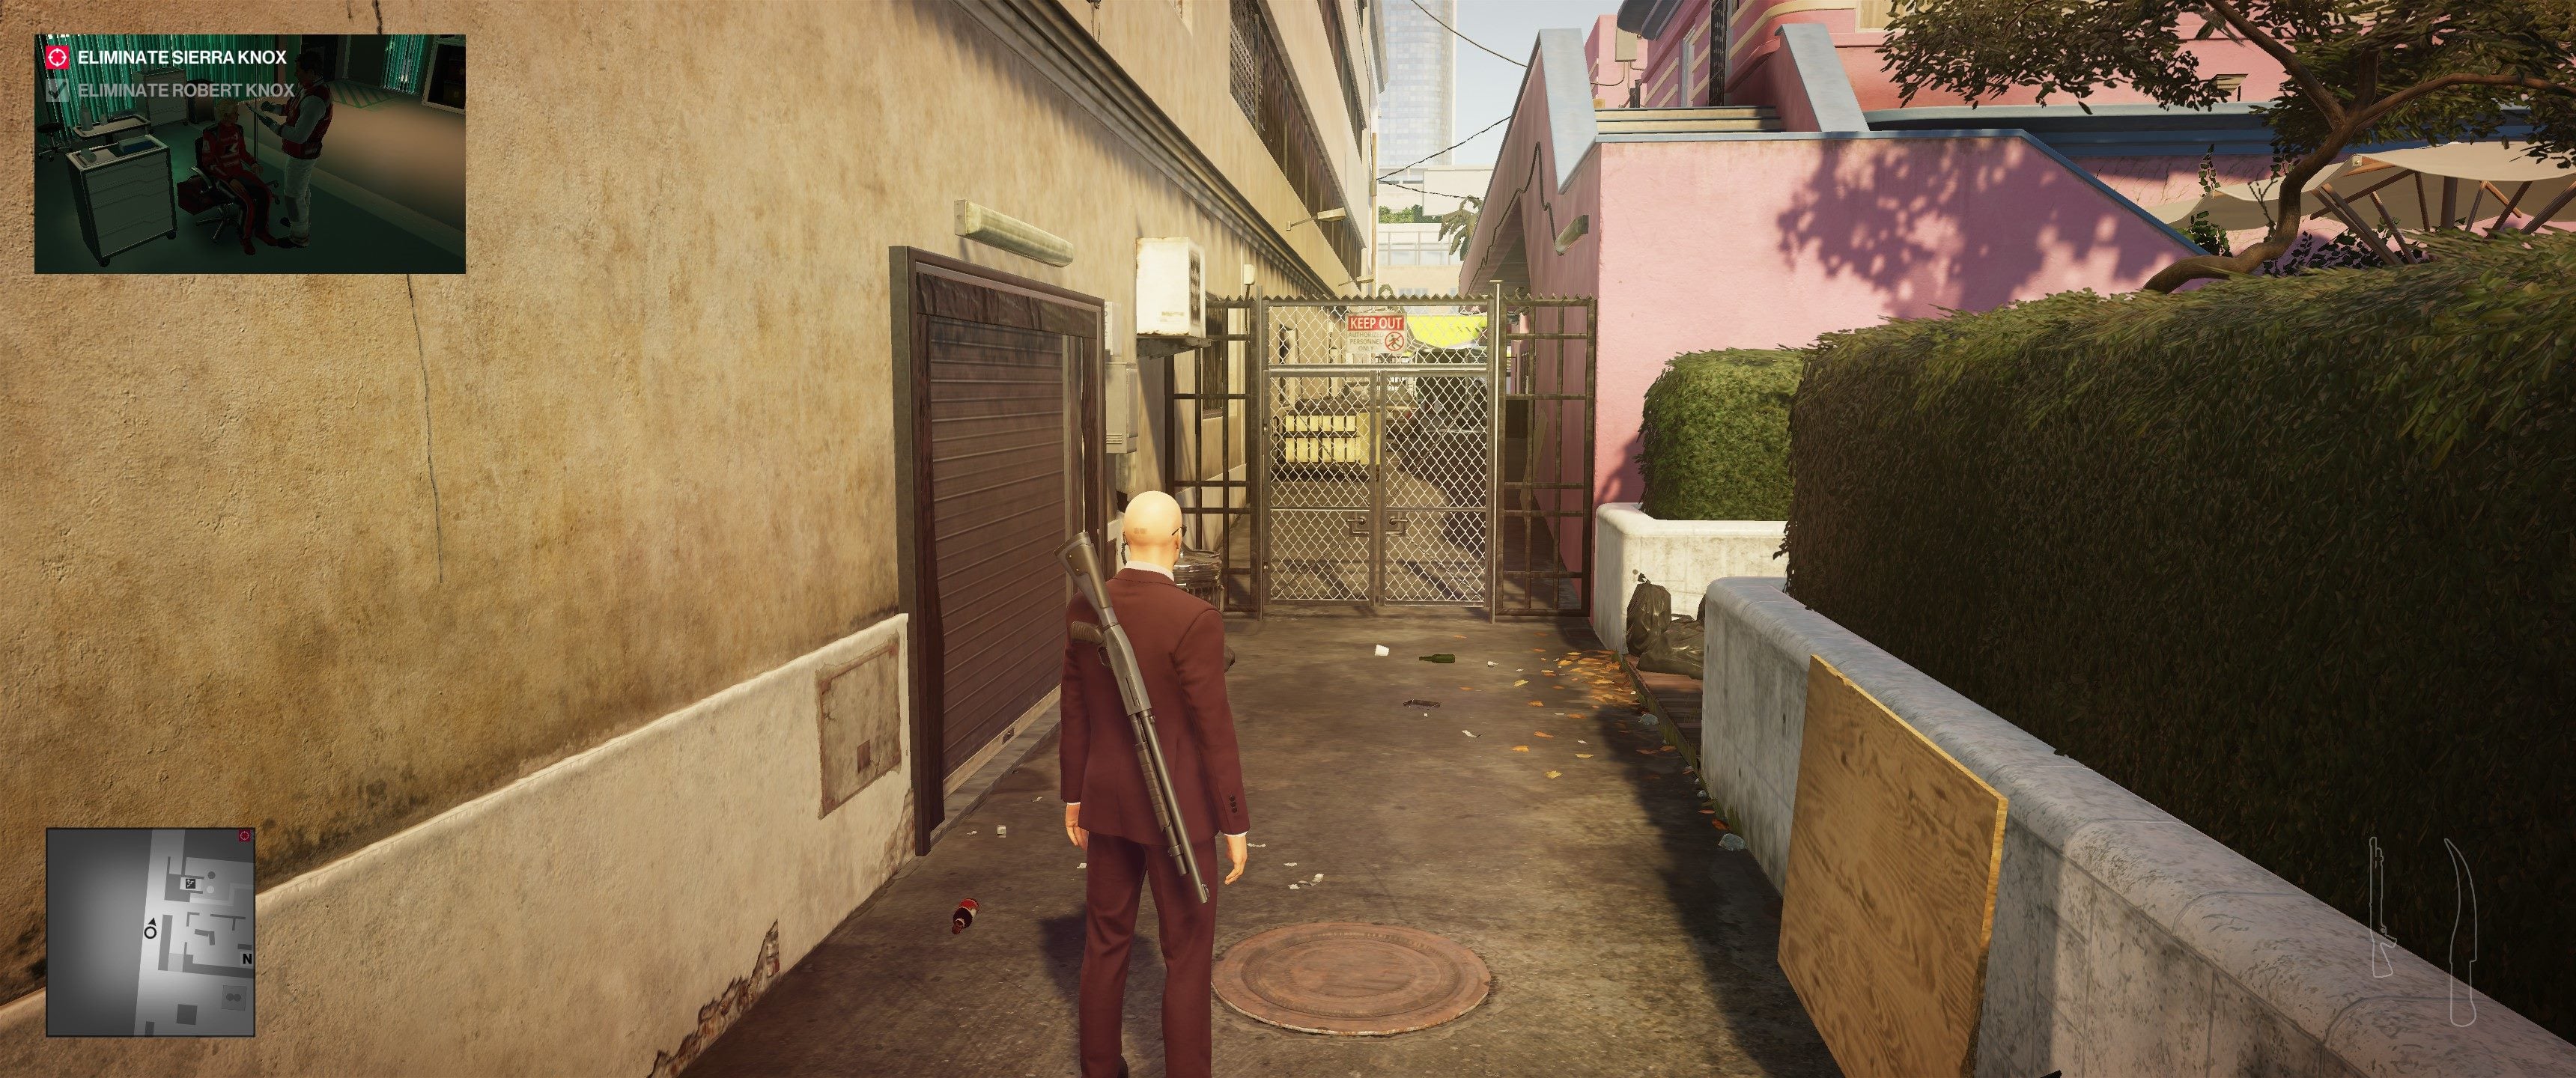
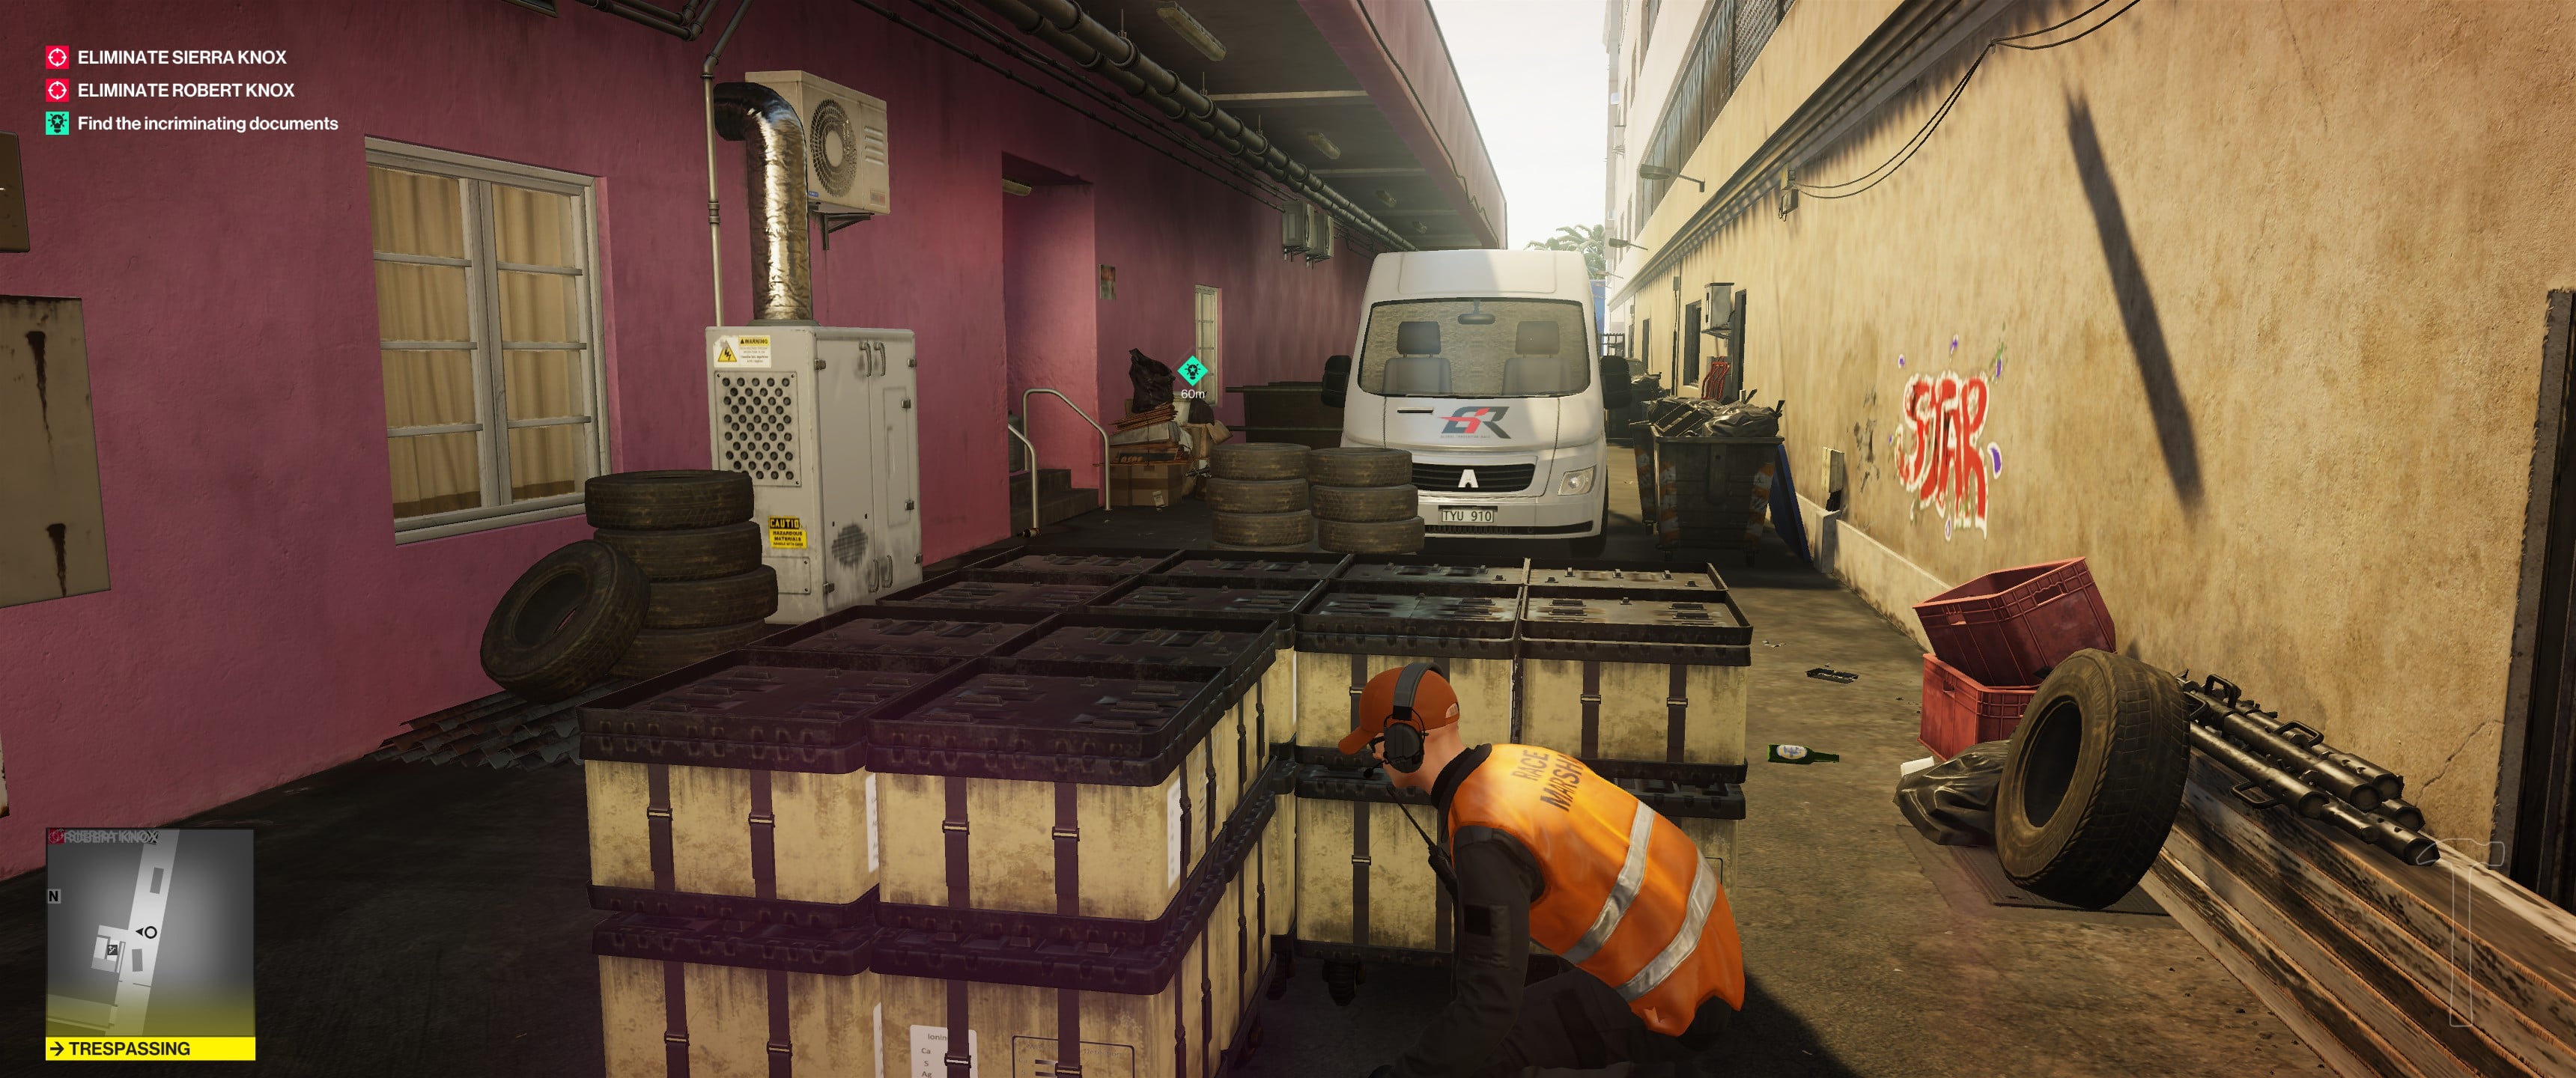
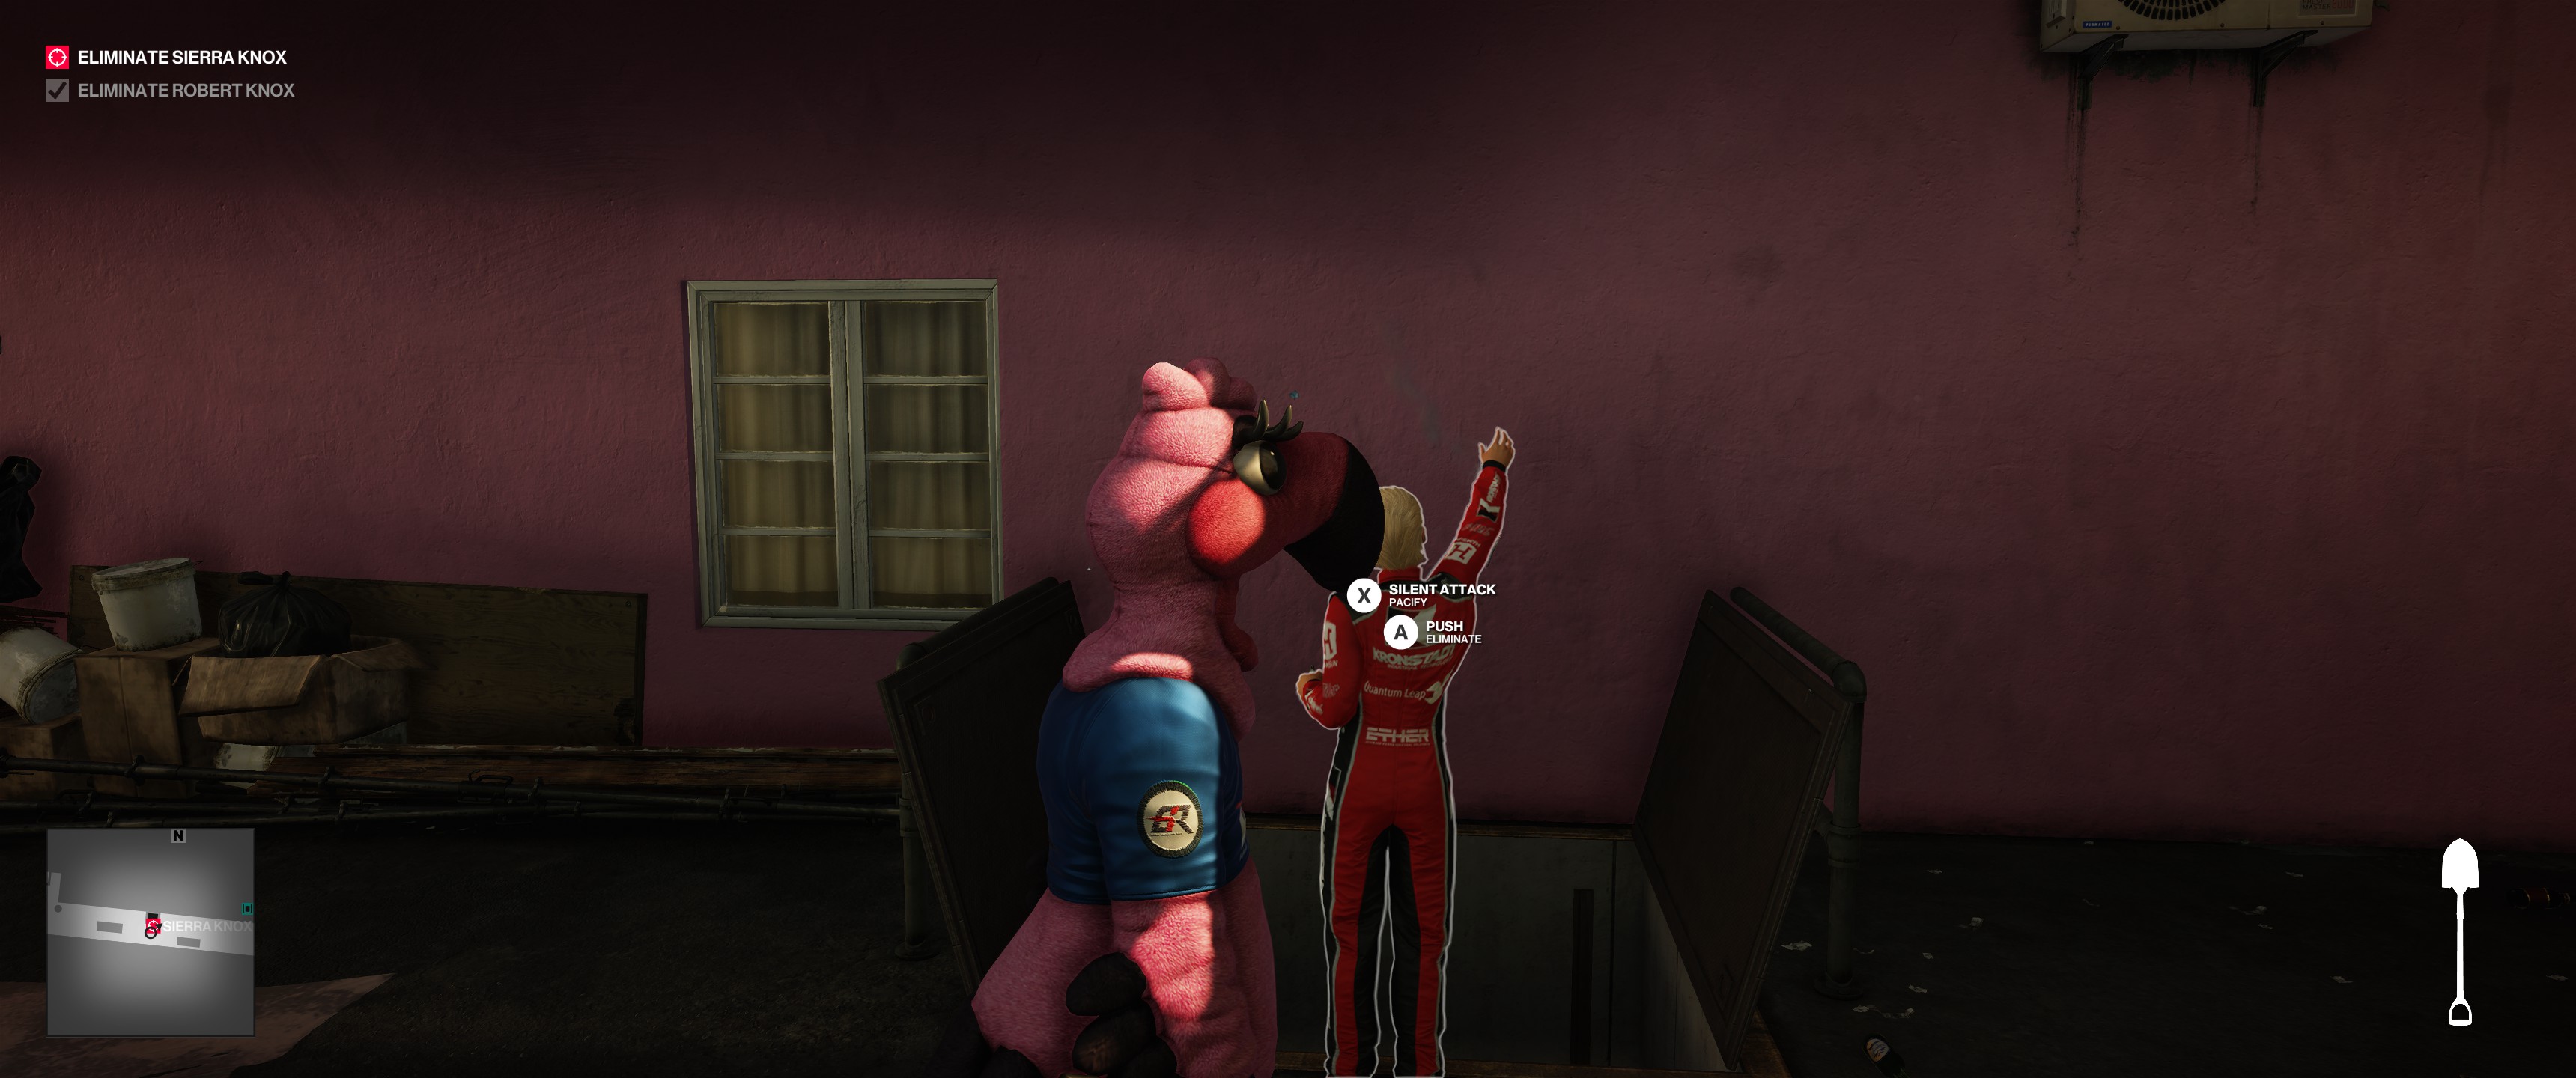
Sneak your way to the alley behind the hotel, and take up a position here:
Wait until Sierra Knox arrives to confront the mascot. It may be a while. Once they’ve made their way into the alley, stay hidden until Sierra dismisses her guards. When you hear her say “Who do you think you’re dealing with?” that’s your cue to move in. Dispose of her in any manner before she pushes the mascot down the hole.
LAST WORDS – Get killed by Sierra Knox in a very specific manner
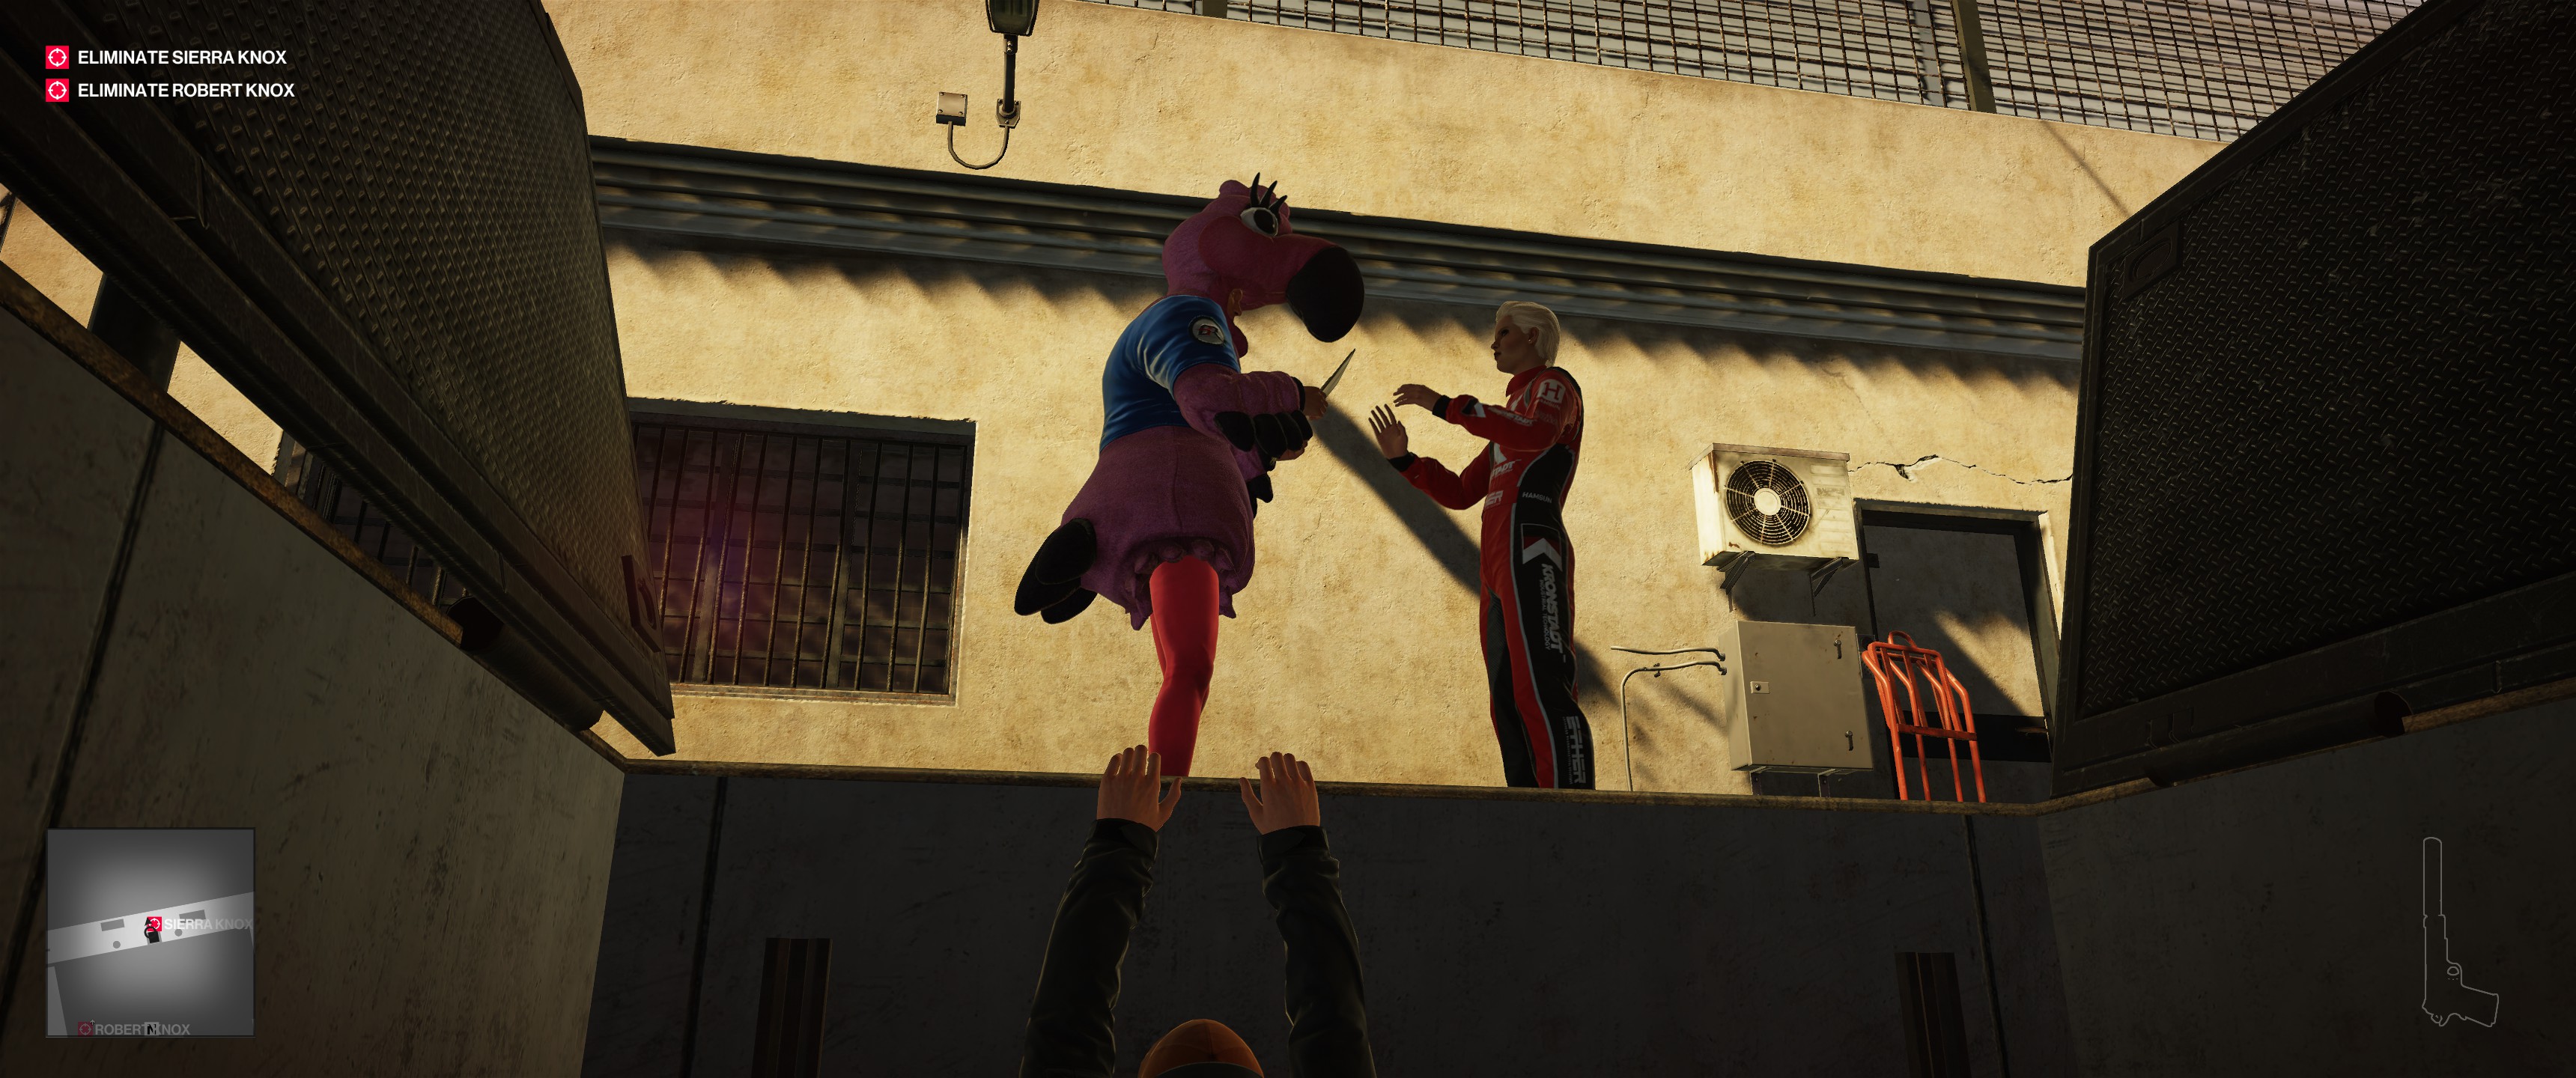
This is another weird one. Follow the instructions for SYMPATHY FOR THE BIRD as described above, but instead of hiding behind the crates, drop down the hole and just hang there before Sierra and the mascot arrive. Chill out there for five or ten minutes, and don’t ask me how 47 can support his entire weight on his fingertips for that long.
Don’t do anything, just wait. Once Sierra pushes the mascot to his death, she will finally notice you and stomp on your fingers, sending you to a similar fate.
I have no idea why this is a challenge.
MISSION STORIES: MIAMI – Complete the mission stories “Pretty in Pink,” “New Army,” and “Perfect Machine”
In the interest of brevity, let’s take advantage of a feature that Hitman 2 already has built into it: the mission stories guide. Set it to “full guide” in options, if it’s not that way already. Now, head to the following three locations to uncover the three relevant mission stories.
Eavesdrop on Ted Mendez outside the Miami Bayside Center Expo…
…eavesdrop on the mascot in the B1 Parking Garage…
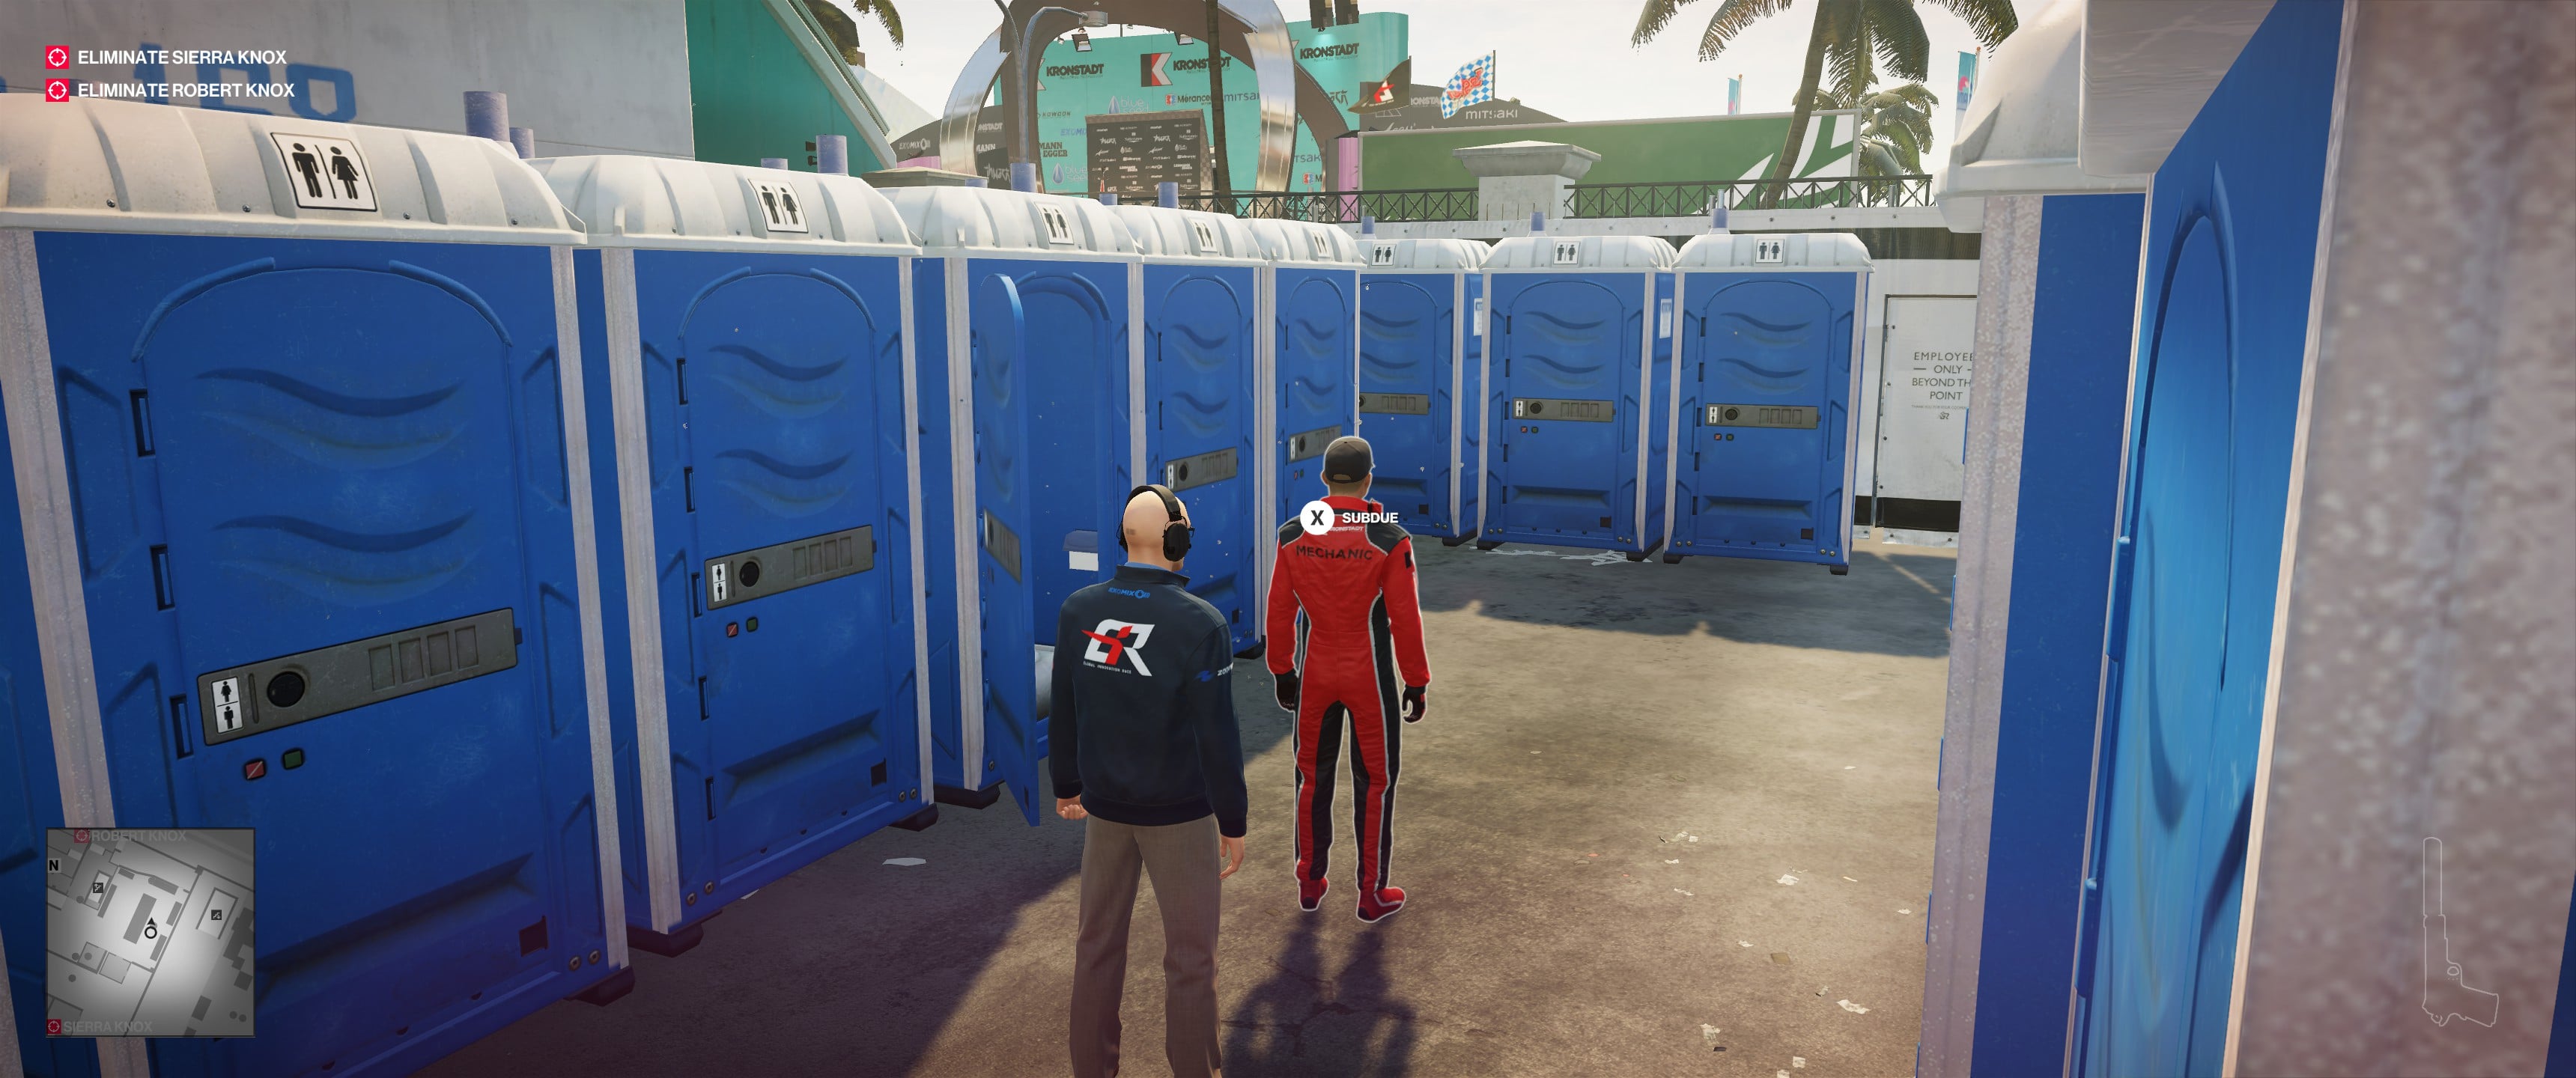
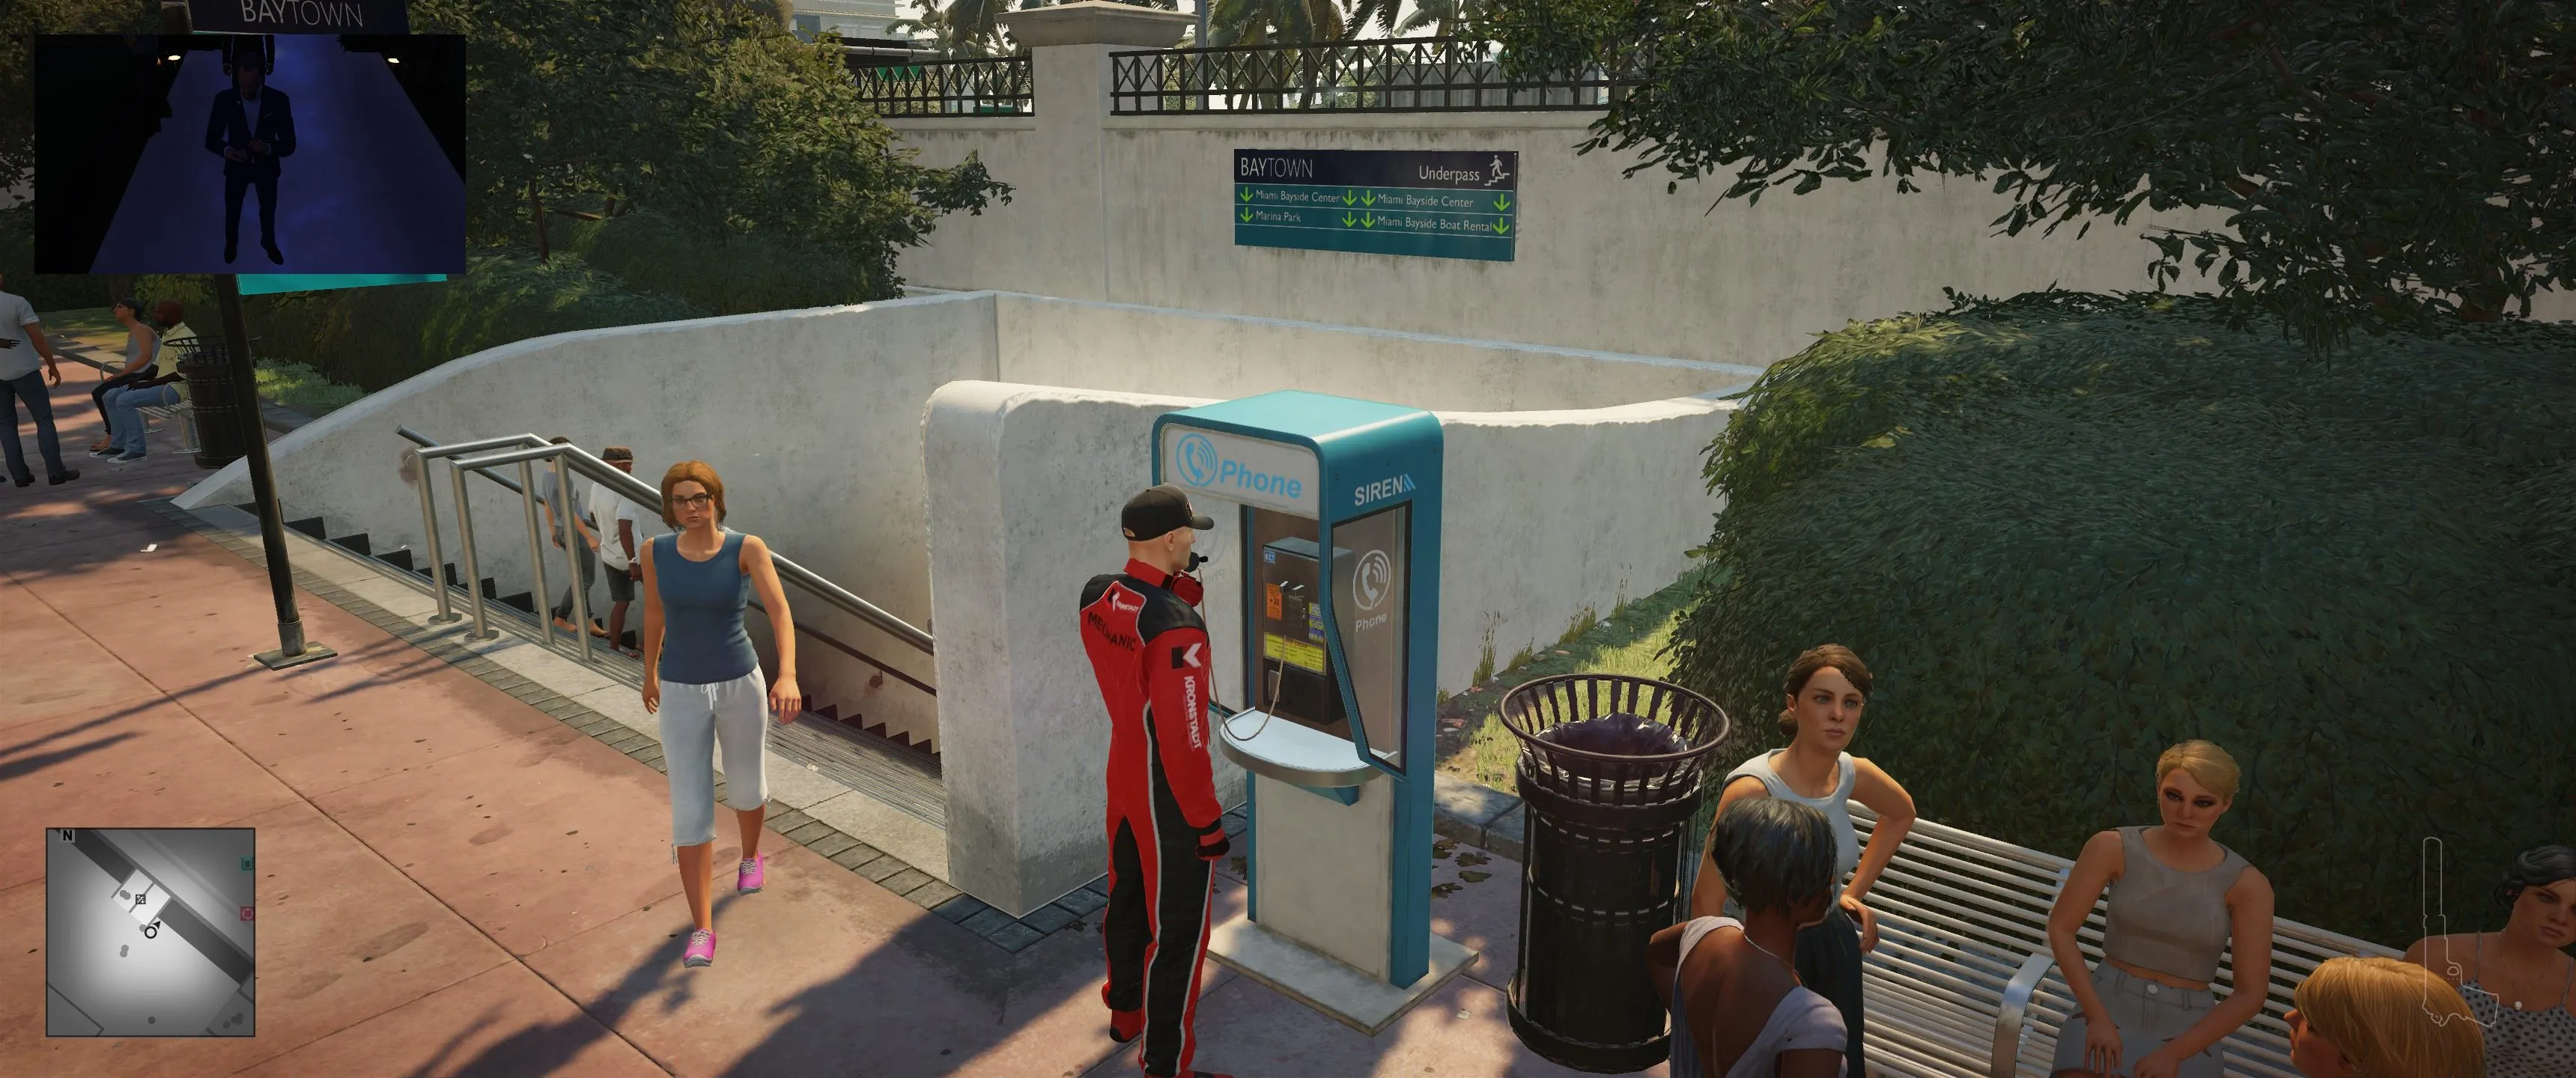
…and finally, eavesdrop on the Krondstadt mechanic’s phone call near the port-a-potties in Stands South.
Doing all three of these things will unlock “New Army,” “Pretty in Pink,” and “Perfect Machine,” respectively. Simply track and complete each mission story to check off MISSION STORIES: MIAMI.
THE BRIEFCASE – Unlock an ICA briefcase by completing the Miami mission
It’s right there in the description. Complete this mission in any fashion whatsoever.
VERSATILE ASSASSIN – Complete HOLD MY HAIR, PIANO MAN, TASTELESS TRACELESS, STRAIGHT SHOT, and SOMEONE COULD HURT THEMSELVES.
This feat, and the five others that comprise it, are the same in every mission. They’re fairly straightforward, and most of them can be completed in many different ways.
- HOLD MY HAIR: Kill a mission target by drowning them. Most easily accomplished by using emetic poison on a food or drink item you know the target will consume, then following them to the bathroom to drown them in the toilet.
- PIANO MAN: Kill a mission target with the fiber wire, anytime, any place.
- STRAIGHT SHOT: Kill a mission target with a headshot from a firearm
- TASTELESS, TRACELESS: Kill a mission target with lethal ingested poison. In this mission, completing HOT SHOT will satisfy this requirement as well.
- SOMEONE COULD HURT THEMSELVES: Kill a mission target via an accident kill. In this mission, the following assassination challenges all count as accidents if you complete them while undetected:
- THE MAN AND THE SEA
- UNDER THE SEA
- THE MESSAGE
- THE TREE FALLS ON THE APPLE
- BETTER BURN UP THAN FADE AWAY
- PINK MENACE
- EXTERNAL COMBUSTION ENGINE
- WHEEL OF MISFORTUNE
- PARANOID ANDROID
CHAMELEON – Find all 29 disguises
Hoo boy. This one’s a doozy. Rather than bombard you with images, I will instead sincerely thank reddit user newhoxton, who has made a full and concise list already.
Common disguises
- Event crew (all around the podium)
- Event security (all around the security center)
- Food vendor (in food stalls outside the stands)
- Kronstadt engineer (all over the Kronstadt building)
- Kronstadt security (all over the Kronstadt building)
- Medic (all around the emergency bay)
- Race marshal (on and under the raceway overpass)
- Waiter (in the driver’s lounge and in most of the team paddocks)
Uncommon disguises
- Journalist (VIP area street, VIP area square, and podium)
- Kitchen staff (kitchen)
- Kronstadt researcher (android lab and android showroom)
- Mascot (B1 parking garage and stands south)
- Race coordinator (podium and control room)
Mechanics (in their respective garages)
- Aeon mechanic
- Kowoon mechanic
- Kronstadt mechanic
- Sotteraneo mechanic
- Thwack mechanic
Unique disguises
- Florida Man (fishing on the pier in Marina Park South)
- Moses Lee (wanders all over after the race)
- Pale Rider (on a bench in the locker room under the pit building)
- Sheik (Thwack paddock)
- Street musician (Bayside tunnel)
- Ted Mendez (Miami Bayside Center courtyard)
Team drivers (also unique)
- Aeon driver (driver’s lounge)
- Blue Seed driver (signing autographs near the event entrance)
- Kronstadt driver (emergency bay)
- Kowoon driver (driver’s lounge)
- Thwack driver (wanders the southern VIP areas)
Time for another stretch break—that’s all 33 feats down!
Assassination Challenges
We’re on the home stretch, boys and girls. I know this is what you really wanted, anyway. There are 18 assassination challenges in this mission.
THE FLORIDA DIET – Poison Robert Knox at Florida Man’s Food Stand
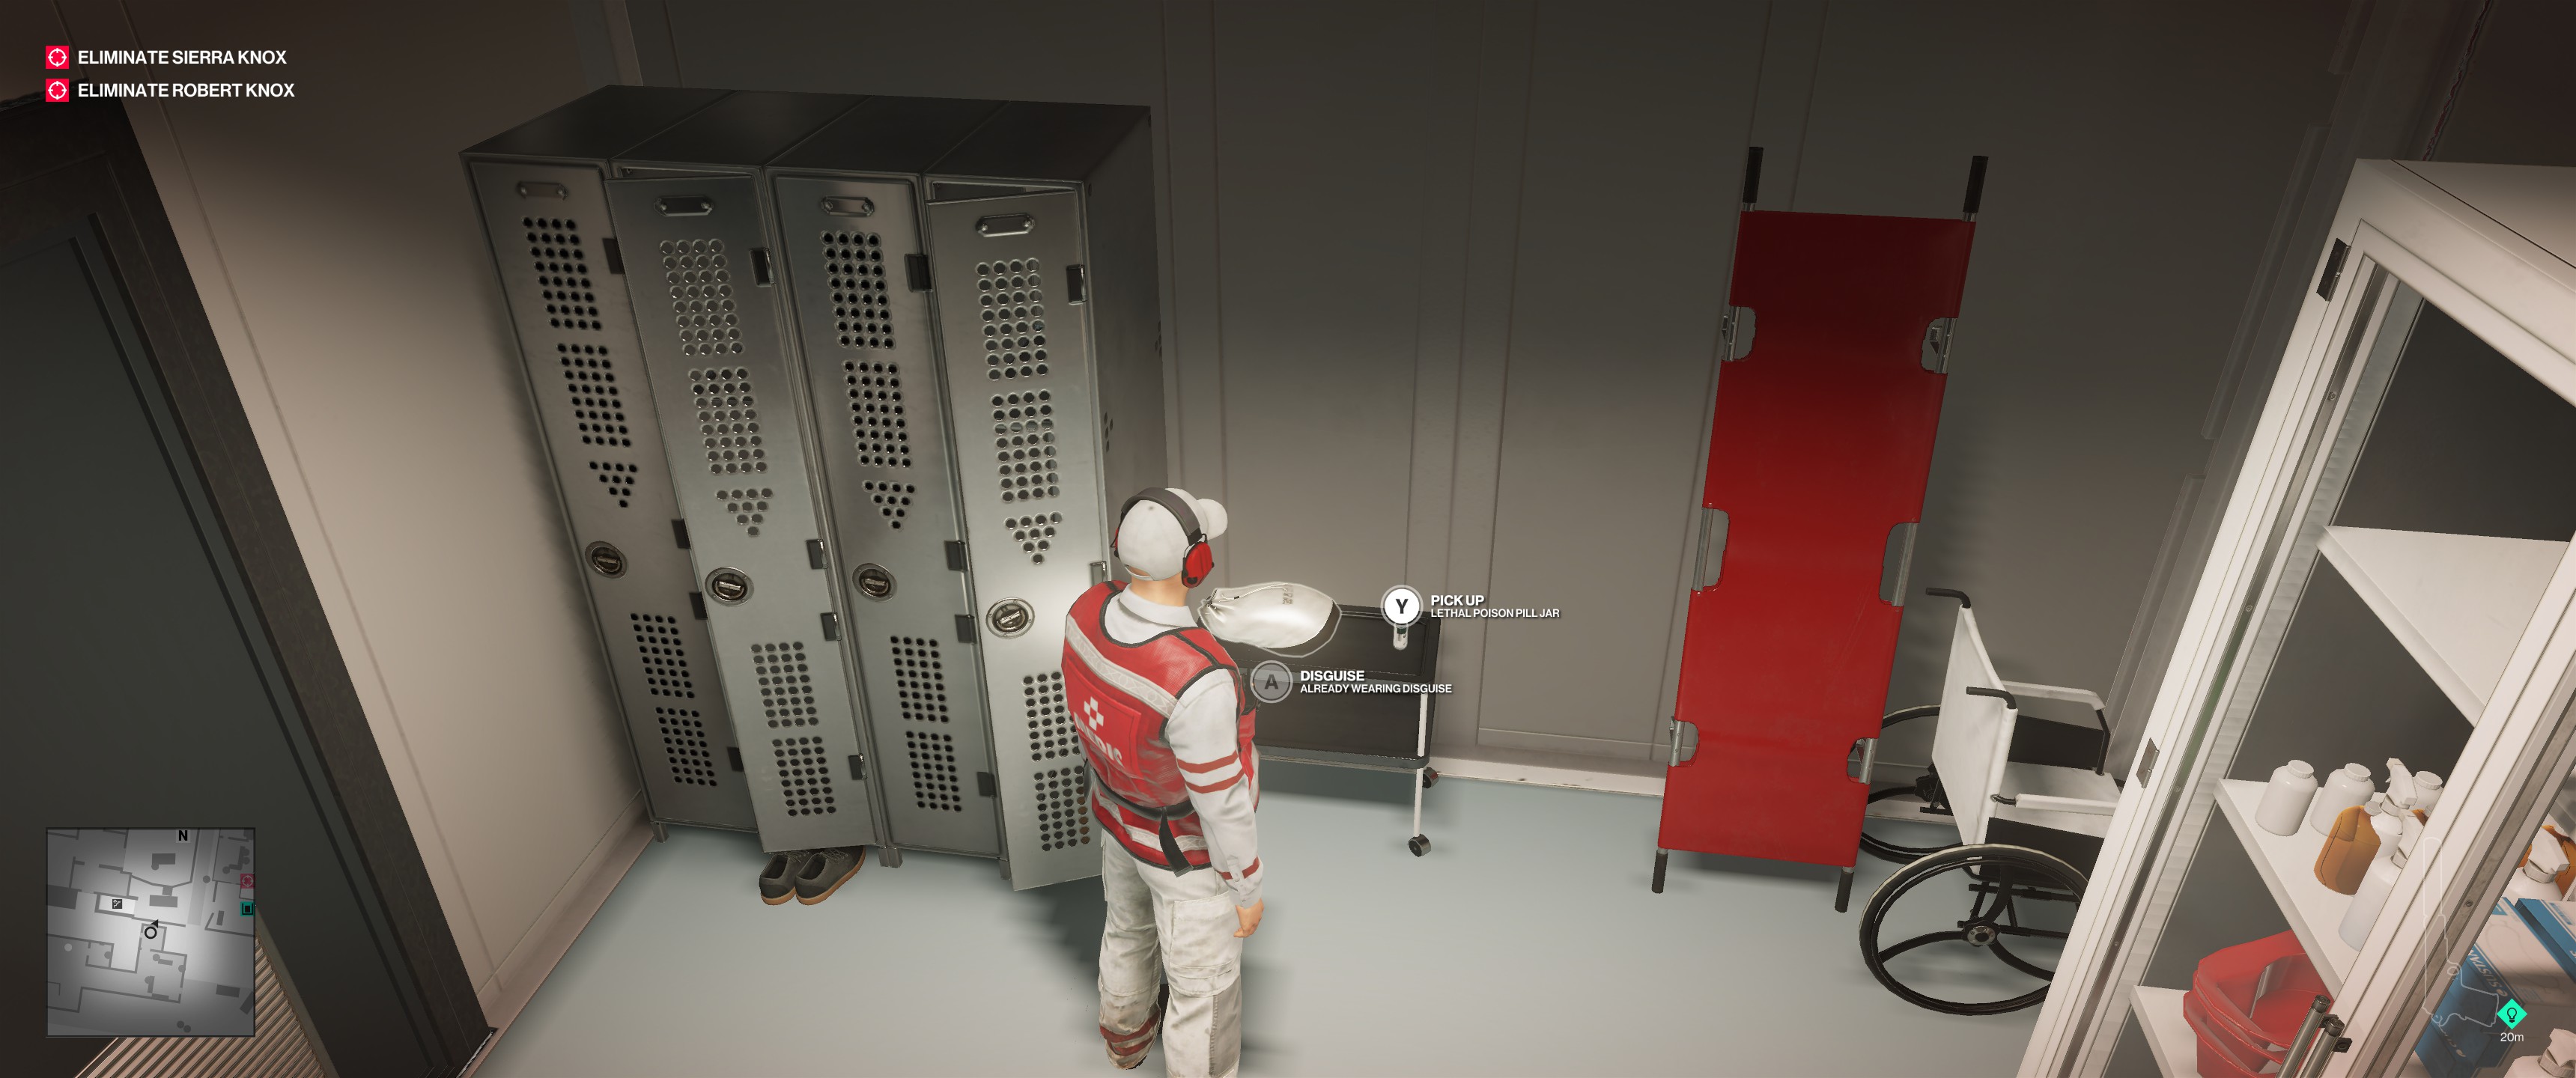
You’ll need some sort of ingestable lethal poison for this challenge. Either bring some in your loadout or look for lethal pills in the emergency bay.
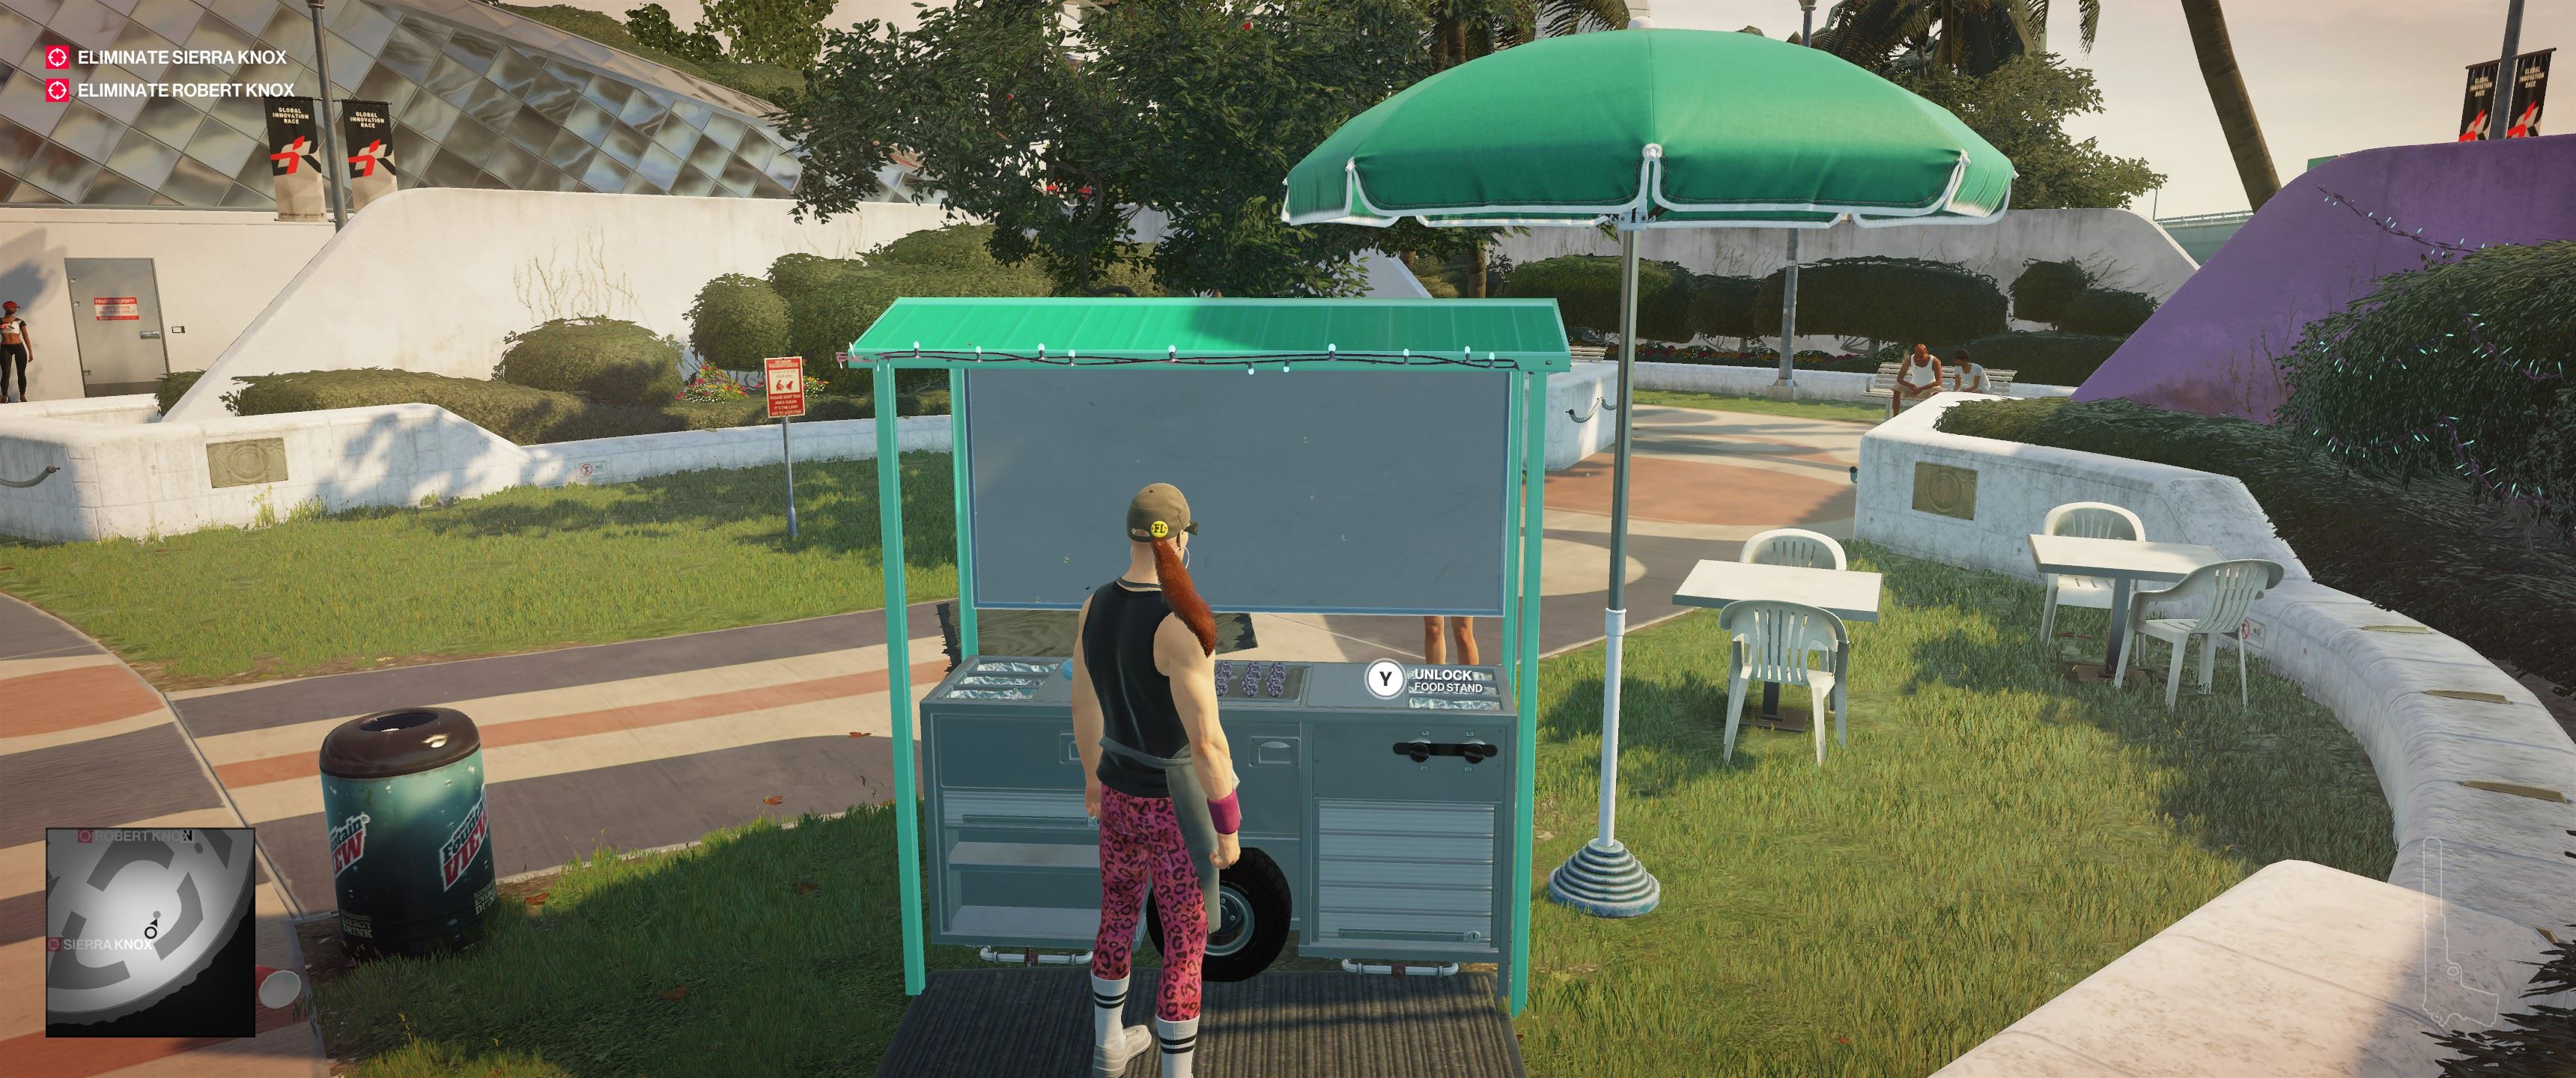
Florida Man hangs out around the pier in Marina Park South. Kill him or knock him out, then take his clothes and his food stand key.
Head over to his food cart just north of where you found him and use the key to unlock it.
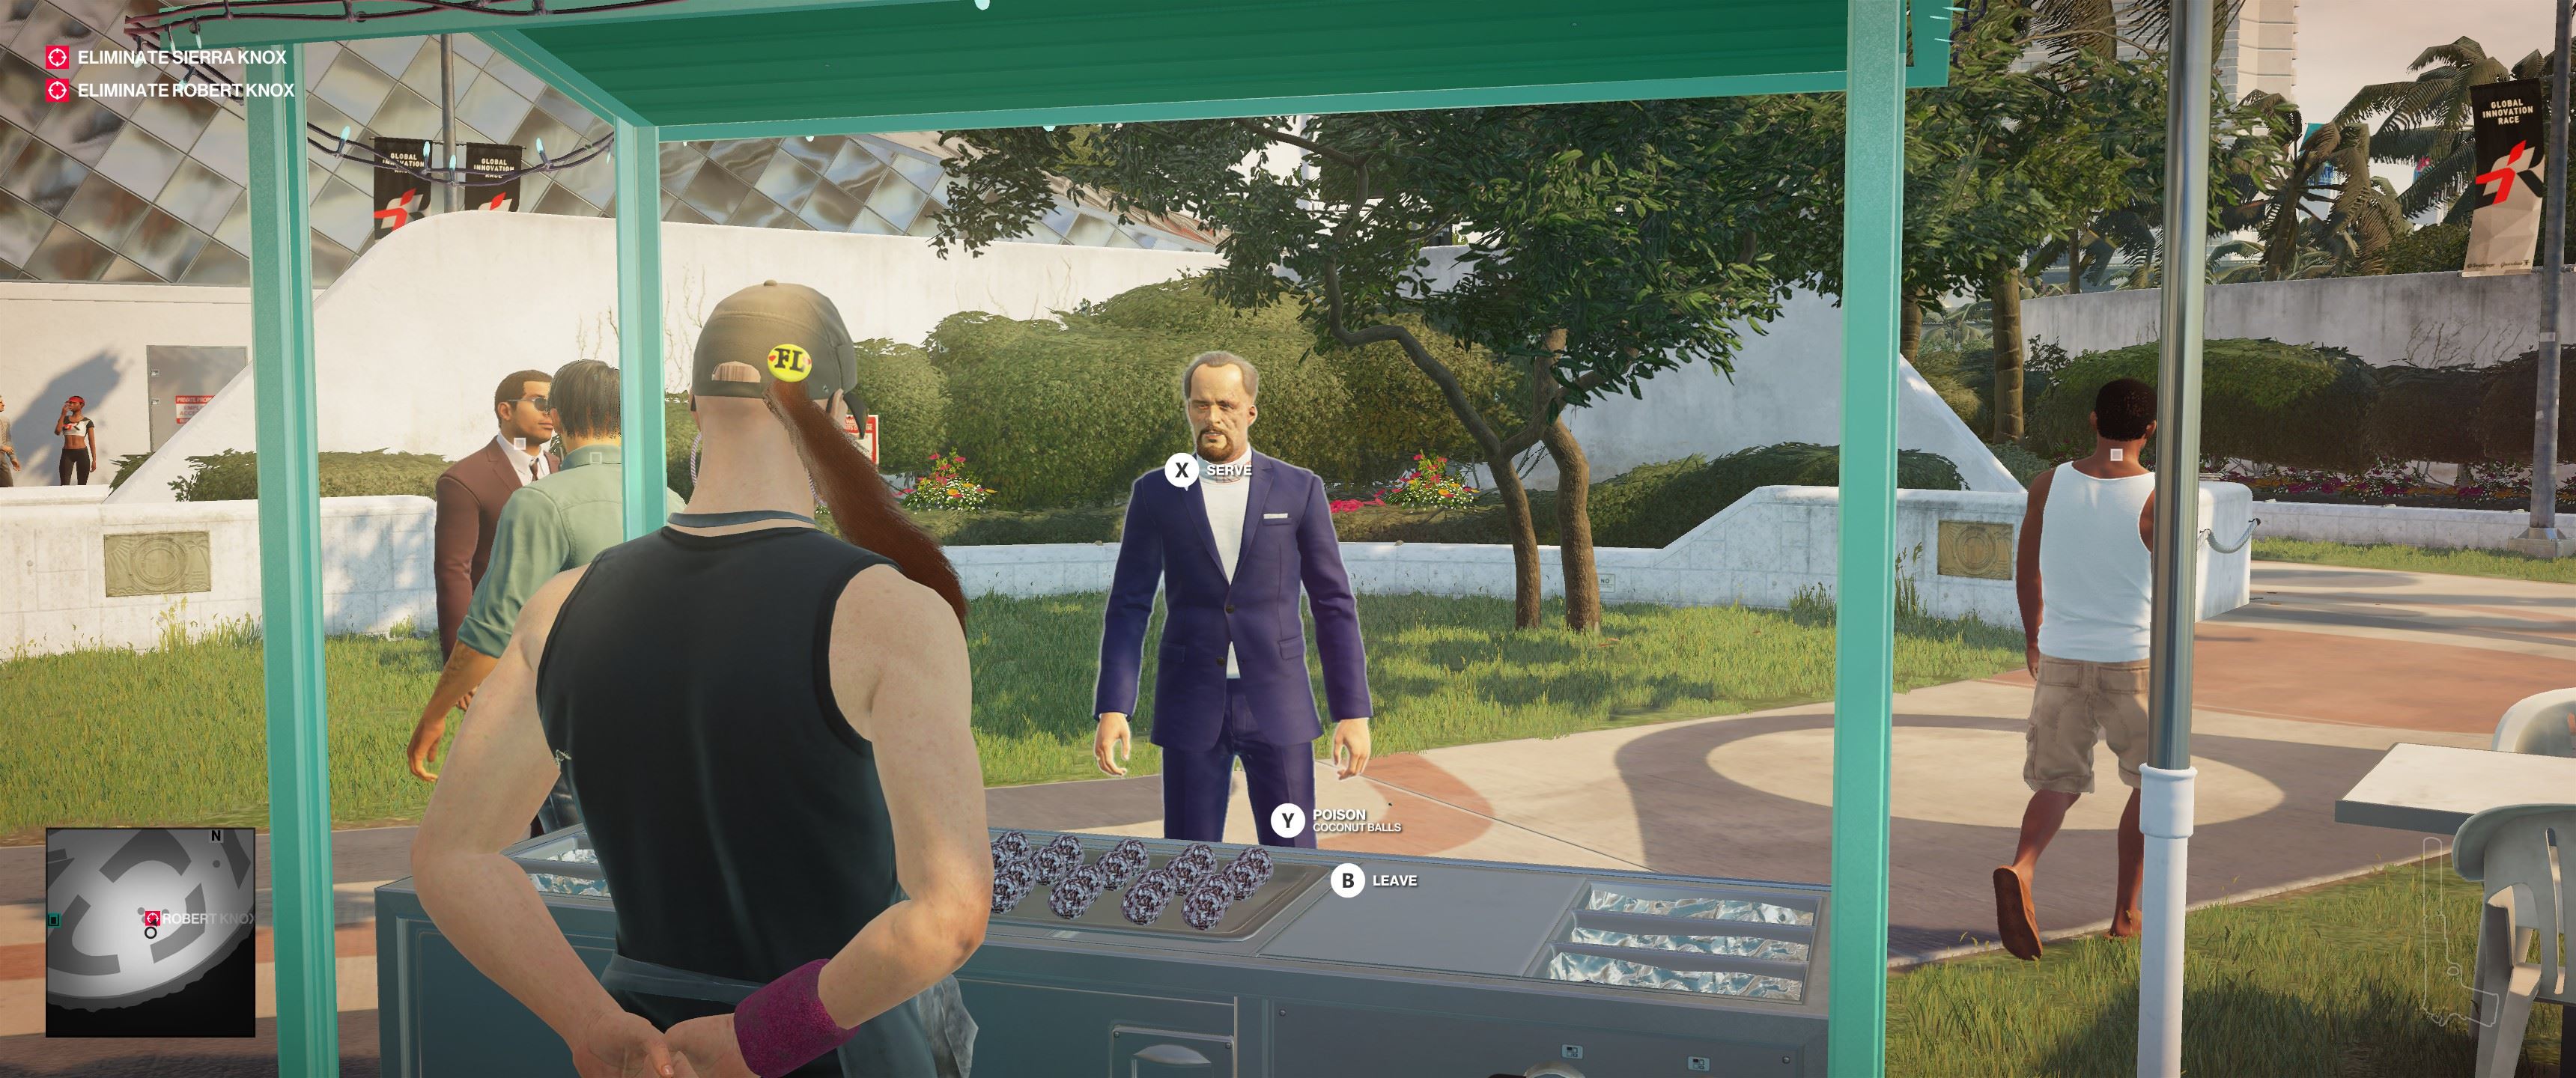
Blend in at the cart, and when NPCs wander by, serve them some coconut balls. When you’ve satisfied a few customers, Robert Knox will get word that his favorite eatery has reopened and come down for a bite. Discreetly add some lethal poison to his dish before serving him, then get outta there before his bodyguard catches on.
THE MAN AND THE SEA – Kill Robert Knox with a giant fish
Bring a concealable firearm and follow THE FLORIDA DIET as described above, but don’t poison Robert Knox’s food. He’ll go for a walk after he’s eaten and will eventually end up on the pier where you found Florida Man. Wait until he’s lined up with the giant fish mounted above the pier, then shoot the support ring on the opposite side to finish off Robert Knox in a spectacularly embarrassing fashion.
EXTERNAL COMBUSTION ENGINE – Cause Robert Knox’s new prototype car to fatally malfunction
If you can, start the mission as a Kronstadt engineer and snag a Bayside Center keycard from the staff area behind the prototype car in the expo room.
You’ll need two other things too: a screwdriver (maintenance room just northeast of the car) and a canister of octane booster. There are several boosters in various places, but the easiest one to grab without raising suspicion is on a shelf in the race marshal area garage.
Once you’ve got all your supplies in hand, head to the expo room and sabotage the car’s engine with the screwdriver as described in YOU GOT A FAST CAR. Immediately afterward, pour the octane booster into the engine. When Robert Knox arrives, he’ll tell you to sit in the car while he diagnoses the engine; oblige him. Rev the engine each time he tells you to. On the third try, he’ll explode quite comically. Challenge complete!
UNDER THE SEA – Kill Robert Knox by dropping a shark on him
Pretend you’re completing EXTERNAL COMBUSTION ENGINE, but bring a concealable firearm, and when Robert Knox tells you to sit in the car, ignore him. It’s best to hang back about this far.
He’ll eventually write you off as a lost cause and decide to fix the car himself. This time, the explosion won’t kill him, but it will cause a target lockdown.
Before the explosion happens, slip into the aquarium next door and position yourself right about here.
His bodyguards will bring him here when the lockdown starts—and park him right under that precariously balanced shark up there. You brought a gun, right? You know what to do.
OCULAR ADMINISTRATION – Kill Robert Knox by poisoning his eyedrops
You’re heading to the third floor of the expo building, where only Kronstadt security and researchers are permitted, so snag one of those outfits (security would be better). Make sure you bring some lethal poison as well.
Once you’ve made it to the third floor undetected, find the bathroom across the hall from the storage room and caddy-corner to the server room. You’ll see some unattended eye drops on the counter in there. “Modify” them.
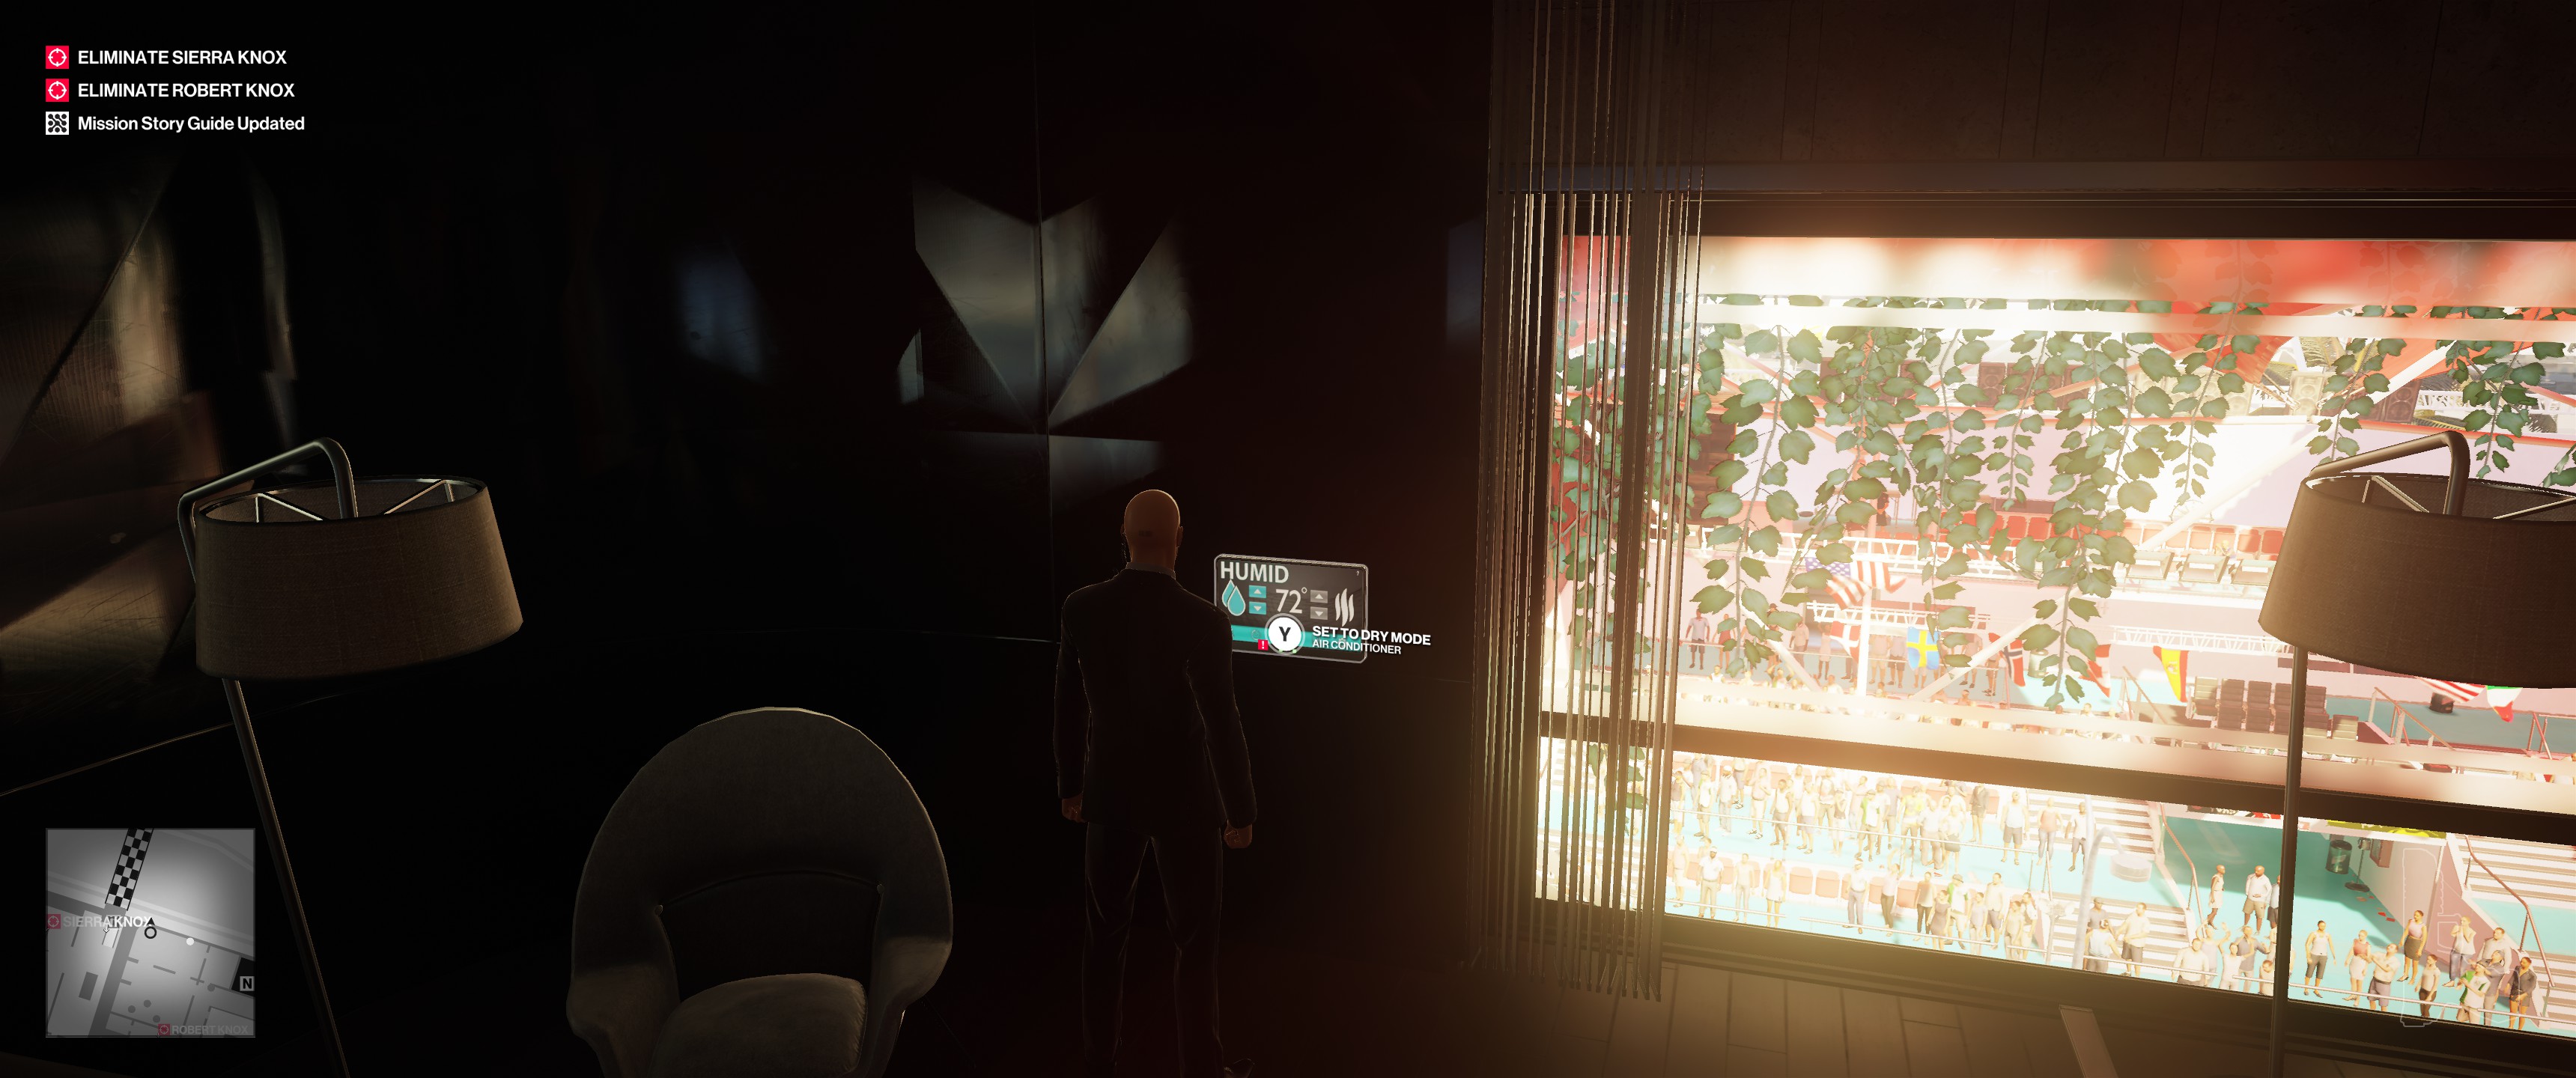
However, Knox doesn’t use the eye drops unless he needs them. According to some of his employees down the hall, dry air makes his eyes hurt. Hmmm….
Find this A/C panel in Robert’s office and set it to dry cool mode. (Watch out for the guard in there who won’t be fooled by your disguise.)
Now you just need to wait for Knox to return to his office and the rest will take care of itself.
THE MESSAGE – Arrange an unfortunate height-related accident for Robert Knox
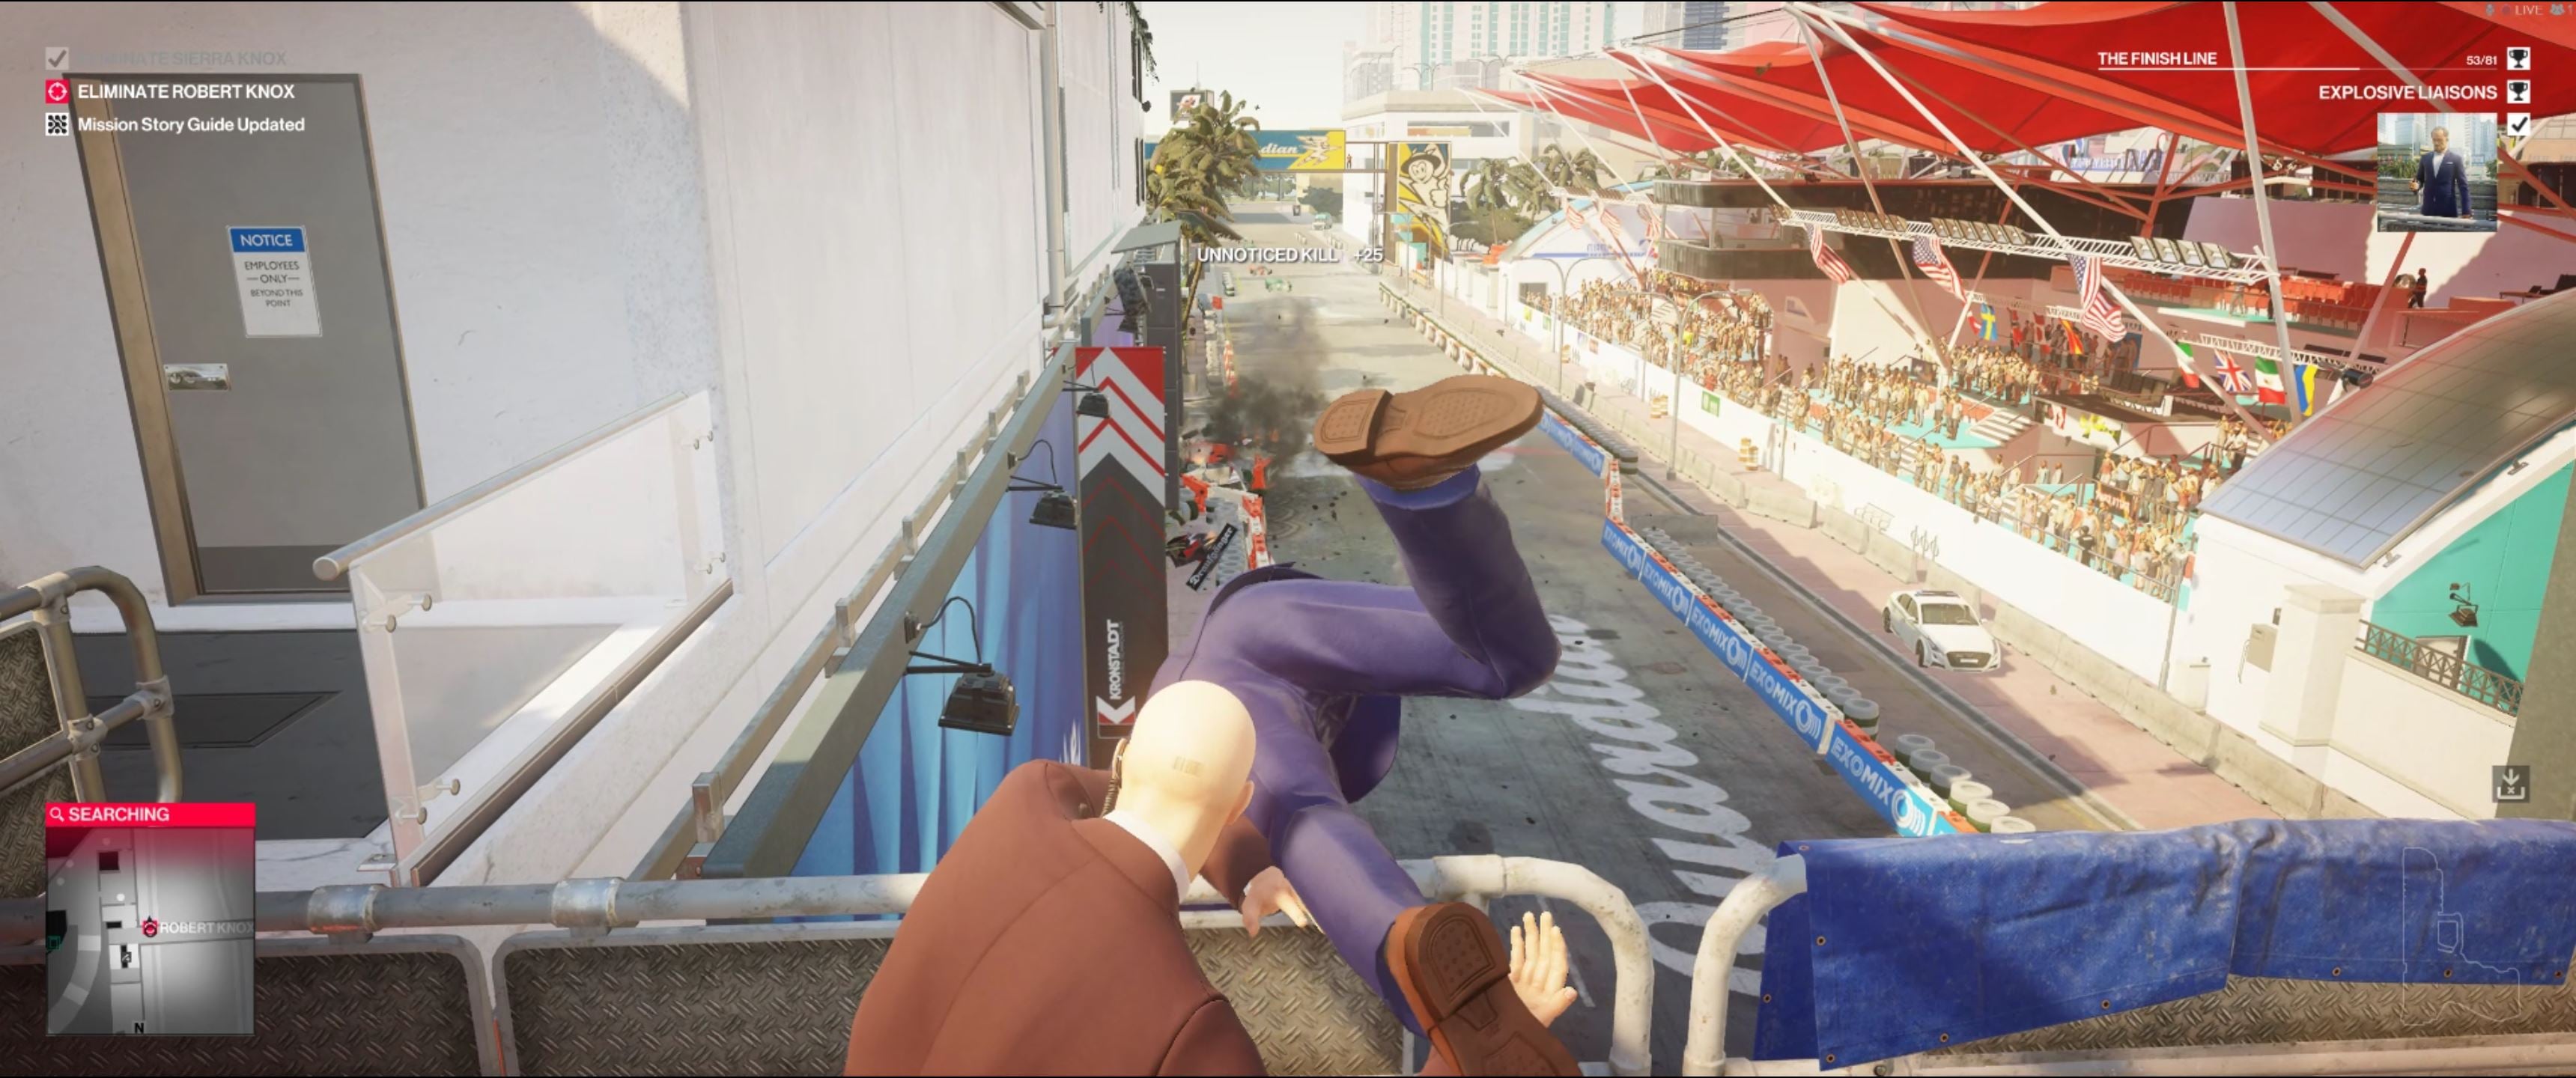
Follow the guide for COMMUNICATION BREAKDOWN way up there in the Discoveries section and wait near the satellite dish for Knox to show up. After some unsuccessful fiddling with the laptop, he’ll step dangerously close to the edge of the roof in order to mess with the dish itself. It would be a shame if he slipped…
If you care about doing this undetected, take care of his personal bodyguard ahead of time.
THE TREE FALLS ON THE APPLE – Kill both Robert Knox and Sierra Knox with one well-timed push
Follow the guide for THE MESSAGE, with one difference: don’t push Knox as soon as the opportunity presents itself. Wait until he says something like “Oh, here comes my car with my daughter in it.” Push him right when he finishes that sentence, or a little earlier, and look at that, your whole job is done already.
You’ll know you timed it right if a special cutscene triggers when you push Knox.
PARANOID ANDROID – Make one of Robert Knox’s own androids kill him
This is easy to accomplish if you disguise yourself as Ted Mendez, as explained in the “New Army” mission story.
Once you’re in disguise as Mendez, head into the building, take the stairs to the right, and grab this picture of Robert Knox from the magazine rack on the landing.
Now head to the android showroom and wait for Knox to arrive and step in front of the killer robot. Use the photo of Robert Knox on the robot and you’re done.
EXPLOSIVE LIAISONS – Trick Robert Knox into killing his own daughter
This is probably the toughest assassination challenge to uncover, but it’s also the most gratifying (and efficient)!
Start your mission at the default location and sneak into the trucks area. Obtain an authorized disguise, or just don’t get caught in here. Either way, head through the southernmost white door in the parking lot and you’ll find yourself in the security area.
It’s advised to dispatch a security guard and take his clothes. Take the evidence locker combination as described in WHAT’S IN THIS THING? Open the evidence locker and take the car bomb and the note within.
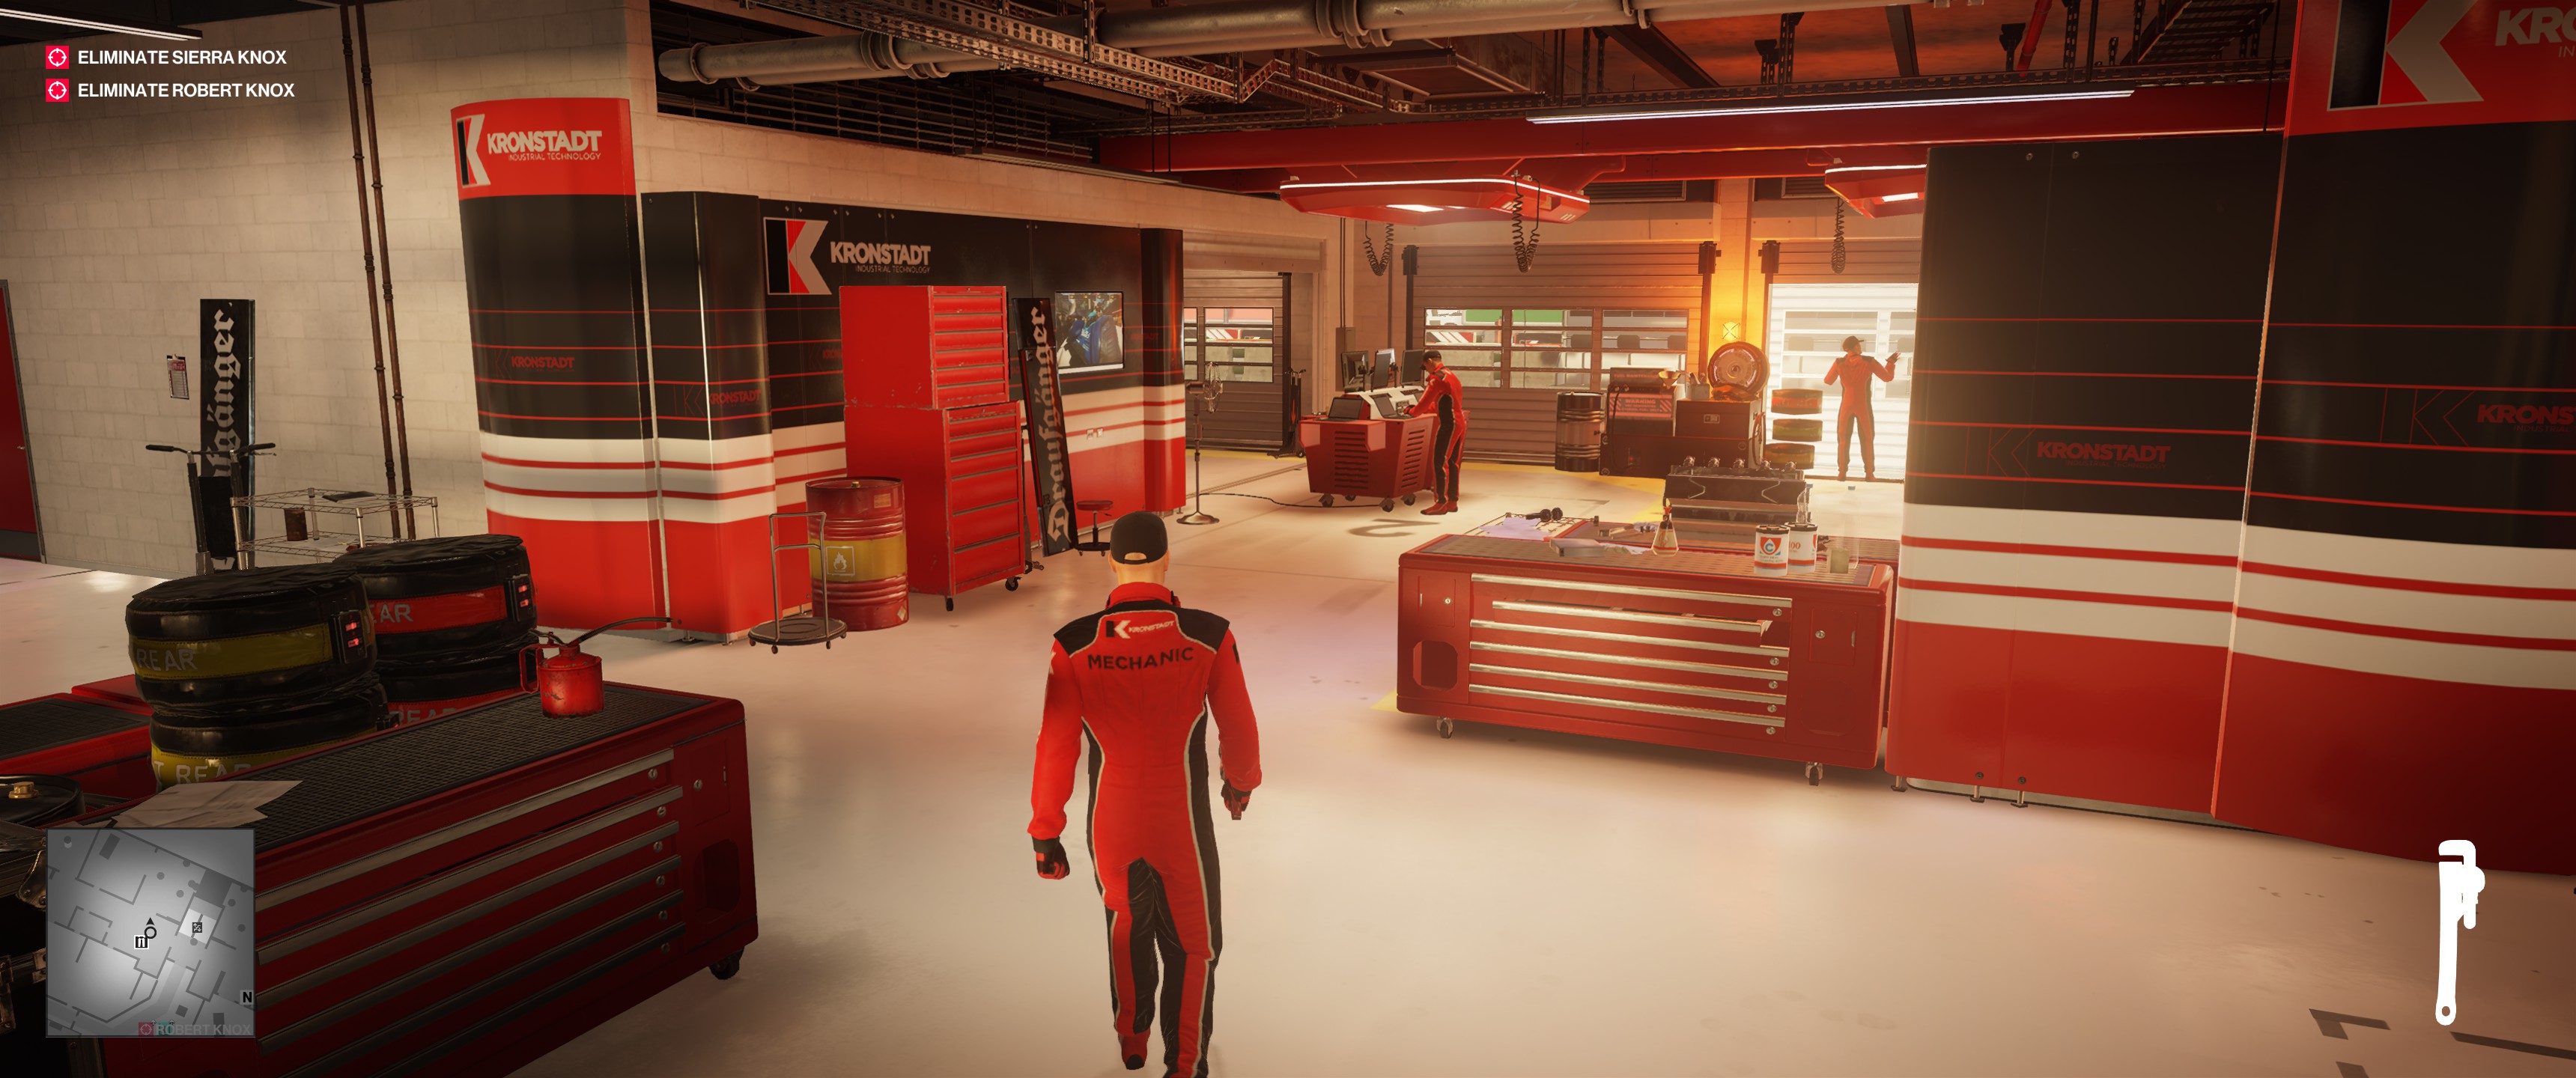
Your next stop is the Kronstadt garage, and you’ll need to dress the part too. Find the disgruntled Kronstadt mechanic near the port-a-potties in stands south, or distract one of the mechanics in the garage and take him out; either way, you need a Kronstadt mechanic disguise.
Now, pop over to Sierra’s pit stop station in the Kronstadt garage and elect to place a bomb on her car.
Don’t detonate it, tempting as it may be.
Now you need to run all the way back to the event entrance and use the pay phone next to the stairs. You’ll call the number you found on the note with the car bomb and arrange a meeting with Robert Knox.
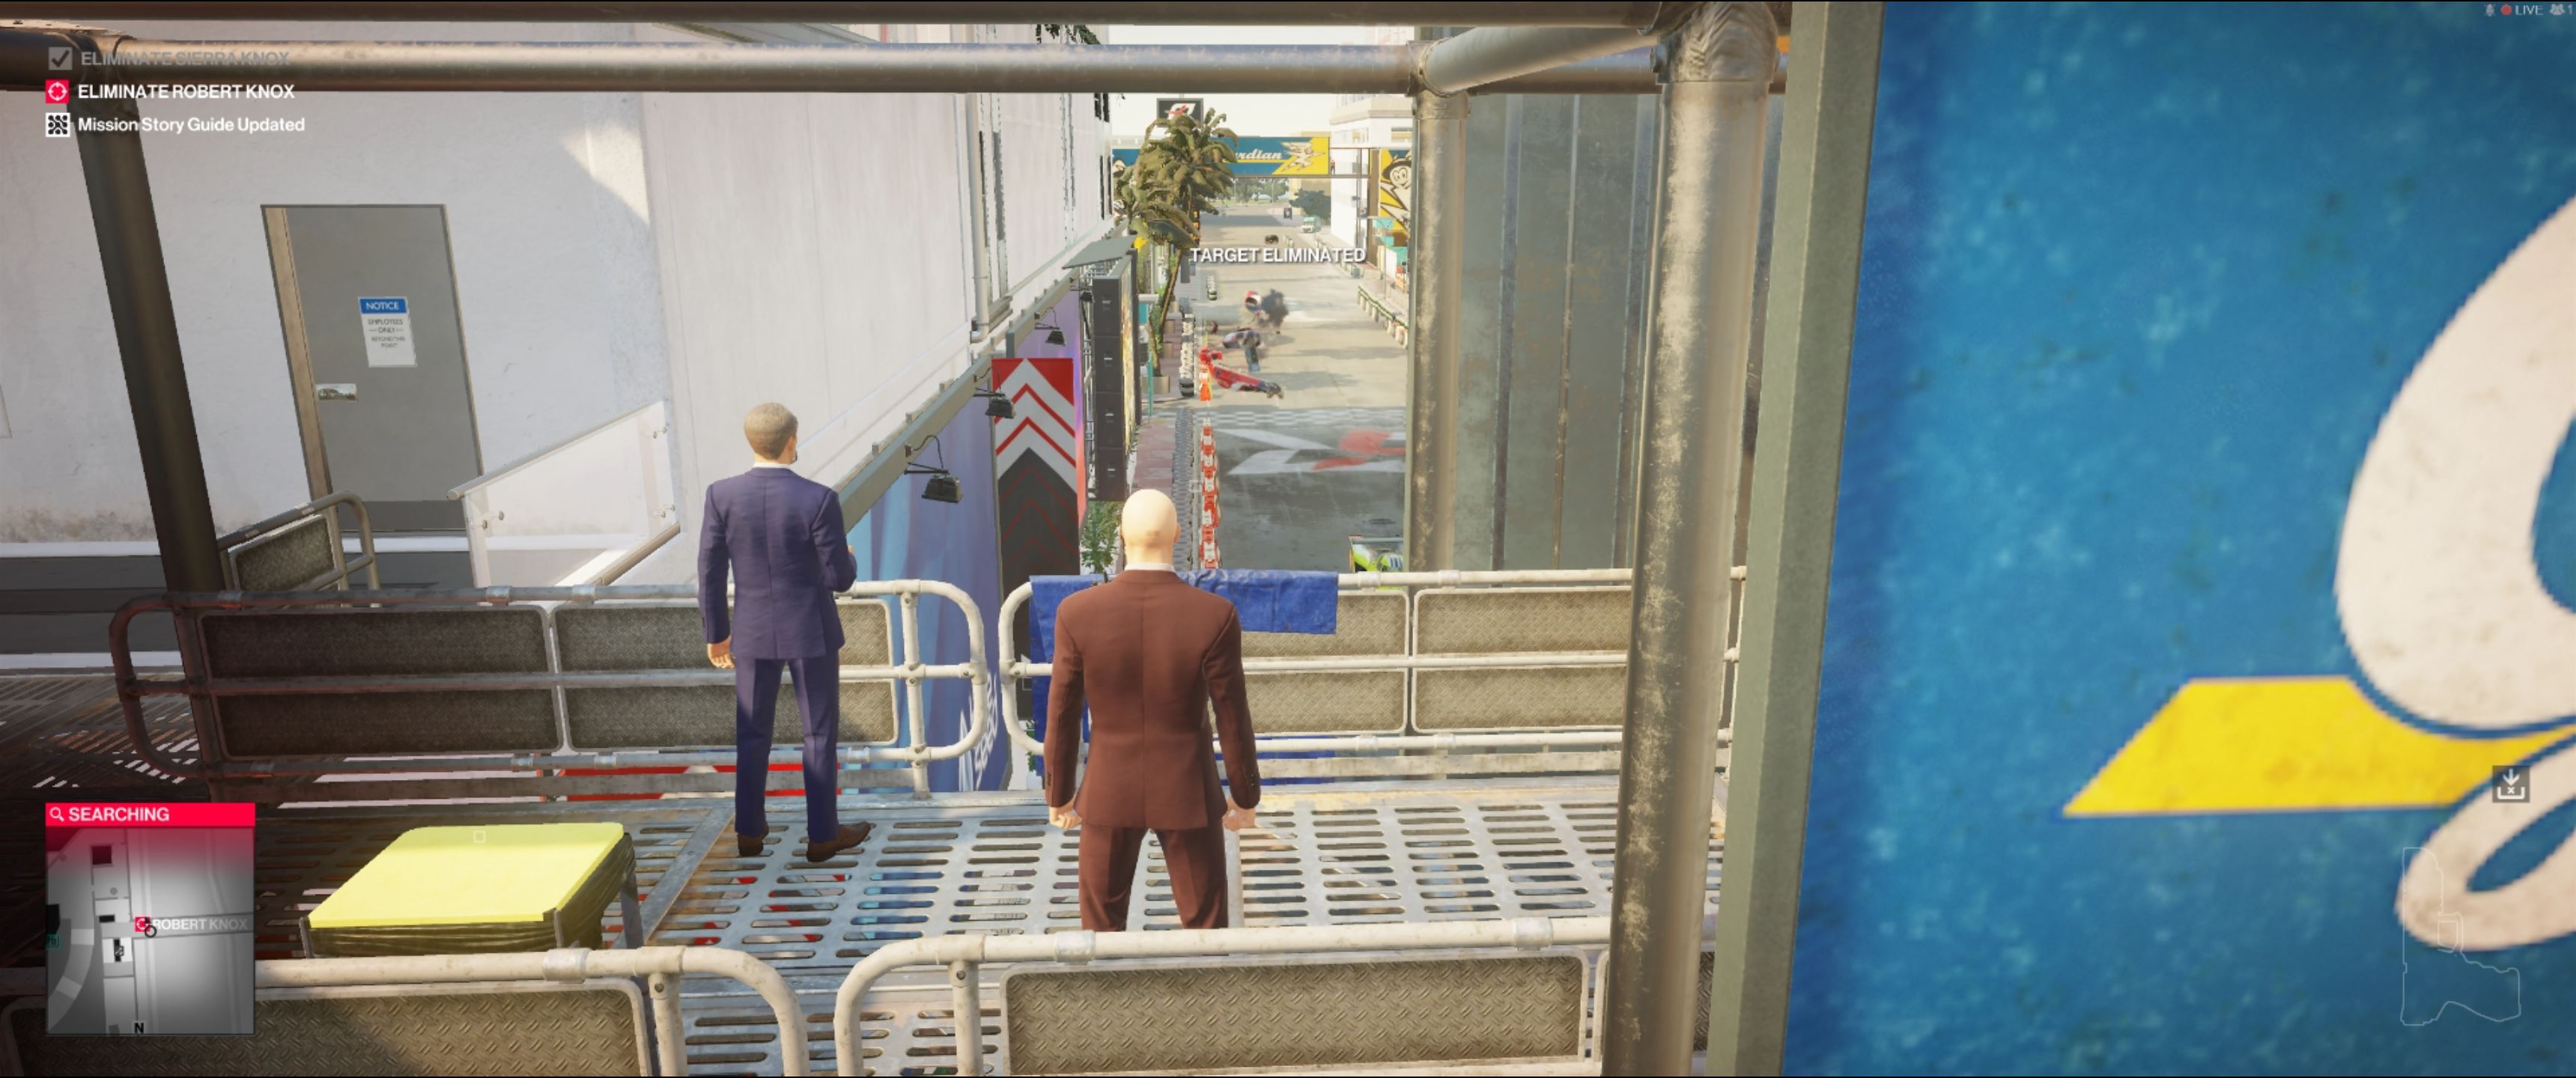
He wants to meet face to face on the raceway overpass. Getting there undetected as a mechanic won’t be easy, so you may want to change clothes again—Kronstadt security guard would be a good choice.
Once you meet with Knox on the overpass, he’ll ask for the bomb detonator. Give it to him, then wait until he dismisses his bodyguard. He’ll step to the railing and dramatically activate the detonator, realizing too late that the bomb is on Sierra’s car.
If you act quickly, you can capitalize on his shock and grief and send him down to meet her.
Two for one. So satisfying.
DAYS OF THUNDER – Blow up Sierra Knox’s car during the race
You can either plant the car bomb on Sierra’s car as described in EXPLOSIVE LIAISONS, or you can put a regular remote bomb on her car during the pit stop. Either way, just detonate it yourself at any time instead of handing the detonator over to her father.
WHEEL OF MISFORTUNE – Kill Sierra Knox by sabotaging the tires on her car
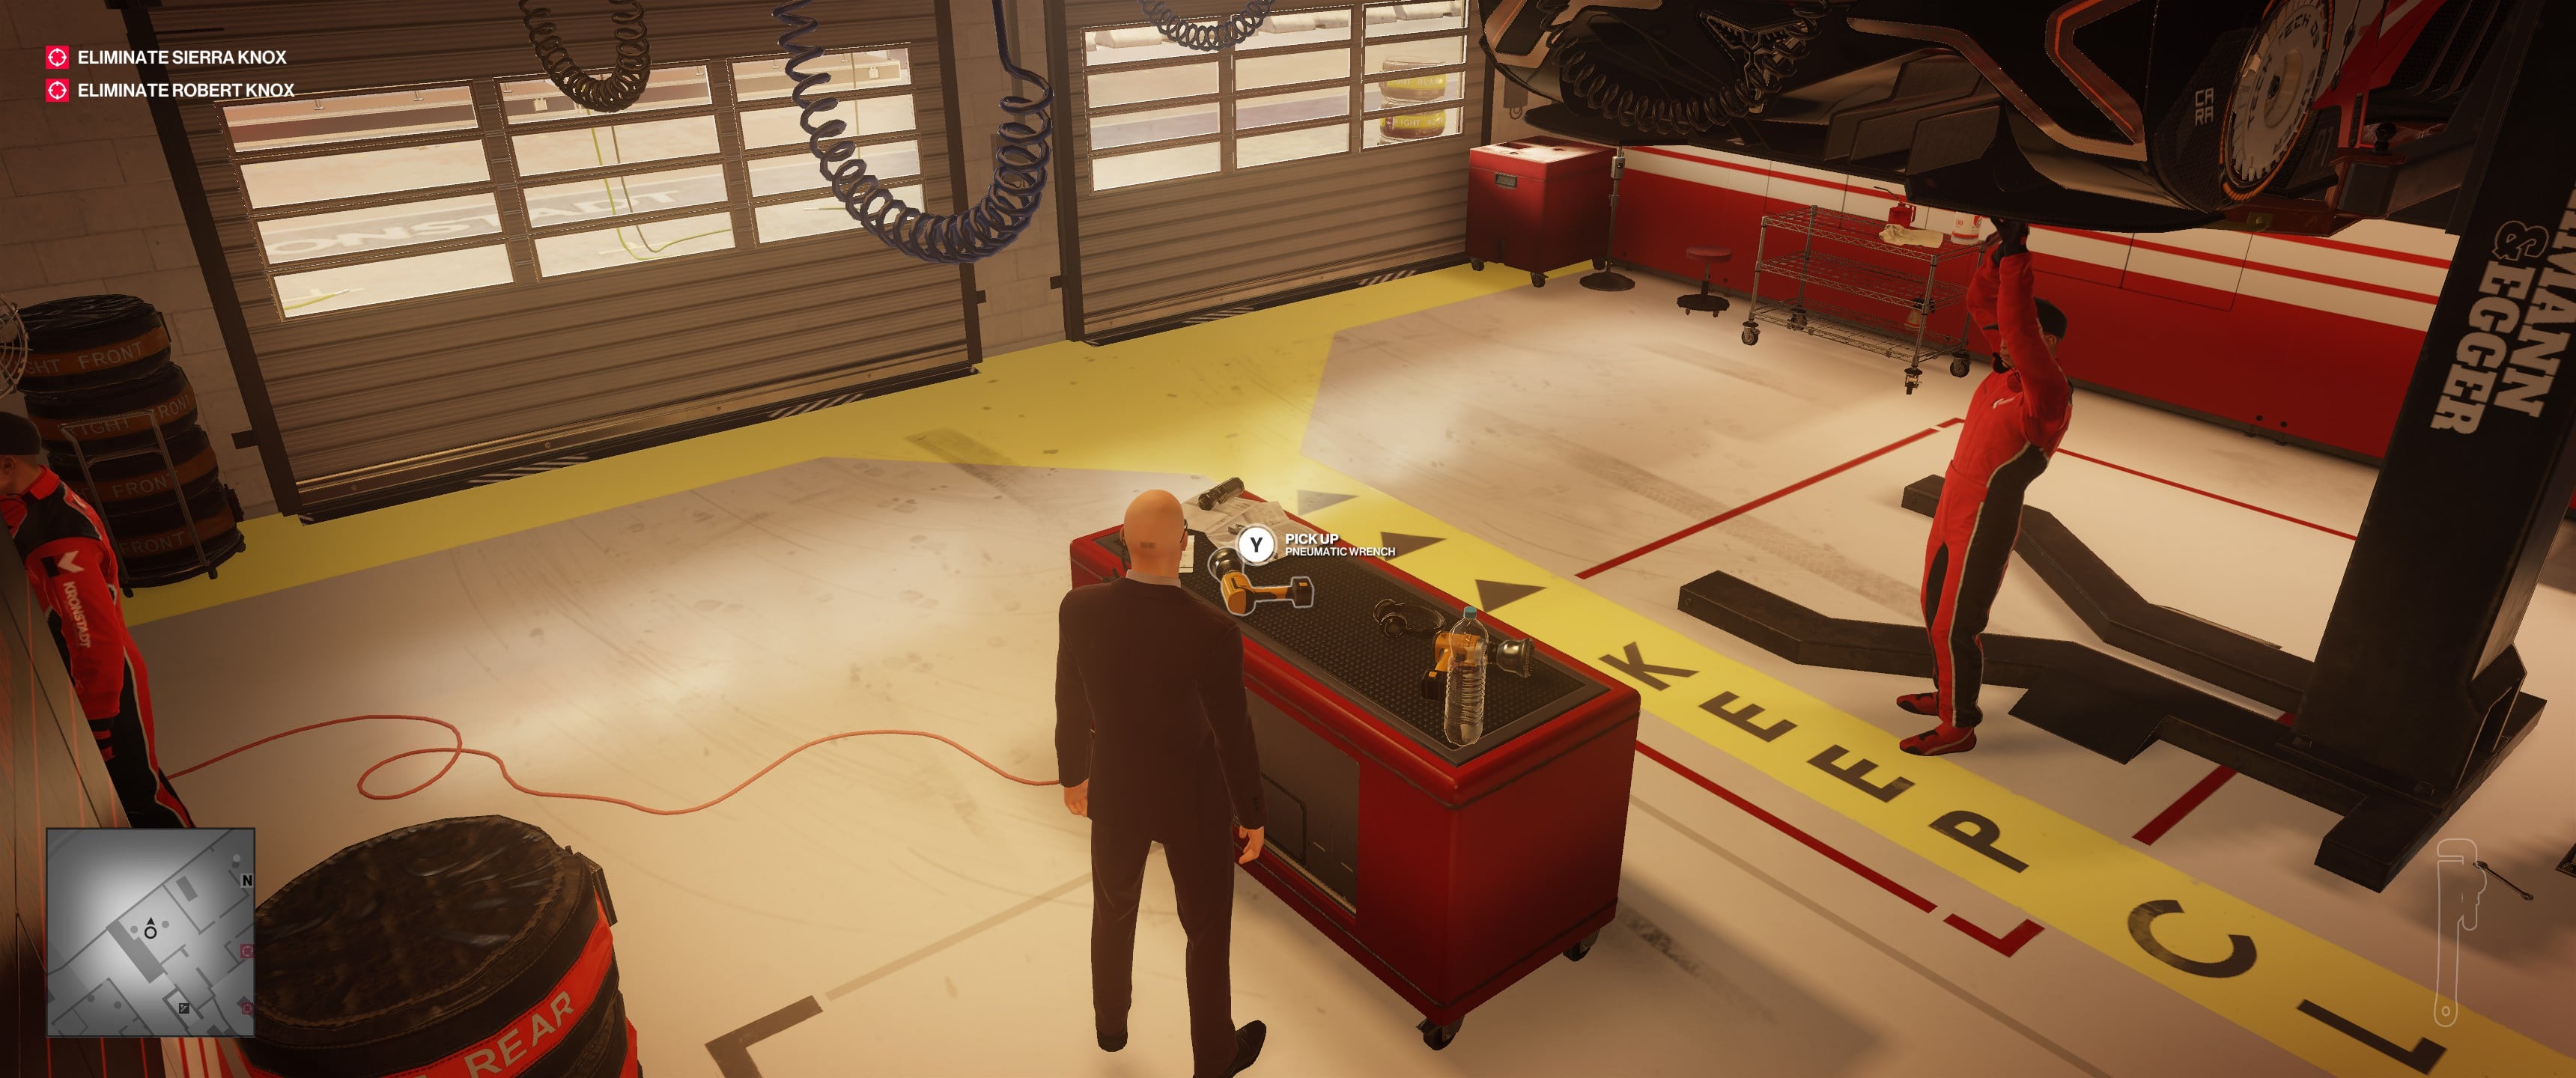
Kick this challenge off by getting yourself into a Kronstadt mechanic outfit as described in PERFECT MACHINE or EXPLOSIVE LIAISONS. Grab a pneumatic wrench in the bay next to Sierra’s, but make sure the especially alert Kronstadt mechanic doesn’t blow your cover.
Head to her pit stop station, and choose to sabotage her tires when prompted.
Enjoy the cutscene, you’ve earned it.
MOVING TARGET – Snipe Sierra Knox while she’s driving
Bring a rifle for this one, as described in RED FLAG – or just get a rifle up to the raceway overpass any way you prefer. Shoot the windshield of Sierra’s car as it comes down the straightaway. You don’t need to be super precise, it’s a pretty generous hitbox.
HOT SHOT – Assassinate Sierra Knox by adding some extra kick to her chili shot
Bring a canister of octane booster when you’re going for this one (there’s an unguarded one in the race marshal area garage). Once the race is over, regardless of the outcome, you’ll need to track down Moses Lee and trade places with him—see THE RIVAL for more info.
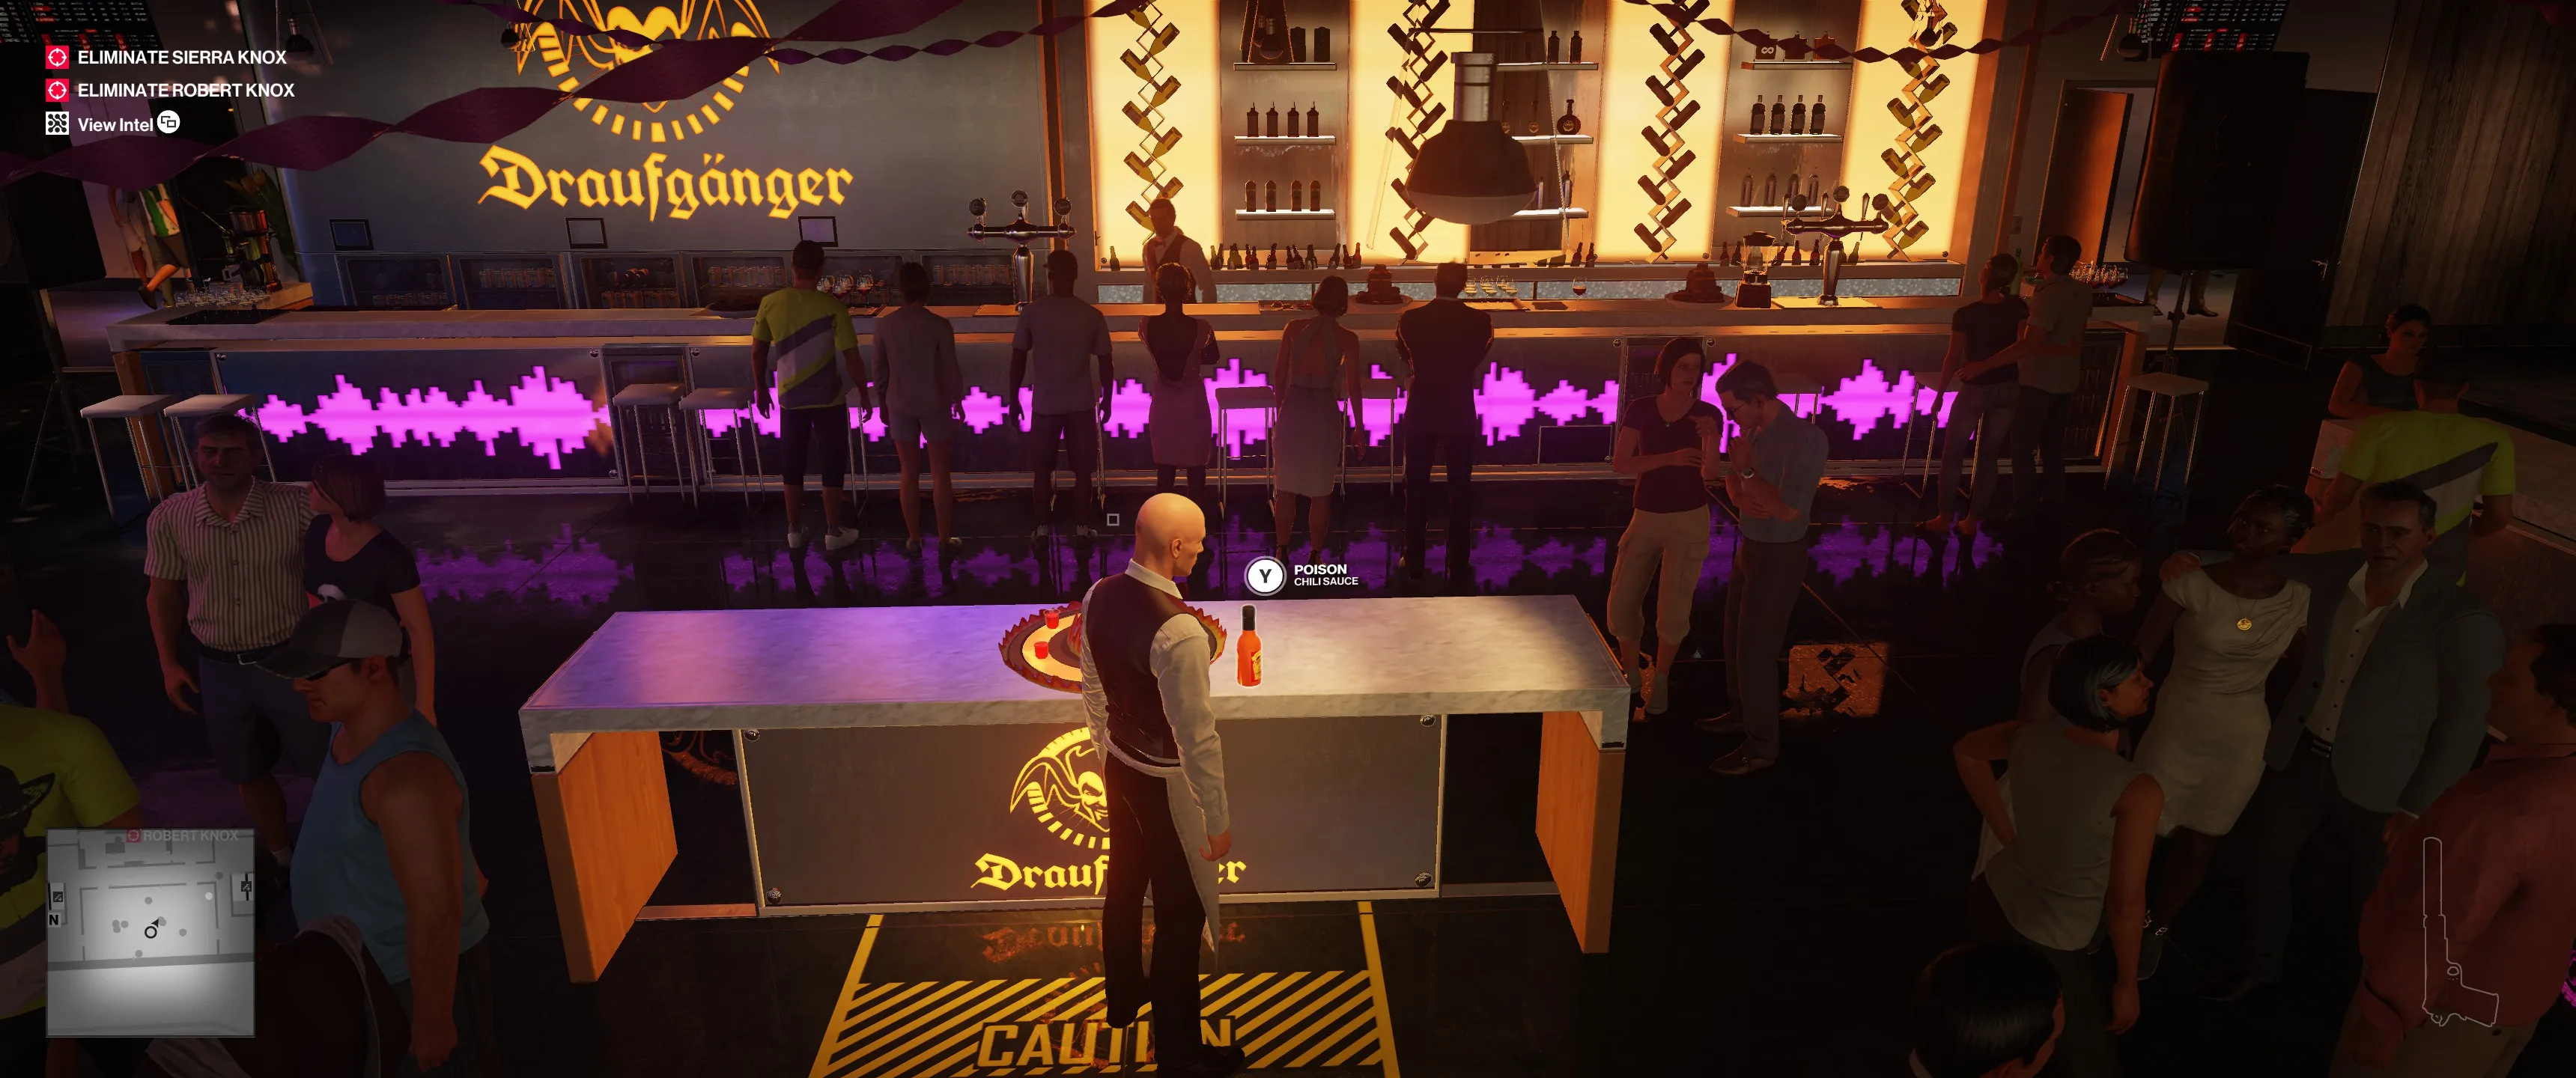
Make your way to the driver’s lounge and add the octane booster to the bottle of chili sauce. (It may be helpful to briefly trade outfits with a waiter if you’re having trouble poisoning the sauce without being noticed. If you go this route, get back into Moses Lee’s duds when you’re done.)
Now wait for Sierra to show up and accept her drink-off challenge. Watch the poisoned glass very closely; drinking it by mistake would be rather embarrassing. Just make sure she ends up with the deadly drink and this challenge is done—just like her!
DON’T DRIVE AND DRINK – Kill Sierra Knox by poisoning the race trophy
This challenge and the next one both require Sierra to win the race, which can only happen if you disguise yourself as a race marshal and disqualify Moses Lee. Once you’ve done that, make sure you have some lethal poison and head to the victor’s podium (an event staff disguise will allow you unrestricted access).
Now just wait—you don’t even have to stay in the area.
BETTER BURN UP THAN FADE AWAY – Arrange a pyrotechnics accident for Sierra Knox
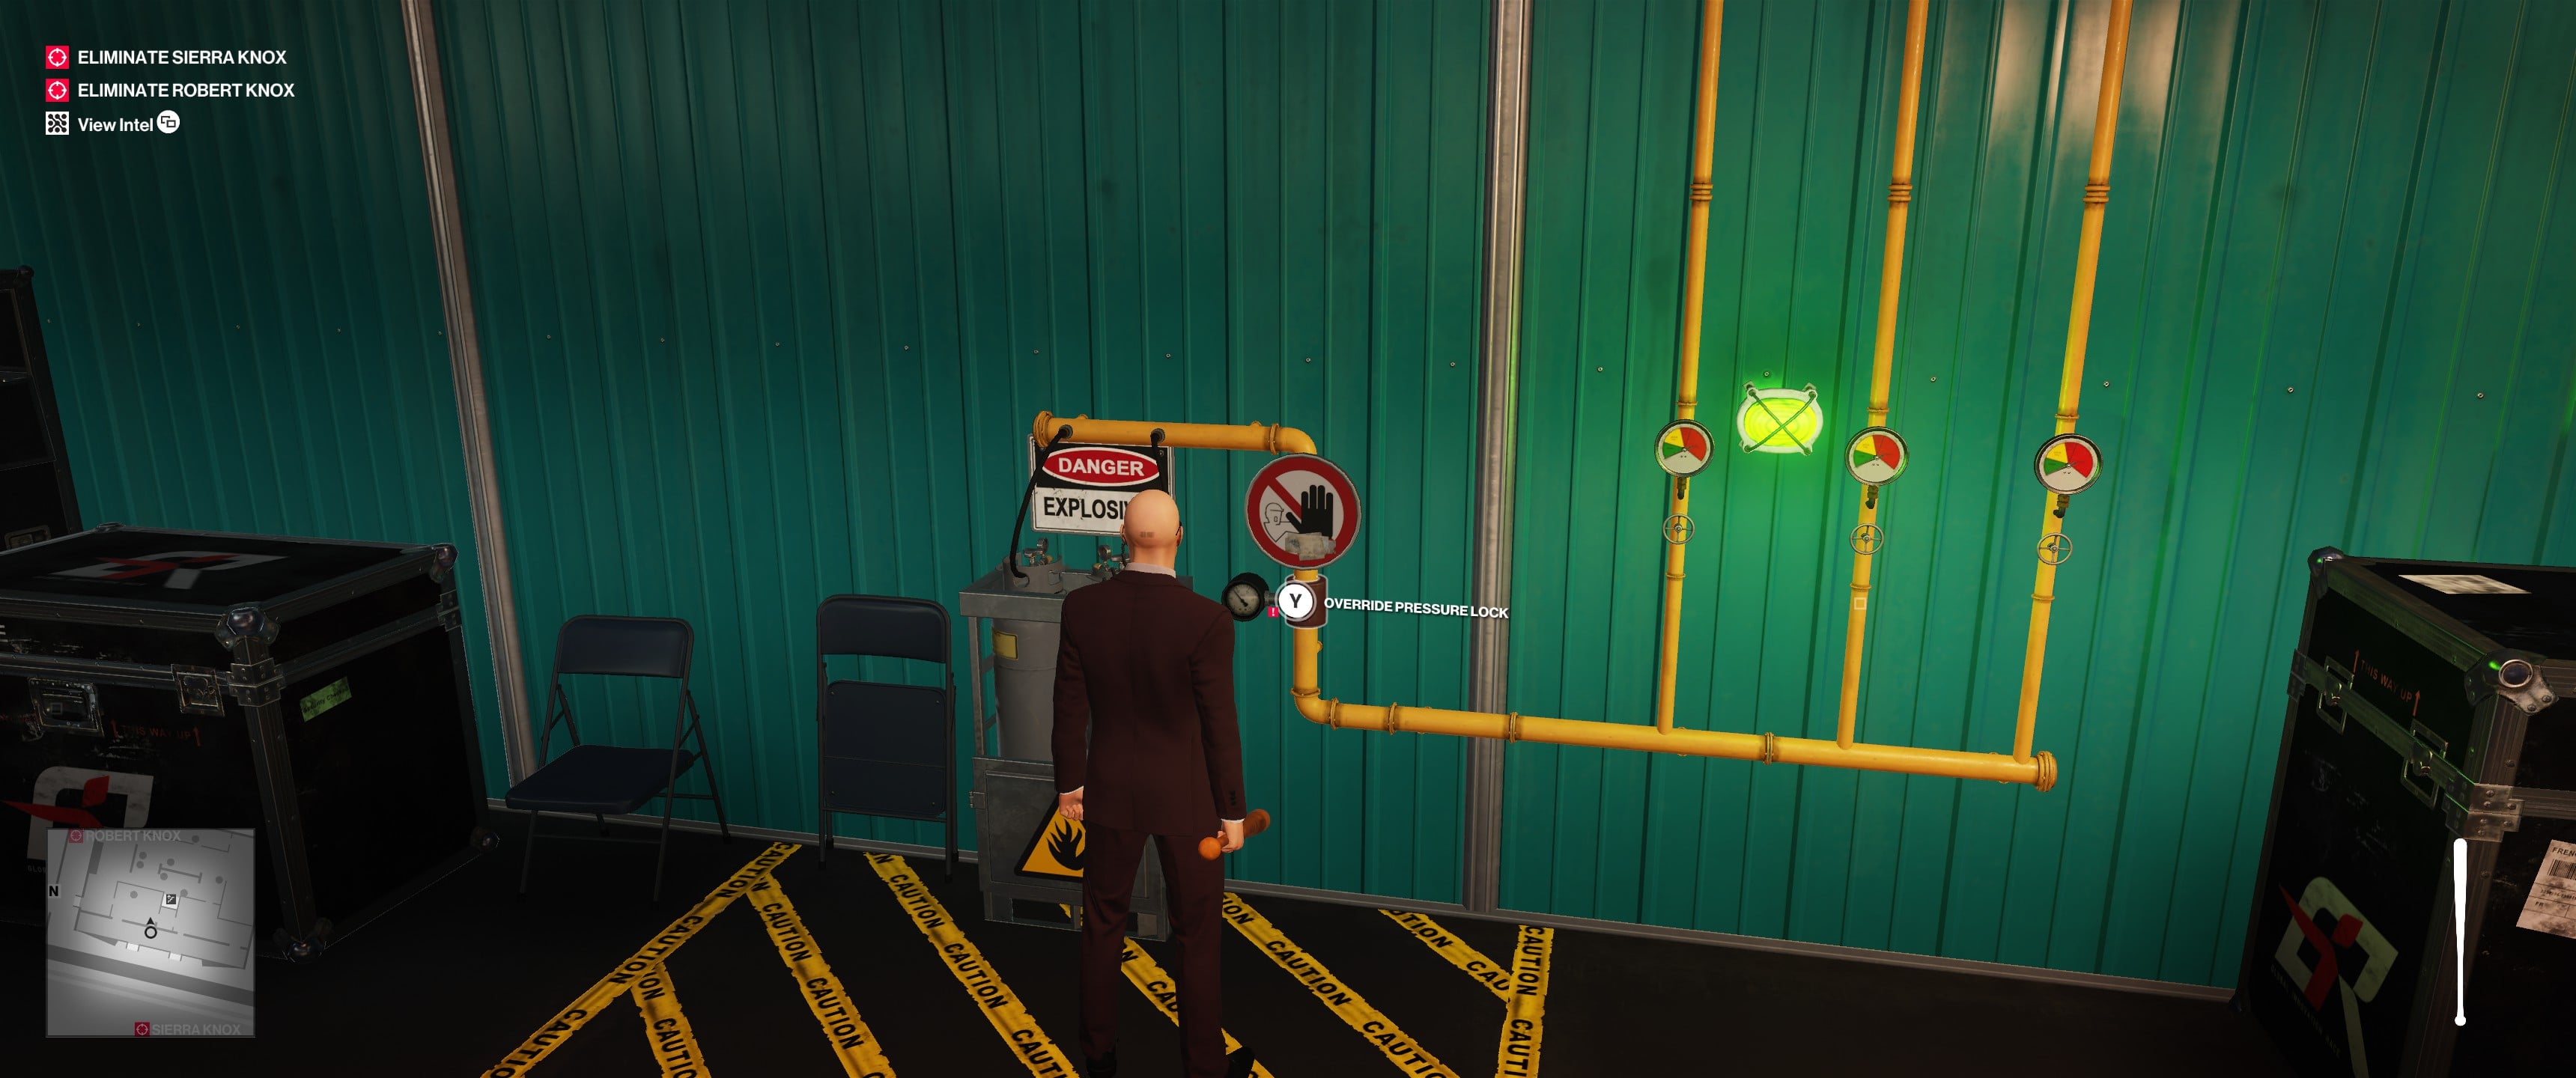
Like DON’T DRIVE AND DRINK, you need to first disqualify Moses Lee from the race to open this path. Beat Sierra to the podium and, ideally, pick up an event staff disguise. Find a wrench (there’s one in one of the side rooms behind the hairdresser’s area) and use it on these pipes.
Once you’ve loosened the pressure lock, you also need to adjust the pressure on the three valves to the right. Now just wait for Sierra to claim her very short-lived moment of triumph.
PINK MENACE – Kill Sierra during a clandestine meeting while disguised as the mascot
To pull this off, make your way to the B1 parking garage and assist the mascot as described in SYMPATHY FOR THE BIRD.
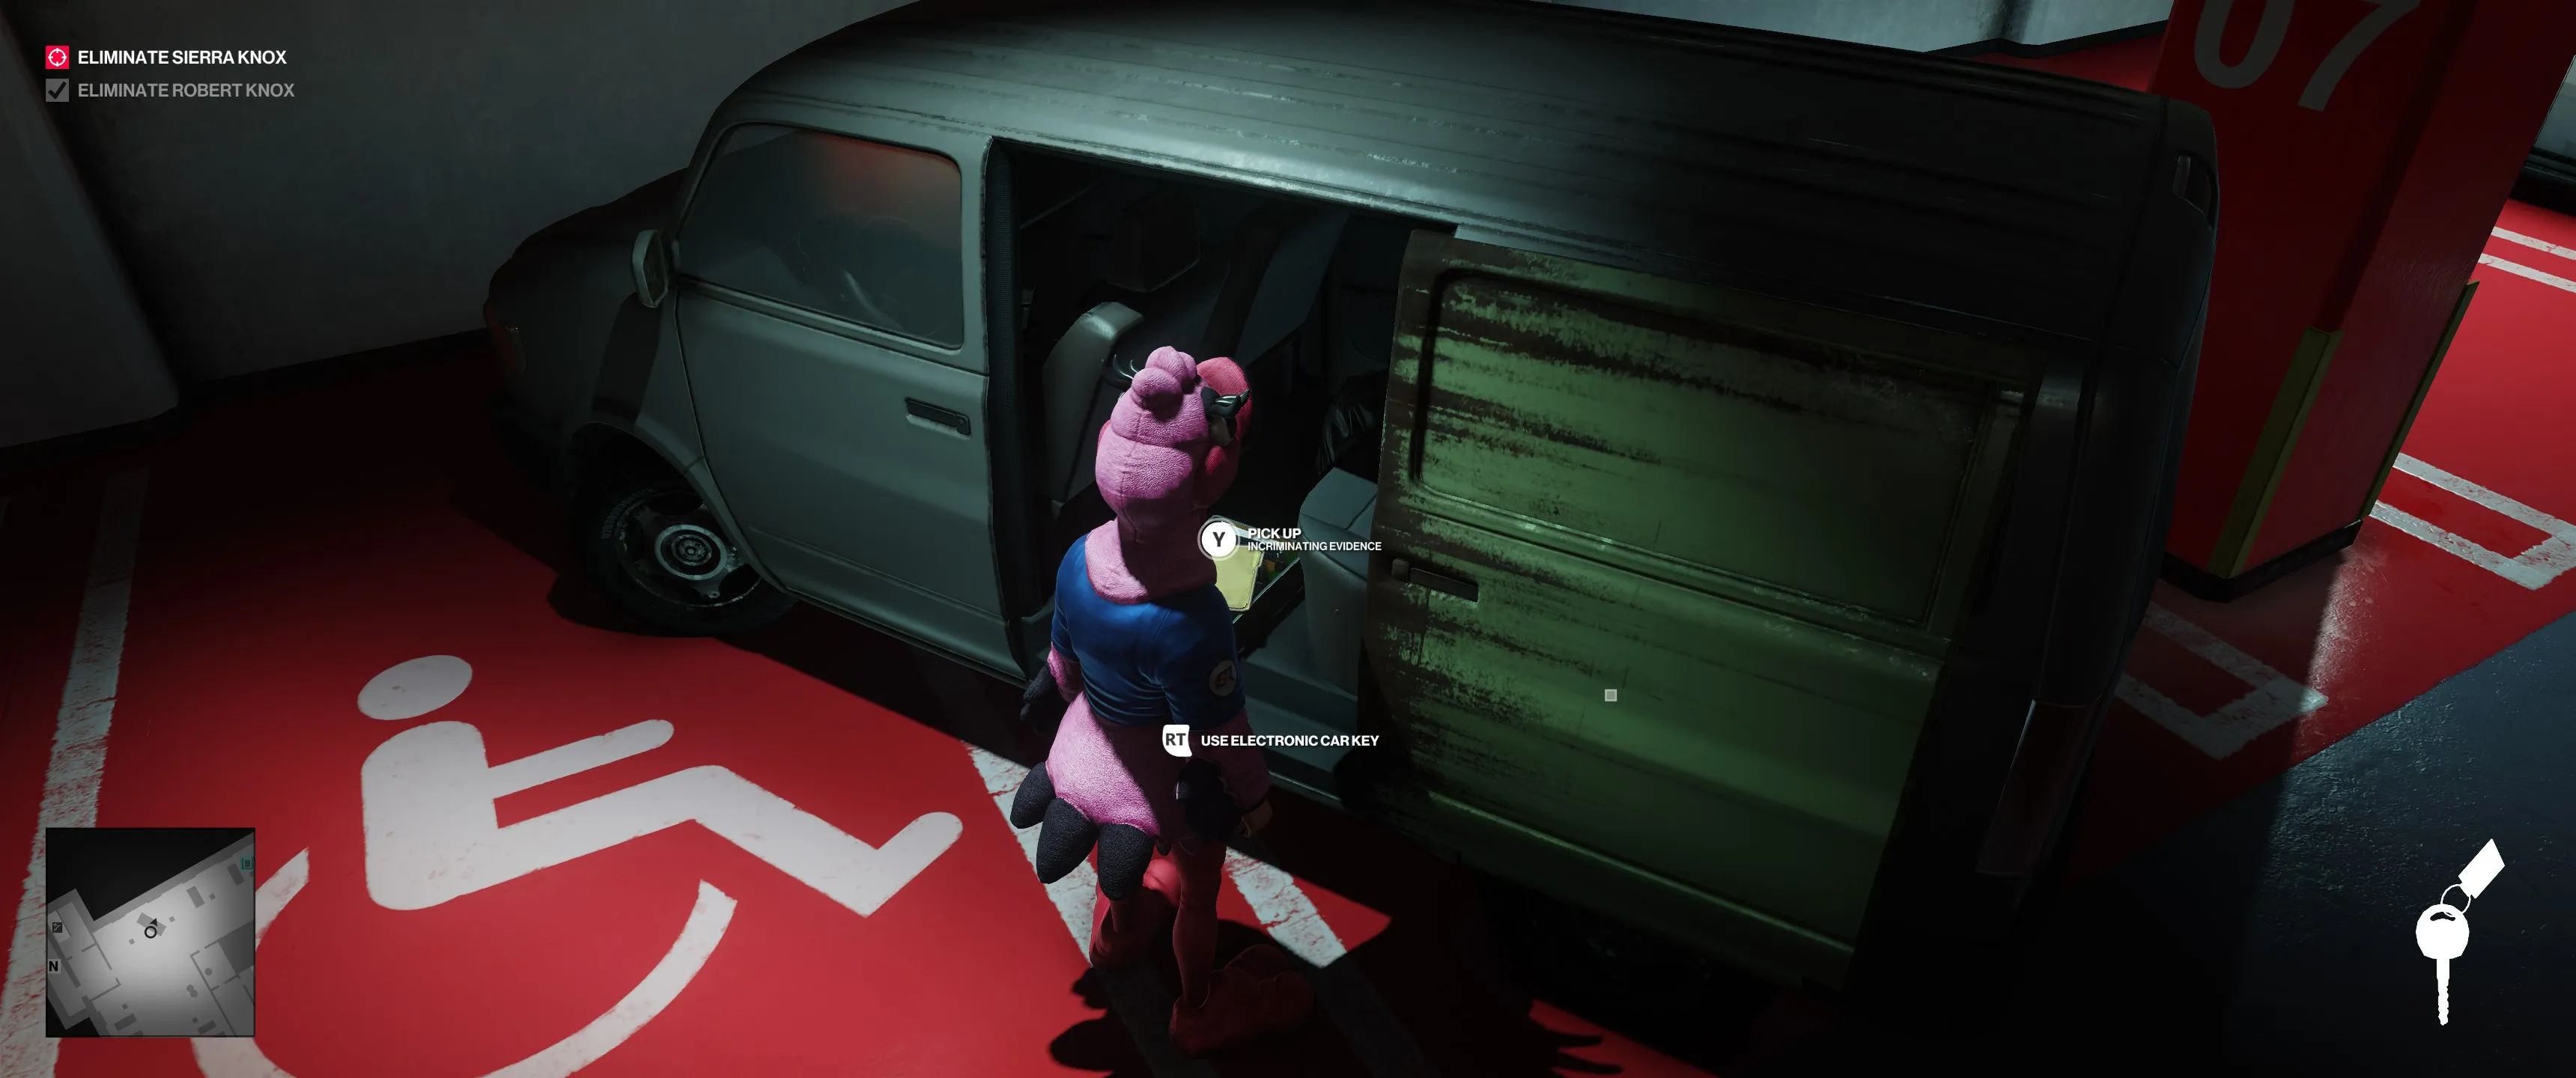
However, don’t let him get to his vehicle—dispatch him before he gets there, take his keys and costume, and grab the incriminating evidence from his van.
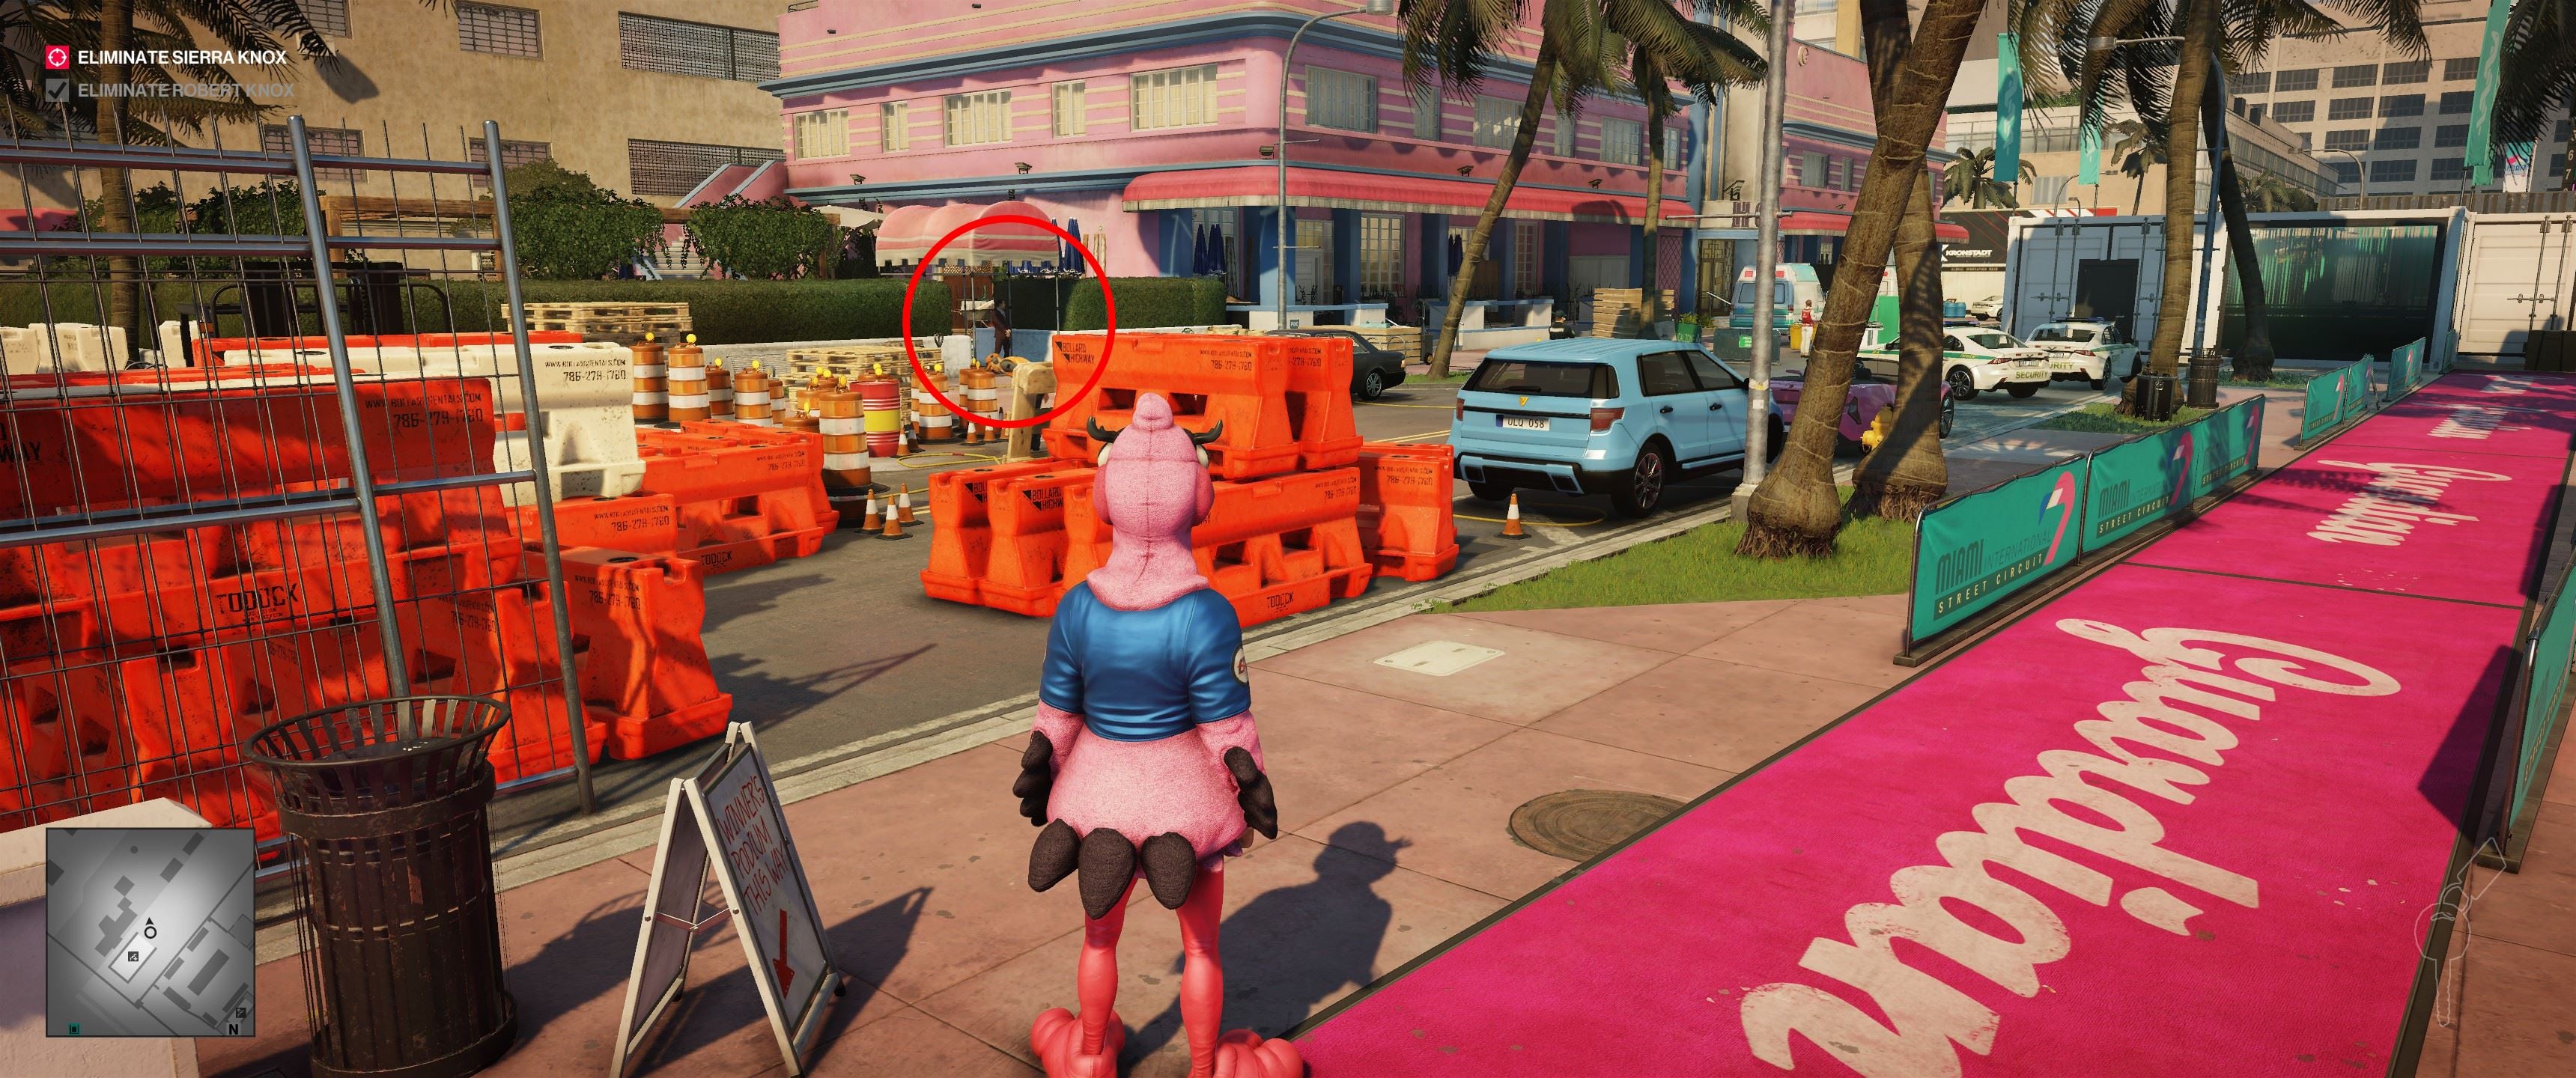
Make your way to the hotel and show the evidence to this guy.
Wait for Sierra to arrive and follow her down the alley. Hand over the evidence when she asks for it and let her monologue for a while; you’ll know when the time comes.
VITAMIN OVERDOSE – Make the medic kill Sierra Knox
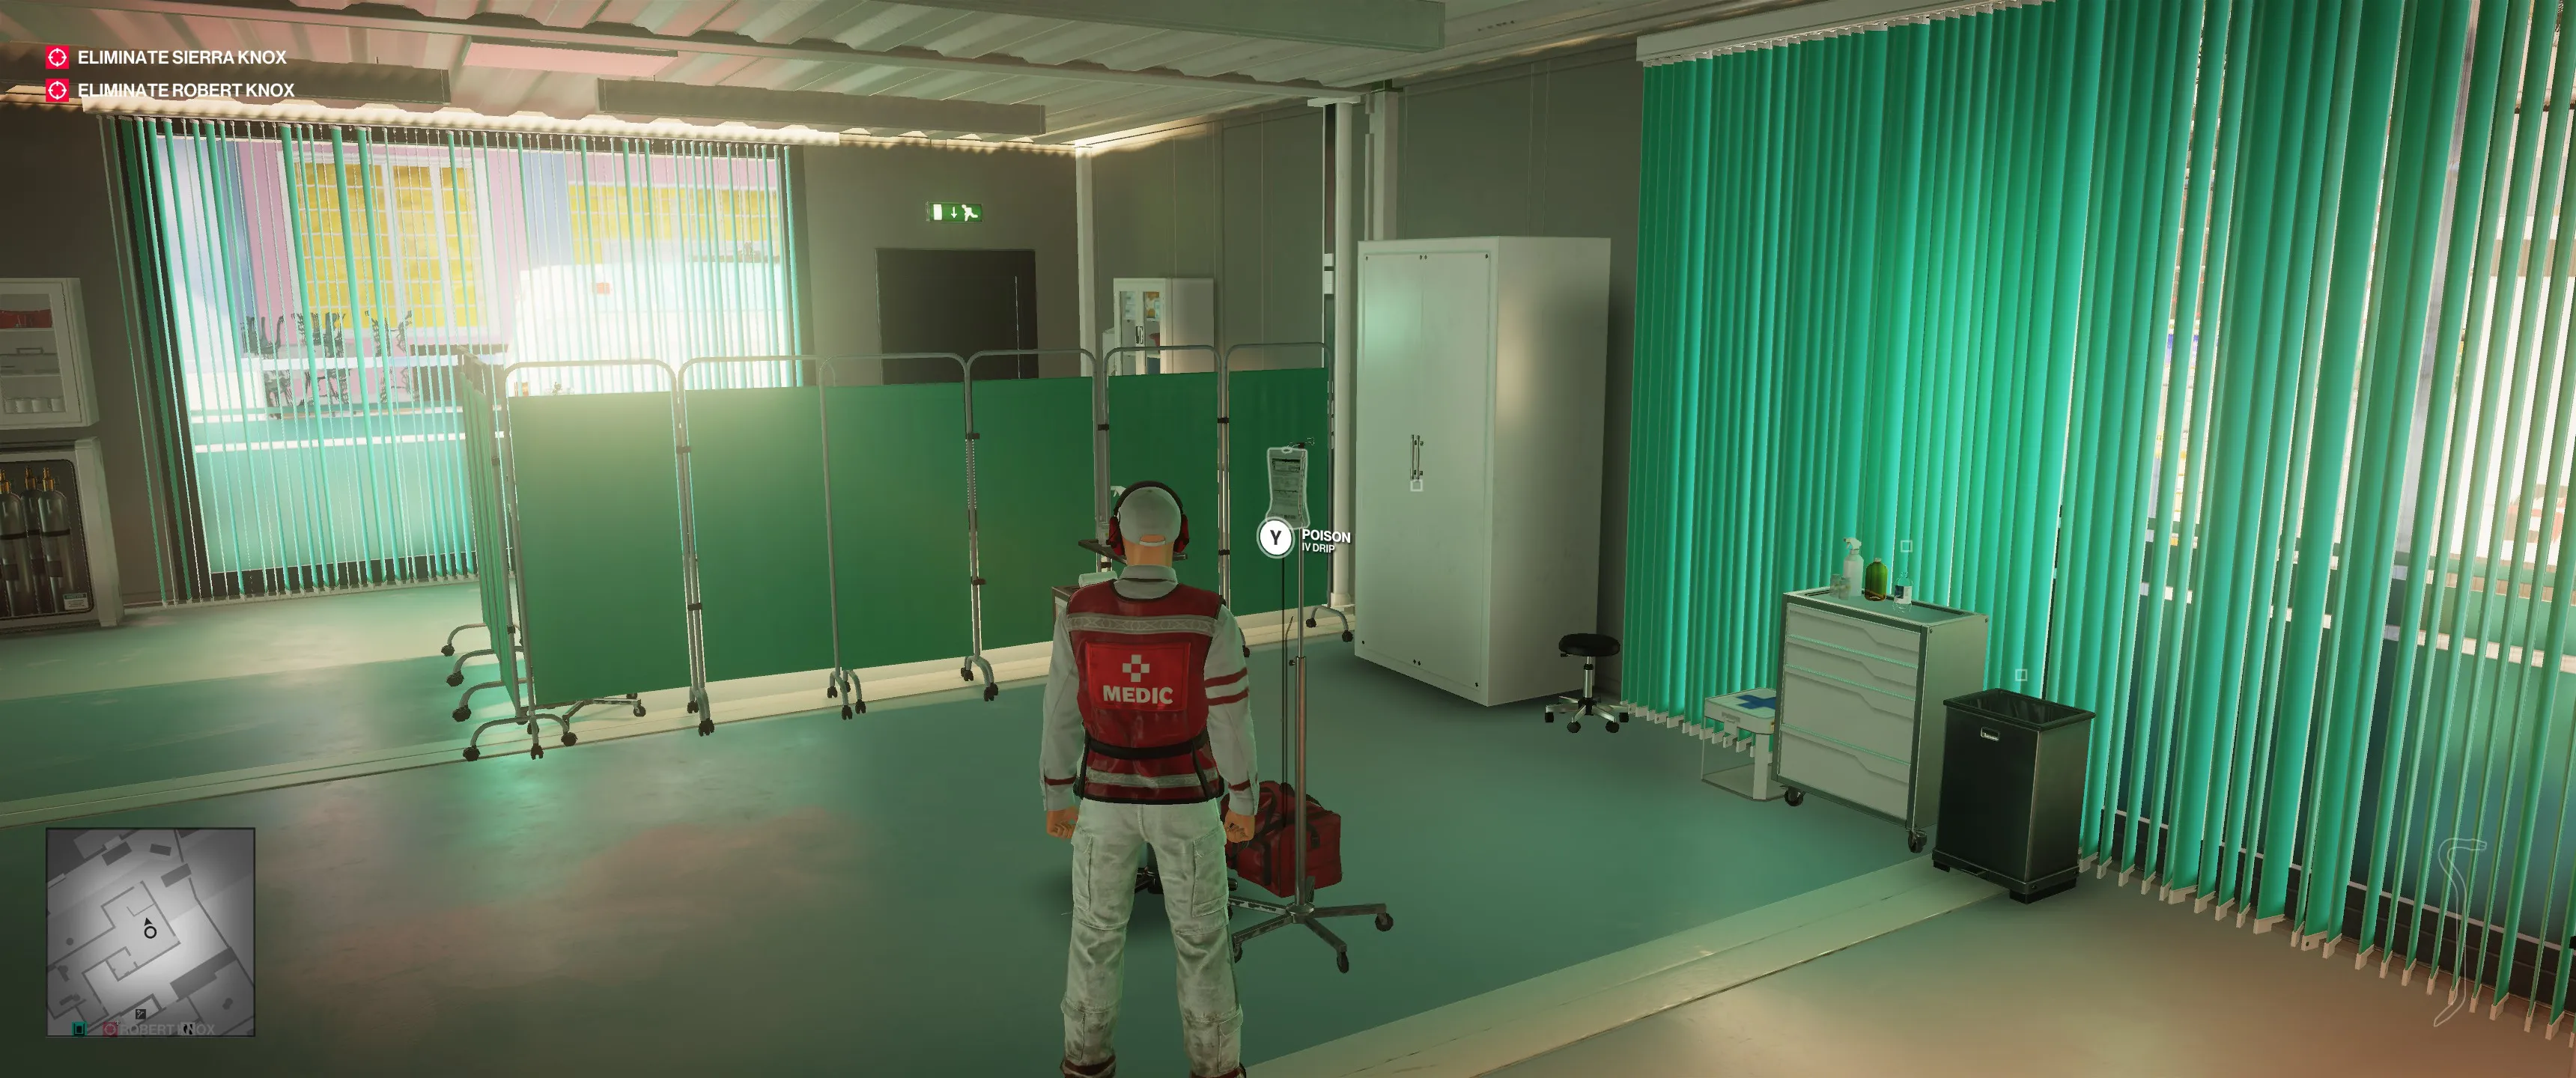
If you can start as a medic in the emergency bay, that would be ideal. If you can’t, race marshal would be good too. In any case, bring a lockpick and make your way to the emergency bay. If you’re not dressed as a medic, avoid detection. Find this medical cabinet in the rear of the area and pop it open. Help yourself to the modern lethal syringe.
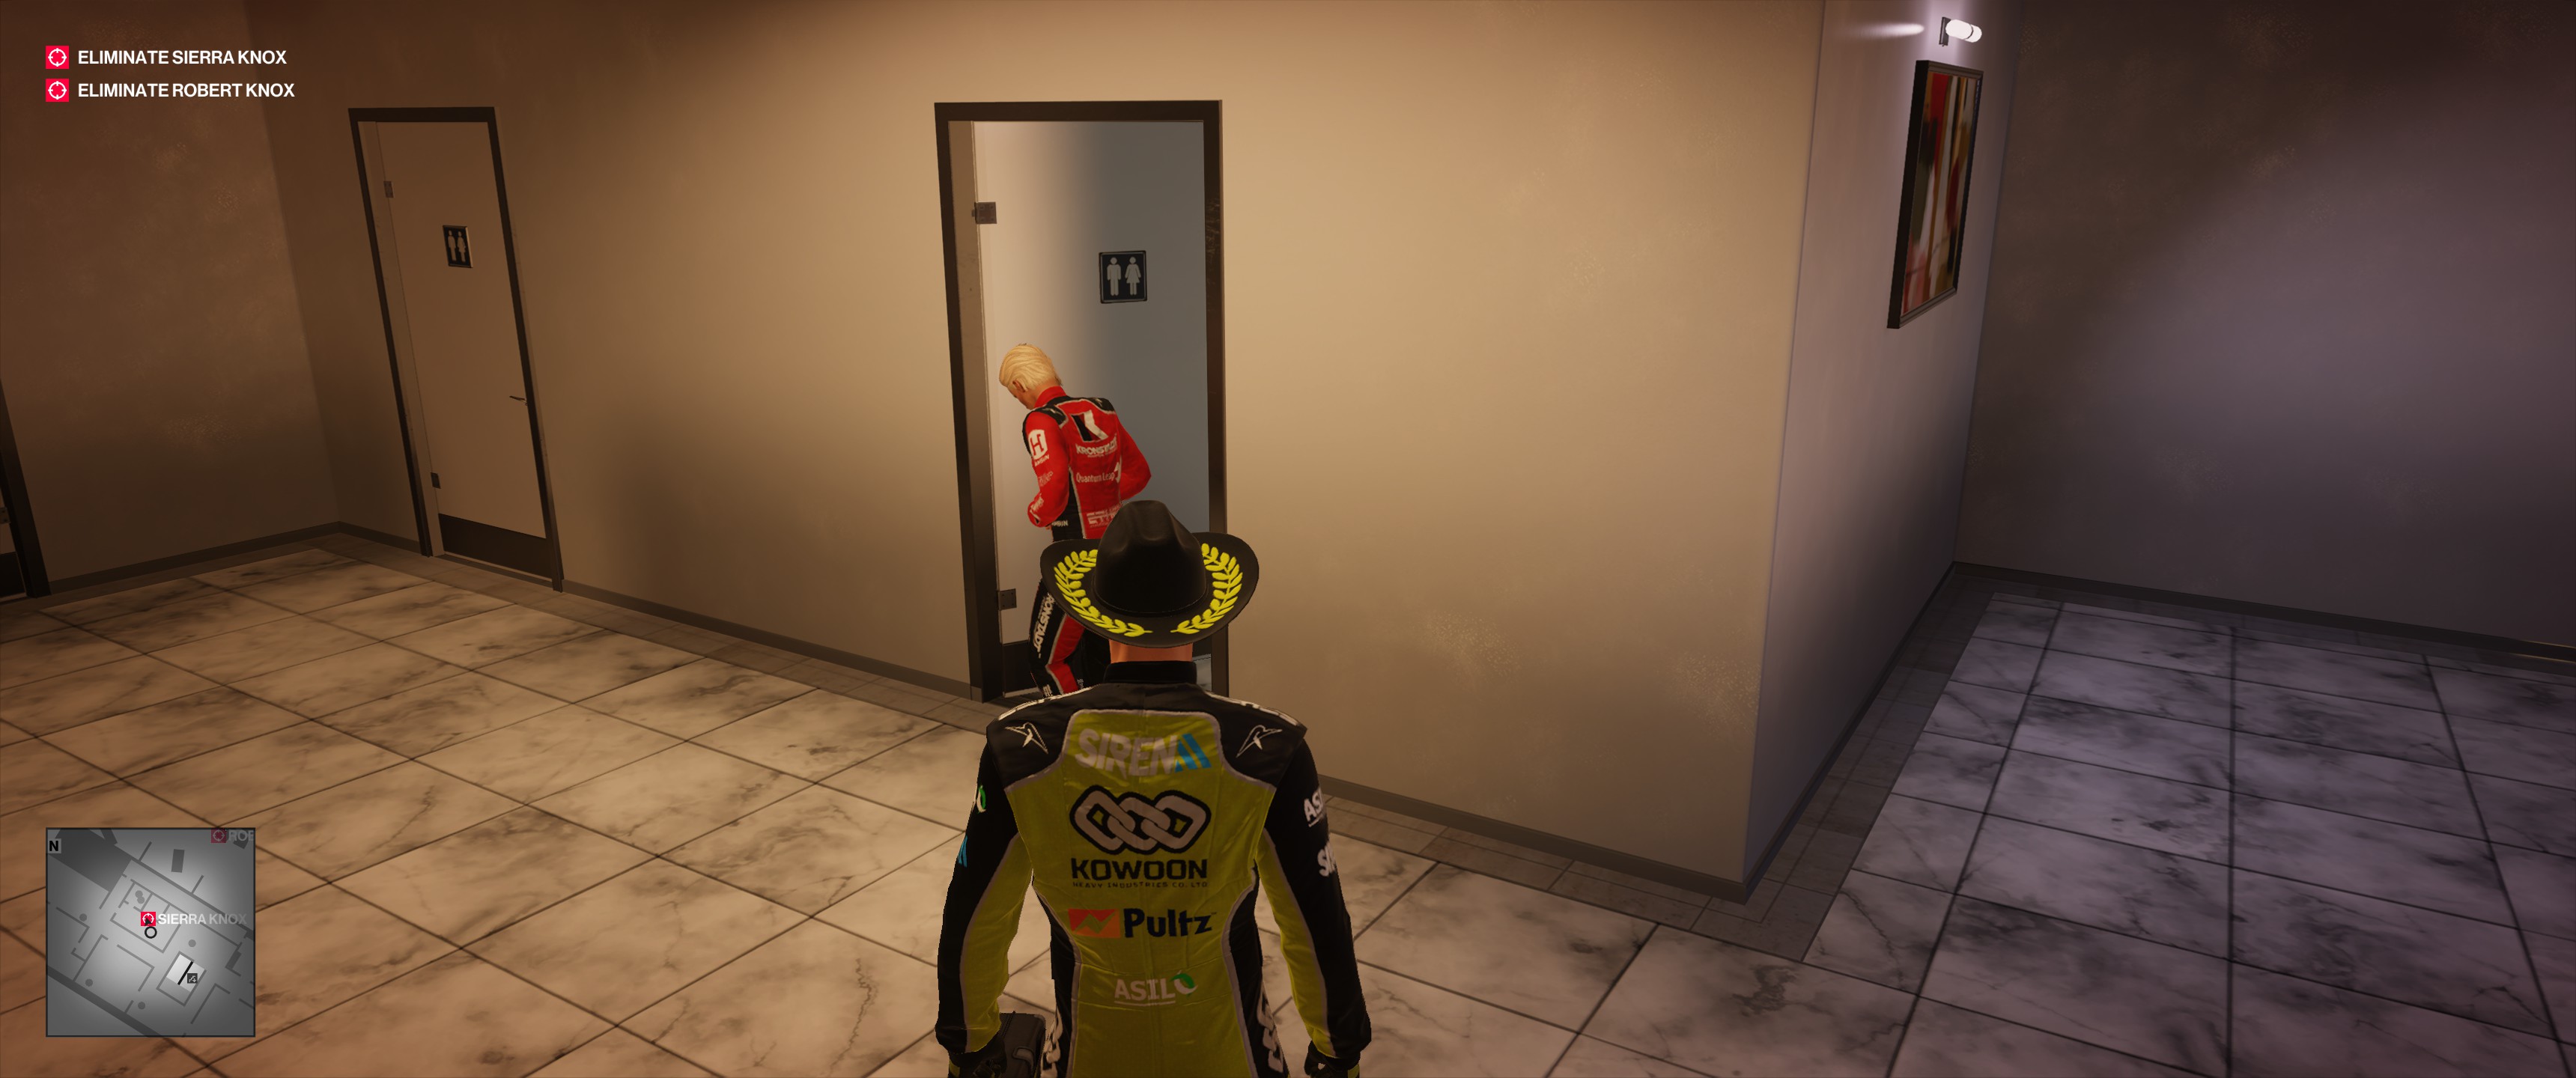
Now circle back to the back door of the treatment area. The doctor is currently in there with a patient. Wait until both of them are facing away from you, then sneak over to the IV pole and use the modern lethal syringe on the IV bag.
Now you need to get rid of the doc’s current patient before Sierra can be “treated.” You can isolate him and knock him out/kill him, or you can make him leave by completing the POTTY TRAINING feat. Once he’s gone, the doc will call Sierra over the intercom.
Now it’s just a waiting game. Enjoy the show.
DOCTOR 47 – Fatally poison Sierra Knox while disguised as a medic
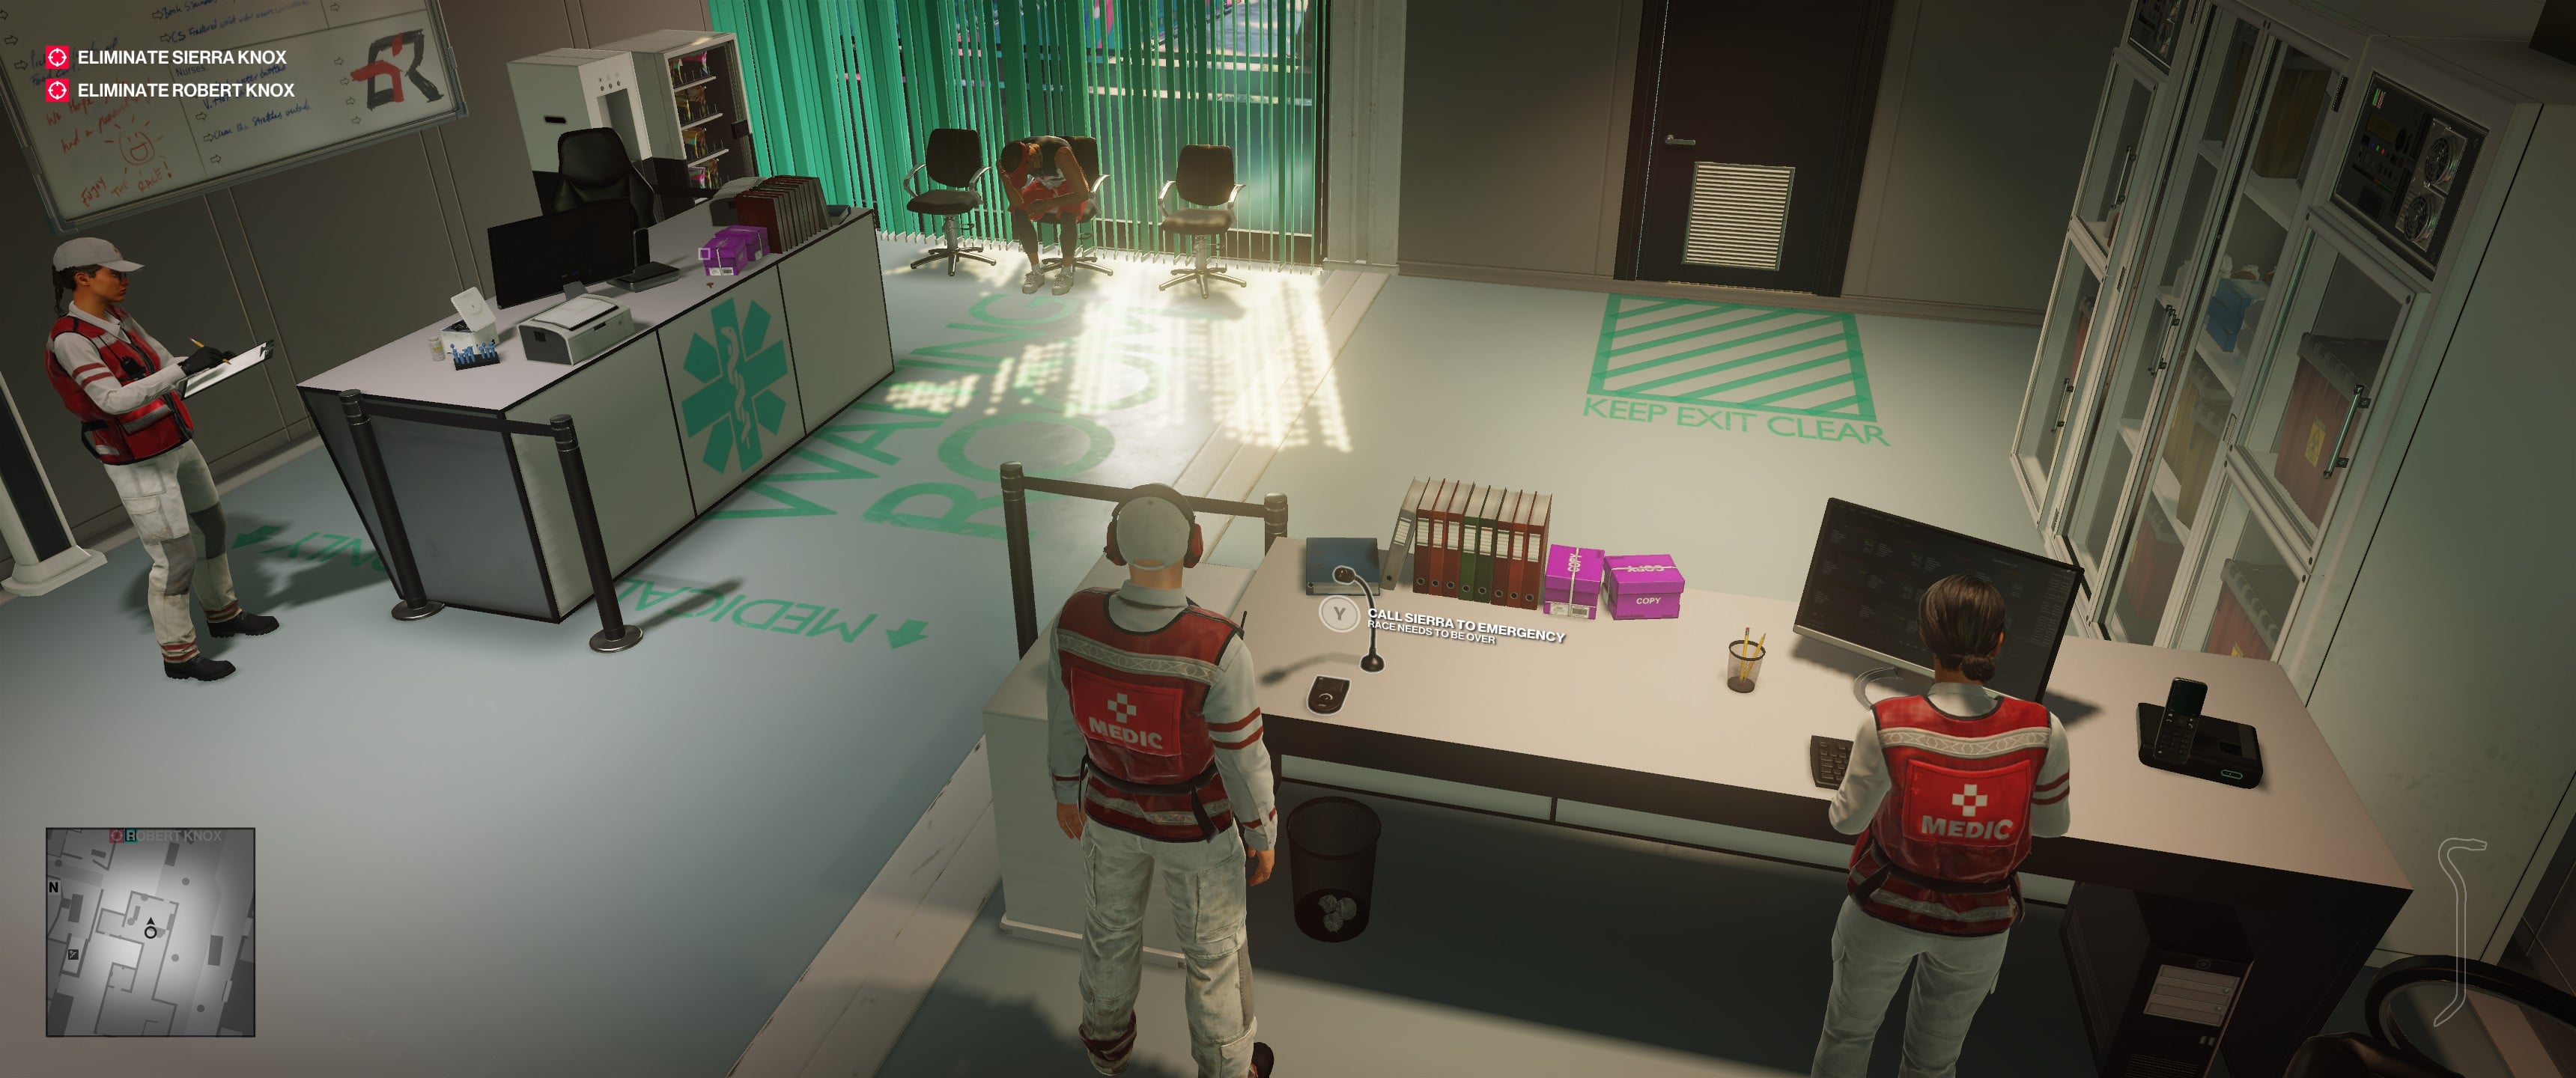
Set this one up just like VITAMIN OVERDOSE, only you need to get rid of the doc as well as his patient. Once both are taken care of, head up front and call Sierra over the intercom. (The race must be over before you can do this.)
When she arrives, ask her to take a seat and start the IV when prompted.
Believe it or not, that’s everything. You did it! THE FINISH LINE is 100% cleared. Go get some fresh air.
Hitman 2 still has four more gigantic missions to master. Those 100% guides aren’t done just yet, but keep an eye on our Hitman 2 guide list—they’re coming soon.





























Published: Nov 18, 2018 06:33 am