The Survival Tent in Fallout 76 is a handy benefit of subscribing to Fallout 1st. It gives you a free, fast travel point, stash boxes, and cooking station anywhere in Appalachia. One remarkable aspect is the ability to customize your Survival Tent with different skins that let you show off your Vault Dweller’s personality. Here’s how to change your Survival Tent in Fallout 76.
How to Change Your Survival Tent in Fallout 76

It’s important to note that the ability to place a Survival Tent in Fallout 76 is an exclusive benefit for Fallout 1st subscribers. However, even your friends or squad mates can use your Survival Tent even if they are not.
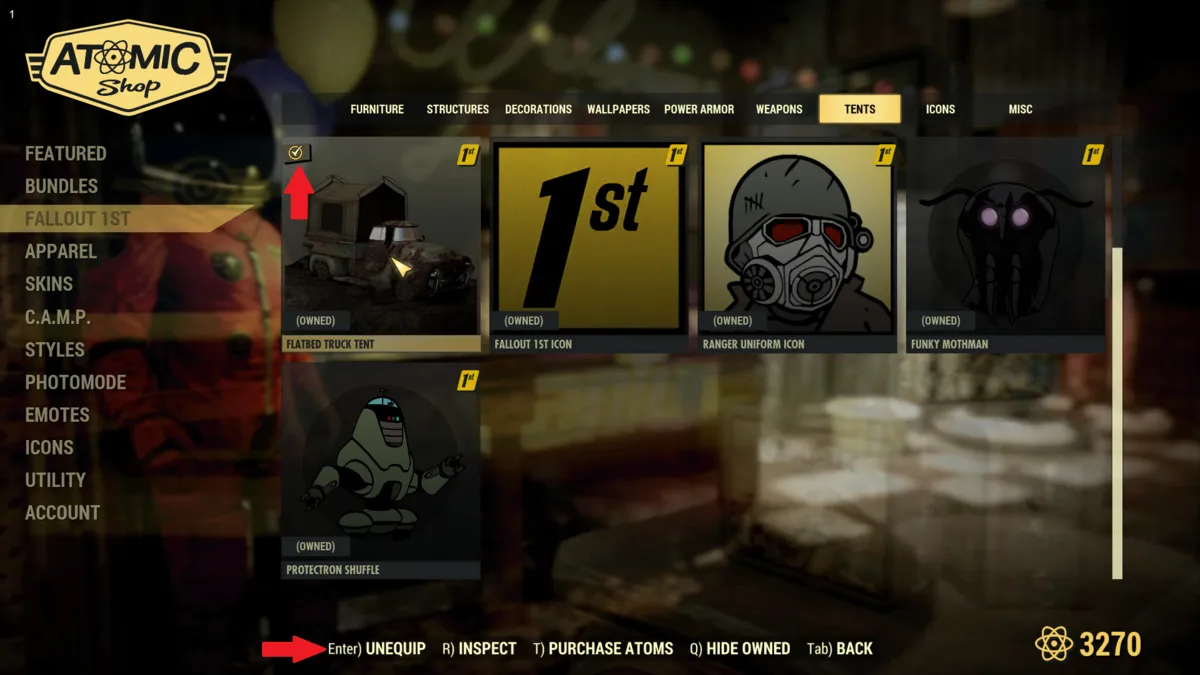
Here’s how to change your Survival Tent in Fallout 76:
- Head to the Atomic Store.
- Go to the Fallout 1st section.
- Navigate to the Tents tabs.
- Find the Survival Tent skin that you want to change.
- Press the Equip button.
- You should now see a Checkmark icon.
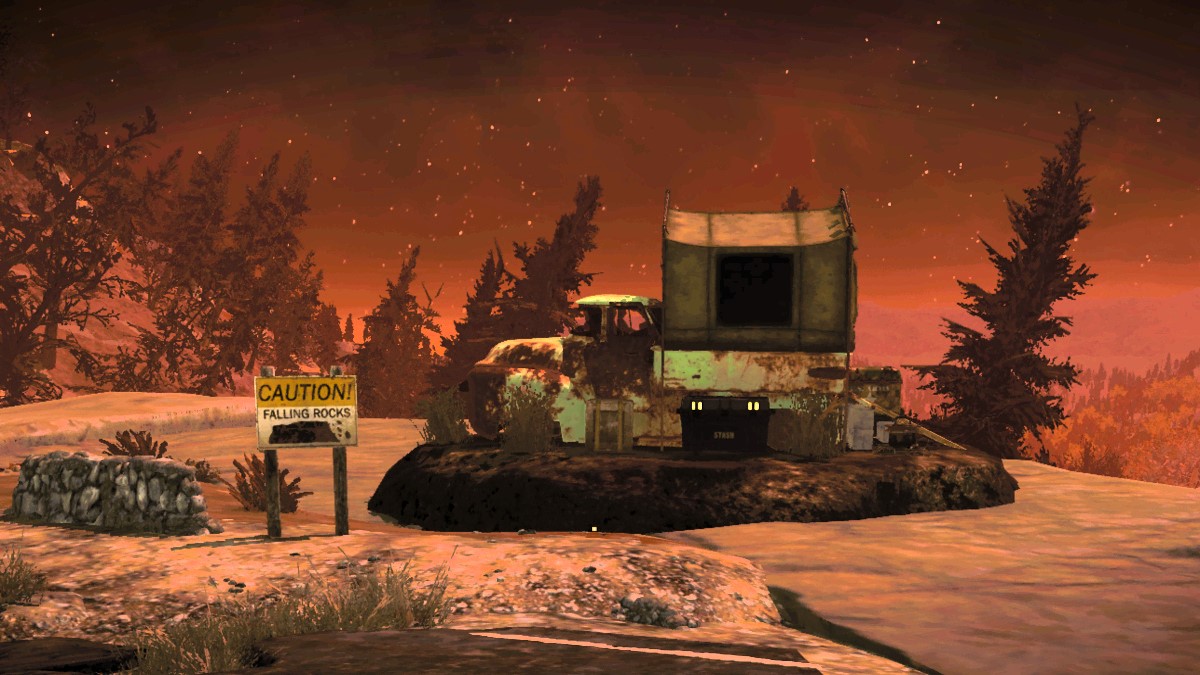
- Place your Survival Tent in-game to see your new skin.
Here are a couple of essential notes from the instructions above. First, you can access the Atomic Store from the main menu before joining a server or the map screen while in-game. These instructions will work regardless of how you access it. Second, you must place your Survival Tent again to reflect the new skin. Your currently placed Survival Tent will still show your old Tent skin.
Now that you’re equipped with the knowledge of how to change your Survival Tent in Fallout 76, it’s time to unleash your creativity. With a variety of Tent skins available to Fallout 1st subscribers, you can truly make your Tent reflect your Vault Dweller’s personality. Don’t forget to check out our Fallout 76 hub for more guides, like All Skyline Valley Plans and How to Get Them During Season 17, to unlock additional fantastic items for your Vault Dweller and C.A.M.P.


Published: Jun 12, 2024 07:14 pm