Equipment made by dwarves (or their associates, sometimes) is almost always the best gear in any Western fantasy setting. If you know how to complete the Dulled Steel, Cold Forge in Dragon’s Dogma 2, you’re one step closer to getting some dwarven-steel of your own.
Quest Guide: Dulled Steel, Cold Forge in Dragon’s Dogma 2
You can only start the Dulled Steel, Cold Forge following the quest near the end of the Vermund storyline, following the Feast of Deception quest. At the end of the quest, you’ll receive a border pass that will let you cross the gates into Battahl in the Checkpoint Gate Town, provided you haven’t already found the Battahl shortcut and other paperwork.
Dulled Steel, Cold Forge Step 1: Get to Bakbattahl
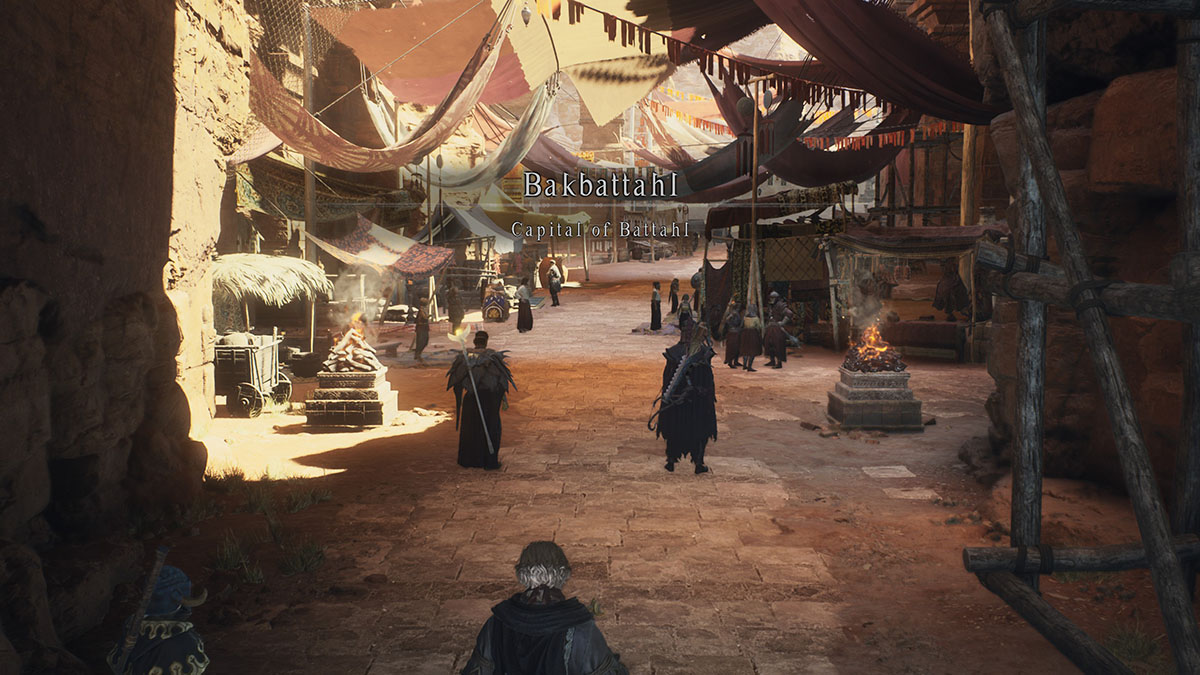
Regardless of how you access Battahl, you should return to the Royal Quarter of Vernworth and wander about until a knight approaches you.
The knight will mention that he has an ancient and powerful sword, and he wants you to take it to a blacksmith in Battahl to have it repaired. The Dulled Regalia Sword is useless in its current state, and while you can carry it all the way to the city of Bakbattahl yourself, you can also put it safely away in your storage chest and retrieve it from the inn in Battahl’s capital.
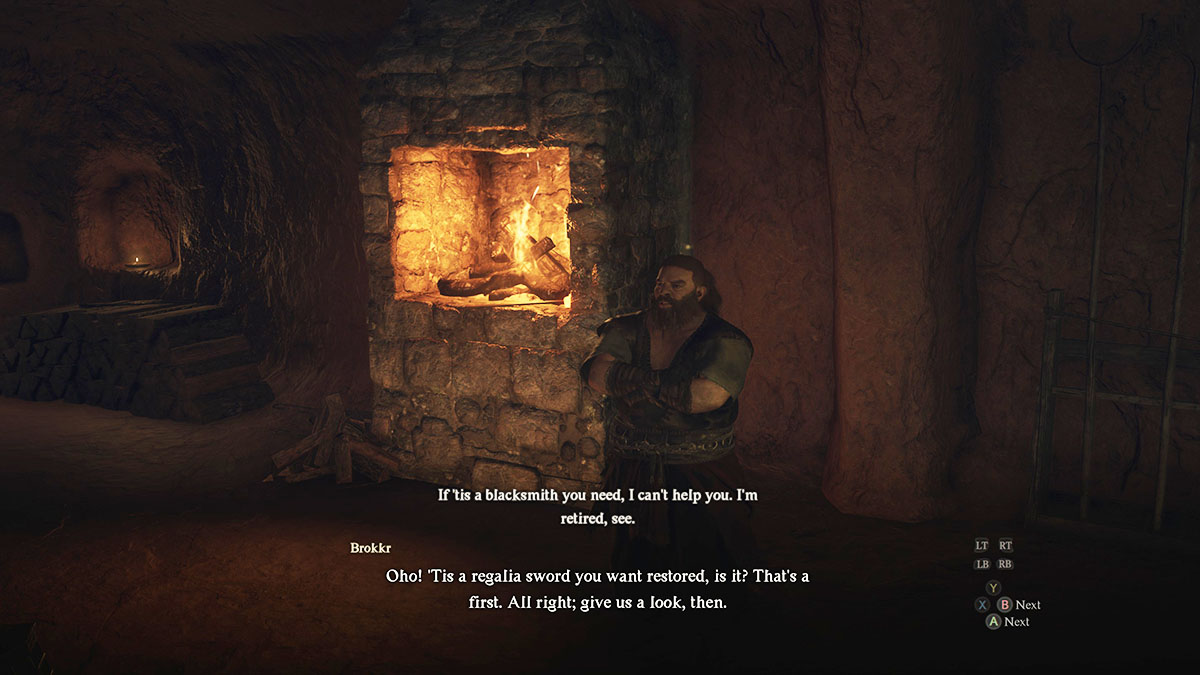
Once in Bakbattahl, make your way to the mercantile ward and take the path at the far right end of the room, to the right of the weaponsmith. Down the hallway, there you’ll meet a dwarven blacksmith named Brokkr and his assistant, Sara.
Dulled Steel, Cold Forge Step 2: Collect Glimmercoal
As much as Brokkr loves looking at the Regalia Sword, he’s since retired and has no plans to start smithing again. Before you leave his shop, however, Sara will stop you and request that you head to Digger’s Ruins to the west of Bakbattahl to gather Glimmercoal, a rare mineral that glows in the dark.
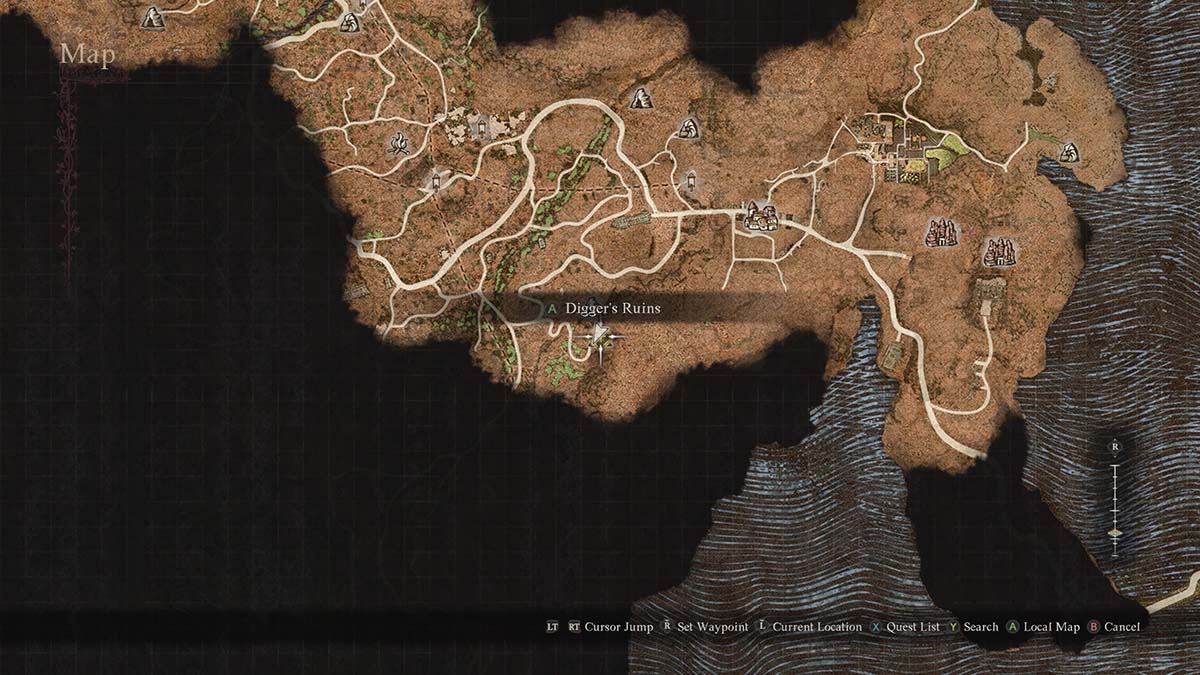
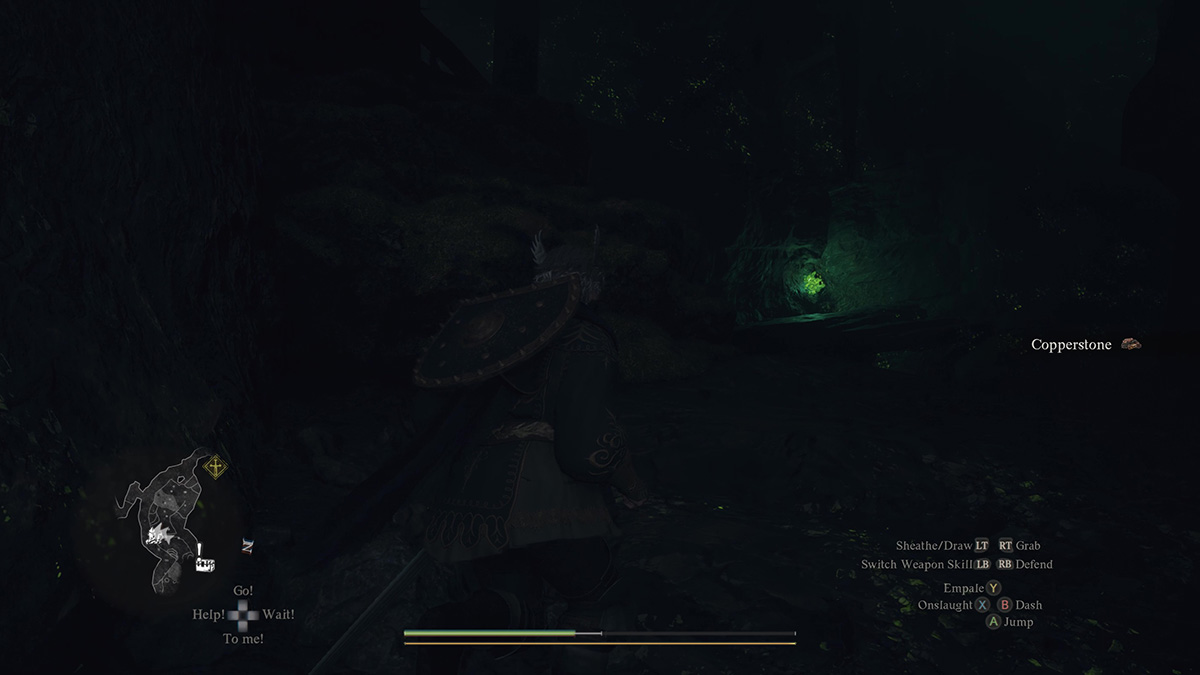
There are 30 units of Glimmercoal in Digger’s Ruins (or at least that’s as many as I could find after a thorough search), but you only need to turn in 15 to complete the quest and can only turn in 25 total. If you take the time to clear the mine, you’ll be left with five extra Glimmercoal for later use.
As for finding all 30 Glimmercoal, you need to do three things:
- Defeat all the enemies in the cave. Okay, so you don’t have to clear the area, but it makes searching for the materials you need much easier. The goblinoids in the cave are more annoying than fun to fight, and while they’re weak individually, in a group, they can clear an entire four-person adventuring party, Arisen, and pawns.
- Turn off your lantern. As its name might suggest, Glimmercoal glows, in this case, a bright, pulsing green. However, as a glow-in-the-dark substance, going near it with your lantern makes the glow dissipate, discerning what material is Glimmercoal and what is useless Glymercole. The light Glimmercoal illuminates the dark cavern from dozens of feet away, making it easy to spot from almost anywhere.
- Check every nook and cranny in Digger’s Ruins. You’ll need to look through every inch and on every floor of the mine to find all the Glimercoal inside. Be sure to double-check that there isn’t a second vein of the stuff nestled near the one you picked up. I found that Glimmercoal likes to come in groups of two alongside some Glymercole.
Dulled Steel, Cold Forge Step 3: Return to Sara
Once you’ve collected all the Glimmercoal you want, return to Bakbattahl and see Sara. Turn the stuff in, and she’ll try to get Bokkr back in the smithing saddle. Sadly, it doesn’t work, and he won’t budge on his retirement. While disappointed, at this point the only person nearby who could conceivably repair the Regalia Sword is Sara herself. Speak to her and accept her offer to try and fix it.
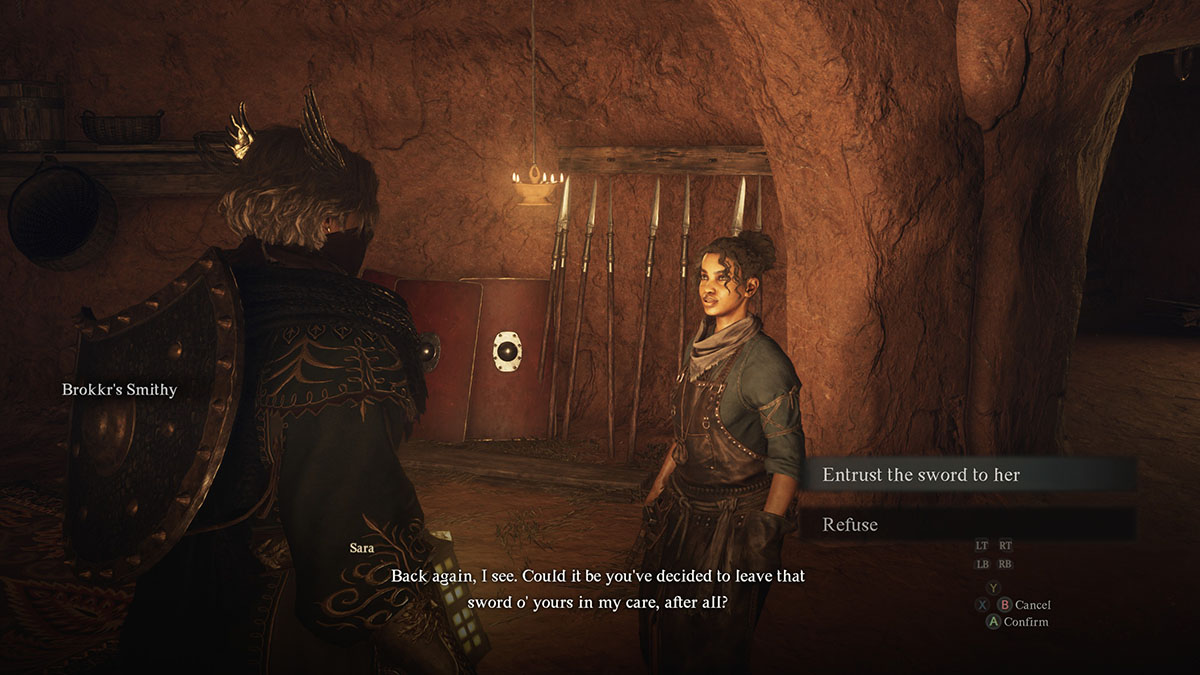
If the only dialogue option you have when Sara offers to repair the Regalia Sword is “Refuse,” make sure the Sword is in your main Arisen character’s inventory. Whether it’s a bug or a weird feature, your Arisen needs to have the item in their inventory. Sara cannot accept the sword from storage, and keeping the blade on your player character avoids any weird inventory interactions from your pawn. When you’re ready, talk to Sara again and select “Entrust the sword to her,” then provide it in the Deliver screen.
Dulled Steel, Cold Forge Step 4: Wait for Sara to Be Ready
Once Sara has the Regalia Sword in hand, you’ve technically completed Dulled Steel, Cold Forge. However, a second, much tougher quest follows it: Steeled Resolve, Blazing Forge. Before you can start that quest, you’ll need to wait for Sara to finish examining the sword you gave her.
Here’s the weird thing, though. In my game, I finished Dulled Steel, Cold Forge, got the wait step, then left the shop and immediately got the notification to come back. I’m not sure what the timeframe trigger is for the first quest. Maybe I got lucky.
In any event, if you aren’t instantly summoned back to Sara for the next steps, do some adventuring or sleep for several days at the inn or your dwelling and then return to her again. If it’s time to continue, you’ll know immediately.
That’s about everything you need to know about completing Dulled Steel, Cold Forge in Dragon’s Dogma 2. It’s a fairly straightforward, if time-consuming, quest. The next part of the quest chain is a doozy, but we’ll get to that in due time. For now, if you want more Dragon’s Dogma 2 content, check out our guides hub.






Published: Mar 28, 2024 4:43 PM UTC