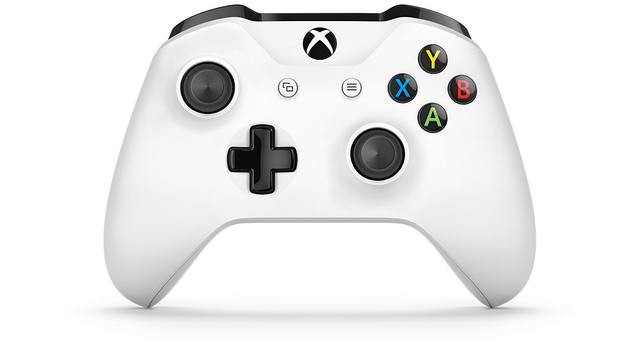
With many people diving into Call Of Duty: Warzone, the idea of playing with a controller becomes more and more enticing. It’s actually very easy and simple to do and this step-by-step guide will have you covered for everything you could ever need to know about how to connect an Xbox One controller to your PC.
Not only is a controller suitable for Call of Duty: Warzone, but it can be used for a host of Steam, Origin, Epic Store, and other applicable games.
If you have a wired Xbox One or Xbox 360 controller, all you have to do is plug it into one of your rig’s USB ports, and you should be good to go. For that reason, we’re going to focus on wireless and Bluetooth.
Here is what you’ll need to get started:
- An Xbox One wireless controller
- A Micro-USB cable
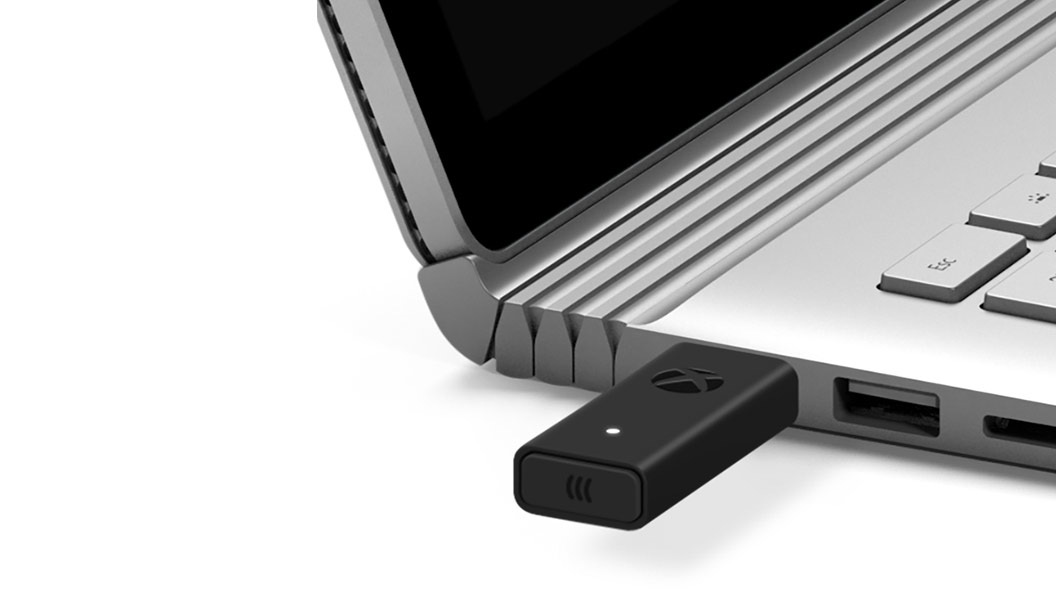
- An Xbox Wireless Adapter
- For wireless use only if the controller doesn’t support Bluetooth or if you don’t have Bluetooth on your PC
How to Connect an Xbox One Controller to Your PC
1. Connecting the Controller with Micro-USB
Connecting the controller with Micro-USB is a fairly simple process, and you can be well on your way within a couple of seconds. All you need to do is connect the controller to the PC with the Micro-USB cable — it’s as easy as that.
On Windows 10, you’re able to have up to eight controllers supported at once. It’s also worth noting that on Windows 7/Windows 8, you are only able to connect up to four controllers, with no headset support.
2. Connecting the Controller via Bluetooth
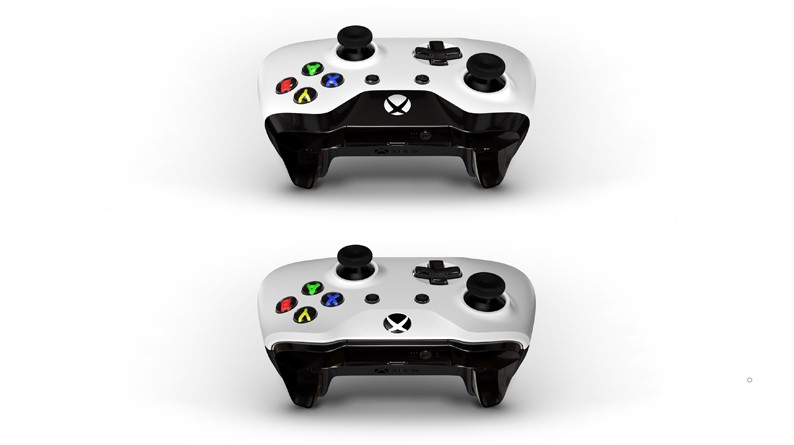
Some of the Xbox One controllers already have the capability to connect wirelessly as they contain built-in Bluetooth. It’s easy to identify which controller does from a quick observation.
Is the part of the controller surrounding the Xbox symbol made of plastic or blended in with the rest of the controller? If the plastic wraps around the Xbox symbol, then you have a Bluetooth controller.
Image credit: Microsoft
If the controller is Bluetooth enabled, then:
- Go to “Settings” on your PC
- Click “Devices“
- Go to “Bluetooth Settings“
- Ensure Bluetooth is turned to “On.“
- Power on the controller
- Press the sync button on top of the controller next to the Micro-USB slot
- Click “Add Bluetooth” or “Other device“
- Click “Bluetooth“
Your PC will begin searching for pairable devices until it finds the Xbox One controller. Once it does, click Xbox One wireless controller and then your controller is paired to the PC.
It’s worth noting that with a Bluetooth connection, you need to be running the latest Windows update. It’s also worth noting that the controller won’t support any attachments such as headsets or chat pads.
3. Using a Wireless Adapter
If your controller isn’t Bluetooth enabled, then you’re going to have to follow this method.
First of all, you’re going to need the official Xbox Wireless Adapter, which can be purchased here.
Image credit: Microsoft
In a few easy steps, you will be able to use the controller wirelessly. First, insert the USB dongle into your PC. Then turn on your controller with the guide button (Xbox symbol), and press the sync button, which rests on top of the controller next to the Micro-USB slot.
Once this is done, simply press the sync button on top of the USB dongle and the two should pair, enabling you to use your controller wirelessly. That’s it!
—
The Xbox One controller is much simpler to pair with your PC than the DualShock 4, embracing much more of a plug-in-and-play approach.
Once connected, you’ll be able to use your controller for a variety of games on numerous clients. It’s worth noting that you should check that any game you’re playing is controller compatible before running out to purchase one, as not every game is.
But if it is, it couldn’t be simpler to connect an Xbox One controller to your PC. Be sure to check GameSkinny for other guides of similar nature, and if you’re looking at how to connect a PS4 controller to your computer, we’ve got a guide for that.


Published: May 14, 2020 11:19 am