Until Bethesda releases their mod kit, modding Fallout 4 can be a frustrating mess of following instructions and reading walls of text. Fear not, we’re here to teach you how to install some of the most popular mods out right now.
Before we get started, though, we’ll have to change a few files to get mods working with the game, let’s go over that below.
IMPORTANT: To have these mods work you must make some changes to a few .ini files.
- First, Navigate to your “DocumentsMy GamesFallout4” folder.
- Next open the Fallout4Prefs.ini file.
- Find the section marked [Launcher] and add the following line: bEnableFileSelection=1
Your Fallout4Prefs.ini file should like it does above when done. Save and close.
- Next open the Fallout4.ini file.
- Find the section marked [Archive]
- Find the line “sResourceDataDirsFinal=STRINGS”
- Change it to “sResourceDataDirsFinal=STRINGS, TEXTURES, MUSIC, SOUND, INTERFACE, MESHES, PROGRAMS, MATERIALS, LODSETTINGS, VIS, MISC, SCRIPTS, SHADERSFX”
When that’s done, save and close. Now you’re ready to begin modding Fallout 4!
First things first. You’re going to need this Fallout 4 mod manager. It’s in its early stages, but as I mentioned before, until Bethesda releases their mod kit, this is whats going to make things easier for us.
This mod manager will not work for installing every mod. In this guide we will cover how to install mods with the mod manager, and how to install mods without the mod manager. But first we’ll go over how to use the mod manager.
Setting up the Fallout 4 mod manager
The first thing we’ll have to do, is head on over to the Nexus and download the Mod Manager. The download link will look like this:
After you’ve downloaded the mod manager, extract the contents and place the Fallout 4 Mod Manager folder into your Fallout 4 directory.
When you open the Fallout mod manager you will be greeted with this screen:
When you want to install a mod, click on the install button, highlighted here with a red rectangle. After you click the install button, it will ask you to find the downloaded mod file.
For this demonstration, I will install the mod More Armor Slots (mod info below).
After you have found the download file, a window like this will pop up. If it says “Looking Good!” at the bottom, you’re all clear for a good install.

Click that install button one last time, and there you go, mod installed!
Don’t forget to make sure the boxes on the left side are checked. If you leave them unchecked, they won’t activate when you launch the game!
Five most popular mods to install with the Fallout 4 mod manager
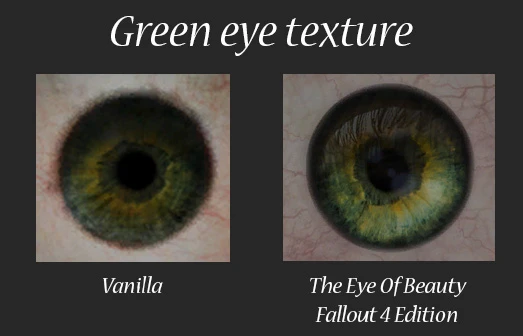
The Eyes of Beauty
This mod changes the eye textures that are available to choose from in the character creation menu.
A simple mod but you can really see the difference in detail.
WET – Water Enhancement Textures
Another simple mod that aims to make the water look more realistic. This mod doesn’t just change the way the water looks, but also the way ripples and waves work.
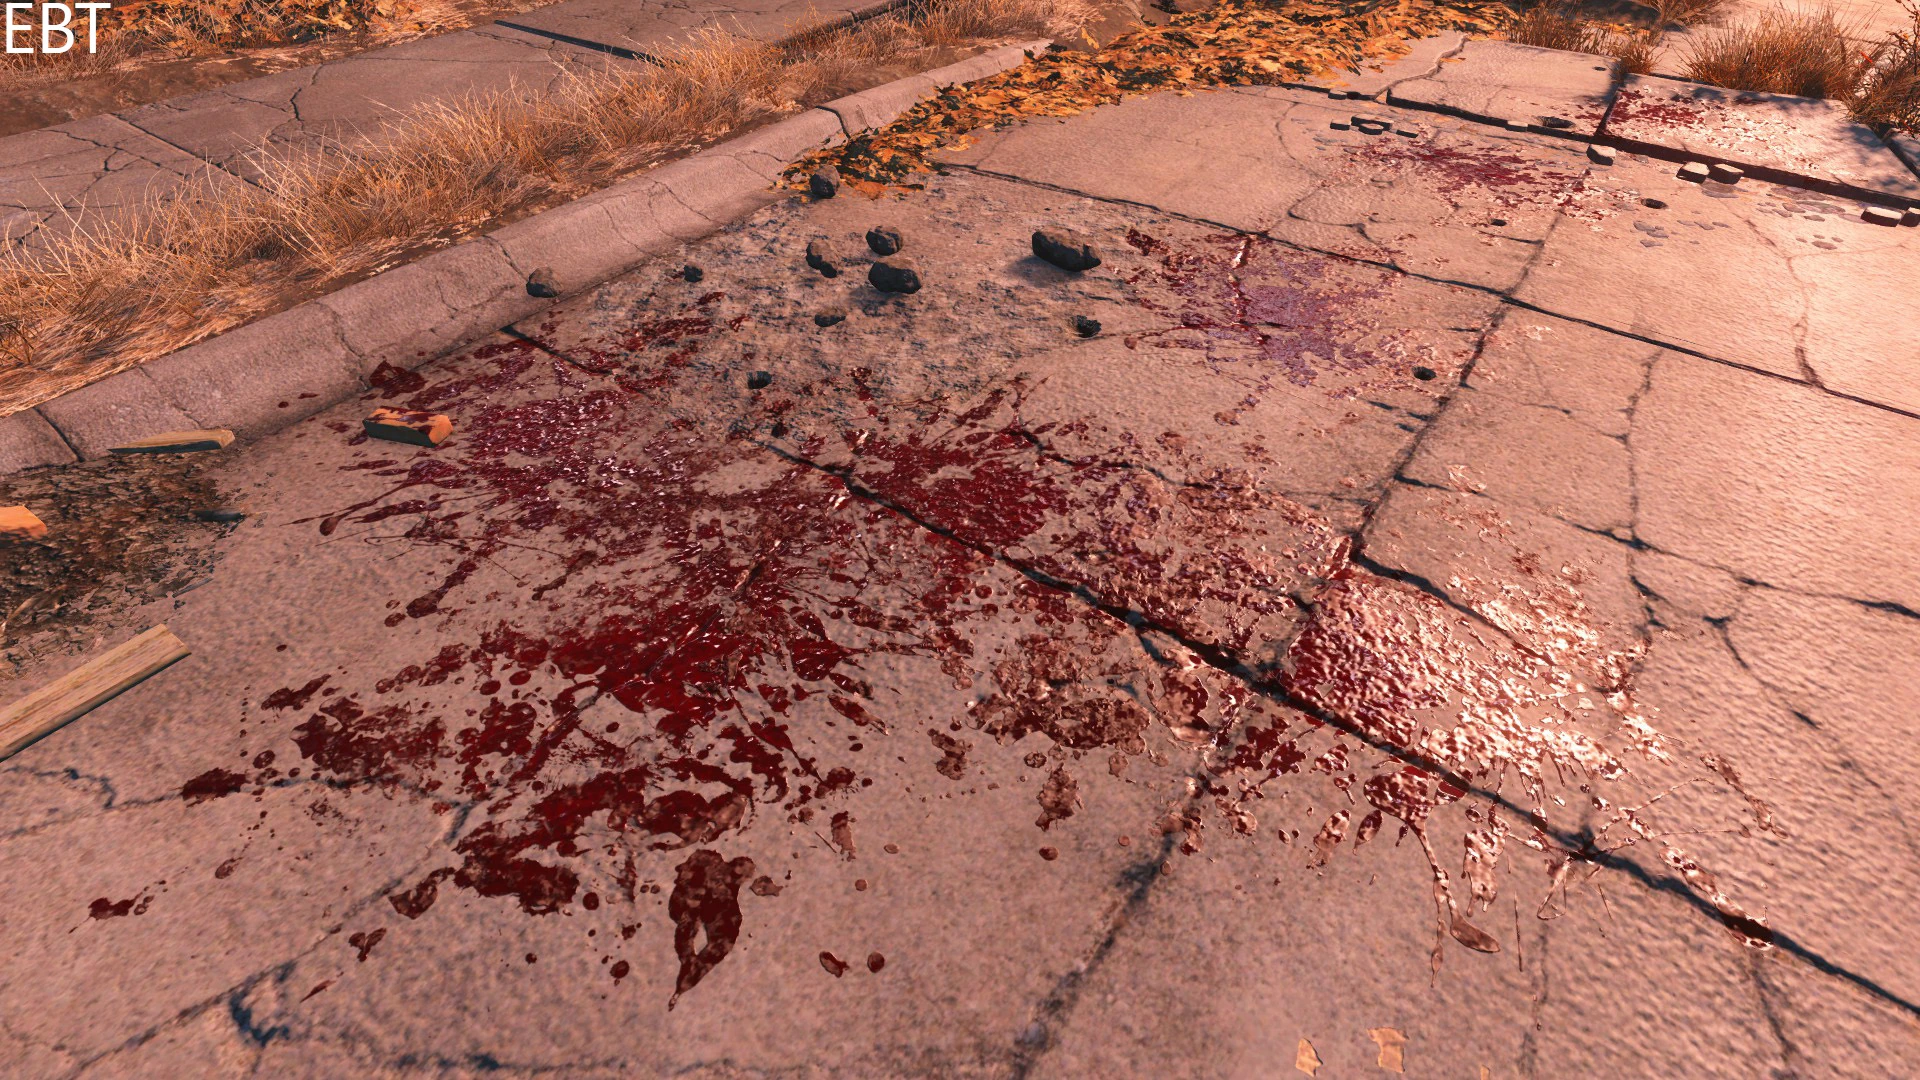
Enhanced Blood Textures
If the bloody mess perk alone doesn’t sate your blood lust, try this enhanced blood textures mod. More blood for the blood god!
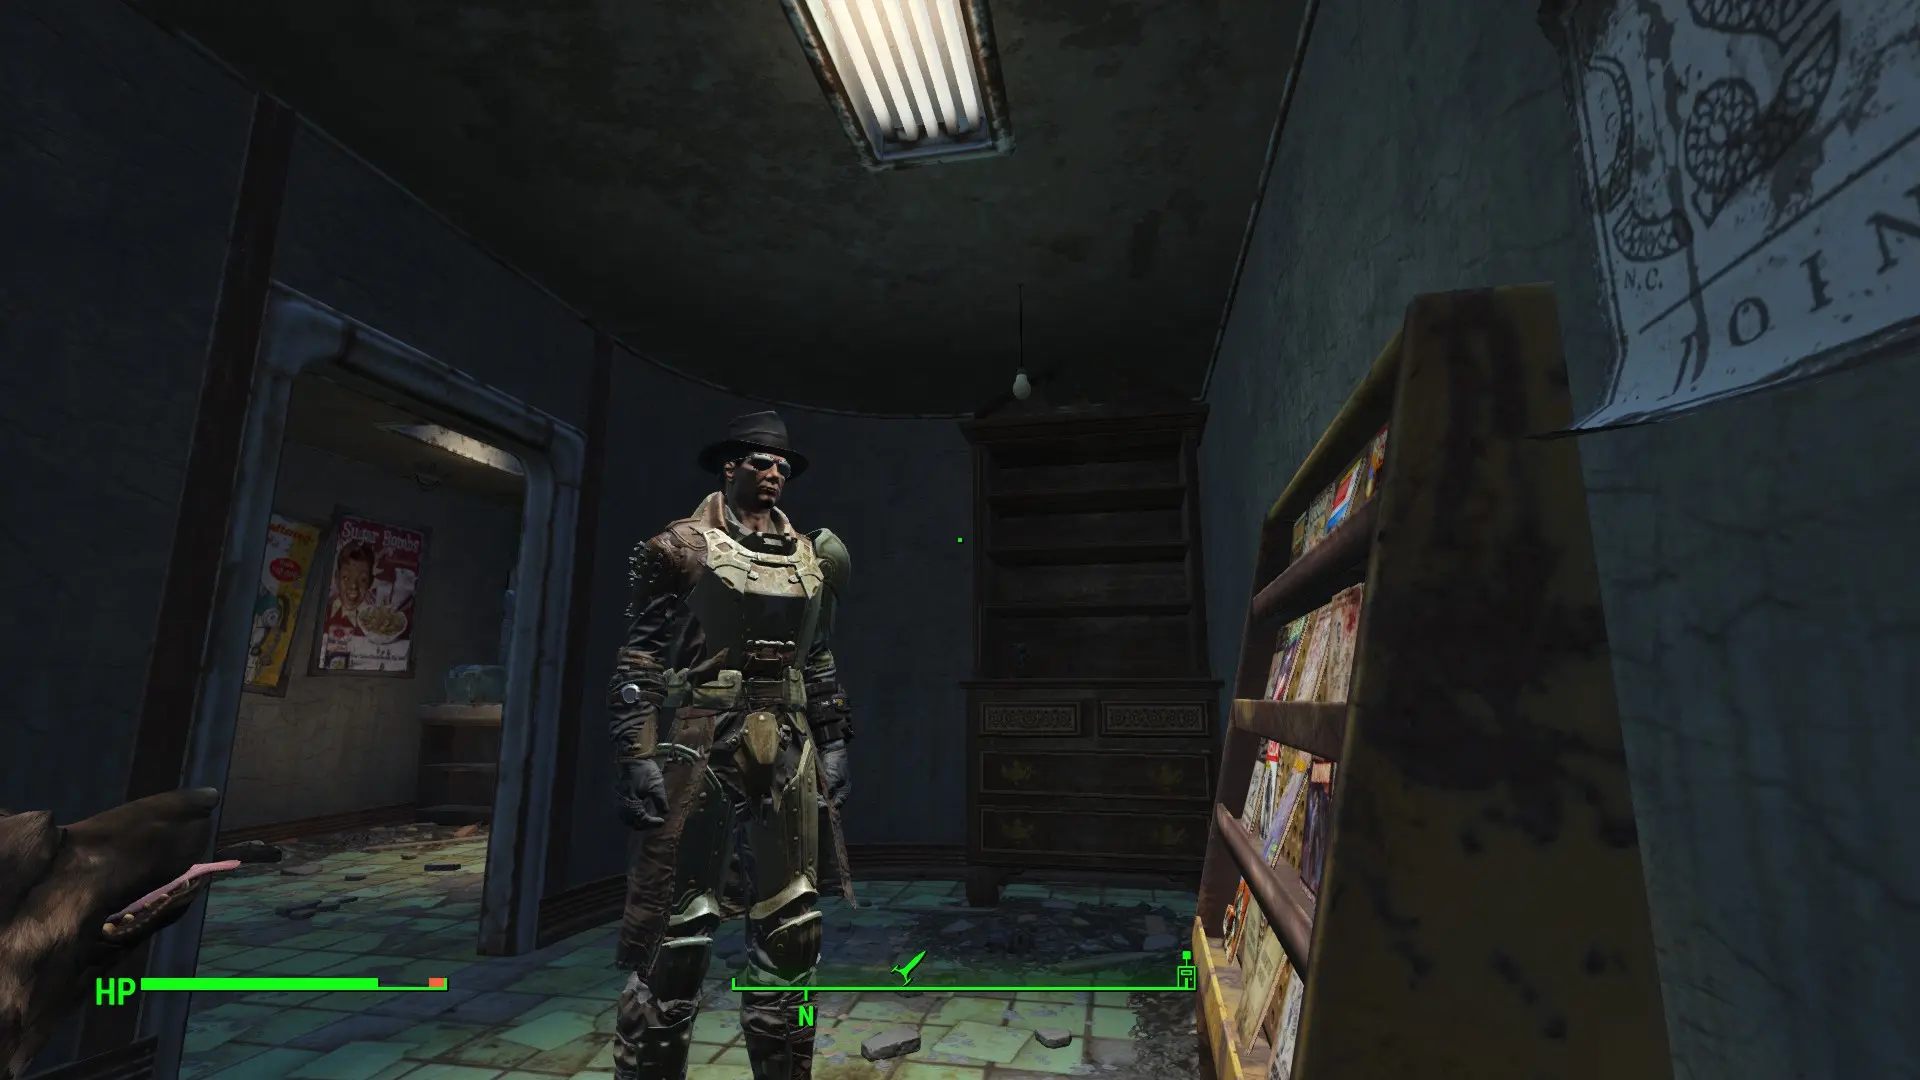
More Armor Slots
One of my personal favorite mods, this one lets you equip armor pieces over top of outfits that wouldn’t let you otherwise. Want to dress up in a tux, but remain covered in combat armor? Now you can!
Craftable Ammo
Fallout 4 features a pretty in depth crafting system but they forgot one thing, ammunition crafting! If you feel like ammo crafting was conspicuously absent from Fallout 4, this is the mod for you!
That’s the easy stuff. Now we can move onto installing mods that don’t work with the mod manager. (Yet.)
Five popular Fallout 4 mods and how to install them without mod manager
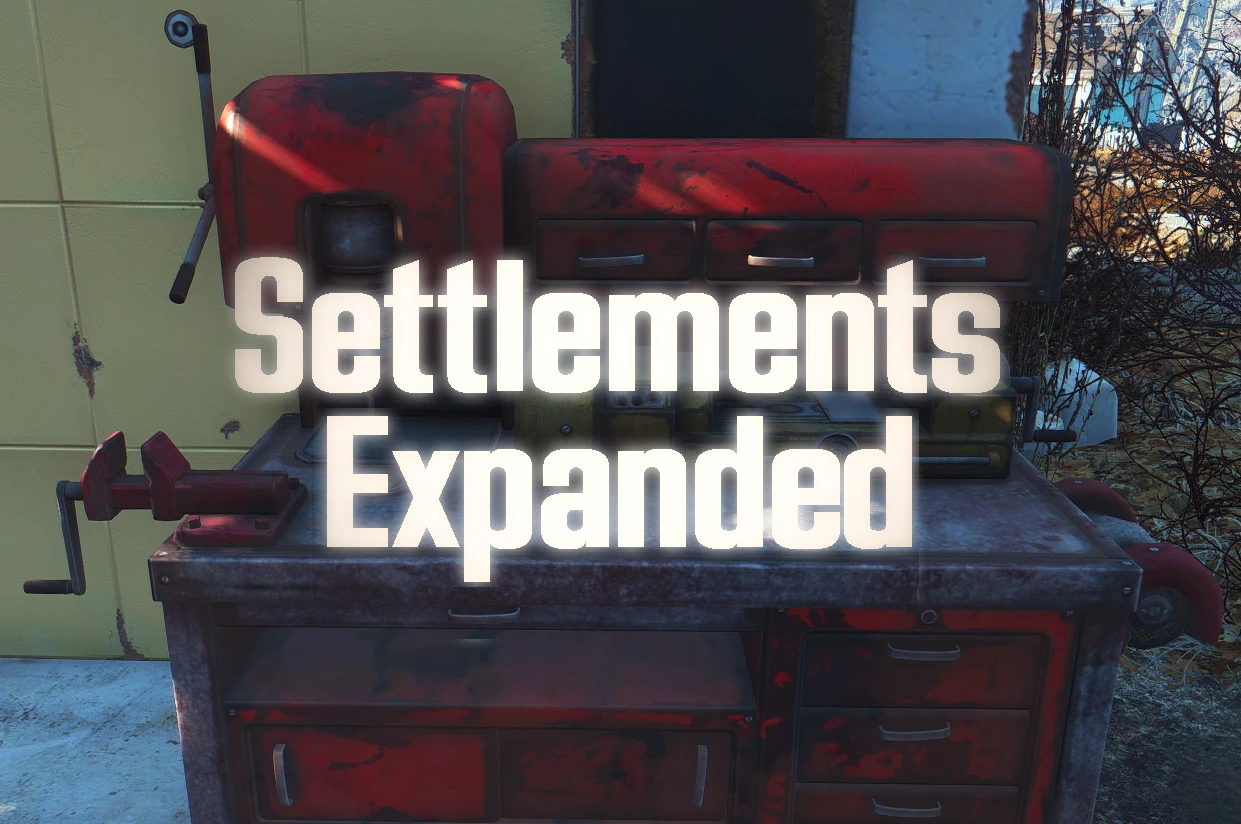
Settlements expanded
That pesky build limit getting in the way of your ultimate base? This mod increases the cap on your built limit, and aims to add more features in the future.
To install settlements expanded, simply download the file, and then extract the contents into the location of your Fallout4.exe. (By default this is C:Program Files (x86)SteamsteamappscommonFallout 4.)
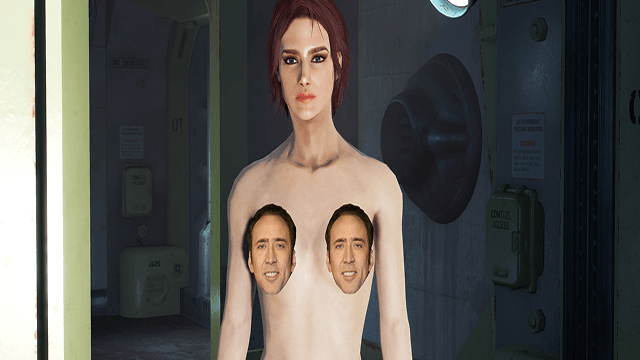
Glorious Female Nude Mod
I don’t know who keeps making these nude mods the most popular, but I guess there’s a big market for them!
To install this mod, first go to “DocumentsMy GamesFallout4” and then open the file “Fallout4.ini” and edit the following line:
Find: sResourceDataDirsFinal=STRINGS
Change it to: sResourceDataDirsFinal=STRINGS, TEXTURES
After you’ve done that, download the mod file and extract it into the Fallout 4 main folder.
Darker Nights
What’s the point of that pip boy light or power armor lamp attachment if it’s never dark anyways? This mod aims to fix that, with three different settings of increased darkness at night.
To install this mod download one of the variants, and then extract it into your Fallout 4 “Data” folder.
Immersive Attire Fix
I don’t get why this ones so popular but made it’s because I’m not much of a baseball fan. If you thought the Boston wasteland was missing that Red Sox flare, this mod might be for you! From baseball caps to baseball briefs, this mod aims to add some Red Sox spirit to your game!
To install this mod, go to your “DocumentsMy GamesFallout 4” folder. Open your Fallout4.ini file and edit the following line:
Find: sResourceDataDirsFinal=STRINGS
Change it to: sResourceDataDirsFinal=STRINGS, TEXTURES
After you’ve done that download the mod file and extract it into your main Fallout 4 folder.
Lowered Weapons
Hey! Watch were you point that thing! This mod makes it so that when your not gunning down raiders and super mutants, your gun is at ease.
To install this mod simply download the mod file and extract it into the “data” folder in the Fallout 4 main directory.
All done! Now that you know how to install Fallout 4 mods with a mod manager and without one, you’ll be more than prepared to mod the wastelands. And once Bethesda releases their G.E.C.K. mod kit, you’ll be one step ahead of everyone else!








Published: Nov 17, 2015 07:38 am