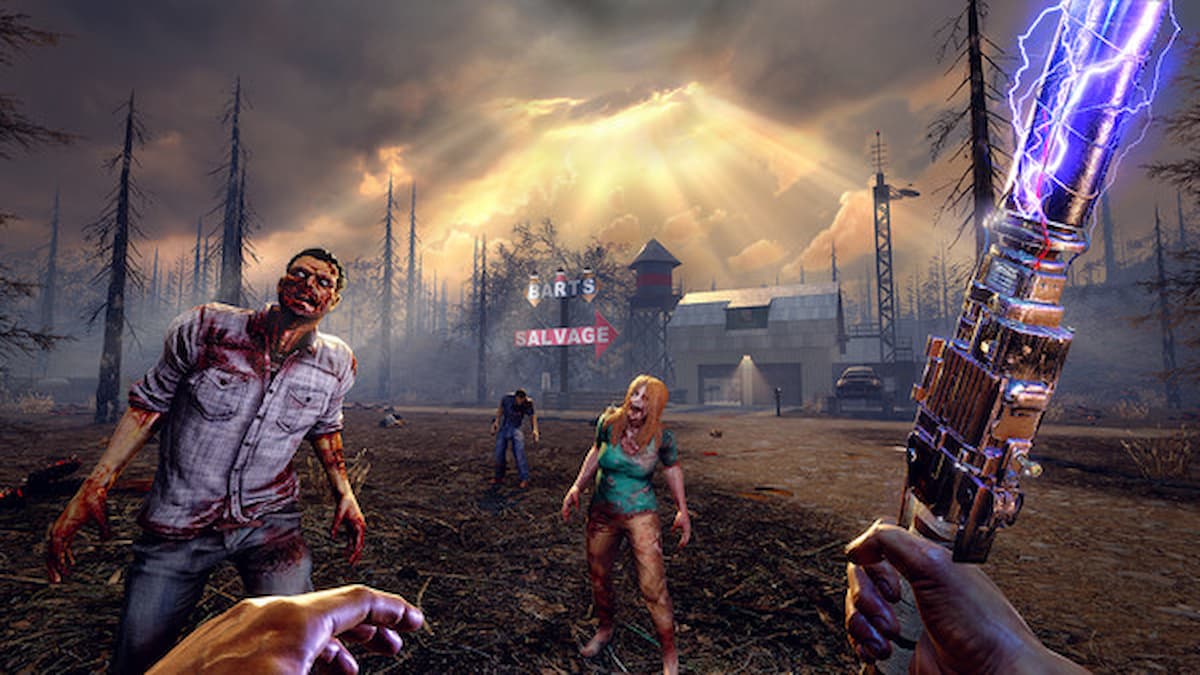
Adding mods in 7 Days to Die may seem like a daunting task at first. Luckily, many player-owned servers support modded games, so here’s how to mod 7 Days to Die.
How to Mod 7 Days to Die

Before you can hop on a modded server, you’ll have to figure out what mods you’re going to need. Most servers have their mods listed on their web pages or in their Discord server. Once you have your mods, you’ll need to navigate to your local files on Steam. You can do this by:
- Right-clicking 7 Days to Die in your Steam library.
- Mouse over “Manage.”
- Select “Browse local files.”
Head to the game’s .exe file, and create a folder called Mods (be sure to capitalize it). Once you’ve got this, extract each mod you want to add to the game into the Mods folder.
Install a 7D2D Mod Launcher or FTP Program
In most games, we would be done. But considering we’re modding entire servers with 7 Days to Die, there are more steps involved. To streamline this process, you can install an extra app like 7D2D Mod Launcher.
If you don’t feel like going that route, you need to install an FTP program of your choice. There are many of these out there, so choose one and install it.
Once that’s done, you need to access the program. Go to your Apex server panel (where you sign in for 7 Days to Die) and select the FTP File Access tab. We’ll need the information from the Port, Username, and FTP Address sections. Copy it all to a Word program or something similar.
Go back to the main page of your FPT program. Take all that information you just copied and slot it into the fields titled Username, Password, and FTP Address. From here, sign in with the profile you use to play 7 Days to Die.
Create a Mods Folder
Just like with our local files, you’ll need to create a folder for mods here as well called Mods. Once it’s created, navigate back to your downloads. Take the zipped version of each mod and copy and paste them into this file. Don’t unzip them, as the program will take care of that itself.
An uploading process will begin on the upper part of the app page. Once it’s done, navigate back to the FTP File Access section.
Using your password for the server, log in and access the Mods folder. You’ll see a box next to all the mods you installed, and you’ll need to click each box. Once you’ve selected all your mods, go to the upper right and click unzip. Then hit submit.
This will successfully install all of your mods onto the server, making them accessible in any 7 Days to Die server with mod support. Restart the server, join it again, and test out your mods.
How to Fix Conflicting Mods in 7 Days to Die
Just like any other game, mod conflicts will occur on occasion. You’ll have to experiment a bit to figure out which play nice with each other. There are a variety of modding tools available to help you streamline this process, however.
Another thing to keep in mind is mod updates. Games like 7 Days to Die are constantly receiving updates, and mod authors generally have to update their mods in order to keep them working with each new version that comes up. Always check the mod pages every now and then to see if the mods you’ve installed need an update.
Modding this game is a labor of love, so hopefully, this guide helped you figure out how to mod 7 Days to Die quickly and efficiently. For more tips and tricks, check out our 7 Days to Die guides hub.


Published: Oct 21, 2023 03:25 pm