
The rune gate puzzles in Senua’s Saga: Hellblade 2 will seem like a piece of cake once you begin your search for the Hiddenfolk. You’ll need to complete a series of tests to prove yourself. The first trio of tests involve some stone balls and pedestals. Here’s how to complete all of them.
Senua’s Saga: Hellblade 2 – All Hiddenfolk Ball Puzzles Guide
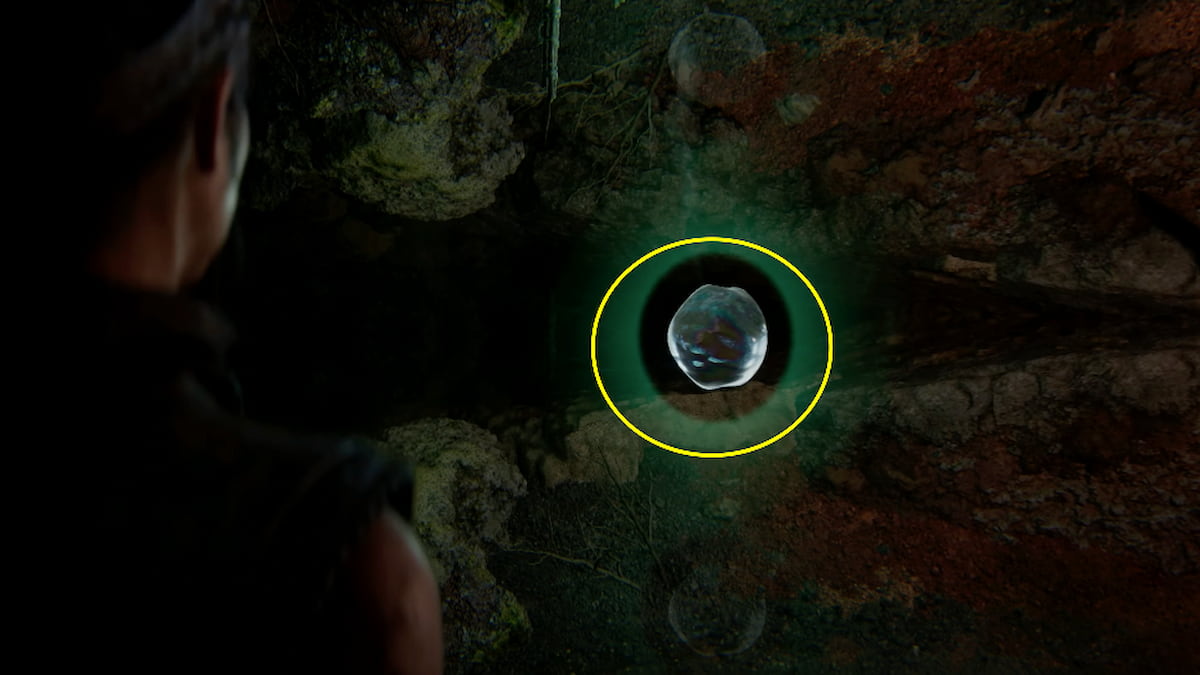
There are three ball puzzles in total. They will get progressively more challenging as you get into them, but they all have the same basic goal. You need to find the stone balls and place them on the center pedestal. Once you place one ball, water-like drops will appear, allowing you to use your Focus ability and open up a new path to the next ball. With those ideas in mind, here are the steps to completing all of them.
Hiddenfolk Ball Puzzle #1 Solution
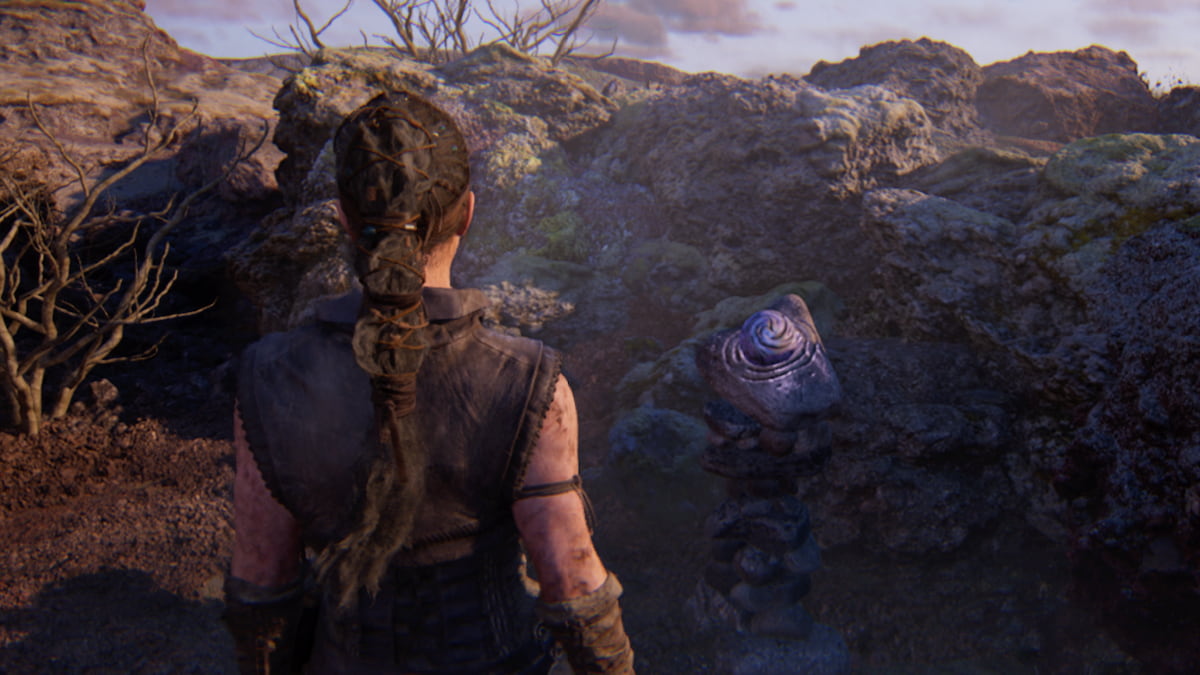
You’ll begin the first test in Chapter 3 after traversing down from the hilltop camp. You’ll come across a pedestal facing a barrier made of spiraling tree branches. Being your first test, you’ll only need to find two balls for this puzzle.
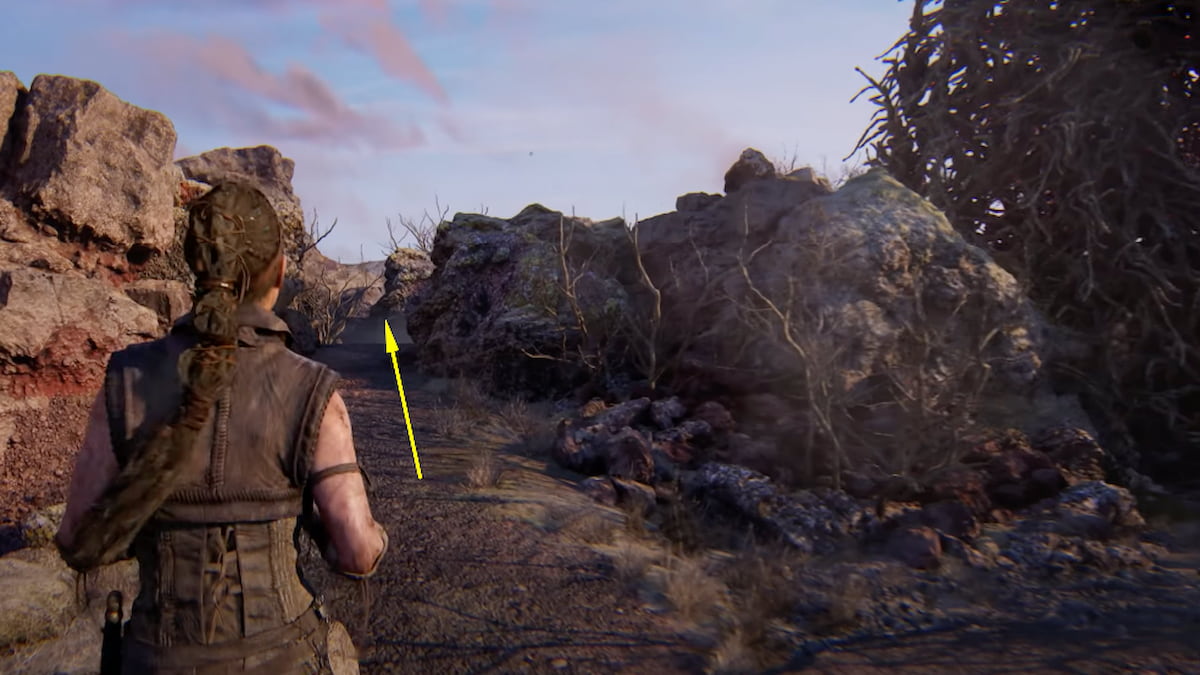


- Ball 1: To find the first ball, head down the pathway directly to the left of the tree spiral. In this little nook, you’ll spot the first ball on another pedestal. Press A/X/F to pick up the ball. Once you pick it up, the environment will change. Head down the slope to bring it to the center pedestal, using the same control to place it inside.
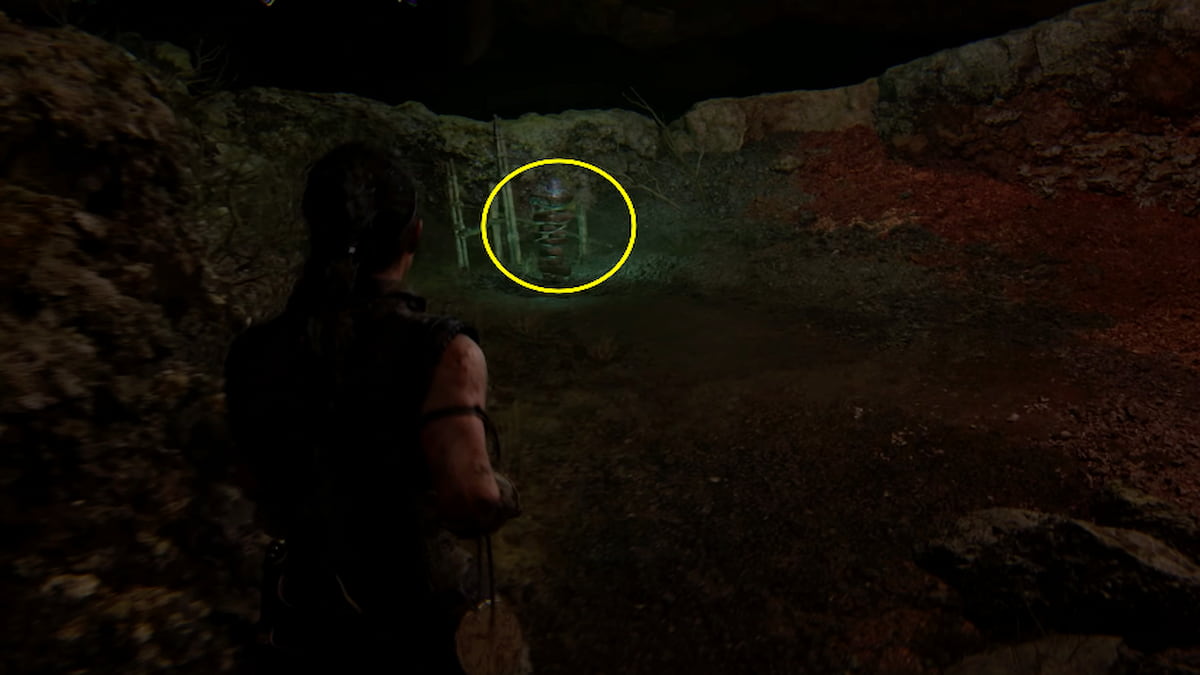
- Ball 2: With the first ball placed in the center pedestal, another pedestal will rise up, and water drops will appear to the right of the tree spiral. Approach the water drops and hold Focus on it to activate it. This will open up another path in the rocks.
- Continue on the new path, climbing up the ledge to the right, and you’ll find the second ball. You can turn around and drop off the ledge to the left to get back to the center pedestal. Place the ball in the pedestal and you’ll return to the initial location and continue onward.
Hiddenfolk Ball Puzzle #2 Solution
You’ll come to the second ball puzzle not long after. The center pedestal will be in the middle of the area in a puddle of water. This time, you’ll have to find three different stone balls scattered a bit further apart.


- Ball 1: To get the first ball, turn around from the center pedestal and walk up the slope to the pedestal on the small hill behind it. Like before, you’ll enter a new environment once you grab the first ball. Walk back down the hill the same way you got up, and place the ball in the center pedestal.
- Ball 2: Once you place the ball, two different water drops will pop up: one directly in front of you beside the cliff and another behind you near the wooden bridge. Focus on the one beside the bridge to lower it from the ceiling and create a path across.
- At the end of the bridge, turn right, and there will be another water drop to focus on. When you do that, the second ball will appear below.
- Head back across the bridge and toward the center pedestal and use the same bridge water drop again. This lifts the bridge back up and allows you to cross underneath to the second ball.
- Ball 3: To get the final ball, head to the other water drop directly in front of the center pedestal and Focus it. This will create a slope and a ledge to get up the hill. At the top, Focus on another water drop to make the last ball appear. Grab the ball, and use the water drop again to recreate your path back down the hill. Now, you can place the ball in the center pedestal with the others and move on to the last test.
Hiddenfolk Ball Puzzle #3 Solution
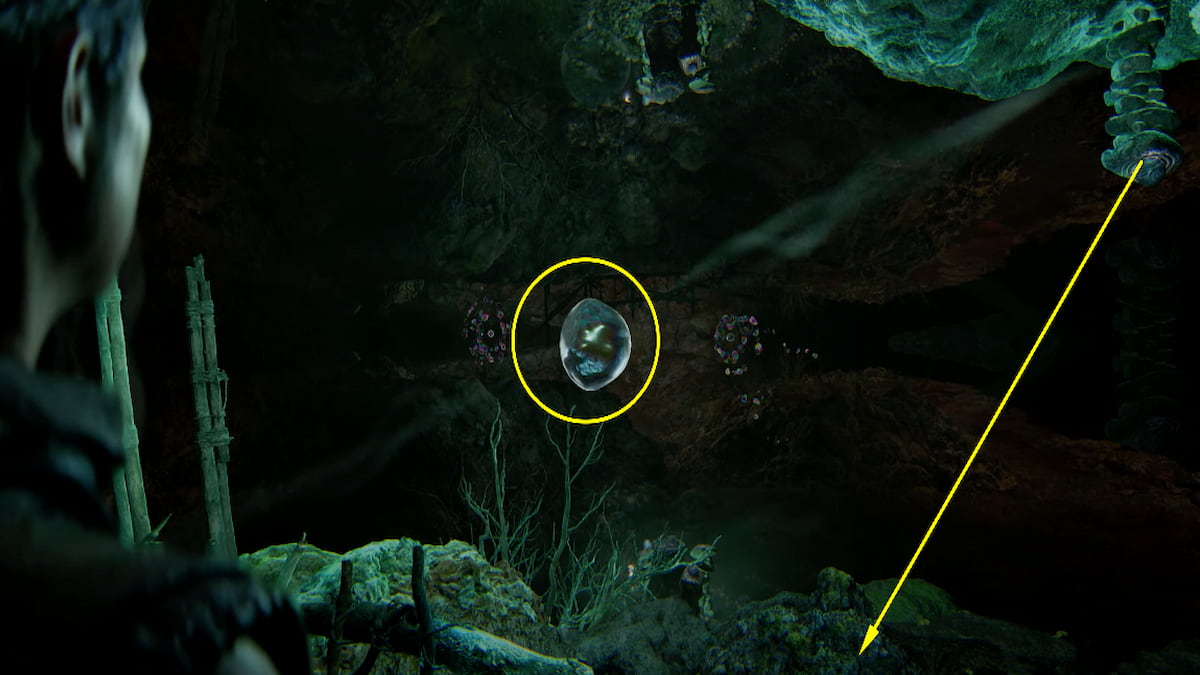
The last ball test you’ll come to right before locating the Hiddenfolk cave. This is by far the most difficult of the bunch and requires some extra steps to complete. This time, the center pedestal is beside a lake. Just like the last test, you’ll need to find three balls again.


- Ball 1: The first ball can be found by turning around from the center pedestal and heading up the hill toward the back left side. Like always, the environment will change. Walk back down the slope and place the ball in the center pedestal to release some water drops.
- Ball 2: First, Focus on the water drop directly in front and to the right of the center pedestal. It will lower the platform from the ceiling with the second ball on it. Now, you can walk up the slope and grab the ball to return to the pedestal.
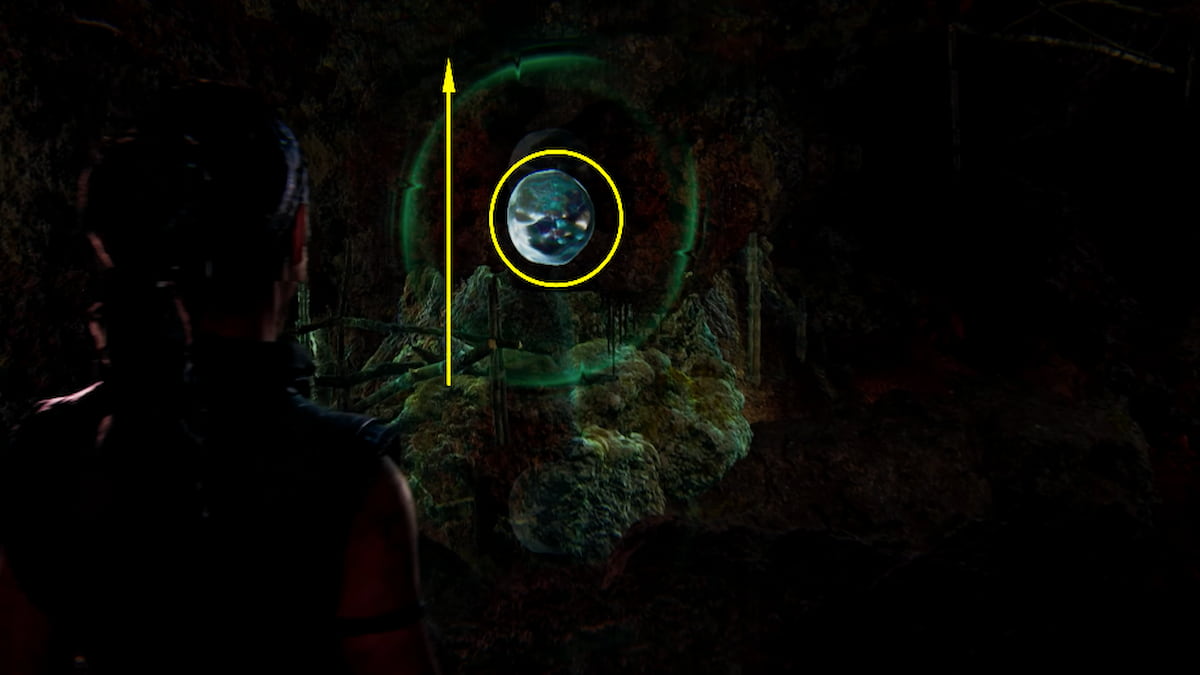
- Ball 3: The last ball is where it gets trickier. You’ll need to walk all the way to the far side of the cave and begin creating a path around to the final ball. Walk up the shorter slope and use the water drop facing the bridge-like path against the wall. This will raise the bridge to the ceiling and lower the cliff to your left.
- Once you have this in place, you can walk back down the hill you’re on (just slightly) and turn to the right, where there is a ledge to climb up.
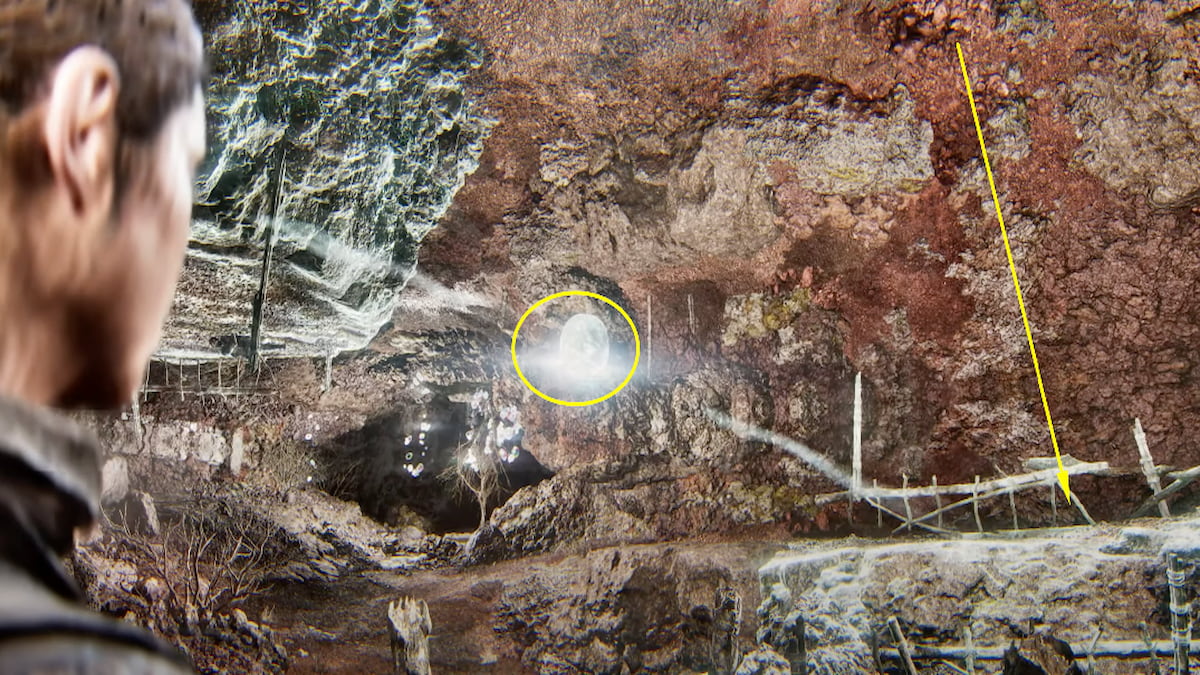
- Up here, you can focus on another water drop to raise up another piece of the cliff against the wall. While you’re doing this you’ll be attacked by Draugar which you’ll need to defeat before you can continue.
- After defeating them, head back down the lower slope and use the first water drop again to lower the bridge back down. Now, you’ll be able to climb up to the bridge and cross over to the ball pedestal. You can grab the last ball (also, if you turn around, collect another Lorestangir totem) and then bring it to the center pedestal to finish off the test.
Once you complete all three of these ball tests, you will be able to enter the Hiddenfolk cave. Be ready for plenty more puzzles and dangers within. Senua still has a lot to prove.
Want more helpful tips like this? Check out GameSkinny’s Senua’s Saga: Hellblade 2 hub.


Published: May 22, 2024 01:20 pm