Dungeons of Hinterberg feature many fun and challenging puzzles, but one, in particular, is stumping fellow slayers: the game’s most challenging and frustrating puzzle is in the Glacial Galaxy dungeon. Here’s how to solve the Glacial Galaxy laser grid puzzle in Dungeons of Hinterberg.
Glacier Galaxy Laser Grid Puzzle Solution
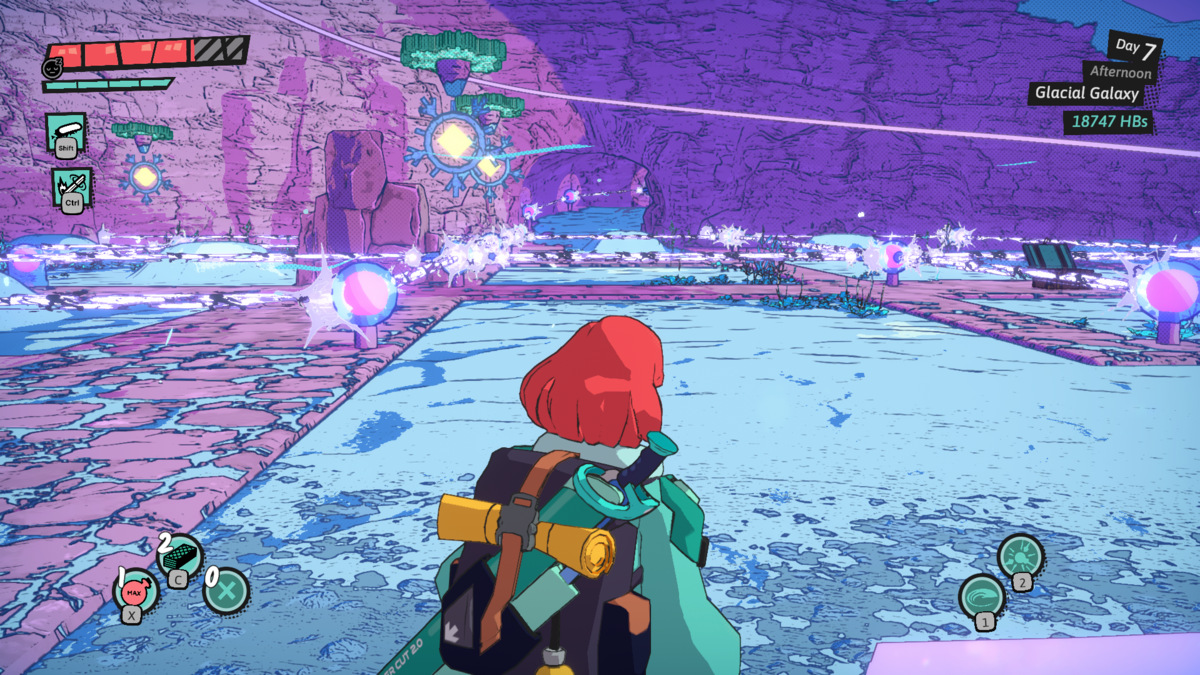
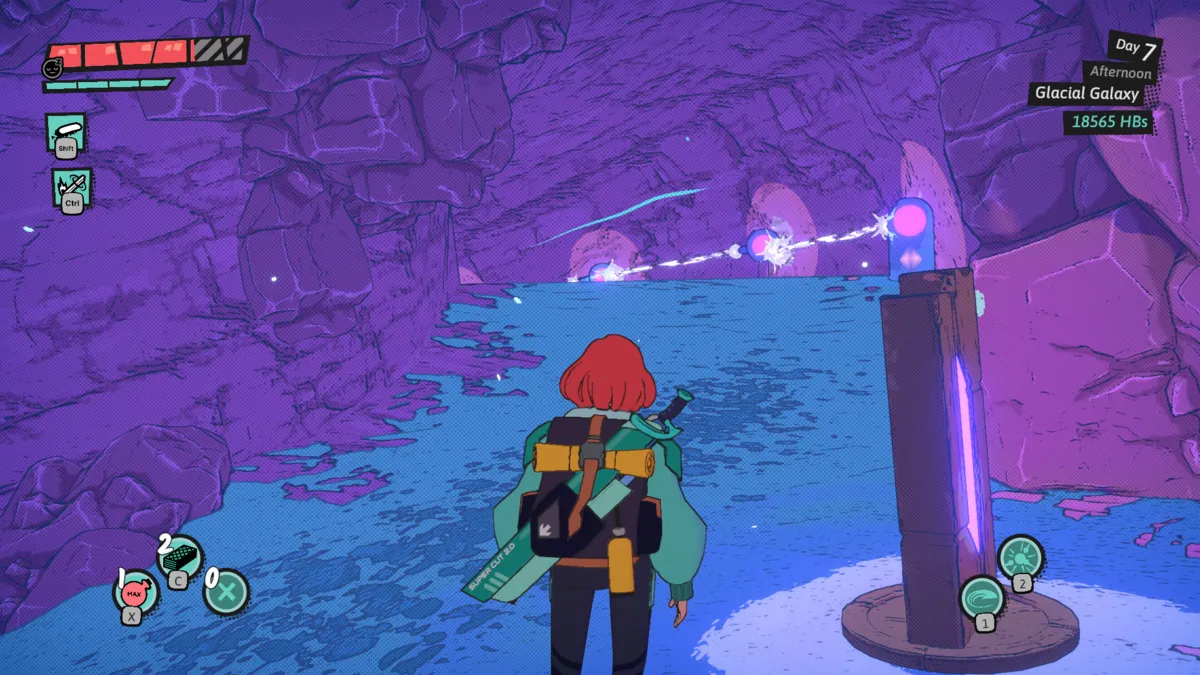
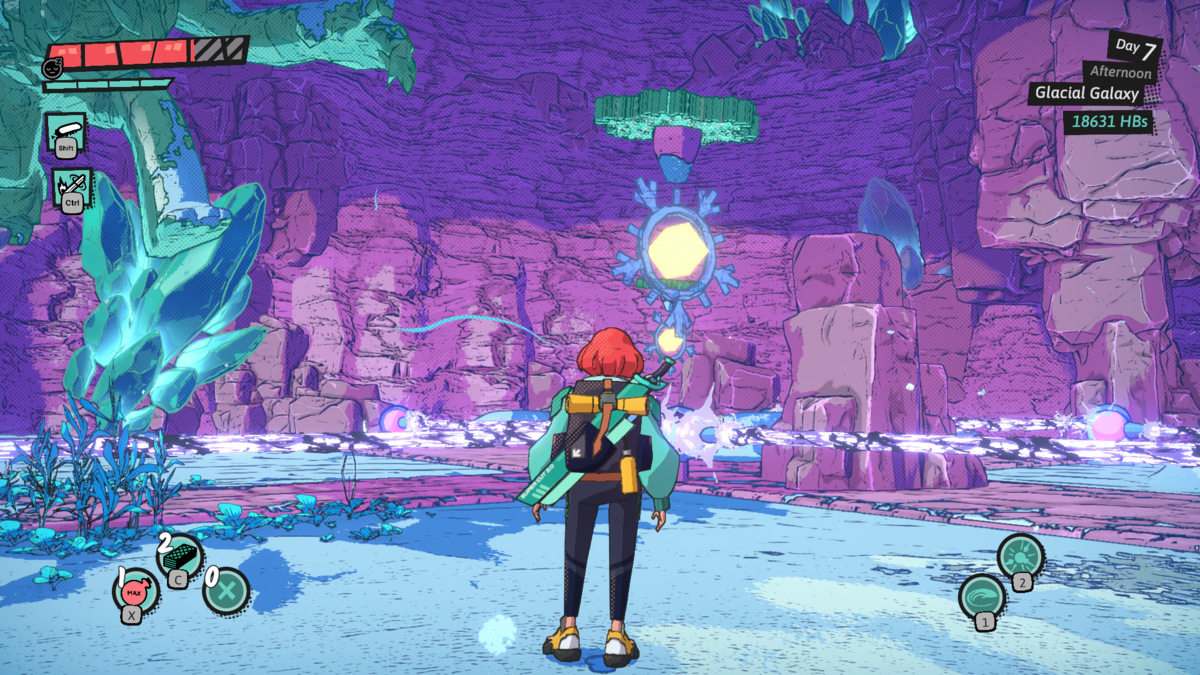
After activating the Waystone, you’ll want to go down the tunnel where the laser grid appears. Then, stand on the snow mound and shoot your laser at the first target. Doing so will lower the snow-covered ground below the laser grid.
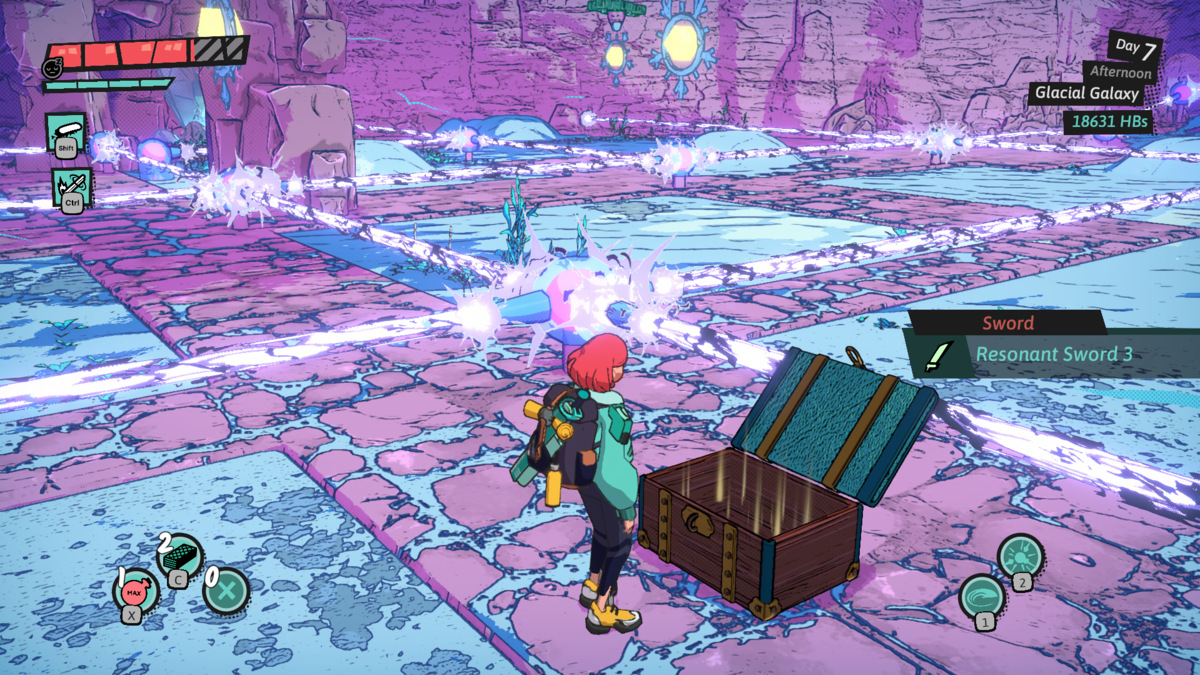
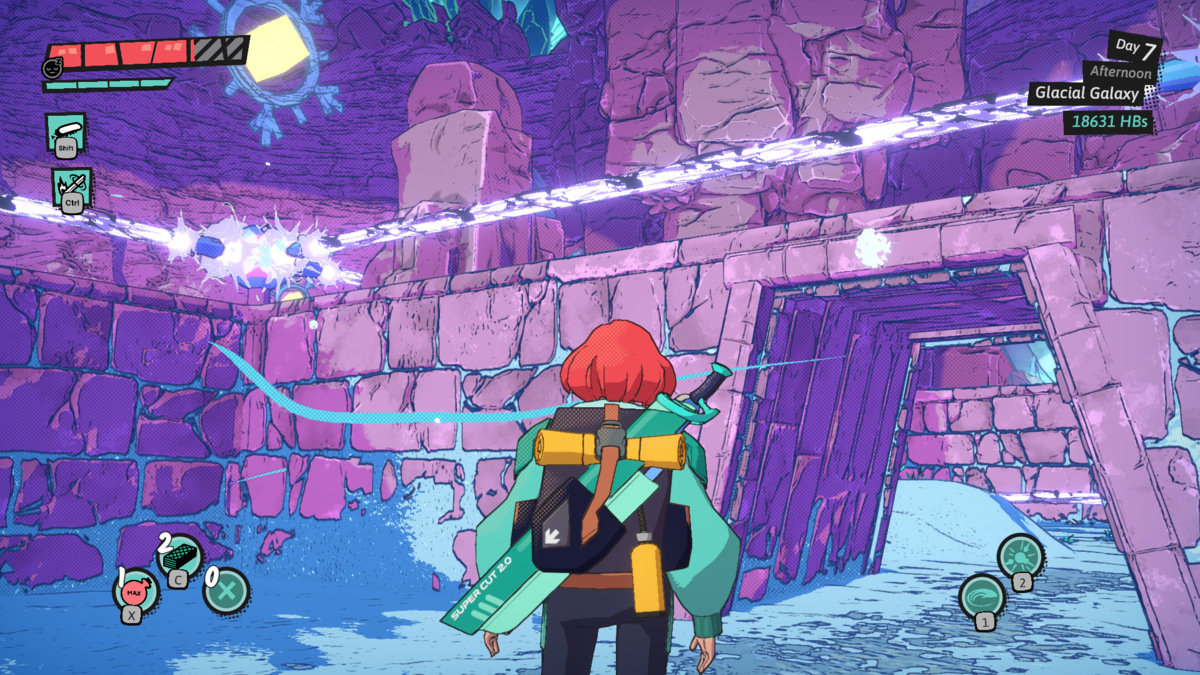
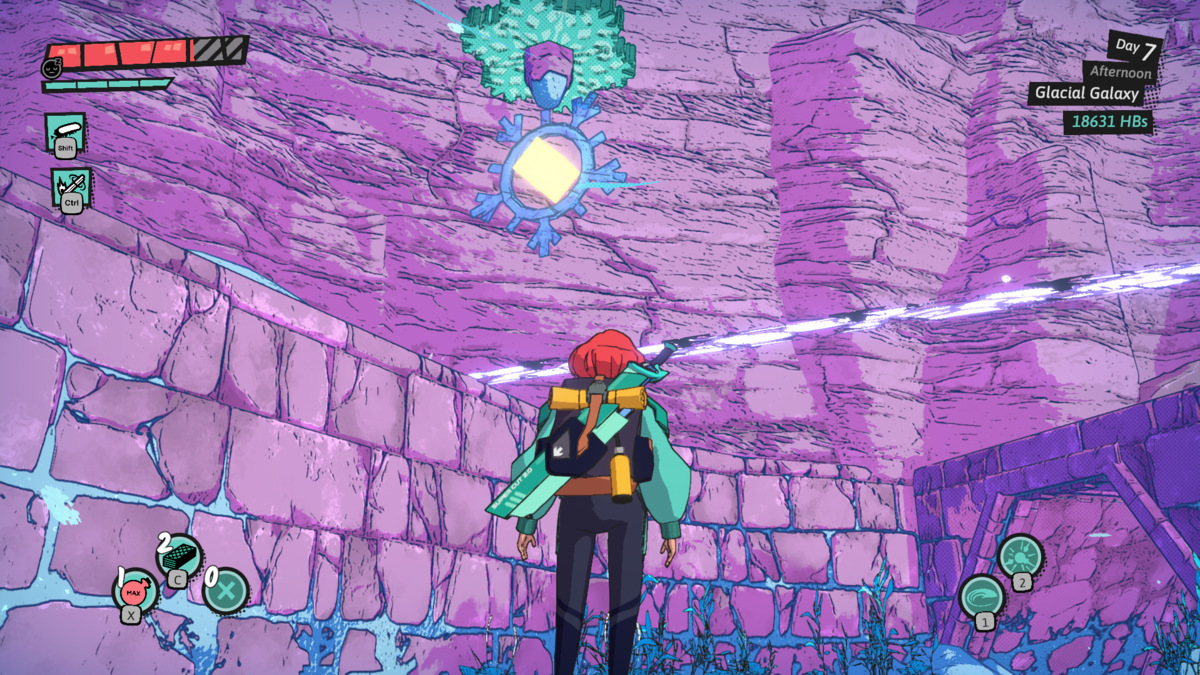
After that, follow the path until you reach the other dead end. Look up and shoot the visible target. Shooting the target will raise the ground to the section where the chest is. After opening the chest, shoot the same target to lower the ground again.
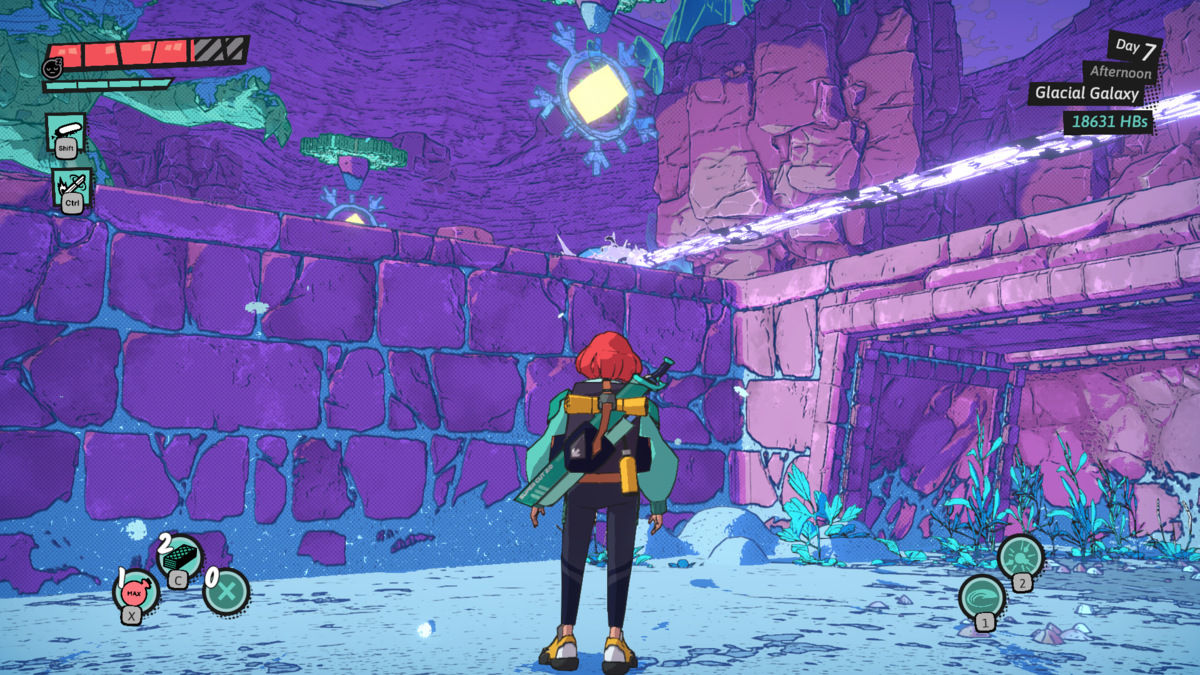
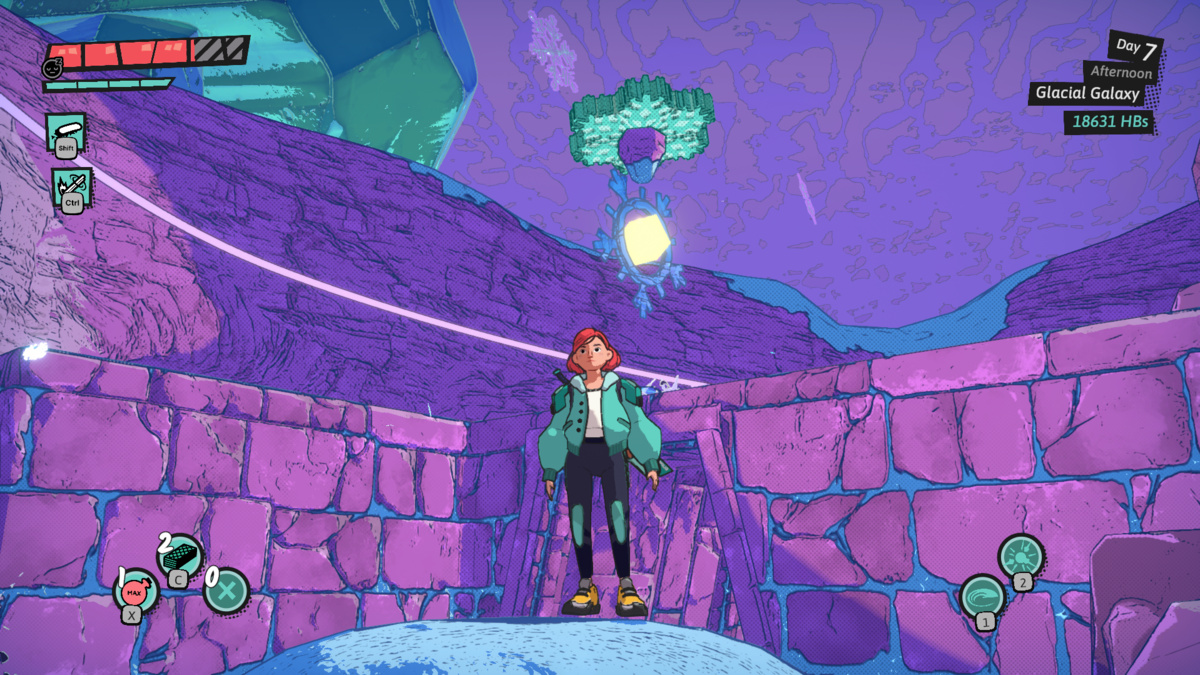
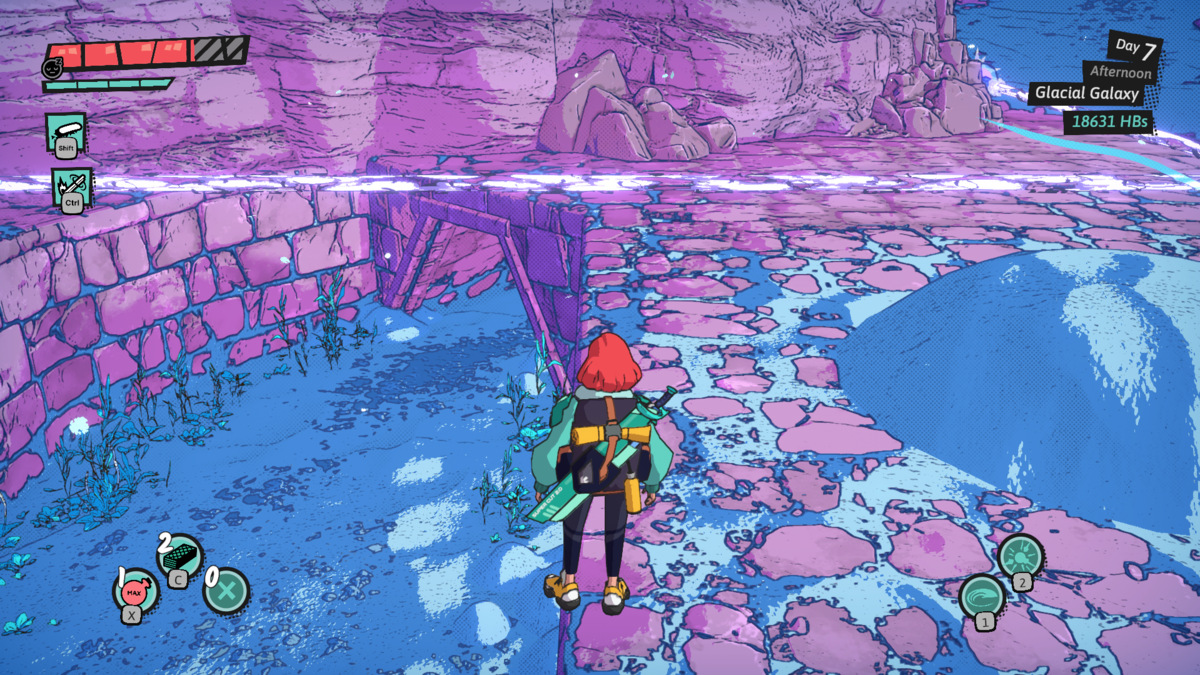
Next, head back to the grid with the nook, as shown in the picture above. You want to stay in this grid, not the original snow mound you used. Shoot the target to raise the ground.
After moving forward to the next square of snow, shoot the target to lower the ground. This action reveals a tunnel to the next grid, marking your progression. Stand on the next snow mound and shoot the target to raise the ground again, further advancing in the puzzle.
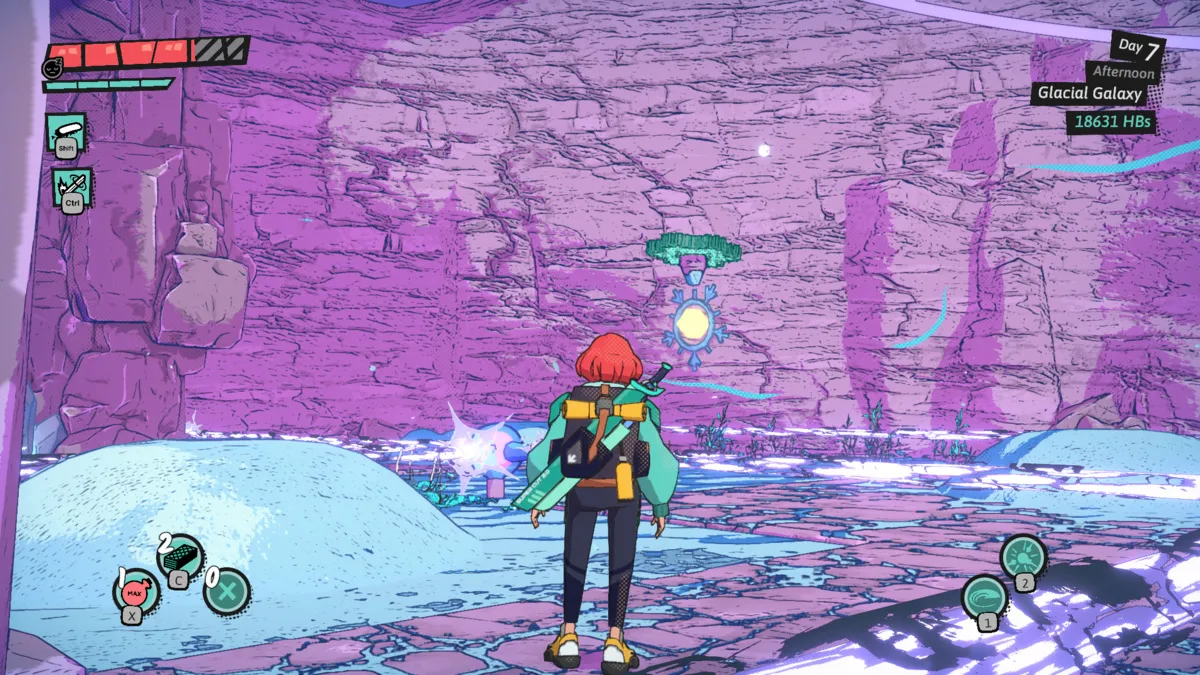
Next, stand on the pink bricks and shoot the target to lower the ground. In addition to the ground, a portion of the laser grid will be lowered so you can proceed forward. Head straight and drop down to the other side, where you will see a new alcove that contains the chest with the Glacial Galaxy Commemorative Coin. After collecting the coin, leave the alcove and cross into the following grid. Then, shoot the target above you to raise the ground.
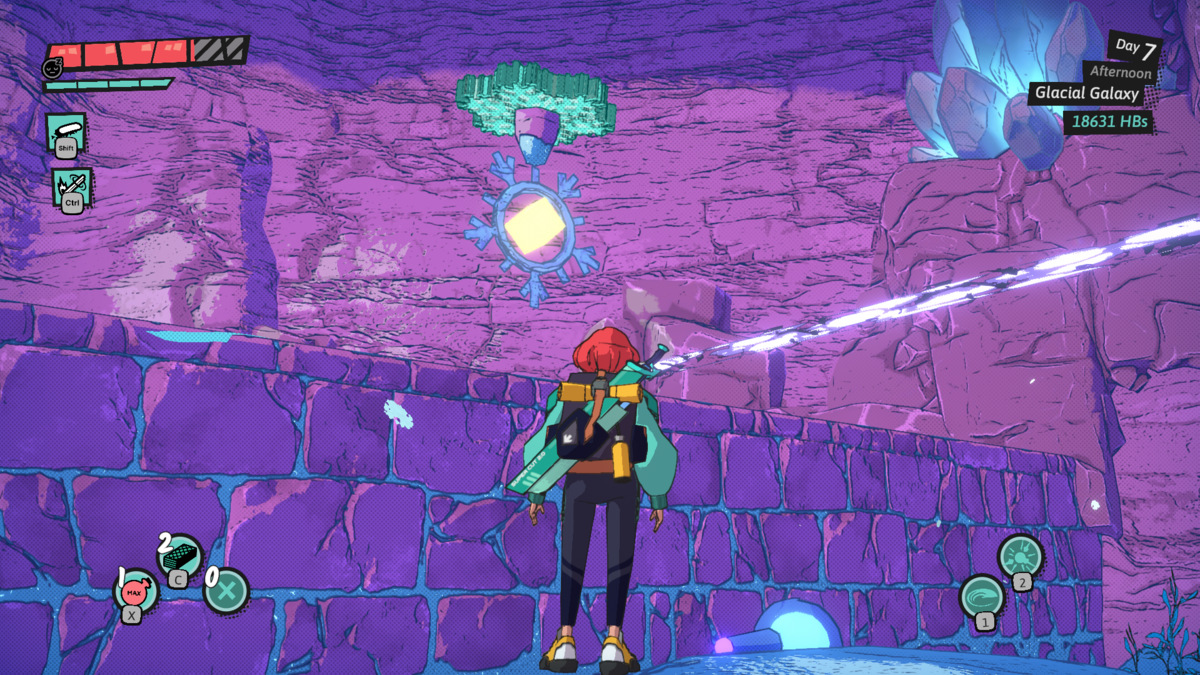
Stand on the snow mound closest to the pink and shoot the same target again. Then, turn around and proceed straight until you must drop down. Then, stand on the snow mound and shoot the target to your left to raise the ground. You’re getting closer to the end of the puzzle; keep going!
Head to the pink stone. You should see items on the ground to your left. Stand there and shoot the target across the way to open this path. After collecting the items, turn around and look at the ground behind you. You should see another chest in an alcove. Drop down and open the chest. Then, hit the same target to raise the ground. You’ll now have access to the hoverboard track and have solved the laser grid puzzle in Dungeons of Hinterberg!
Now that you know how to solve the Glacier Galaxy laser grid puzzle in Dungeons of Hinterberg, you can collect the commemorative coin and beat the dungeon. Check out our Dungeons of Hinterberg hub for more guides like How to Remove Goo From Weapons and Armor so you fully utilize the powerful gear you loot!






Published: Jul 21, 2024 01:58 pm