Jelly Tunnels is one of the easier dungeons, and it becomes available on Day 3 in Dungeons of Hinterberg. However, you don’t need to enter it immediately, and you can use the day to relax and increase your health instead. When you’re ready, here’s a Jelly Tunnels Walkthrough in Dungeons of Hinterberg.
Dungeons of Hinterberg Jelly Tunnels Walkthrough
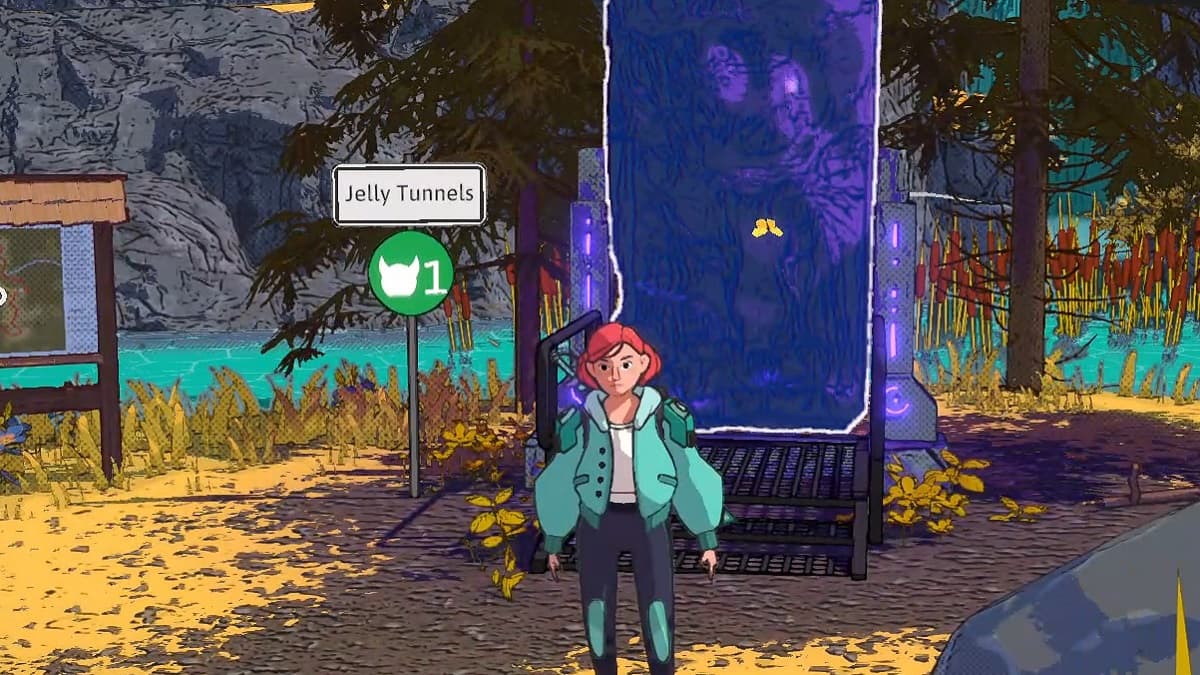
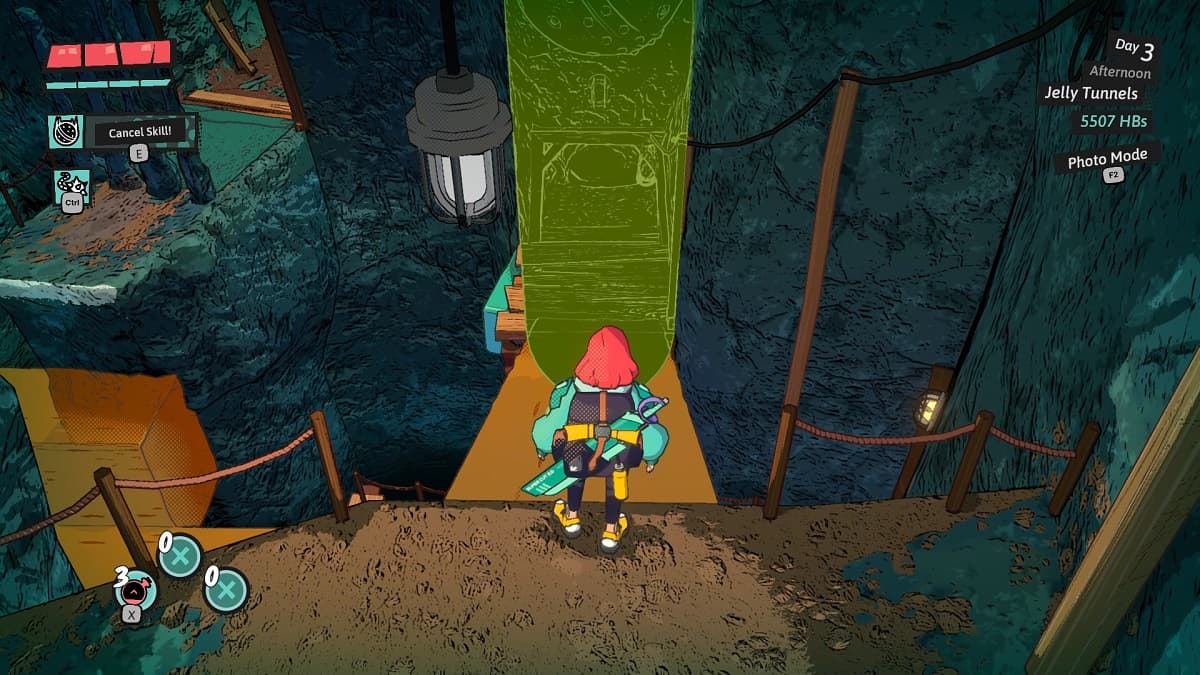
The path to the left of Marina on Doberkogel takes you to Jelly Tunnels as long as you follow the appropriate signs. Where the Abandoned Mineshaft taught you how to use magic skills, Jelly Tunnels focuses on puzzle-solving to get your dungeon stamp.
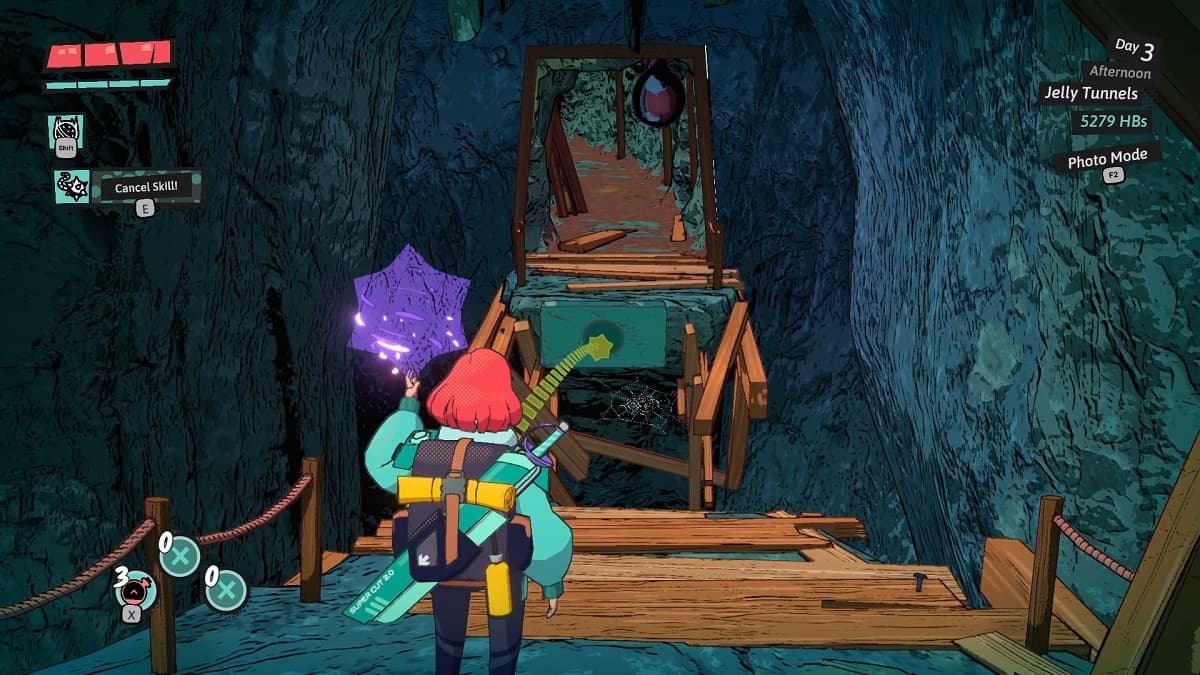


It doesn’t take long to reach the first broken path. On the other side, there’s a jelly rectangle that your Ball & Chain can attach to. Cast it, then retract it to pull a jelly platform over the gap and form a path. This is going to be a recurring element in this dungeon’s puzzles. The second gap is solved the same way, and pulling the platform out brings out the platform on the right, providing you with a path to the little island on the right.
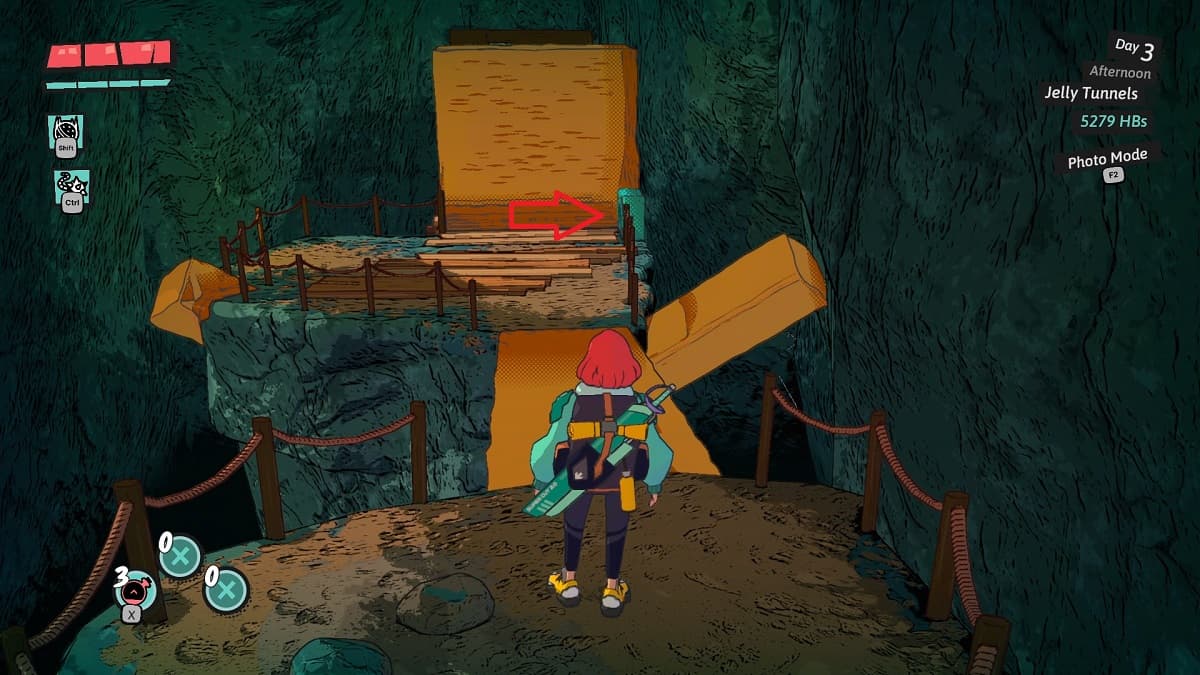
Once you reach the next platform you pull out, you’ll see that doing so blocks your path into the next tunnel. Cross the platform, then use Ball & Chain on the blue jelly by the orange one blocking your path. Once it’s pulled out, the other jellies are retracted, letting you hop over the short one and continue forward.

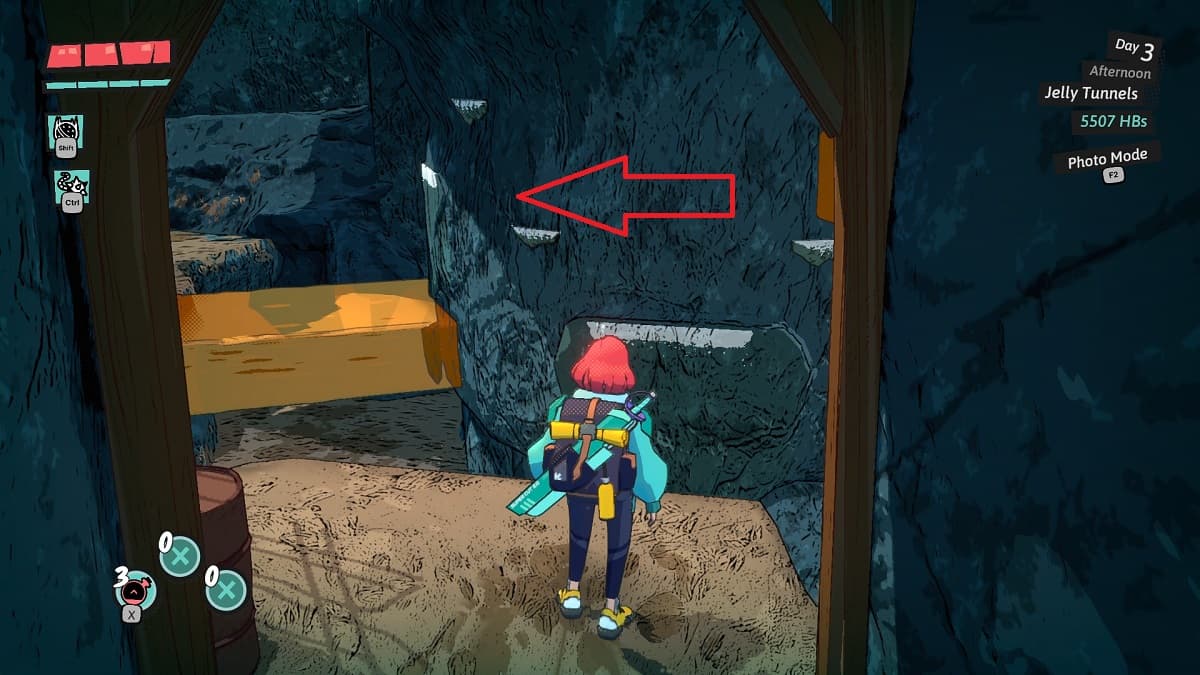
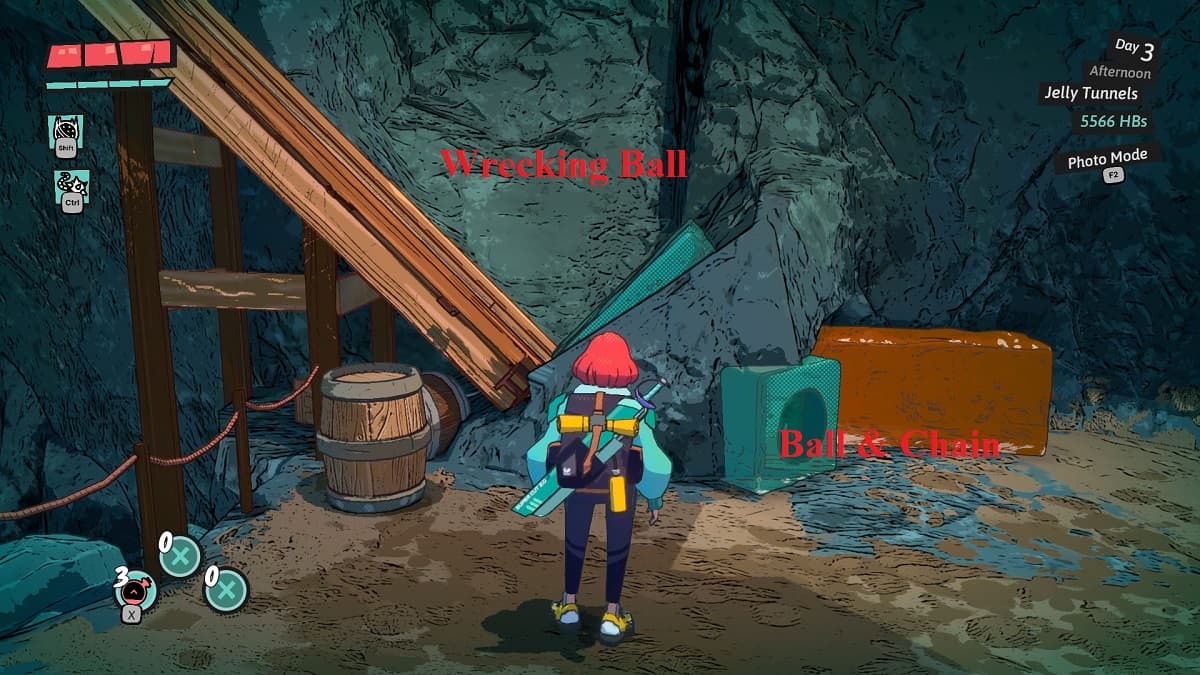
In the next room, pull the jelly over from the opposite wall. Climb up the ledge, then turn right and pull over that jelly. Cross it, then pull down the diagonal jelly to get a chest at the top of it. Go back down and destroy the rocks blocking the path using the diagonal jelly to roll your Wrecking Ball into the small area. Use the newly opened tunnel, then turn left and pull that jelly platform again to raise the jelly you’re standing on. Turn around, and you can now jump to the wood planks with white paint on top, progressing to the next area.
Second Part of Jelly Tunnels in Dungeons of Hinterberg
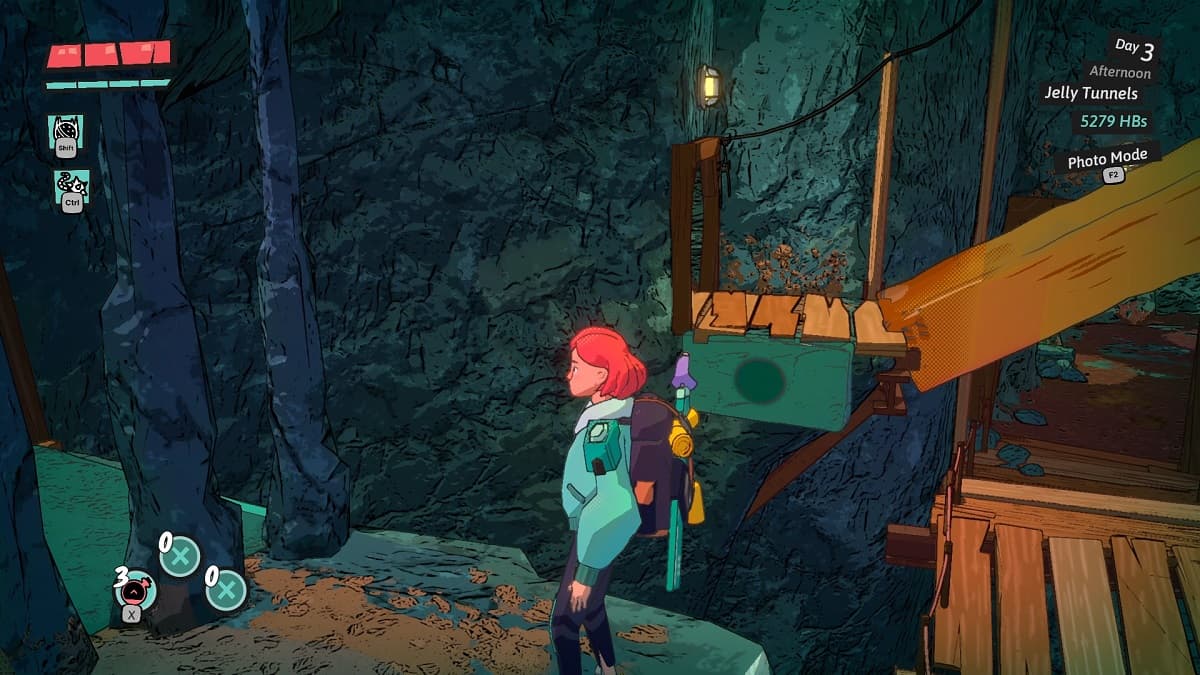
Now, you enter an area with many jellies and a ladder that’s held up by vines. Go around the path by the ladder so you can hop across to the ledge and climb to the left. Drop onto the orange jelly and cross it. Now, put a Wrecking ball on the blue jelly and use the Ball & Chain on the trigger to the right to throw it towards the vine and detonate it. Leave the trigger active and climb the ladder.

Go down the stairs and jump to the middle pillar with white paint on it. Climb to the right this time, which is now open with the jellies on the pillar retracted. Once you’re on top of the pillar, there’s a jelly switch for you to use Ball & Chain on. Drop to the orange jelly platform, and cross to the path forward that has the glowing purple stone.
Third Section of Jelly Tunnels in Dungeons of Hinterberg
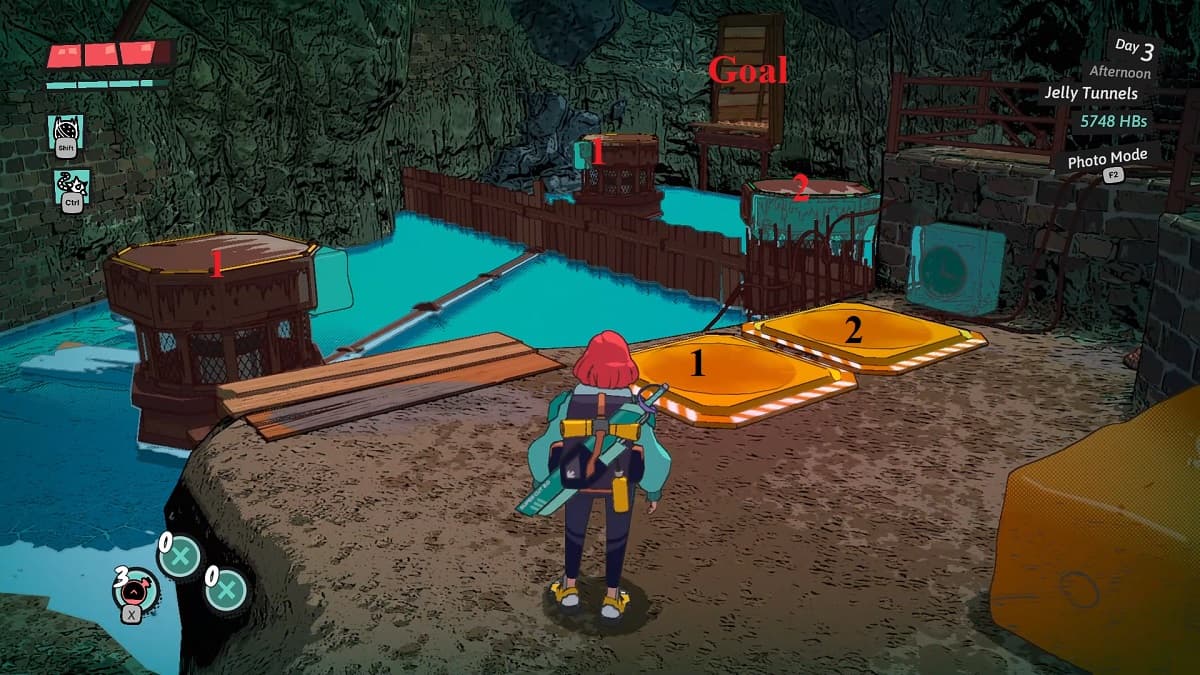
Now, you’re at the final section. Go through the tunnel in front of you. Pull the jelly over to cross the gap and enter the room with water. There are two switches that spin the platforms. Use your Wrecking Ball to line up the platforms by spinning one set at a time. I’ve labeled them with numbers so you can see which switch spins which platforms. Once you’re happy with the set-up, pull the jelly across both switches and hop across the platforms to reach the tunnel on the other side of the fence.
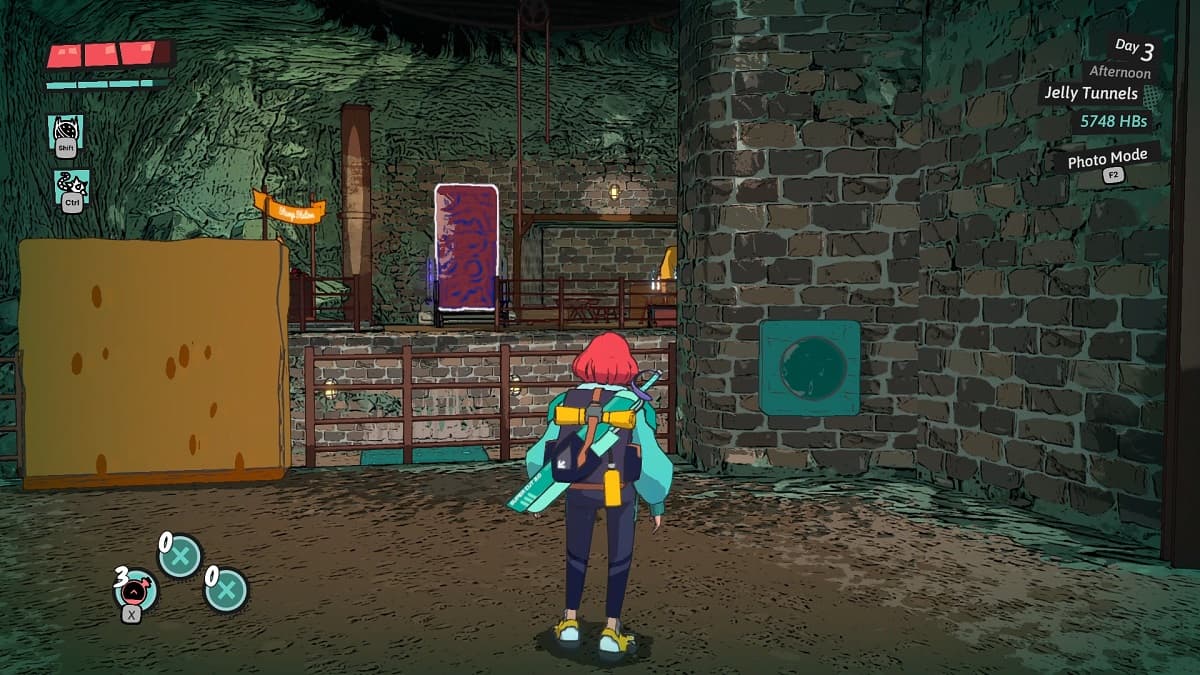
That takes you to the final jelly switch on the other side of the tunnel. Use your Ball & Chain to pull out the blue jelly and bring up a set of stairs that take you to the Stamp Station. Stamp your dungeon book, and you’re clear to leave the Jelly Tunnels.
And that’s your walkthrough for Jelly Tunnels in Dungeons of Hinterberg. From here, check out our growing Dungeons of Hinterberg guide hub for more content!


Published: Jul 19, 2024 03:54 am