The DOTS evidence is the most frustrating to get in Phasmophobia for newer and experienced players alike. This is especially the case now with the new equipment tiers, with the Tier 1 DOTS Projector covering only a small area and being hard to place. It gets easier with Tier 2, though I personally can’t comment on Tier 3 just yet. In this guide, we’ll go over how to use a DOTS Projector effectively in Phasmophobia and what you should be looking for.
How to Use DOTS Projectors in Phasmophobia
Like every tool in the game, using DOTS Projectors gets easier with experience and some clever positioning. The Tier 2 Projector is much easier to work with than Tier 1, and players from the game’s earlier days will already be familiar with how Tier 2 works.
The Tier 1 DOTS Projector is a simple pen-light projector that covers a short distance in front of it with a soft green light. It would be more serviceable in any other shape, as crouching and dropping the pen to cover an area isn’t a fun process. Getting DOTS, in general, isn’t a fun process. Aside from freezing temps now taking several minutes to show at times and the Spirit Box being less effective than ever, DOTS is the least fun evidence to get.
What Positive DOTS Projections Look Like
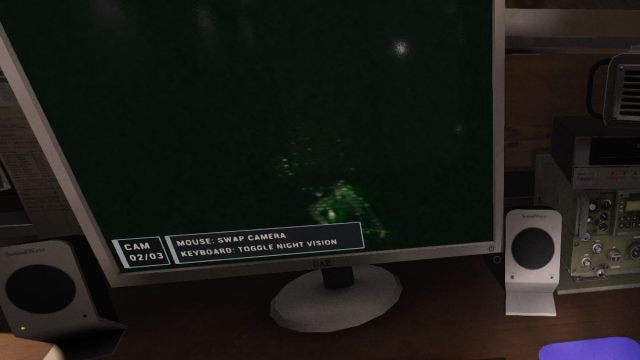
This is important enough to cover first, as plenty of new players assume the later portions of their breath are positive DOTS. Ghost projections in DOTS are green silhouettes, essentially in the shape of the ghost. Every ghost with DOTS as evidence can be seen in the projectors’ light while you are in the house, with the exception of the Goryo. Groyo DOTS can only be seen via camera. It’s possible to see one via camera while in the house, but it’s exceptionally rare.

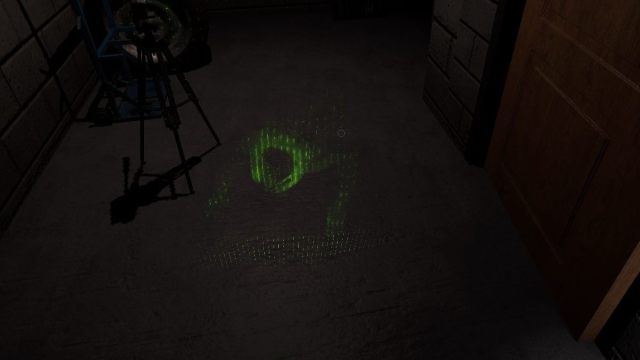
How to Use Tier 1 DOTS Projectors Effectively
Keeping in mind the small range and radius of the Tier 1 Projectors, you’ll need to pay special attention to where a ghost is primarily roaming in its room (or outside of it, depending). Motion Sensors can help you with this once you’ve located the ghost room.
Before taking your DOTS Projectors into the building, place Motion Sensors low to the floor on the walls of the ghost room. Watch which ones light up, move them if none of them do, and then get ready to set up your DOTS and Video Camera.
The Motion Sensor step can save a ton of time, as some ghosts really do not like wandering much and will only show DOTS in a small area. Do not skip the Motion Sensor step if you’ve been having trouble getting DOTS to show. It may take moving them around a couple times to figure out where the ghost is spending most of its time, but it’s better to get this part sorted before trying to get DOTS.
Once you’ve figured out where you want the Tier 1 Projectors to light up, consider the following placement advice using Tanglewood as an example:
- When you can, try to place the pens on a slightly elevated surface to make better use of the full circular range of light. This can be tricky because they will roll off of rounded surfaces and because other furniture may get in the way, but it’s an effective approach. Pictured below is a set up in the Tanglewood living room using the coffee table.
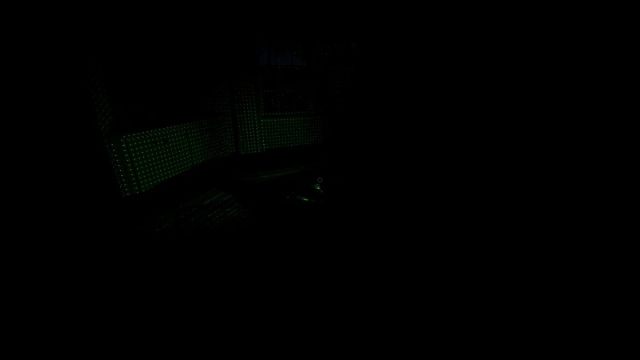
- For hallways and large rooms, placing the DOTS Projector pens next to each other and facing in opposite directions can give a broader view than any other placement. You can see that these pens actually shine light quite far, but that doesn’t do you any good if it’s not where the ghost is regularly roaming. The below example image is in the Tanglewood hallway.
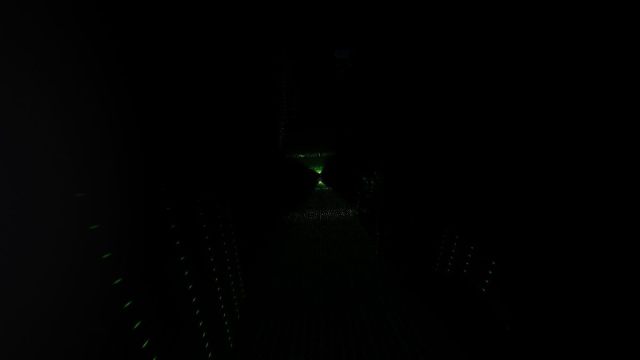
- Lastly, when in doubt, attempt to get an even projection across a room when the above methods aren’t possible. The below image uses the Tanglewood kitchen as an example, with the two pens on the edge of the dining room and pointing towards the two sides of the island in the middle of the kitchen.
How to Use Tier 2 DOTS Projectors Effectively
There’s less to say about the Tier 3 DOTS Projector in Phasmophobia because the Tier 2 is brighter and more user friendly. Like Ghost Writing Books and Motion Sensors, Tier 2 projectors need to be placed using the F key. Tier 2s can be placed on floors and walls just like Motion Sensors, meaning you need to crouch to put them on the floor.
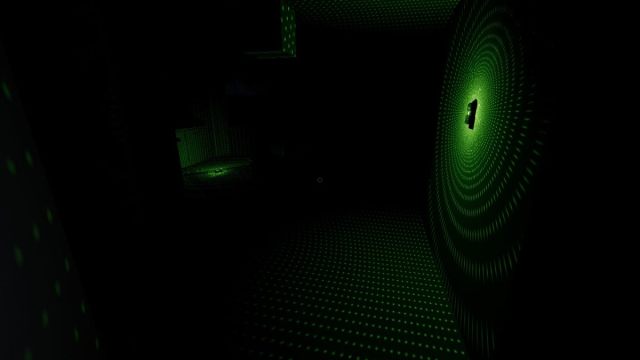
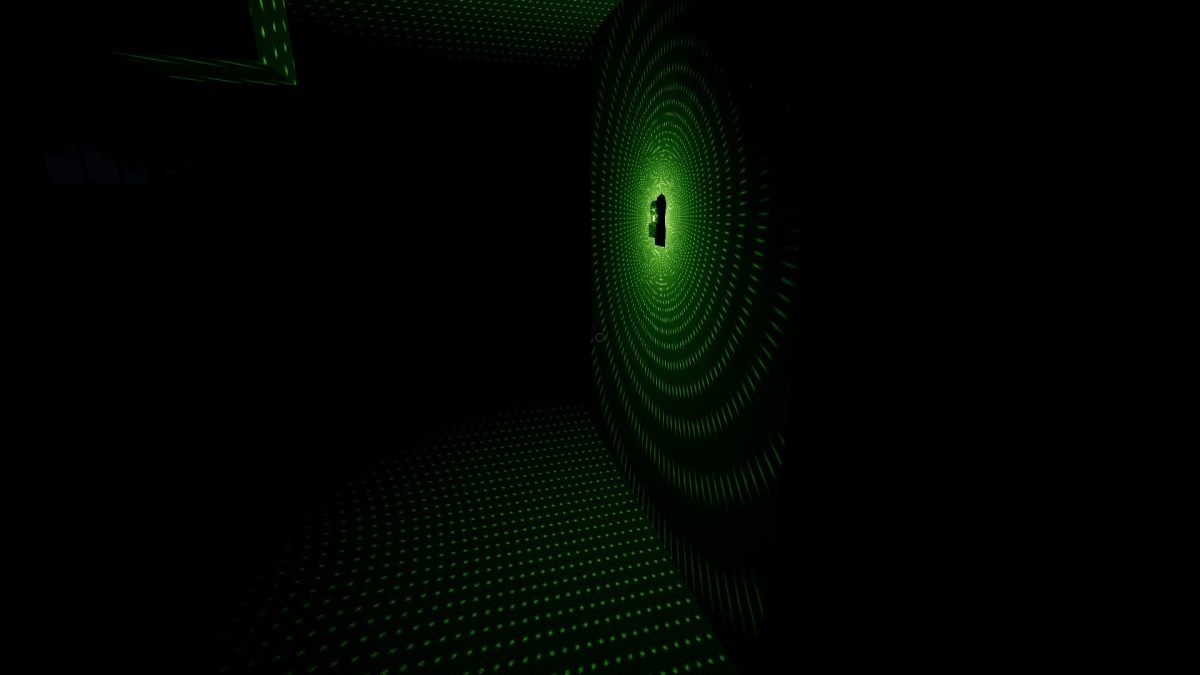
The above image shows two Tier 2 DOTS Projectors in the hallway-living room area of Tanglewood. The distance they project to isn’t as far as the Tier 1, but they are considerably brighter and there’s a lot to love about the projection radius. Tier 2s can also function as general lighting once you’ve determined whether it’s a DOTS ghost or not, furthering their function compared to Tier 1s.
Tier 2 DOTS Projectors do great on floors and walls alike. I prefer putting them on walls in hallways, and floors in rooms. They make for great staircase lighting in a pinch, too. Of all the Tier 2 tool upgrades, the Tier 2 DOTS Projectors are the biggest quality of life change.
With that, we’ve covered how to use DOTS Projectors in Phasmophobia up to Tier 2. Tier 3 will be added once I get to mess with them myself, most people haven’t had the pleasure of it yet. For now, check out some of our other Phasmophobia guides on GameSkinny.




Published: Sep 7, 2023 04:48 pm