Poly Bridge is a game that requires not only imagination, but also a basic knowledge of physics and engineering. You have a few simple tools in your possession that are limited in quantity, which you can use to build a whole spectrum of bridges – from the simplest ones to some really complicated ones.
This guide will give you some important tips on how to approach the bridge building on various campaign missions, what tactics you can use to not go overbudget and how to deal with advanced tasks in Poly Bridge.
Learn the rules, observe and check
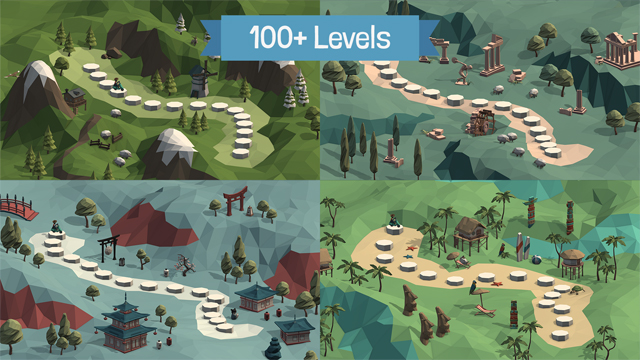
In Poly Bridge, the access to levels within a campaign is not restricted, meaning that you can choose whichever level you like. However, if you don’t have enough experience in the game, you may fail terribly at harder stages. So, it is advisable to start with the simple ones and gradually gain more knowledge of the game’s tools and mechanics.
Every level has several phases or checkpoints that you need to reach in order to complete the stage and move to the next one. They allow you to go back and rethink separate parts of the building stage instead of reconstructing the entire bridge, which is very convenient.
There are several tools that will help you modify your bridges, such as Stress View, Simulation, Camera Controls and Arc Tool.
- Stress View helps you identify which parts of your bridge are weaker than others.
- If the indicator highlights red parts, it means that you need to reinforce that exact area, so that vehicles can pass by safely.
- Simulation shows the 3D animation model of the vehicles passing through your bridge.
- If they pass through and reach the flags without the bridge collapsing, it means that you’ve accomplished the level.
- Camera Controls work great during the Simulation, when you can look at your bridge from different angles.
- This helps you better understand which parts of your bridge can be improved.
- Arc Tool is the one you should really use often, as it simplifies the process of arc tracing and joint placing, so you don’t need to repeat the same steps over and over again.
- Just trace the lines in place and joints will snap onto the curve automatically.
Stay under budget
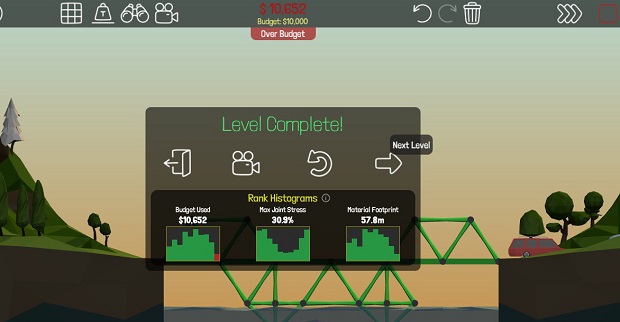
Technically, you can go over budget, but you will have to go back and play the level again to receive a full clear on the World Map that tags levels with different colors of accomplishment. When your level is green, it means that you went under budget, and blue means that you went both under budget and under 100% stress.
In order to stay within the budget follow these simple tips:
- Static joints carry most of the load of your bridge. So, if you want your structure to be both effective and cheap, use the simplest and most effective shape for connecting joints – triangle.
- Make sure that all sides of your triangles are equal, then the structure will be really strong.
- Utilize an on-screen grid (press “G” on your keyboard) that will help you see the small inconsistencies of your structure, thus letting you improve the balance.
- Creating pivot points is essential for solid bridge building. One of the best techniques is called a “land brace” – this is when you’re using an immovable terrain for reinforcing your structure.
Advanced tips and tricks
Hydraulics and split joints
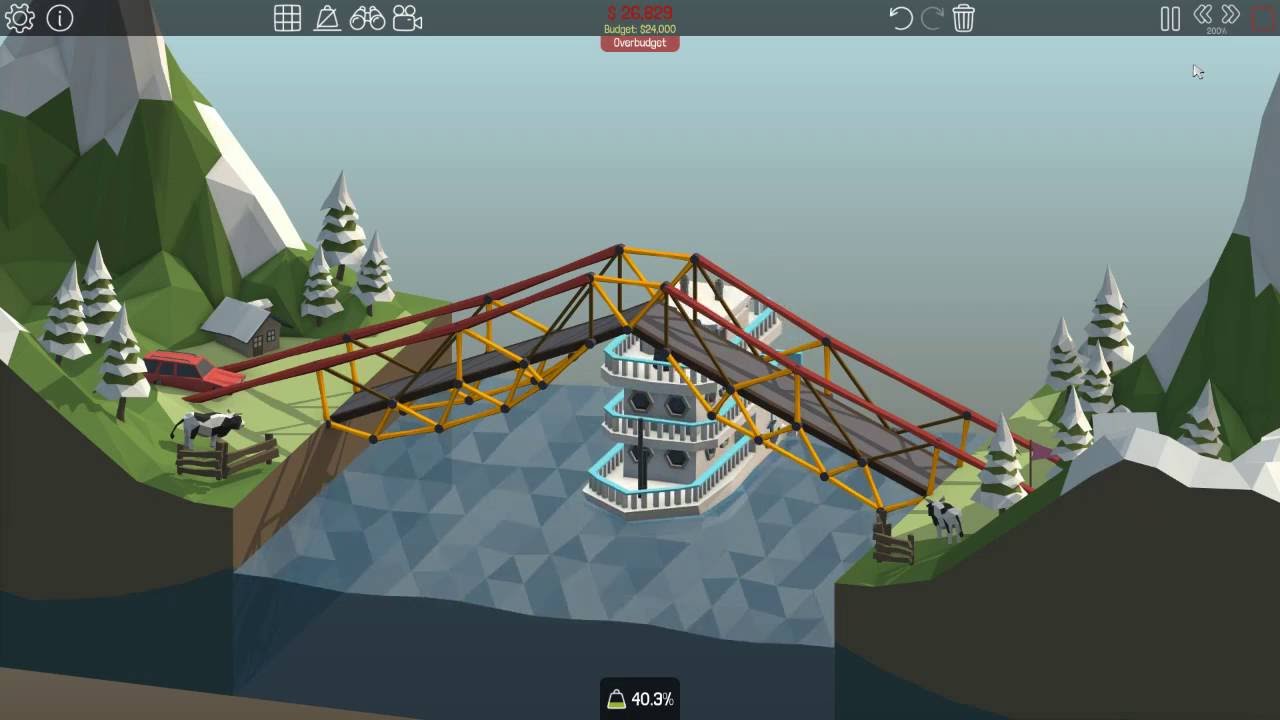
Some levels will have boats on the river crashing through your bridge. In this case, you need to come up with some unusual solutions to avoid the catastrophe.
Usually, players end up with some truly eccentric constructions that don’t look safe at all, but the best way would be to use hydraulics and split joints.
Split joints allow the construction to move within a certain angle that is controlled by hydraulic components which you can add to your construction.
When the boat approaches the ship, you can set up a hydraulic action during this phase that will move the section of your ship upwards or sideways. As a result the boat will be able to pass by without harming the construction of your bridge.
Suspension Bridge
Another complicated type of bridge that you will encounter is a suspension bridge. Usually these bridges are much longer and require a lot of materials, so it’s better to use wood, which is cheaper than steel. However, you can use steel to reinforce certain parts of the bridge.
When building this type of bridge you have to use the Line Tracer tool in order to achieve the perfect symmetry throughout the entirety of construction.
This sums up the general advice for Poly Bridge. It doesn’t mean that you have to precisely follow every step, on the contrary – be creative and experiment a lot, but don’t forget about the laws of physics.
Come back soon for more Poly Bridge guides at GameSkinny!




Published: Jul 20, 2016 11:04 am