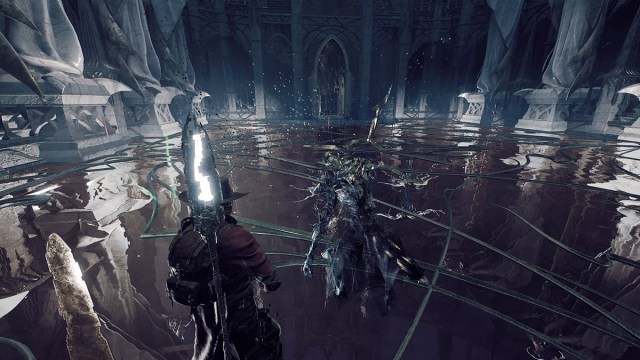
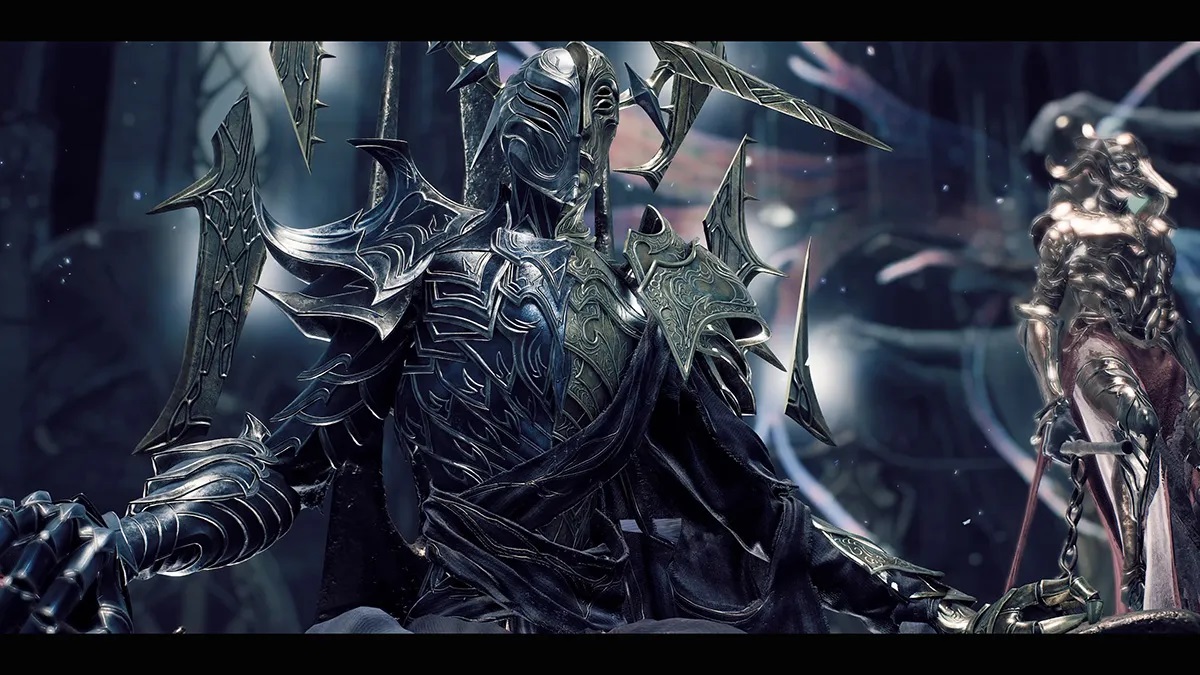
Faerin and Faelin are two sides of the same coin. While the reward you get for defeating one is different from the other, their boss fights are functionally identical, save for the color scheme, dialog, and “location” (Beatific Palace or Malefic Palace). Health, attacks, damage values — everything is the same, save for their modifiers. In this guide, I’ll go over all the details on how to beat Faerin or Faelin in Remnant 2.
How to Beat Faerin or Faelin in Remnant 2

The first thing to know about how to beat Faerin or Faelin is that both are three-phase fights across a single health bar, though your foes will have a decent amount of health to make up for it. Luckily, they aren’t nearly as tanky as some of the other bosses, especially if you’re leveled up with a halfway functional build.
Related: Best Solo Archetypes in Remnant 2, Ranked
How to Beat Faerin or Faelin: Biggest Differences from Other Bosses
The biggest difference you’ll find when fighting Faerin or Faelin is how mobile they are. They move around the most in the first and third phases, relying on environmental hazards for Phase 2. So long as you’re always on your toes, any class and weapon setup can beat this fight. I encountered Faerin or Faelin on my Gunslinger/Medic first playthrough, but I’ve seen players use lever-action and single-shot weapons to great effect.
Their attacks aren’t the most damaging in Remnant 2, but they almost always come in sets of three or more. The second phase is also about Faerin or Faerin summoning various hazards that can fill the entire arena with deadly glass spies and giant (or not-so-giant) swords while they float slowly about the place.
Best Archetype Trait for Faerin or Faelin
Archetypes with high mobility, therefore, have a bit better time dealing damage, as their weak point is their regular-sized head. Precision shots are more of a requirement than usual. I used the Blackmaw AR-47 equipped with Healing Shot for my fight, and while it took a bit longer, thanks to that weapon’s low damage output, its ability to engage and disengage at a whim was a lifesaver.
Related: How to Get the Fae Armor Set
All of Faelin or Faerin’s Attacks in Remnant 2
Knowing how to beat Faerin or Faelin means understanding the boss fight’s phases. Each builds on the previous one, save for the first phase (for obvious reasons).
- At first, they are content to float around the arena, making the occasional sword slash combo and summoning the odd projectile-firing glass sphere.
- The second phase sees them controlling the giant swords on the arena’s sides and creating dozens of glass spheres at a time.
- The third phase reduces the hazard spam, instead pushing them to rely on their ability to become intangible using more guerilla tactics.
All Faerin or Faelin Phase 1 Attacks

The first phase of the Faerin or Faelin fights is all about slow attacks and posturing. The most difficult parts of learning it are the boss’ delayed attacks, as their sword slashes have a significant windup and come out faster than you’d expect.
Vertical Slash
The boss raises their crystal blade above their head and chops downward after about a second and a half. The slash itself comes out quickly and has a lot of forward momentum, so trying to roll backward or avoid it by retreating will only serve to get you cut. The attack also has pretty good tracking, so you’ll need to dodge to the side at the right time to avoid damage.
Double Slash
Faerin or Faelin quickly floats up to you and slashes horizontally twice in reasonably quick succession. There’s about a half-second windup to each slash, meaning the attack will catch you if you roll early. I can attest that while one slash doesn’t do a ton of damage, getting hit by both of them is an easy two-thirds health loss. There’s even more forward momentum on these slashes, but their range is shorter than the vertical one, meaning a backward roll can avoid them.
Faerin or Faelin Summon Sphere
With a gesture, they summon one or two crystal spheres, which will shoot crystal spears at you every five seconds or so. You can shatter the spheres with a few shots, and they’re one of your primary sources of ammo. The worst part about them is how they stagger their shots based on when they were summoned, so just because you dodge one of their projectiles doesn’t mean the second won’t hit you.
Telekinetic Pull
Faerin or Faelin makes a scooping motion with both arms, creating a small circle of energy around your character that explodes shortly after, doing moderate damage and pulling you toward Faelin/Faerin. It’s pretty easy to spot-dodge this attack, as it strobes just before exploding, and you can roll as much as a half-second before it goes off to avoid both effects.
All Faerin or Faelin Phase 2 Attacks

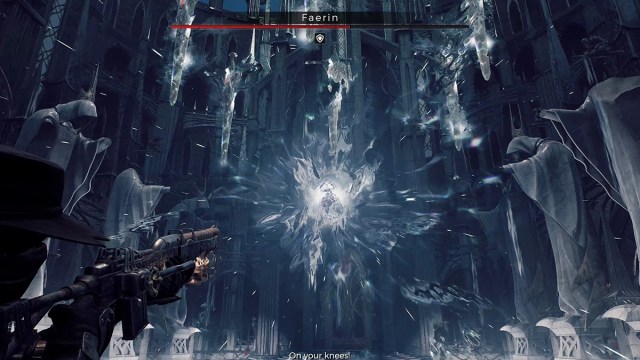
The second phase of the Faerin or Faelin boss fight starts when they reach about two-thirds health. This part is less about battling the boss than avoiding the hazards they summon. You’ll know the phase has arrived when the boss Resists all damage and surrounds themselves with a blinding white light, rising into the center of the arena.
Firing Lines
Faerin or Faelin summons sets of four crystal spheres in a line down the center or across the middle of the arena. The spheres will fire their projectiles parallel along the plane they make.
- If the sets of four they make are facing the door, they’ll shoot toward the walls.
- If they’re facing the walls, they’ll shoot toward the doors.
- Unlike the summoned spheres, these all shoot at the same time, creating impromptu lanes. You can destroy the spheres like any others, however.
Faerin or Faelin Summon Swords
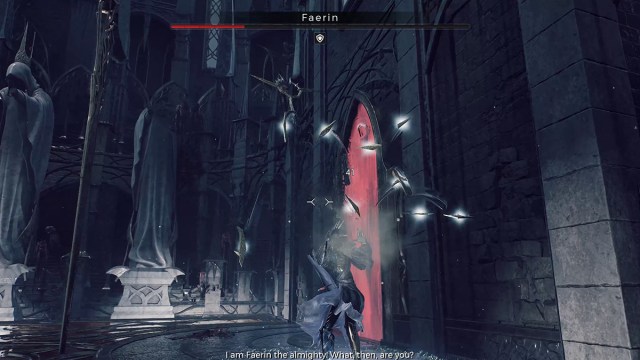
The swords that flanked the arena instead now imbed themselves into the floor and can teleport above you, slamming down, dealing both impact and AoE damage from a shockwave. The other swords will also release shockwaves when the main attacking one does, so you’ll need to keep away from the sides of the arena unless you want to be caught in a combo.
Double Sphere Summon
Instead of summoning a single sphere, Faerin or Faelin summon two simultaneously and so shoots at the same time as well.
All Faerin or Faelin Phase 3 Attacks

Phase 3 of the Faerin or Faelin fight starts when they have about a quarter of their health left, and you’ll know you’re there when the halo of blades behind their head shatters and falls to the floor. They’ll gain a new, three-pointed halo, then turn intangible, making them immune to damage.
Giant Falling Swords
The giant swords that once flanked the arena disappear and periodically appear above the arena, slamming down with shockwave after shockwave. A glowing field will appear on the floor where the swords will land. However, if you get knocked to the ground by one of the earlier swords, the four additional falling swords will all appear above your head en masse, meaning the chances of taking more damage increase exponentially.
Smaller Sword Rain
A flat plane of crystal spheres appears above your head and rains down crystal spears for about ten seconds. Faerin or Faelin doesn’t need to do anything for the effect to trigger, and a new set of spheres can appear as soon as the previous one vanishes. Getting out from beneath them is easy enough, but if you lose track of them or one spawns behind you, the pain is on its way.
Falling Slam
After Faerin or Faelin comes out of their intangibility, they drop to the ground after hanging for about a half-second. The attack doesn’t cause a hard knockdown, nor does it do a lot of damage, but it can come out of nowhere if you’re trying to keep track of the other hazards.
Rushing Stab
The boss emerges from intangibility and dodges to the side (or they did for me), then uses the shattered shards of his previous halo to do a long-range stab directly in front of him. While much faster than his falling slam, it also doesn’t track very well, so if you see it coming, simply roll to the side.
The only other challenge presented in the final phase of the Faerin or Faelin boss fight is their constant moving about the arena, unable to be damaged. Both of the attacks they use themselves have long recovery periods before Faelin/Faerin goes back to being intangible, giving you a few precious seconds to do as much damage as possible before the dance begins again.
That’s how to beat Faerin or Faelin in Remnant 2. As always, I wish I could teach you the timings. But as the boss doesn’t deal a ton of damage per attack, as long as you don’t get caught making the same a thousand times (please make it stop), you’ll be good. For much more tips and tricks, check out our guides on how to beat the Ravager, get the Plasma Cutter, and more in our R2 guides hub.


Published: Aug 1, 2023 01:19 pm