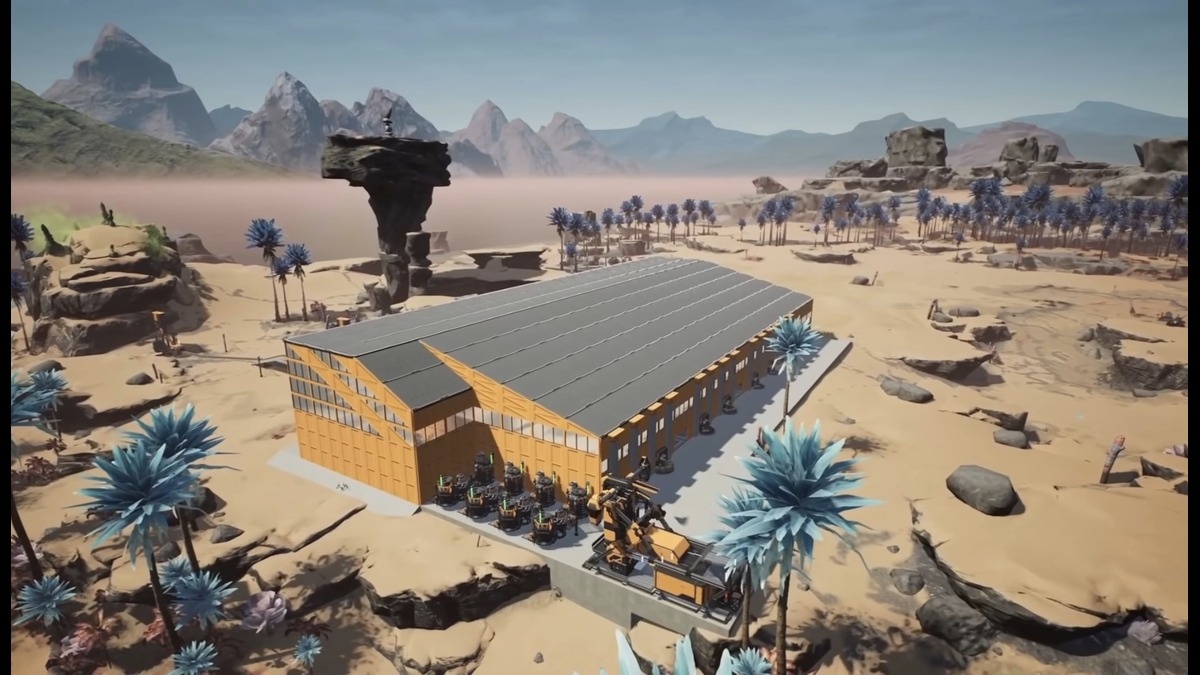
We will be looking at a basic, efficient, starter factory that uses minimal resources, covering most of the materials required for the first two satisfactory tiers. We’ll also set up a drop box and storage facility for your exploration supplies with it.
Building The Best Starter Factory in Satisfactory
We’re going to go over a step-by-step guide on how you can complete the first two Factory Tiers in Satisfactory with detailed instructions on the blueprint and setup of your Factory. We’ll go over the basic setup, Concrete Production, Power production, and Power setup that will guide you through all the stages of building your first Starter Factory in Satisfactory.

Basic Starter Factory Setup
Here are the steps to get your basic starter Factory up and running Satisfactory.
- Unlock Base Building: Go to the hub and unlock ‘Base Building’ at Hub Tier 1.
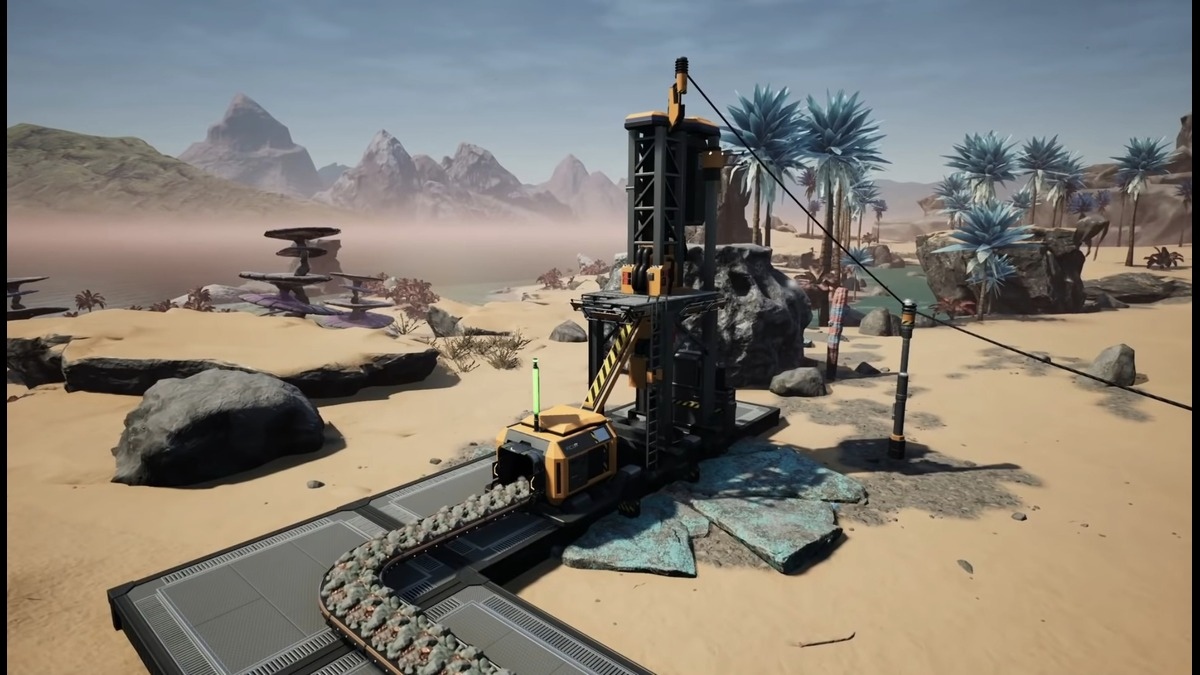
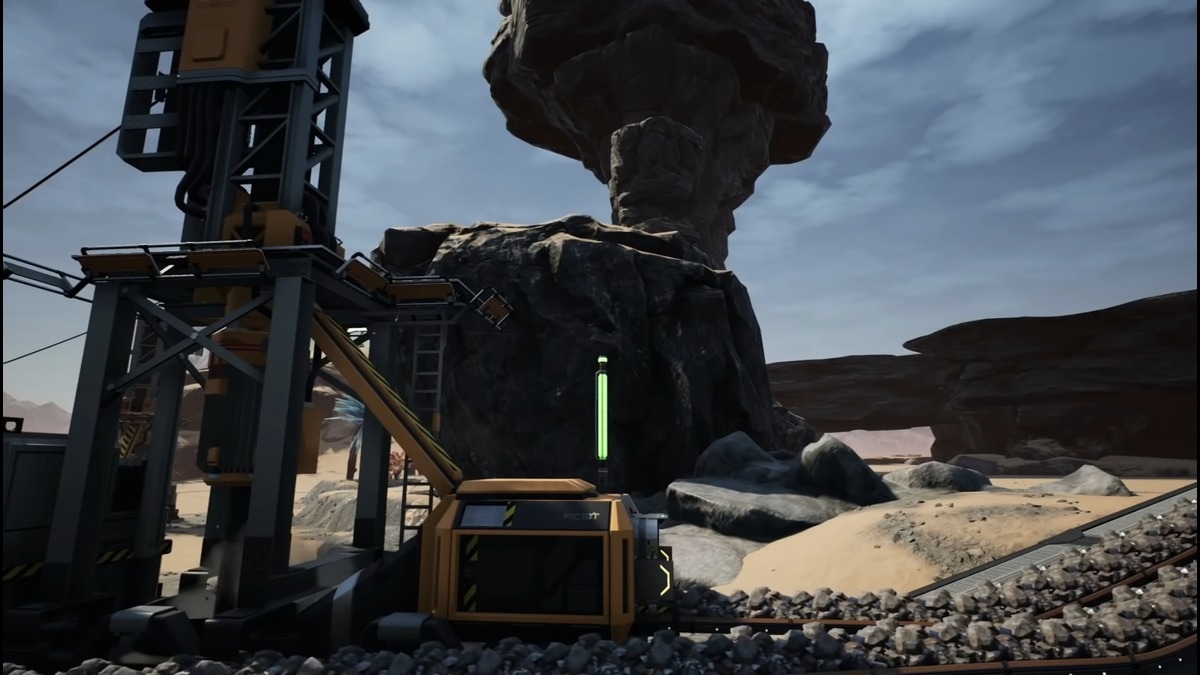
- Gather Resources: Stockpile concrete, Iron, and copper items, ensuring access to 2 Mk. 1 miners on normal Iron nodes, 1 on a Copper node, and 1 on a Limestone node.
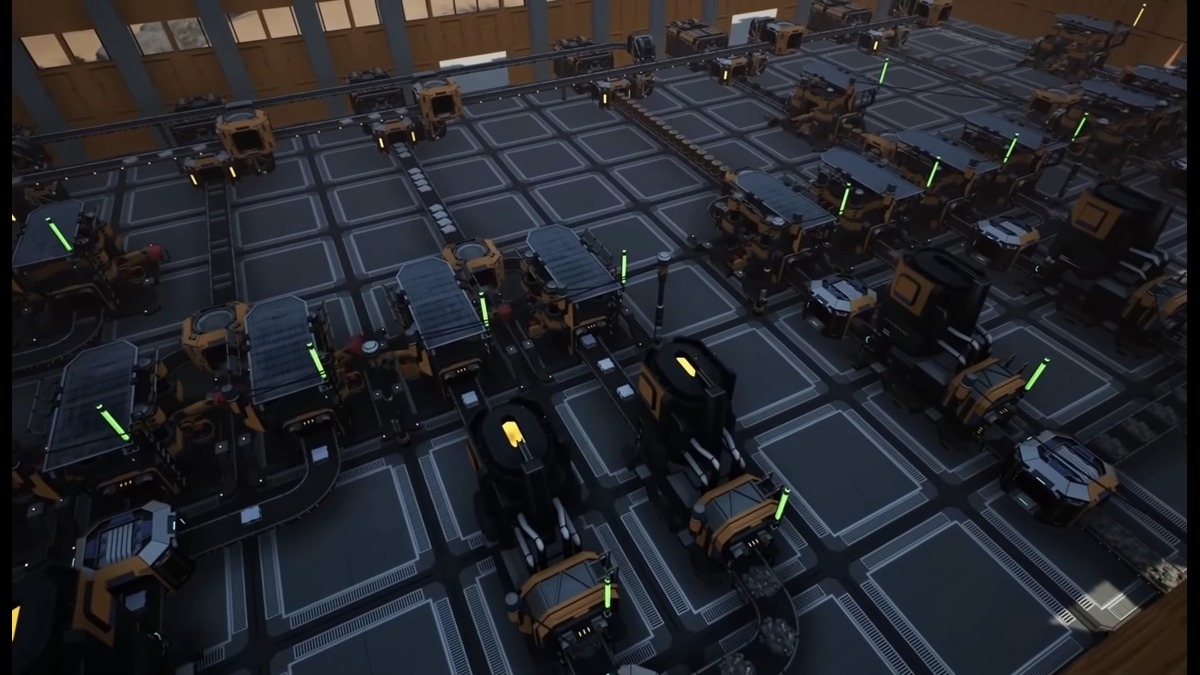
- Build the Grid: Use concrete to create a foundation grid, we like 16×10, to keep your build clean and organized.
- Work on Iron Resources: Place 2 Smelters in the middle of the grid, one in the 1st and the other in the 4th column, both set to produce Iron Ingots.
- Unlock Logistics Mk. 1: Unlock ‘Logistics Mk. 1’ at the hub to access the Conveyor Splitter, Merger, and Lifts.
- Set Up Splitters: Place a Splitter in front of the Smelters and run Conveyor lines to each Smelter.
- Set Up Iron Rod Production: Place 4 constructors split from the Iron ingot lines, all set to produce Iron rods.
- Split Iron Rods: Merge the constructors’ output into two lines: one to a storage container for Iron rods and the other for screw production.
- Place Additional Constructors: Add 3 more constructors for Iron rod production, merging lines into one and transporting 30 rods per minute to a storage container.
- Produce Screws: Set screw production to 120 screws per minute, merge the lines, and upgrade belts to Mk. 2 once available to prevent bottlenecks.
- Set Up Iron Plates Production: Place two Smelters and one constructor to produce Iron plates, merging outputs and sending them to a storage container.
- Start Copper Production: Use a Conveyor lift to bring copper to your base, bridging gaps to transport copper into the factory.
- Set Up Copper Processing: Place Smelters and 4 constructors (2 for wire and 2 for cable), merging outputs and storing wire and cable in containers.
- Unlock Hub Tier 1 and 2 Upgrades: Unlock ‘MAM Research’ in Hub Tier 1 and ‘Part Assembly’ in Hub Tier 2.
- Collect Caterium Ore: Gather Caterium Ore from a local node to unlock Smart Splitters for storage later.
- Continue with Part Assembly: Start preparing for the next production phase once Part Assembly is unlocked.
Starter Factory Concrete Production
Next, we need to set up our Concrete Production:
- Set Up Concrete Production: Place 2 constructors connected to limestone input to produce concrete. Note that it won’t be fully efficient until you unlock underclocking by researching power slugs in the MAM.
- Run the Concrete Line: Automate concrete production by running the output of the concrete constructors along a Conveyor into storage.
- Confirm Production Automation: Ensure automated production for concrete, wire, cable, Iron plates, Iron rods, and screws is operational at this point.
Starter Factory Power Production
- Set Up Biomass Automation: Place two storage containers (one for leaves, one for wood), and connect them via Conveyor belts to two constructors set to produce biomass from leaves and wood.
- Manage Biomass Production: After exploration, collect leaves and wood, place them in their respective constructors, and combine the biomass output into one line for storage to fuel biomass generators.
- Unlock Obstacle Clearing: Research obstacle clearing in the MAM to unlock the chainsaw, enabling quick gathering of wood and leaves for biomass production.
- Set Up Solid Biofuel Production: Once obstacle clearing is unlocked, switch one constructor to produce solid biofuel, noting that it will consume 120 biomass per minute, potentially requiring more biomass resources.
- Unlock Logistics Mk. 2: Collect or craft 50 reinforced Iron plates to unlock Logistics Mk. 2, improving Conveyor functionality to handle increased production.
- Prepare for Reinforced Iron Plates: Consider automating reinforced Iron plate production for future needs, either manually for now or as a side setup.
- Research Caterium and AI Limiters: Build a MAM to research Caterium ore, progressing through research to unlock AI limiters and smart Splitters.
- Unlock Smart Splitters: Gather 10 AI limiters and 50 reinforced Iron plates to unlock smart Splitters, allowing for better item control on your factory floor.
Once you’re looking for more scalable methods of power production, check out our guide on the best Starter Coal Generator guide.
Starter Factory Power Setup
- Set Up Biomass Generators: Construct eight biomass generators near your solid biofuel storage, ensuring they are connected in a centralized area for easy control and future expansion of additional generators with properly placed wiring.
- Power Capacity Setup: Each generator supplies power, and with eight, you’ll have over 100 MW, ensuring sufficient power for factory expansions.
- Upgrade Conveyor Lines: While waiting for Logistics Mk. 2, upgrade your Conveyor chains to improve resource flow, and manually craft reinforced Iron plates if needed to save time.
- Unlock Smart Splitters: Once Logistics Mk. 2 is unlocked, ensure smart Splitters are available to better manage item flow.
- Reorganize Storage Area: Remove all unnecessary Conveyor lines except the solid biofuel line, placing smart Splitters in front of each storage container to prevent item overload.
- Reconfigure Conveyor Lines: Reconnect resources to the smart Splitters, ensuring they flow correctly to the appropriate storage containers.
- Set Up Overflow System: Use smart Splitters to create an overflow system, directing excess resources to alternative containers to prevent clogs in the production process.
This concludes this guide for the best Best Starter Factory in Satisfactory. Make sure to check out our other guides on how to find water, how to remove rocks, and how to make Smart Plating.


Published: Sep 13, 2024 04:40 am