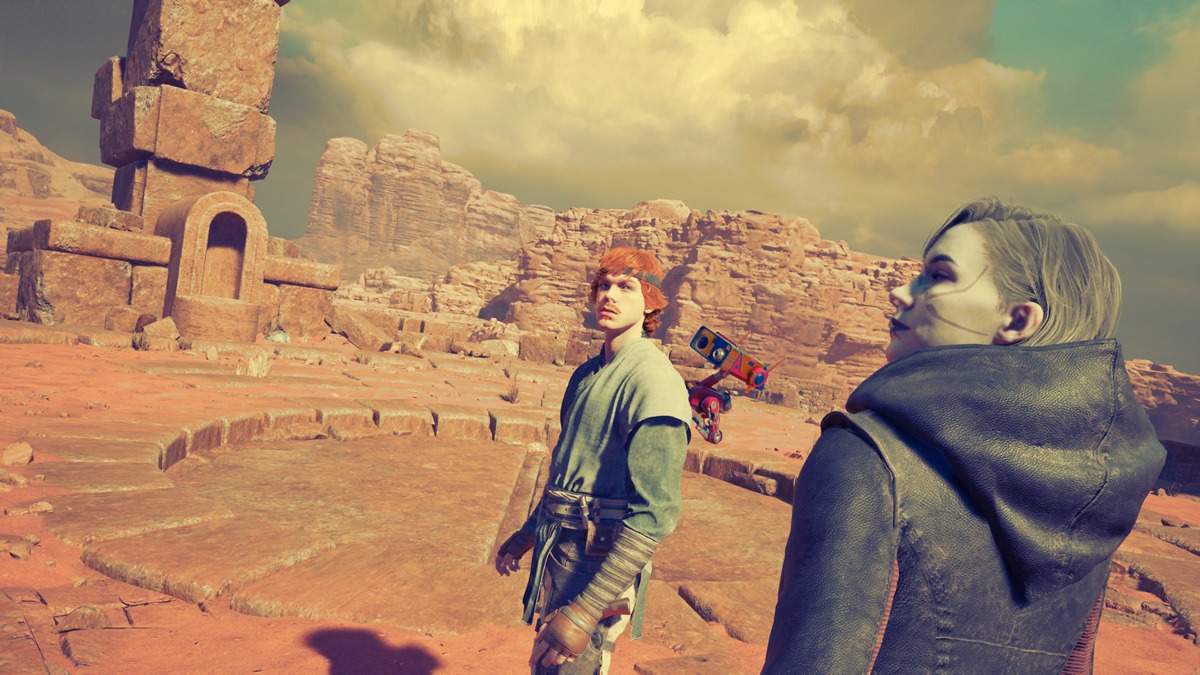
The Wayfinder’s Tomb is a special landmark on the desert planet of Jedha in Star Wars Jedi: Survivor. You won’t go to this area during the campaign directly, but certain hints tell you of various points of interest you’ll find there. Our guide tells you how to Wayfinder’s Tomb and complete the Jedha Ruins Puzzles.
Jedi Survivor Wayfinder’s Tomb and Jedha Ruins Walkthrough
During the campaign, you can talk to Eno Cordova in the main base on Jedha. As you progress, he’ll reveal some tidbits about various areas in the galaxy, telling you to “investigate the ruins” in specific locations. You can tackle these as soon as you have access or much later when you’re free and have more abilities and Force Powers.
One of these places is Wayfinder’s Tomb on Jedha and the ruins puzzles you’ll find there. To locate them, look for a bluff in the center of the Desert Flats zone. From the Anchorite Base fast travel point, keep heading north. Then, use your traversal skills to reach the top of the bluff.
There, you’ll see a circular indentation, but you can’t do anything with it yet. You’ll still need to complete puzzles in the Path of Conviction, Path of Restoration, and Path of Persistence. Each one will reward you with an additional Perk Slot.
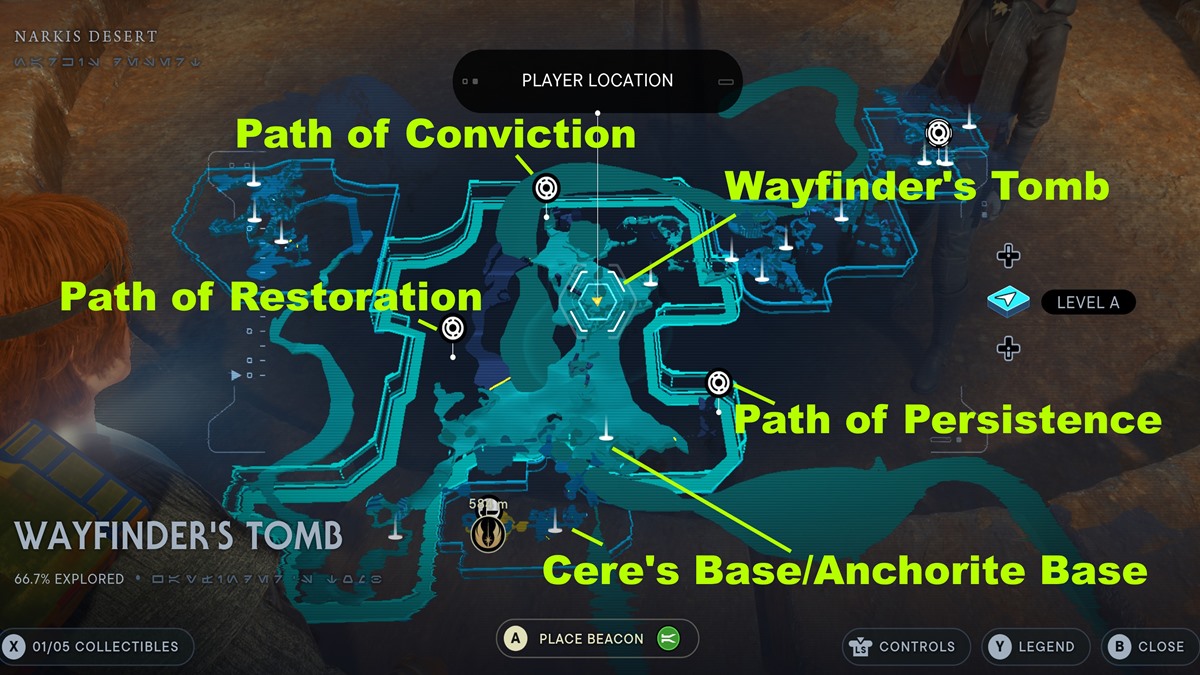
Here’s where to find each of the Paths on Jedha:
- Path of Conviction is north of Wayfinder’s Tomb.
- Path of Restoration is west of Wayfinder’s Tomb.
- Path of Persistence is southeast of Wayfinder’s Tomb, east of Anchorite.
How to Solve the Path of Conviction Puzzle
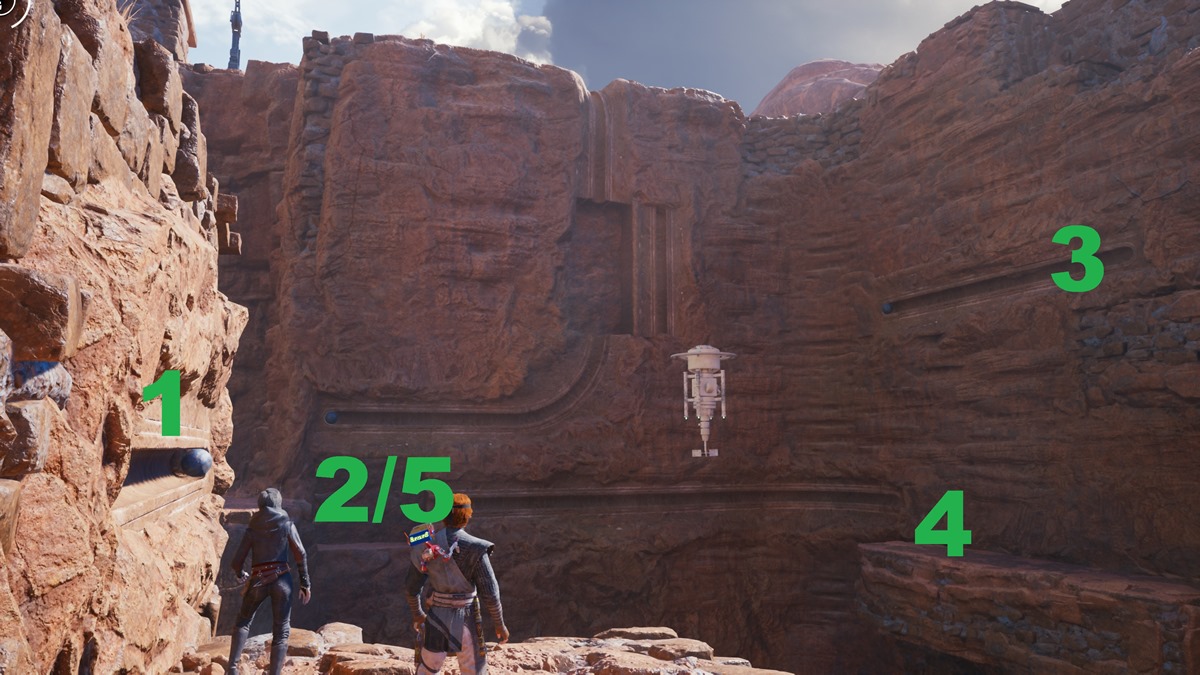
The Path of Conviction requires you to use your Force Pull and Force Push abilities rather quickly. You should find the puzzle itself to the right of the ridge, which you can get to by way of a floating grapple device. The solution for the Patch of Conviction puzzle is as follows. The steps are also outlined in the screenshot above.
- Step 1: Pull the sphere toward you.
- Step 2: Jump across and push the second sphere, causing it to roll all the way to the right.
- Step 3: Go up to the ledge that just appeared. Then, pull the sphere toward you.
- Step 4: As that sphere is rolling, drop down and push the previous orb back to the left. If you’re fast enough, it should reach the section of the wall that gets lifted, just before the sphere from Step 1 rolls back to its initial spot.
- Step 5: Quickly jump across the gap and push the orb so it reaches the very top.
You can then also use the floating devices on the opposite side, where you’ll find a cosmetic chest. Once you reach the top of the ridge, push the sphere to reveal a crystal with a Perk Slot.
How to Solve the Path of Restoration Puzzle
The Path of Restoration Jedha Ruins Puzzle also requires your Force Push and Force Pull. Here’s what you need to do:
- From the lower area, climb up the rock formation via the honeycomb-like indentations.
- Wall-run across, and ignore the first sphere for now. Instead, push the second sphere to switch the indentations on the far cliffside.
- Climb to the top of the hill and open the cosmetic chest.
- Next, push the first sphere so that it rolls to the far cliffside. You should now be able to enter the cavern there by climbing the honeycomb section.
- Inside, push the third sphere.
- Head back down and push the first sphere back to its initial position. Do the same for the second sphere.
- Finally, push the first sphere, allowing it to reach the very top.
- Interact with the orb up top to get another Perk Slot.
How to Solve the Path of Persistence Puzzle
The Path of Persistence Jedha Ruins Puzzle is slightly different than the other two, though it also includes grapple points and pushing spheres.
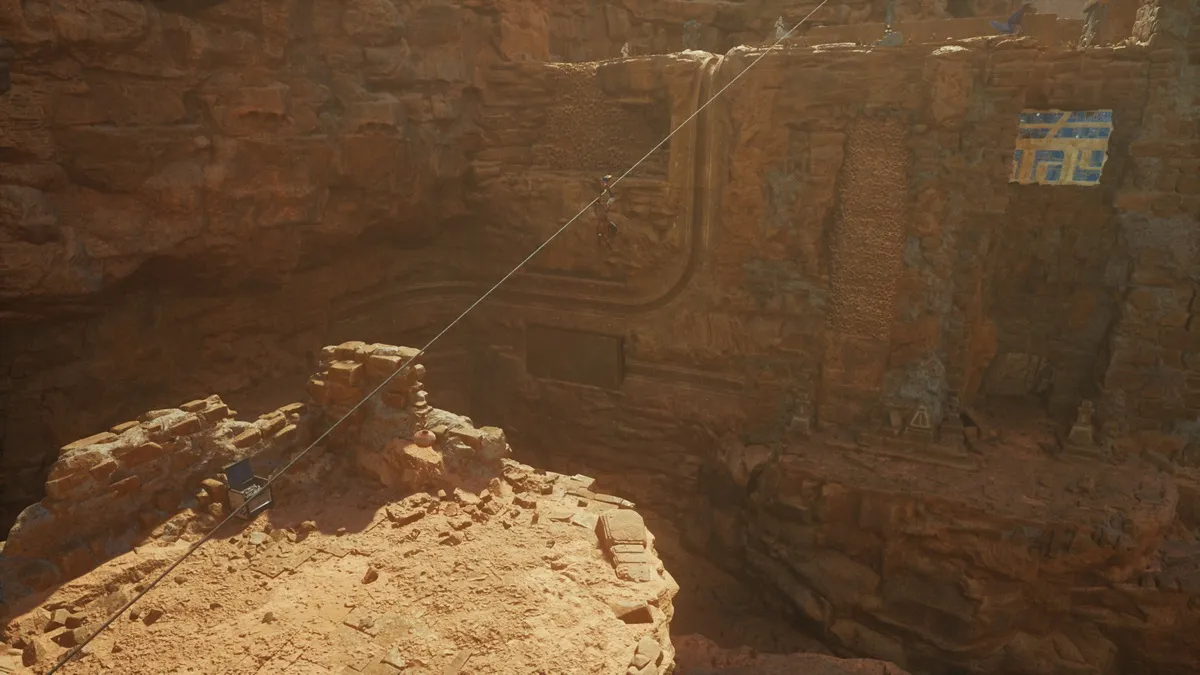
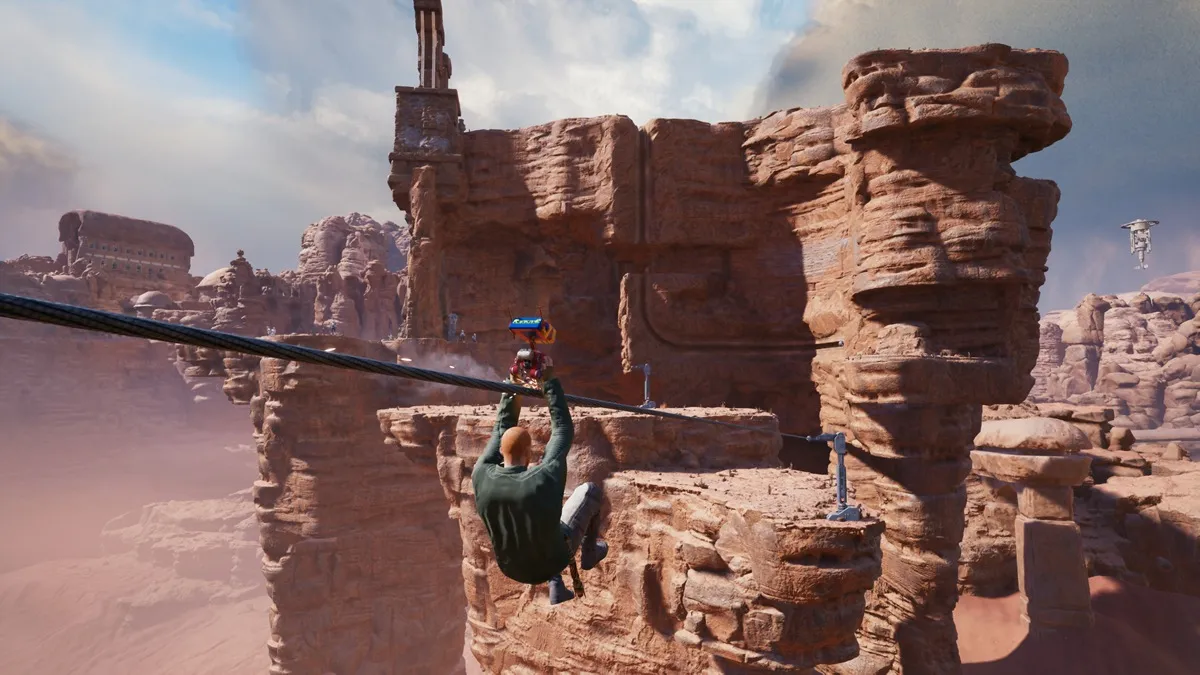
- Use the zipline to cross the chasm.
- You can use the grapple device to your right to open an ornate treasure chest that has a BD-1 cosmetic set.
- Check the grapple devices to your left to climb up the ridge (there’s another cosmetic chest here).
- Inside the nook, you can push the sphere to make the wall move.
- Head back down below the area with the grapple devices. You can now push the orb so it reaches the top.
- You’ll find another sphere at the summit. Push it to get another Perk Slot.
Wayfinder’s Tomb Rewards
Once you’ve completed all three Path puzzles, return to the Wayfinder’s Tomb. Step on the circular indentation, and it will turn into an elevator. In the small cave below, you’ll find several Force Echoes and Eno Cordova’s Lightsaber cosmetic set.
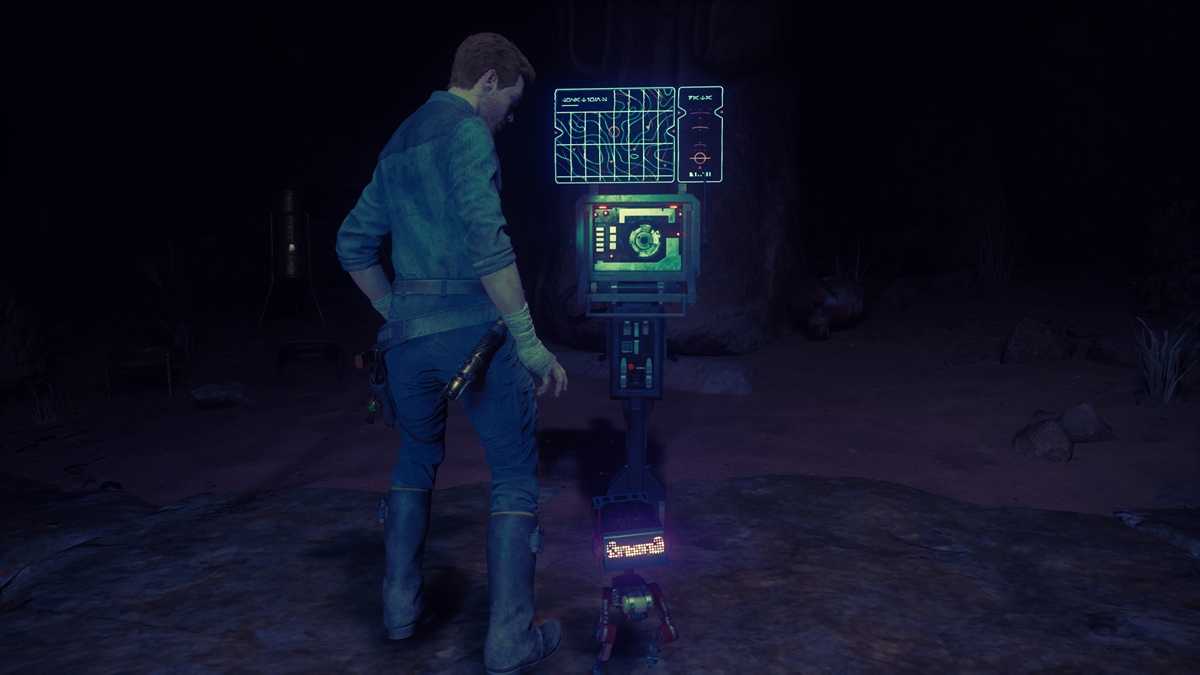
However, the most important reward in the Wayfinder’s Tomb is the one from the terminal. Slice it using BD-1, and you’ll receive the Map Upgrade: Treasures. This will reveal all resource collectibles on the map, such as Priorite Shards and Jedha Scrolls. You can head over to our Map Upgrades guide for the other unlocks.
That’s how to complete the Star Wars Jedi: Survivor Wayfinder’s Tomb and Jedha Ruins Puzzles. For other tips and tricks articles, as well as other walkthroughs, visit our Jedi: Survivor guides hub.


Published: May 3, 2023 11:47 pm