A satisfyingly different experience than what you’d typically expect from an MMO has arrived for PC gamers, with the F2P StarBreak now available through Steam.
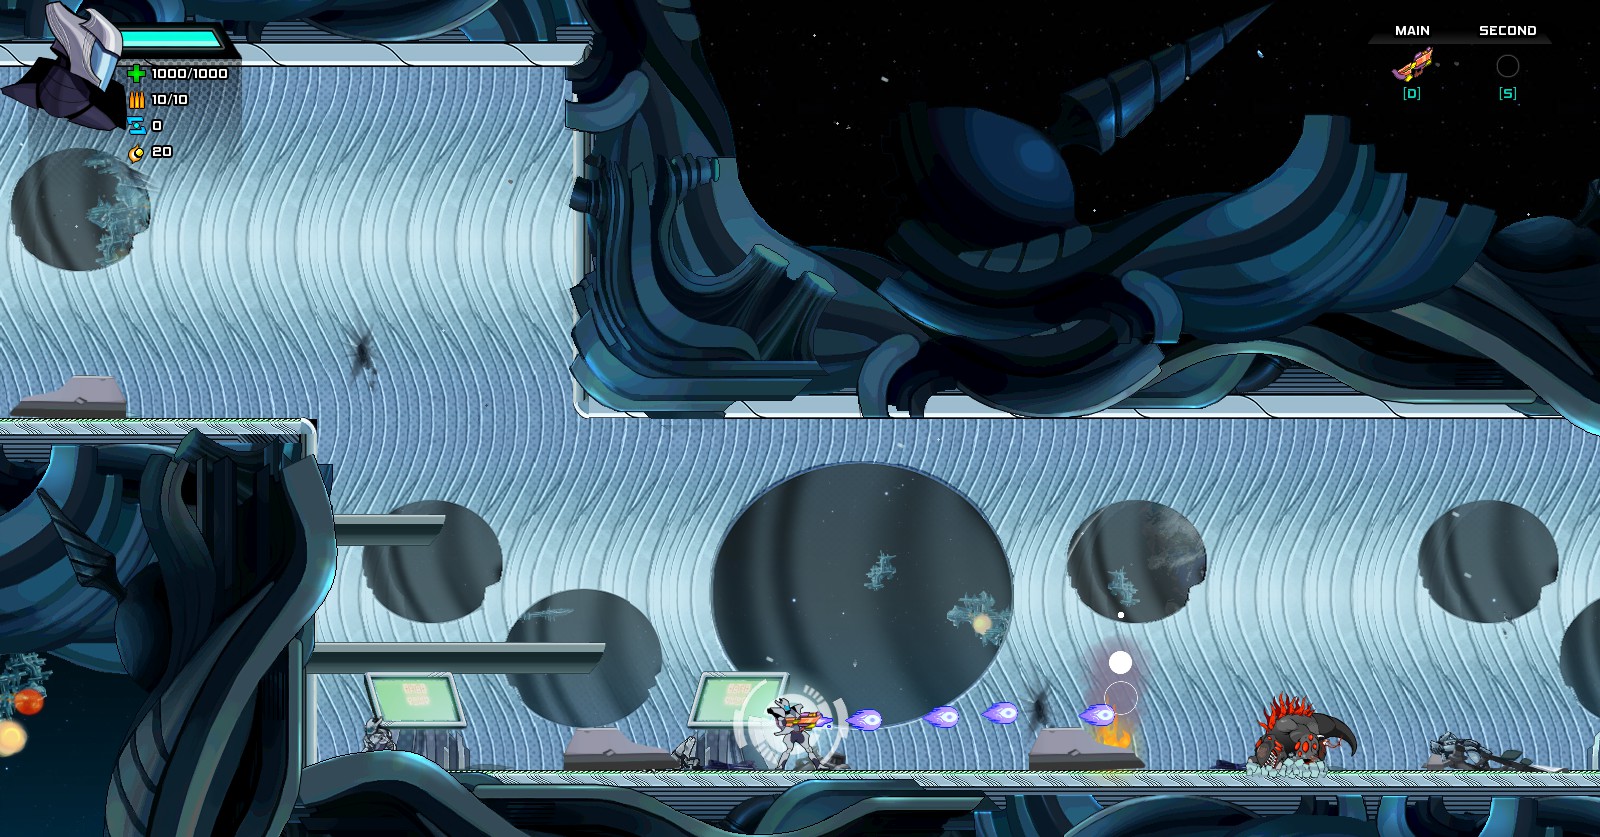
This may be an MMORPG, but StarBreak is a whole other ballpark from staples like World Of Warcraft or Guild Wars 2. Despite having multiple classes, a leveling system, randomized loot drops, and so on, StarBreak’s base gameplay is actually more along the lines of classic SNES platforming like Mega Man or Metroid.
The end result is a massively mutliplayer experience where your jumping / firing / timing skills are more important than your level or build. To get right in without experiencing undue frustration, we’ve collected all these basic StarBreak tips and tricks to get you started.
Learning StarBreak Basics
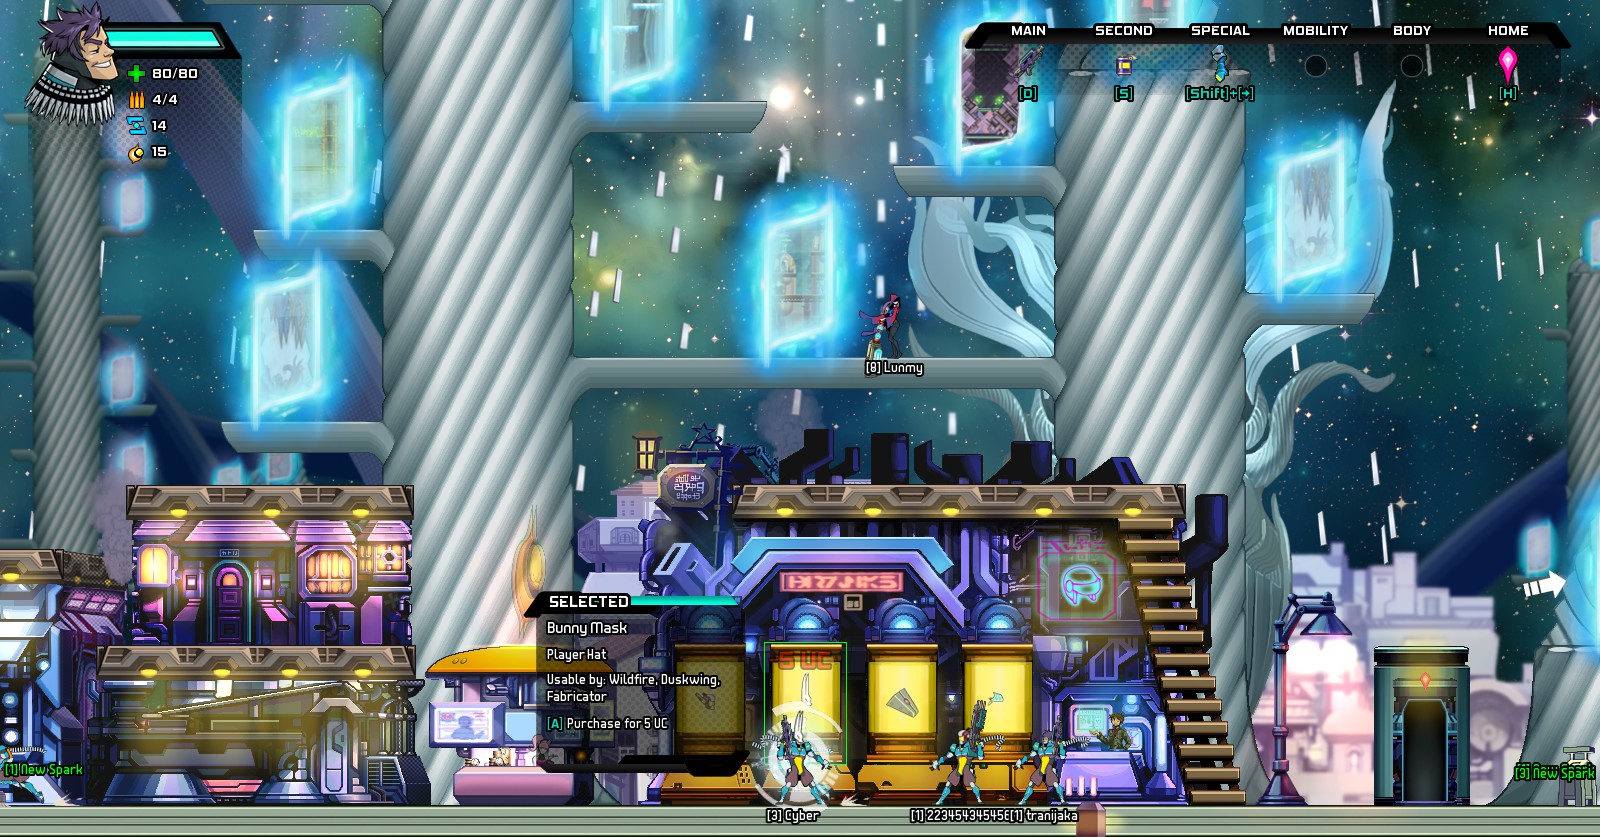
Eschaton Station is your starting location, where you can buy equipment or unique gear to set yourself apart from all the other new shells. Don’t forget to check out your personal home to the left of the start platform. Here you can stash loot or pick up old equipment to take into a zone.
Unlike nearly everything else in this minimalist title, the name change option isn’t found at Eschaton or in your inventory screen. Instead, bring up the game’s main menu and choose “Register.” That’s right, you don’t have to be named NewSpark7739919181717 forever! I recommend taking care of that little piece of bookkeeping first thing.
StarBreak is meant to be played entirely with the keyboard, so it takes some adjustment coming from a keyboard and mouse title. Unlike with an FPS, you are using the arrow keys to move and the Spacebar / ASD / Left Shift keys to fire and utilize your abilities. Learning this layout is critical to increasing your reaction time.
Also breaking from the norm, chat is extremely downplayed here. You can pull up the chat window and start talking, but all communication is kept in a tiny spot on the lower-left corner of the screen. It’s possible to miss it entirely!
If you need to get an idea across to other players in a zone, instead utilize the emotes (using the 1 – 9 keys) to get your point across quickly.
Learning Your Shell
A shell is the equivalent of a class — and as you’d expect, each is focused on different aspects. Unlike with most other MMOs, you can change your shell frequently by entering your personal home at Eschaton Station.
Each shell is tailored towards different play styles and is useful in differing situations. The base Wildfire shell is the most well-rounded and can be used effectively as a ranged combatant in nearly all zones. The full shell lineup consists of:
- Ancient (only available currently in the tutorial level)
- Wildfire (available at start)
- Duskwing (requires level 3)
- Ironclad (requires level 5)
- Fabricator (requires level 7)
Duskwing is focused around getting into close range against an enemy, striking, and then quickly getting away, requiring fast reflexes.
The Ironclad shell has drastically increased health and armor, but moves more more slowly, making it difficult to avoid attacks. This shell is only viable if you already have a very solid grasp of the enemy attack patterns in a zone.
The Fabricator is an interesting support shell that takes a lot of experience to learn, allowing you to create drones that move ahead (and can be used as cover) while you fire from behind.
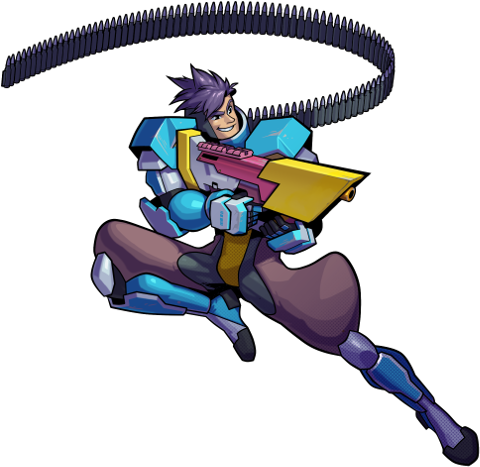 Wildfire Shell
No matter which shell you choose, always take the time to figure out your base weapon and special ability before exploring a zone. The starting shotgun with the Wildifre shell for instance has a nice spread but incredibly short range, so you should get a new gun as soon as possible when choosing this class.
The Wildfire’s “blast” special ability also has pros and cons. While it does significant damage directly in front of you, it also knocks you back a short distance, so obviously don’t use it next an environmental hazard like spikes.
Playing StarBreak Zones
Before heading to a zone (like the starting Fire Forest or any of the harder later areas), take a moment to check the difficulty. Each difficulty offers different types of equipment, and most of the zones have Elite versions with even better loot drops.
After figuring out the keyboard layout, the most important thing to keep in mind is that you can’t move and fire at the same time (although you can fire while jumping), so timing is everything. It doesn’t matter how much armor you have or how much damage your gun deals if you aren’t any good at dodging incoming projectiles while moving up and down the terrain.
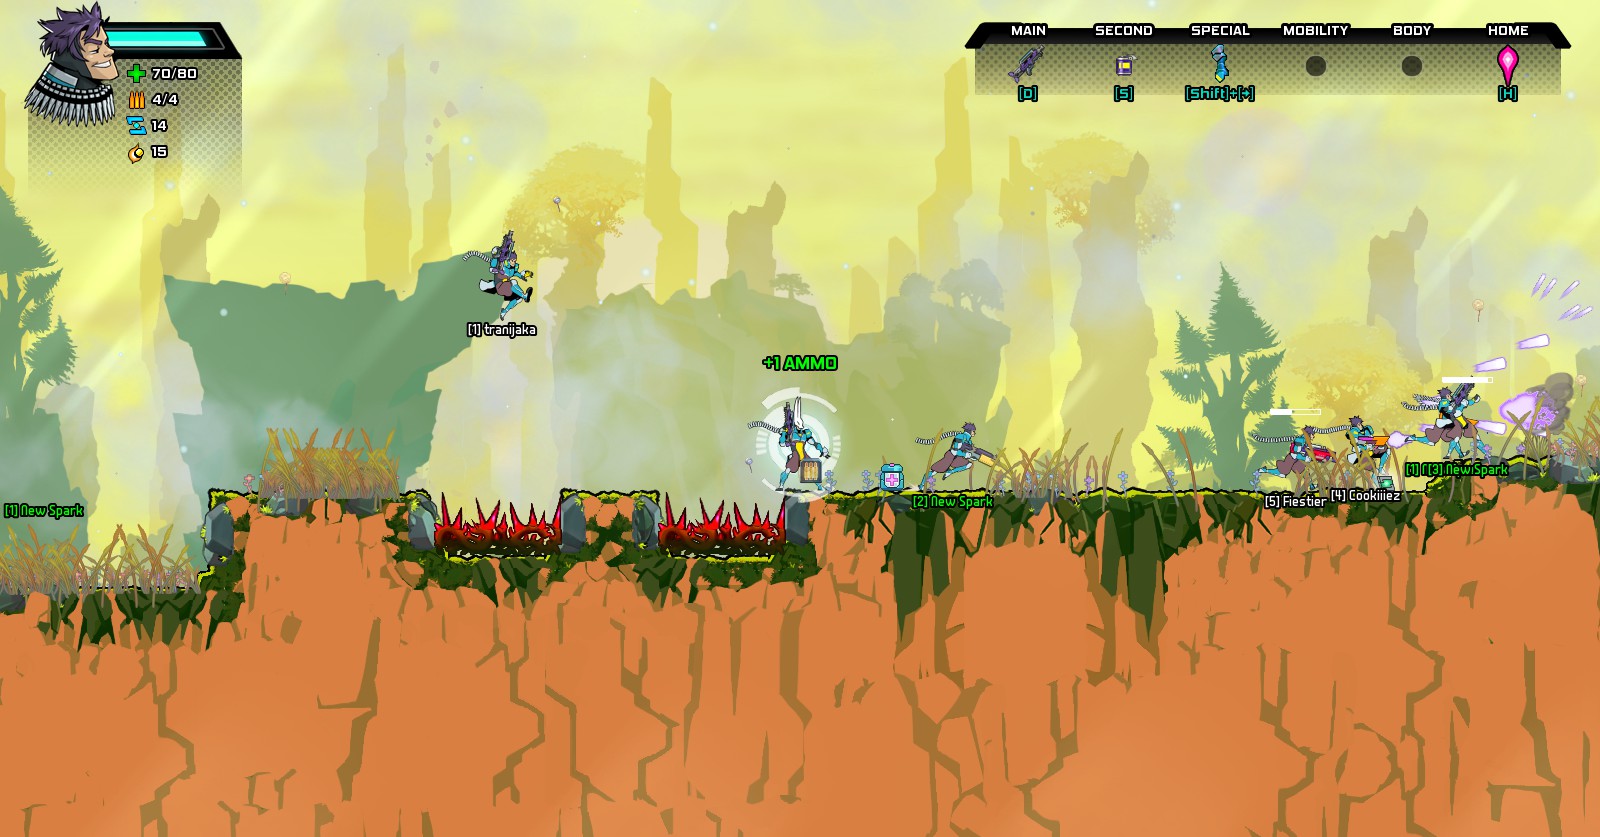
Always use that terrain to your advantage. It’s better to jump up and out of cover to fire off a quick burst (using the Wildfire shell anyway) than to run at the enemies while holding the down the fire key.
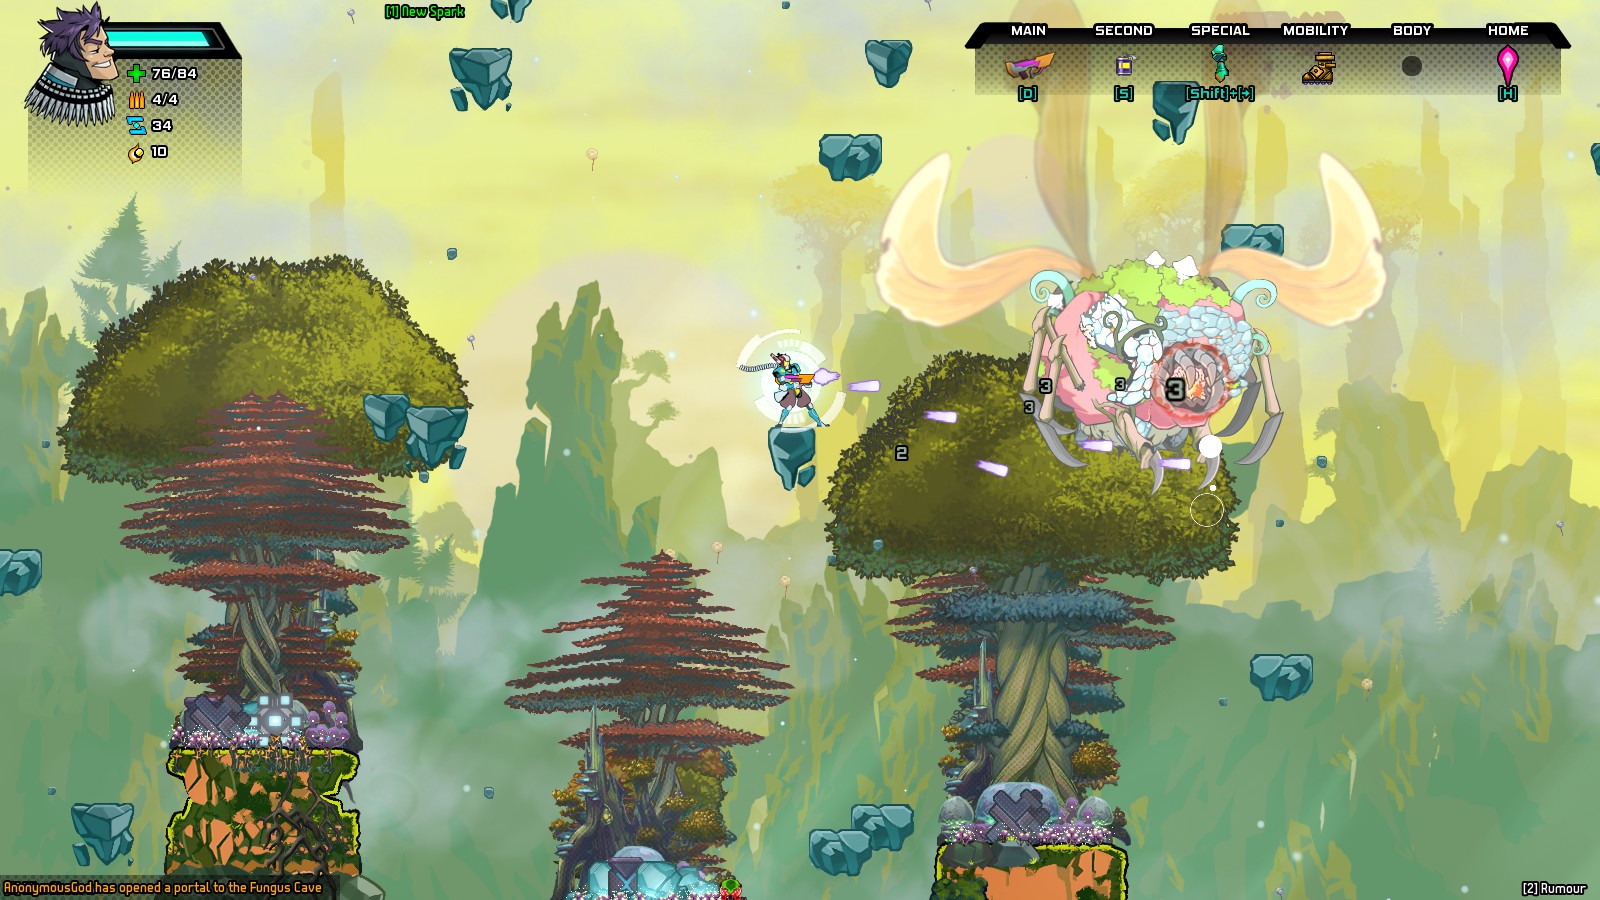 Using terrain to fire and dodge
Killing enemies will randomly result in different drops, from temporary boosts to chests full of loot. Keep in mind that all loot is divided automatically – anything that appears on your screen belongs to you and only you can pick it up. Don’t feel greedy, grab all those boosts and any unattended equipment!
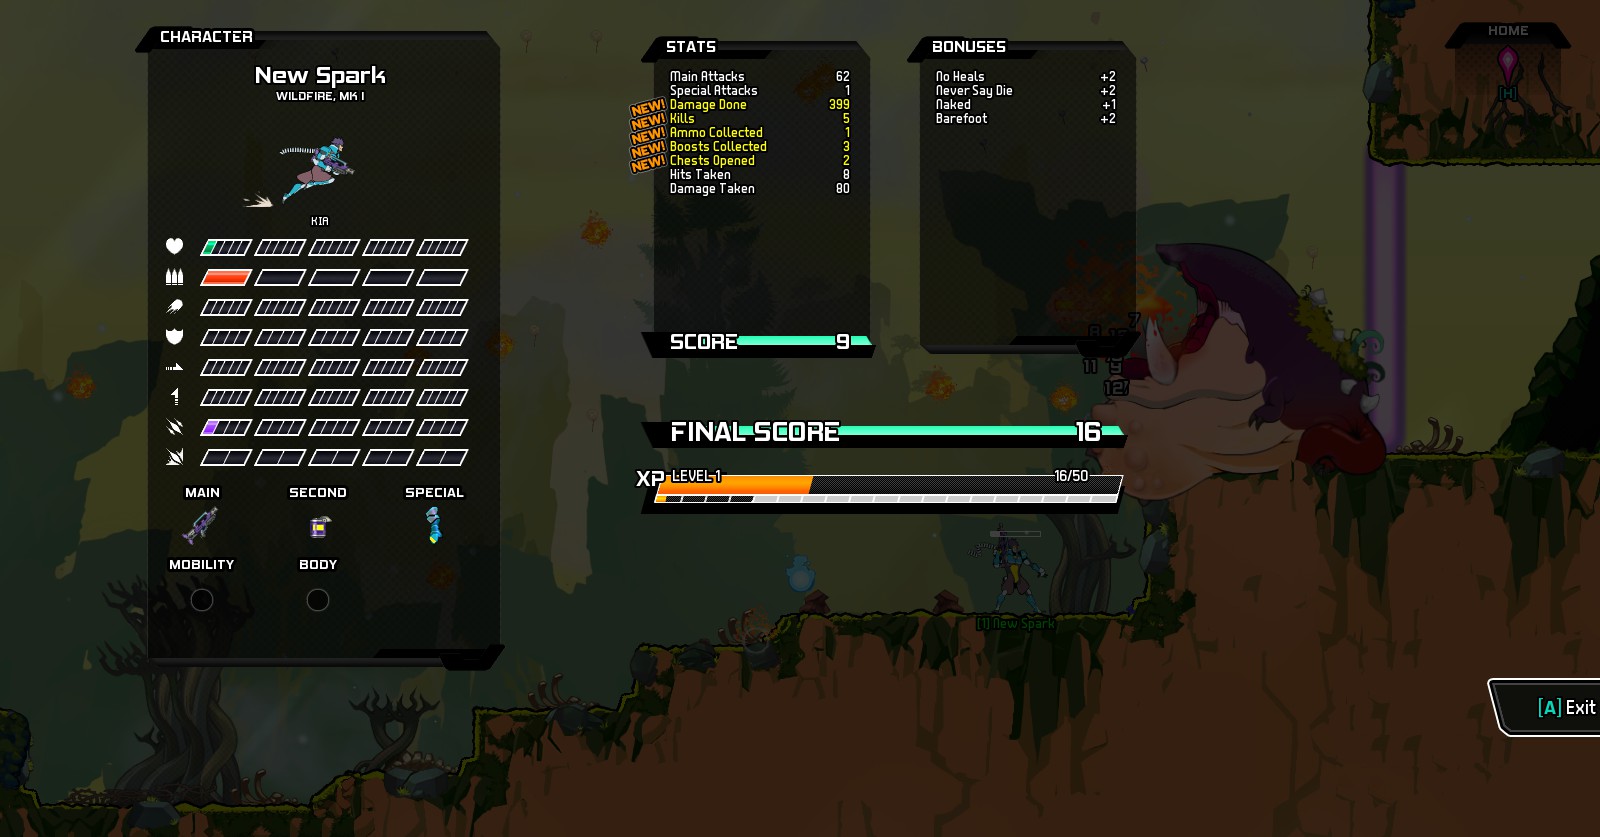
Those boosts — from added jump height to increased crit chances to additional ammo — add up and don’t go away at the end of a zone either, so grab every one you come across. Boosts only disappear when you die. To see your current boosts, hit C to bring up your character stat spread.
Because of the randomized drops, its a good idea to go through and take out as many enemies as you can, rather than making a beeline for the end of the level, as you will get more drops that way.
Hitting the H key lets you return home, no matter where you are, but you must remain still for 10 seconds if you are still alive. Obviously this isn’t a viable option in a deadly fight, but you should consider returning home during the level periodically, especially if you find better equipment than you currently have.
Anything you have currently equipped or placed in your inventory is lost upon death – unless it has been stashed in your home.
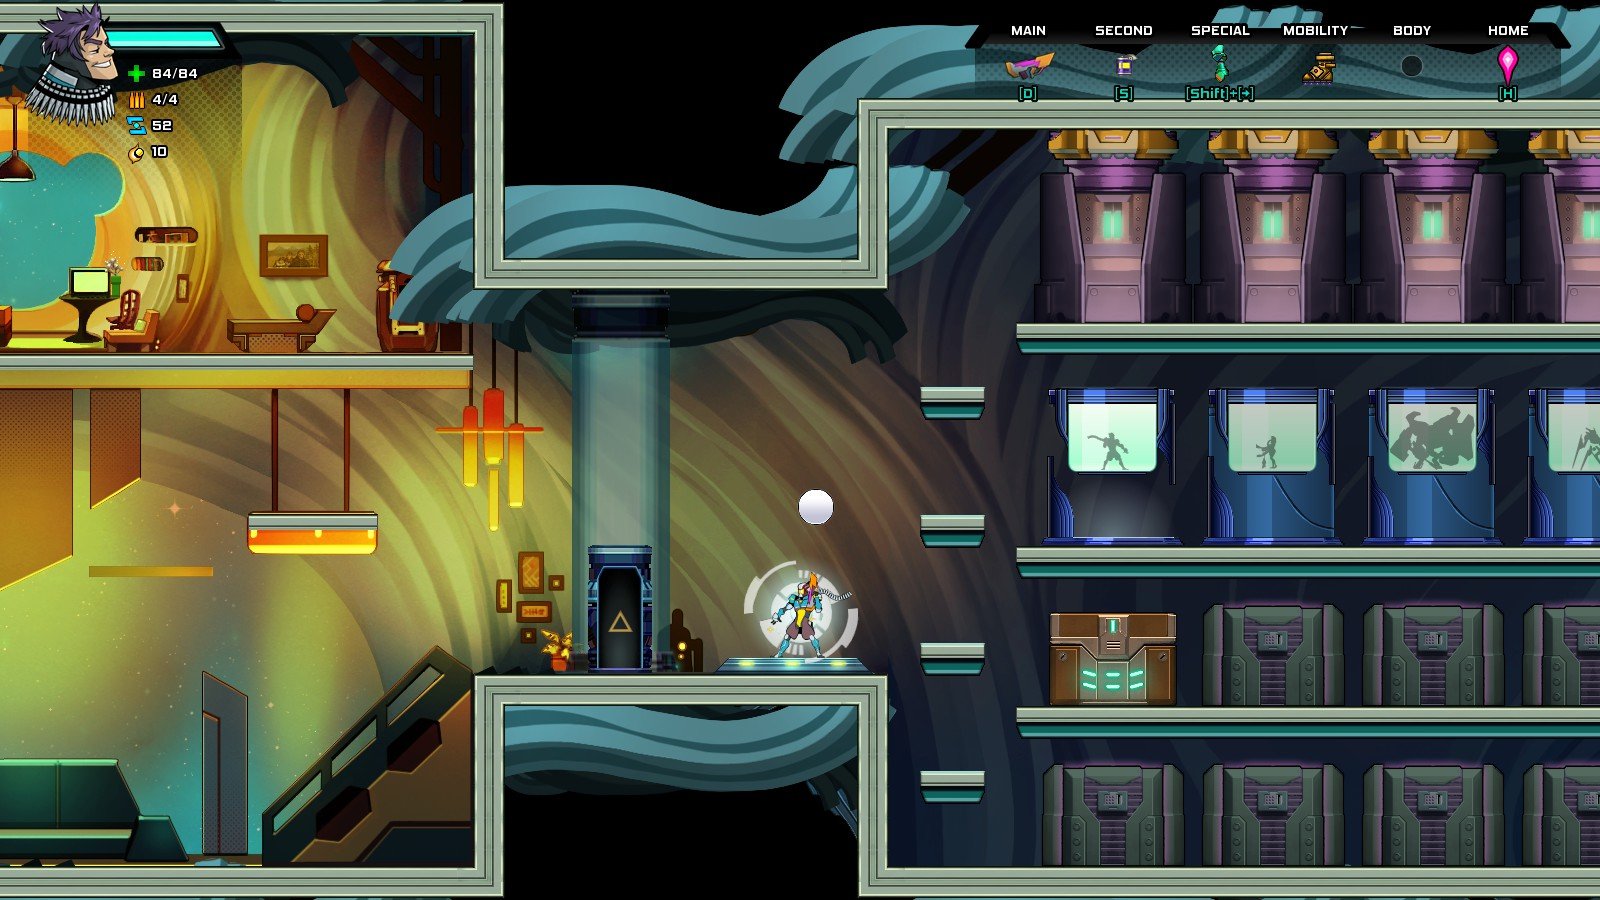 Heading home to stash equipment
Most levels have a large boss and some also include a mid-boss partway through. These all follow very specific patterns, so you should hold back and watch their attacks before approaching and starting your assault.
Crouching and jumping will usually be key to avoiding fireballs and laser blasts, but be sure to keep in mind that ranged attacks have a maximum range before they disappear. Learning where each dangerous object will pop out of existence is key to surviving and returning fire.
Stay tuned for specific boss and zone guides coming soon!
Going Solo Or Running With The Herd
There are basically two ways of playing any given zone – running directly with a herd of players (sometimes called “leeching”), or going solo away from the pack.
For survival purposes and learning the layout of each zone, traveling in a group is a generally much better idea. Although it can get difficult to see where you are in a horde of players, especially in earlier levels where everyone looks similar, survival and success rates go up in larger groups.
However, traveling solo will actually make you a better player, as you will learn the enemy attack patterns, and killing enemies results in more drops.
There is one last aspect of the game that requires a certain degree of cooperation between players – opening the Star Cathedral. This zone only becomes available when enough keys (gained by completing zones) are deposited, so you do have to work together to some degree, even outside of zone combat.
Don’t Be Afraid Of Dying
Normally death is a very bad thing in an MMO, and to some extent it is in StarBreak, since you lose all your non-stashed equipment. However, it’s also critical to advancing here. Experience is only granted after dying, so you actually need to be taken down to level up (don’t forget to stash your best loot first before dying).
After dying, your shell will disappear and you exist as an invulnerable spark. Don’t run home yet – you can actually continue exploring the immediate area as a spark after you die, watching how enemies behave and seeing how other players tackle the challenges that took you down.
That’s all you the basic info you need to get started with Starbreak – let us know which shell you have the best luck with and be sure to leave a comment with any other tips to mastering this non-traditional MMO!





Published: May 10, 2016 01:48 pm