StarBreak’s already-challenging difficulty increases significantly from the Fire Forest zone to the Fungus Cave. This is where you start to play the game for real and truly get into the heart of how StarBreak works.
Definitely go through the Fungus Cave with a group on your first try or you will be incarnating a new shell very quickly. There are significantly more enemies in this zone than the last one, but on the other hand, that means more chest drops – so grab all the equipment you can!
If you want to know what to expect and avoid the trial and error of repeated deaths, below we cover everything you need to know to make it all the way to the boss in one try. If you need help with other areas, be sure to check out:
Fungus Cave Enemies / Hazards
Many objects in this area appear to be part of the background but are actually either boons or hazards. Here’s what you should be looking out for while leaping and dodging your way to the boss.
Acid Drip
This guy doesn’t look like an enemy until you see it move… and drop acid on you. Stay to the side and fire at an angle to avoid getting hit from above. He can quickly kill you with acid drops if you aren’t careful or don’t notice him hiding up above.

Mushrooms
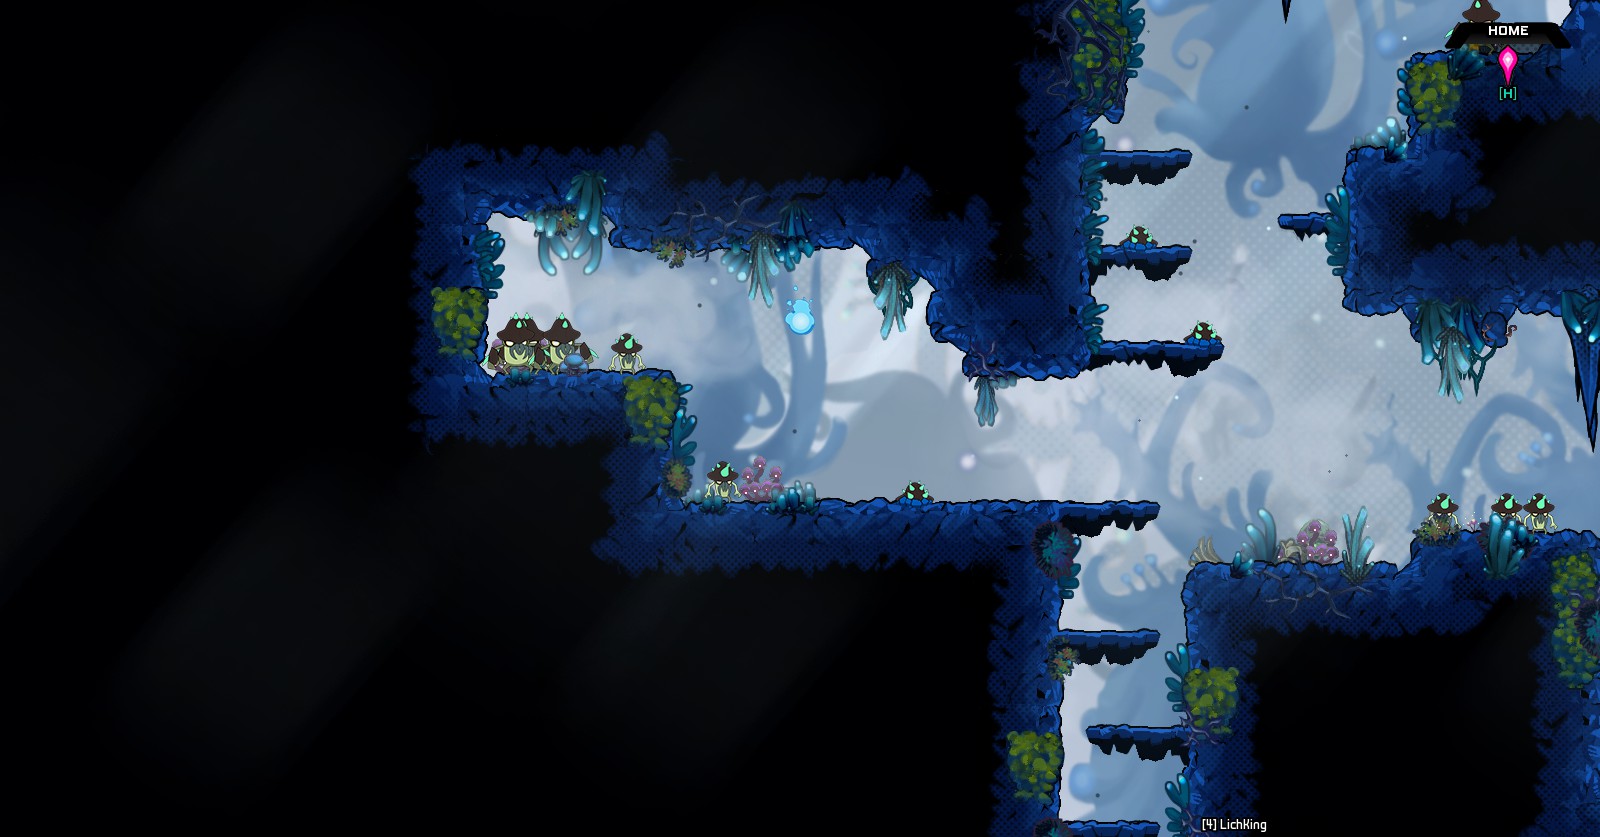
These are your basic enemies in the Fungus Cave, and they come in two varieties: melee and ranged. The ranged attack is simple to dodge if you just pay attention to the arc. These enemies are best taken out at range while staying safe above or below on the many platforms in the vertical tunnels.
Birds / Wasp Worms
These little flyers will hang out together while hovering in the air for a few seconds, making them vulnerable if you act fast.They will then fly at you quickly and at an odd angle – you frequently have to jump while firing to hit them.
Sawblade
These tiny versions of the Fungus Cave’s mid-boss deal lots of damage, but have a very predictable pattern, moving forward slowly and then rolling up and charging quickly. Just time your jump to leap as they are nearing you and it should be simple to return fire. Repeat the process until they die.
Big Enemies – Mouth Man / Green Blob
There are two major large enemies who aren’t bosses, but essentially act as them anyway, as they block your progress and are taken down more easily with a group.
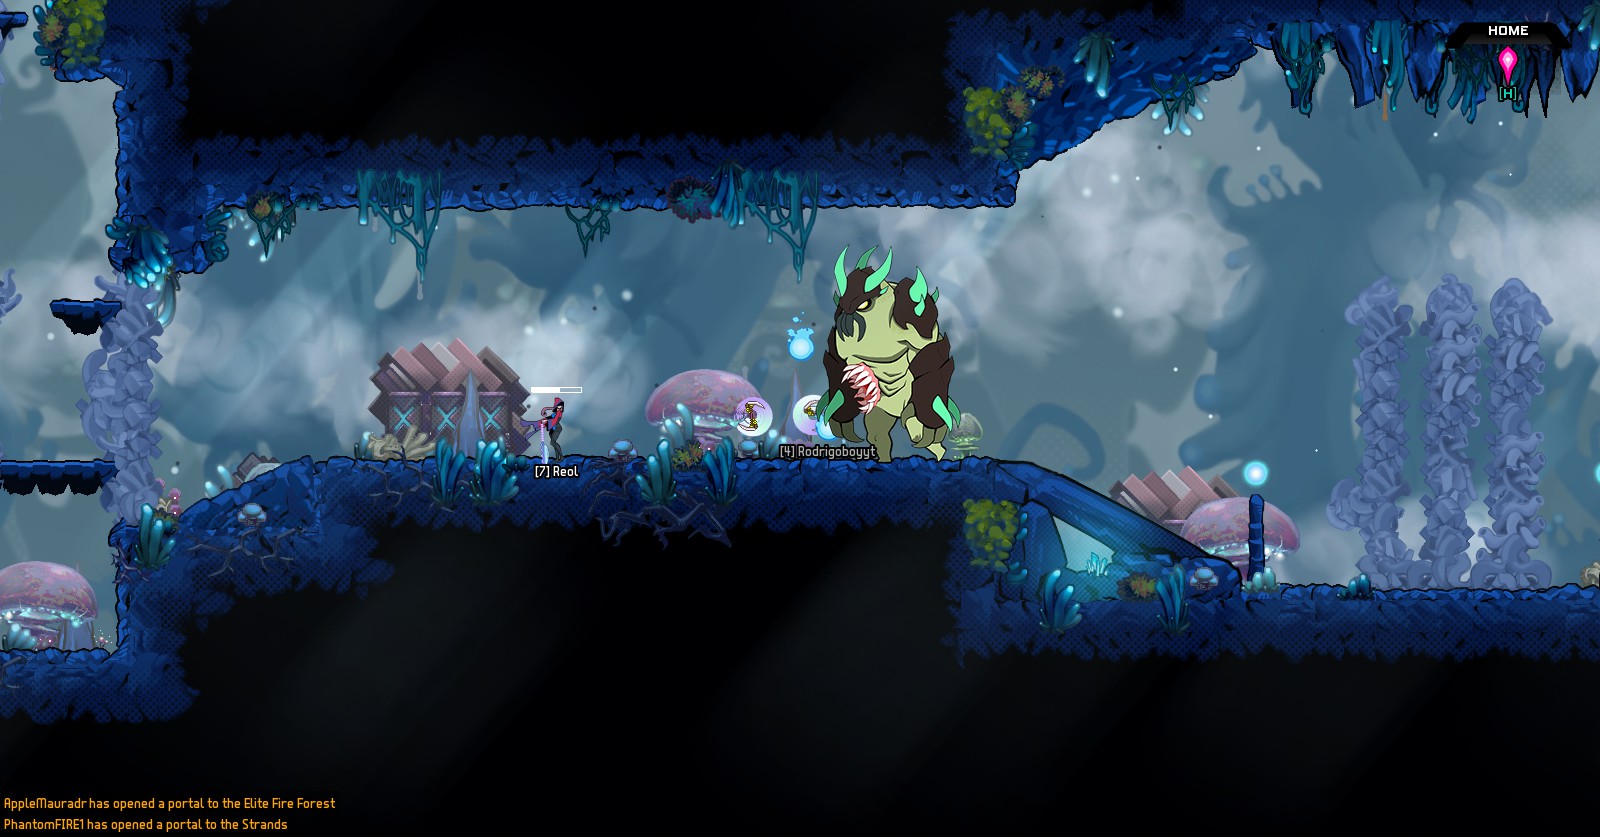
First up is the part animal / part fungus Mouth man, who walks back and forth on horizontal areas. Dodging him is easy, but what you have to watch out for his is sonic strike, which sends out damaging waves either straight or at an angle.
They only shoot forward for a short distance before rebounding however, so if you memorize the distance, you can stay just outside the sonic blast’s range when it fires, wait for it to rebound, and then run forward and fire. Playing solo, this will take several cycles to take the enemy down.
Next is the massive Green Blob, who typically remains stationary or moves very slowly. Hitting him his simple, but be very careful if you are using a melee focused shell like the Duskwing, as the Green Blob splits into a bunch of tiny blobs when he dies.
If you are playing solo, both the Green Blob and the Mouth Man are a great place to use your frag grenade (or whichever special item you currently have equipped).
Healing Pools
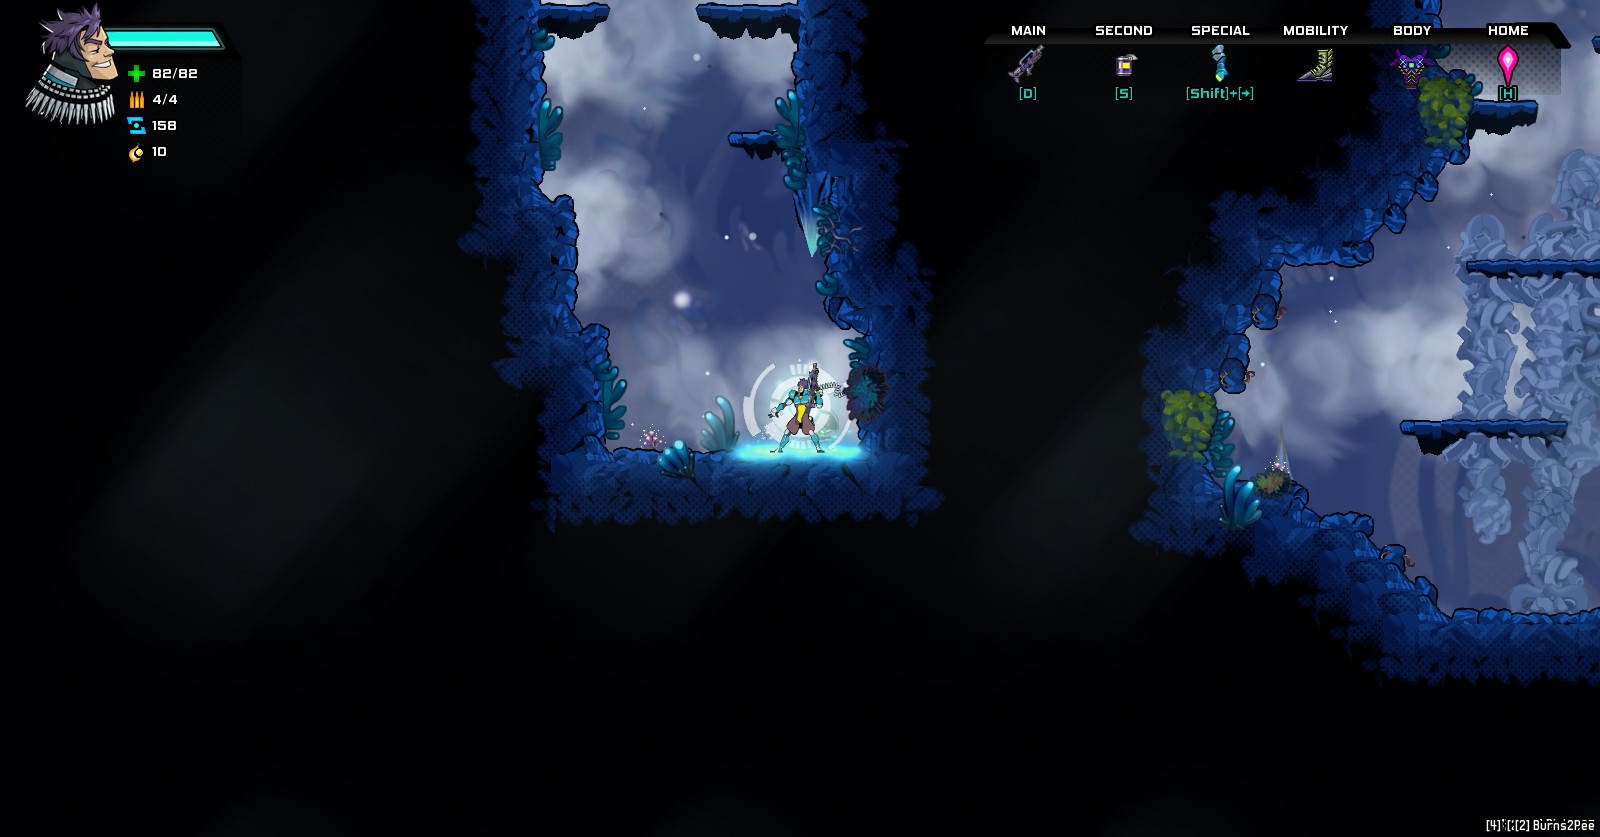
Not everything in the Fungus Cave is deadly. At the bottom of deep chasms you may notice a patch of glowing blue light – jump in a free 50 hp heal! This is incredibly useful if you haven’t found any health drops lately, so keep your eyes peeled.
Fungus Cave Loot / Recommended Equipment
As the second zone, you are probably going to be hitting this area as a Wildfire shell still. In this instance, the normally useless starting shotgun is actually a decent option. While it has short range, the spread makes it easier to hit flying enemies and to get it multiple hits on the large, slow moving monsters.
If the shotgun isn’t your speed, the best weapon to utilize here is the compound repeater, which can drop in chests in this area. Normally the lack of accuracy on the compound repeater seems like a drawback, but in the cramped spaces of the Fungus Cave with large enemies and tiny flying creatures, it’s actually a strength.
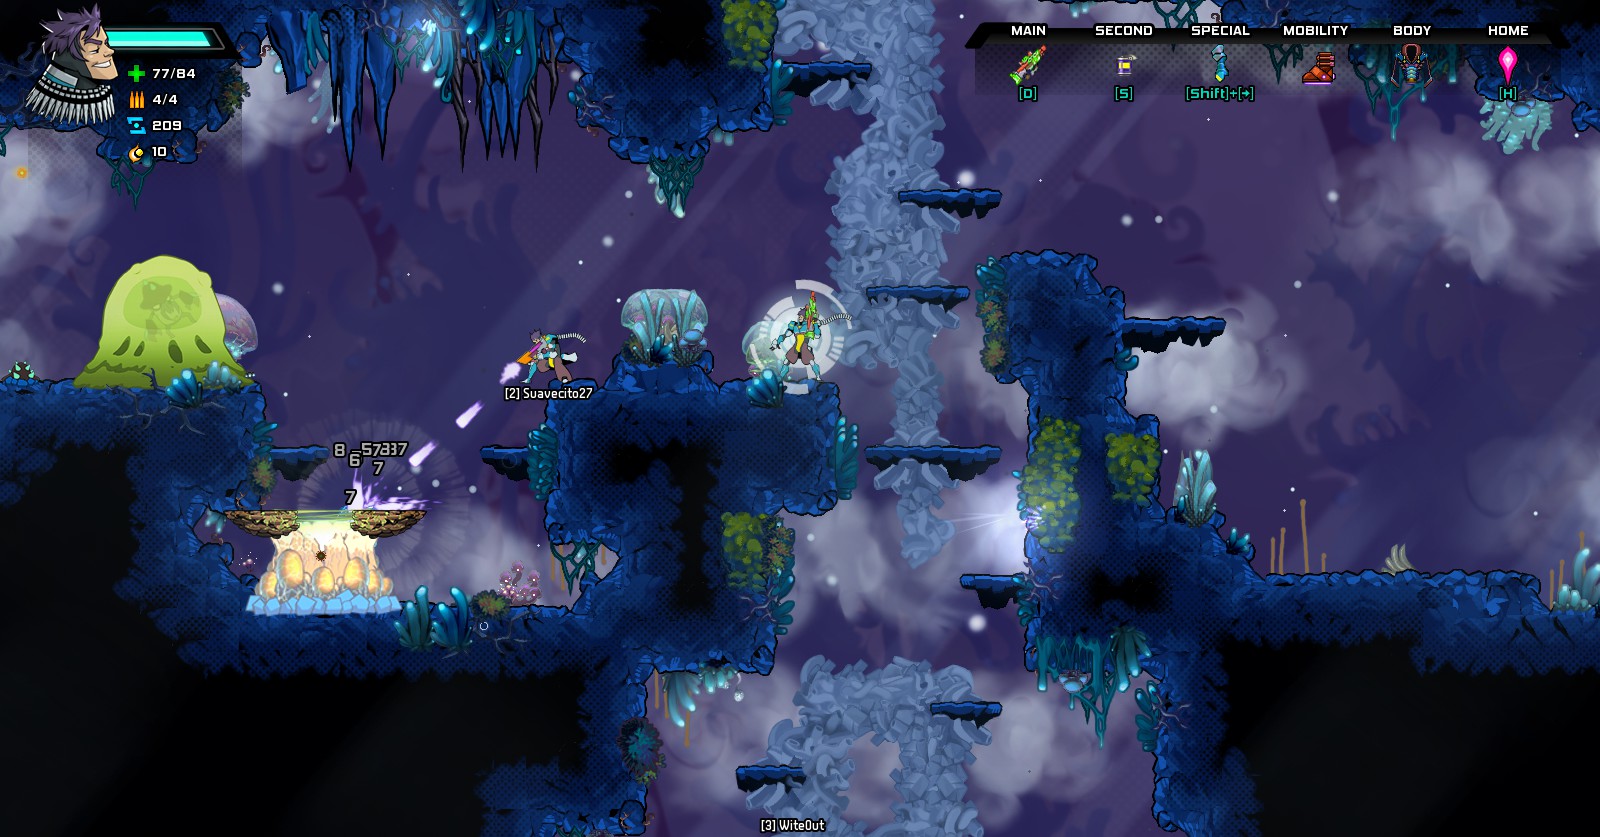 Firing diagonally with the compound repeater
When you hit level 3, the Fungus Cave is a great first zone to try out the Duskwing shell. Practice using the spinning buzzsaw strike with your skein here, especially by jumping vertically to take out Acid Drips or Wasp Worms above you.
Chests drop most frequently from the large enemies like the Mouth Man, but also from stationary hazards like the Wasp Worm Nest. These are the loot items you can find for Wildfire and Duskwing shells:
Wildfire
- Compound Repeater (available in custom varieties with different ranges)
- Contrived Frag
- Withering Blast
- Durable Talons (armor)
- Durable Trackers (armor)
- Durable Jerkin (armor)
- Durable Hyrst (armor)
Duskwing
- Cobalt Skein
- Falcate Aesc
- Beloid Warp
- Durable Trackers (armor)
- Durable Hyrst (armor)
Fungus Cave Secret Area
As with the Fire Forest, there is in fact a secret area randomly made available in different instances of the Fungus Cave and not readily marked on the map.
For this zone, what are you looking for is a small indentation in the wall on the right-hand side that is topped by a tiny rock protrusion. Simply walk into the wall – if the secret has spawned in this instance, you will pop out in a room with a giant glowing rock and a free chest o’ loot!
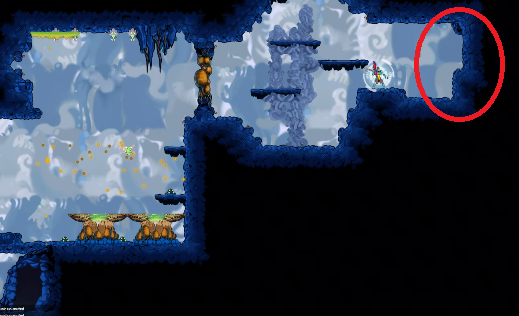 Fungus Cave secret area entrance
Fungus Cave Boss Guide
Mid-Boss: Teen Worm
This oddly named, tentacular boss has three different attacks that you’ll need to learn to avoid. His main ranged attack is a glob of acid that is avoided by ducking or jumping up, depending on your position.
Next up is an arcing ball of acid that bounces when it strikes a surface. Get ready to quickly jump twice or jump and then run to avoid its movement. Last is a squirt of acid that sticks to the ground after it lands – stay clear of the area until it fades away.
Take on this giant mid-boss with a small group and he should go down without much fuss after you’ve learned his attacks. Essentially, he’s not much harder than the Mouth Man, even though he has more attacks.
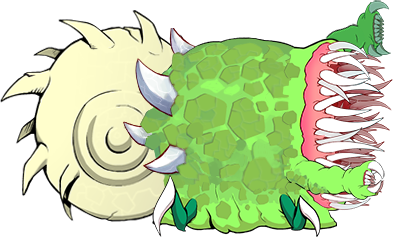
Boss: Sarlacc
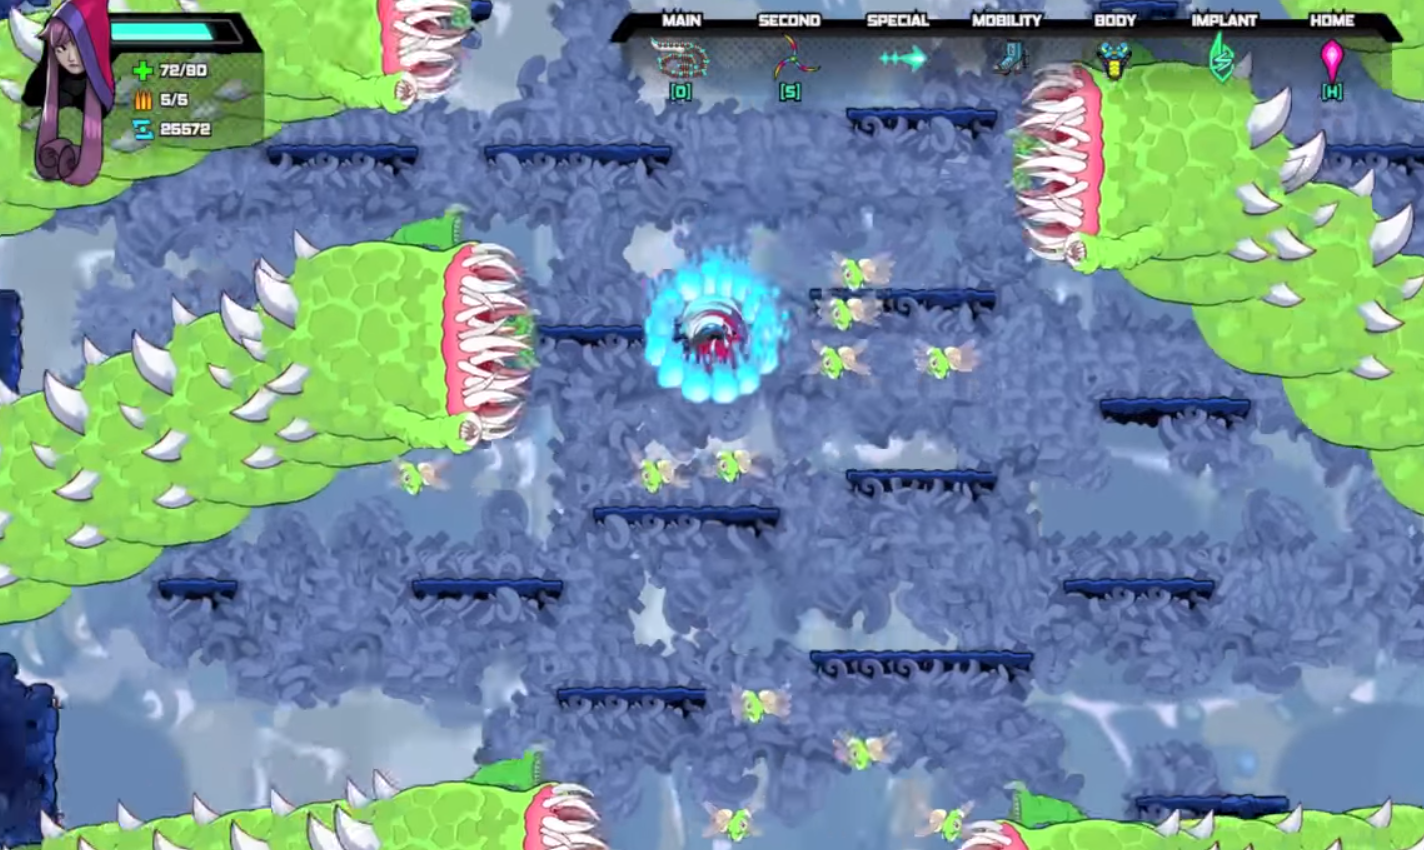
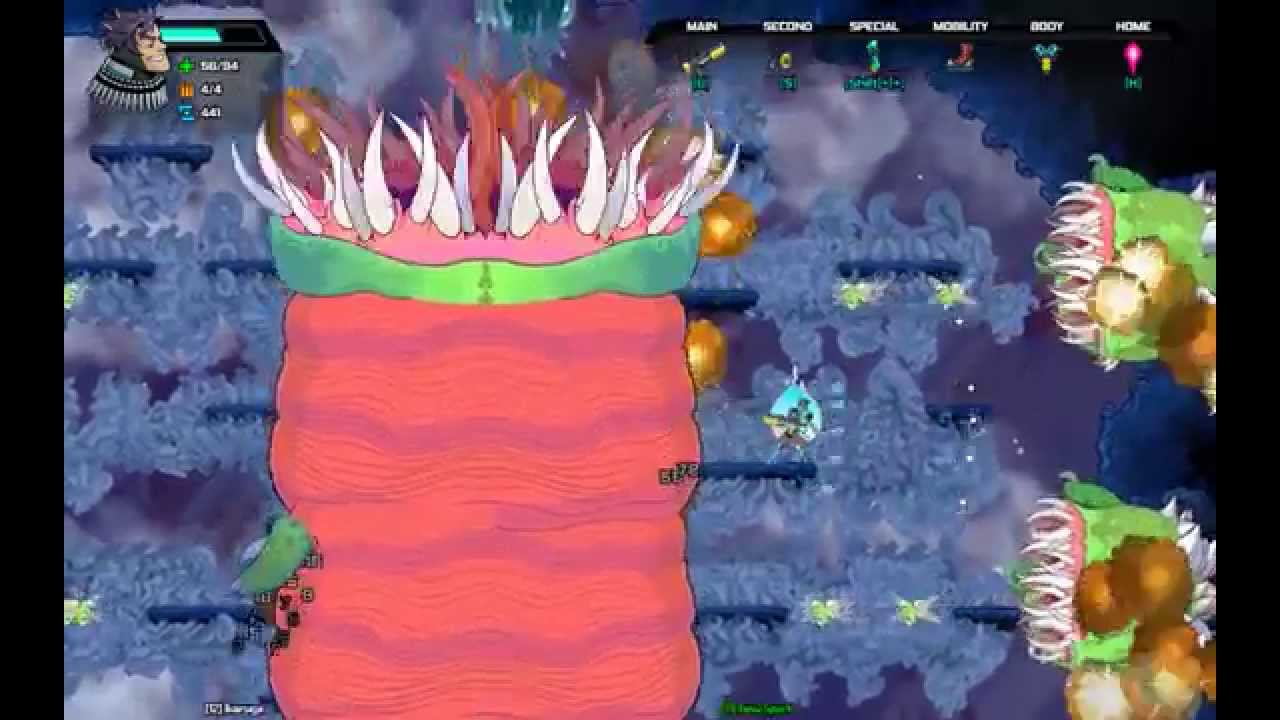
Before taking on the Sarlacc himself, be sure to focus on destroying the Wasp Nests on the walls so you don’t have to both dodge Wasps and the attacks of the boss. The actual boss fight is broken into two segments.
First, smaller worm-like Sarlacc tentacles will attack from the left and right side of the screen, which are fairly easy to avoid once you learn their speed and the signs of when they are about to strike. If you take out the Wasp Nests and stay in the middle, it’s simple to defeat the worms and move on to phase two.
In the second segment, a gigantic Sarlacc comes up from the middle, so quickly move to the side! Get in as much damage as possible while it moves up and retracts back down. If you have figured out the Duskwing’s vertical attack, you can get in massive damage jumping up and down just to the left or right side of the Sarlacc.
After retreating to the bottom of the screen, the boss fight reverts back to phase one. Repeat the same procedure taking out the side worms and then hitting the main worm when he rises from below. After four or five cycles, the boss will be defeated.
That’s all you need to know to survive the Fungus Cave! Let us know if you managed to find the secret cave and if you have any other nifty StarBreak tips and tricks to make this zone easier!



Published: May 12, 2016 05:18 pm