I had a ton of ideas going into Super Mario Maker 2, and one of the first was a shmup course using rising and falling water levels using Cheep Cheeps as an obstacle for players. First, though, I had to learn how to make water rise and fall, rather than just rise.
You’ve surely seen player-made courses with water or lava rising up and falling back down, and you may have wanted to make a course using that feature but were unable to figure it out. I was in that boat, but it’s actually incredibly easy to get your water or lava to go both up and down rather than just up.
First, you need to use either the Forest or Castle themes. The Forest theme allows for rising water, and the Castle theme allows for rising lava. This works in all styles, including Super Mario 3D World!
How to Adjust Variable Water Levels
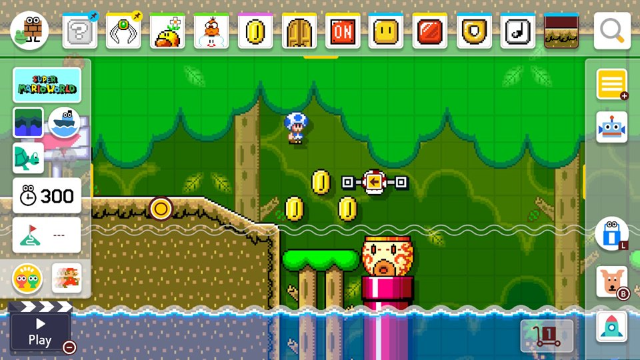
When you tap on the steamboat water/lava icon on the left side of the screen, the overlay will change specifically for you to adjust the default and rising liquid levels.
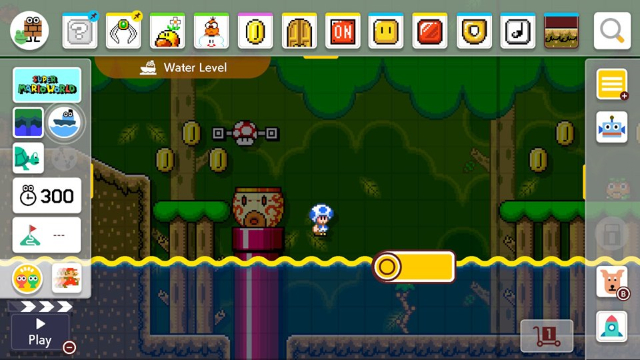
It may look like you can only tap on the blinking dot, but the water widget is actually two separate widgets. You can separate the yellow bar from the yellow orb.
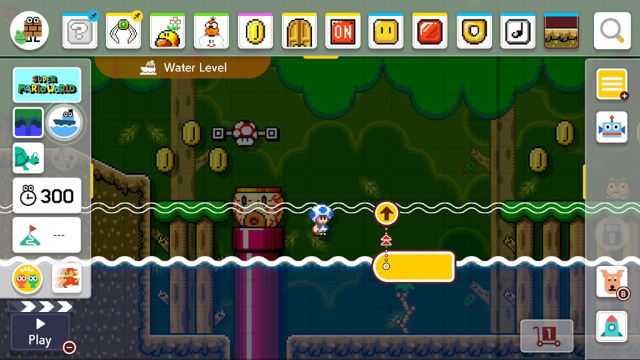
The bar is used for the default water level, and the orb used for the maximum or minimum water level.
You can set the default water level higher than the variable level, meaning you can make the water flood out rather than in. It’s pretty neat!
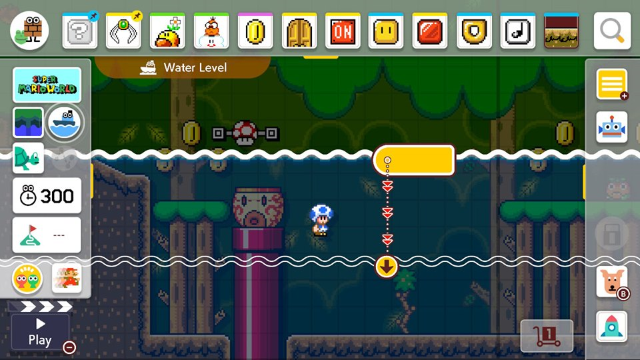
How to Make Your Water Rise and Fall
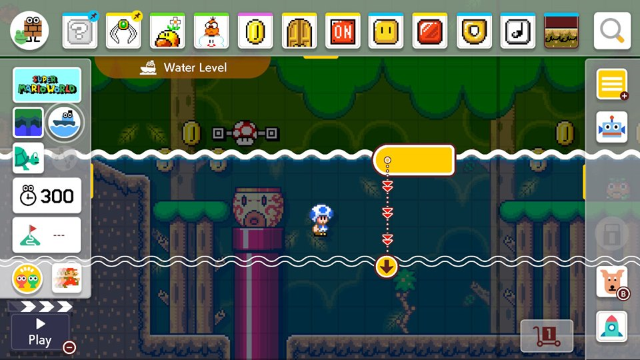
Now, how do you make your water or lava repeatedly go up and down? Tap (not hold) on the orb to change it from one direction to two.
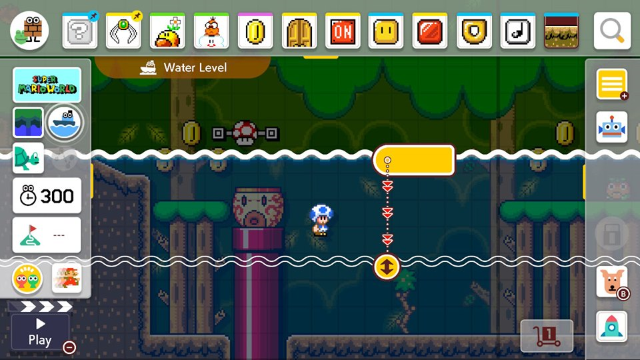
The orb will have a double-headed arrow rather than a single-headed arrow when it’s set to make the water rise and fall. Easy peasy.
How to Set Rise and Fall Speeds
Tap and hold on the variable orb to bring up the rise and fall speed options. Yellow with one arrow is slowest, red with two is medium speed, and blue with three arrows is fastest.
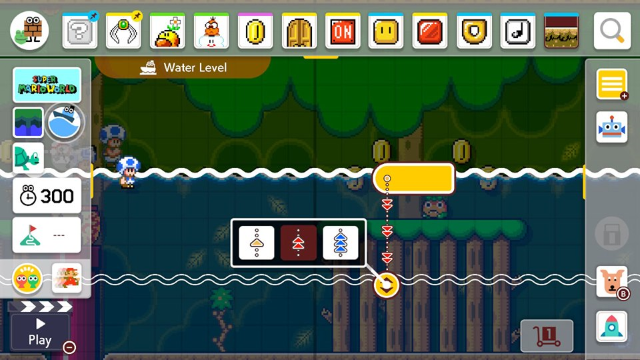
Test which one you like best for your course before slapping it up on the Course World!
Finding this out helped me make that shmup level I dreamed of since the water level feature was revealed, and hopefully it’ll help you make that perfect course in Super Mario Maker 2 as well!




Published: Jul 4, 2019 02:35 pm