The Conjuring House can be a difficult game to complete. This fact has less to do with the house’s demonic denizens and more to do with the random nature of its puzzles.
Offering a non-linear progression style, The Conjuring House allows players to tackle certain quests as they see fit. There are times, however, when a certain quest (and its accompanying puzzle) will need to be addressed in accordance with the game’s plot.
To keep the non-linear aspect going, these puzzles will sport random elements; though the solution will be similar each time, the actual answer may differ.
The Padlock Quest, which tasks players with finding a four-digit code written in blood, is a perfect example of this. This early quest is tricky for two reasons.
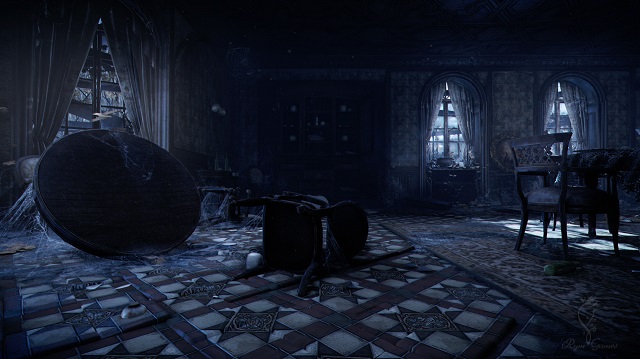
The first is that the numbers are always different – not just from one playthrough to the next, but between saves as well. If you saved your game after finding two numbers but die shortly after finding the third, the combo changes. The game will keep the first two (since you were able to save) and change the third.
The second issue is that the locations of each number also change. The good news: I’ve compiled a list of the places these bloody numbers can spawn.
Note: Aside from the first number’s location, the spawn points don’t follow any real order. I’m merely listing them based on their proximity to the quest’s starting point — not when the padlock is found, but when the game allows the player to search for the code.
The First Number in the Padlock Quest
The first number is the only number that is always in the same place.
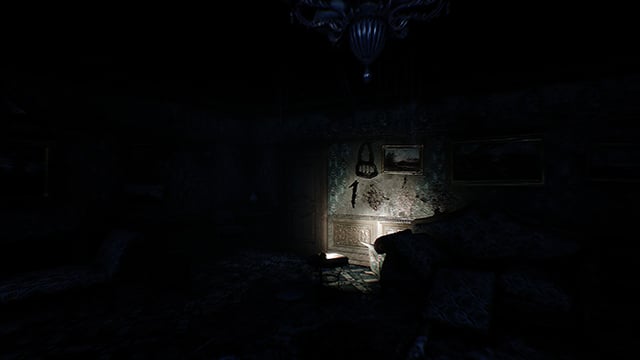
There’s a point in The Conjuring House when you’re forced to follow a ghost into a locked room; there will be a mini-cutscene that ends with a raven crashing through a window right before you get to the door.
Here you’ll find the first number painted on the far wall under a bloody padlock, both of which are illuminated by a flashlight. This is a major part of the story (and where the quest starts) so there’s no way to miss it.
Spawn Points for Numbers 2 & 3
Spawn Point 1
After finding the first number and escaping the room, you’ll need to flee from a demon. Once that ordeal is over, it’s time to exit the safe room to search for the second number.
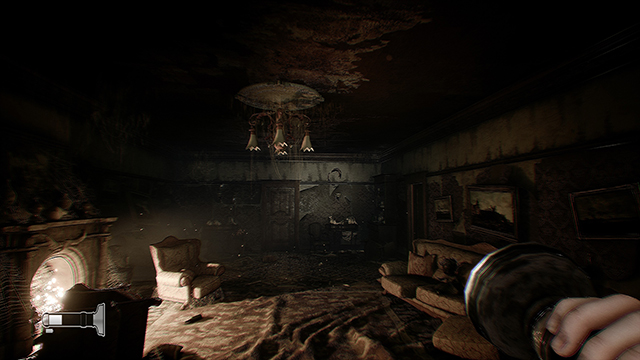
I recommend heading toward the room with the lit fireplace; it has the rickety chandelier, creepy dolls on an unkempt couch, multiple paintings, and several chairs.
Just head through the door on the left, with the safe room to your back. As soon as you walk in, the spawn point will be straight ahead – above and to the right of the door directly in front of you.

Spawn Point 2
From there, head through the door on the right (right past the couch). Turn to the right and go through the door on the left, through the room with the unlit fireplace.
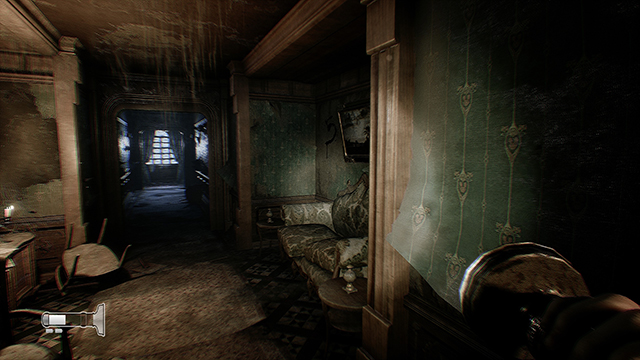
Go through the door in front of you and down the long hallway. Continue going, moving through the adjacent halls until you come to another couch – it’ll be on the right with a table to the left.
The spawn point here will be above the couch and to the left of the painting.
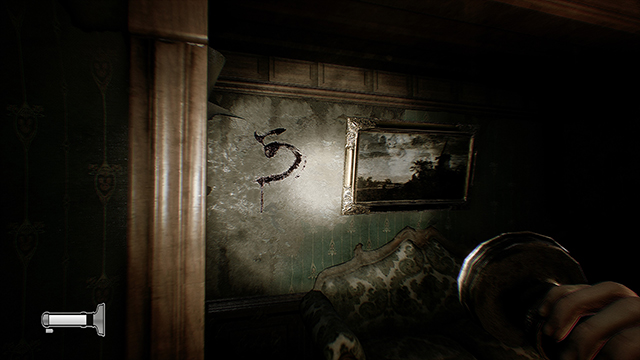
Spawn Point 3
Continuing down this hallway, you’ll end up in the hallway where the padlocked door is.
Instead of going to the door, head in the opposite direction and into the bathroom on the right.
Turn right and shine your flashlight on the wall to (hopefully) reveal a number in this spawn point.
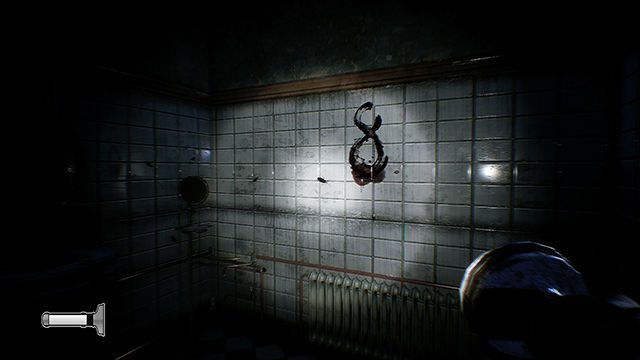
Spawn Point 4
After you leave the bathroom, head back by the couch/second spawn point in the hall, take the door to the right.
At the end of this hallway is the second safe room. Before you get to that though, there’s a table on the right. The spawn point is right above the table; you’ll need your flashlight to see it.
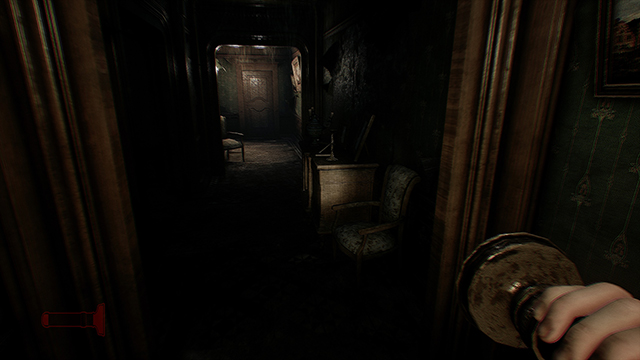
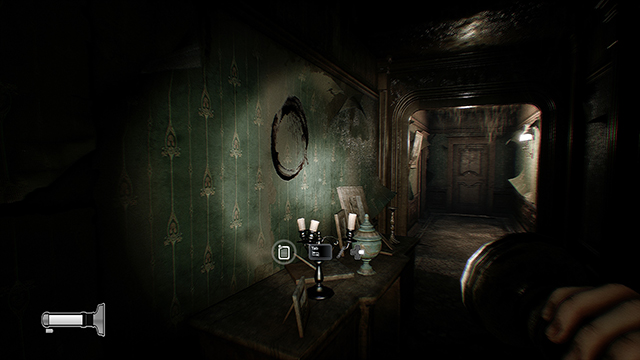
Spawn Point 5
Standing in front of the table, turn around and run down this hallway. At the end, there will be an open area on the right.
It’ll be the one with the gramophone, a chair with another creepy doll, and three adjacent windows.
The spawn point is on the wall to the left of the creepy doll.
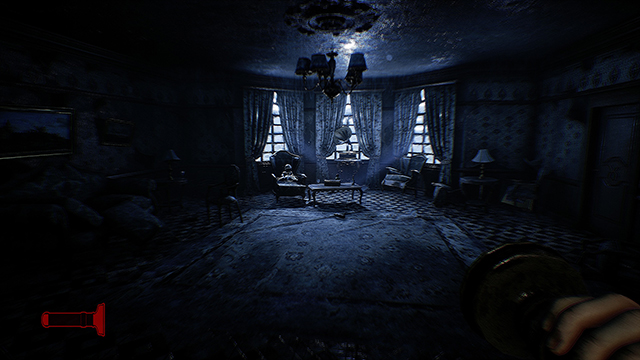
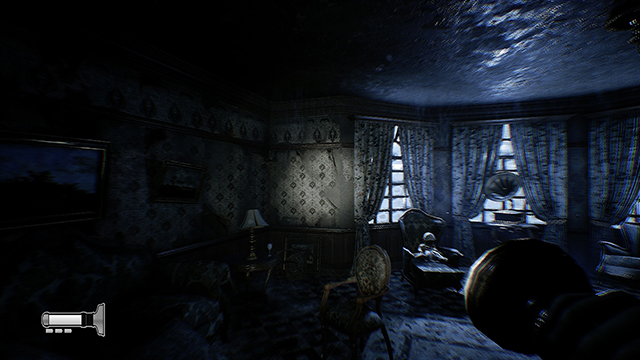
Spawn Point 6 (The Last Spawn Point)
From here, turn around and go back into the hallway.
Turn right and shine your light on the far wall, revealing the final spawn point.
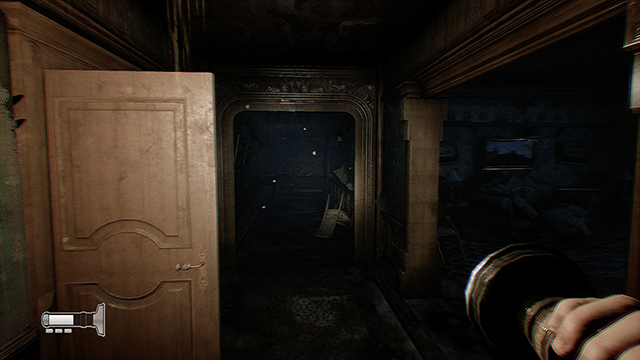
As you can see, there are six different places for the numbers to spawn. Thankfully, you only need three of them to be correct (the first number is given to you).
One thing you’ll want to do is save after finding each number or else you’ll have to re-check each spot upon loading your game.
Padlock Quest Glitch
Playing through the Padlock Quest, there seemed to be a one pesky glitch that kept the last number from spawning. I’ll take a look at it below and tell you how to get past it.
Finding a Certain Window After Finding the First Number
To find this window, head back to the hallway with the couch/second spawn point. Head to the right of the couch (when standing in front of it) and follow the hall to the left.
You’ll see a little area to the left with a window, one chair, and two lamps (on either wall). Walk up to the window to cue a creepy cutscene and a lamp will turn on, letting you know you’re at the right place.
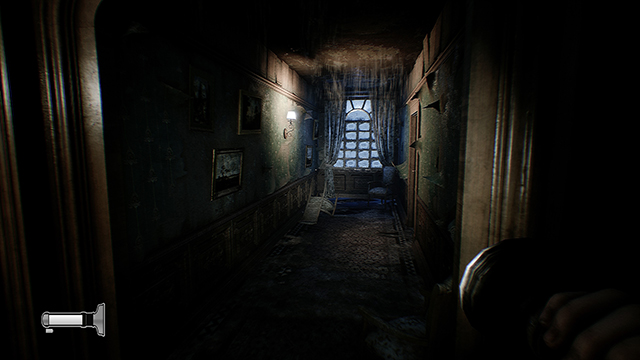
I’d recommend learning how to get to these places before starting the Padlock Quest.
This is possible after you’ve acquired the second key, which allows you to access each area mentioned above. Just avoid the first number area by not following the ghost into the locked room; you’ll know which encounter I’m speaking about when it happens.
Once you’ve learned where these places are, finding each number shouldn’t be too difficult. Completing the puzzle is another story, though; not only will you need to put the numbers in the right order once found (their order is always random) , you’ll have to occasionally flee from the demon that haunts the Conjuring House.
Reaching one of the two available safe rooms is the only way to survive. Once she leaves, it’s back to finding the bloody numbers.
The “Final” Spawn Point
Update:
Finding the final padlock number proved rather challenging. So much so, that I reached out to Rym Games (via my PR contact) to see if there were any other known glitches. The answer I got back was odd.
Apparently, the last number won’t show up on the walls in the normal locations. Instead one would need to grab the game’s third key found in a safe (I’ve detailed how below). He also said that there are more than six spawnable locations in the house.
The thing is, another writer and I both saw all three numbers on walls during a single playthrough. And none of them were in any other place than what I’ve mentioned above.
There have been two updates since we received our codes for The Conjuring House. So, the Padlock Quest might have changed/been altered after our initial playthroughs; we were able to get past this section without using the key.
That said, I’ve since restarted the game and gone back through this section multiple times. I still couldn’t get the second and third numbers to spawn in any locations other than what’s listed above. I was able to get the fourth to spawn in a new location though…the one specified by the dev.
The first thing you’ll want to do, after finding the other numbers, is to head back to the hallway with the padlocked door. Again, you’ll go towards the bathroom, passing it on your right. At the end of the hallway will be a door (also on the right) that leads to the library. Once inside, you’ll want to head all the way to back left corner of the room where the safe is. Shine your flashlight above it to get the code to unlock the it and grab the key inside.
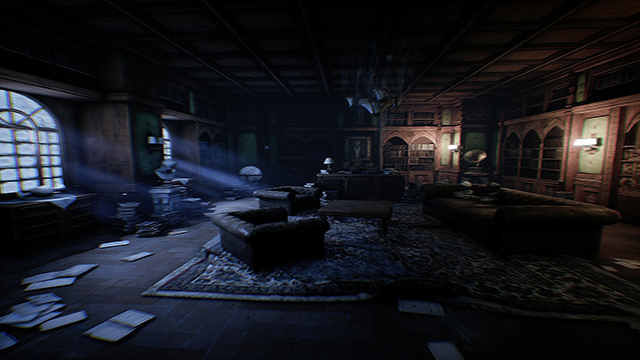
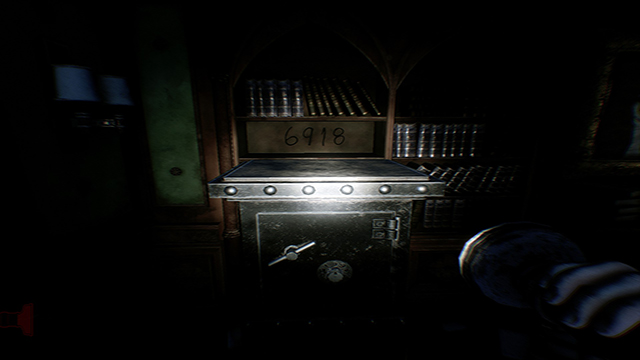
From here, you’ll want to go back out of the room and head towards Spawn Point 4. With your back against the table, you’ll walk down (like you’re going to Spawn Point 5) stopping at the first door on the right. You’ll be able to unlock it with your newly acquired key. Once inside, head to the left to the back of the room. There will be a “statue” on the left that’s covered by a white sheet.
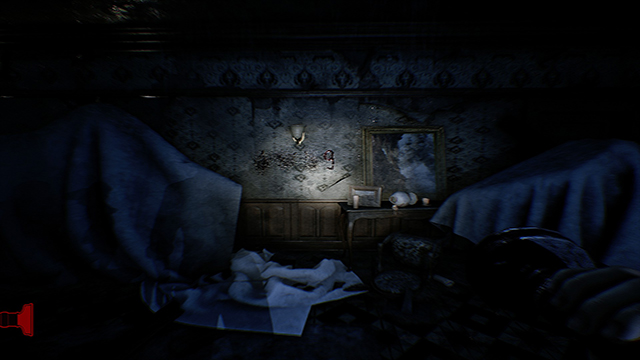
Upon its removal, and after a brief scare, you’ll find the last number.
—
That’s all you need to know about completing the Padlock Quest in The Conjuring House. Although the numbers are mostly random, this guide should give you the tools necessary to get past the quest and move forward in the story.
Be sure to check out our review of The Conjuring House here, as well as our other guides.





Published: Sep 24, 2018 11:23 am