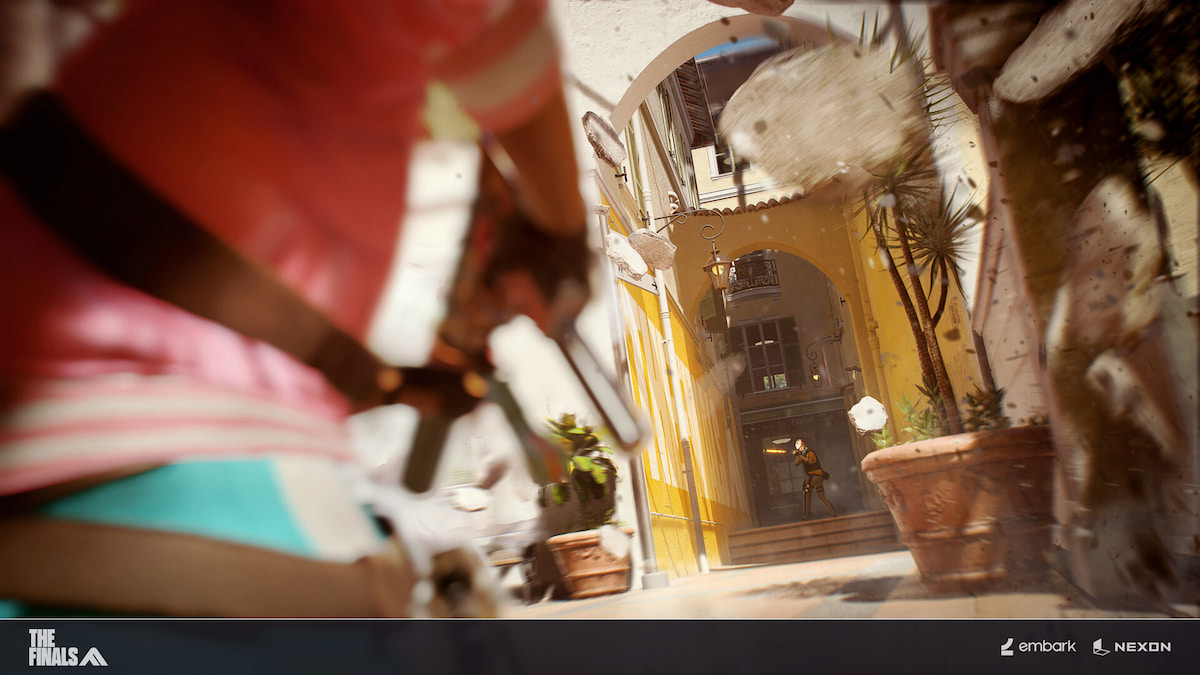
You’ve still got some time until the playtest ends, and you want to win even if it’s a short stint with the game for now. Let’s see how to change crosshair settings in The Finals for peak performance.
Embark Studios has allowed players to go into detail and customize their crosshairs similar to many Valve FPS games. Finding the right size, width, and color that suits your preferences will be key when practicing your aim skills.
How to Change Crosshair Settings in The Finals
To start off, you can fully customize your crosshair settings in The Finals which is a great feature that not all FPS games have. All the options are located in the Settings menu not surprisingly. To change crosshair settings follow these steps:
- From the Main Menu, click on “Settings.”
- Go to the “Gameplay” tab.
- Scroll down to the “Crosshair” section.
- Drag values left and right to adjust your crosshair preferences.
You can adjust various settings from width, size, color, etc. Let’s go through each one:
- Width & Outline Width: Determines how thick your crosshair lines are.
- Color Settings: Adjust values from 0 to 255 to set various color combinations.
- Center Dot: Set whether the central dot appears or not.
- Center Dot Radius: Determines the size of your central dot.
- Opacity: Adjust values from 0 to 100 to set the transparency of your crosshair.
Feel free to experiment with these settings according to your preference and test them out in the Practice Range to see how your crosshair feels.

Crosshair Setting Tips
There’s no perfect crosshair setting template as each player’s personal preference matters most. That said, there are some general guidelines when customizing your setting. I recommend keeping your width, outline width, and dot radius as low as possible in order to reduce your crosshair obstructing your vision. Try out these settings like this:
- Width: 1
- Outline Width: 2
- Center Dot: On
- Center Dot Radius: 1
- Opacity: 80-100
As for color options, these values will provide a white crosshair that’s distinguishable and clear in any environment:
- Red: 123 (Set to 62 for Gray)
- Green: 123 (Set to 62 for Gray)
- Blue: 123 (Set to 62 for Gray)
If you prefer a flashier crosshair, for example, a bright green one, then set Green to 255 and Green Outline to 255 while setting other values to zero. As before, feel free to experiment with colors and find the best one for you.
With that, you now know how to change crosshair settings in The Finals, as well as settings that work more optimally than the default. You’ll be spending most of your time in-game getting used to the crosshair so be sure to customize it to your liking. You can find more of our The Finals guides right here.


Published: Oct 31, 2023 10:13 am