You won’t just worry about one or two devices, but half a dozen in one area. Our guide discusses how to solve the Lost Marshes Prison puzzle in The Talos Principle 2.
How to Solve the Lost Marshes Prison Puzzle in The Talos Principle 2
You can solve the Lost Marshes Prison puzzle in The Talos Principle 2 by making use of several Connectors and Hexahedrons, as well as the Item Swapper device. Take note that this is puzzle room #4 in this zone.
Lost Marshes Prison Puzzle Solution
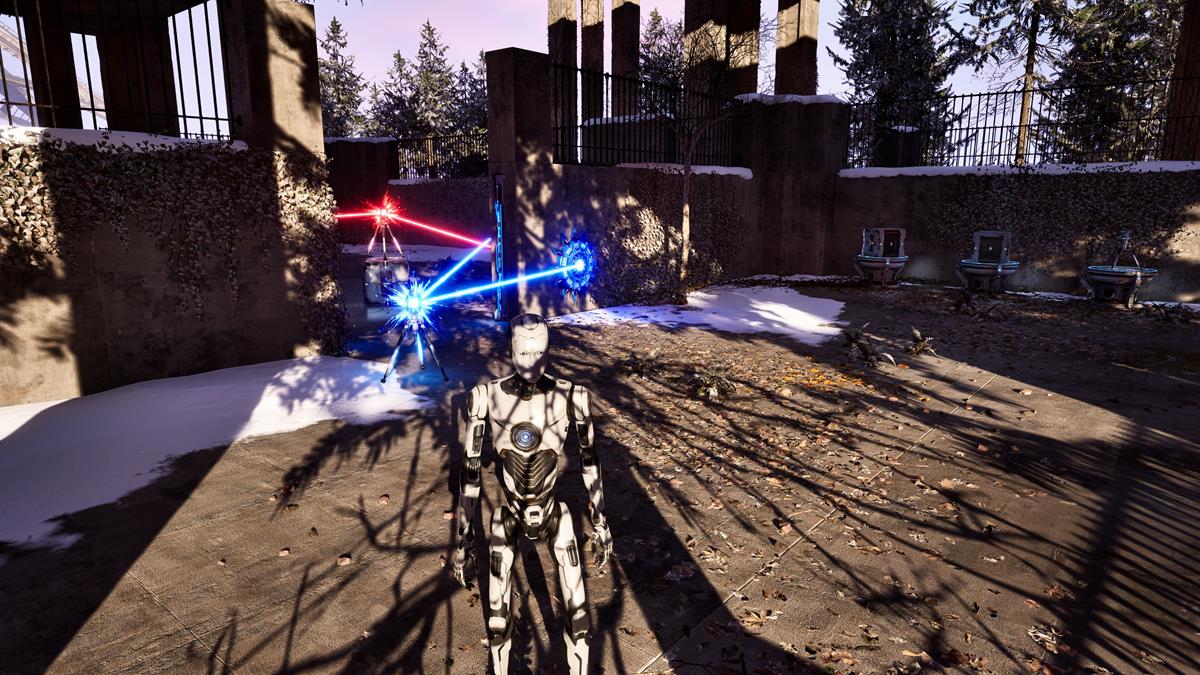
The first thing you’ll notice about The Talos Principle 2 Prison puzzle is that there’s only one device available at the start: a Connector. The rest are either behind enclosures and barriers, or are displayed on Item Swapper machines.
Below, I outline what I did during my playthrough:
- Link the Connector with the red light source to open main barrier.
- Exchange Hexahedron in the room for another Connector. Then, link the red beam to grab a third Connector that’s behind a barrier.
- Now that you have three Connectors, use one of them to link the blue light source with the blue receptacle near the main barrier. This allows you to bring the red Connector to the main area, while also keeping the barrier open.

Up next, it’s time to swap several items:
- Exchange your three Connectors for three Hexahedrons.
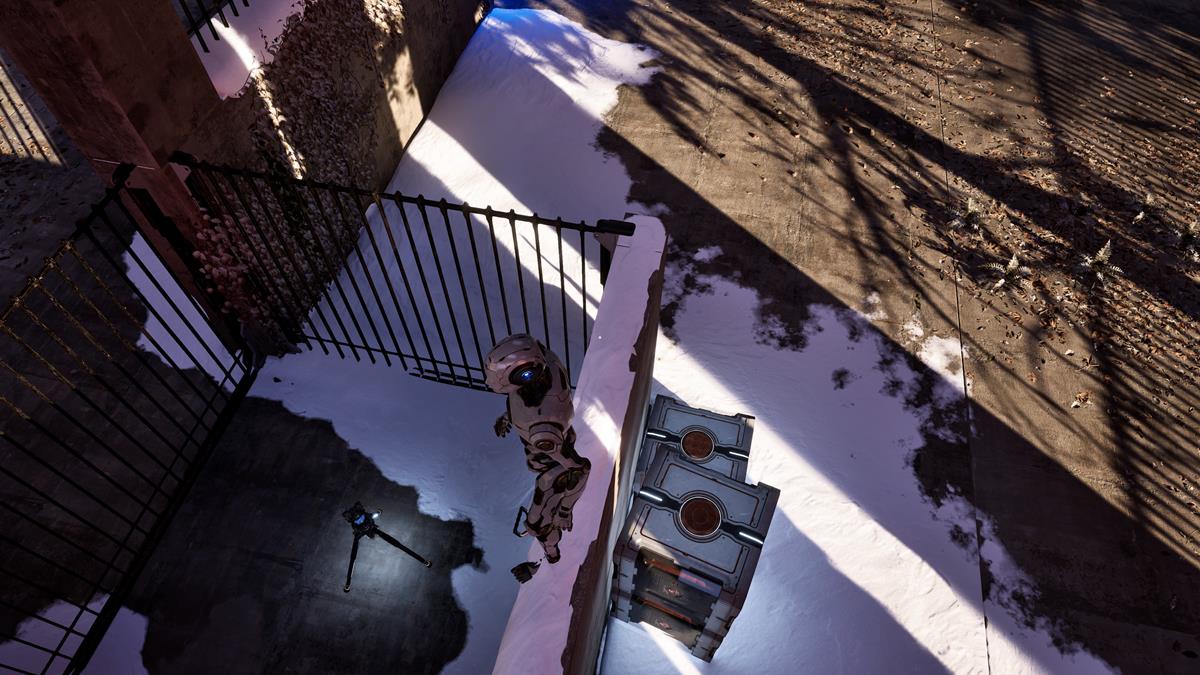
- Place two Hexahedrons on top of each other, then hop on the blocks to grab the fourth Connector inside the enclosure. Flip the switch to make the wall move sideways.
- Once you’re done, keep only one Hexahedron, and make sure the rest are Connectors (you should have three of these).

The idea now is to keep the main barrier open since the initial area is where the light sources are. Here’s what you need to do:
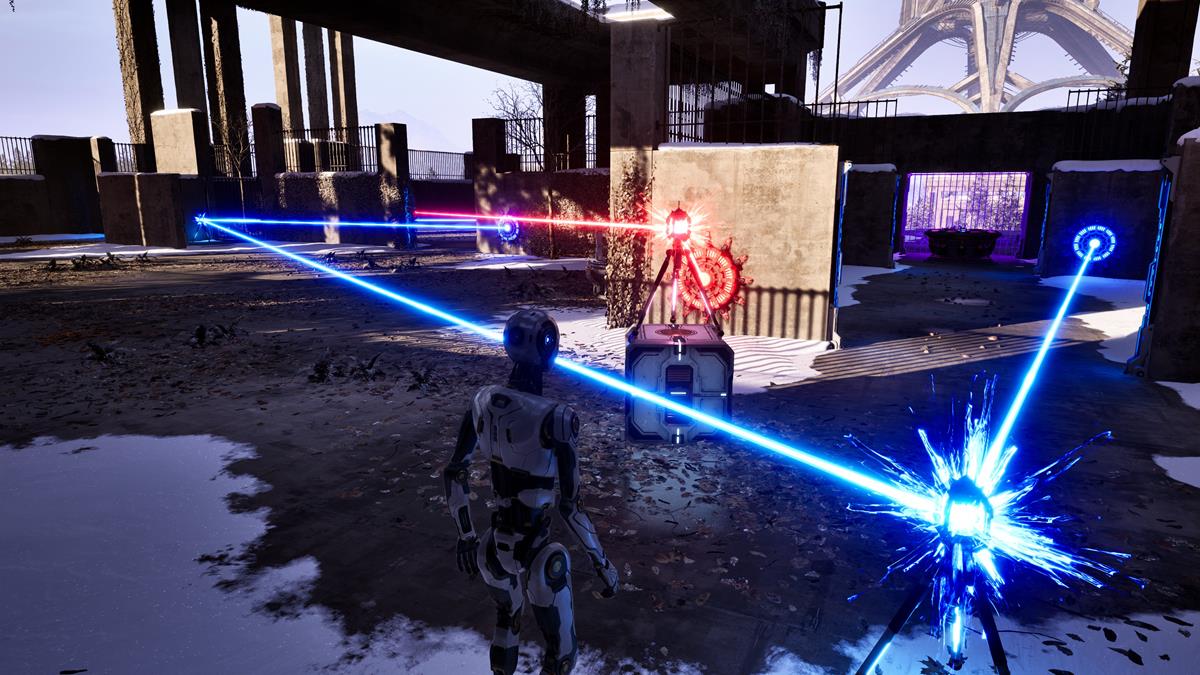
- Place the blue Connector in the far-left corner. Take note of the tight angle here since the device has to link the beam from the light source going to the blue receptacle that’s beside the barrier.
- Link a Connector with the red light source and the red receptacle. Place it on the Hexahedron so that it’s raised.
- Use the last Connector to link with the previous blue Connector and the remaining receptacle near the terminal.

With the above, you should have all the barriers down. The laser beams won’t intersect either, which means you’re in the clear to tag the terminal.
That’s it: that’s everything you need to know about how to solve the Lost Marshes Prison puzzle in The Talos Principle 2. For other tips and tactics, you can visit our Talos 2 guides hub.


Published: Nov 3, 2023 02:30 pm