Ready to enter a dungeon crawling with bugs? Not the insectoid kind, either. Indeed, things may not work out for you (at least they didn’t for me) because of technical issues. Here’s to hoping that doesn’t happen and how to complete Secrets of the Cult in Warhammer 40K: Rogue Trader.
Warhammer 40,000: Rogue Trader Secrets of the Cult Complete Walkthrough
You can complete Secrets of the Cult in Warhammer 40K: Rogue Trader by gaining access to the Kiava Gamma probability engine and defeating the Screamer of Tzeentch daemon. Before you proceed, however, I should warn you about some important tidbits:
- You’ll receive Heinrix’s companion quest in Warhammer 40K: Rogue Trader fairly early in Act 2. As usual, play cool and don’t pick options that would cause the quest to end prematurely.
- Kiava Gamma is in the Cranach system, which is along the central-west path in the Koronus Expanse. However, it’s not recommended to go there so soon. Instead, I advise you to tackle other main quests and optional locations first so you can level up a bit.
- There are a few notable bugs that you can encounter in the Kiava Gamma dungeon, so make sure you always have backup saves.
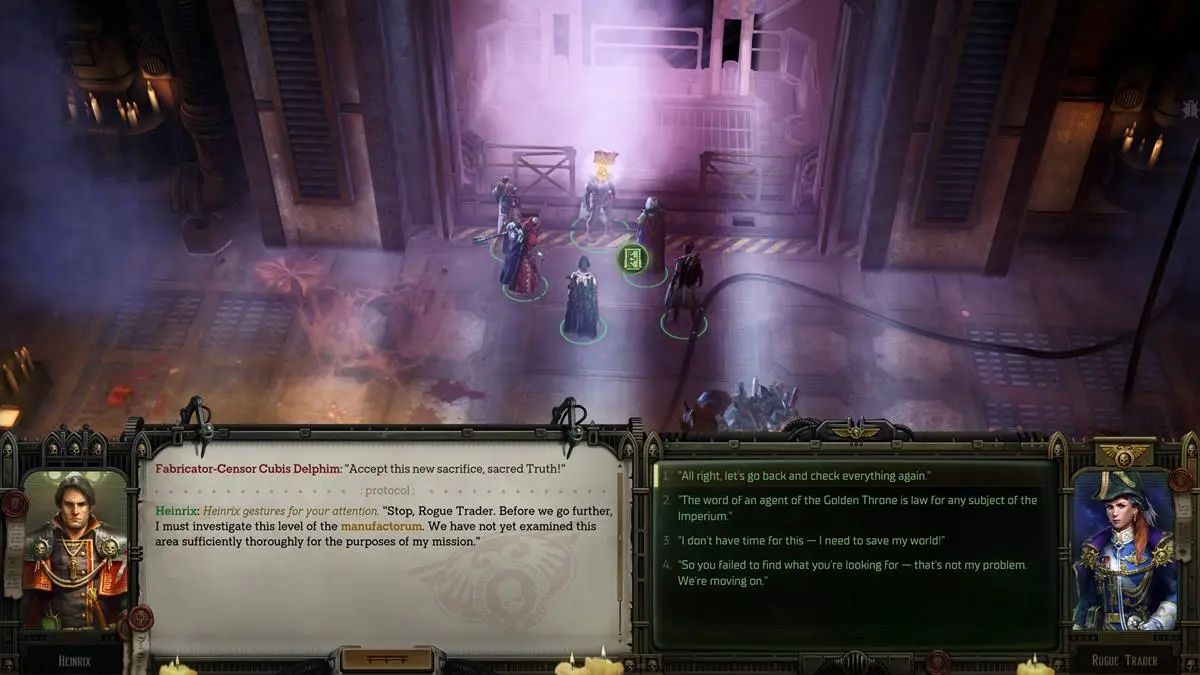
- If you enter Kiava Gamma and clear the area without completing Heinrix’s quest, he’ll demand that you finish the task (as seen in the image below). If you still exit the dungeon, Heinrix will leave your party forever.
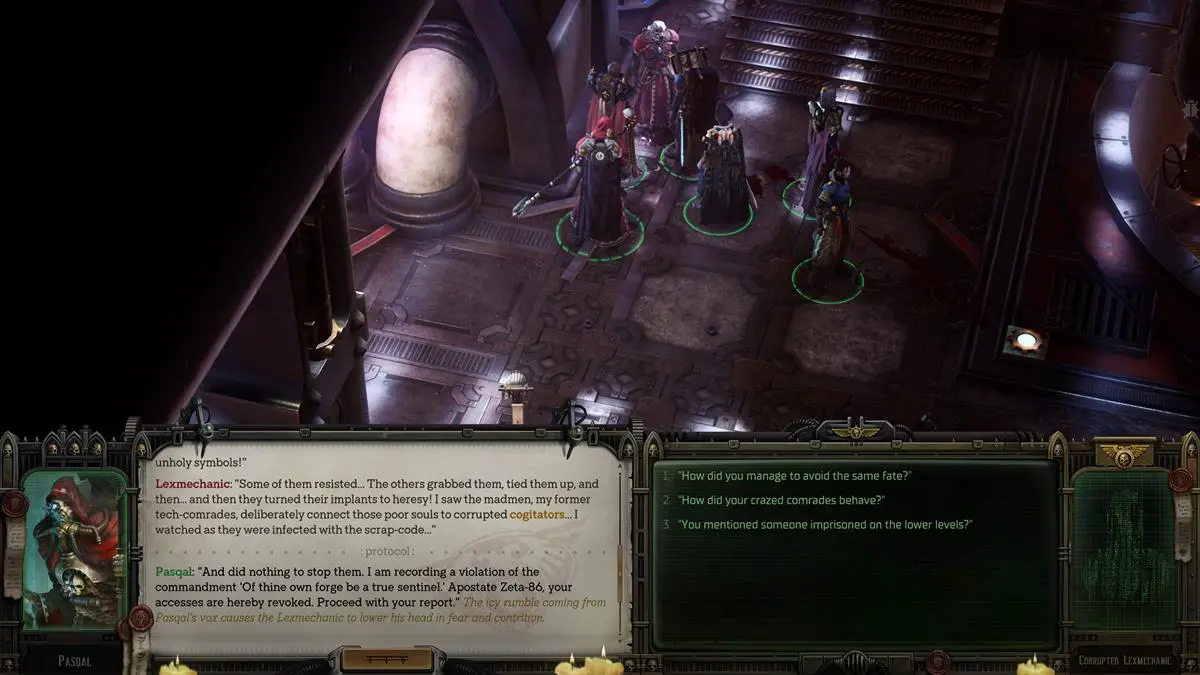
Where to Find the Lexmechanic
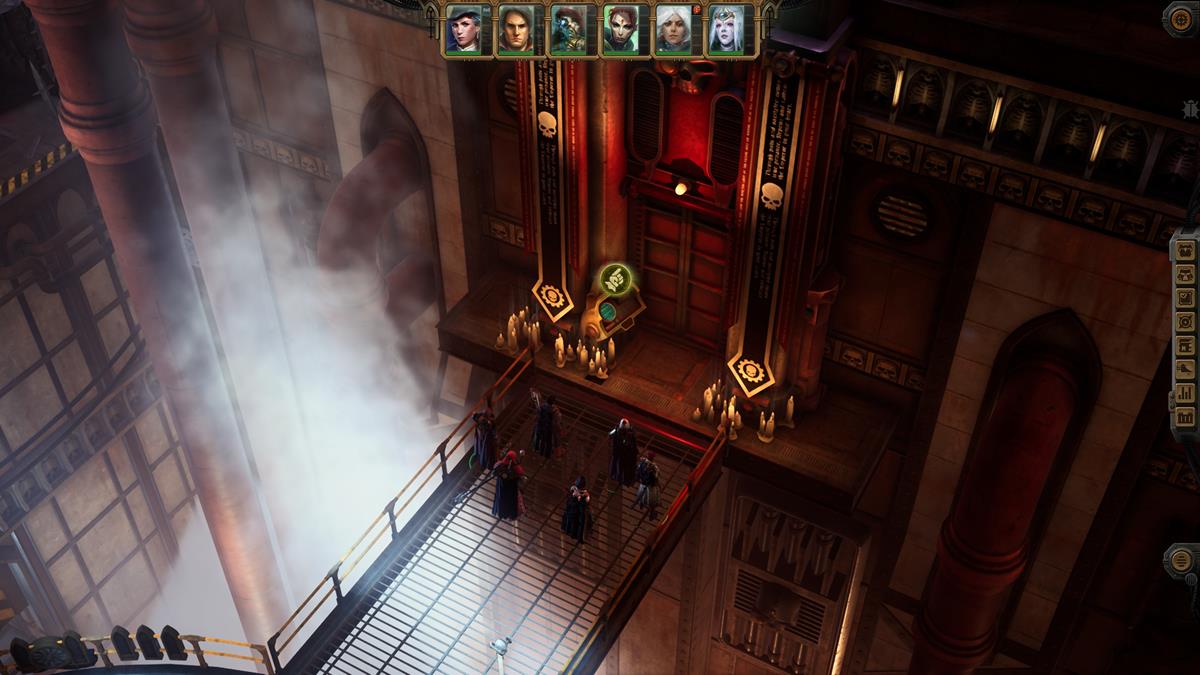
The first step in completing Secrets of the Cult in Warhammer 40K: Rogue Trader is finding the Lexmechanic. Clear the first two encounters until you gain access to the elevator, and ride it to the top. You’ll see several storage tanks that blast scalding steam.
The goal is to time your party’s movement so you can reach the opposite side while taking minimal damage or injuries. Alternatively, you can proceed deeper into the facility until you defeat a Tech-Priest miniboss. There’s a ladder nearby that lets you climb up to the same area.
Either way, talk to the Lexmechanic and choose either the Dogmatic or Iconoclast options. This will cause him to blurt out his passcode. I followed the Iconoclast belief during my playthrough, so that’s what I went with. You can then decide whether to let him leave or kill him outright.
Where to Find the Cogitator Chamber (and Potential Bug)
Next up, we’re going to look for the cogitator chamber. If you advance along the main area, you’ll see a rotating bridge. At the opposite of that bridge is none other than the door that leads to the chamber. You do need the passcode given by the Lexmechanic.
Important: I’ve heard of reviewers that encountered a bug where Heinrix still wants the task completed, even though they’ve already done all the steps. In my case, I had already cleared the dungeon and defeated the final boss before I even entered the chamber. I didn’t encounter that bug at all.
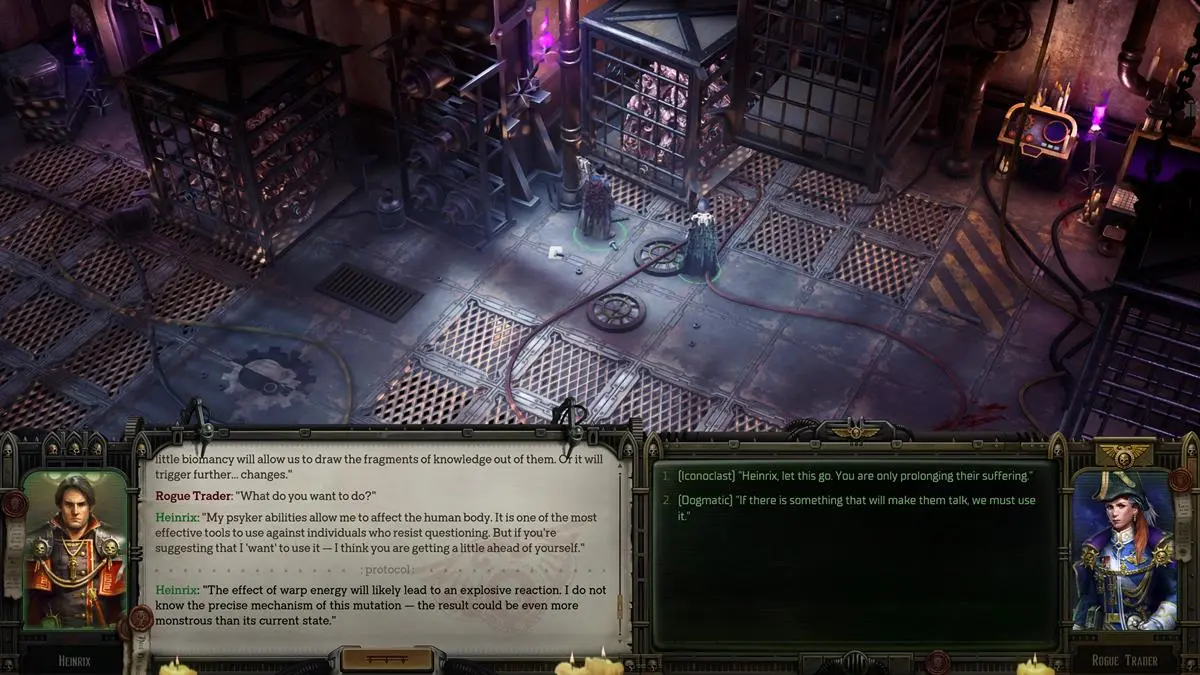
In any case, save your game before entering the chamber. Inside, you’ll see a mishmash of mutants that you can observe. The machine itself has Logic and Lore (Warp) checks that you can pass. You also have a couple of options on what to do with the cogitator: Iconoclast or Dogmatic, as well as others not tied to any conviction.
The Screamer of Tzeentch Encounter (and Another Potential Bug)
After making your decision regarding the cogitator, you’ll face a Screamer of Tzeentch. The daemon will also spawn several Pink Horrors in the room. There’s an annoying bug that can happen here, and I suggest doing the following to avoid it:
- When fighting the Screamer of Tzeentch, don’t kill it too early. Instead, focus solely on the Pink Horrors.
- Once Pink Horrors die, they’ll spawn Blue Horrors, which you also need to kill.
- After all other daemons are dead, that’s when you want to eliminate the Screamer.
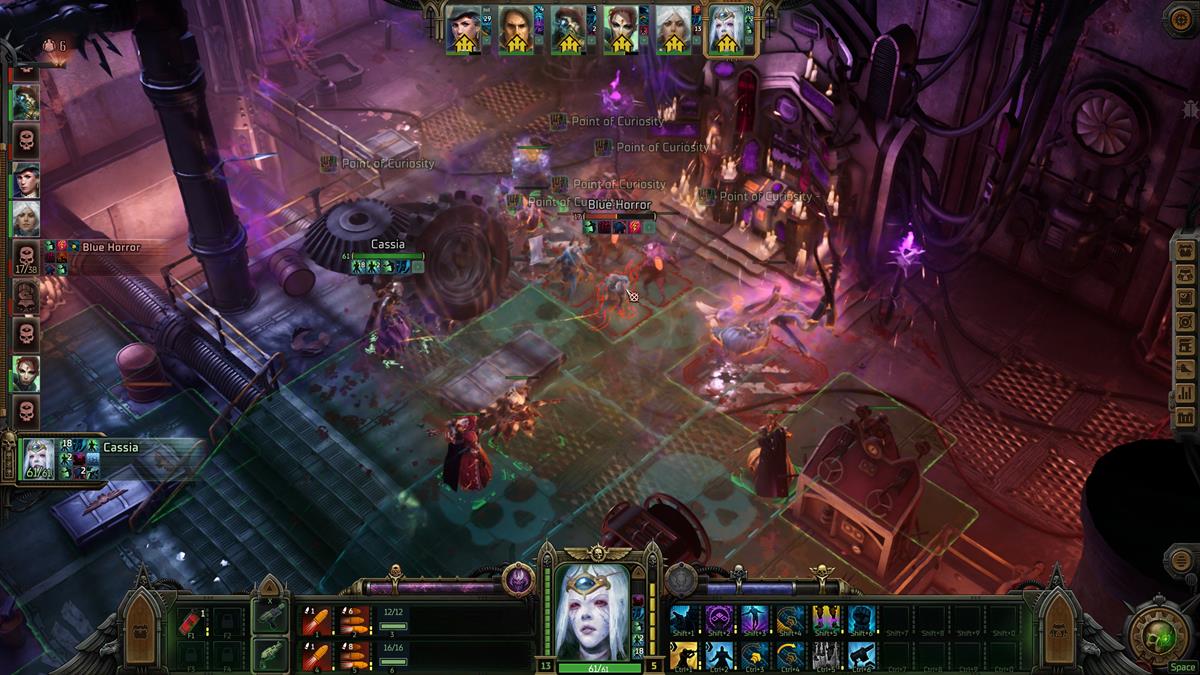
The potential bug happens if you kill the Screamer while other mobs are alive. This causes a conversation between your character and Heinrix to trigger in the middle of the fight. Naturally, you’ll lose a bunch of turns, and the remaining enemies can wipe your party.
Assuming you followed the tips that I’ve provided, you should be in the clear. With this encounter done, you may leave the dungeon without any issues.
That’s how to complete Secrets of the Cult in Warhammer 40K: Rogue Trader. You might also want to do tasks for your other party members, such as Jae’s Mercatum Tabula Officiale and Yrliet’s Aeldari in Distress. For other tips and tactics, you can check out our WH40K: RT guides hub.


Published: Dec 7, 2023 05:18 pm