If you plan on rolling back the Skaven hordes in Warhammer: Vermintide 2, your team of rat slayers will need the best possible equipment, with plenty of awesome traits and bonus properties.
To get better loot at the end of the level, you want to find all the hidden tomes and grimoires in each area, although this comes at a cost since these items occupy potion slots. Below we cover every single Vermintide 2 secret tome location in the game.
Keep in mind that these tome locations are based off the closed beta just before official release — the locations may change at the Vermintide 2 full release date! If you see anything incorrect, be sure to let us know, and we’ll get the locations updated. Looking for the Vermintide 2 weapon and equipment traits instead? We’ve got ’em all listed right over here.
Righteous Stand Tome Locations
This first level of the game only features three tomes, but all are easy to find due to the structured street layout and large landmarks.
Tome #1
During the “Find A Way To The Temple” objective, you will walk by a giant flaming cart. Hang a left at the cart and walk down the alley to see a regular old non-flaming cart. Jump up the open back end of the cart to nab your very first tome.
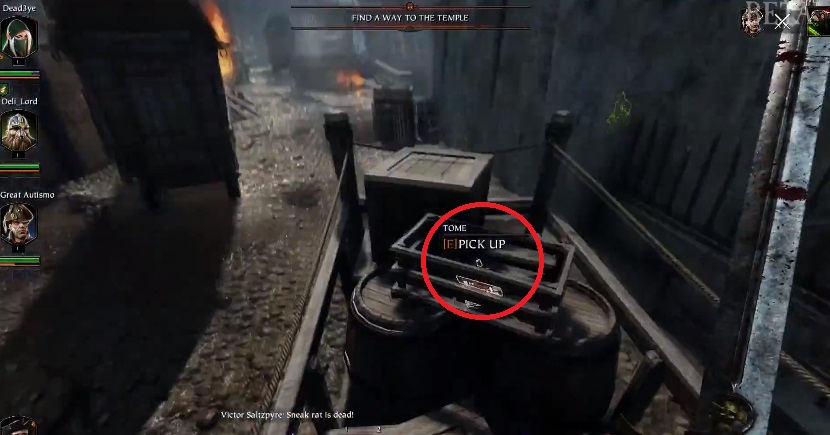 Righteous Stand Tome #1 (thanks to ProfessorButts for the screenshots)
Tome #2
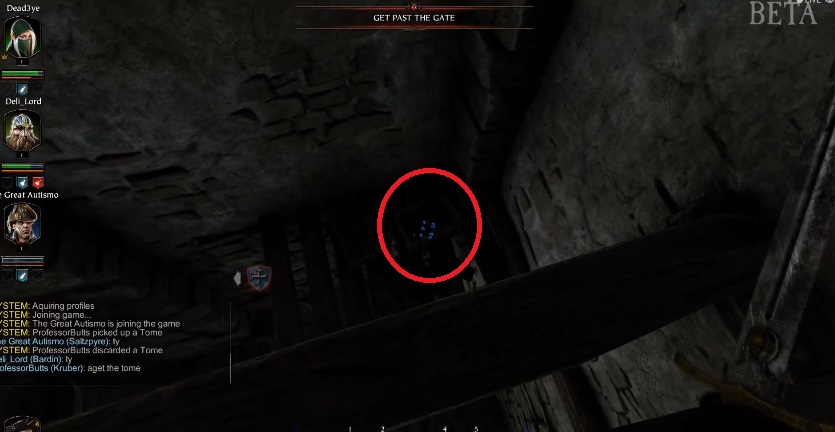
During the “Get Past The Gate” objective, you will walk up wood walkways inside a tower. After walking up a short ramp, move to the edge of the walkway in the corner to look down and see the second tome slightly below you on a platform.
Tome #3
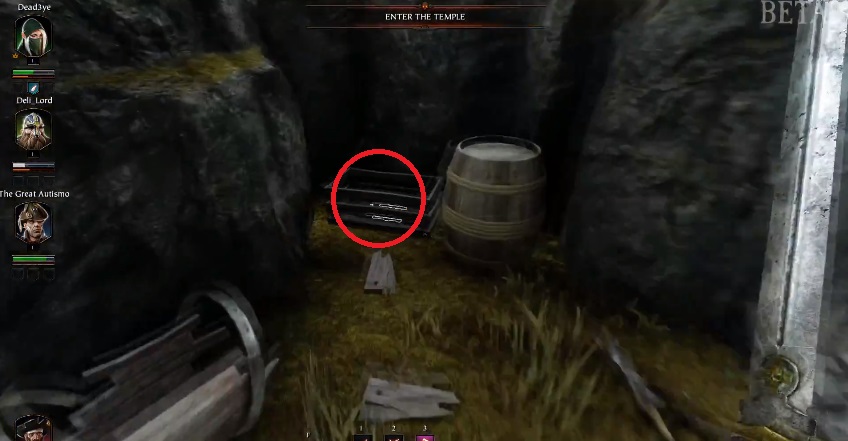
During the “Enter The Temple” objective, you will come across an open area with some stone landmarks and a bunch of bushes. You need to actually walk into the bushes and through them to a hidden area. The tome is in the back corner next the wall.
Athel Yenlui Grimoire/Tome Locations
This one’s a bit tough because there aren’t a ton of landmarks to follow out in the forest until you hit the ruins, but you can find the grimoires and tomes by checking specific areas when the map objectives change.
Grimoire #1
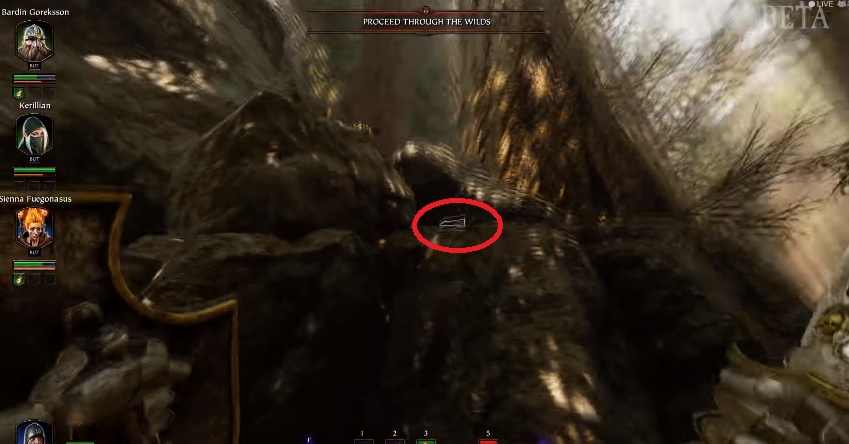
When you pass through Howling Creek and the objective becomes “Proceed Through The Wilds,” drop down the ledge and follow the wall on the left until you see a large tree and a cliff section above. The grimoire is up on a ledge that you have to jump to reach.
Grimoire #2
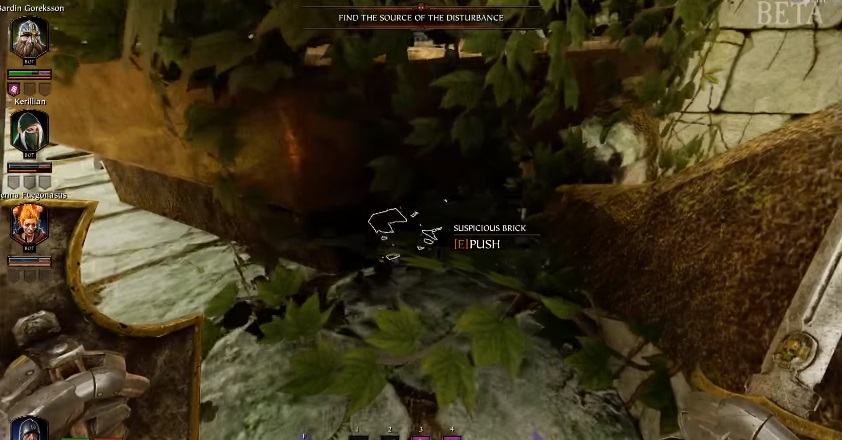
The second grimoire can be found during the “Find The Source Of The Disturbance” objective when exploring the elven ruins. You need to push three objects labeled as Suspicious Bricks that are located around the area near your feet in out-of-the-way locations. After pressing the third brick, head down the stairs to access a new underground location with the grimoire.
Tome #1
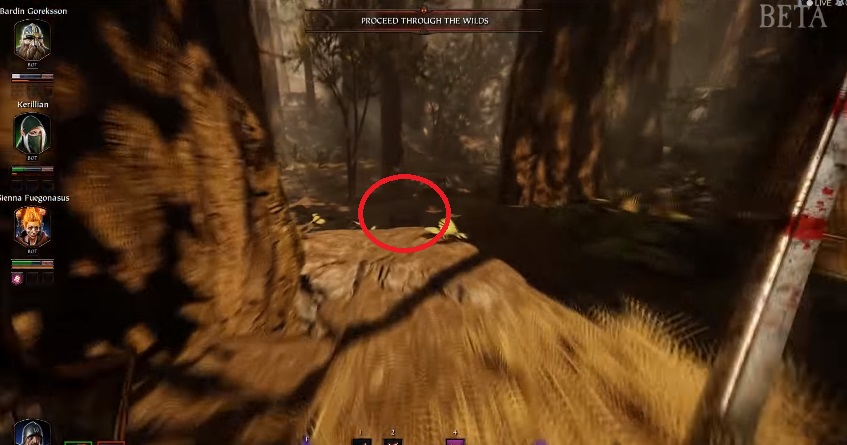
After grabbing the first grimoire (during the “Proceed Through The Wilds” objective), head across the map, traveling through a hollowed-out log, until you see two large trees flanking a broken box on the ground. The tome is inside the box.
Tome #2
When you get the first tome in the box, head south towards the map checkpoint. On your right, before dropping down to the lower area, is another tome inside a box.
Tome #3
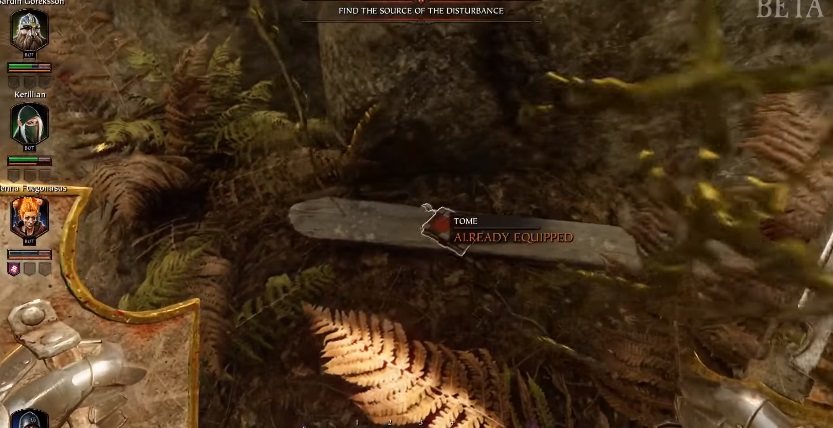
After grabbing the secret second grimoire from the underground area (see above), head up a ramp of broken brick nearby and then turn right. Walk past the hanging vines and jump up on the rocks to find the third and final tome for this level.
Against The Grain Grimoire/Tome Locations
The tomes in this farm-focused level are all cleverly hidden in inconspicuous locations, so you’ll need to look around quite a bit to find them all!
Grimoire #1
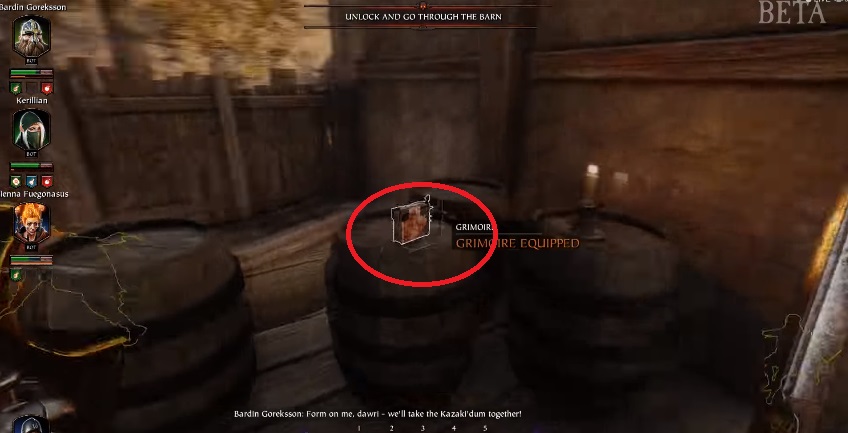
After grabbing the first tome (see below), you will reach an area where you can go inside a home with a bunch of barrels that can be picked up. Head down into the basement with a barrel, and stack it in front of the closed-off area. Blow up the barrel to access a new hallway, then go up the ladder and out the back to find the first grimoire sitting on a barrel.
Grimoire #2
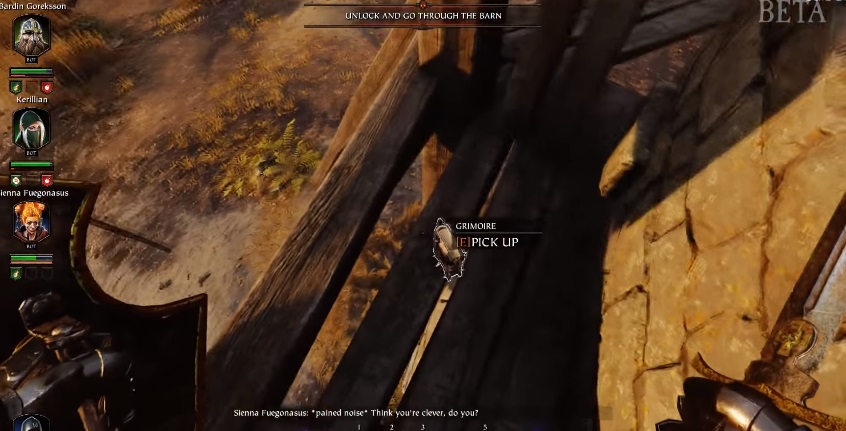
Shortly after the first grimoire during the “Unlock And Go Through The Barn” objective, there’s an area where you can go up two ladders and onto a wood structure. After the second ladder, turn right and jump across the ledges to reach the tower. Keep jumping up the ledges on the side of the tower to find the second grimoire.
Tome #1
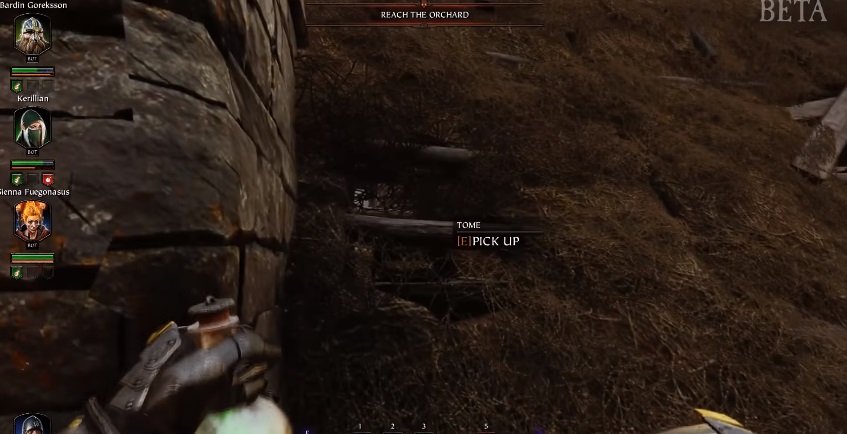
When you come across the first farm during the “Reach The Orchard” objective, you need to jump on a hay bale to walk along a fence (that doesn’t seem like you can walk on) and then use that position to jump on the wood awning. Facing the roof — a cart will be visible off to your right — look for a small hole in the roof to grab the tome.
Tome #2
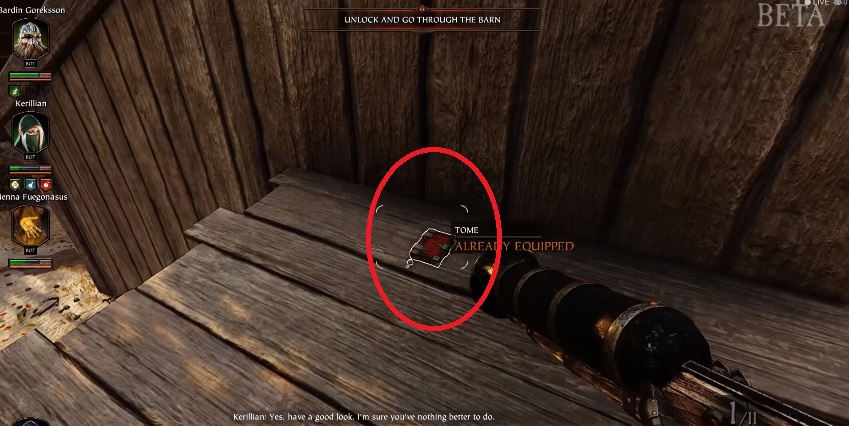
Inside the barn, look for a large, open window on the back side where you can jump down onto a barely visible platform to grab this tome. If you have trouble landing it, you can also go down to the ground level and jump up on the hay bales to grab the tome, even though it’s blocked by the wood platform.
Tome #3
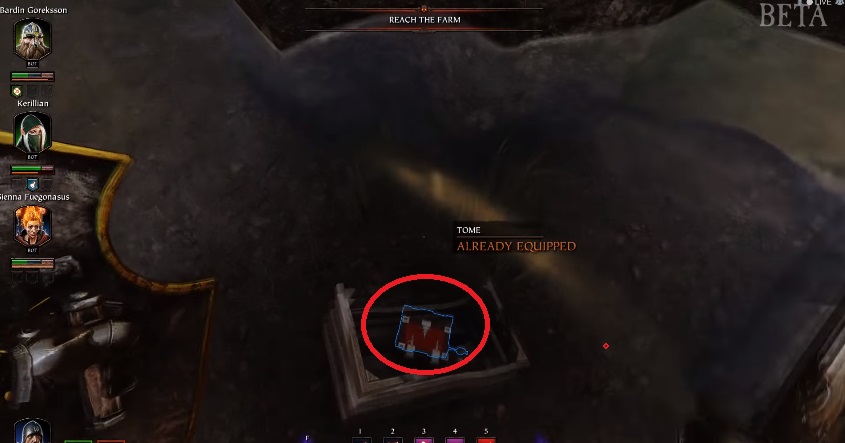
After the barn and during the “Reach The Farm” objective, you can jump down into a river on your left. Follow that river to find the third tome in a box.
Empire In Flames Grimoire/Tome Locations
Most of these grimoires and tomes are simple to find, but a few require some odd jumping puzzle skills to actually reach.
Grimoire #1
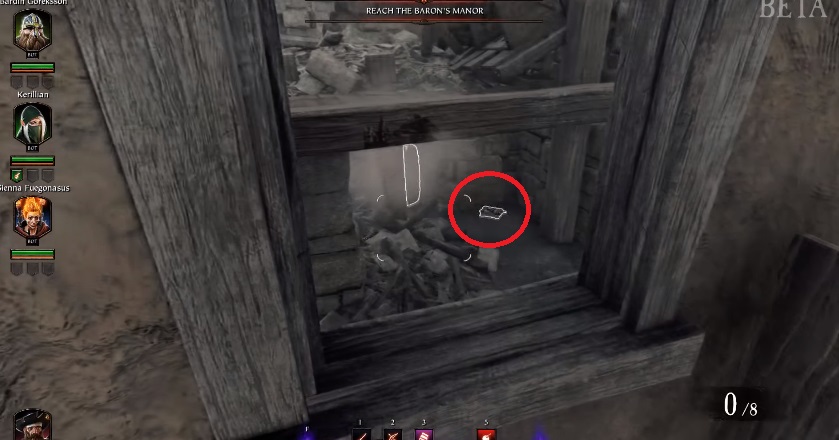
Shortly after the first tome (see below), you can go inside a dilapidated building and look out the side window to see the grimoire sitting next to a barrel. Shoot the barrel to blow up a secret passage entrance, then run around the side of the house to grab the grimoire.
Grimoire #2
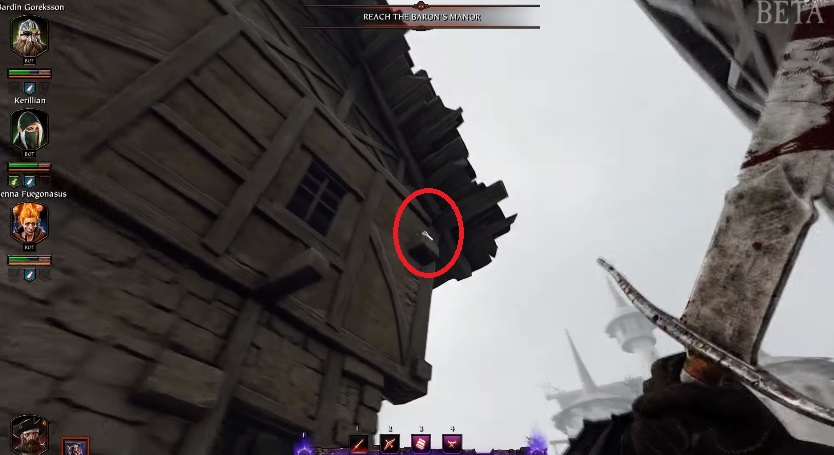
After grabbing the second tome, eventually you will see the giant manor on your right. Go down the left to see another building on your right, and the grimoire will be visible up in the air on a ledge. Getting there is a challenge. Across from the building, jump up onto a cart, and then from there, leap from ledge to ledge across to the main building to finally get the grimoire.
Tome #1
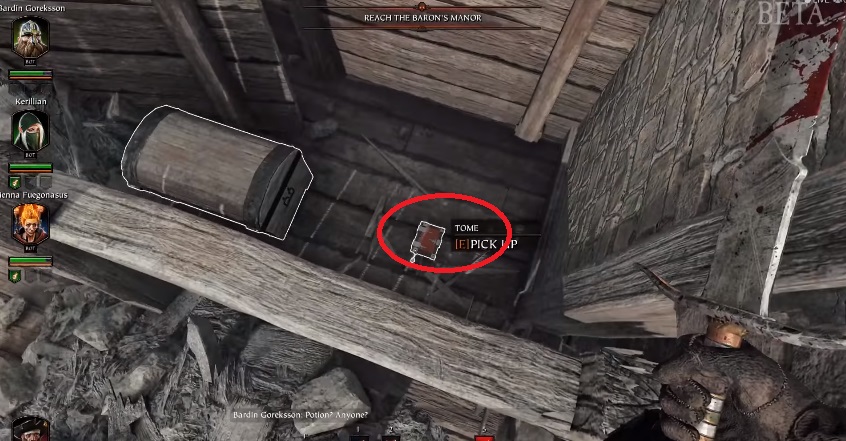
After dropping down a ledge in the “Reach The Baron’s Manor” objective, you will see a chaos symbol (the seven-pointed star) jutting out of the ground. Turn right and jump up on the broken bricks and then over the wood railing to find the first tome.
Tome #2
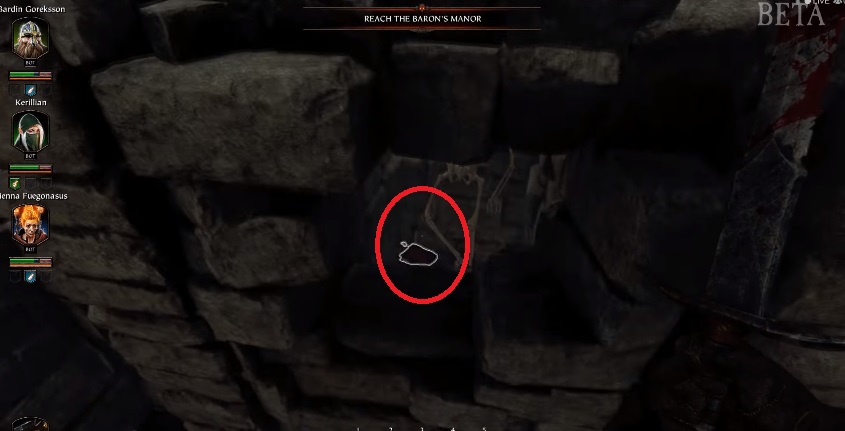
When you go through the wine cellar, you can exit up a ramp to your right or turn left and go down a hallway. Take the left and jump up to see through a hole in the wall on your right, where this tome sits next to a skeleton.
Tome #3
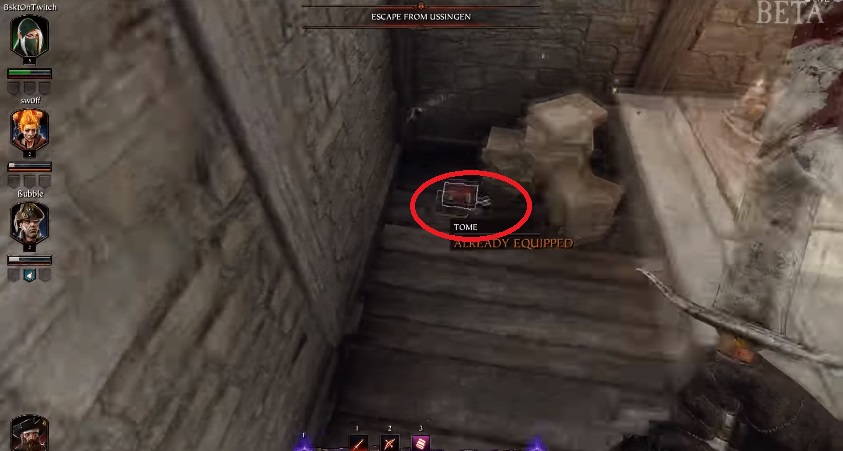
At the end of the level during the “Escape From Ussingen” objective, you will enter a burning building and go up a ramp. You can go forward to jump through the giant hole in the wall, but don’t. Instead, turn around just at the edge and you will see directly to your right another section of the building you can jump in that wasn’t visible before. Go inside and then jump down the hole to find the final tome of this level on the ground behind some boxes.
Festering Ground Grimoire/Tome Locations
Here you finally enter an underground map to face the warrens of the evil rat men directly. You’ll need to sharpen your jumping skills once again to grab these tomes.
Grimoire #1
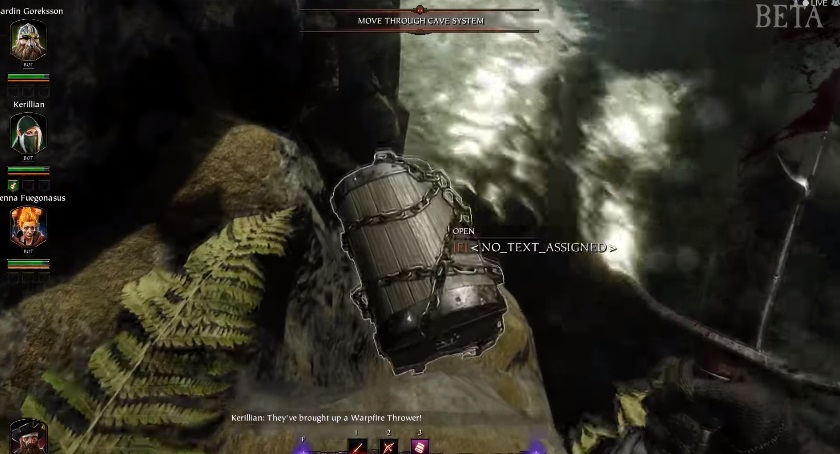
During the early part of the level, travel down to the bottom floor and grab the ring of keys off the skeleton next to a rock pillar. Later, after grabbing the first tome (see below), you will exit the regular cave area and come across a more open section with some foliage and water. Turn right and jump down to see a locked chest on a ledge. Use the key to open the chest and grab the grimoire.
Grimoire #2
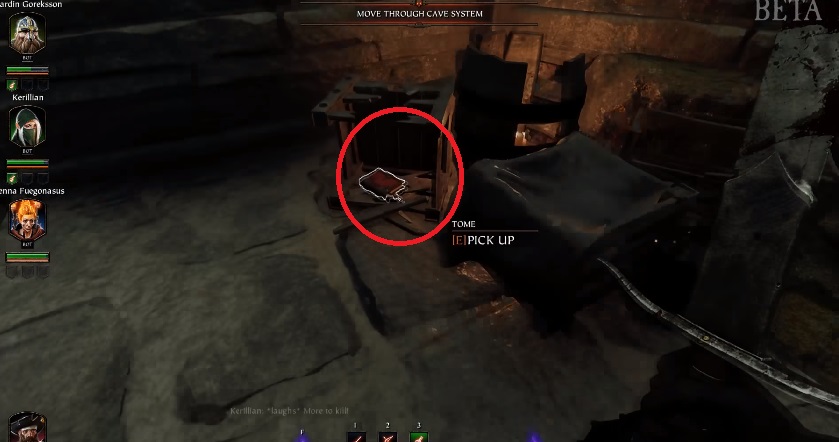
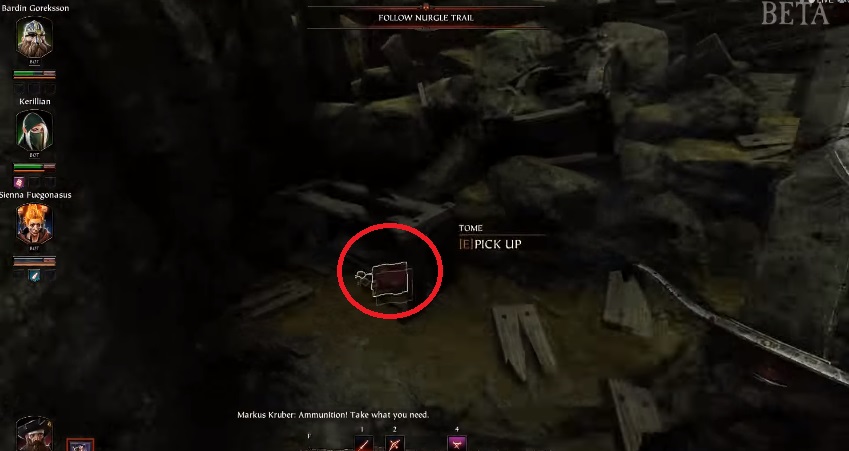
This one is pretty annoying to find. After the second tome (see below) and during the “Follow Nurgle Trail” objective, you will be walking up a wood ramp. Halfway up the ramp, look over the right side to find a tiny ledge you can jump down to. Walk on the ledge, then turn around and jump down into the stream. Follow this cave area to find another chest with the second grimoire.
Tome #1
After grabbing the key (but before reaching the first grimoire), you will come across a wooden rope bridge. Instead of crossing, turn right just before the bridge and go up a ladder. Turn left and jump across the chasm to the other side, where you can find the grimoire. The jump is pretty difficult, and you’ll probably have to do this more than once.
Tome #2
After the first grimoire, you will walk across a rickety wooden bridge where you can either turn right or left. Turn right and jump down to a ledge, and then turn left to see the tome on the ground.
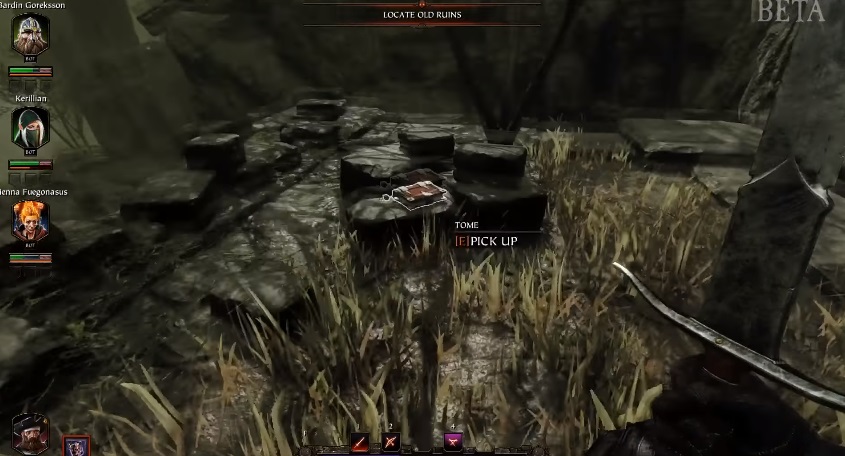
Tome #3
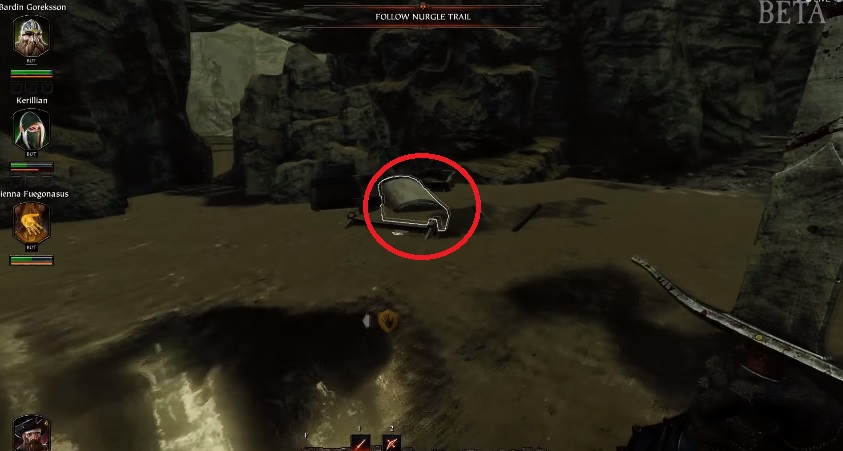
During the “Locate Old Ruins” objective, you will see a stone overpass. Instead of going through it, jump up the wood ramp to the left. Go forward and jump across the broken stone ledges to the other side, then turn right to find the third tome on the ground near a tree.
The War Camp Grimoire/Tome Locations
This swamp level doesn’t offer much challenge in finding the various collectibles, with the exception of the last grimoire, which requires finding a bunch of candles that aren’t easily visible.
Grimoire #1
After the first tome (see below), you will walk up a stone ramp where you can turn right. Next to a destroyed house you will see a series of wood posts. Jump up on the posts, then turn right and jump into the house. Go down the ledge to reach a lower area where you can grab the first grimoire underneath some broken boards.
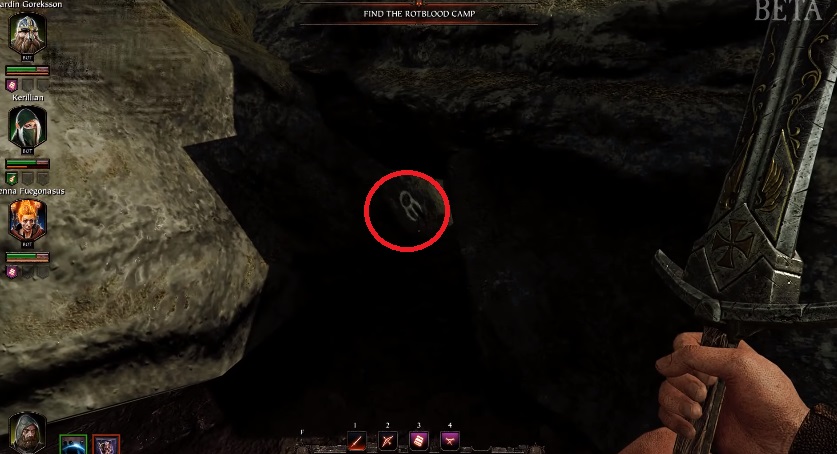
Grimoire #2
After the third tome (see below) and during the “Find The Rotblood Camp” objective, you will drop down some rocks into a swampy area. You need to look for three candles hidden in rock alcoves and interact with them to make the grimoire appear. These are scattered all across the map and are on the ground in areas that you usually have to turn at an odd angle to see. Head towards the center of the map after lighting the third candle, and the second grimoire will appear on a rock pedestal in a watery area.
Tome #1
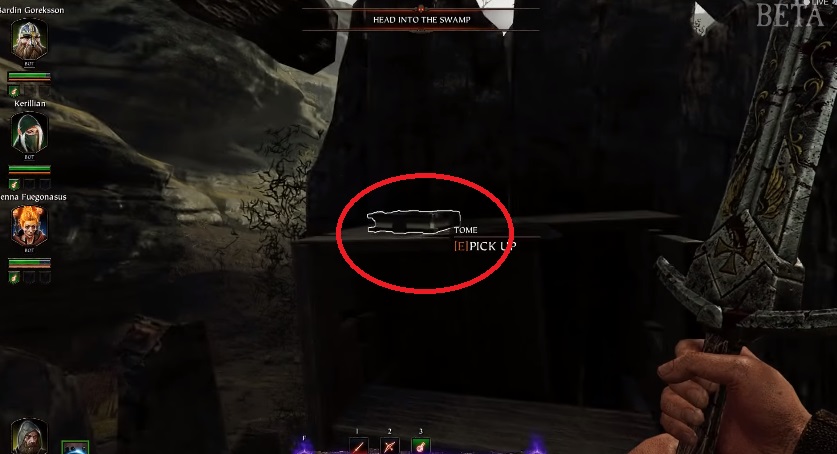
During the “Head Into The Swamp” objective, jump down into the broken swamp house and look to your left to see this tome clearly sitting up on a shelf.
Tome #2
When you exit the village into the swamp, immediately turn left to see a submerged building. The tome is clearly visible at the back of the watery building.
Tome #3
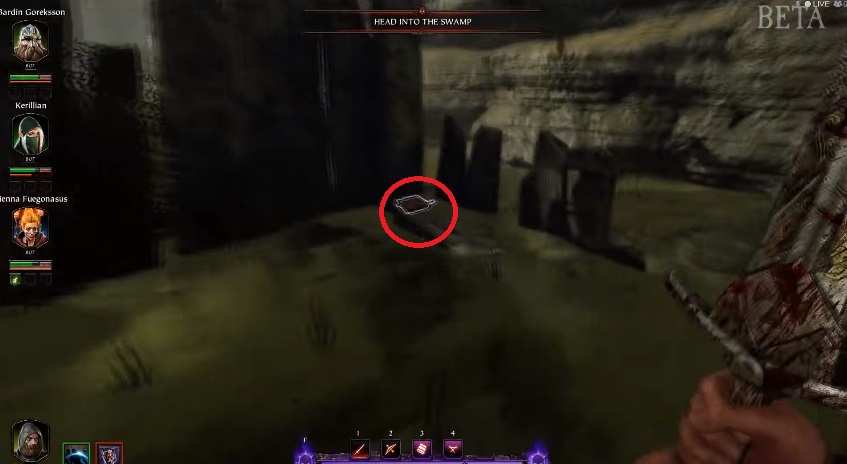
After the second tome, you will walk by another chaos symbol. Off to your right, the tome is clearly on a small wood shelf sticking out of the water.
Those are all the Vermintide 2 tome and grimoire locations we’ve found so far! Did you notice any others or see any locations change as the beta gave way to official launch? Let us know in the comments!





Published: Mar 7, 2018 03:10 pm