There are a relatively small number of upgrades and collectibles in Tales of Kenzera: Zau, but probably the most important are the Reflections, not only for their gameplay function but also for their narrative weight. Visiting them makes the game easier and provides some of its best writing, so here’s where to find them all.
All Reflection Locations in Tales of Kenzera: Zau
Reflections in Tales of Keznera: Zau serve two purposes. First, each one increases your maximum health by a small chunk, increasing your overall survivability. Second, they’re where Zau can meditate on the loss of his father and his current situation and better come to terms with his pain.
There are six Reflections to find in the game, all of them within the hollow of great baobab trees that will be visible on your map when you enter a new zone. Here they are in the order you can find them:
The Great Cliffs Reflection Location
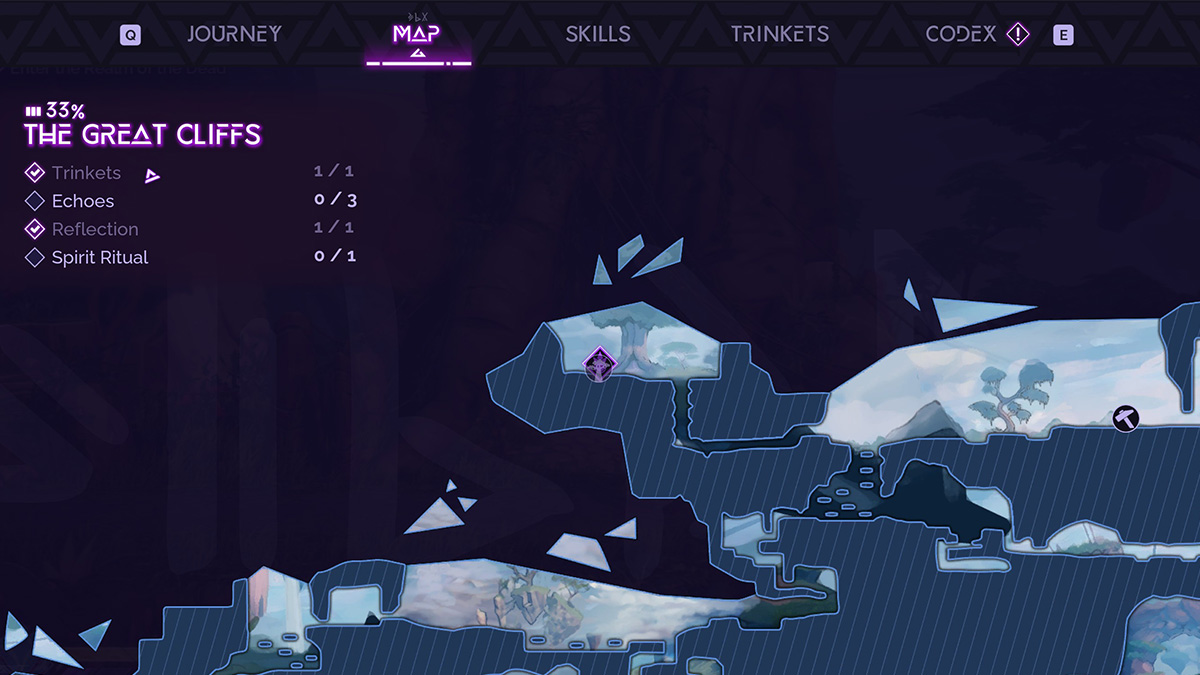
Reaching the Relfection in The Great Cliffs is simple. When you reach the very top of the zone and can turn either right or left, go left. Right will take you to Ikakaramba, and the baobab tree isn’t far to the other side. You will need to do a brief platforming challenge to make your way up to the Reflection, but all you need to do is jump between some rocks and avoid hitting the thorns that surround them.

If you like, you can proceed into the village and grab the fast travel point just before you enter the area with enemies, then head back left to the Reflection point. Be aware that if you go this route, you’ll need to go through a combat challenge on an elevator, and it’s a real doozy, so I’d recommend grabbing the Reflection first for extra health.
Ikakaramba Reflection Location
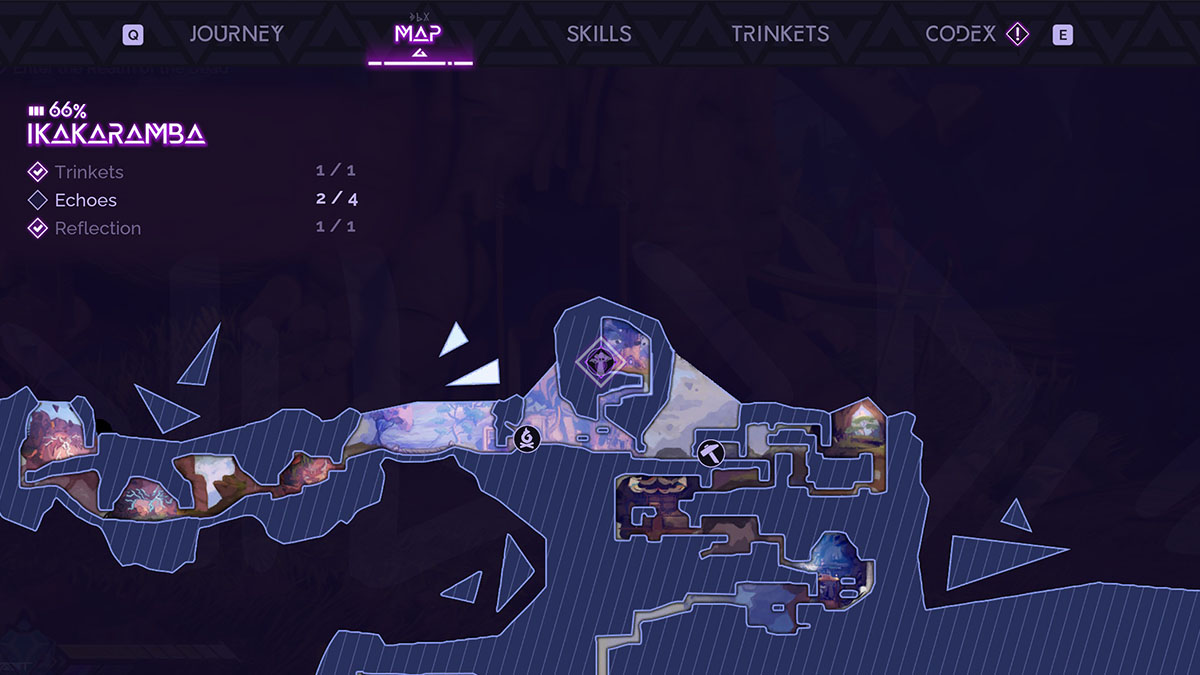
Like the Reflection in The Great Cliffs, the one in Ikakaramba is near the end of the zone. And like the earlier upgrade, to reach it, you need to go against the critical path. Your points of reference are a fast travel bonfire as the divergence point and the cave paintings leading to the boss. If you’re in the painting rooms, turn back around and, at the fast travel bonfire, look up and to your right. You should see some breakable platforms that will lead you to a brief traversal section and the Reflection.
The Wildwoods Reflection Location

Once again, the fast travel point is your main reference for finding a Reflection, though you also have a two-key door nearby. From the fast travel fire, make your way left and up a little way, then look to your left. You should see a somewhat hidden opening in the rock shedding faint white light. Jump into it.

Follow the path left until you reach an elevator to take down, where you’ll need to dodge arrows and spikes. Continue until you drop down past a set of two instant-death spear traps, then jump across a rotating thorn bridge, and finally, blessedly, you’ll reach the Reflection.
The Drowned Swamp Reflection Location
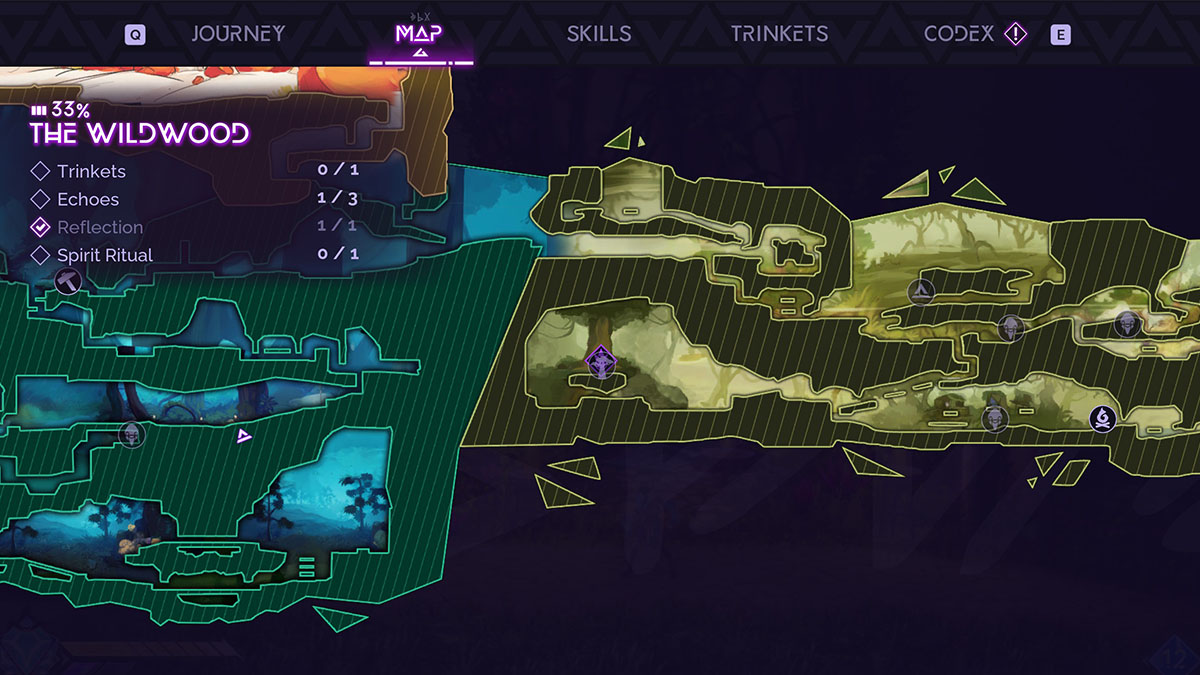
While you enter the Drowned Swamp following your defeat of the Great Spirit Impundulu, you can’t actually reach the Reflection point there until you’ve unlocked the Tawa ability to break constructs, which you don’t earn until after fighting the corrupted Great Spirit Kikiyaon at the end of Act 2.
As for reaching the Swamp’s Reflection, head to the bottommost level of the zone and head left, past the buildings that sink when you land on them. Follow the path all the way to the left until you reach the construct door. Break it, then continue until you reach a large room with a jump mushroom at the far left. The Reflection is just above.
The Searing Sands Reflection Location

In a continuing pattern, you can get to the Reflection in the Searing Sands by reaching the very top of the zone, and when you see the fast travel point at an intersection where you can go right or left, go right. You’ll need to double jump and dash to cross the gap, but the Reflection has no other guards or challenges blocking it. Just reaching the top of the zone was hard enough, it seems.
Mount Itshoka Reflection Location
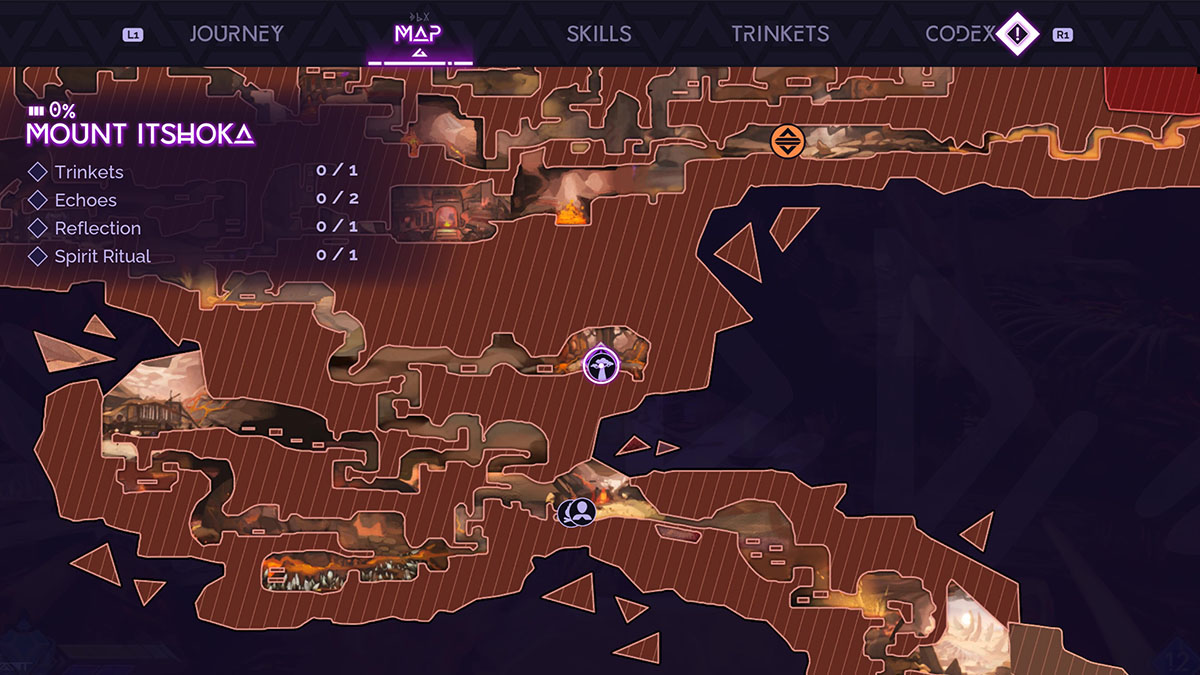
The Reflection in Mount Itshoka is probably the most annoying of the three to reach, but once you know where to find it, actually getting to the thing isn’t too difficult. After meeting Bomani at the base of the mountain, proceed through the level until you reach a signpost stone. To your left, it will say Itshoka Village, and to your right, the Searing Sands.
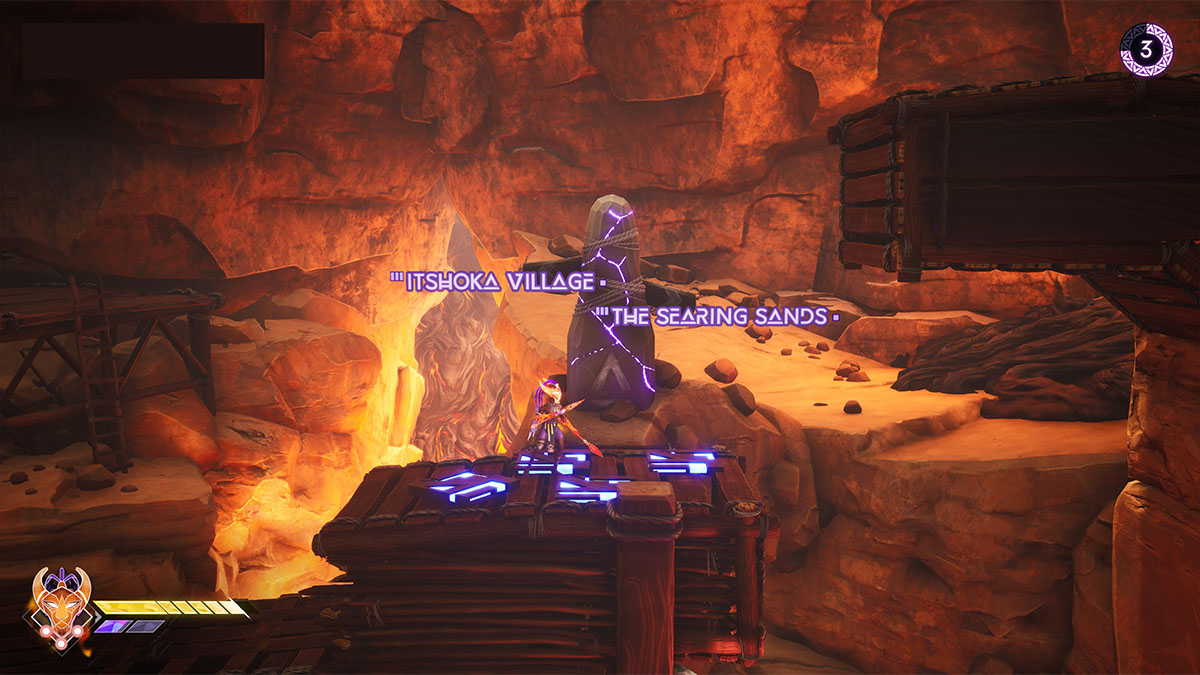
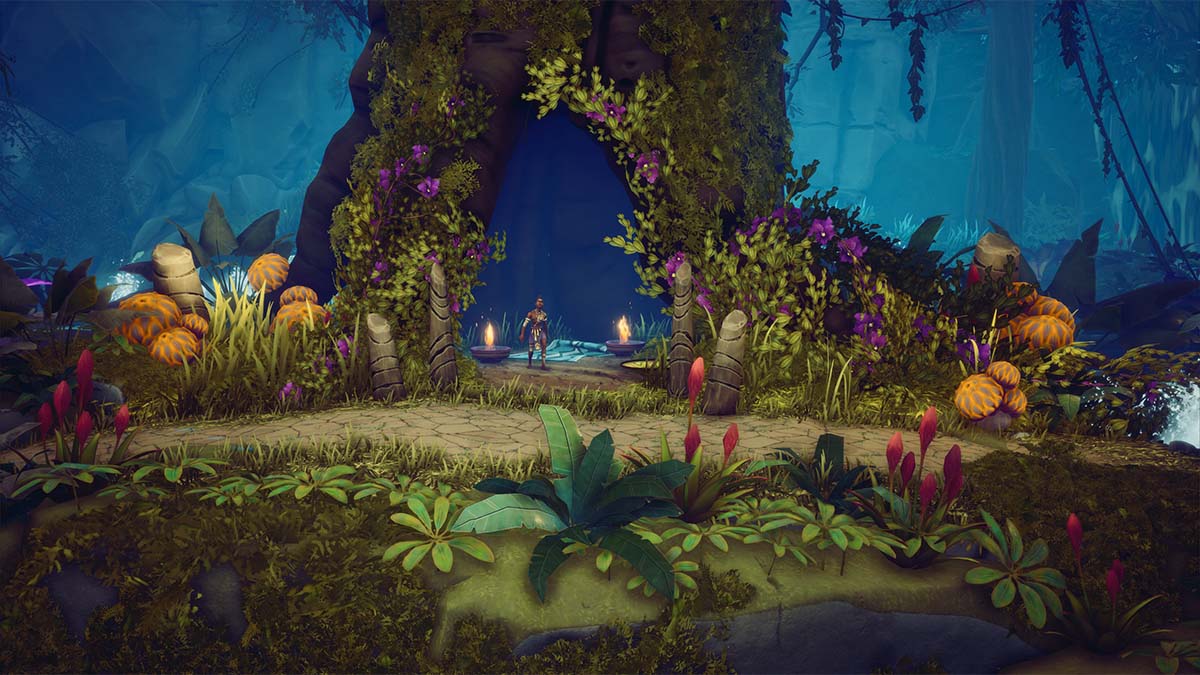
Construct the platform and use it to head right. Ride the updrafts through the death spike corridor and avoid falling into the lava. The sixth and final Reflection awaits in a relatively peaceful glade.
Once you collect your final Reflection, you’ll earn the Know Thyself achievement, showing that you’ve done all the soul-searching available in Tales of Kenzera: Zau. You’ll also have the maximum available health to take on the last few challenges the game has to offer.
For more on similar content, check out our Tales of Kenzera: Zau guide hub.





Published: Apr 23, 2024 05:16 am