The Legend of Zelda: Tears of the Kingdom Misko’s treasure can be sought out after meeting Meeshy, a woman clad in a mushroom dress. She speaks to you about the new fashion designer Cece in Hateno Village and is a thief named Misko who hid three fashionable armor sets in various parts of the region. This guide will show you all three Misko treasure locations and what you need to do to get each armor piece.
Misko’s Treasure locations consist of three armor pieces:
- The Barbarian Armor (raises Attack).
- The Rubber Armor (raises Lightning Resistance).
- The Climbing Armor (increases climbing speed).
There is no correct order or time limit to acquire Misko’s Treasures. Collect them at your own pace.
Where to Find Misko’s Powerful Outfit Treasure in Zelda: Tears of the Kingdom
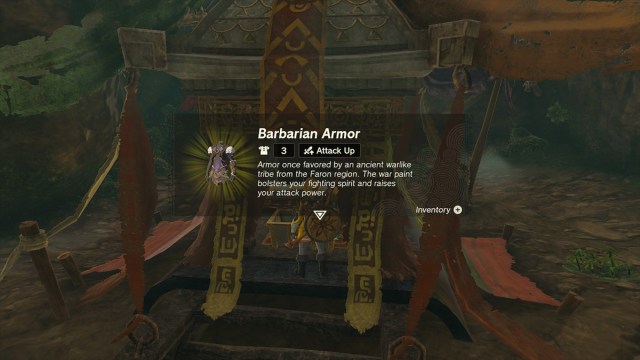
You’ll find the Barbarian Armor, called the Powerful Outfit by Meeshy, barely northwest of Central Hyrule in a Crenel Hills Cave (coordinates 0493, 0730, 0041).

The cave is nestled into a hillside, and you should see glowing, raw, Luminous Stones within its mouth.
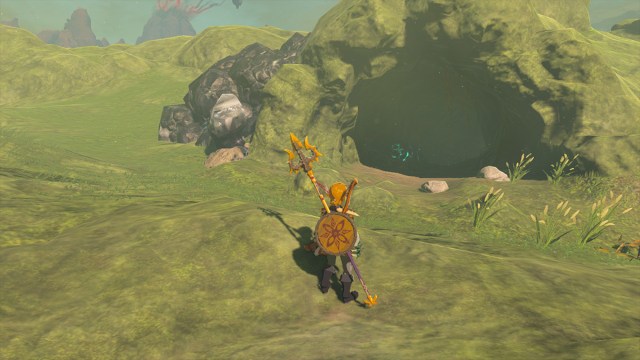
Head inside the cave and into the one large central area. Stick to the outskirts if you don’t want to wake up the Stone Talus boss that lives here. At the back of the cave is another large clump of Luminous rocks set into the ceiling.
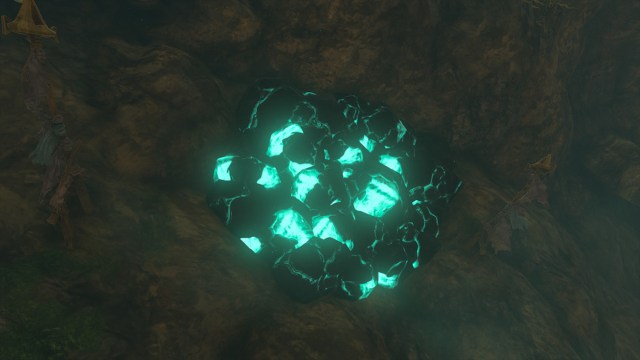
Throw or shoot a bomb flower at it to dislodge everything, then climb into the opening to see the altar and treasure chest holding the Barbarian Armor.
Where to Find Misko’s Climbing Outfit Treasure in TotK
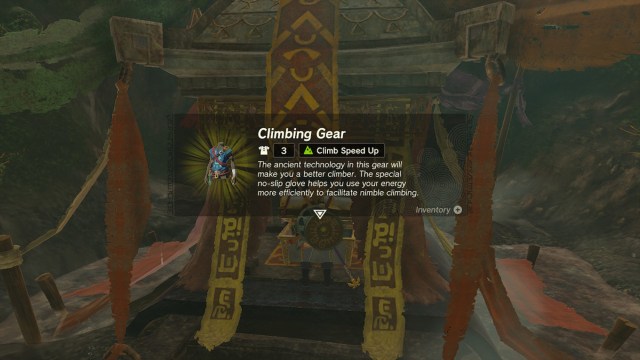
The Climbing Armor is deep within the North Hyrule Plain Cave, due southeast of the New Serenne Stable and Sinakawak Shrine (coordinates -1188, 0644, 0072).
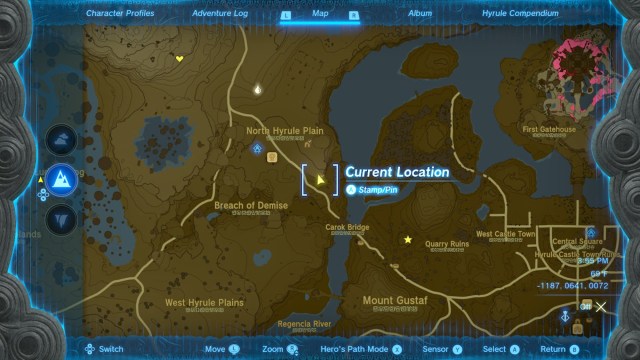
It’s also just across the bridge in the northwest section of Central Hyrule, nestled into a hillside on the eastern cliffs as you head toward the stables from the bridge. A curious traveler will be poking his head in to see what’s going on inside but will not venture in himself.
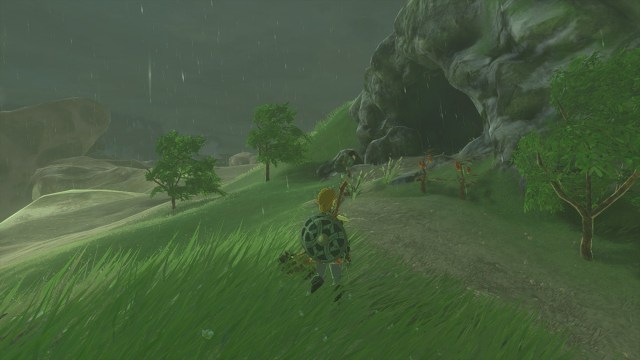
You’ll first need to deal with a pair of Like Likes by shooting their orange week point when it pops out, then hitting it while they’re stunned. Ascend through the platform the far enemy hung from, then travel along the path to the left until you see a waterfall beside the path itself.
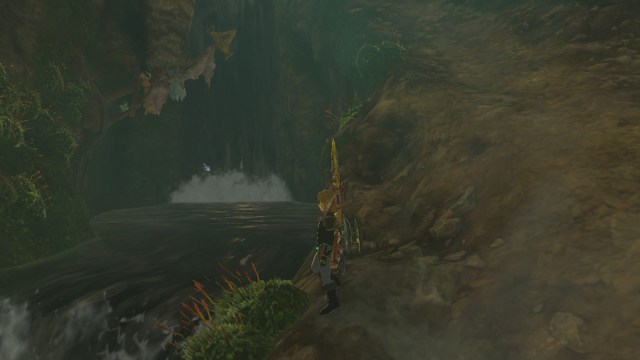
Go through the water to see the altar and chest with the treasure. I admit, the waterfall trick took me a minute to figure out. It’s too much of a classic to not get used in this situation, but my first time through the cave, I passed it by altogether.
Where to Find Misko’s Shock Resistant Outfit Treasure in Tears of the Kingdom

Technically the most complicated of the Misko’s Treasures to find, the Lightning Armor is in Whistling Hill Cave, travel almost directly south from Lookout Landing (coordinates -0067, -1047, 0020).
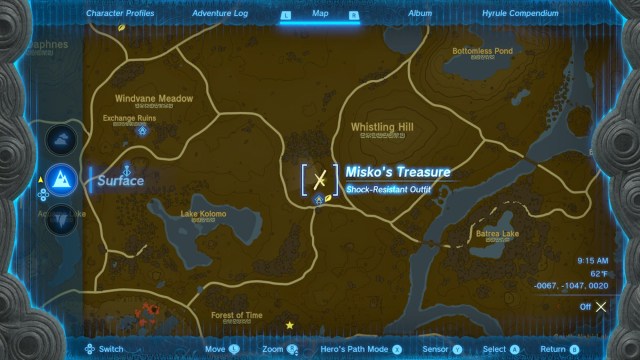
Head south past the Hyrule Field Chasm until you reach a large boulder between three roads. For two other landmarks, Riverside Stable is to the East, and Hyrule Field Skyview Tower is to the west. The Teniten Shrine is directly south of the cave entrance, blocked by breakable rocks (forgive the lack of rocks in the screenshot).
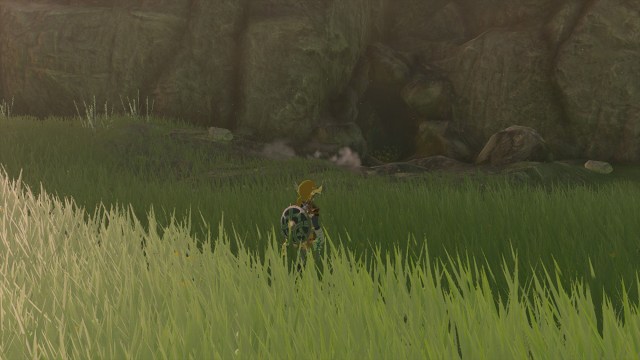
Once inside the cave, keep right, past the Keese, and cut through the pair of thin vined walls. Drop down into the group of Bokoblin skeletons, then, in the next room, ascend through the overhand on your left. Your first challenge is a stone-clad Like Like. Wait until it spits out three rocks at you, then shoot its exposed weak point with a bomb flower arrow to remove its armor and stun it. Once it’s dead, head into the room beyond to face a Lightning Like Like.
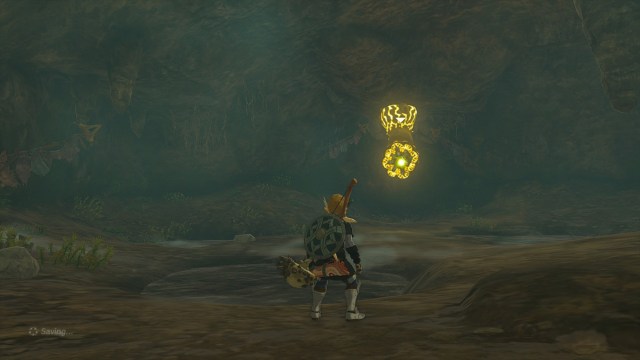
The Lightning Like Like will fire a volley of electricity balls, then explode its weak point as usual. It can take some serious punishment, so bring a good weapon, and once it’s dead, destroy the breakable rocks behind it and claim the Rubber Armor as your reward.
While Misko’s Treasures won’t fill a full armor set, each piece you do get as part of the quest can grant an important advantage no matter where you are in the game, though the earlier you get them, the better off you’ll be. For more content on Tears of the Kingdom, check out our guides hub to the game, where we’ve covered solutions to dozens of Shrines, including The Power of Water, An Uplifting Device, and more.



Published: May 22, 2023 04:18 pm