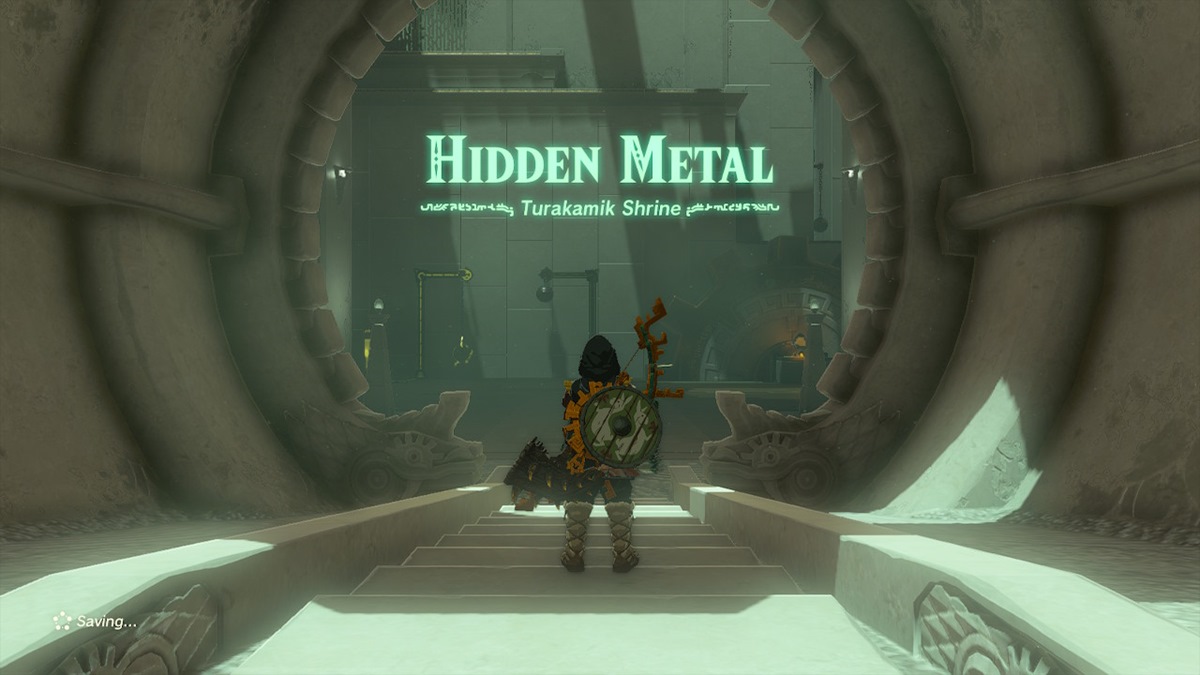
The Legend of Zelda: Tears of the Kingdom Hidden Metal puzzle is found in the Turakamik Shrine, which is in yet another domain found in the deserts and canyons of Gerudo. In it, you’ll have to make use of objects that can conduct electricity, making strategic use of your hand abilities, such as Ultrahand and Recall. Here’s our guide to help you solve the Turakamik Shrine Hidden Metal puzzle in Zelda: Tears of the Kingdom.
Turakamik Shrine Hidden Metal Puzzle Solution in Zelda: Tears of the Kingdom
Turakamik Shrine Location
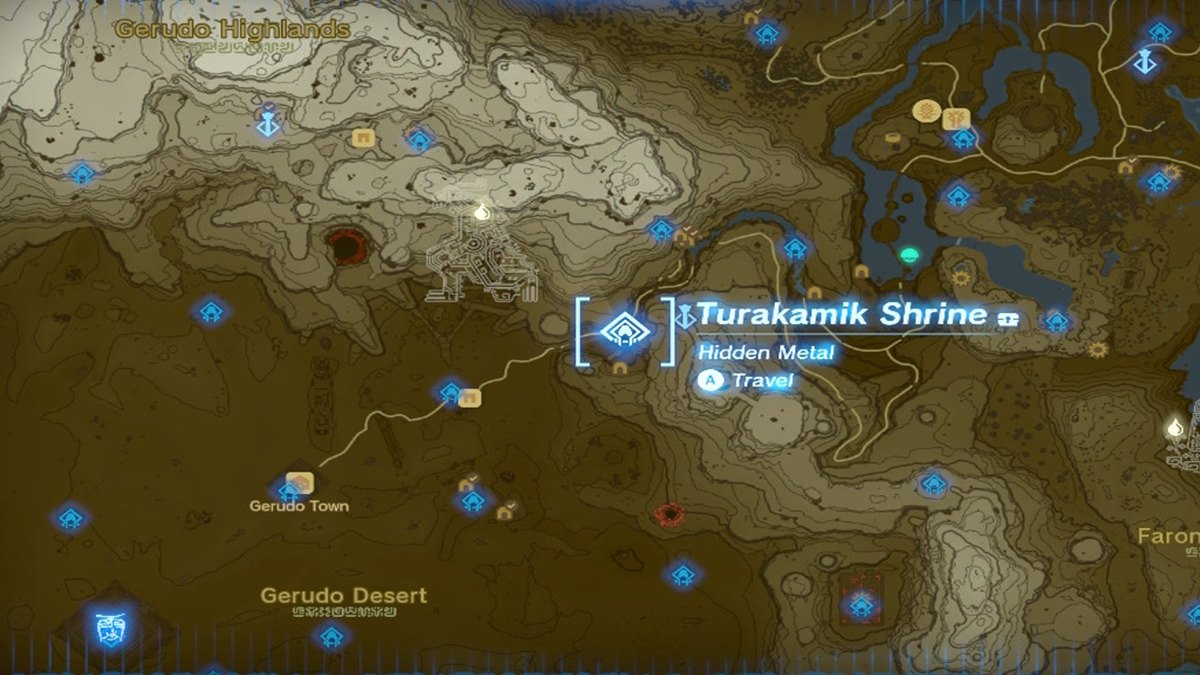
The Turakamik Shrine is in the Gerudo region. To reach it, use the Gerudo Canyon Skyview Tower’s launch pad, then glide to the west. You’ll see it on a ridge overlooking the desert. The coordinates are (-2658, -2236, 0067).
Related: Where to Find the Gerudo Secret Club Location
TotK Turakamik Shrine Hidden Metal Puzzle Walkthrough
The Zelda: Tears of the Kingdom Turakamik Shrine Hidden Metal puzzle is all about finding a way to conduct and transfer electricity to other devices. Some of these can be a little devious. Here’s what to do.
First Hidden Metal Puzzle Solution
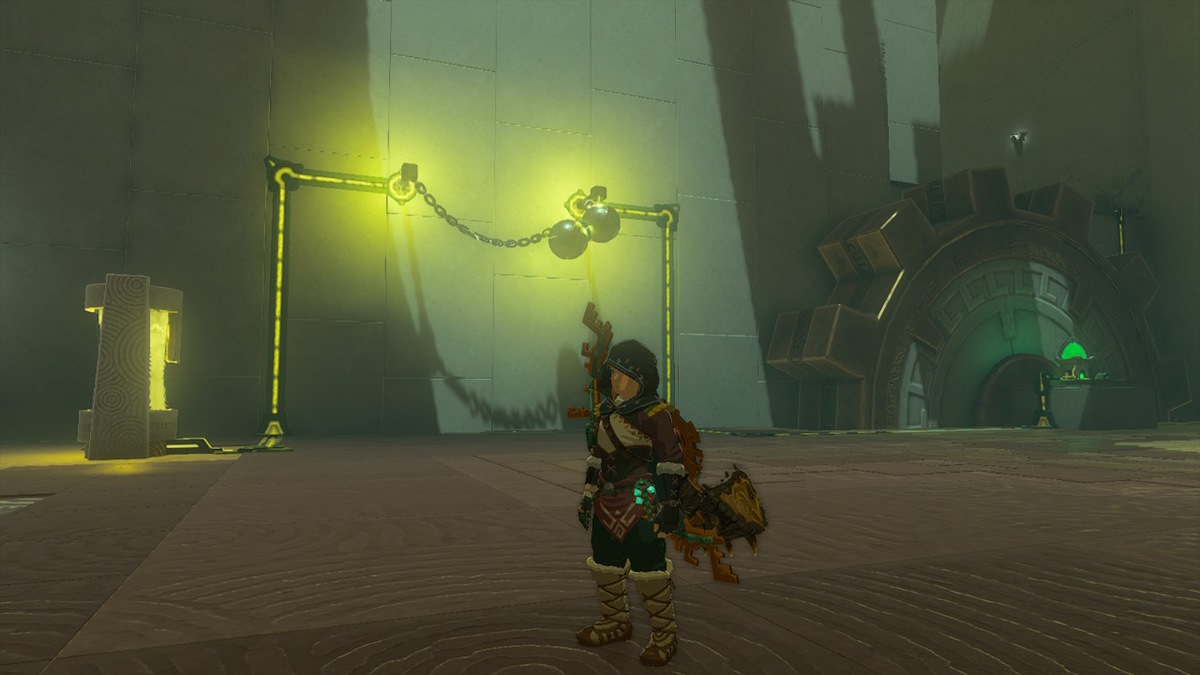
The first section of the TotK Hidden Metal puzzle is relatively straightforward enough, as you simply need to attach the two ball-and-chain objects together. This will power up the gear and make it rotate. You can then ride it to the next area.
Second Hidden Metal Puzzle Solution
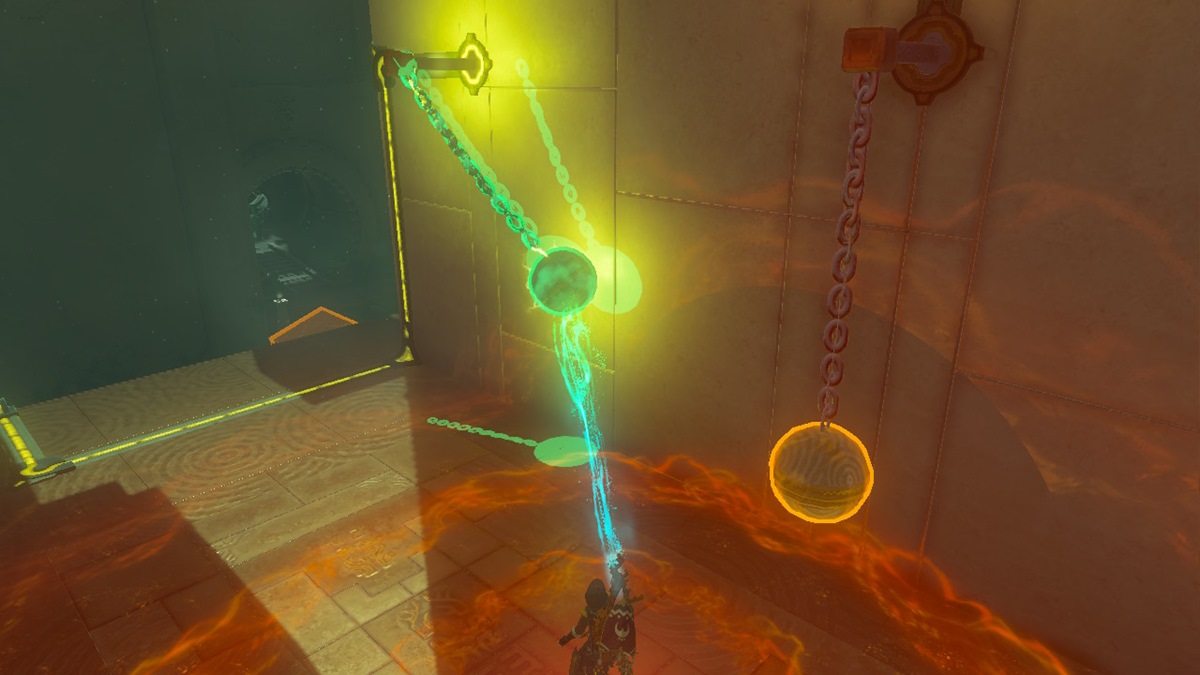
For the second area, you’ll also see a couple of ball-and-chain objects, albeit with chains that are shorter. The goal is to pull one using Ultrahand. Then, as you let go, cast Recall so that it’s still within reach. Once you see the attach prompt, press the A button.
Admittedly, I had a few issues with this when I originally solved the puzzle. That’s because the two kept getting detached. I suggest giving it a few tries to find the correct distance and placement so that the two stick firmly together.
Third TotK Hidden Metal Puzzle Solution
Doing the above causes ledges to appear. Use Ascend to reach the topmost area, where you’ll see a large gear, two smaller gears/wheels, and a metal bar. Here’s what you need to do:
- Take the metal bar and attach it between the two small wheels. Doing so causes electricity to course through and power up the larger gear. You can use it to open a chest that has a Mighty Zonai Shield.
- Go back down and place the metal bar on the two handles that are jutting out.
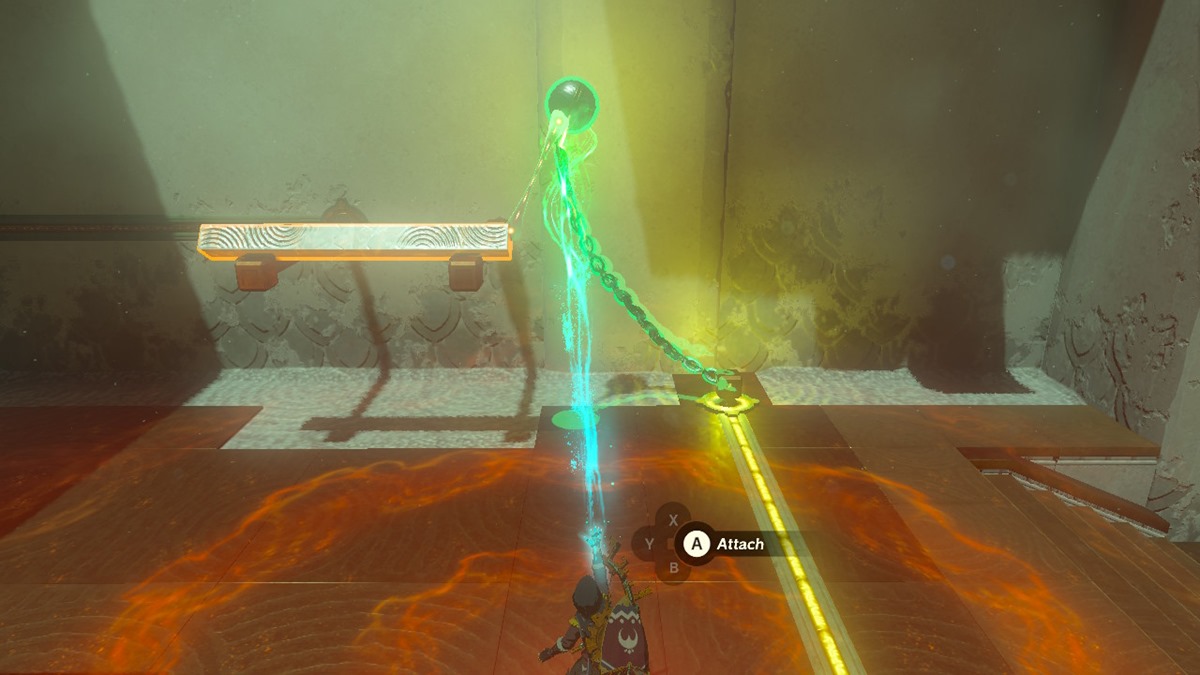
- Next, pull the ball-and-chain close to it so the two can be attached to each other.
The electricity will pass through the ball-and-chain to the metal bar and, eventually, the switch for the gate.
This completes the Zelda: Tears of the Kingdom Turakamik Shrine Hidden Metal puzzle. As always, you’ll get a Light of Blessing and a fast travel point for your efforts. For more tips and walkthroughs like these, visit our Zelda: TotK guides hub.



Published: May 22, 2023 01:37 pm