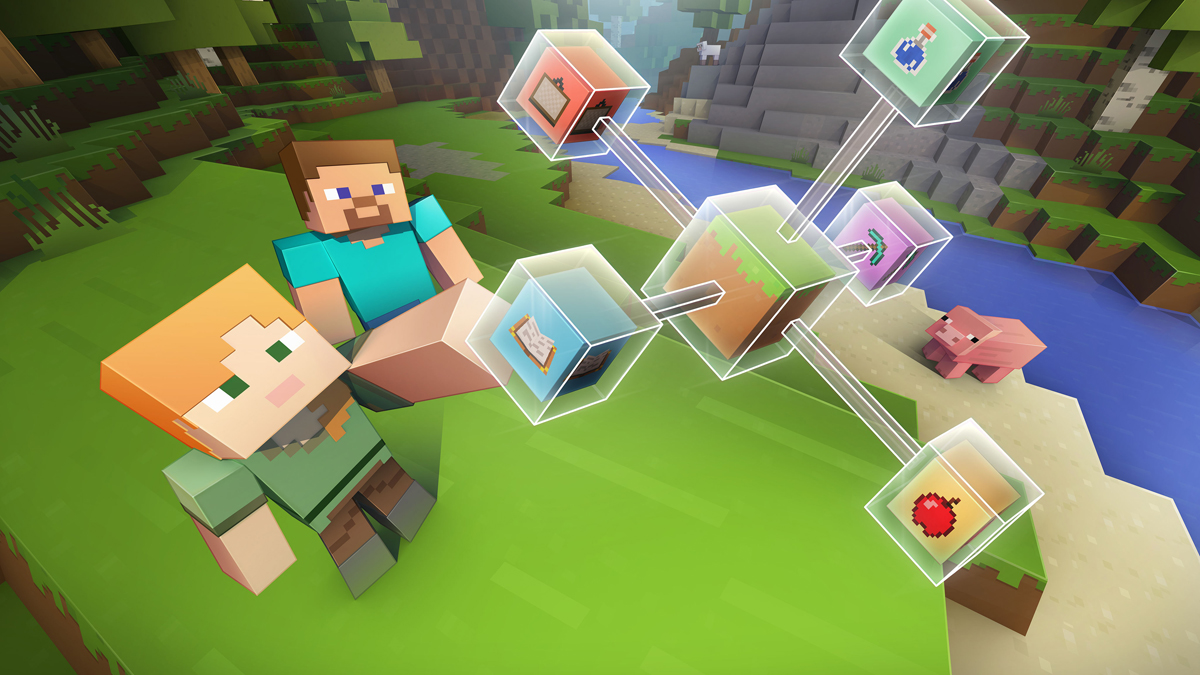
Skin packs are essential libraries for all Minecraft fans who want to give their characters the looks they’ve always wanted to. Typically, you could purchase these skin packs on the Marketplace, but this option is available only to Minecraft: Bedrock Edition owners.
The Marketplace isn’t available in Minecraft: Education Edition for obvious reasons, but there is a way to import free skins from the web to your profile, and our guide will explain how to do it in a step-by-step fashion.
Minecraft Education Edition: How to Get Skin Packs
Step 1: Download Free Minecraft Skin
The very first thing you need to do is find the free Minecraft skin that you want to use in your profile. Here’s what you need to do:
- Go to Minecraft Skindex webpage (or any other site with free Minecraft skins).
- Register and sign-in using your e-mail and password.
- Use the search bar on top to find the skin you want.
- Click on the “Download” button.
As a result, you should get the “.png” type of image file, which can be converted into a Minecraft skin pack.
Step 2: Convert Your Free Skin
The image file of a free Minecraft skin that you’ve downloaded can’t be directly imported into Minecraft: Education Edition, but it can be converted into a skin pack. Follow these steps:
- Go to Skin Pack Converter webpage.
- Name your skin pack and provide the version of your game.
- Upload the “.png” file of your skin.
- Press “Download Pack” button on the bottom of the screen.
As a result, you’ll be able to download the “.mcpack” type of file, which is the correct Minecraft Skin Pack format.
Step 3: Import Your Skin Pack
The next step involves importing your converted skin pack into your Minecraft: Education Edition profile. Here’s how you can do it:
- Open the folder with the converted “.mcpack” file.
- Double-click on the “.mcpack” file.
- This will launch the Minecraft: Education Edition client.
- Wait for the message “Import started…” to appear on top of the screen.
- Wait some more for this message to change to “Import successful“.
The import shouldn’t take more than a few seconds, but don’t worry if it takes a bit longer.
Step 4: Apply Your Skin Pack
The last thing you need to do is apply your newly imported skin pack to your character. You need to do the following:
- Press the “Skins” button in the home screen (coat hanger icon).
- Scroll to the very bottom of the list.
- Click on your imported skin pack.
- Press “Confirm” button in the bottom right corner of the screen to apply.
Finally, you can start a new game, and your character will have the skin pack applied properly. That’s everything you need to know on how to get skin packs for Minecraft: Education Edition. Be sure to check out the rest of the Minecraft tips and tricks articles on our dedicated hub page.
Featured image via Mojang Studios


Published: Apr 27, 2023 04:32 am