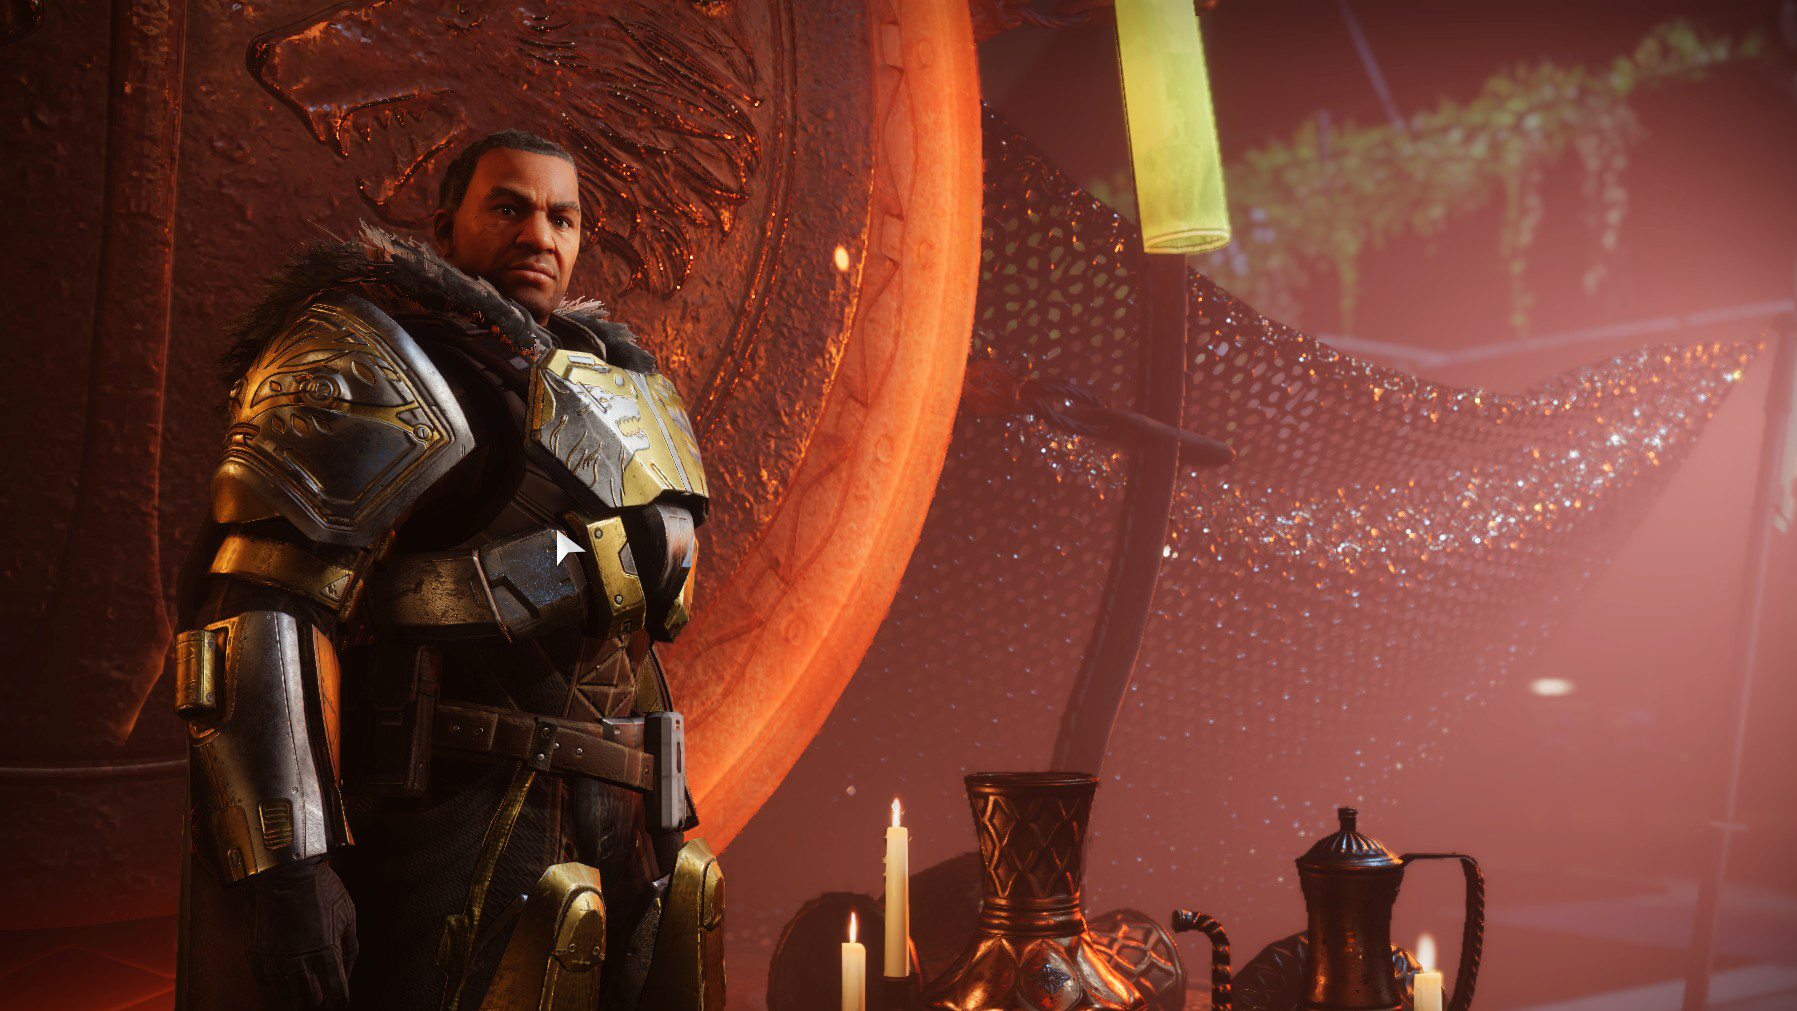
Forging Iron is the seasonal Iron Banner quest in Destiny 2 necessary for unlocking full access to Lord Saladin’s vendor inventory. As Saladin now provides rewards on a reputation and engram system similar to all other vendors in the Tower, you’ll want to complete this quest to farm Iron Banner weapon and armor rolls.
This Destiny 2 guide walks you through the Forging Iron quest step by step and highlights some of the current bugs and issues to watch out for.
How to Complete the Forging Iron Quest
Before we list the steps to completing this quest, it’s important to note that Forging Iron is a buggy mess. Most players likely won’t have any trouble, but if you’re one of the unlucky ones, you might experience one of the following issues:
- The quest disappears from all characters. There is no way to fix this issue if you experience it. You’re probably fine if you’ve already unlocked Saladin’s full inventory from Season of the Risen. If you haven’t, this bug could lock you out of rolling for all of Saladin’s inventory, and you’ll need to wait until the quest becomes available again to start over.
- The quest is stuck at the “wear Iron Banner armor” step (progression bug). While this issue is annoying, you can fix it simply by unequipping all your Iron Banner gear, playing a single match, then putting all the equipment back on.
Another note: you will receive much more Iron Banner reputation while you have up to five pieces of Iron Banner gear equipped. This list includes Iron Banner universal ornaments, actual armor sets, and Iron Banner weapons. Putting on an Iron Banner emblem also increases reputation gains.
Step 1: Complete an Iron Banner Match
Nothing complicated here. Head into either the Iron Banner Freelance playlist if you’re solo or the standard playlist if you’re in a group and finish a match. You don’t need to win to progress; only reach the ending scoreboard.
Step 2: Complete a Daily Challenge
Iron Banner Daily Challenges aren’t hard to find, but they’re labeled oddly. Go into the Crucible screen in the Director and hover over the Iron Banner node. You’ll see the Challenges section that mentions Weekly, but not Daily, Challenges. The text here is misleading: completing the number of matches listed is the Daily Challenge, and the Weekly label refers to completing all four of them.
In other words, the Daily Challenges in Iron Banner are to complete 3, 5, 7, and 12 total matches. For Season of Plunder, you must use either an Arc or Stasis subclass to progress them.
Step 3: Earn 300 Iron Banner Rank Points
Every match you complete in Iron Banner awards rank points, which increase the more you win and the more Iron Banner gear you have equipped. Three hundred points sounds like a lot, but it’s about five matches if you’re on a losing streak and as few as three if you’re doing well. A loss comes to about 50-60 points with gear equipped, and a win is up to 120 or so.
Step 4: Collect an Iron Banner Engram from Lord Saladin
Return to the Tower and speak to Saladin, who waits in the center of the area. You should see his engram lit up at the top right of his vendor screen. Claim it, and you’ll be able to spend it and 100 Legendary Shards to focus an Iron Banner weapon or armor piece from his inventory.
Step 5: Complete Iron Banner Matches with Iron Banner Gear Equipped
If you’ve been wearing Iron Banner armor this whole time, your job now is simply to do so some more until you’ve filled this quest step’s progress bar to 100%. If you don’t have any Iron Banner gear, be sure to focus some with the engrams Saladin offers. The more pieces you wear, the faster progress happens, so get as much as possible.
Step 6: Speak to Lord Saladin
Head back to the Tower and speak to Saladin to complete the Forging Iron quest. At this point, you should have access to most of his weapon and armor inventory, which you can target farm using his engrams, earned by gaining reputation through playing matches.
That’s all there is to the Forging Iron quest in Destiny 2. It’s a straightforward grind taking you into one of the game’s main endgame PvP activities, though it’s less exclusive now that there is no Power requirement. We’ve covered many other Destiny 2 topics here, including complete walkthroughs of the Duality and Grasp of Avarice Dungeons and Dares of Eternity, among many other guides. Our guides hub has it all.


Published: Sep 9, 2022 10:05 pm